Hat DAC
SKU:U068


Description
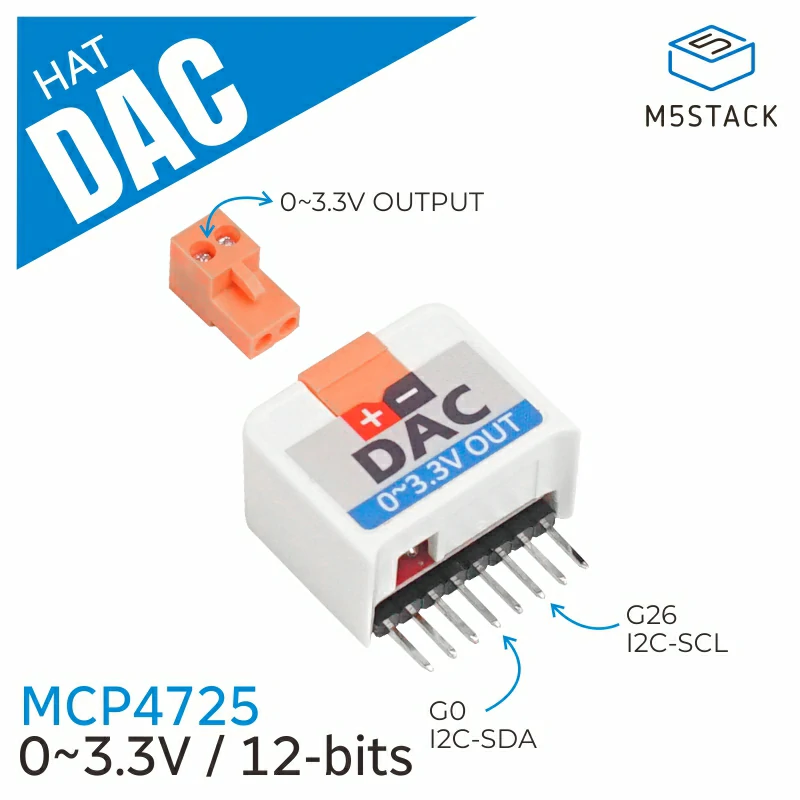
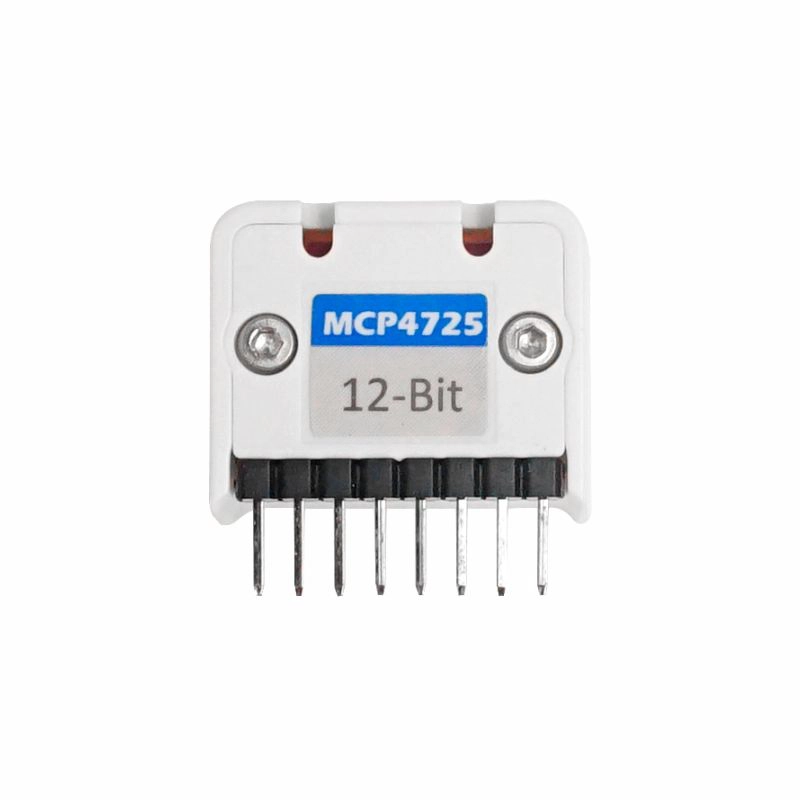
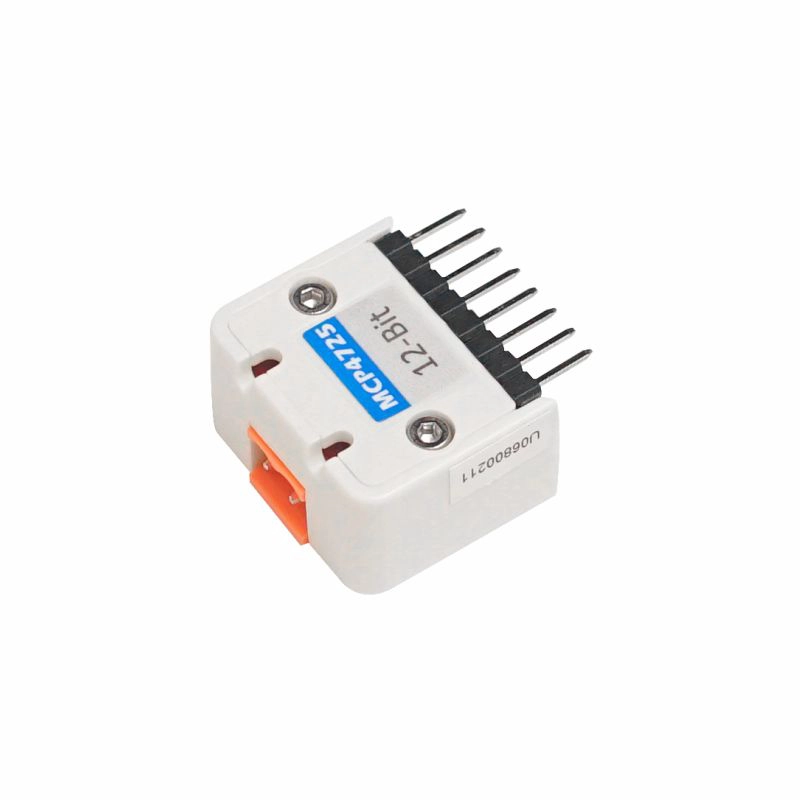
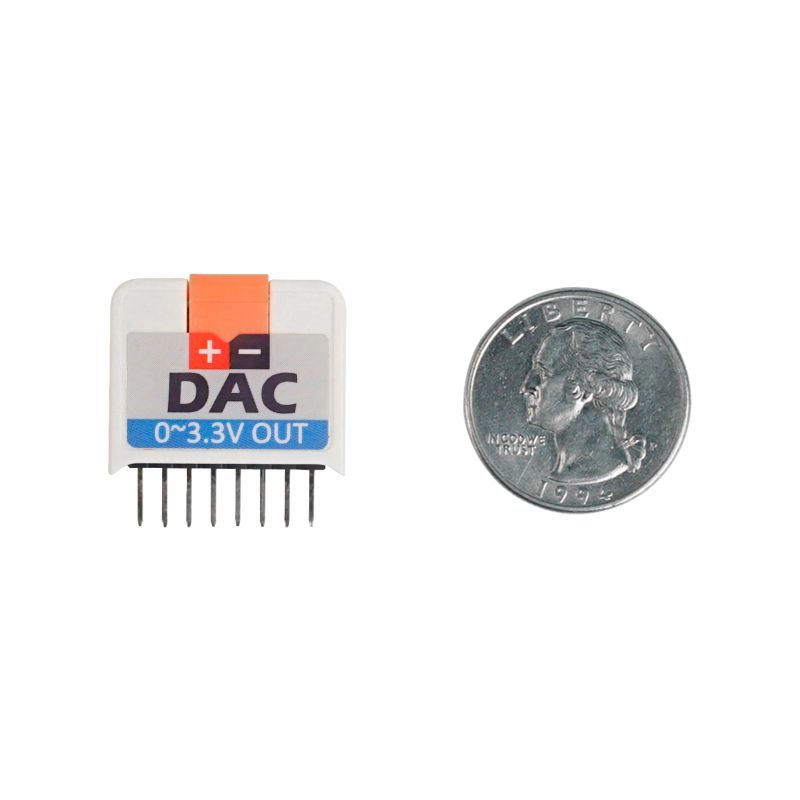
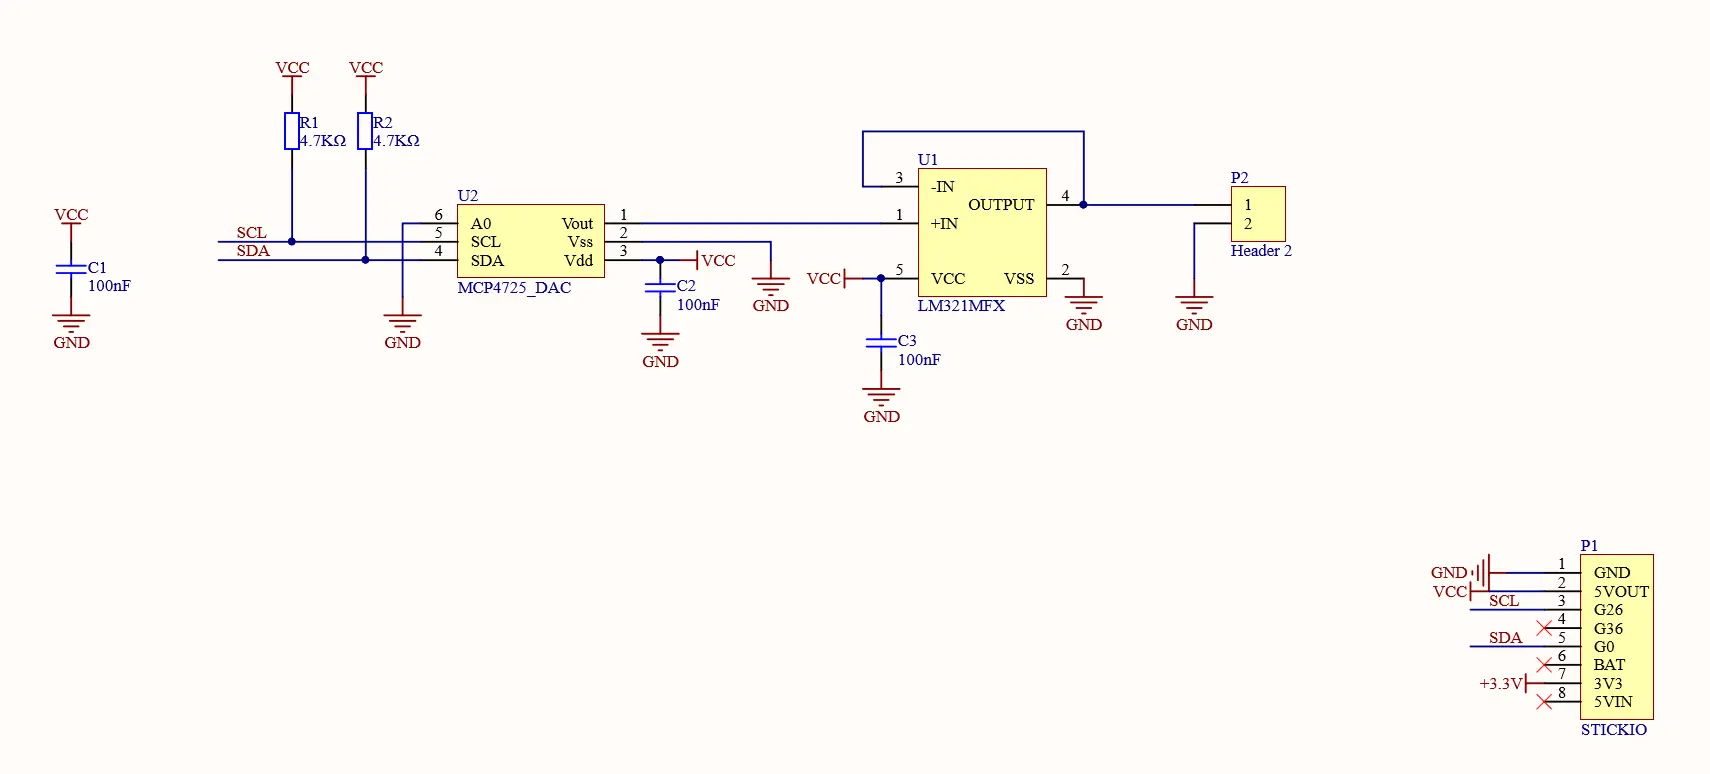
Hat DAC is a DA conversion module compatible with M5SticKC, internally integrated with the DAC conversion chip MCP4725. It features low power consumption, high precision, single-channel, 12-bit buffered voltage output digital-to-analog converter (DAC), and non-volatile memory (EEPROM). Its on-chip precision output amplifier allows it to achieve rail-to-rail analog output swing. Users can use I2C interface commands to write DAC input and configuration to non-volatile memory (EEPROM), allowing the DAC to retain the code during power-off and be ready for use upon power-up. The I2C address is 0x60.
Features
- Output Voltage: 0-3.3V
- Development Platforms: Arduino, UIFlow (Blockly, MicroPython)
- MCP4725:
- 12-bit resolution
- External A0 address pin
- Normal or power-down mode
- Fast settling time of 6μs (typical)
- External voltage reference (VDD)
- Rail-to-rail output
- Low power consumption
- Single supply operation: 2.7V to 5.5V
- External voltage reference (VDD)
- I2C interface
- Extended temperature range: -40°C to +125°C
Includes
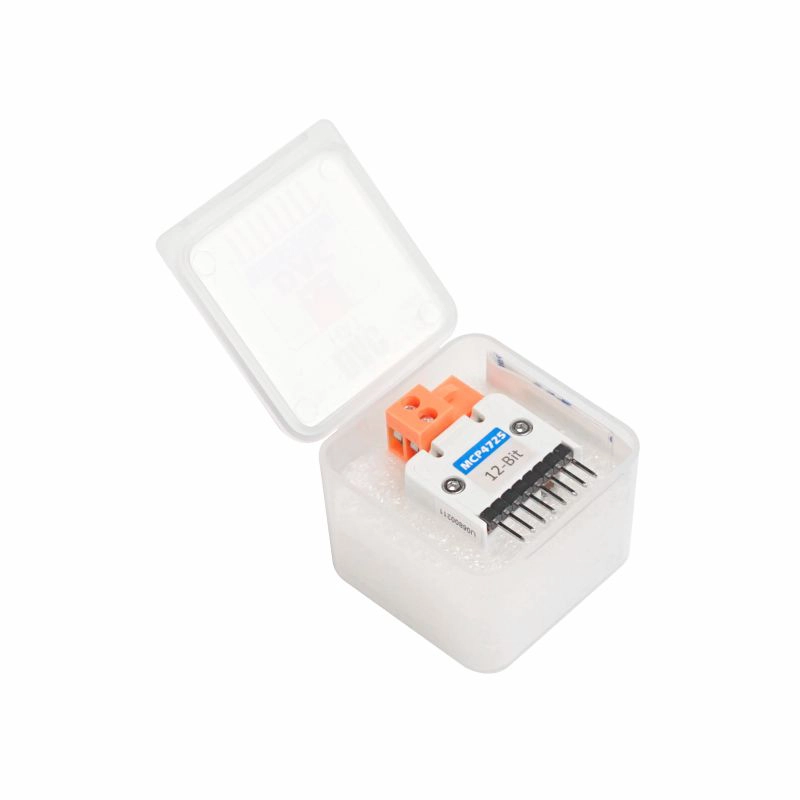
- 1 x Hat DAC
Applications
- Setpoint or offset trimming
- Sensor calibration
- Closed-loop servo control
- Low power portable instrumentation
- PC peripherals
- Data acquisition systems
Specifications
| Specification | Parameter |
|---|---|
| Communication Port | I2C @0x60 |
| Product Size | 24.0 x 25.0 x 13.0mm |
| Product Weight | 6.0g |
| Package Size | 67.0 x 53.0 x 12.0mm |
| Gross Weight | 19.0g |
Schematics
Softwares
Arduino
UiFlow1
Easyloader
| Easyloader | Download Link | Note |
|---|---|---|
| Hat DAC Easyloader | download | / |