ESP-IDF Quick Start
Core2 ESP-IDF BSP 使用チュートリアル
本チュートリアルでは、ESP-IDF 開発環境に Core2 ボードサポートパッケージ(BSP)を統合する方法を紹介します。これにより、オンボード周辺機器ドライバーの迅速な初期化と管理が可能となり、開発効率を向上させます。
1. 準備
- 環境設定: 本チュートリアルは Ubuntu オペレーティングシステム上での ESP-IDF 開発環境構築を前提としています。他のプラットフォームでのセットアップ方法については、ESP-IDF - ESP32 Getting Started Guide を参照してください。
ESP-IDF Version
本チュートリアルでは ESP-IDF バージョン
v5.4.1 の使用を推奨します- git バージョン管理ツールを使用して esp-idf プロジェクトをクローンし、指定したブランチに切り替え、関連ツールチェーンをインストールするスクリプトを実行します。
注意事項
. ./export.sh コマンドの . とスクリプトファイル名の間に半角スペースが必要です。このコマンドは source ./export.sh と同等ですgit clone --recursive https://github.com/espressif/esp-idf.git
cd esp-idf
git checkout v5.4.1 # recommend
./install.sh
. ./export.sh- 以下のチュートリアルで使用する
idf.pyコマンドはすべて ESP-IDF に依存しています。コマンドを実行する前に、プロジェクトディレクトリで. ./export.shを呼び出して環境変数を有効化してください。詳細は ESP-IDF - ESP32 Getting Started Guide を参照してください。
2. プロジェクト作成
- ターミナルを開き、作業ディレクトリに移動します。
core2_projectsという名前のプロジェクトフォルダを作成します。フォルダに移動した後、esp-idf プロジェクトのexport.shを呼び出して環境変数を有効化します。以下のコマンドはcore2_projectsフォルダとesp-idfが同階層にある場合を想定しています。パスが異なる場合は適宜修正してください。次に、以下のidf.py create-projectコマンドを実行して空のプロジェクトテンプレートを作成します。例としてプロジェクト名はmy_projectとしています。
mkdir core2_projects
cd core2_projects
. ../esp-idf/export.sh
idf.py create-project my_project- プロジェクトディレクトリに移動し、Espressif Component Registry ツールを使用して M5Stack Core2 BSP を追加します。
cd my_project
idf.py add-dependency "espressif/m5stack_core_2^2.0.0"- ターゲットチッププラットフォームを設定します:
idf.py set-target esp323. サンプルプログラム
- 空のテンプレートのエントリファイルを開き、以下のサンプルプログラム内容をコピー&ペーストします。
vim main/my_project.c cpp
1 2 3 4 5 6 7 8 9 10 11 12 13 14 15 16 17 18 19 20 21 22 23 24 25 26
#include "freertos/FreeRTOS.h"
#include "freertos/task.h"
#include "esp_log.h"
#include "lv_demos.h"
#include "bsp/esp-bsp.h"
static char *TAG = "app_main";
#define LOG_MEM_INFO (0)
void app_main(void) {
/* Initialize display and LVGL */
bsp_display_start();
/* Set display brightness to 100% */
bsp_display_backlight_on();
ESP_LOGI(TAG, "Display LVGL demo");
bsp_display_lock(0);
lv_demo_widgets(); /* A widgets example */
// lv_demo_music(); /* A modern, smartphone-like music player demo. */
// lv_demo_stress(); /* A stress test for LVGL. */
// lv_demo_benchmark(); /* A demo to measure the performance of LVGL or
// to compare different settings. */
bsp_display_unlock();
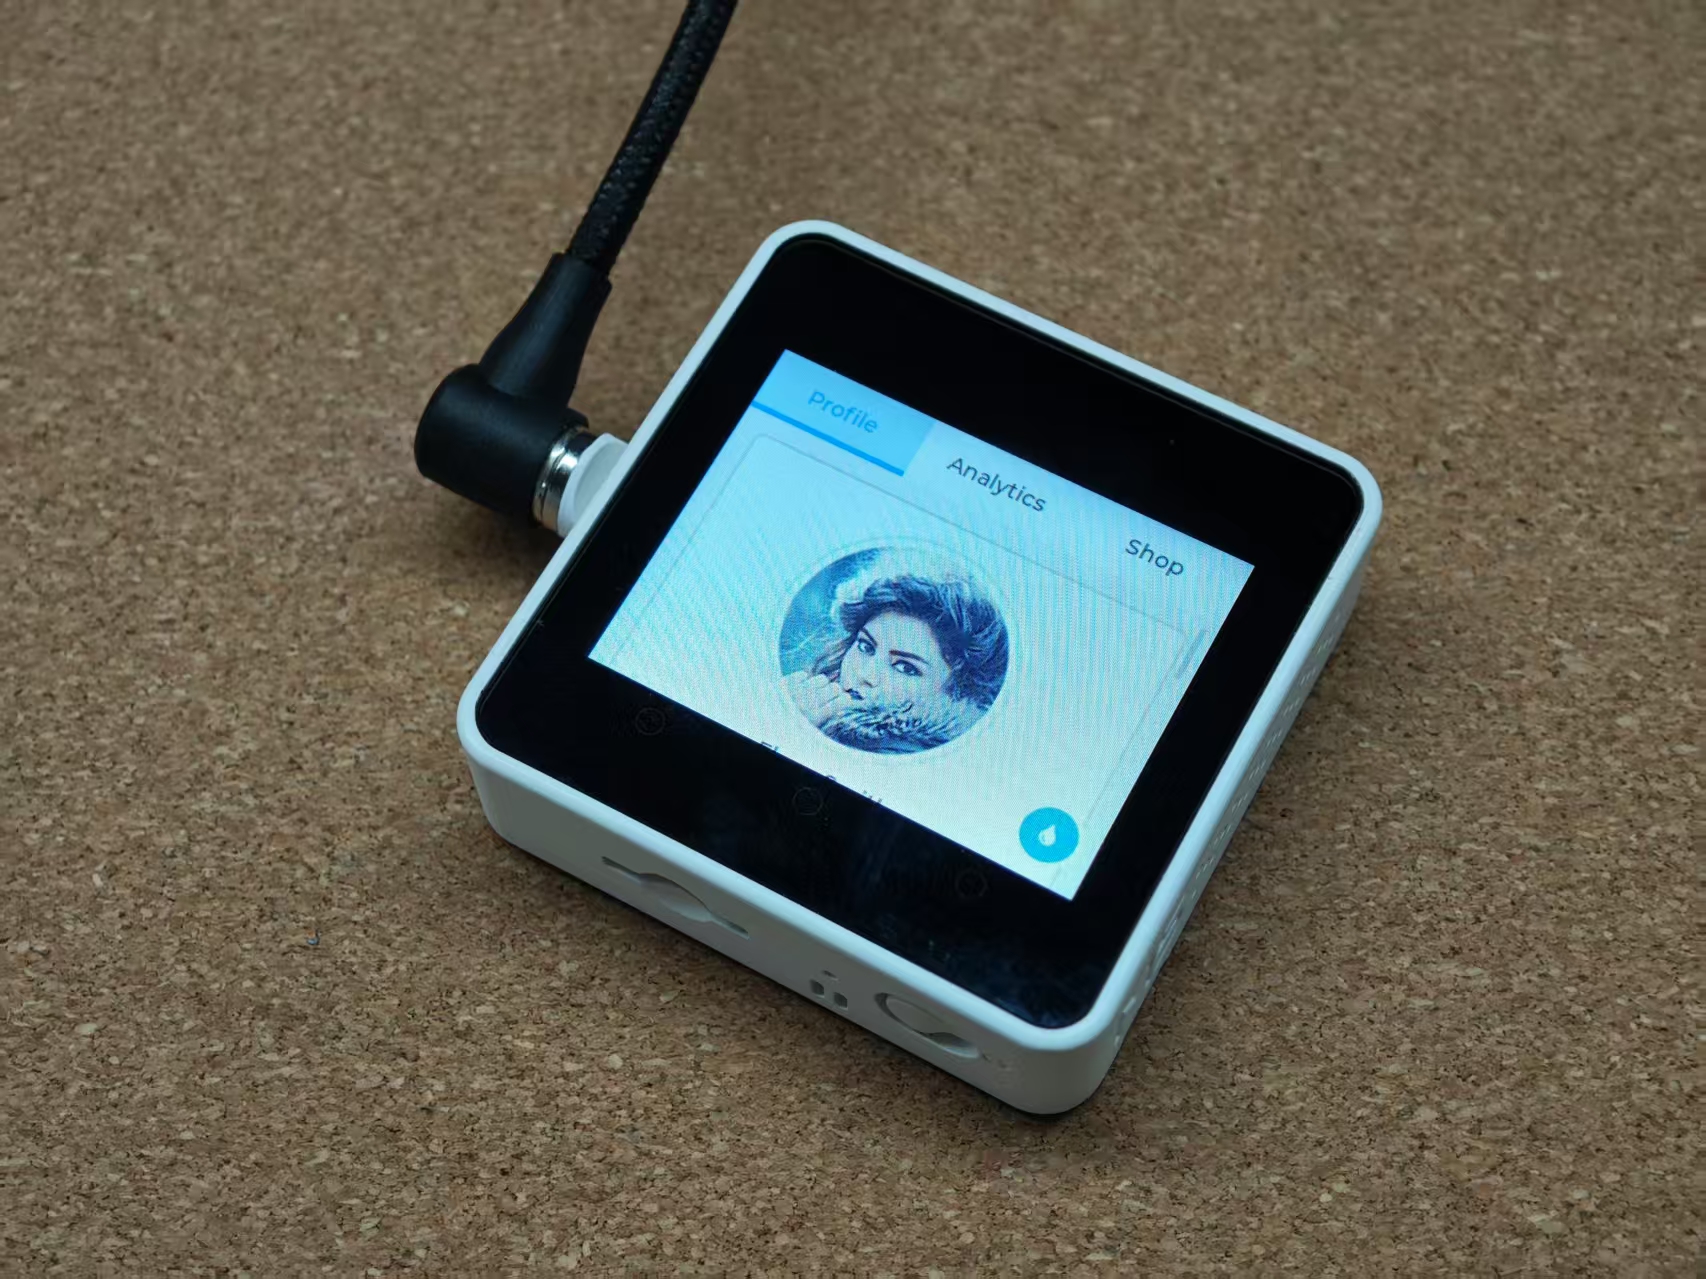
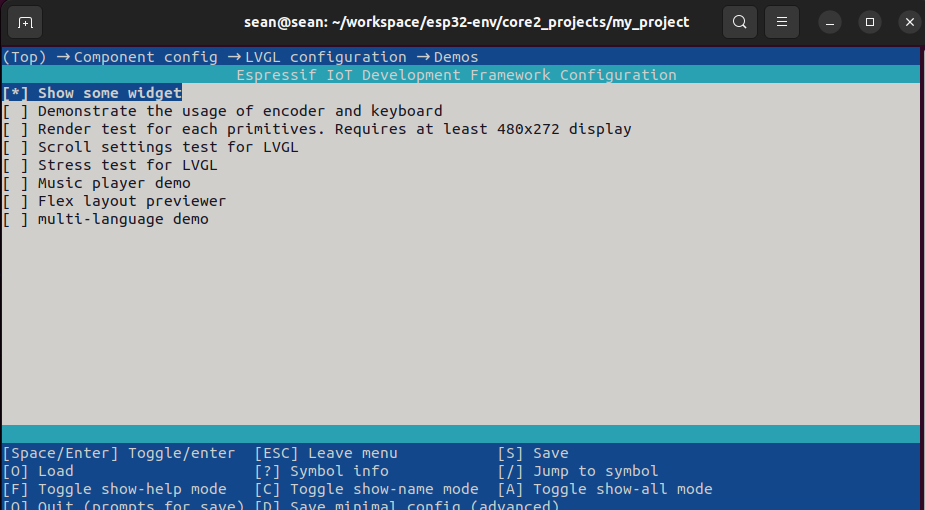
}- このサンプルプログラムは、ディスプレイを駆動して LVGL コンポーネントデモを表示する方法を示しています。コメントアウト行を切り替えることで、異なるデモをコンパイルできます。特定のデモコンポーネントを使用する前に
idf.py menuconfigを実行し、Component config->LVGL Configuration->Demosで対応する LVGL デモを有効にしてください。
4. ビルドと書き込み
- 以下のコマンドを実行してプログラムをビルドおよびデバイスへ書き込みします。
idf.py flash