

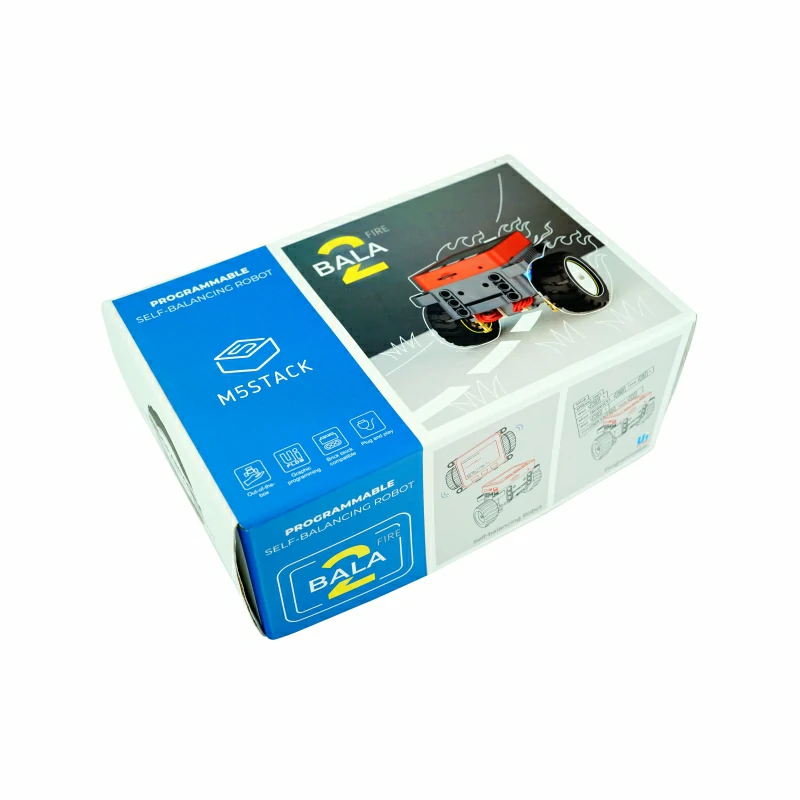
Bala2-Fire
SKU:K014-E


Description
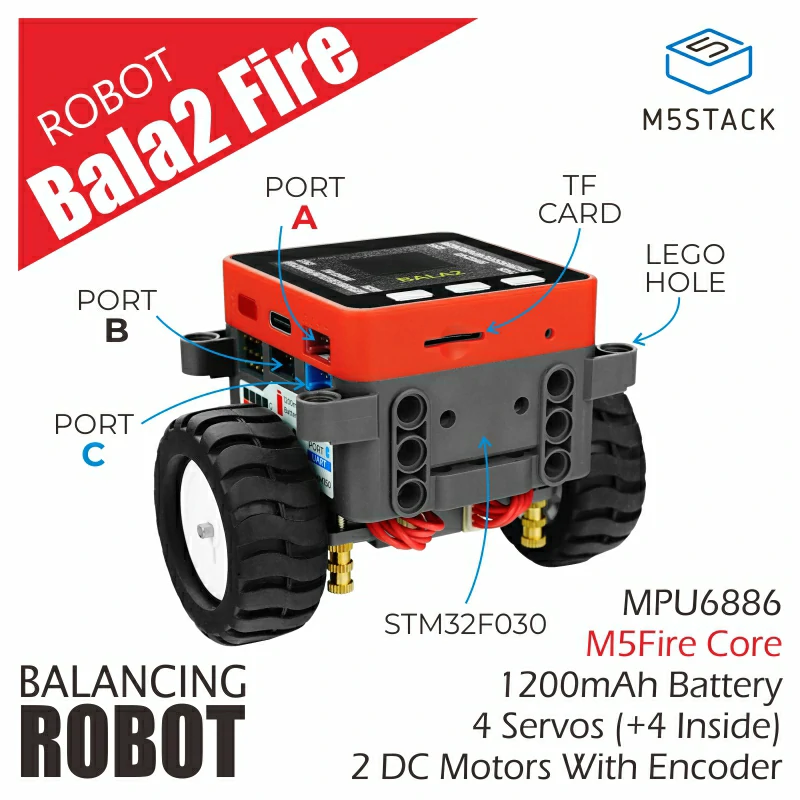
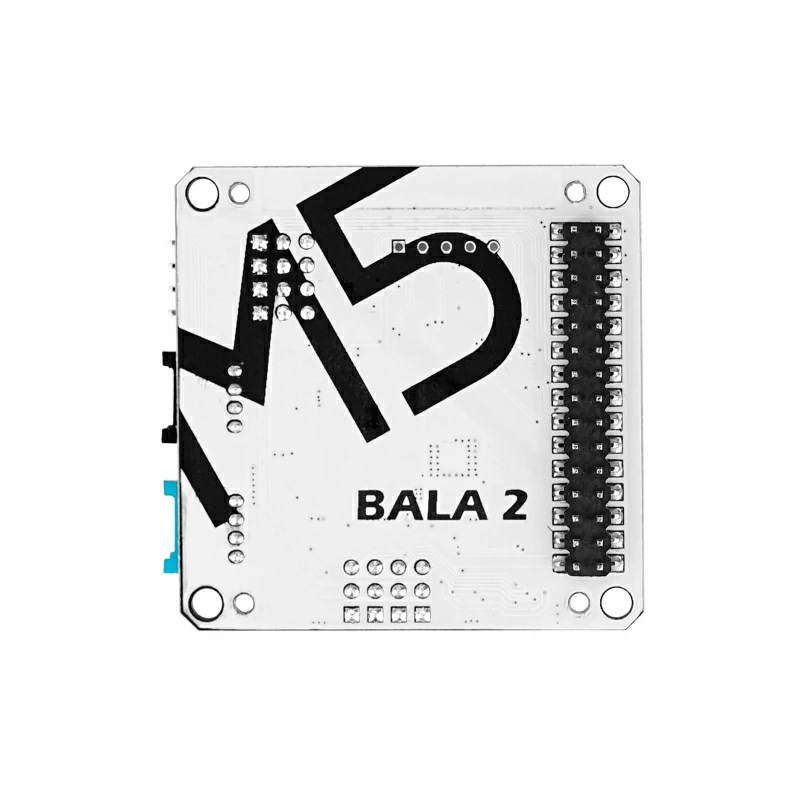
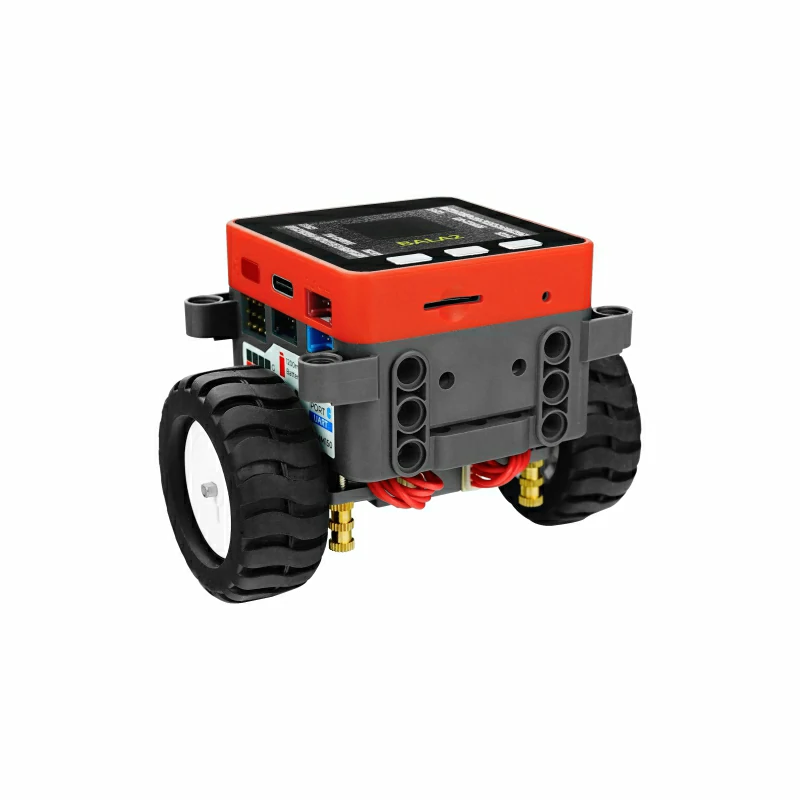
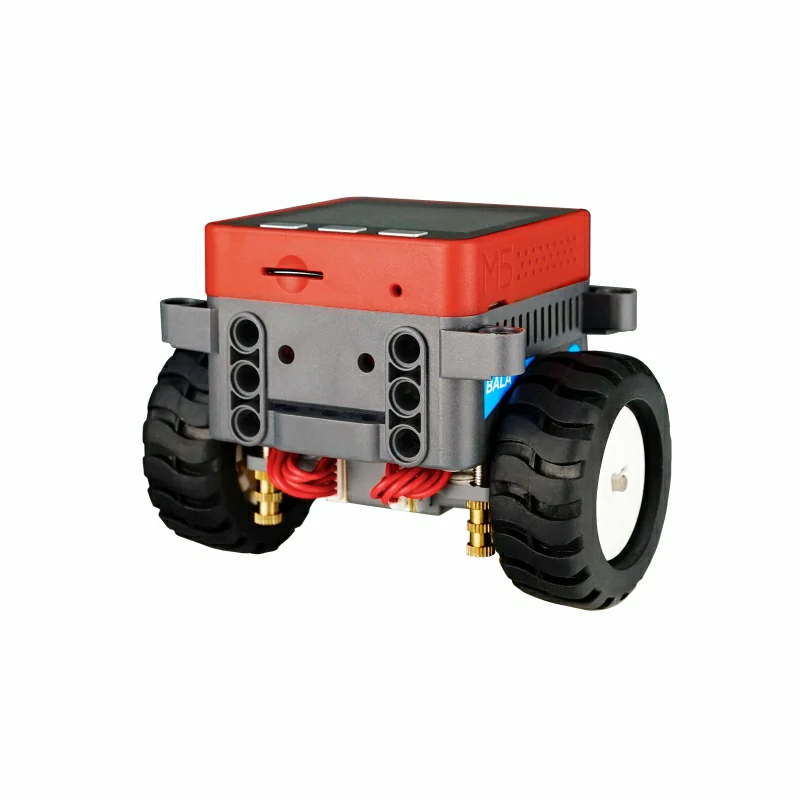
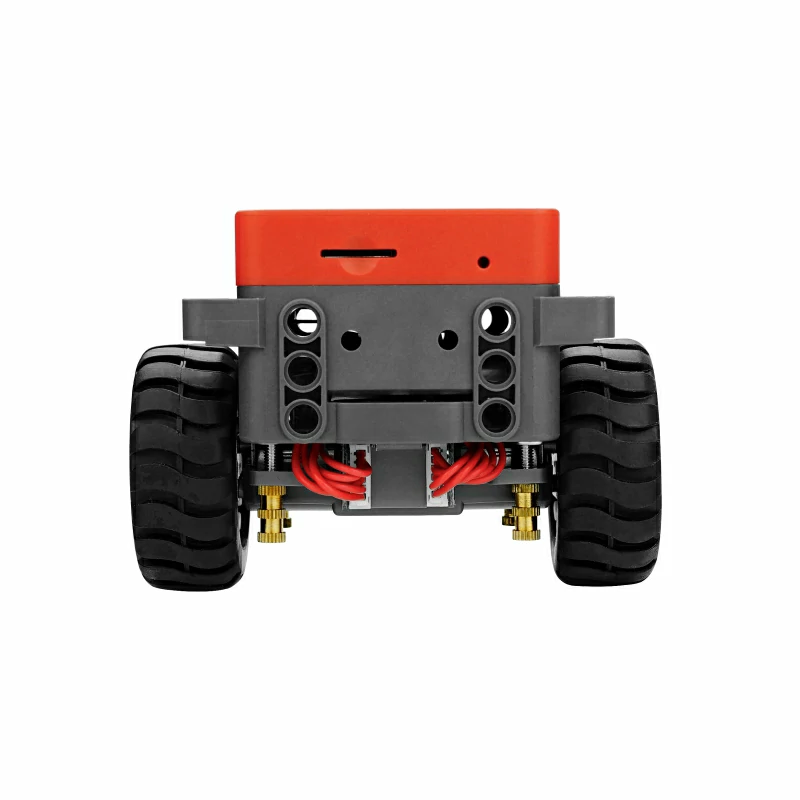
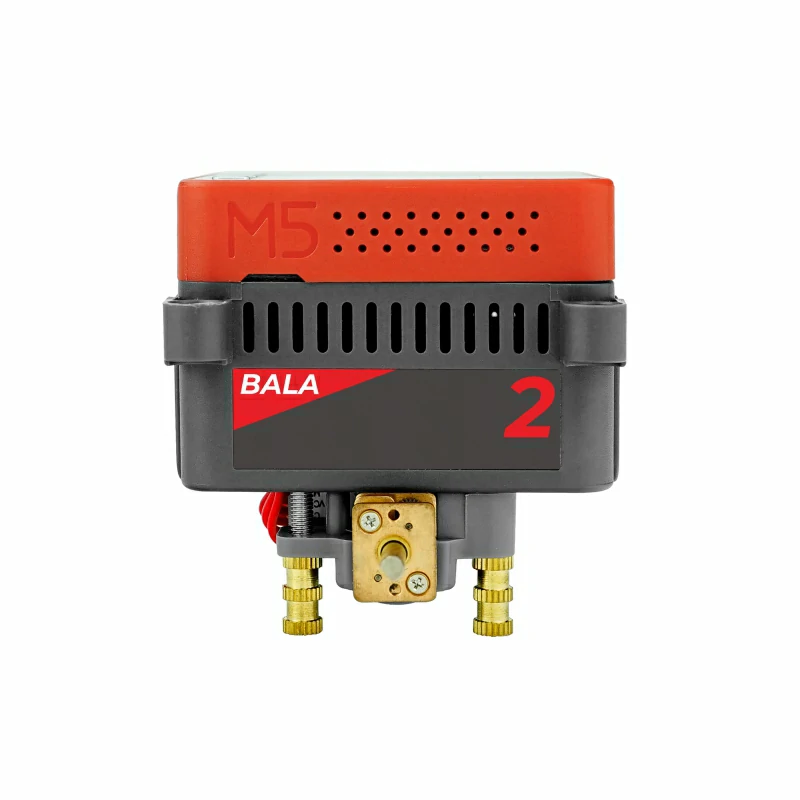
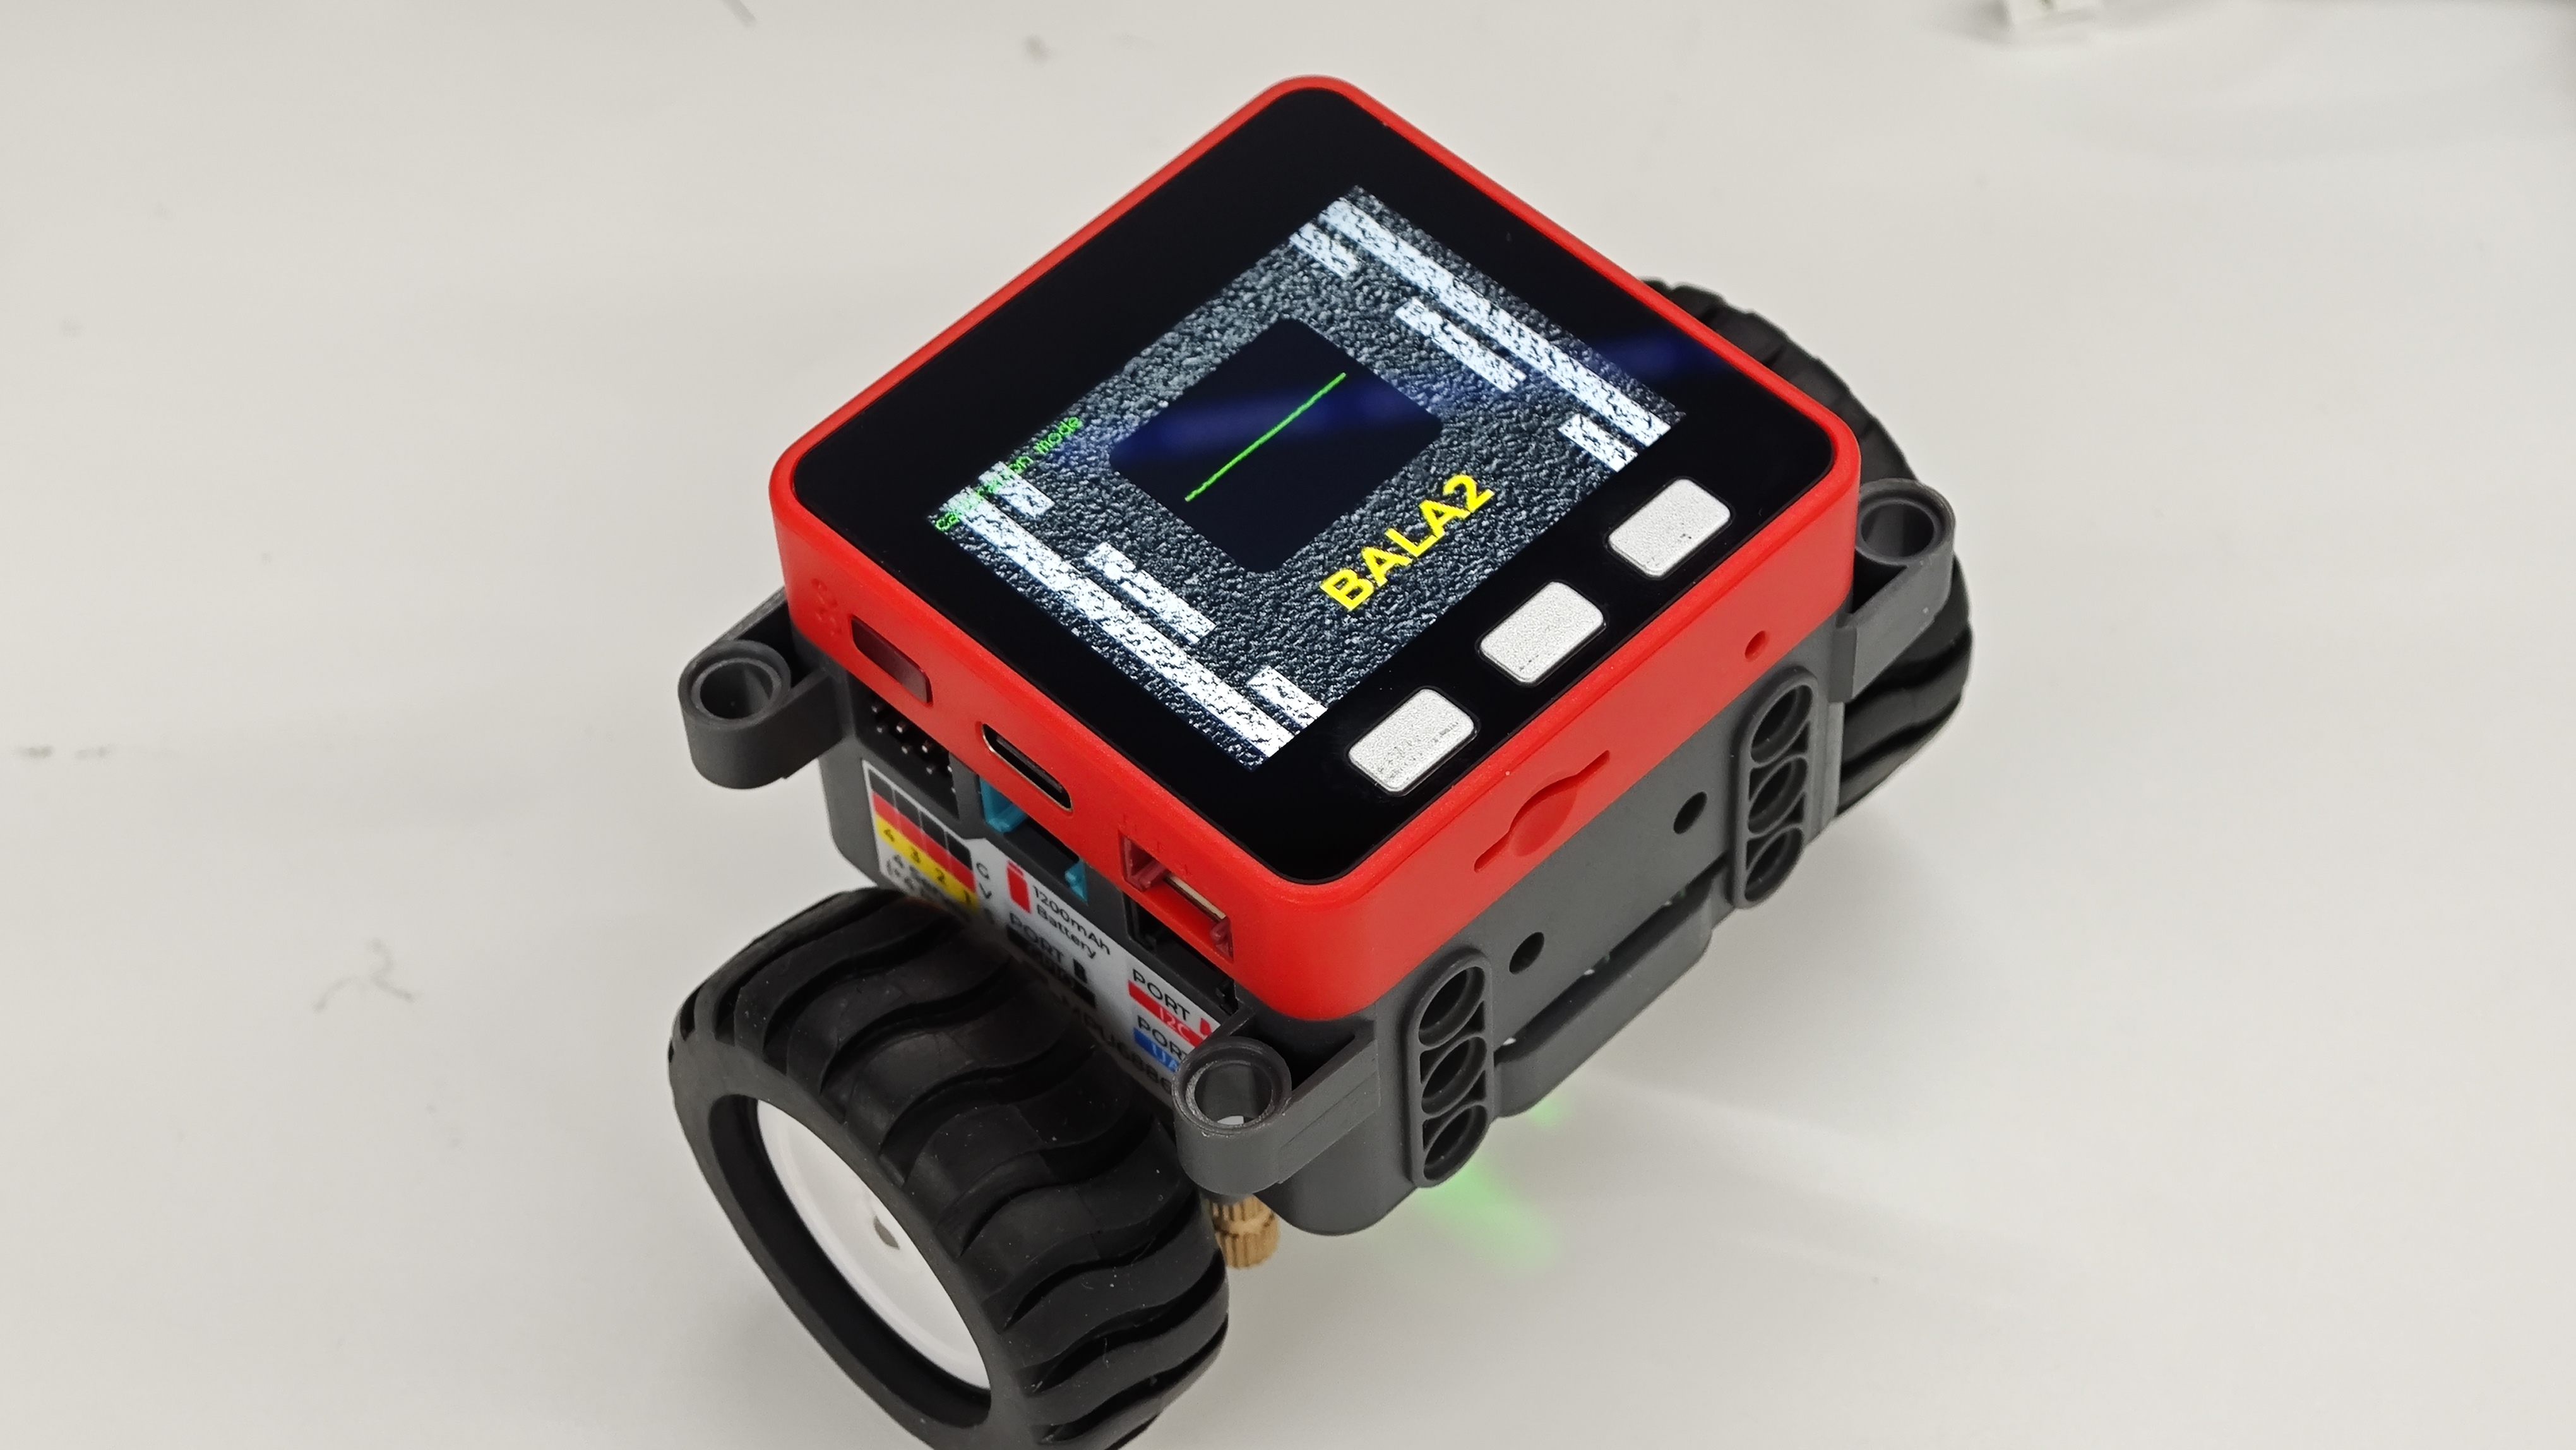
Bala2-Fire is a balancing car application. This product is a self-balancing robot composed of M5Stack Fire and the BALA2 motor base. The base uses STM32F030C8T6 as the main controller and is powered by dual N20 encoder geared motors. It has a built-in 1200mAh battery. The name "BALA" comes from the abbreviation of the word "Balance", and this is currently the second-generation product.
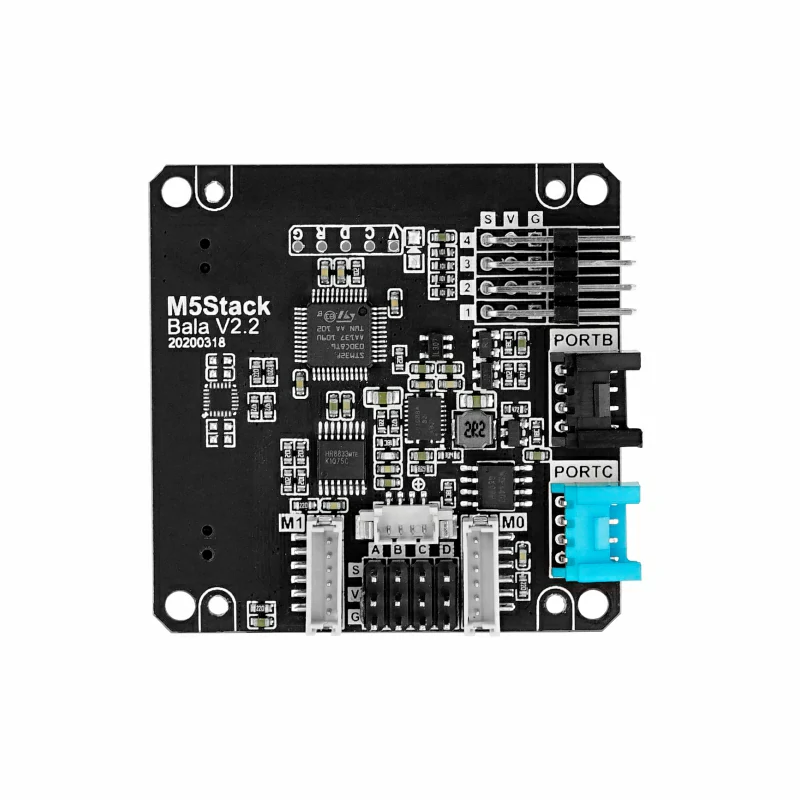
The BALA2Fire base includes rich interfaces. In addition to the standard PortB and PortC, it also supports 8 servo channels, of which 4 channels can be connected directly, and the remaining 4 channels need to be extended from inside the base. You can control it to move freely through programming, or develop remote control functions via WiFi. Even if you have never worked with balancing car programs before, you can quickly complete programming and control it through UiFlow.
By default, the balancing car application is pre-installed at the factory. During operation, it uses a PID closed-loop algorithm to maintain vertical balance, and uses accelerometer and gyroscope attitude data to correct its direction and position.
Tutorial
Features
- 6-axis attitude sensor
- Dual-wheel drive with PID balance control
- Grove expansion interfaces (PORTB / PORTC)
- 8-channel servo drive, 4 external and 4 internal
- WiFi supported, programmable
- Built-in speaker
- microSD expansion supported
- LEGO compatible
- I2C communication: 0x3A
- Development Platform
- MicroPython
- UiFlow
- Arduino
Includes
- 1 x Fire
- 1 x Bala2 Base
- 2 x HY2.0-4P Grove Cable (20cm)
- 4 x Hub Connectors
- 2 x LEGO Arms
- 1 x Hex Key L-Shape
- 1 x USB Type-C Cable (1m)
Applications
- Balancing car
Specifications
| Specification | Parameter |
|---|---|
| Base MCU | STM32F030C8T6 |
| ESP32 | 240MHz Dual Core, 600 DMIPS, 520KB SRAM, Wi-Fi |
| Flash | 16MB Flash |
| PSRAM | 8MB |
| LCD | 2-inch, 320x240 Color TFT LCD, ILI9342C |
| Speaker | 1W -0928 |
| MEMS | MPU6886 |
| Motor | Driver Model: HR8833 Gear Ratio: 1:30 No-load Speed: 530rpm Rated Speed: 300rpm Rated Current: ≤0.17A |
| Interface | GROVE I2C x 1 / UART x 1 / GPIO x 1 / SERVO x 4 (+4 Extendable Channel) |
| Battery | 1200mAh |
| Case Material | Plastic |
| Product Size | 54.0 x 54.0 x 65.0mm |
| Product Weight | 161.0g |
| Package Size | 170.0 x 110.0 x 66.0mm |
| Gross Weight | 293.8g |
Schematics
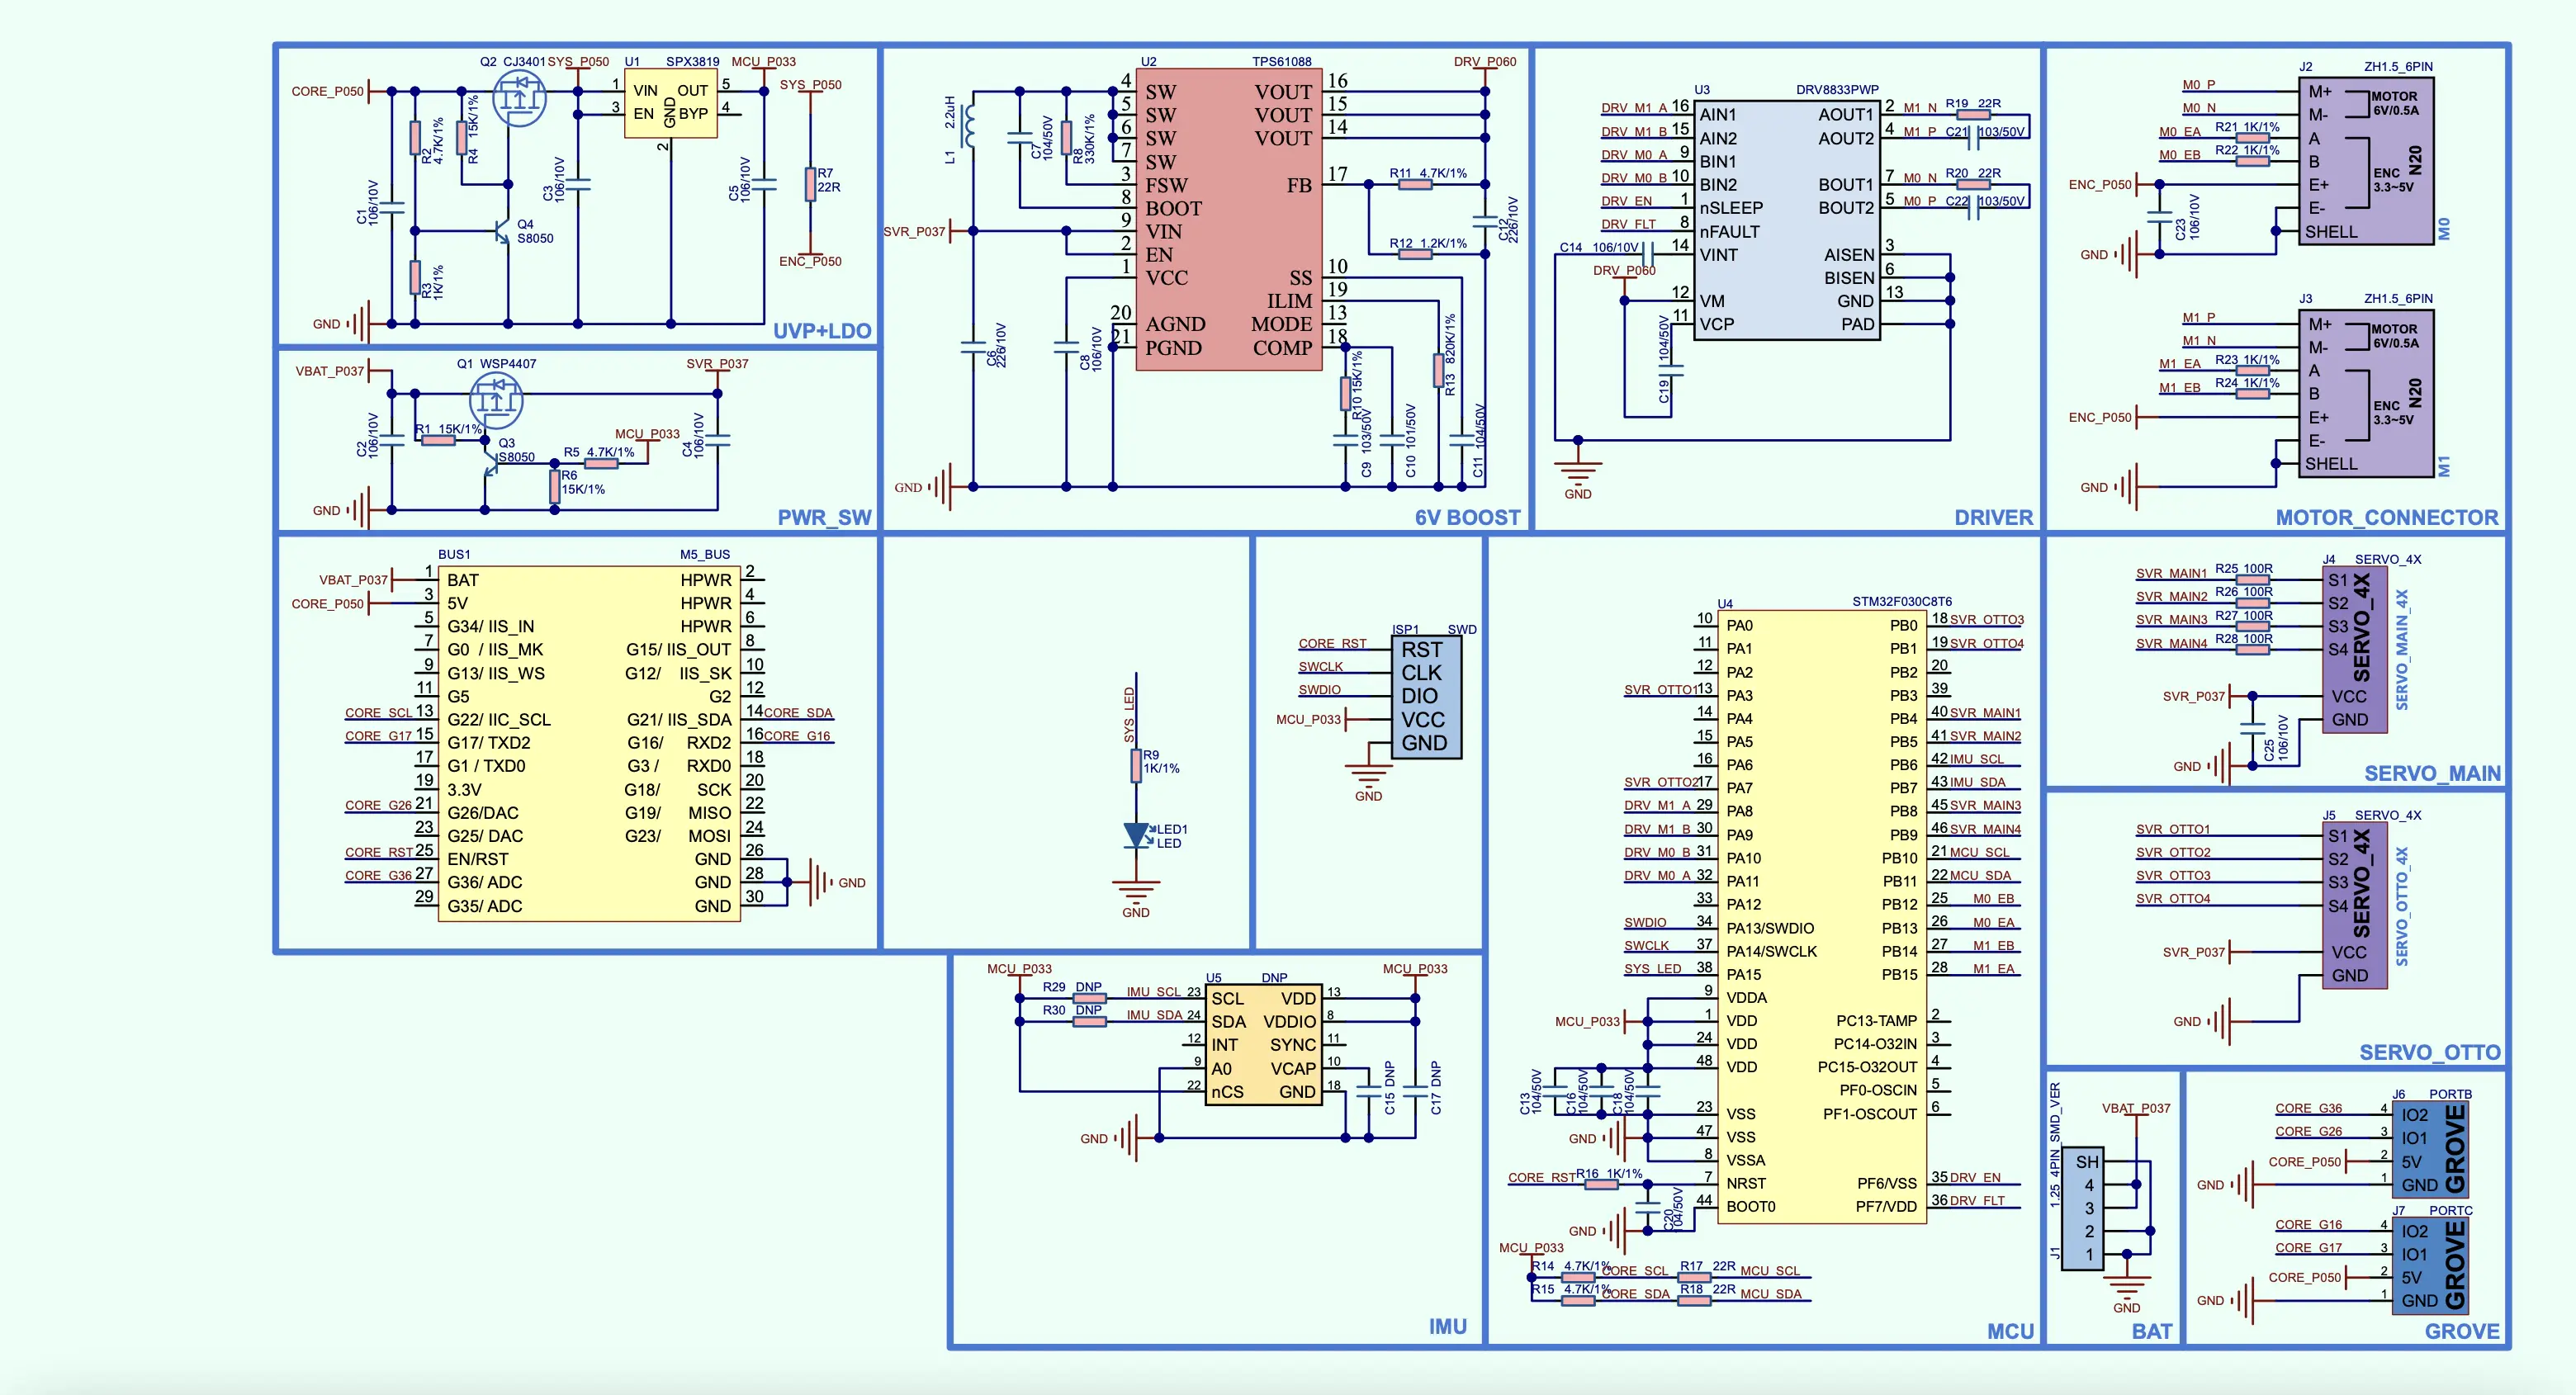
PinMap
HY2.0-4P
| Fire | G22 | G21 | G26 | G36 | G16 | G17 |
|---|---|---|---|---|---|---|
| PORT A | SCL | SDA | ||||
| PORT B | DAC | ADC | ||||
| PORT C | RX | TX |
Softwares
Arduino
UiFlow2
Easyloader
| Easyloader | Download | Note |
|---|---|---|
| Bala2-Fire Test Firmware Easyloader | download | / |
Video
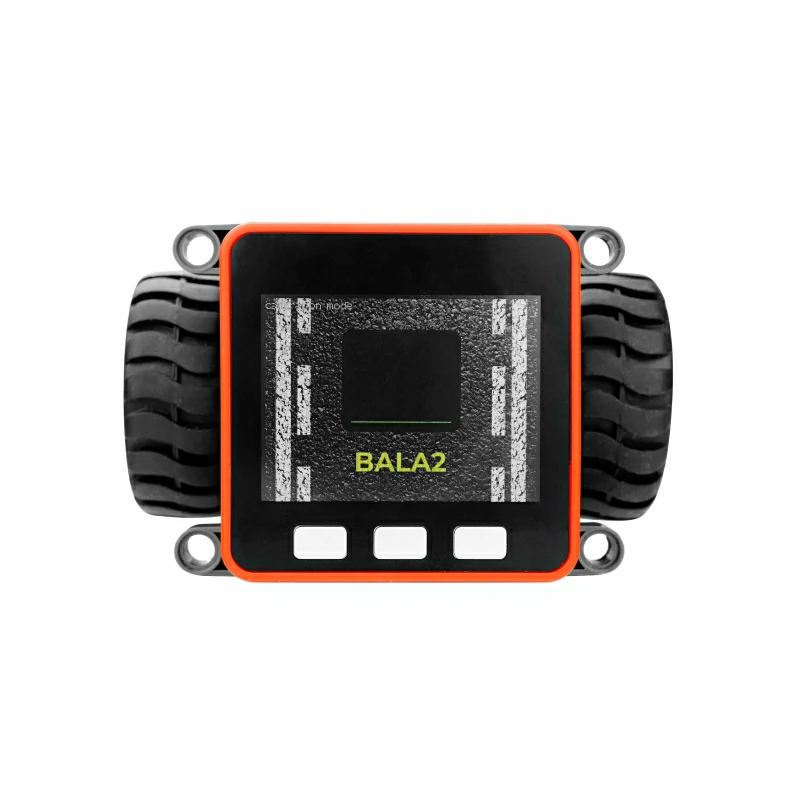
- Power on and run. Hold ButtonB + the left power button to enter calibration mode. Use A/C to adjust, and press Button B to save.