

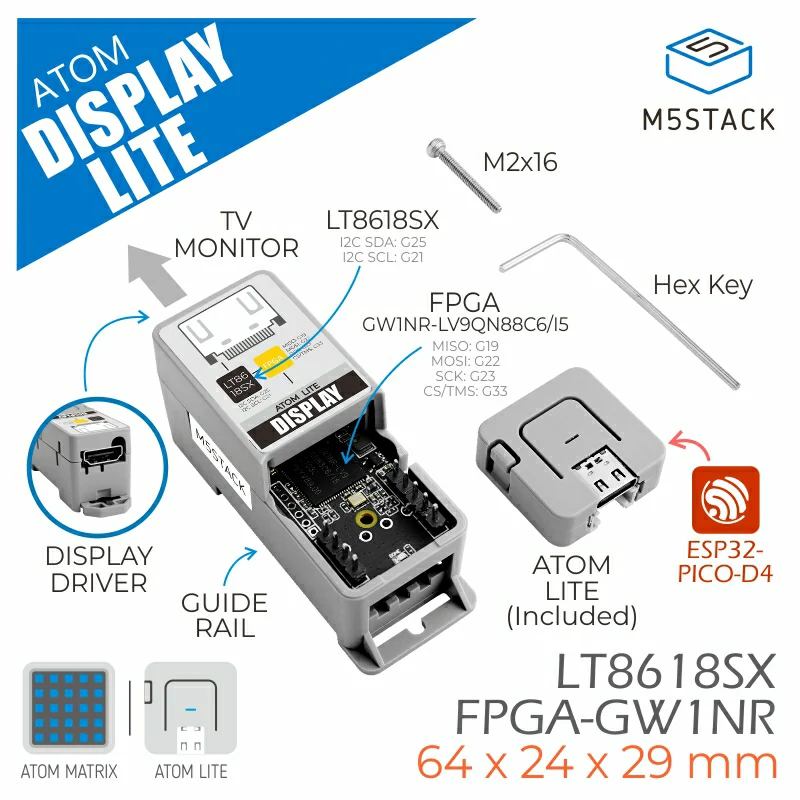
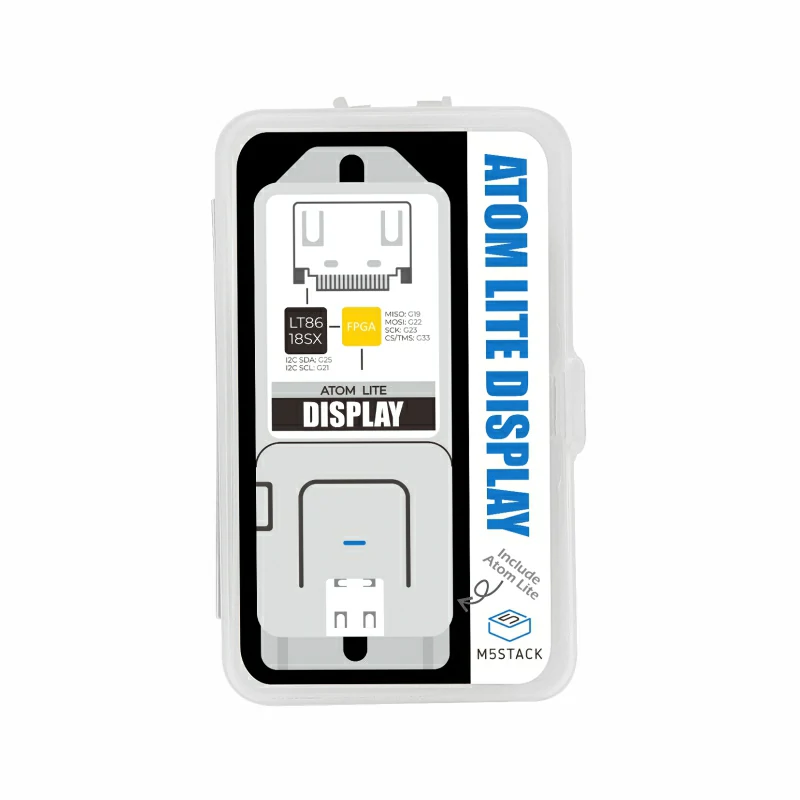
Atom Display-Lite
SKU:K115-B
Description
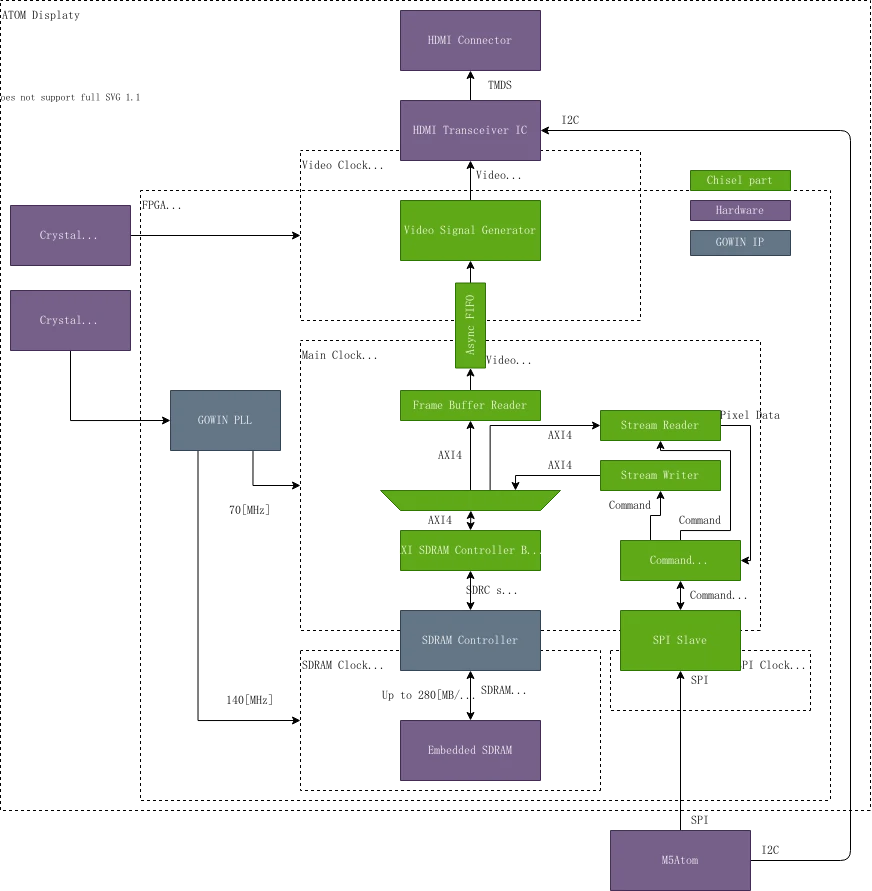
Atom Display-Lite is a cost-effective display driver that uses an FPGA to simulate traditional SPI TFT-LCD data output. It supports a maximum image output of 720P (1280 x 720), and achieves highly compatible display output via a dedicated RGB-to-high-definition multimedia signal conversion chip. Integrated with an ESP32 controller and 2.4G Wi-Fi, it comes with an internal memory configuration of 4MB Flash plus 520KB SRAM. Atom Display-Lite can replace the PC-controlled solution for conventional display panels, providing a more cost-efficient alternative.
Features
- FPGA and driver library code are open-source
- Utilizes FPGA (Gowin GW1NR-9C)
- Built-in LT8618SX RGB-to-high-definition multimedia signal conversion chip (supports 24-bit color depth)
- SPI interface (FPGA) + I2C interface (LT8618SX)
- Maximum image output of 720P (1280x720)
- Multiple output modes, optimized frame rate up to 12 ~ 16 FPS
- Built-in Atom-Lite (ESP32-PICO-D4) controller
- Programmable RGB light x1, reset button x1, button x1, full-featured Grove expansion interface x1
- Development platforms: Arduino, ESP32-IDF (UiFlow not yet supported)
Includes
- 1 x Atom-Lite
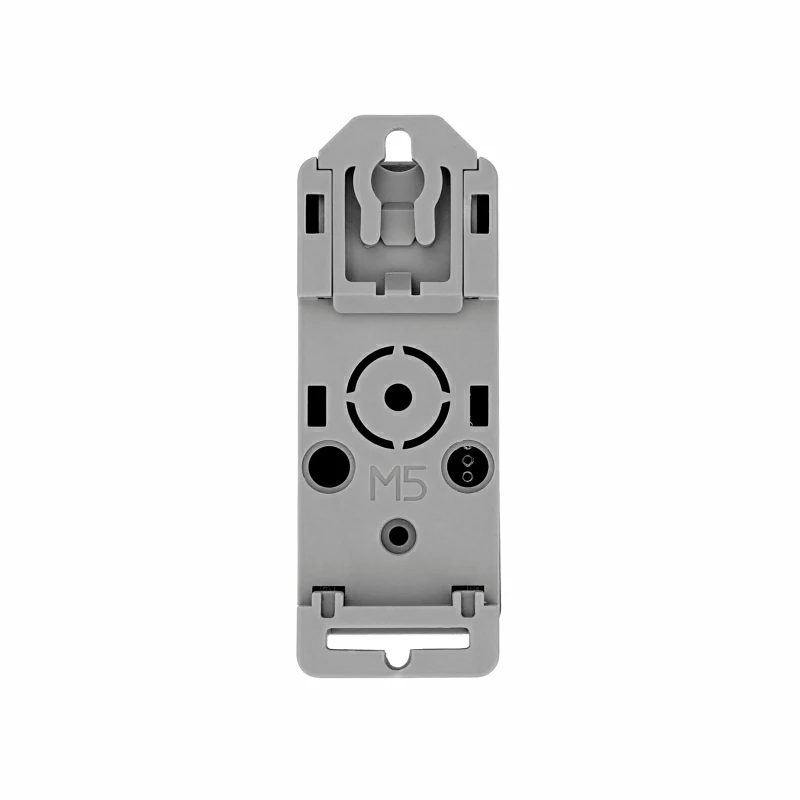
- 1 x Atomic Display Base
Applications
- Display input signal source
- High-definition data dashboard
Specifications
| Specification | Parameter |
|---|---|
| ESP32-PICO-D4 | 240MHz dual core, 600 DMIPS, 520KB SRAM, Wi-Fi |
| FPGA | Gowin GW1NR-9C |
| LT8618SX | RGB-to-high-definition multimedia signal conversion chip, supports 24-bit color depth |
| Maximum image output size | 720P (1280x720) |
| Output frame rate | 1280x720 60Hz |
| Product Size | 64 x 24 x 29mm |
| Product weight | 21.0g |
| Package Size | 76 x 46 x 29mm |
| Gross weight | 34.0g |
Learn
Display Compatibility
Atom Display Lite requires a display with adaptive resolution scaling functionality. On some displays that do not support adaptive resolution, display anomalies may occur.
Schematics
PinMap
| PIN | LEFT | RIGHT | PIN |
|---|---|---|---|
| 3V3 | 1 | ||
| SPI_CLK | 2 | 3 | |
| CS | 4 | 5 | 5V |
| SPI_MISO | 6 | 7 | GND |
| SPI_MOSI | 8 | 9 |
- BUTTON & RGB LED
| Atom | G39 | G27 |
|---|---|---|
| BUTTON | SIGNAL | / |
| RGB LED | / | SK_DIN |
- LT8618SX
| Atom | G25 | G21 | 5V | GND |
|---|---|---|---|---|
| LT8618SX | LT_CSDA | LT_CSCL | VIN | GND |
Softwares
Arduino
Programming Environment Setup Tutorial
Click here to view the M5Atom Arduino environment setup tutorial
Before using the example programs in the M5GFX library, you need to change the included header file to match the device you are using. As shown in the example below, include
Before using the example programs in the M5GFX library, you need to change the included header file to match the device you are using. As shown in the example below, include
#include <M5AtomDisplay.h> and create an instance M5AtomDisplay display;
#include <Arduino.h>
#include <vector>

#include <M5AtomDisplay.h>
M5AtomDisplay display;

void setup(void)
{
  display.begin();
}

void loop(void)
{
  display.fillScreen(RED);
  delay(1000);
  display.fillScreen(GREEN);
  delay(1000);
  display.fillScreen(BLUE);
  delay(1000);
}Other
Product Comparison
| Product | MCU | Flash | RAM | IO PINS |
|---|---|---|---|---|
| Atom Display Lite | Atom-Lite (ESP32-PICO-D4) | 4MB | 520KB SRAM | G22,G19,G23,G33,G26,G32,G25,G21 |
| Atom Display PSRAM | Atom PSRAM (ESP32-PICO-V3-02) | 8MB | 520KB SRAM + 2MB PSRAM | G22,G19,G5,G33,G26,G32,G25,G21 |