Atom Hub Proto
SKU:K039
Description
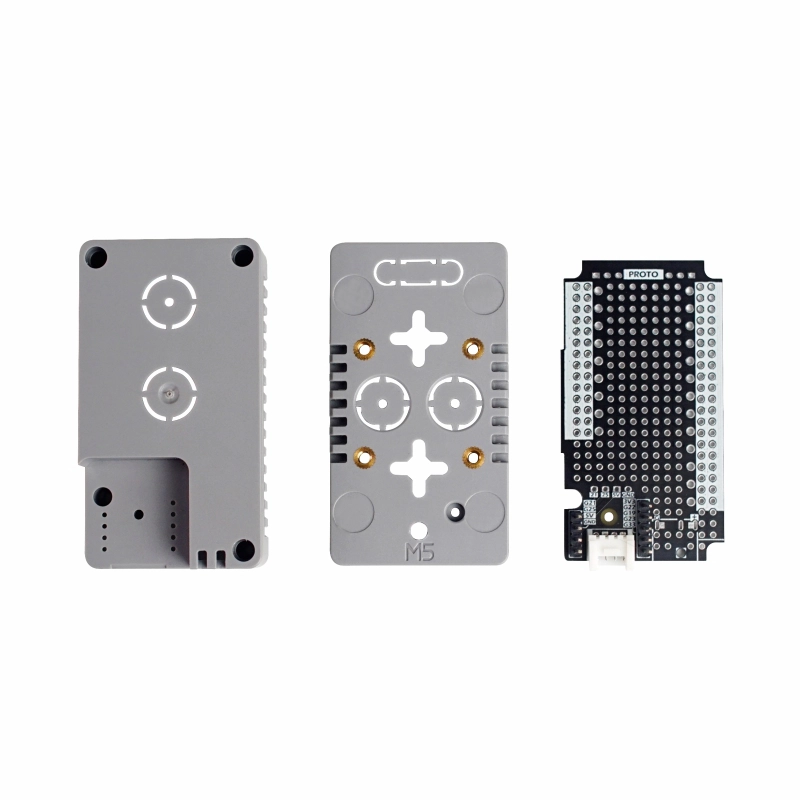
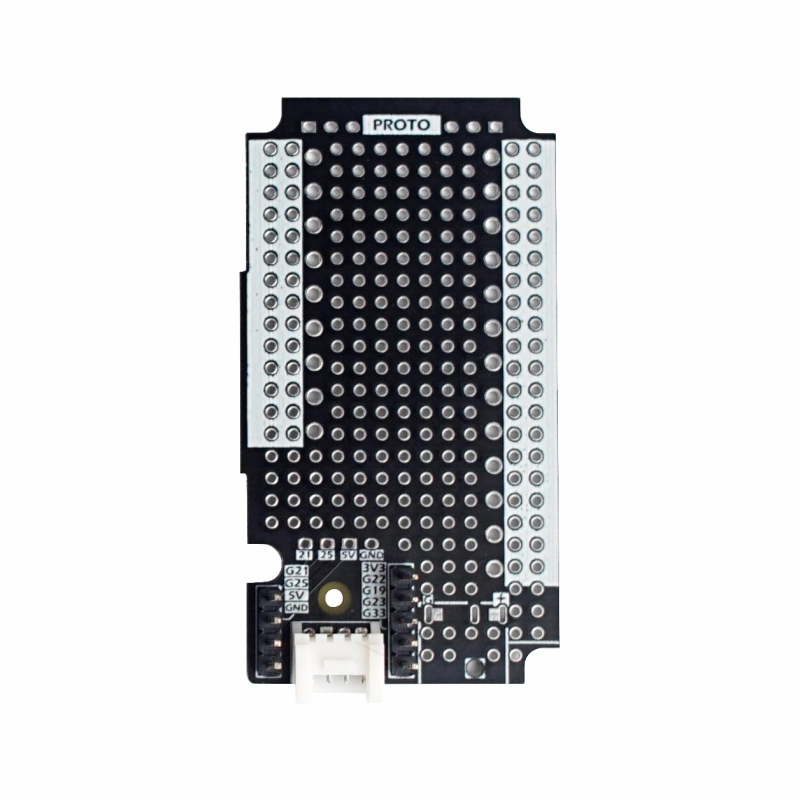
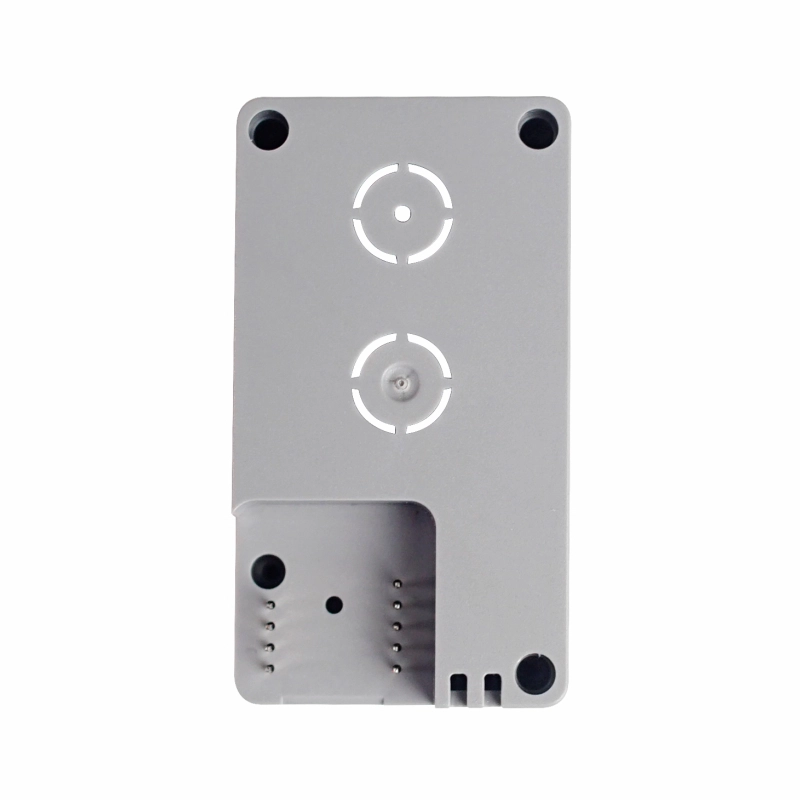
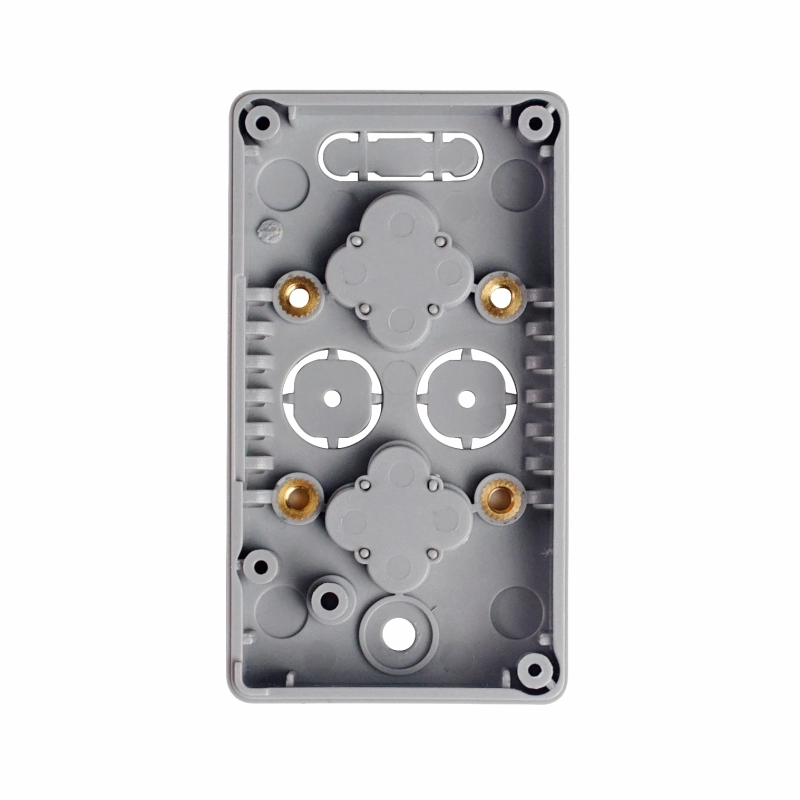
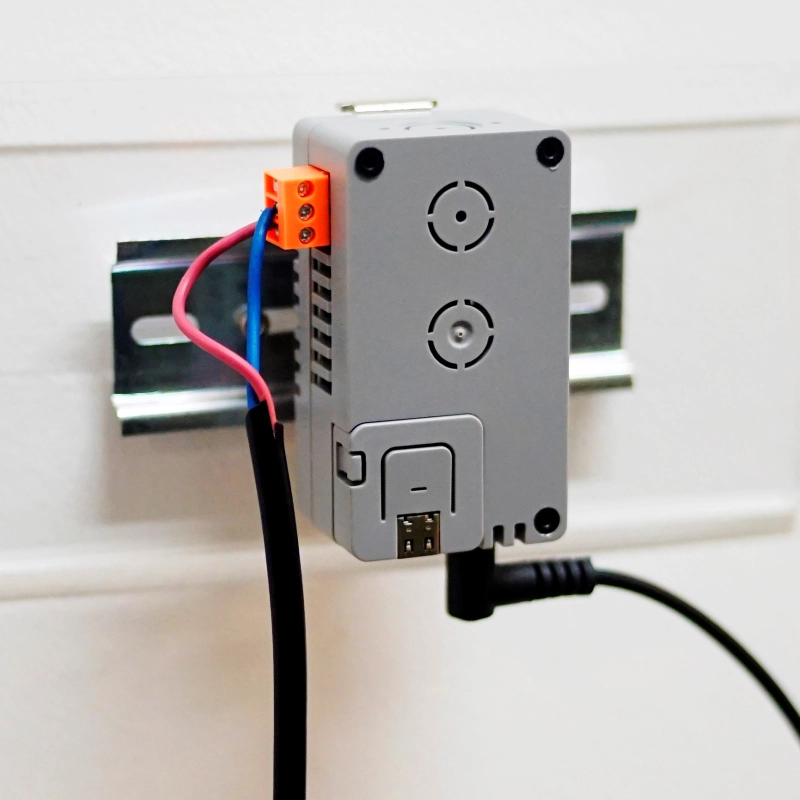
Atom Hub Proto is a DIY expansion board kit designed for the Atom series, allowing users to build hardware circuits or connect peripherals according to their needs, meeting functional requirements in specific scenarios. Considering the variety of possible connections, Atom Hub Proto provides a wealth of interfaces, including HT3.96 connectors, DC 5V power input, and GROVE connectors, while also reserving various openings on the shell for easy wiring. Multiple mounting holes are designed on the back of the unit, supporting rail-mounted clamps in addition to traditional hanging holes and screw fixing holes. It comes with a built-in Proto circuit board, with the main circuit space layout of 45.0 x 35.0 x 20.0mm. With Atom Hub Proto, you can freely unleash your creativity to make your own hardware devices, such as adding a battery + charging/discharging circuit, integrating a micro air pump + air pressure sensor to make a blood pressure monitor, or even embedding a GPS + NB-IoT module to create a positioning and tracking system. The possibilities are entirely up to you.
Features
- Compact size and highly integrated
- Industrial applications
- Multiple I/O interfaces
- Multiple reserved mounting positions for flexibility
- Creative DIY
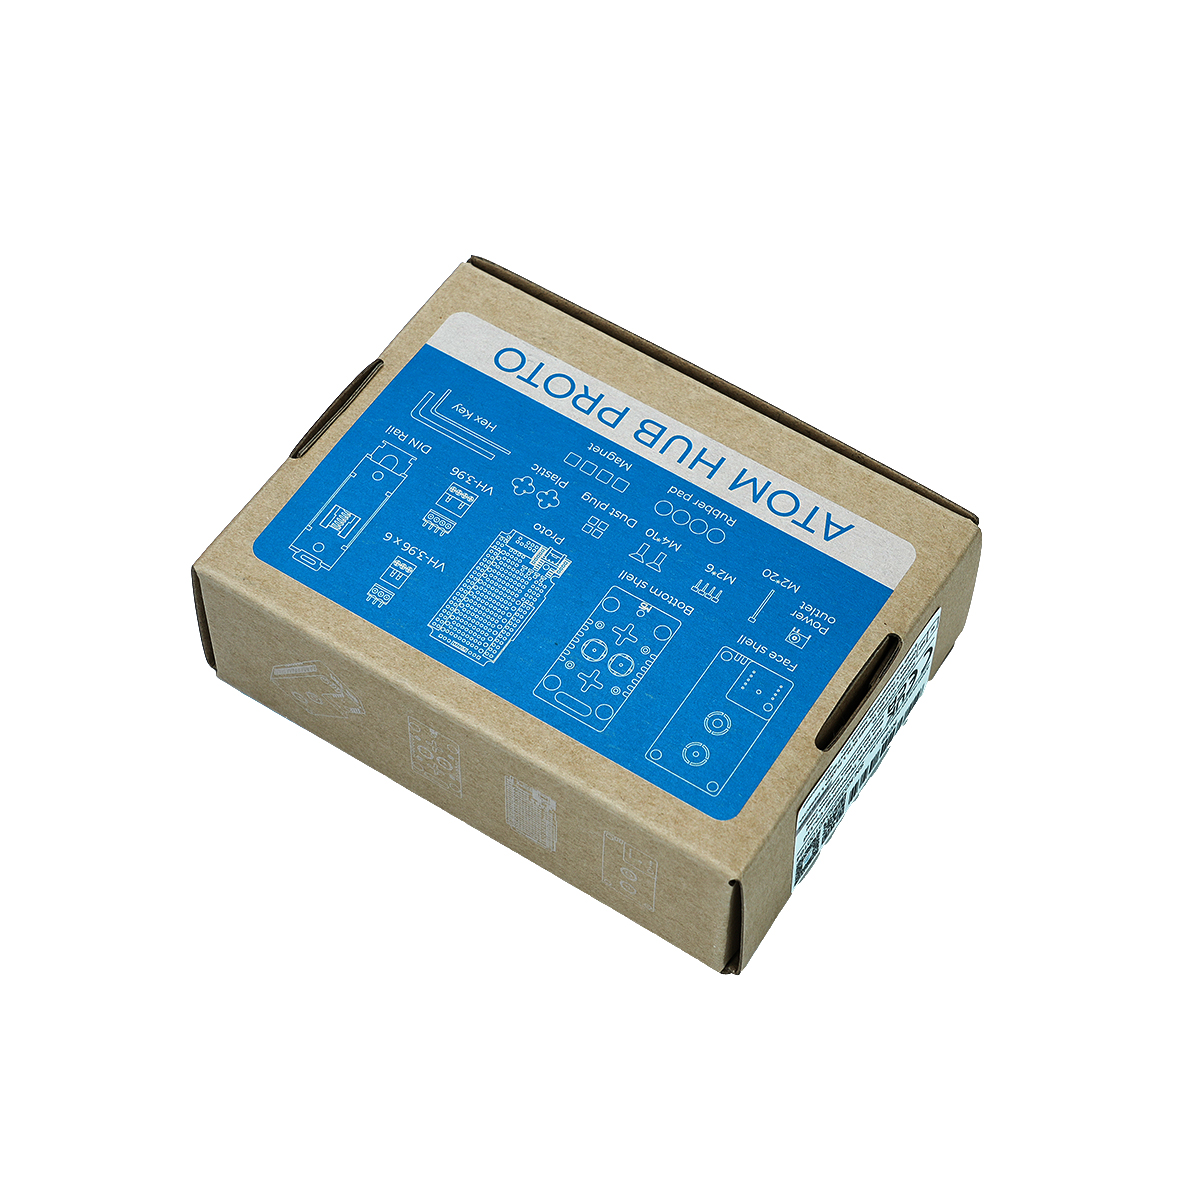
Includes
- 1 x Proto Finished Board (with GROVE interface)
- 1 x 3.96 x 4P Male & Female Header
- 6 x 3.96 x 3P Male & Female Header
- 1 x Atom HUB PROTO Case
- 1 x DC 5V Power Connector
- 4 x Rubber Plugs
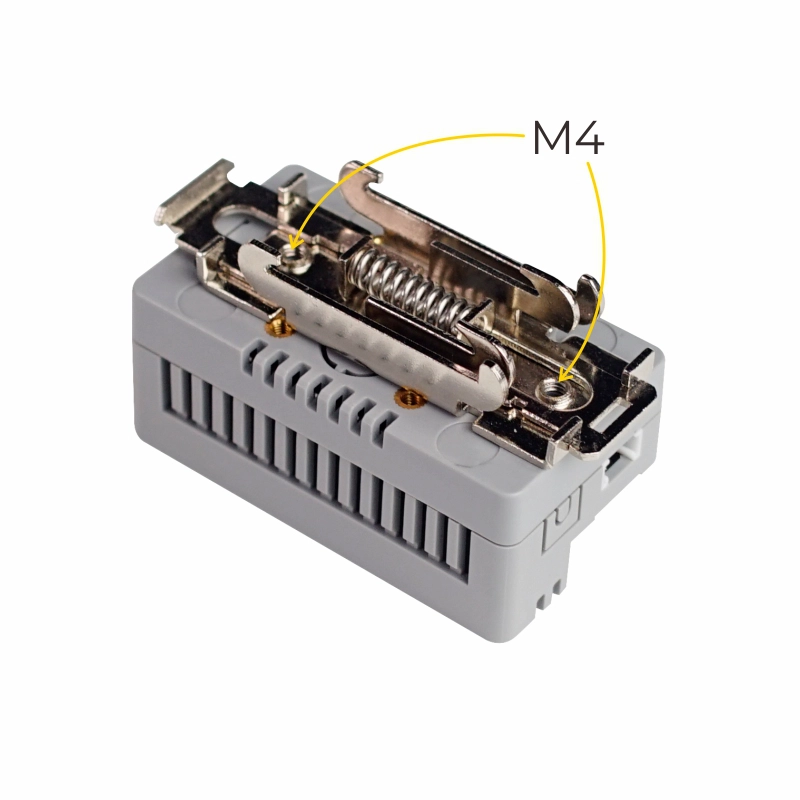
- 1 x Rail Clamp
- 2 x Back Panel Decorative Pieces
- 1 x Double-Sided Tape
- 4 x 3M Non-slip Pads
- 4 x Strong Magnets
- 4 x M2*6mm Hex Socket Pan Head Self-Tapping Screws
- 1 x M2*20mm Hex Socket Pan Head Machine Screw
- 2 x M4*10mm Hex Socket Countersunk Screws
- 1 x M2 Hex Key L-Shape
- 1 x M4 Hex Key L-Shape
Applications
- ATOM expansion board
- Industrial controller node
- Peripheral connection
Specifications
| Specification | Parameter |
|---|---|
| External Port | 1x VH-3.96 4P 6x VH-3.96 3P 1x DC 5V Input 1x GROVE |
| Shell Material | Plastic (PC) |
| Product Size | 72.0 x 40.0 x 30.0mm |
| Product Weight | 93.0g |
| Package Size | 105.0 x 71.0 x 35.0mm |
| Gross Weight | 105.0g |
Learn
Build your circuit prototype according to your needs, solder related components, and connect external electrical equipment via the VH-3.96 interface. You may also choose to purchase waterproof circular connectors and cables separately. If you need to power the device externally, you can choose to power the ATOM directly via USB or solder a DC 5V connector and connect the positive and negative poles to the corresponding pins of the ATOM. If the input voltage is higher than 5V, you need to build your own voltage regulation circuit. If you want to use the GROVE interface, connect the solder pad breakpoints corresponding to the pin numbers you plan to use.
Model Size