Home Assistant
Home Assistant OS
Kit
Unit AMeter Home Assistant Integration
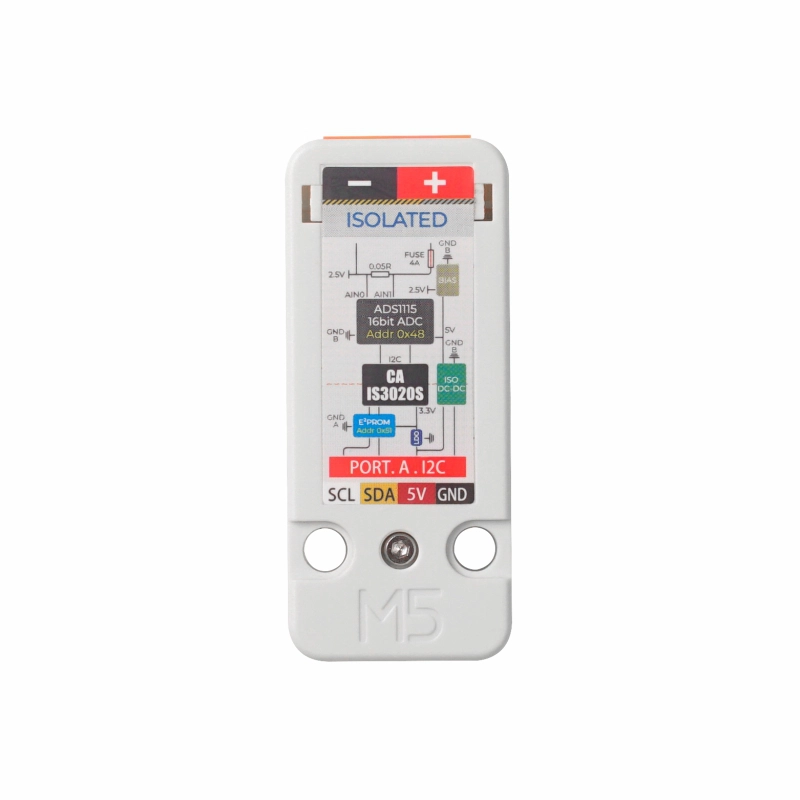
Unit AMeter is an ammeter designed for real-time current monitoring. Internally it uses a 16-bit ADC converter ADS1115 and communicates over I2C (0x48).
Get the latest ADS1115 configuration from ESPHome
Configure the sensor
You need to enable the I²C component in your ESPHome configuration:
# Example configuration entry for ESP32
i2c:
  sda: GPIOXX
  scl: GPIOXX
scan: trueThe GPIO pins here will vary depending on the host device used. For example, when using Atom Lite as the host:
# I2C Bus on Grove Port (HY2.0-4P)
i2c:
  sda: GPIO26
scl: GPIO32Unit AMeter configuration example
- First, configure the base component ADS1115
ads1115:
- address: 0x48
sensor:
- platform: ads1115
multiplexer: "A0_A1"
gain: 0.256
sample_rate: 128
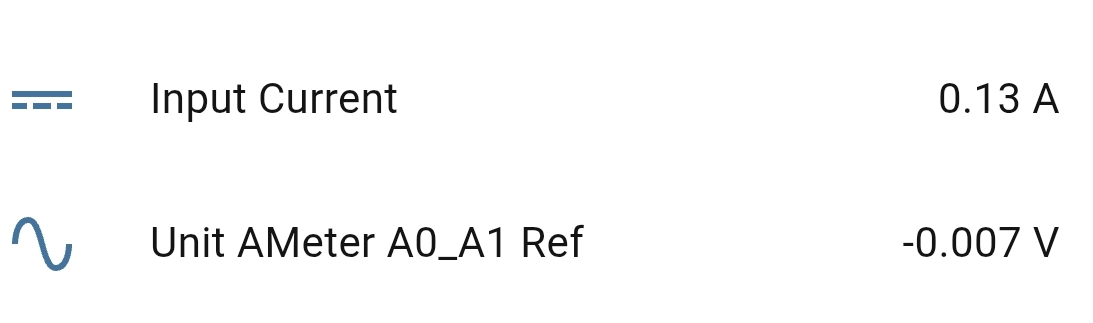
name: "Unit AMeter A0_A1 Ref"
id: diff
update_interval: 10sAIN0 and AIN1 channels, so you can use up to 3 multiplexer options: "A0_A1", "A0_GND", "A1_GND"; for current measurement this configuration uses only A0_A1.- Configure EEPROM to read calibration parameters and create custom data using a
Templatesensor
i2c_device:
  id: eeprom
  address: 0x51

sensor:
  # Previous ads1115 declarations
  ...
  - platform: template
    name: "Input Current"
    id: input_cur
    unit_of_measurement: "A"
    icon: "mdi:current-dc"
    accuracy_decimals: 2
    update_interval: 10s
    lambda: |-
      float d = id(diff).state;

      if (isnan(d)) return NAN;

      const float PRESSURE_COEFF = 0.05f;

      const uint8_t EEPROM_REG = 0xF8;

      uint8_t calib[8];
      uint16_t hope, actual;

      if ( id(eeprom).read_register(EEPROM_REG, calib, 8) != i2c::ERROR_OK ) {
        ESP_LOGD("ameter.sensor", "Failed to read from EEPROM..");
        return NAN;
      }

      uint8_t xor_result = 0x00;

      for (uint8_t i = 0; i < 5; i++) {
          xor_result ^= calib[i];
      }

      if (xor_result != calib[5]) {
          return NAN;
      }

      hope   = (calib[1] << 8) | calib[2];
      actual = (calib[3] << 8) | calib[4];

      float calibration_ratio = (float)hope / actual;

      ESP_LOGD("ameter.sensor", "Factory calibration factor: %f", calibration_ratio);

      float ain = - d / PRESSURE_COEFF;

      ain = ain * calibration_ratio;

return ain;When reading the EEPROM, you need to change the EEPROM_REG read address in the lambda expression according to the gain value set for ADS1115:
// In lambda expression
// remember to change the 'EEPROM_REG' if you changed the 'gain'
// for an example, when 'gain' is 0.256
const uint8_t EEPROM_REG = 0xF8;| ADS1115 Gain | EEPROM Data Register | Max Input Current (theory) |
|---|---|---|
| 6.144 | 0xD0 | - |
| 4.096 | 0xD8 | - |
| 2.048 | 0xE0 | - |
| 1.024 | 0xE8 | - |
| 0.512 | 0xF0 | 10 A |
| 0.256 | 0xF8 | 5 A |
The recommended gain value is 0.256, resolution 0.3mA. Only one of AIN0 or AIN1 can be measured; do not connect inputs to both channels.
Add the sensor to Home Assistant
After adding it to the Dashboard, you can view the sensor data in Home Assistant