ESP-IDF Quick Start
Devices & Examples
Core2
CoreS3
Dial
Tab5
Unit PoE-P4
Zigbee
Unit PoE-P4 ESP-IDF Factory Firmware Build
This tutorial explains how to build the default factory firmware for Unit PoE-P4. Users can perform secondary development based on this firmware.
1. Preparation
- Environment setup: This tutorial is based on building the ESP-IDF development environment on Ubuntu. For setting up the build environment on other platforms, please refer to ESP-IDF - ESP32-P4 Getting Started Guide.
v5.4.2- Use the git version control tool to clone the esp-idf project, switch to the specified branch, and run the script to install the required toolchains.
"." and the script in the . ./export.sh command. This command is equivalent to source ./export.sh.git clone -b v5.4.2 --recursive https://github.com/espressif/esp-idf.git
cd esp-idf
./install.sh
. ./export.sh- The
idf.pycommands used in the following steps depend on ESP-IDF. Before running commands, you need to call. ./export.shfrom ESP-IDF in the project directory to activate the relevant environment variables. For details, please refer to ESP-IDF - ESP32-P4 Getting Started Guide.
2. User Demo
- Clone the Unit PoE-P4 factory firmware project source code and place it in the same directory level as the esp-idf project.
git clone https://github.com/m5stack/M5Unit-PoE-P4-UserDemo.git- Enter the
M5Unit-PoE-P4-UserDemoproject folder and callexport.shfrom the esp-idf project to activate the relevant environment variables. The following commands apply when theM5Unit-PoE-P4-UserDemofolder is at the same directory level asesp-idf. For other paths, modify the commands according to your actual setup.
cd M5Unit-PoE-P4-UserDemo
. ../esp-idf/export.sh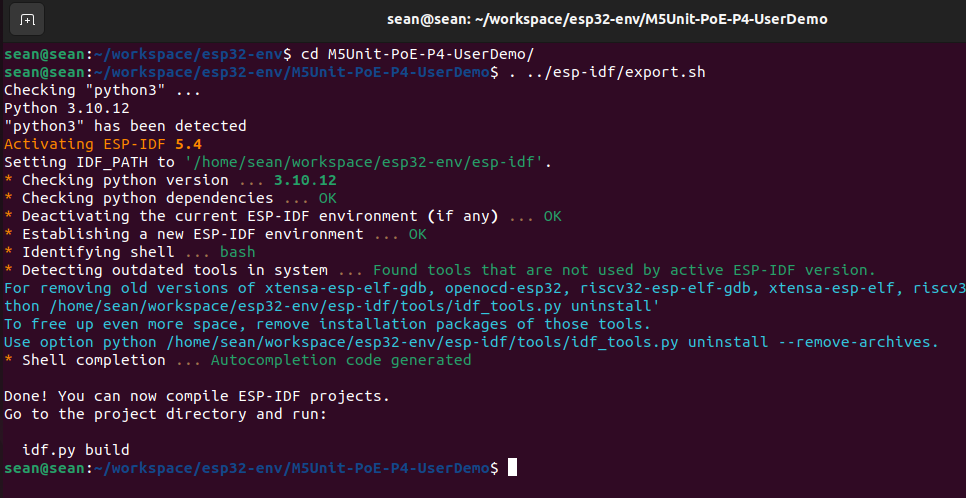
3. Build and Flash
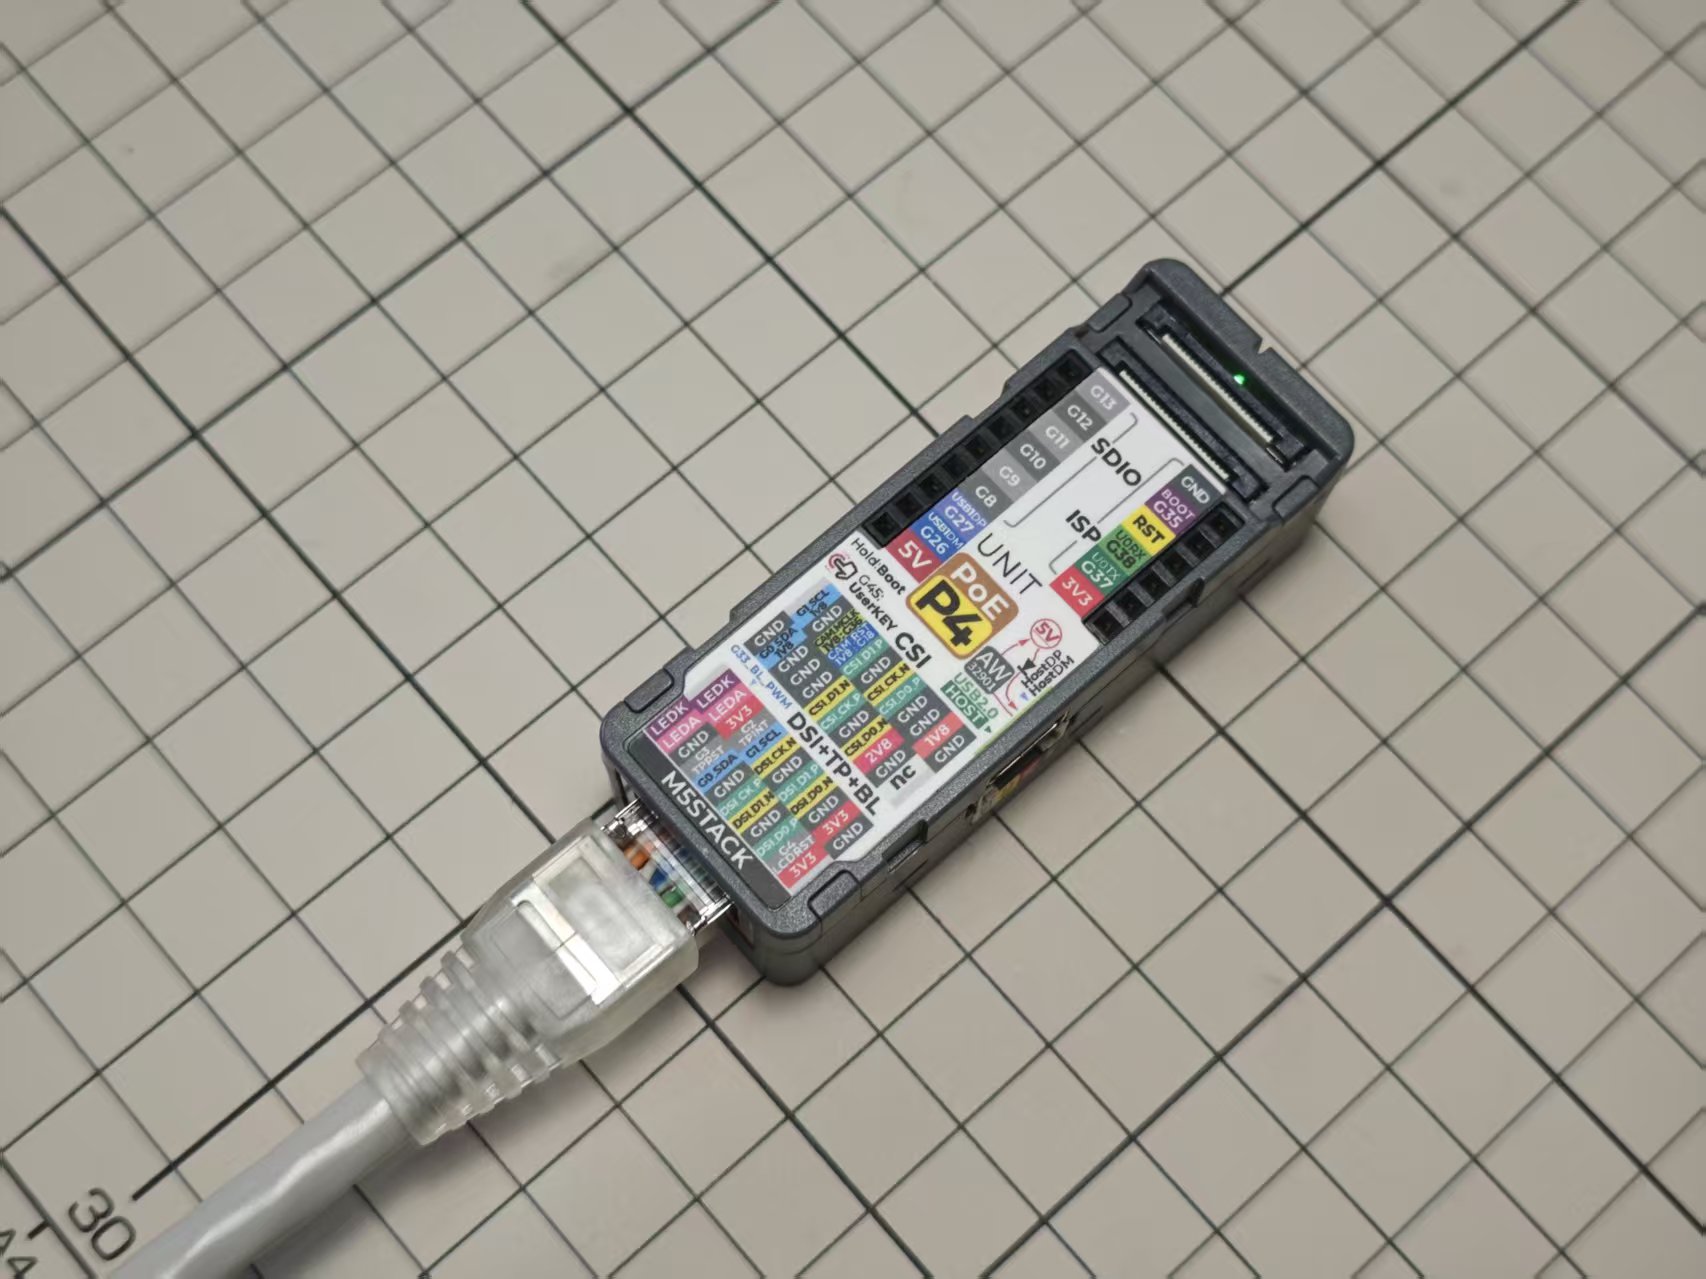
Connect Unit PoE-P4 to the computer using a data cable. Press and hold the reset button until the green indicator lights up, then release the button. The device will enter download mode and wait for firmware flashing. Execute the following command to build and flash the program.
idf.py flash monitor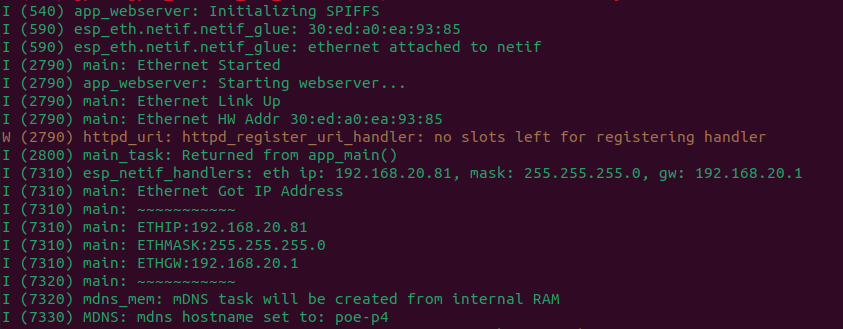
4. Getting Started
After the firmware is flashed successfully, follow these steps to access the device control page:
- Power the Unit PoE-P4 and connect it to Ethernet.
- Open the serial monitor and confirm the current IP address of the device.
- Make sure your computer or mobile phone is on the same local area network (LAN) as the device.
- Use either of the following methods to access the page:
- Enter
poe-p4.localin the browser - Copy the IP address shown in the serial monitor and paste it into the browser address bar
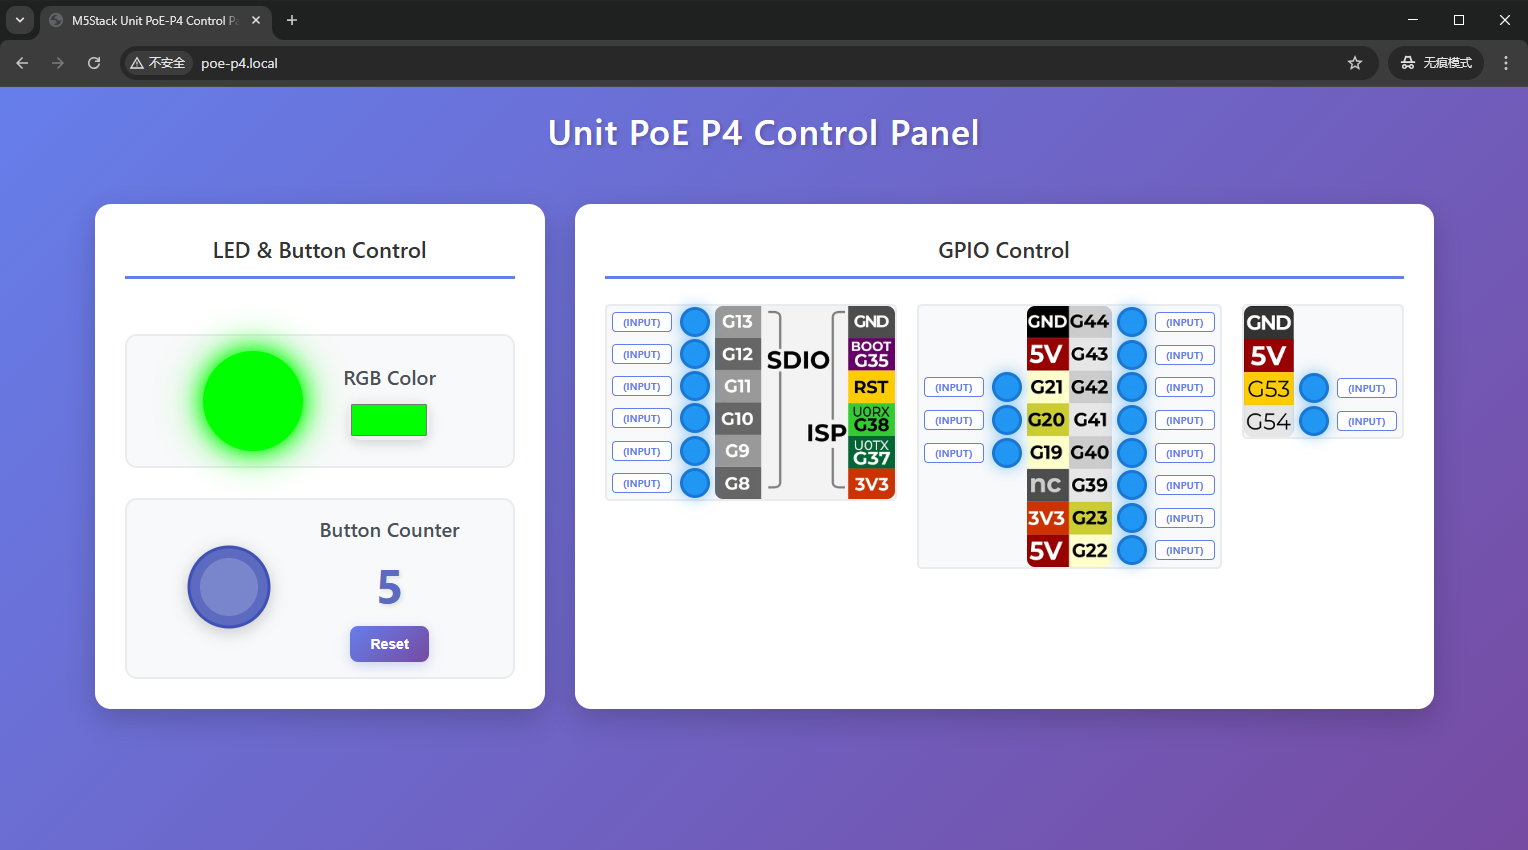
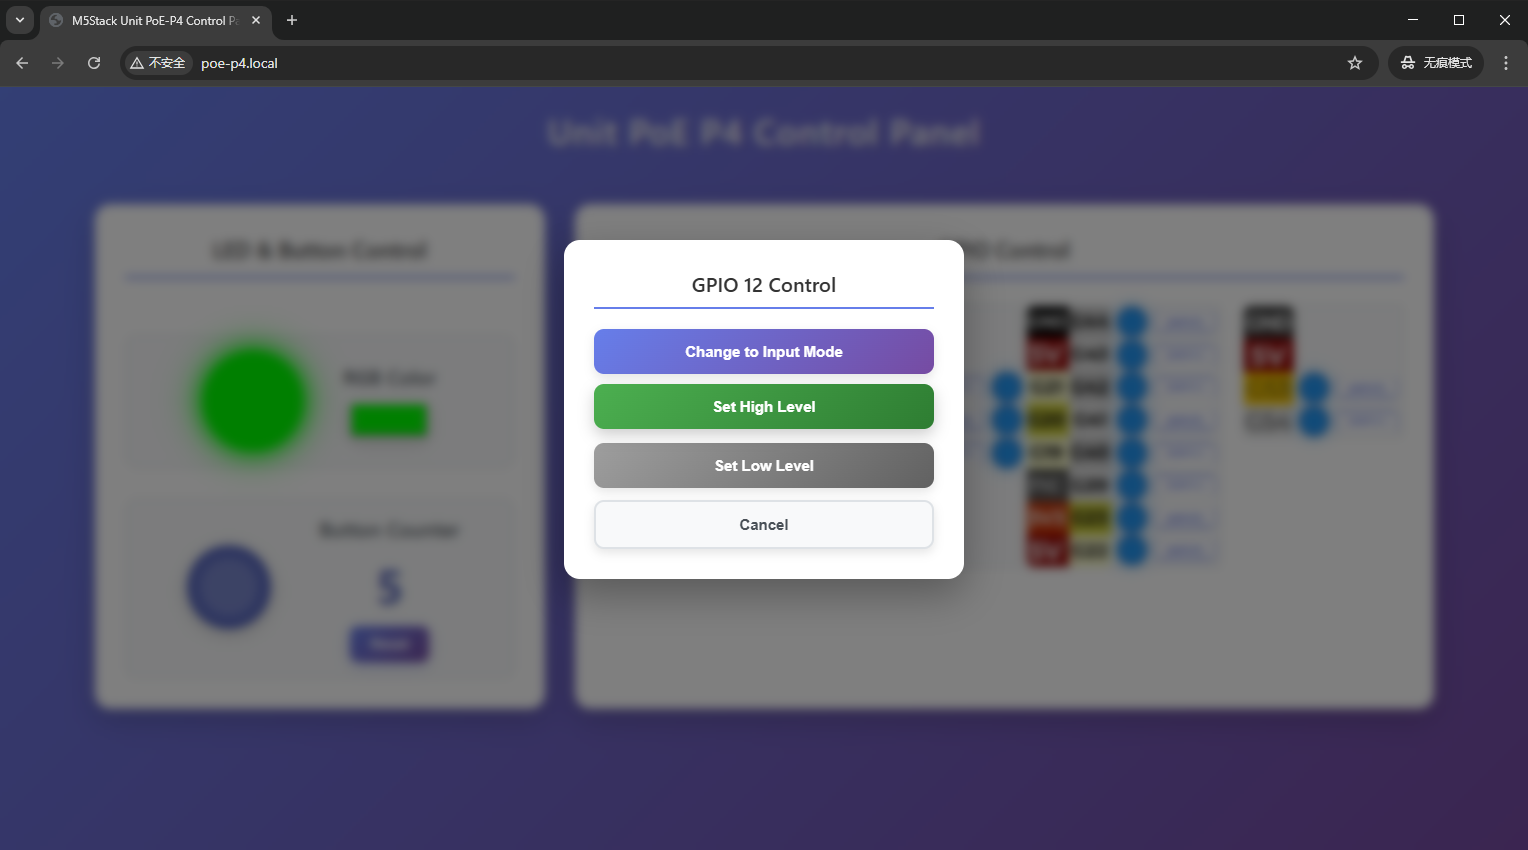
This example is a Web control project based on ESP-IDF. The device can be remotely controlled and monitored through a web page. The system uses WebSocket to achieve real-time bidirectional communication and supports RGB LED control, button count synchronization, as well as GPIO mode and level control functions.