
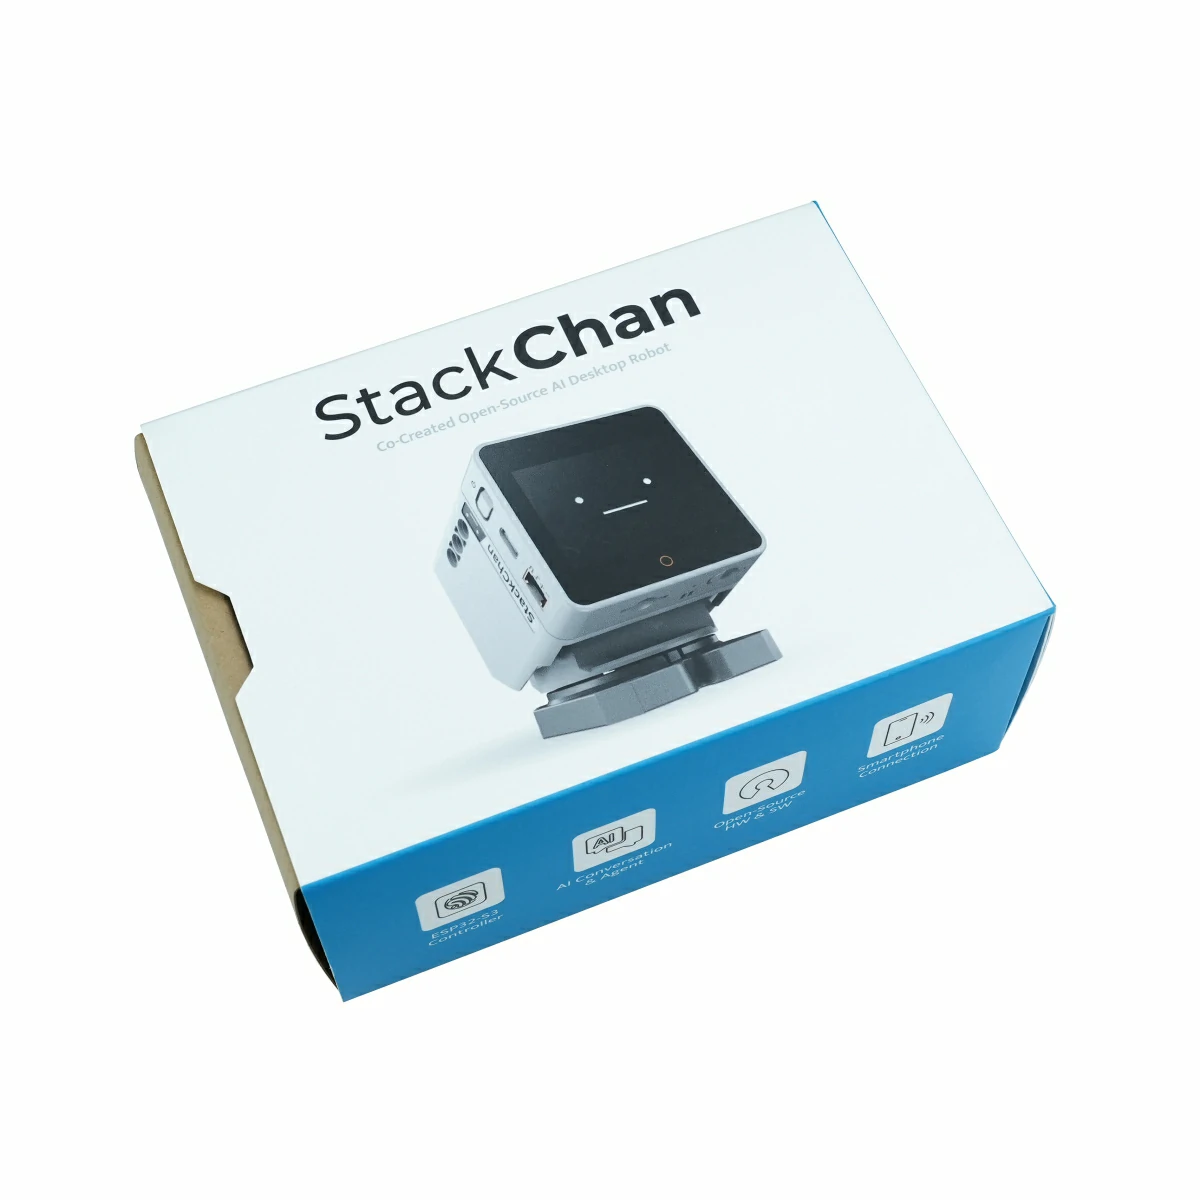
StackChan
SKU:K151/K151-R

Description
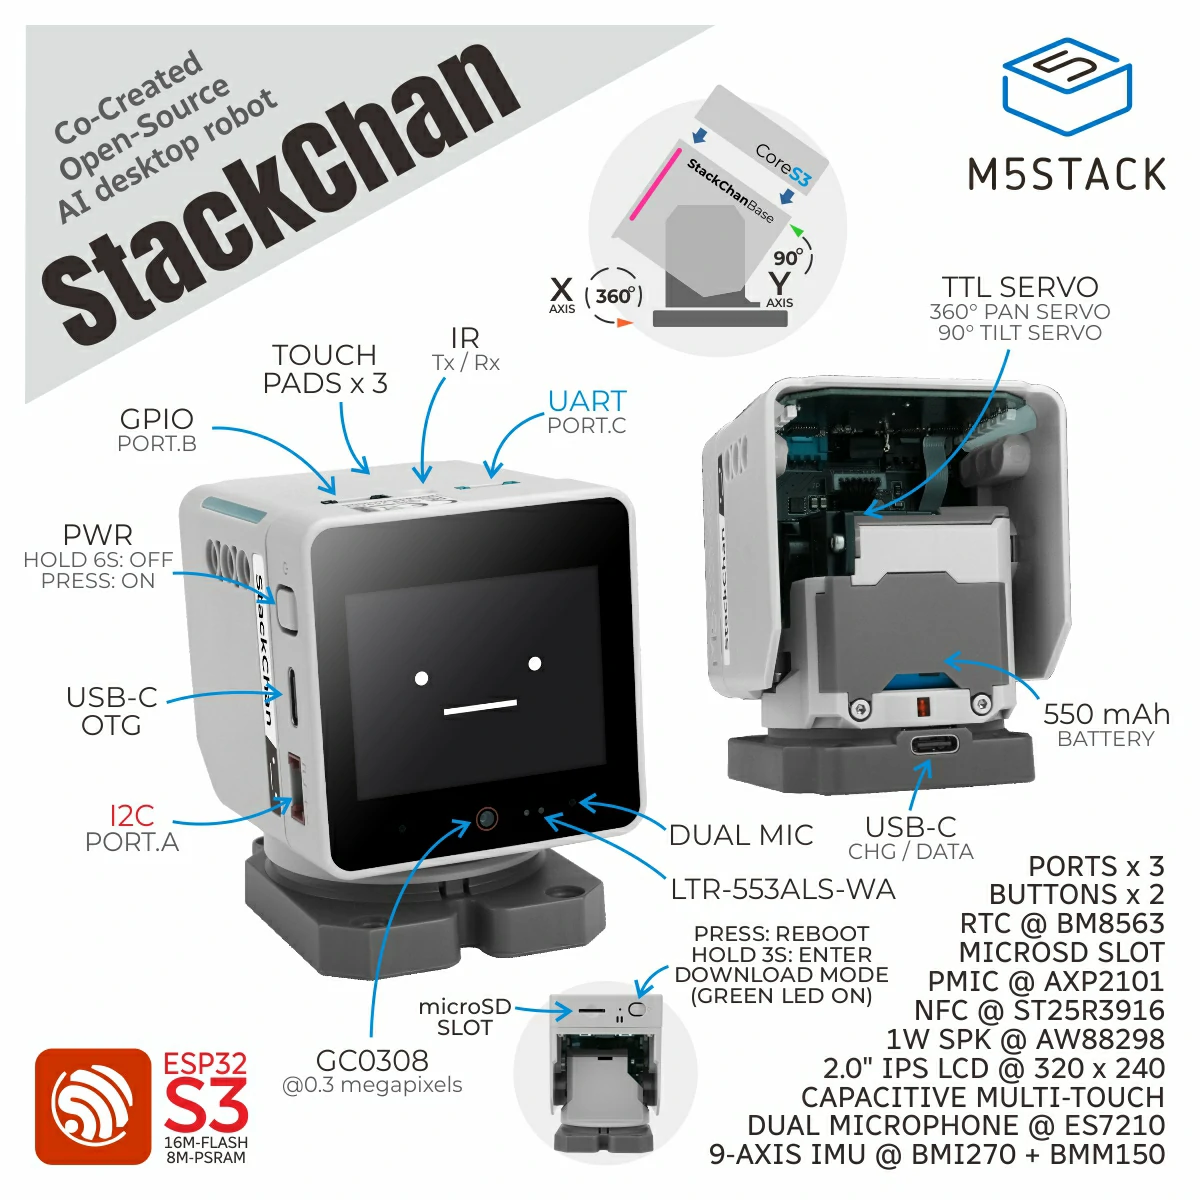
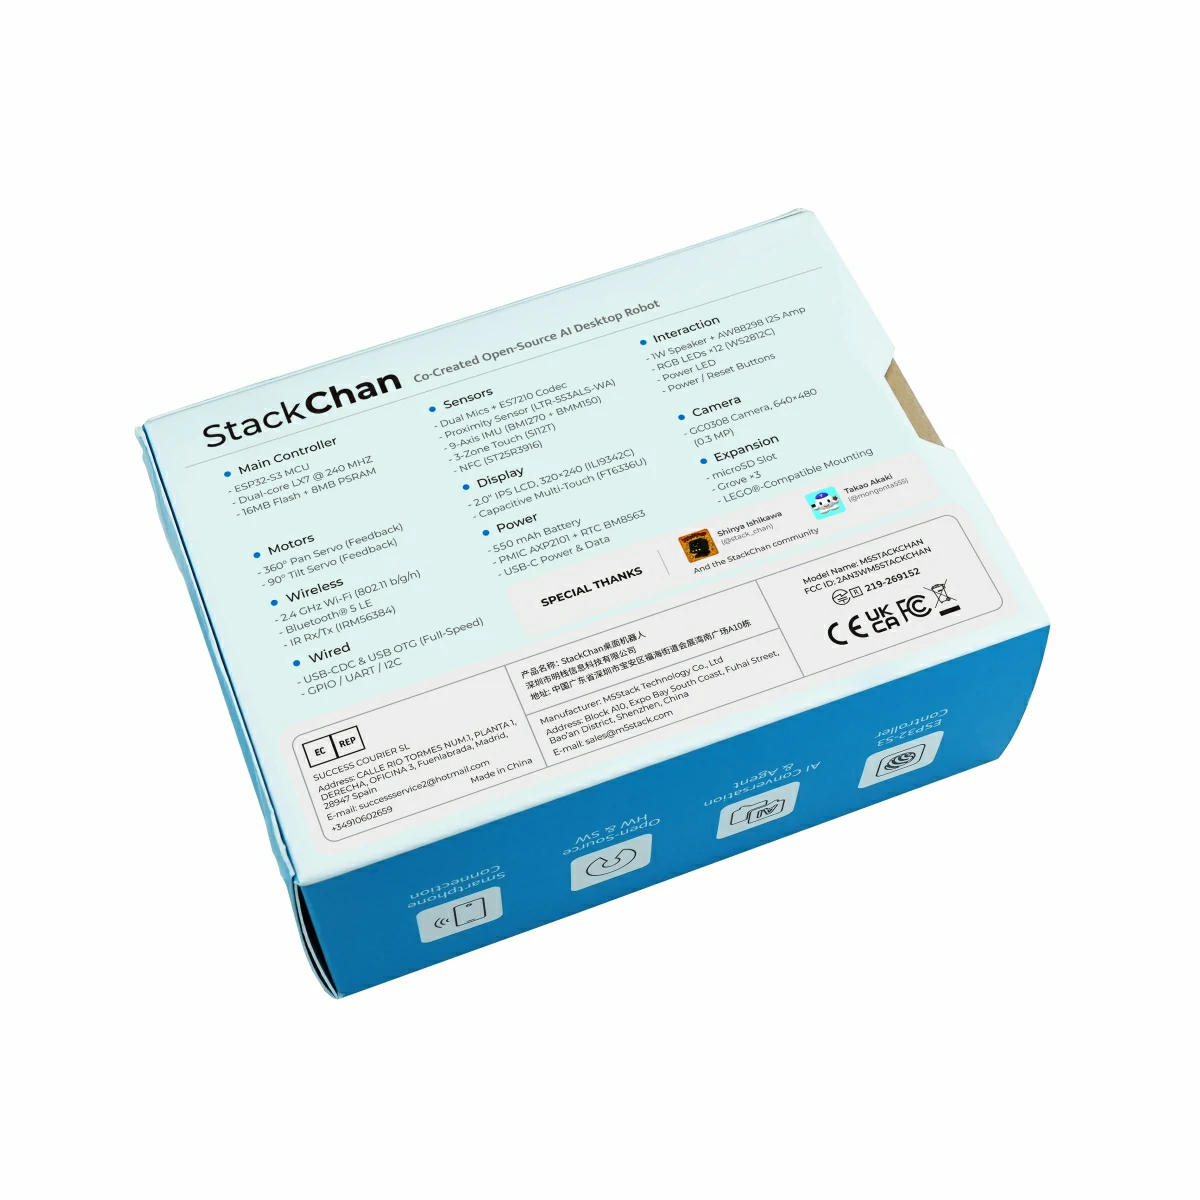
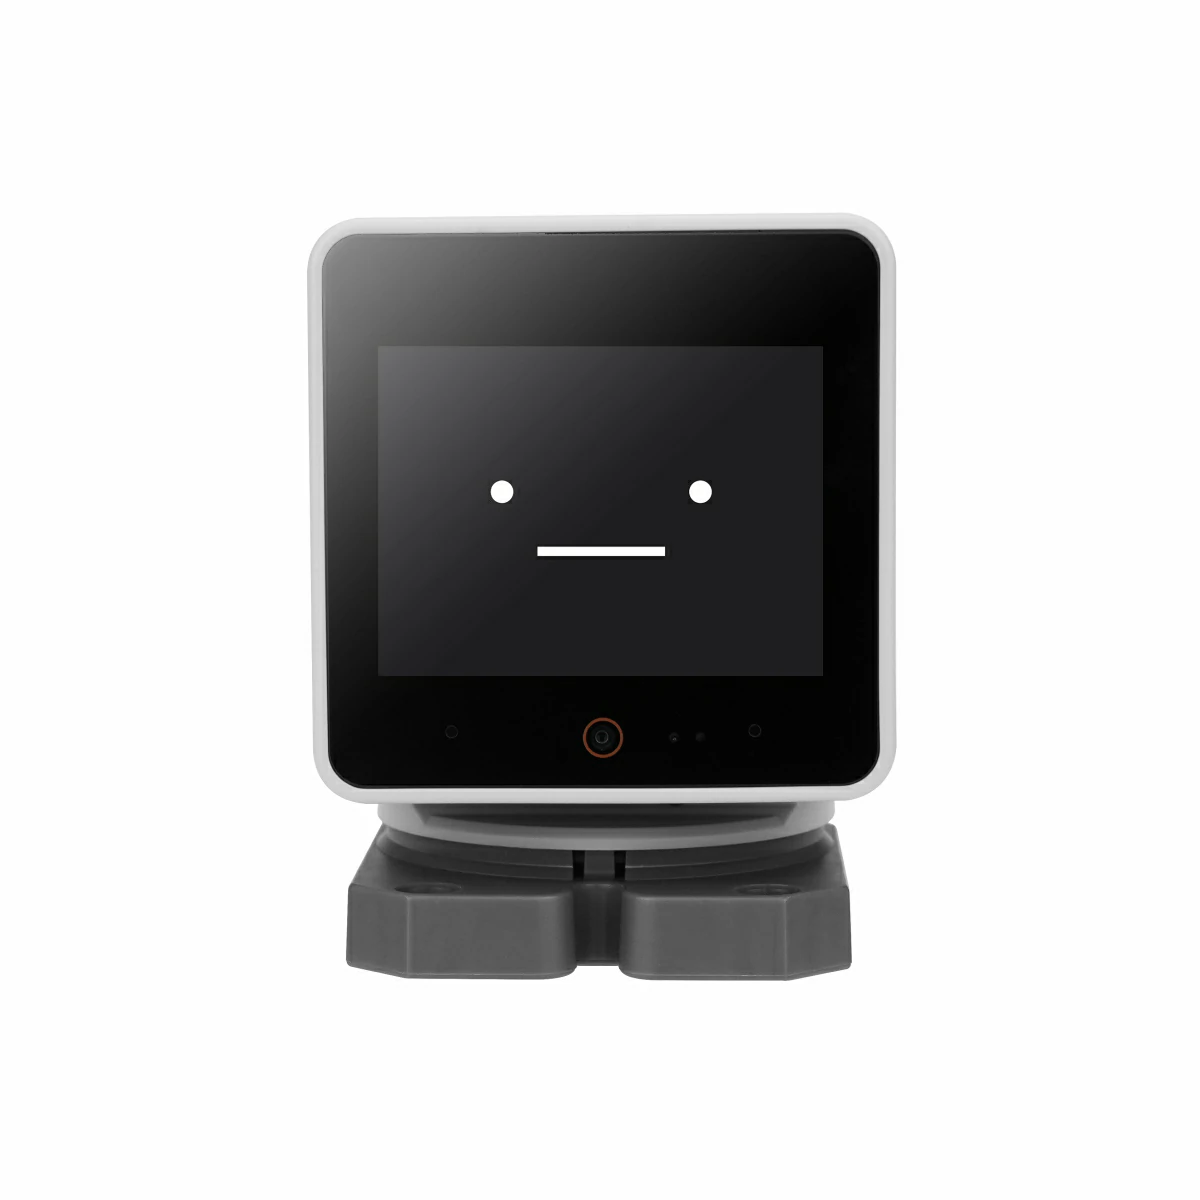
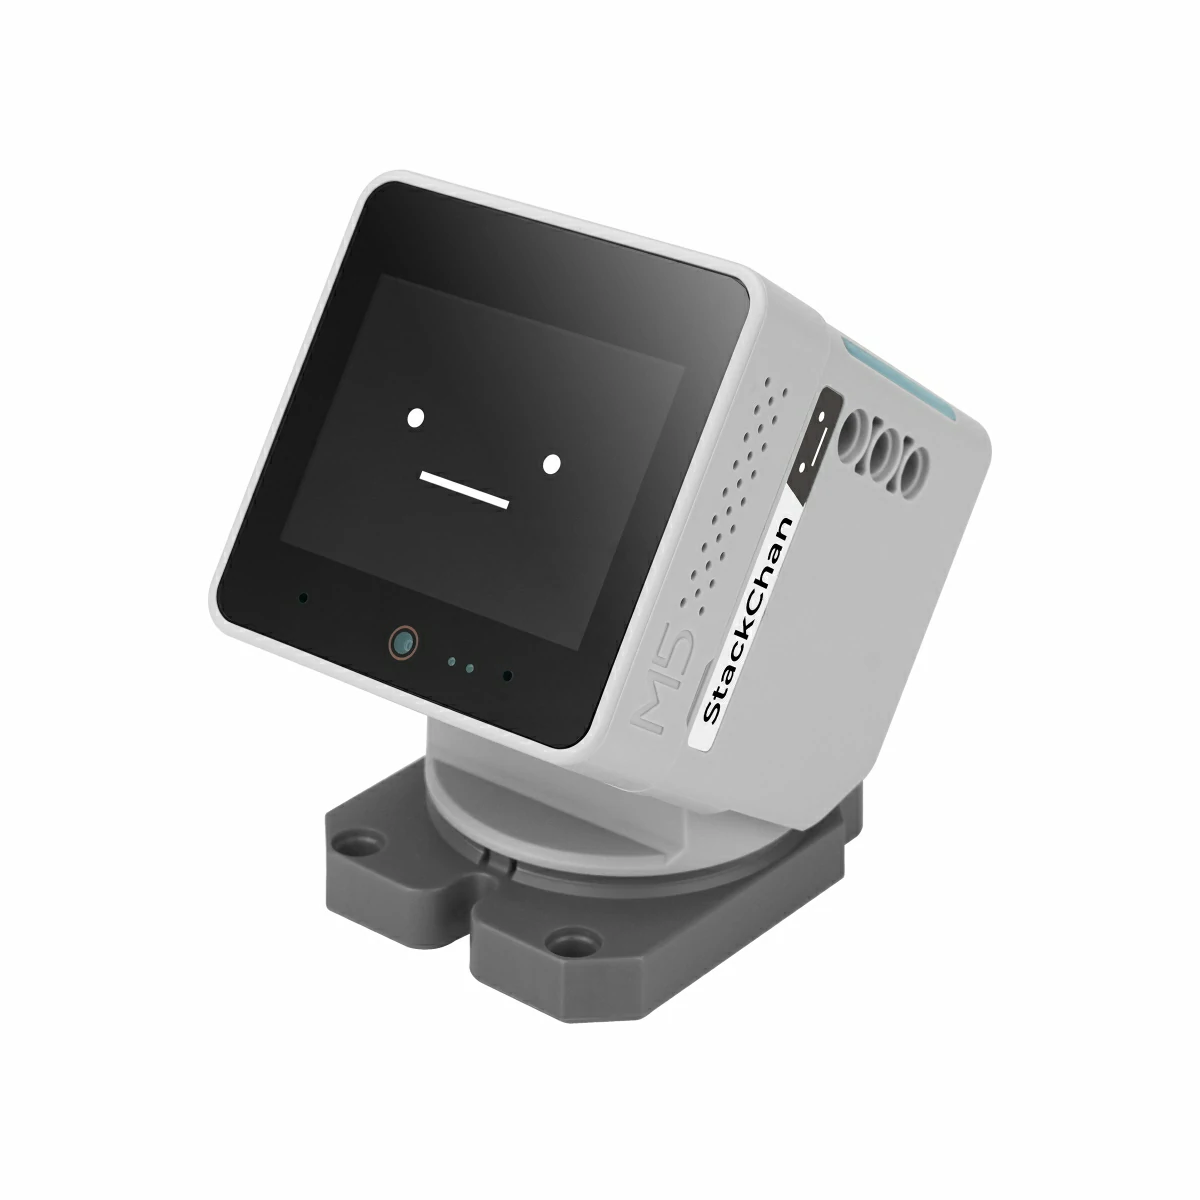
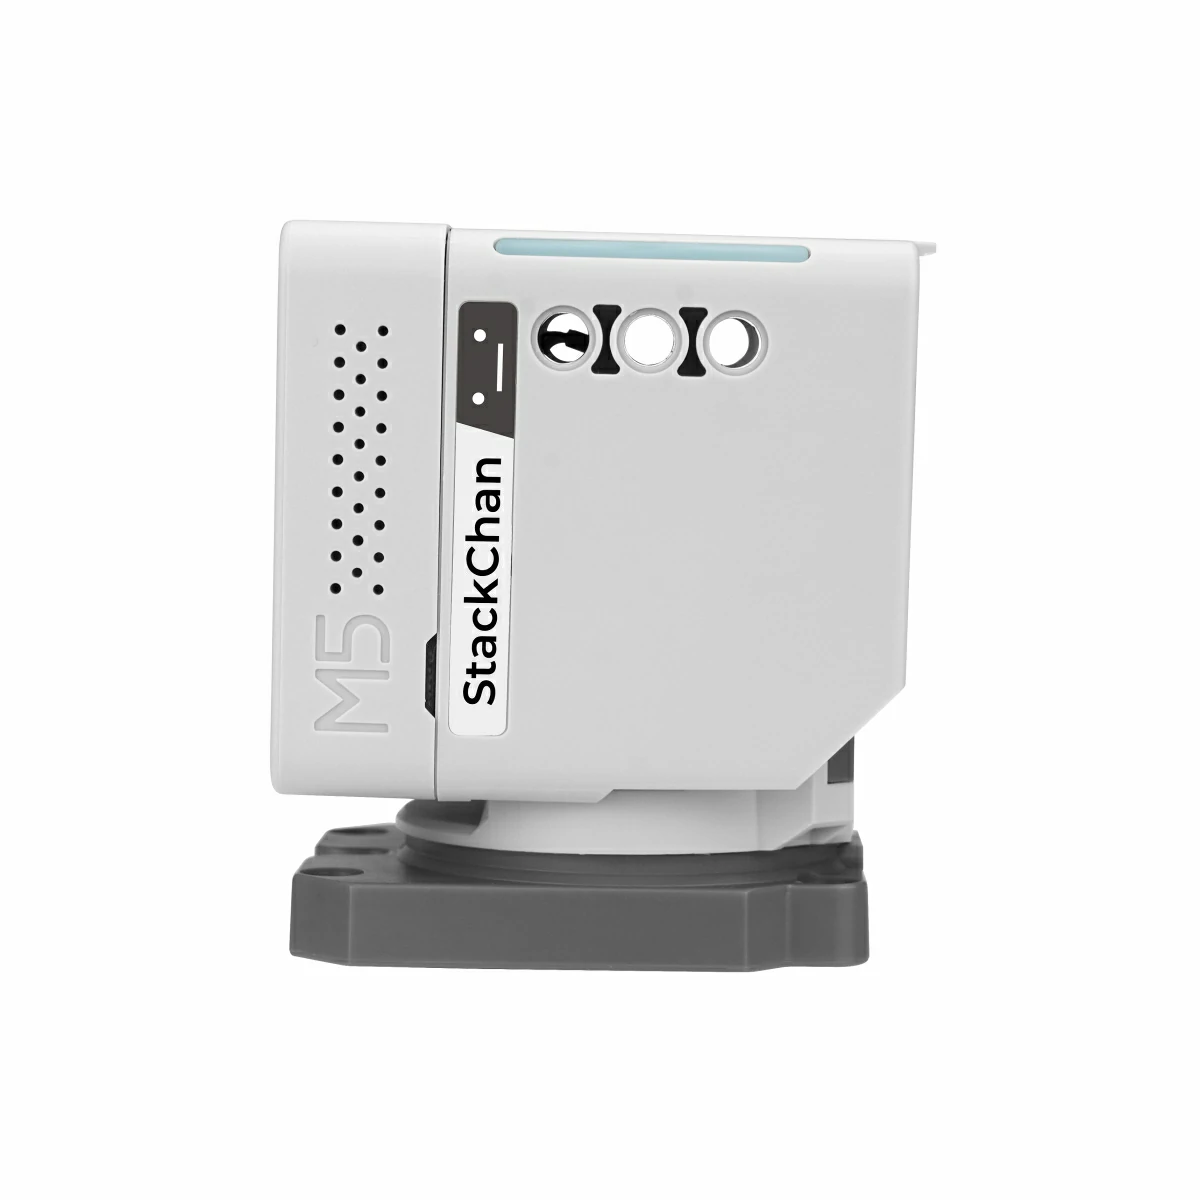
StackChan is a super kawaii AI desktop robot co-created by M5Stack and the user community. It uses the M5Stack flagship IoT development kit CoreS3 as its main controller, powered by an ESP32-S3 SoC featuring a 240 MHz dual-core processor, with 16MB Flash and 8MB PSRAM onboard, and supporting Wi-Fi and BLE. The main unit also integrates a 2.0-inch capacitive touch display with a high-strength glass cover, a 0.3 MP camera, a proximity & ambient light sensor, a 9-axis IMU (accelerometer + gyroscope + magnetometer), a microSD card slot, a 1W speaker, dual microphones, and power/reset buttons.
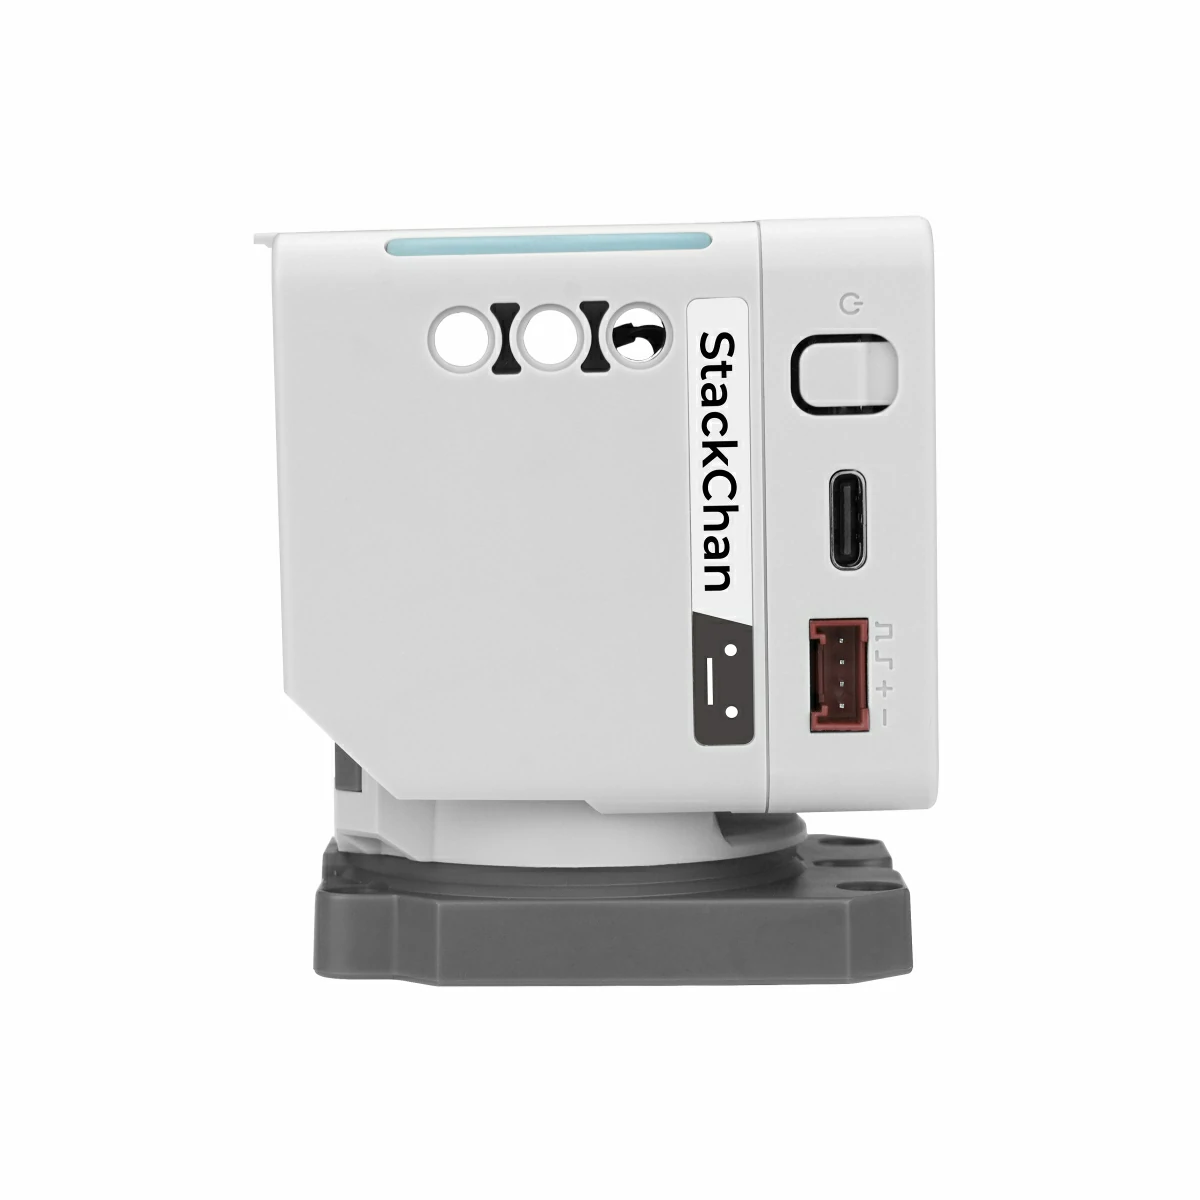
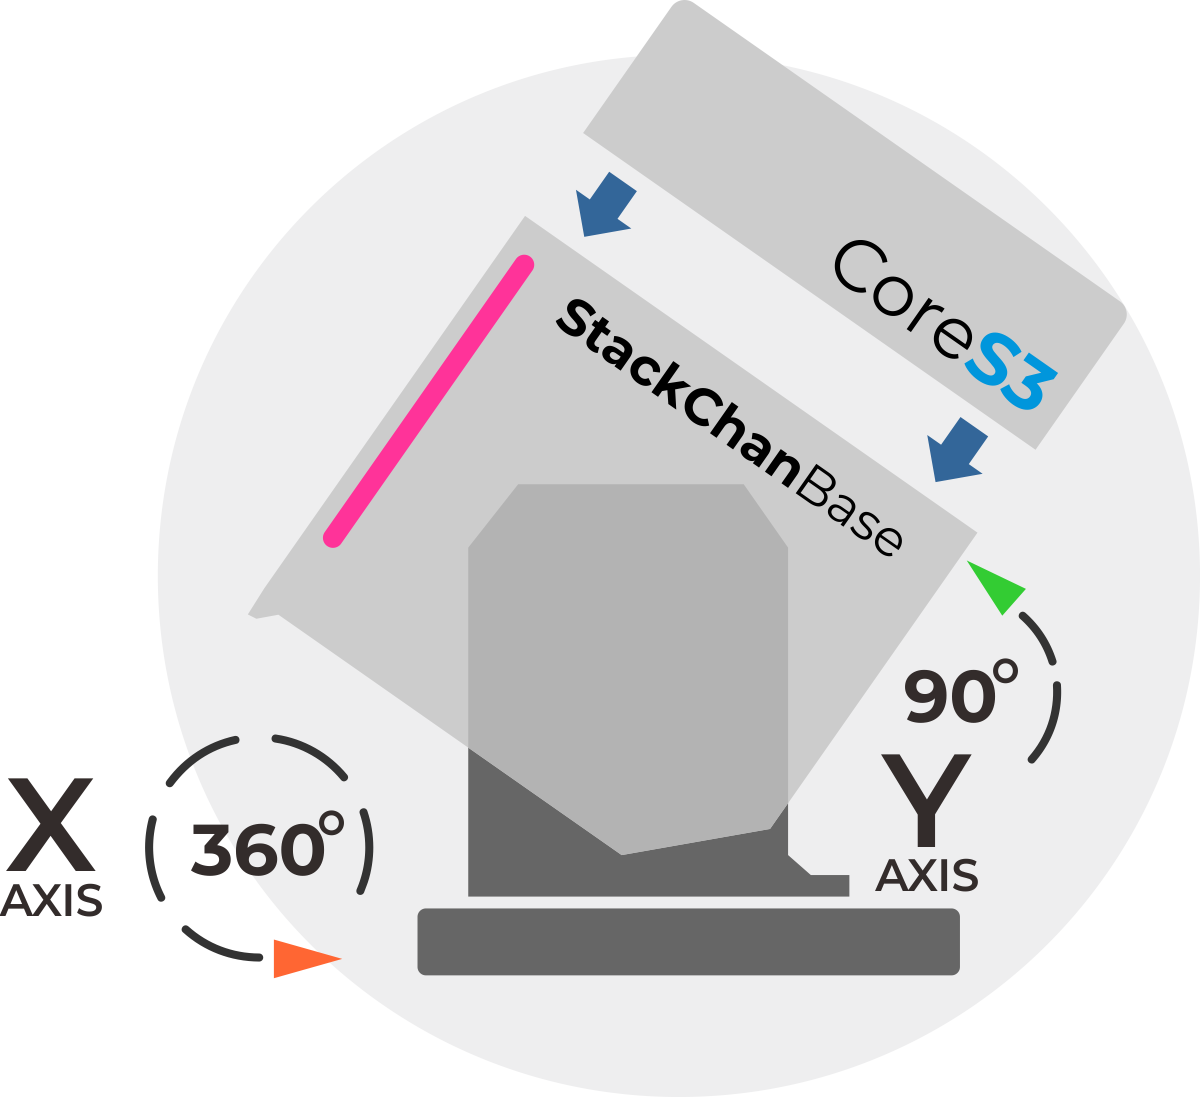
The robot body, connected to the main unit, includes a USB-C interface for power and data, a 550 mAh battery, two feedback servos (360-degree continuous rotation on the horizontal axis and 90-degree movement on the vertical axis), two rows totaling 12 RGB LEDs, infrared transmitter and receiver, a three-zone touch panel, and a full-featured NFC module.
The factory firmware is feature-rich, including an AI Agent, lively and expressive animations, ESP-NOW wireless remote control, and online app downloads. It can connect to a mobile app for video viewing, remote avatar control, and more, and also supports online updates (OTA). The product also supports programming via Arduino, UiFlow2, and other methods, and can connect to various expansion units in the M5Stack ecosystem, making it easy to implement a wide range of custom functions.
Thank you to the contributors of the StackChan community, especially:
| @meganetaaan | @mongonta555 |
| Shinya Ishikawa | Takao Akaki |
Tutorial

Note
Features
- Based on the CoreS3 main unit
- For detailed information, please refer to the CoreS3 page
- Robot body
- USB-C interface for power and data
- 550 mAh battery
- Two feedback servos (360-degree continuous rotation on the horizontal axis and 90-degree movement on the vertical axis)
- Two rows totaling 12 RGB LEDs
- Infrared transmitter and receiver
- Top-mounted three-zone touch panel
- Full-featured NFC
- Development platforms
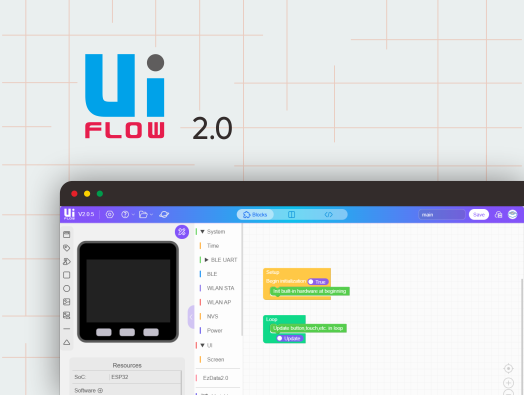
- UiFlow2
- Arduino IDE
- PlatformIO
- ESP-IDF
Includes
StackChan (SKU:K151)
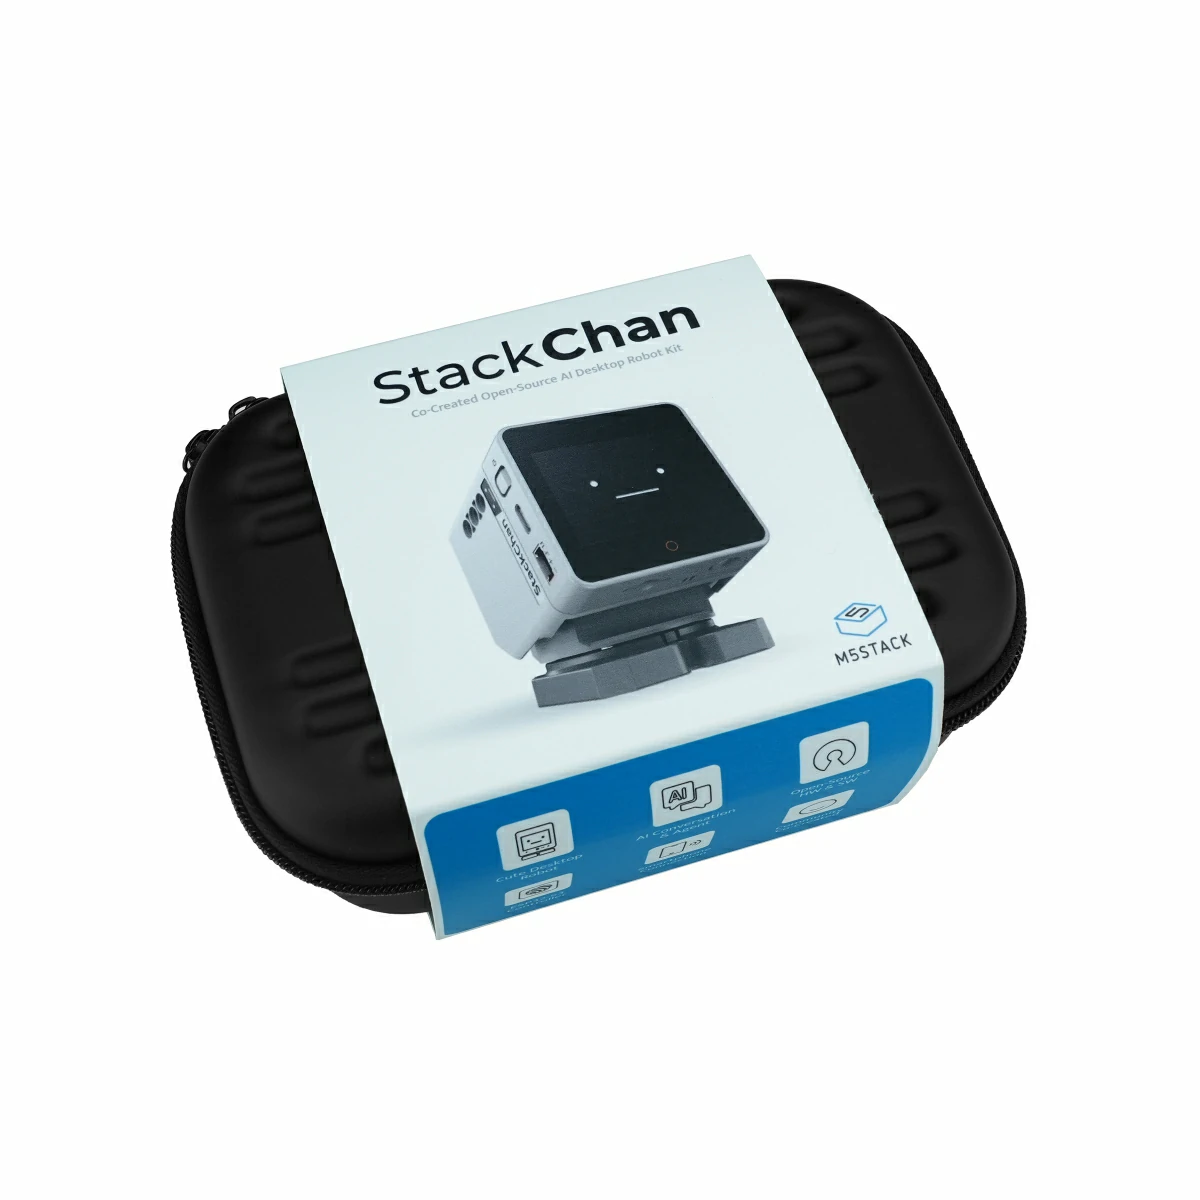
- 1 x Carrying bag or box (depending on the purchased product bundle)
- 1 x StackChan unit (with CoreS3 pre-installed)
- 1 x USB Type-C Cable
- 1 x 1.25-4P male-to-female straight extension cable (100mm)
- 1 x Hex Key L-Shape 1.5mm (For M2 Screw)
- 1 x Hex Key L-Shape 2.5mm (For M3 Screw)
- 1 x Character expression sticker
- 1 x Printed user manual
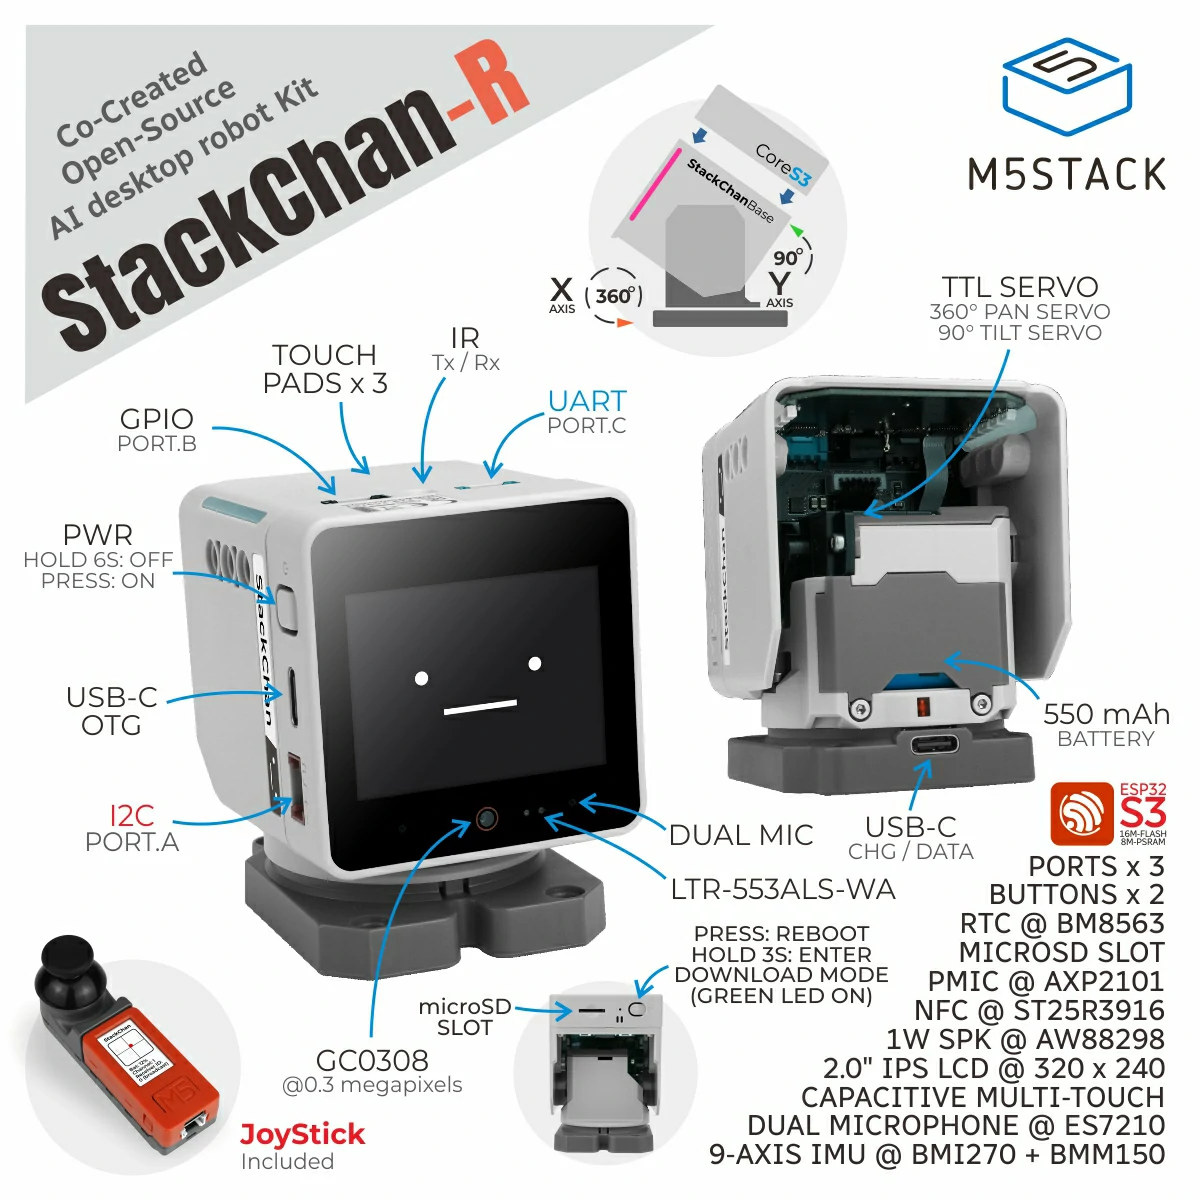
StackChan Remote Controller Kit (SKU:K151-R)
- 1 x Carrying bag or box (depending on the purchased product bundle)
- 1 x StackChan unit (with CoreS3 pre-installed)
- 1 x Remote controller (assembled from a Hat Mini JoyC and StickC-Plus)
- 1 x USB Type-C Cable
- 1 x 1.25-4P male-to-female straight extension cable (100mm)
- 1 x Hex Key L-Shape 1.5mm (For M2 Screw)
- 1 x Hex Key L-Shape 2.5mm (For M3 Screw)
- 1 x Character expression sticker
- 1 x Printed user manual
Applications
- Desktop companion
- AI agent
- Voice-based question and answer
- Smart home
- IoT control
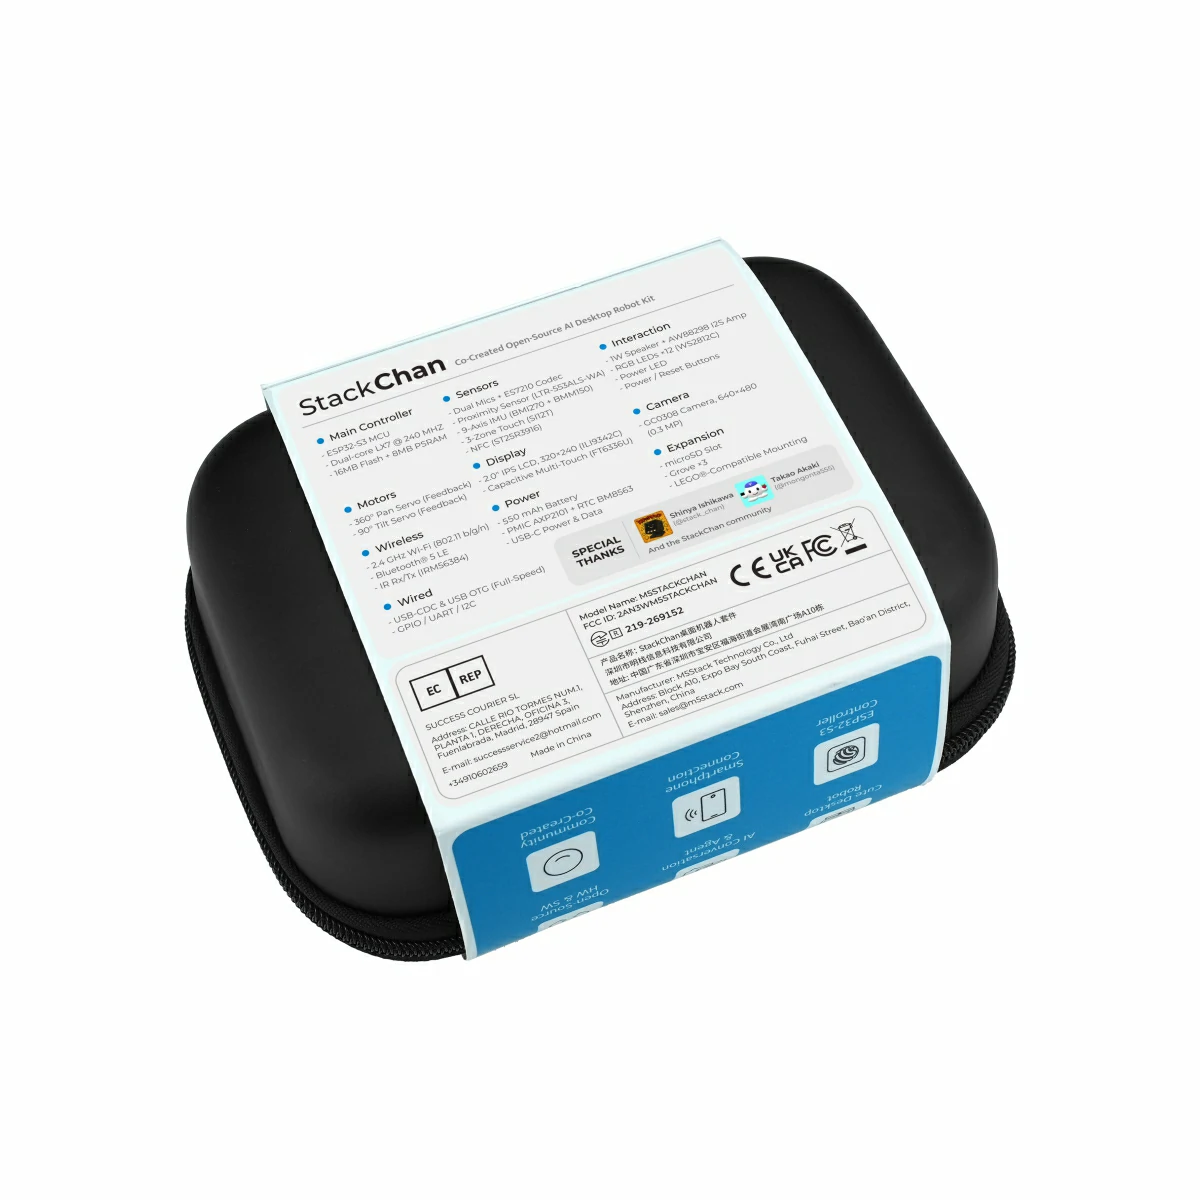
Specifications
| Specification | Parameter |
|---|---|
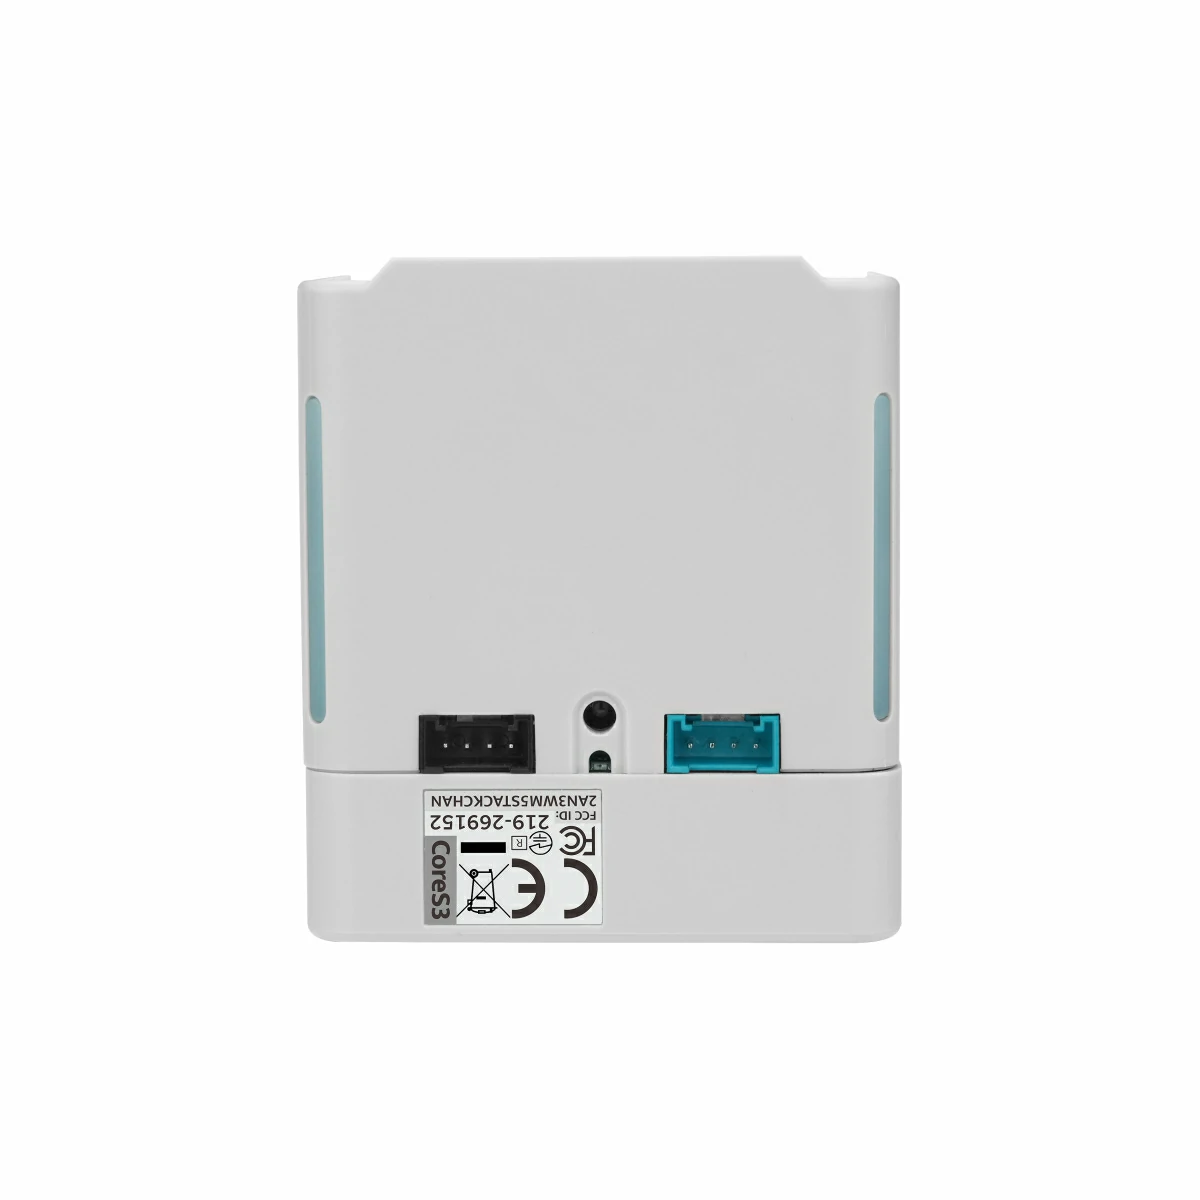
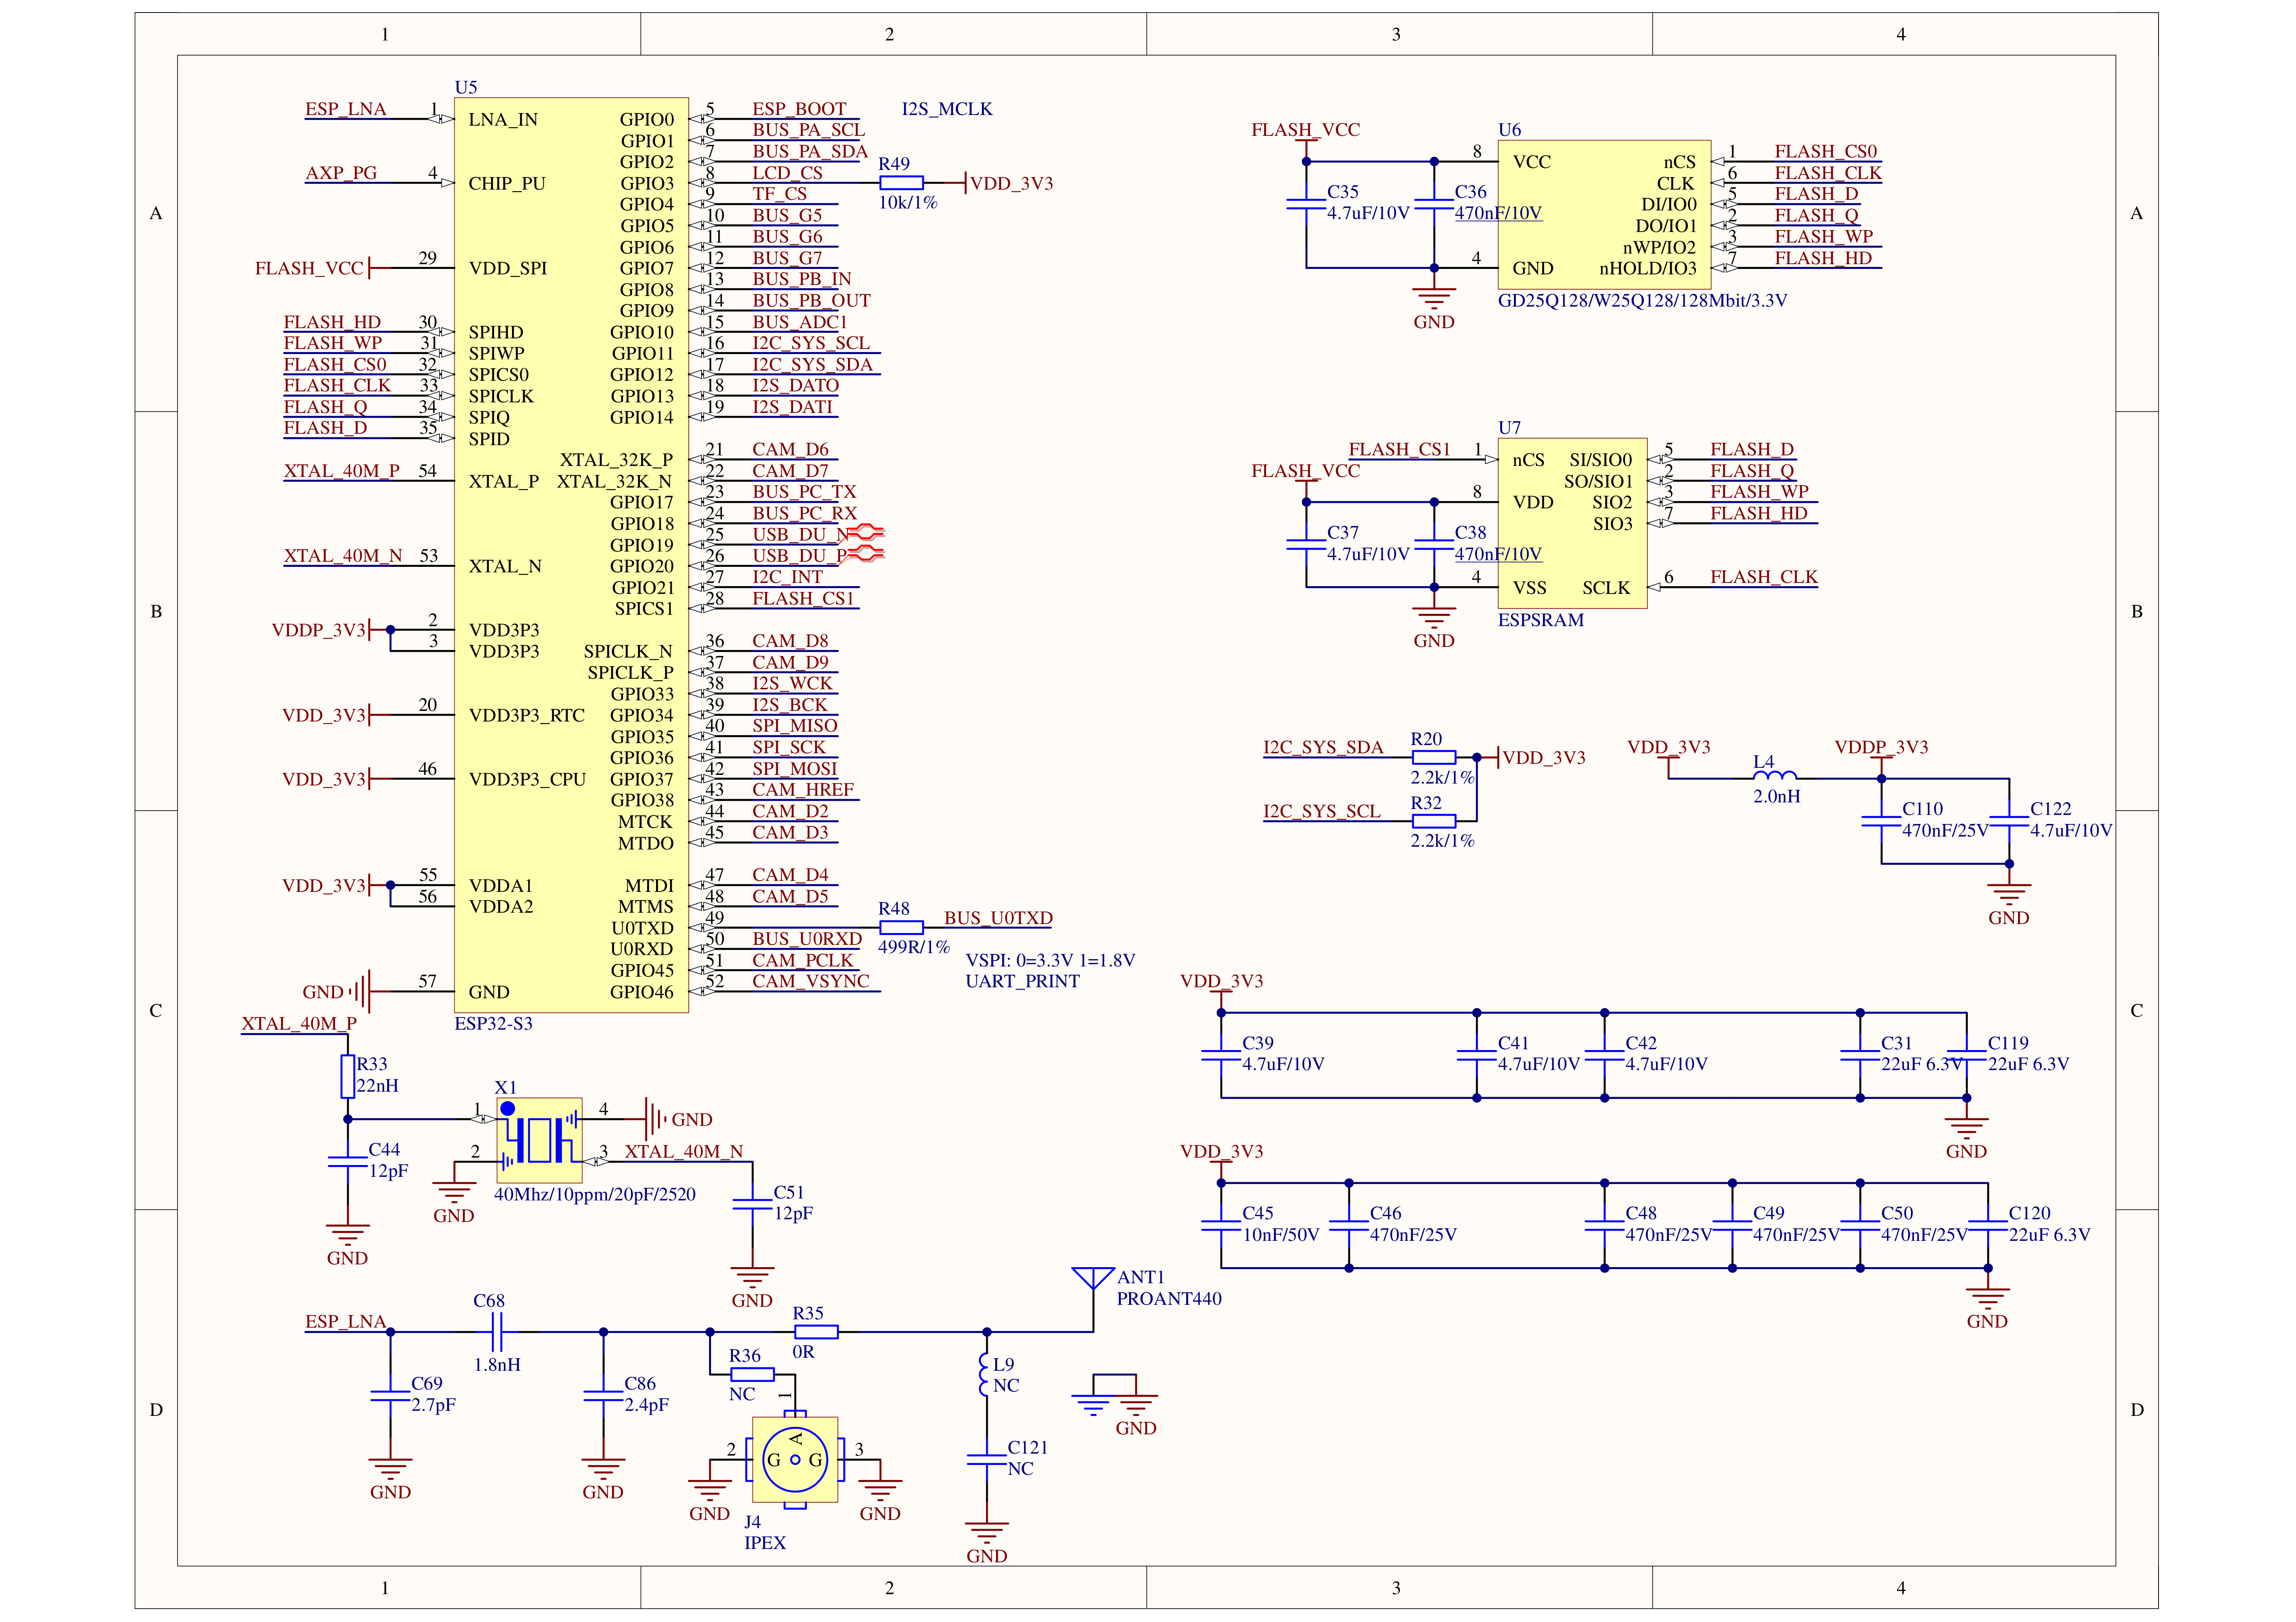
| Main Controller | ESP32-S3 Xtensa® dual-core 32-bit LX7, 240 MHz 16MB Flash, 8MB Quad PSRAM |
| Wireless Connectivity | 2.4 GHz Wi-Fi, IEEE 802.11 b/g/n Bluetooth® 5 LE Infrared receiver IRM56384 + infrared transmitter |
| Wired Connectivity | USB CDC & full-speed USB OTG GPIO, UART, I2C |
| Display | 2.0-inch IPS LCD, resolution 320*240, 65536 colors, ILI9342C driver Capacitive multi-touch, FT6336U driver |
| Camera | GC0308, 640*480, 0.3 MP |
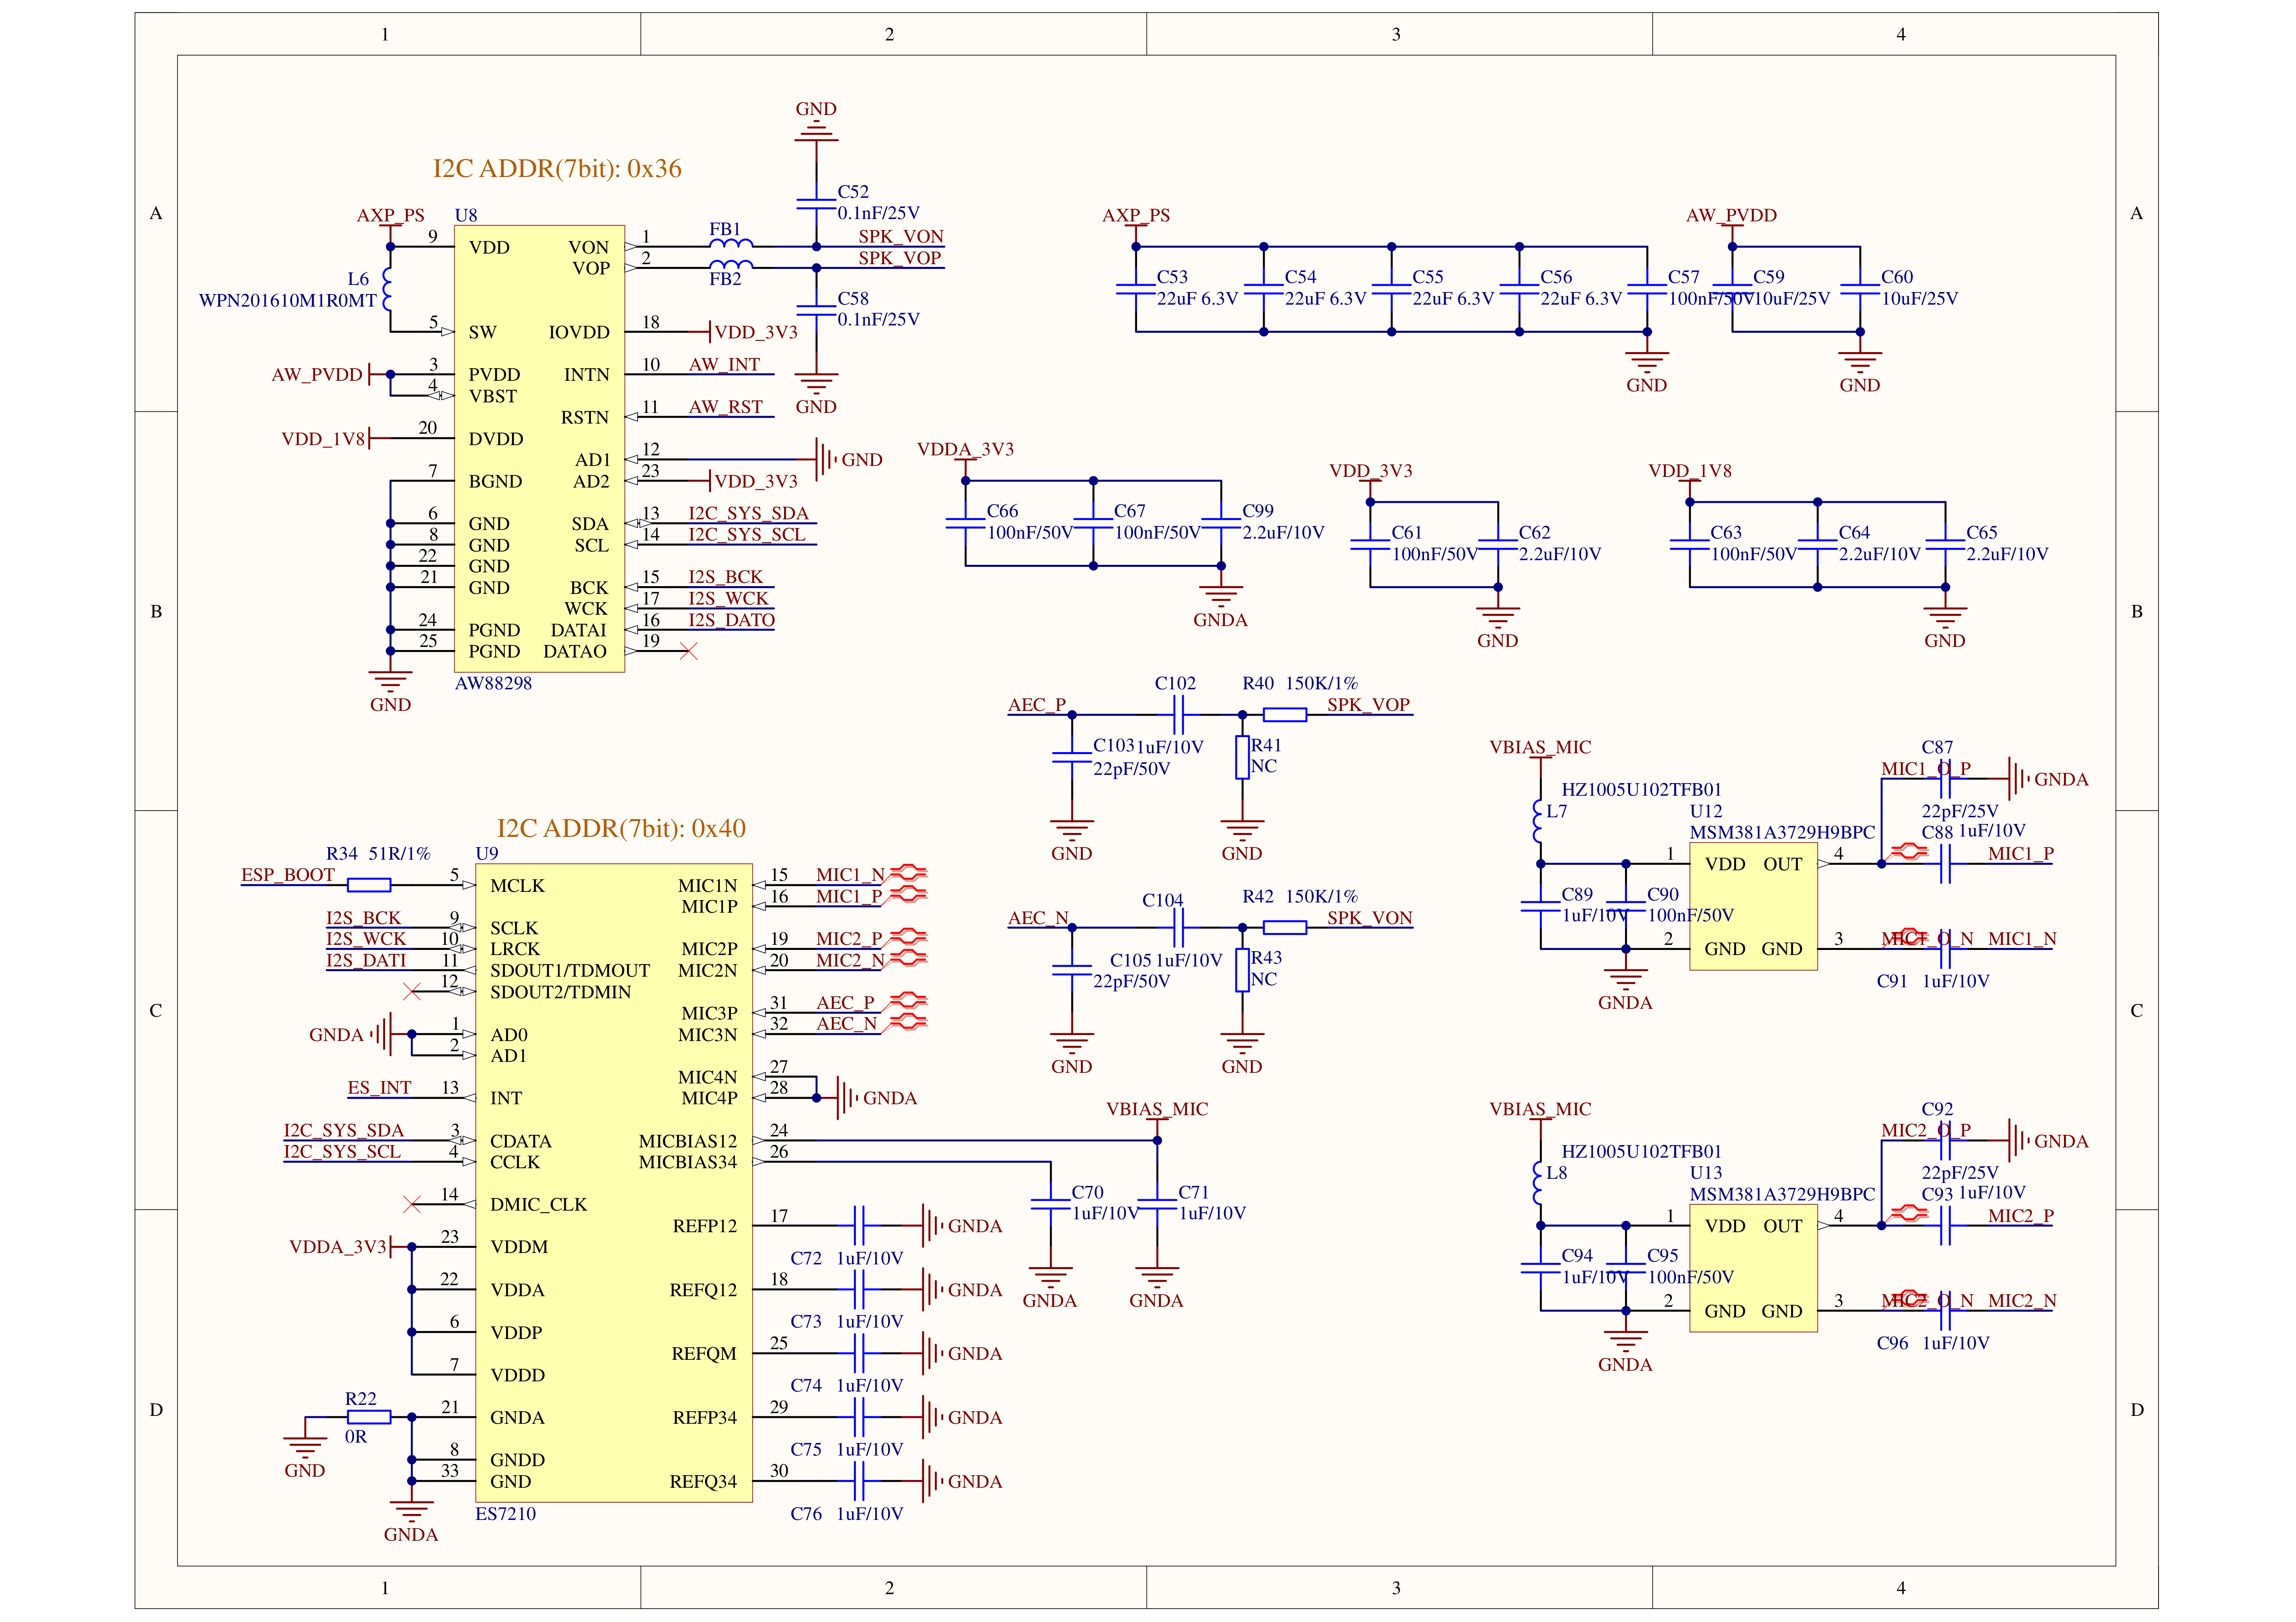
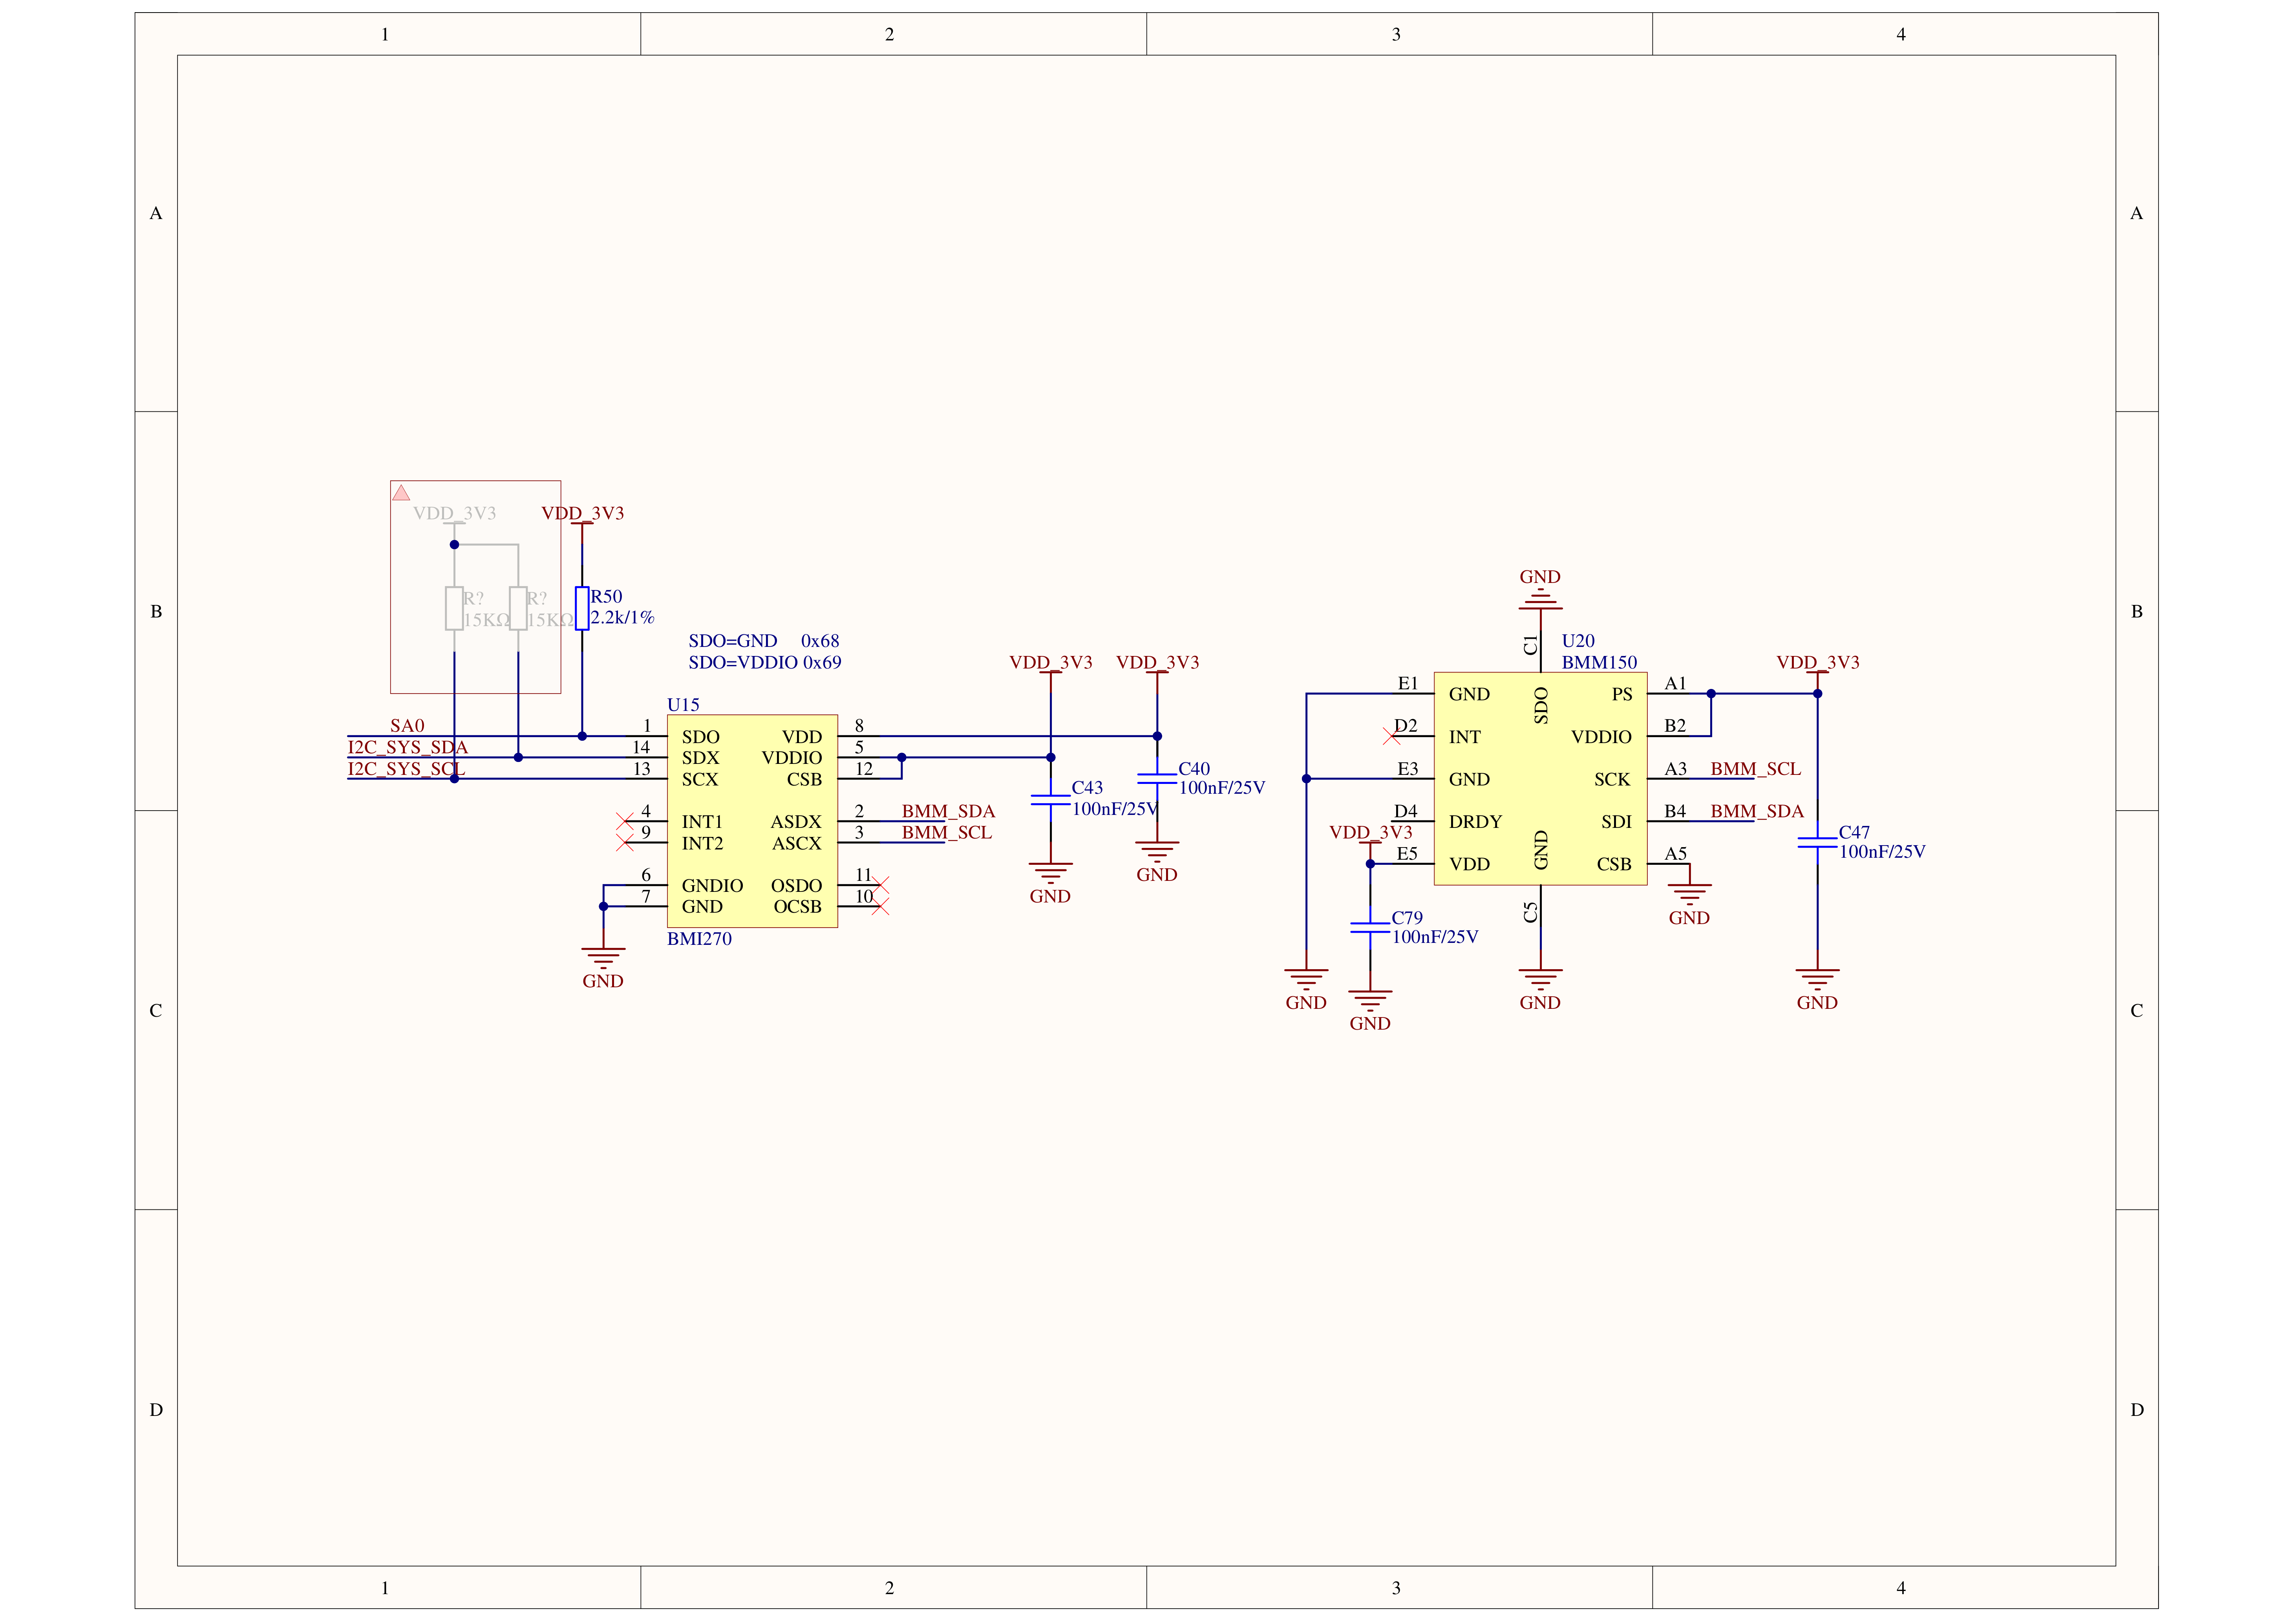
| Sensors | Dual microphones, ES7210 audio codec Proximity & ambient light sensor LTR-553ALS-WA 9-axis IMU BMI270 + BMM150 (accelerometer + gyroscope + magnetometer) Three-zone touch panel, Si12T driver Full-featured NFC ST25R3916 |
| Human Interactions | 1W speaker, AW88298 16-bit I2S power amplifier RGB LEDs WS2812C * 12 Power and reset buttons Power indicator LED |
| Expansions | microSD card slot Grove interface * 3 LEGO®-compatible mounting holes |
| Motors | 360-degree horizontal servo with feedback 90-degree vertical servo with feedback |
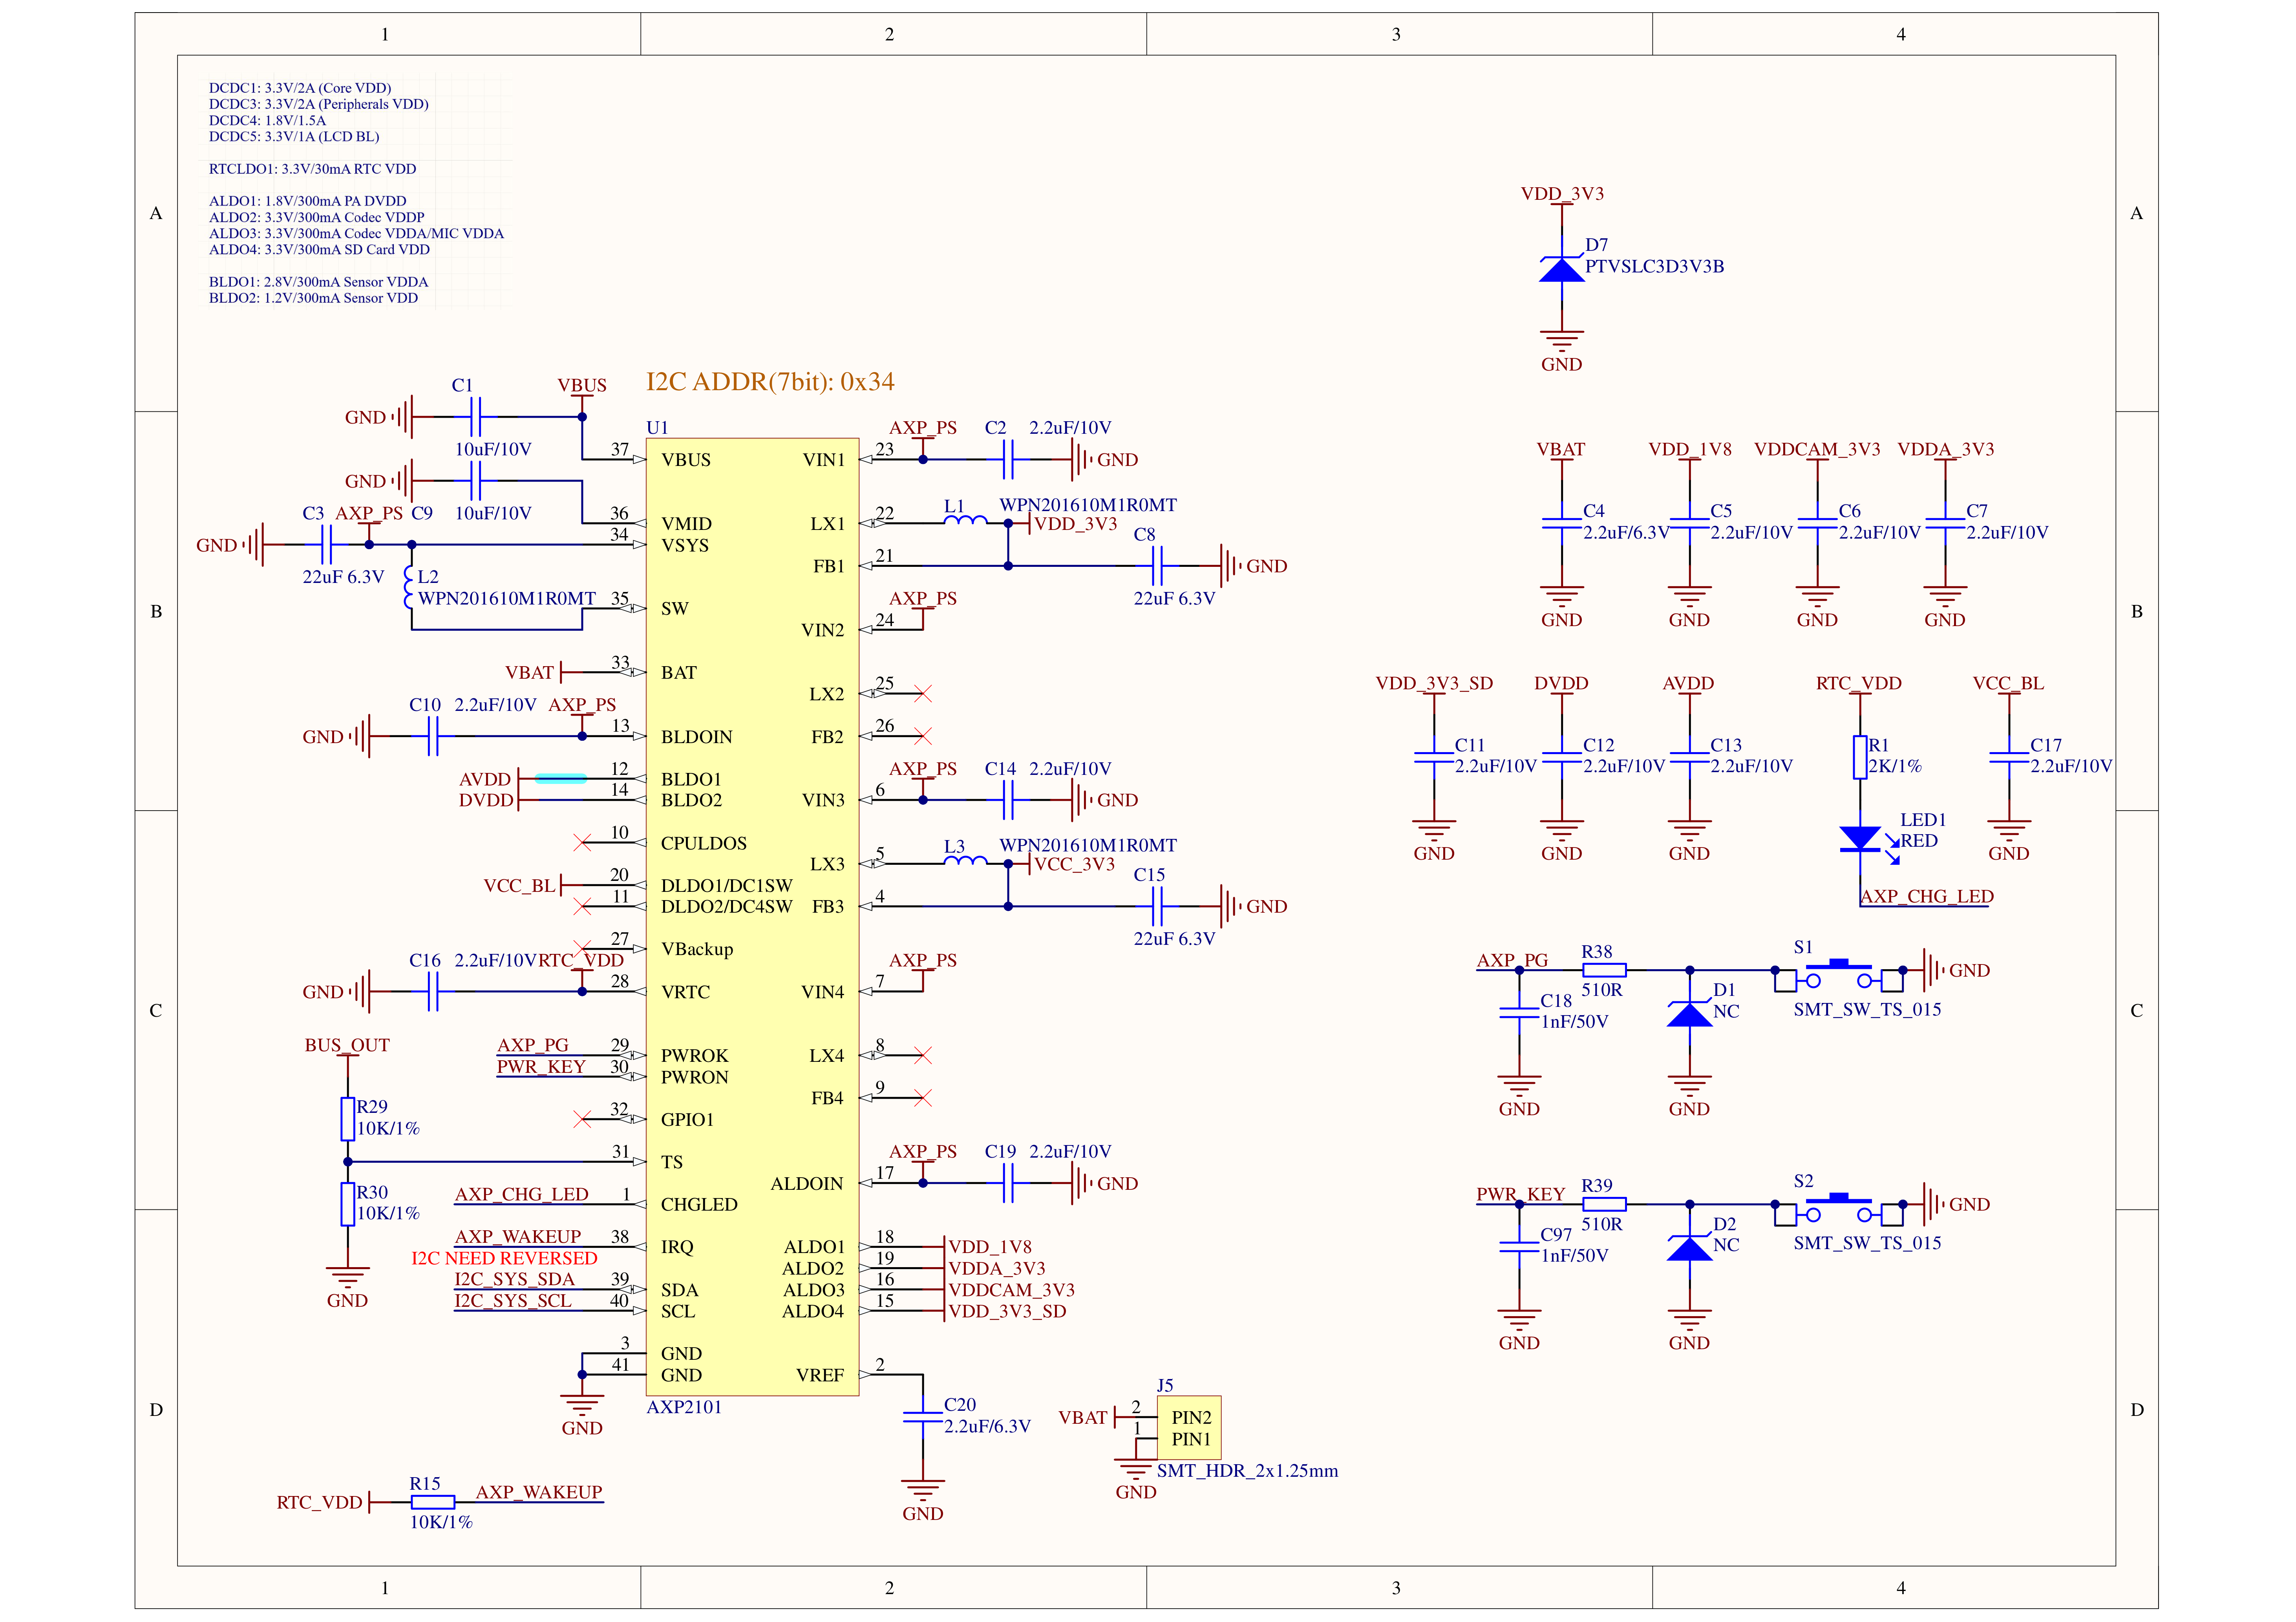
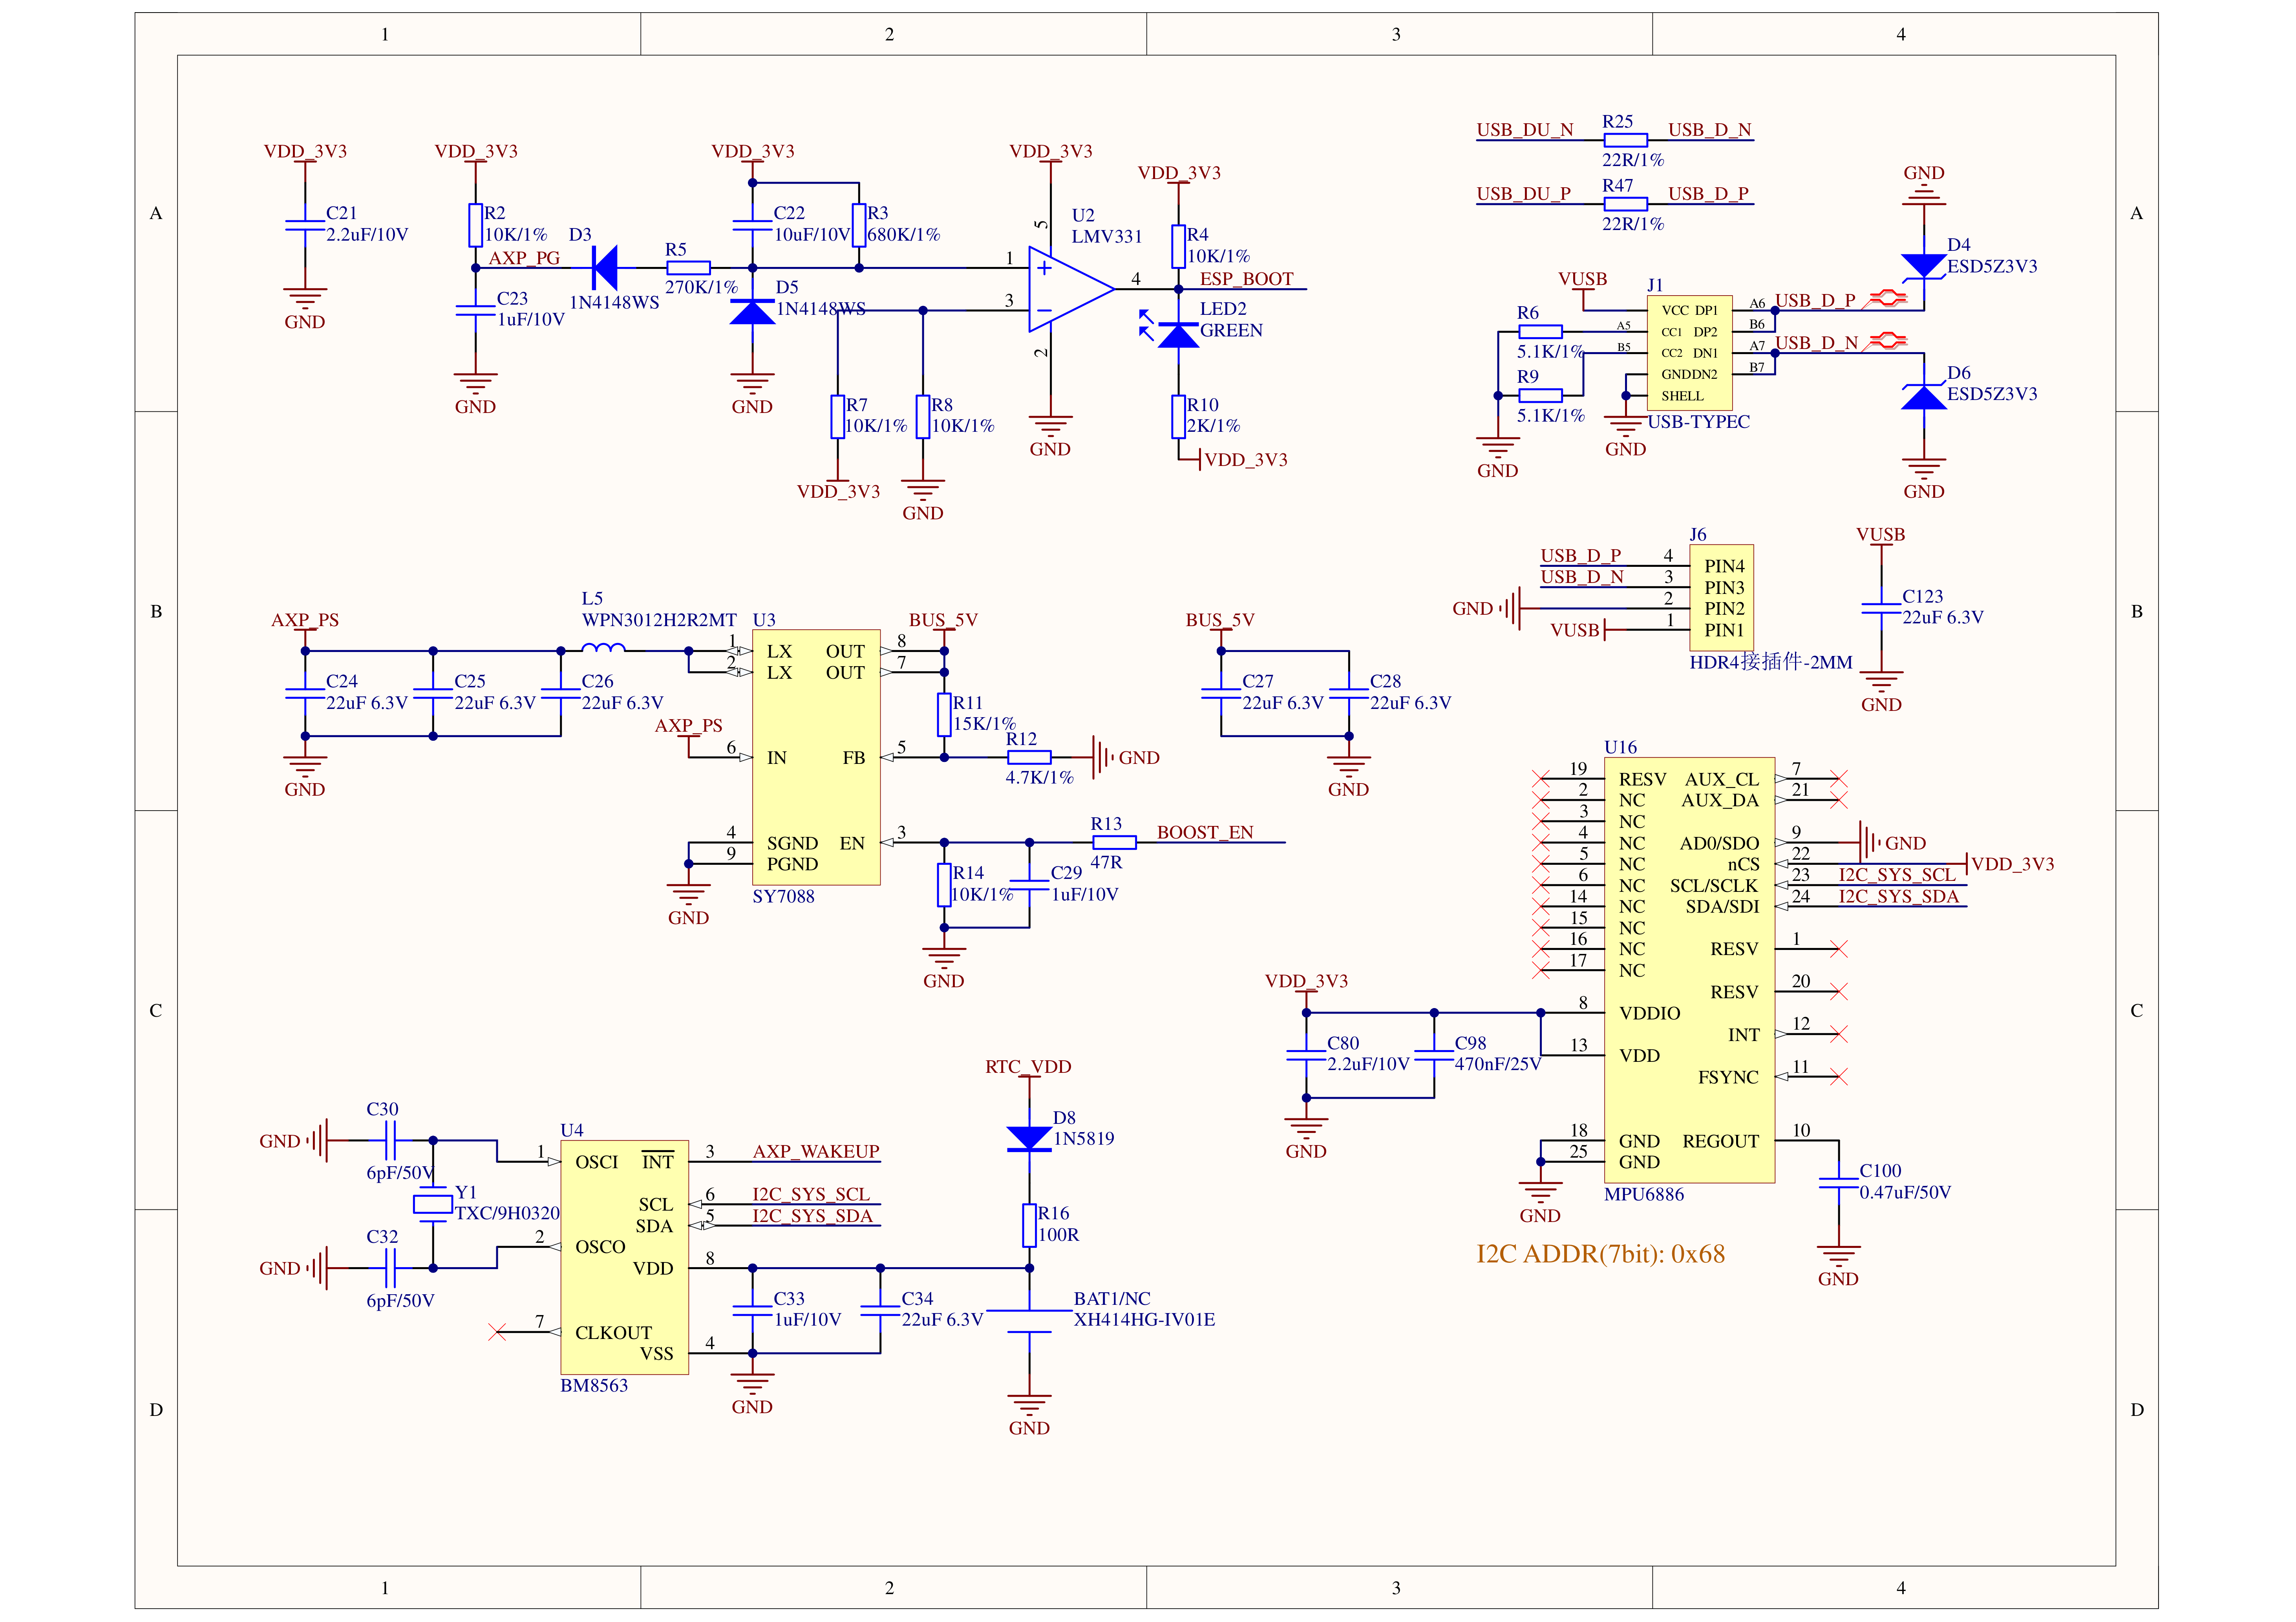
| Power | 550 mAh battery USB-C power and data Power management IC AXP2101, RTC BM8563 |
| Product Size | 54.0 x 70.5 x 61.5mm |
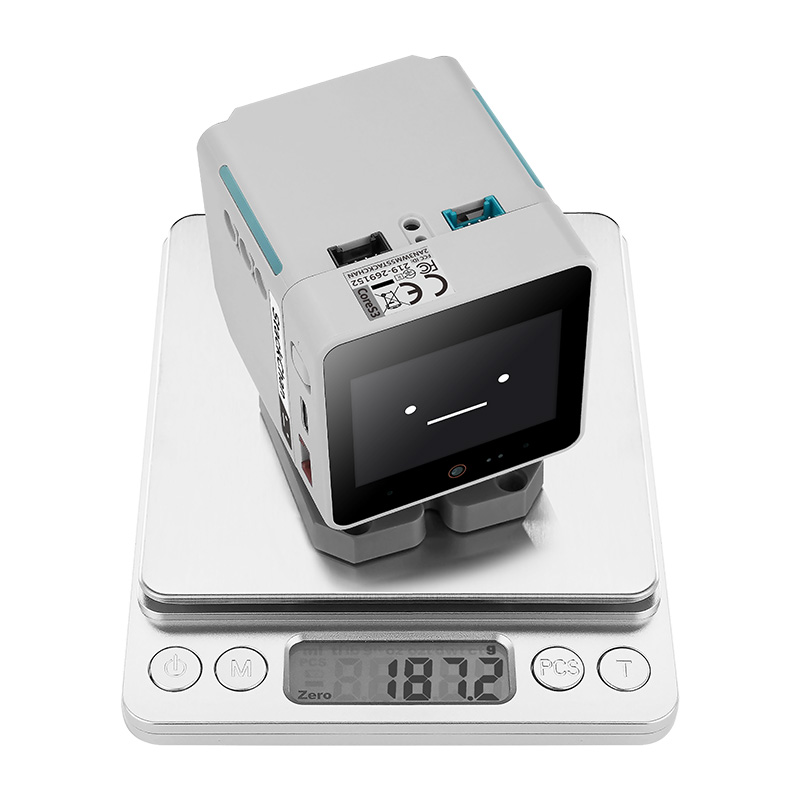
| Product Weight | StackChan: 187.2g Remote Controller: 37.6g |
| Package Size | StackChan: 142.0 x 101.0 x 58.0mm StackChan Remote: 155.0 x 109.0 x 65.0mm |
| Gross Weight | StackChan: 272.4g StackChan Remote: 372.9g |
Learn
Power On/Off
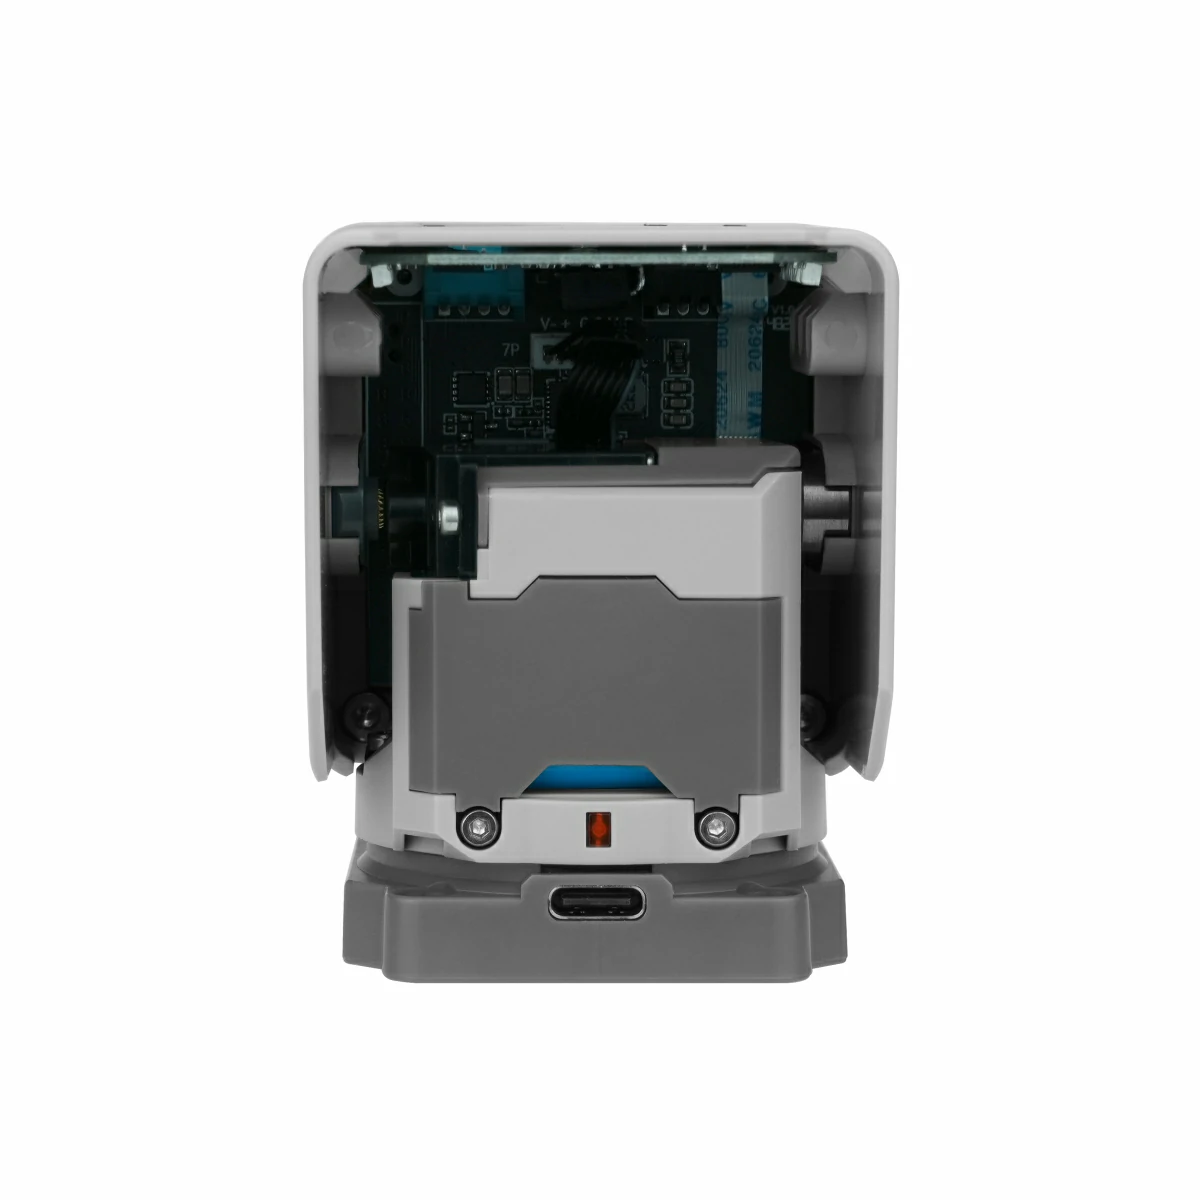
- Power on: Short press the power button once (located next to the USB-C port on the left side).
- Power off: Press and hold the power button for 6 seconds (located next to the USB-C port on the left side).
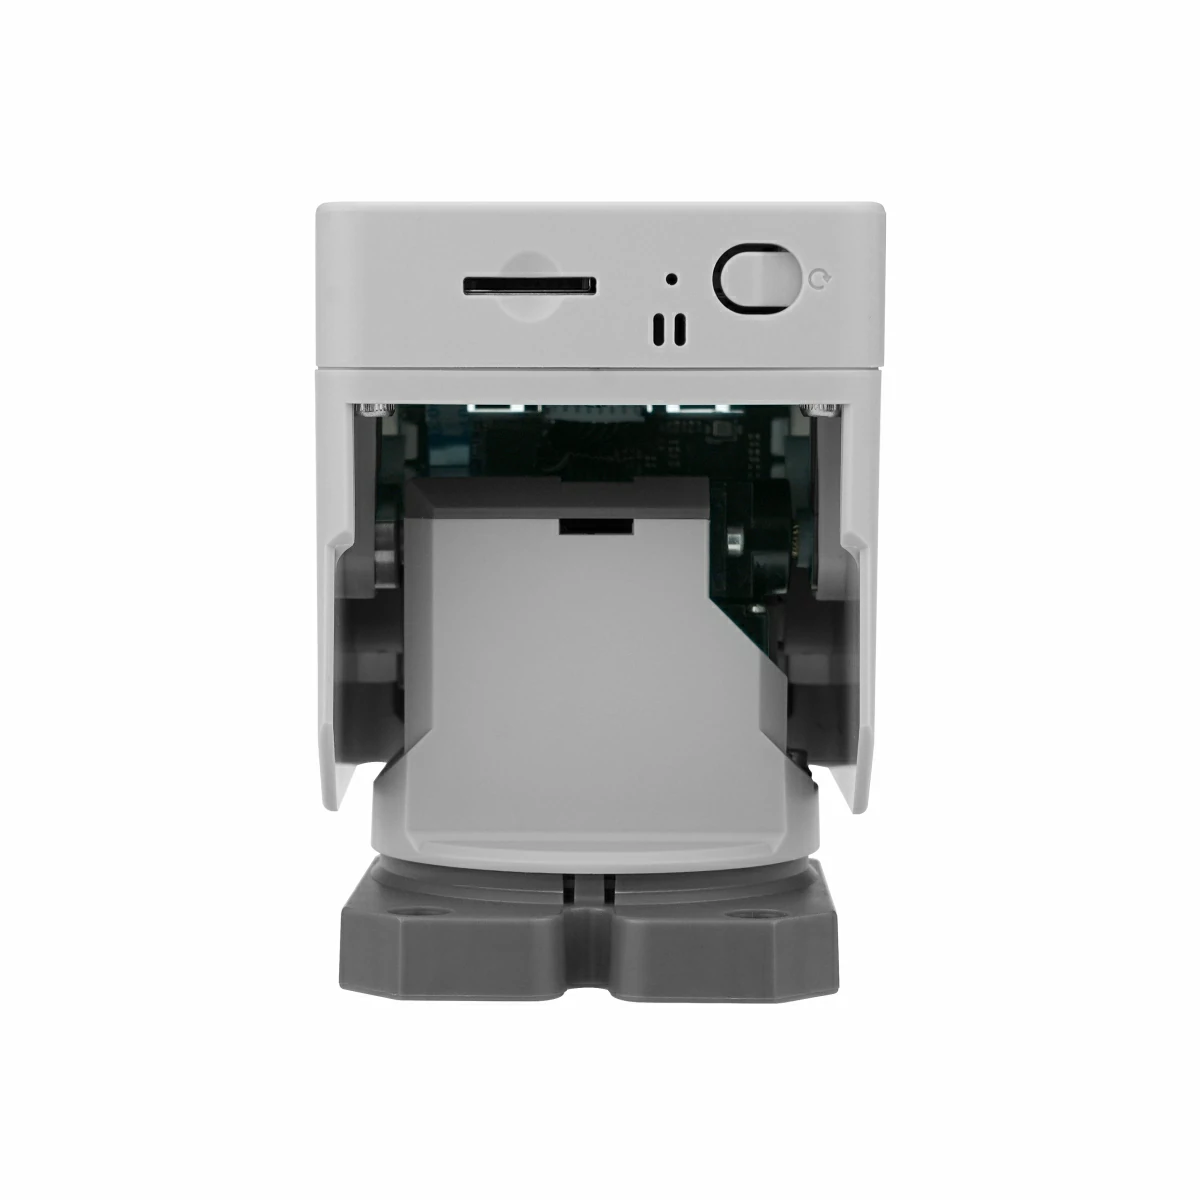
- Reset / Reboot: Short press the RST reset button once (located next to the microSD card slot on the bottom side).
Download Mode
Connect StackChan to a computer using a USB-C cable (both the USB-C port on the main unit and the one on the base support data transmission. However, it is recommended to use the port on the base to avoid accidents caused by motor movement). Press and hold the RST reset button for 3 seconds (located next to the microSD card slot on the bottom side). When the indicator LED next to the button turns green, the device has entered download mode and the button can be released.
Schematics
- StackChan Host CoreS3 Schematic PDF
- StackChan Base Adapter Board Schematic PDF
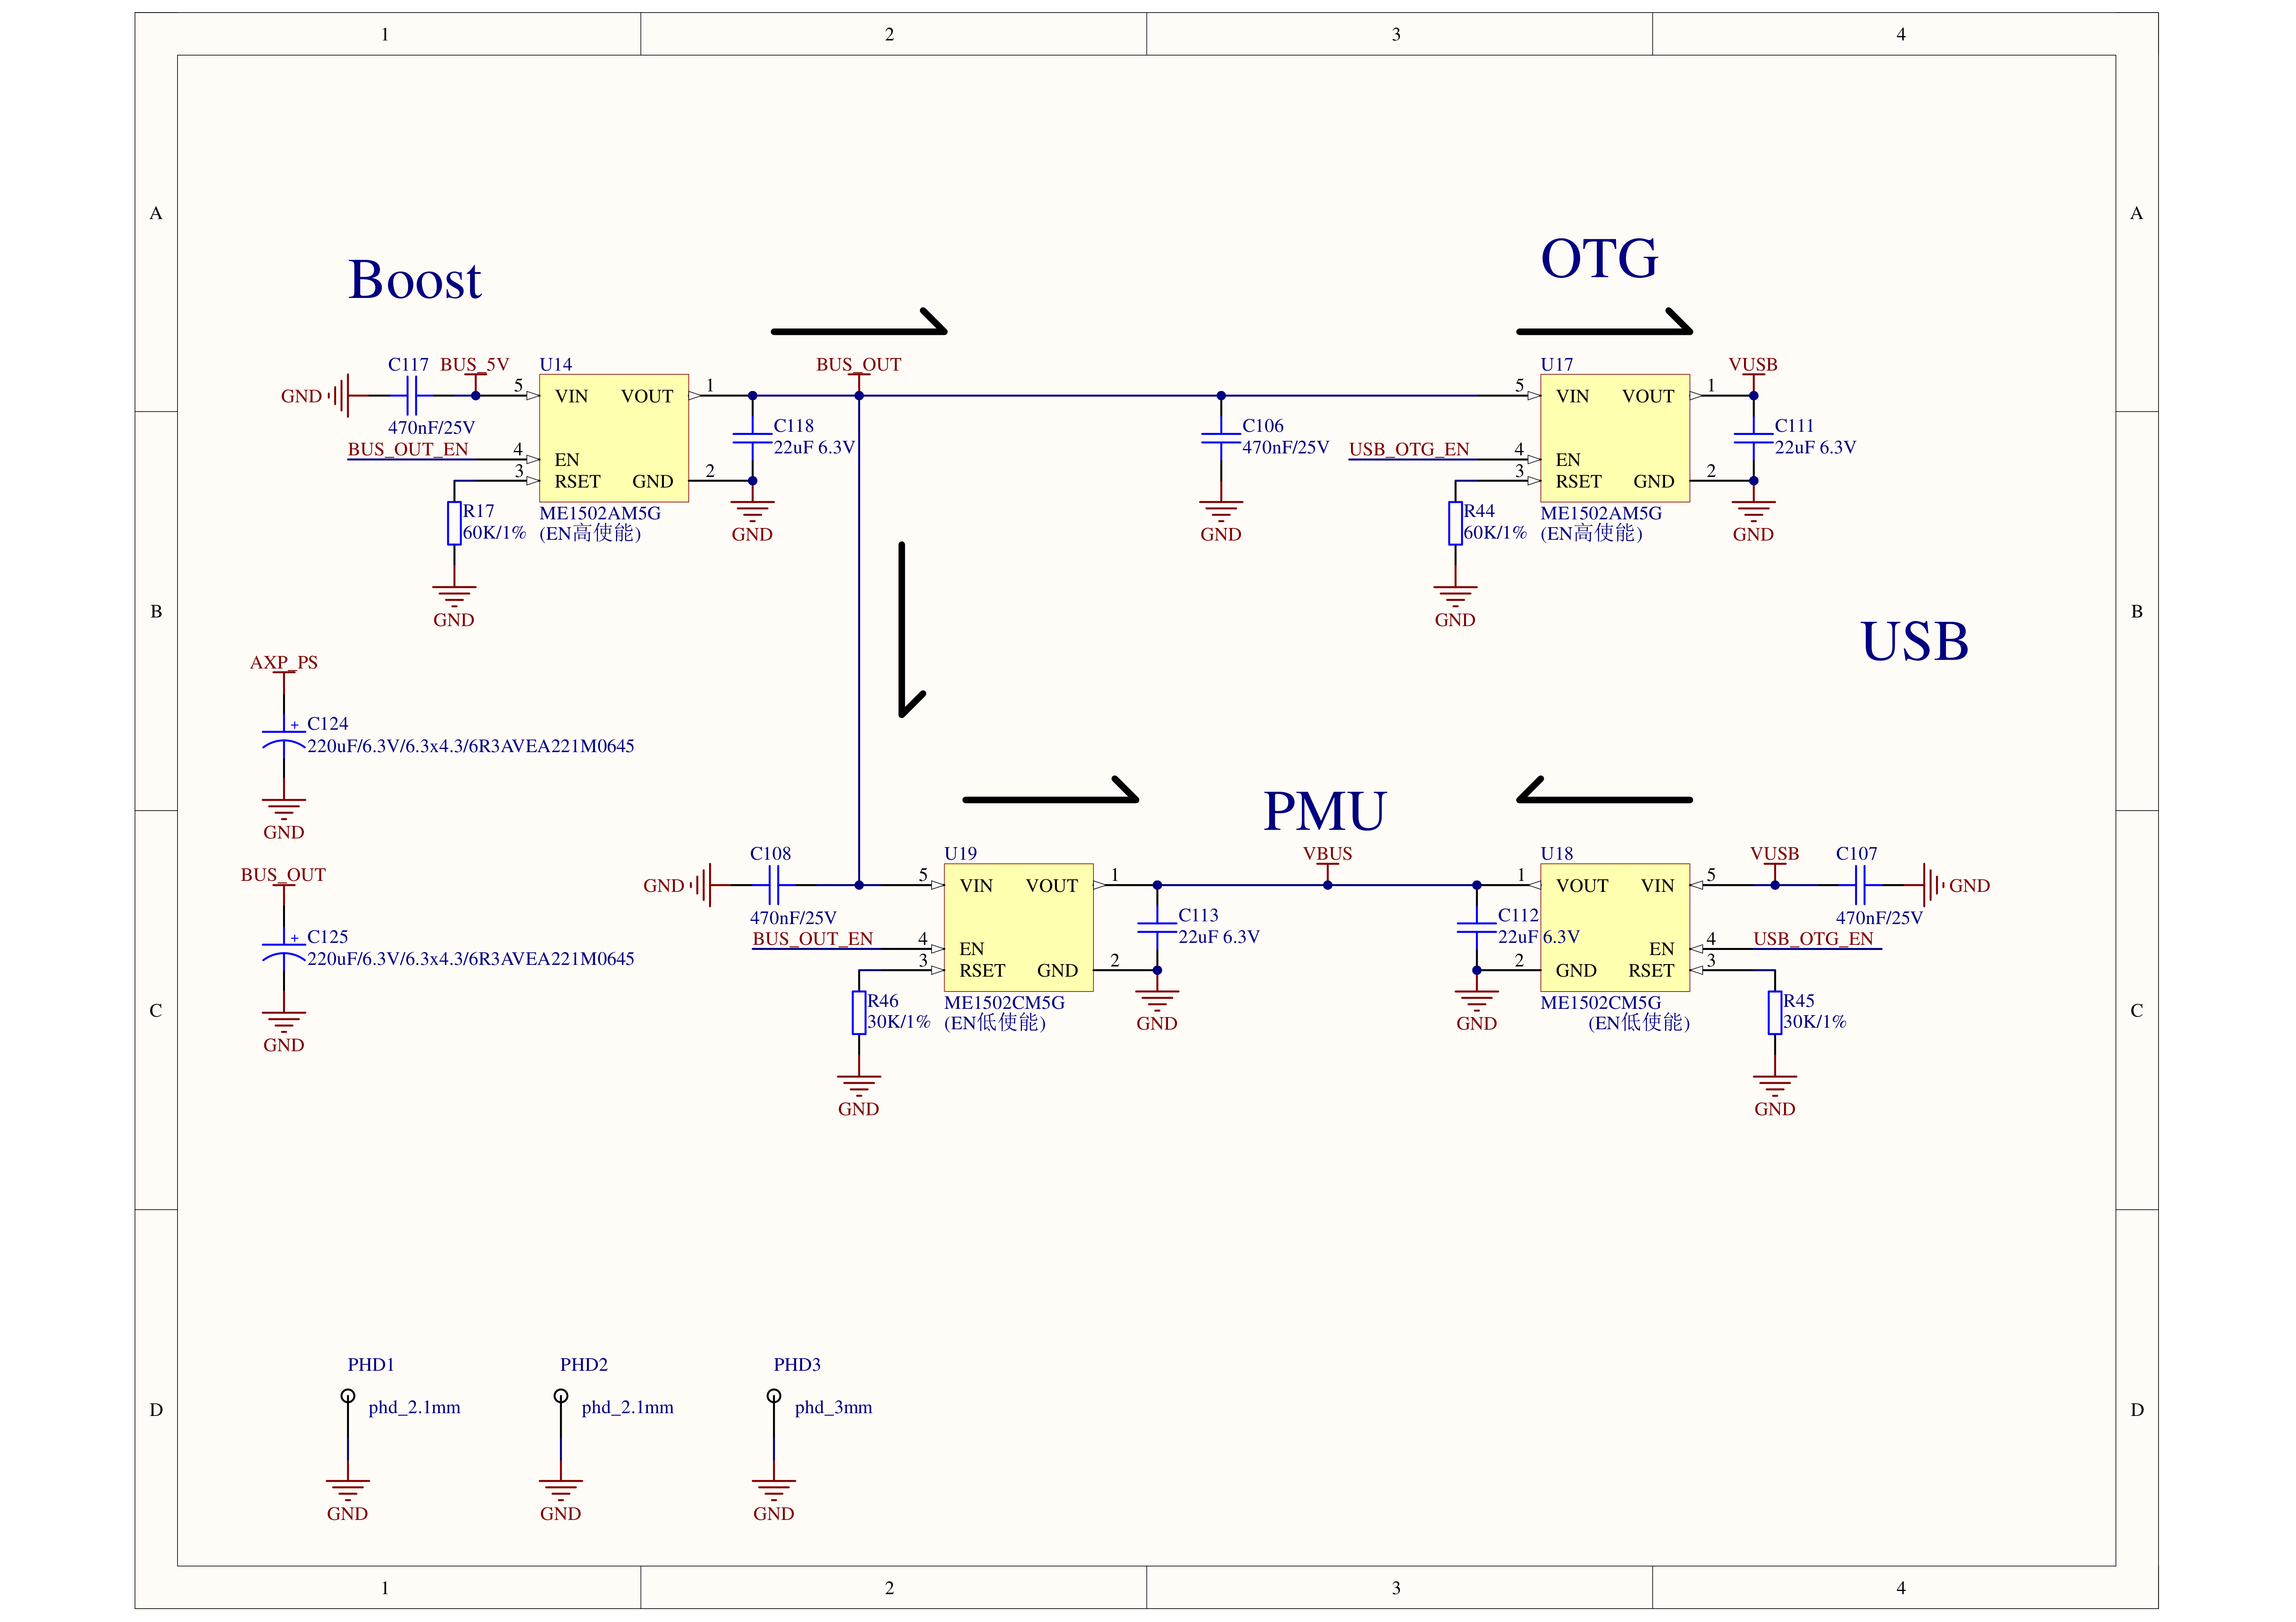
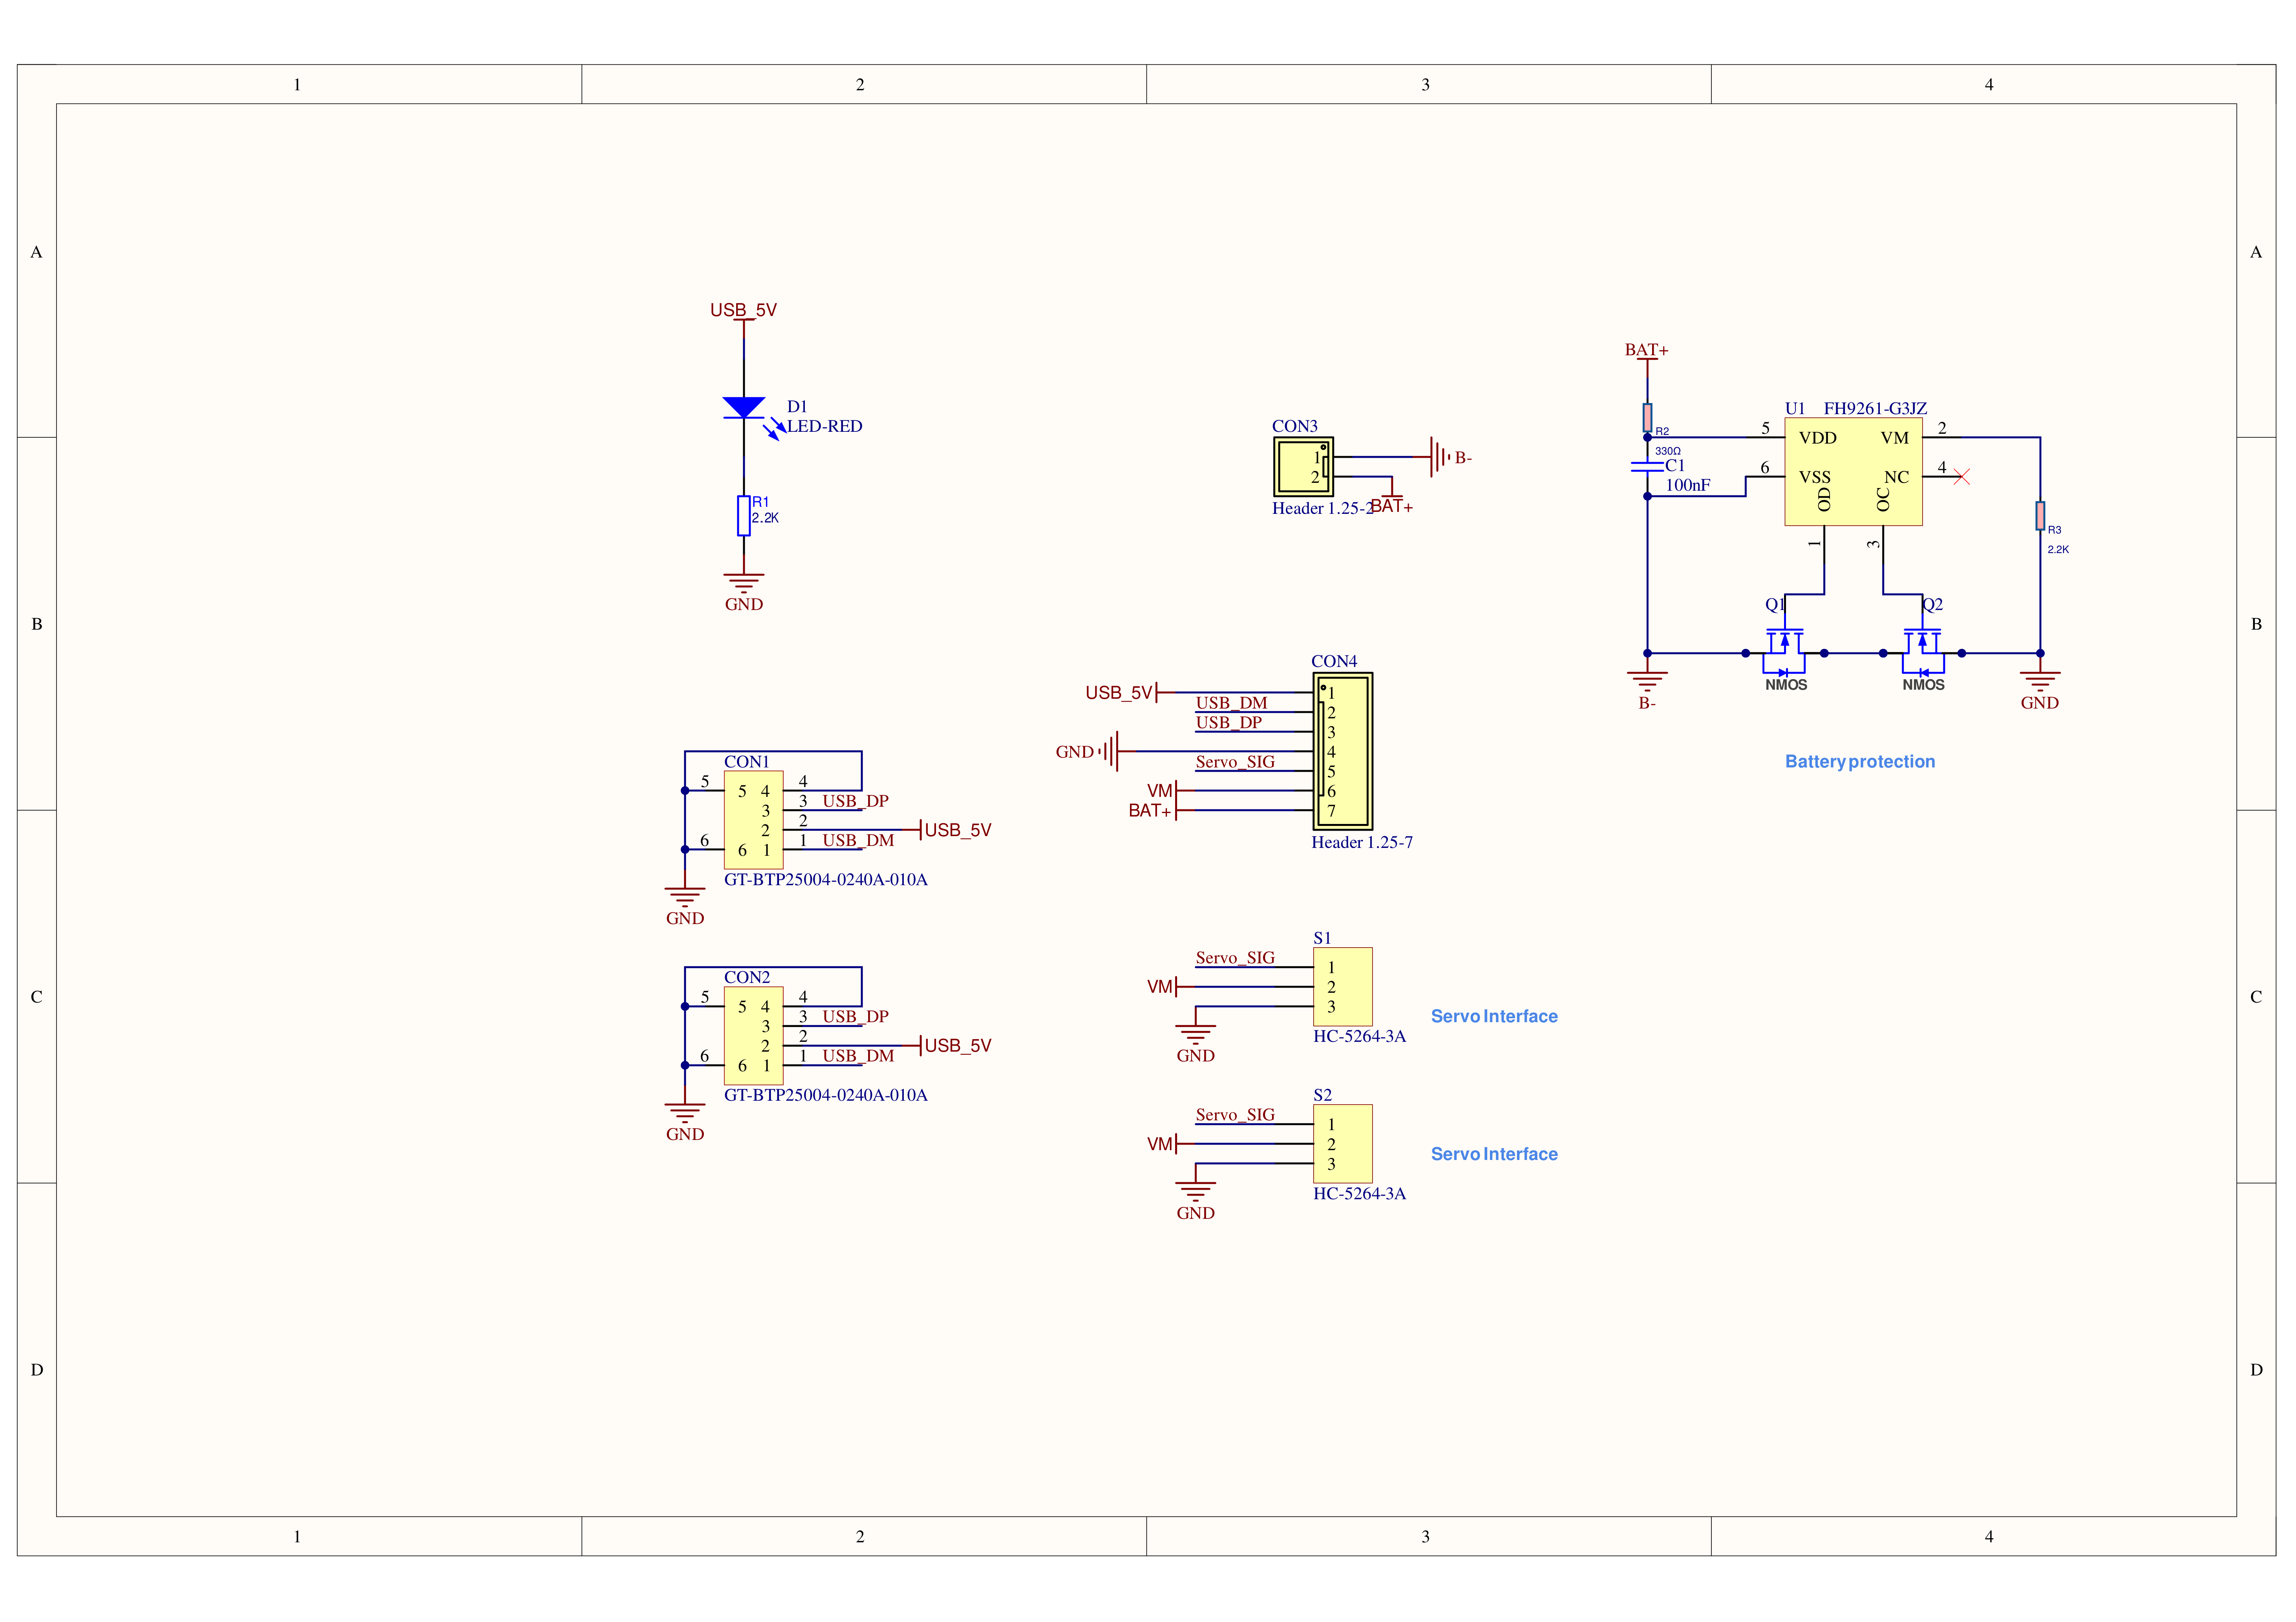
- StackChan Base Power Board Schematic PDF
- StackChan Base Ring Board Schematic PDF
- StackChan Base Touch Board Schematic PDF

PinMap
This section mainly describes the robot body module. For information about the main controller, please refer to CoreS3 PinMap.
| ESP32-S3 | G6 | G7 | G5 | G10 | G11 | G12 |
|---|---|---|---|---|---|---|
| Servo_TX | Servo_RX | IR_SEND | IR_REC | I2C_SCL | I2C_SDA |
IO Expander Chip
| PY32L020 | IO1 | IO14 |
|---|---|---|
| VM_EN | RGB |
I2C address: 0x6F (ADD_SEL low level, default)
I2C address: 0x71 (ADD_SEL high level)
I2C Devices
| Component | I2C Address |
|---|---|
| Battery Monitor (INA226AIDGSR) | 0x41 |
| NFC (ST25R3916-AQWT) | 0x50 |
| Touch (Si12T, TSM12 compatible) | 0x68 |
| IO Expander (PY32L020) | Default 0x6F Configurable to 0x71 |
Expand Interface
| HY2.0-4P | Black | Red | Yellow | White |
|---|---|---|---|---|
| PORT.A | GND | 5V | G2 | G1 |
| PORT.B | GND | 5V | G9 | G8 |
| PORT.C | GND | 5V | G17 | G18 |
Model Size
Structure
Datasheets
- Host Module (CoreS3)
- Body Module
Softwares
Factory Firmware Open Source Repository
- StackChan - GitHub, including the source code for the device firmware, remote controller firmware, mobile app, and server
Arduino
UiFlow2
Factory Firmware
Mobile App Binding and Setup
To bind and configure the AI Agent and use features such as remote video, StackChan needs to be used with the StackChan World mobile app, which supports iOS and Android. Download links:
After downloading and installing the app, launch it, then log in or register for an M5Stack account (the same account used for UiFlow, M5Burner and the M5Stack Forum).
Power on StackChan by connecting it to a power source via the bottom USB-C port, or by short-pressing the power button on the left side. The screen will display the welcome page. Tap Start, place the device on a firm and stable surface without touching it, and tap Start again to begin the servo test. StackChan will move left, right, and up in sequence, and finally return to the initial position — screen perpendicular to the base and centered between the two “feet”.

After the servo test is completed, tap Next - Next, then open the app on your phone. Tap Add a new StackChan in the app. The phone will scan for nearby StackChan devices broadcasting Bluetooth pairing requests and display them in a list. Select the device with the same ID (the MAC address of the main controller) as shown on the StackChan screen, and follow the app instructions to configure the following items:
- Device name (used to distinguish multiple devices bound to the same account)
- AI Agent
- Name (the name the AI Agent uses to refer to itself, not the wake word Hi, StackChan; custom wake word support is not yet available)
- Conversation language
- AI model
- Voice, speech rate, and pitch
- User speech recognition speed
- Personality
- Memory
- Wi-Fi name and password to connect to (supports 2.4 GHz, does not support 5 GHz; after authorization, the name of the Wi-Fi currently connected on the phone can be filled in automatically)
After completing the above settings, StackChan will restart, and the binding and setup will be completed.
UI Navigation
After powering on, the main menu is displayed on screen. Swipe left or right to switch between different function icons, then tap to enter.

Within each function, swipe inward from the top or bottom edge of the screen to reveal the status bar (network, time, battery) or the Home button to return to the main menu, respectively.


AI Agent
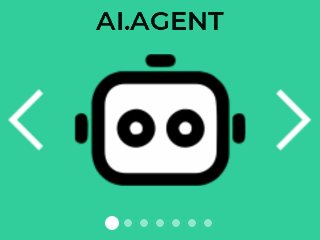
Each time you enter this function, the device checks for firmware updates online, then automatically downloads, installs, and restarts. The default voice wake word is Hi, StackChan (custom wake word support is not yet available). You can also tap the screen to wake it up and start a conversation.
The RGB LED located at the upper-left side of the device near the screen indicates the voice interaction status:
- Green indicates the device is listening;
- Blue indicates the device is speaking;
- Off indicates the voice interaction is idle.
Common voice commands:
- General Q&A
- What time is it now?
- What will the weather be like in New York tomorrow?
- Tell me a joke.
- Introduce Isaac Newton.
- Remind me to drink water in ten minutes.
- Controlling the device's own components
- (Speaker) Set the volume to 80%.
- (Motor) Turn your head to the left.
- (RGB LED) Change your built-in light to blue.
- (Camera) What can you see right now?
- (Battery) How much battery power is left?
- After connecting to Home Assistant MCP (See the connection instructions below)
- Turn on the bedroom light.
- Turn on the air conditioner and set it to 25 degrees.
- What is the current temperature in the living room?

In AI Agent mode, when the device is idle, it will randomly perform expressions such as blinking and head movements. Swipe vertically on the touch area on the top of the device to trigger a happy 🥰 expression and motion; shake the device to trigger a dizzy 😵💫 expression; after a period of inactivity with no interaction, a sleeping 😴 expression will be triggered.
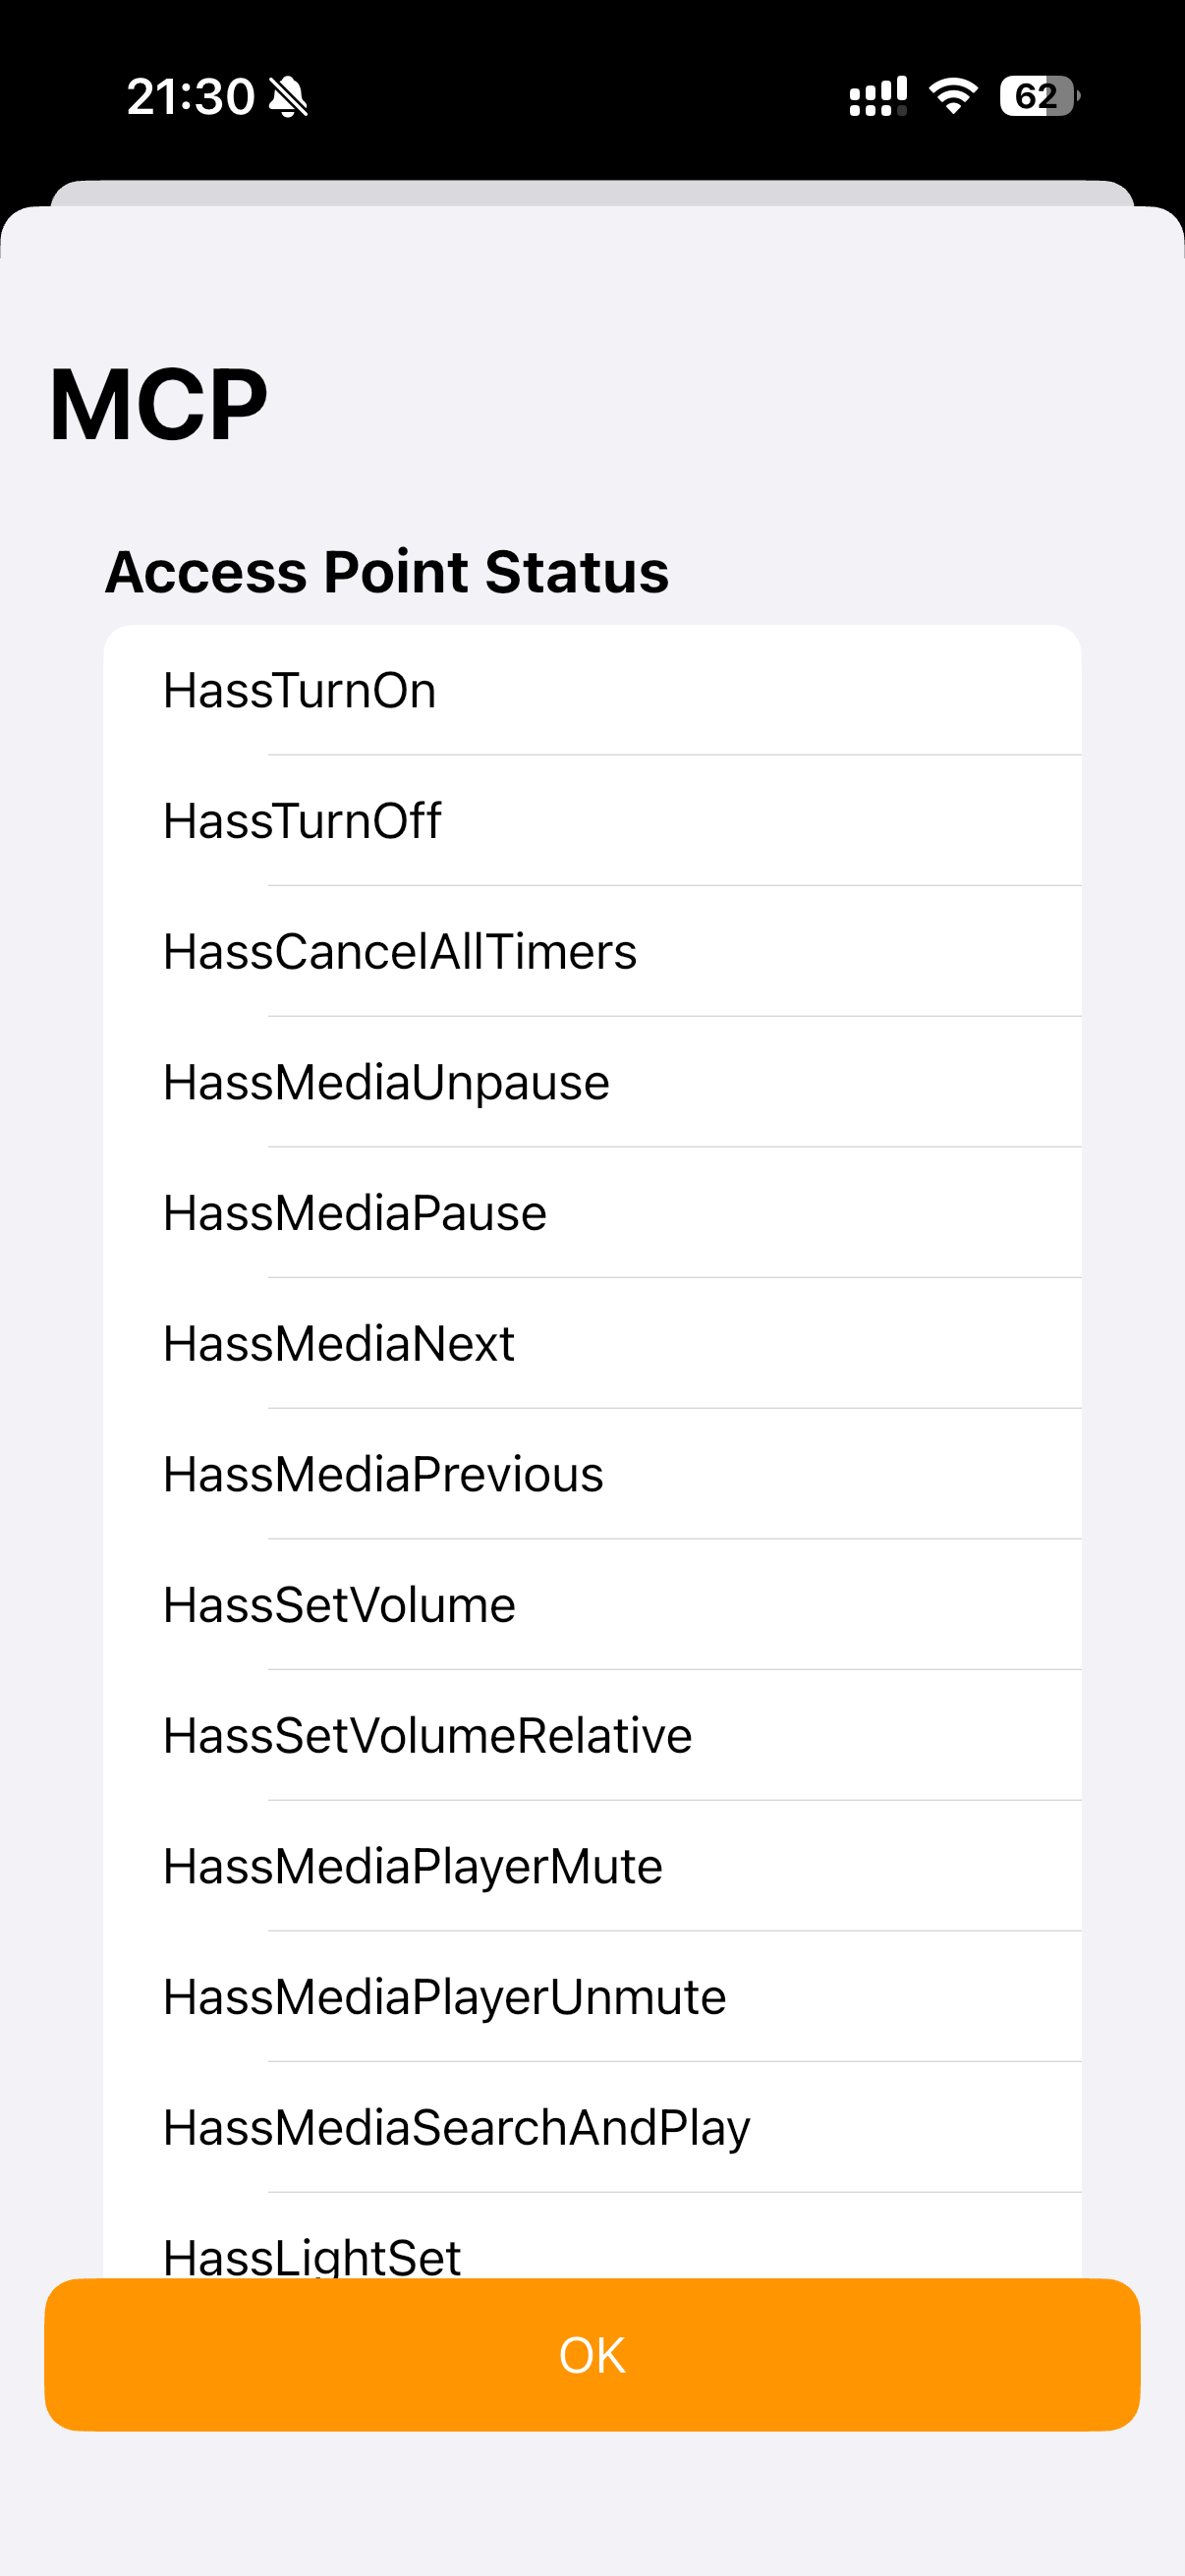
After connecting to MCP via the Home Assistant plugin, the AI Agent can control Home Assistant devices by voice. For now, you can refer to the guide at https://github.com/c1pher-cn/ha-mcp-for-xiaozhi/blob/main/README.en.md . A detailed tutorial is in preparation.
Avatar Mobile Communication
The Avatar feature on StackChan corresponds to the Avatar, Monitoring Camera, Motion, and Dance (Wi-Fi mode) features in the mobile app. When using or switching between these features on the mobile side, keep StackChan in Avatar mode; no additional operation is required.
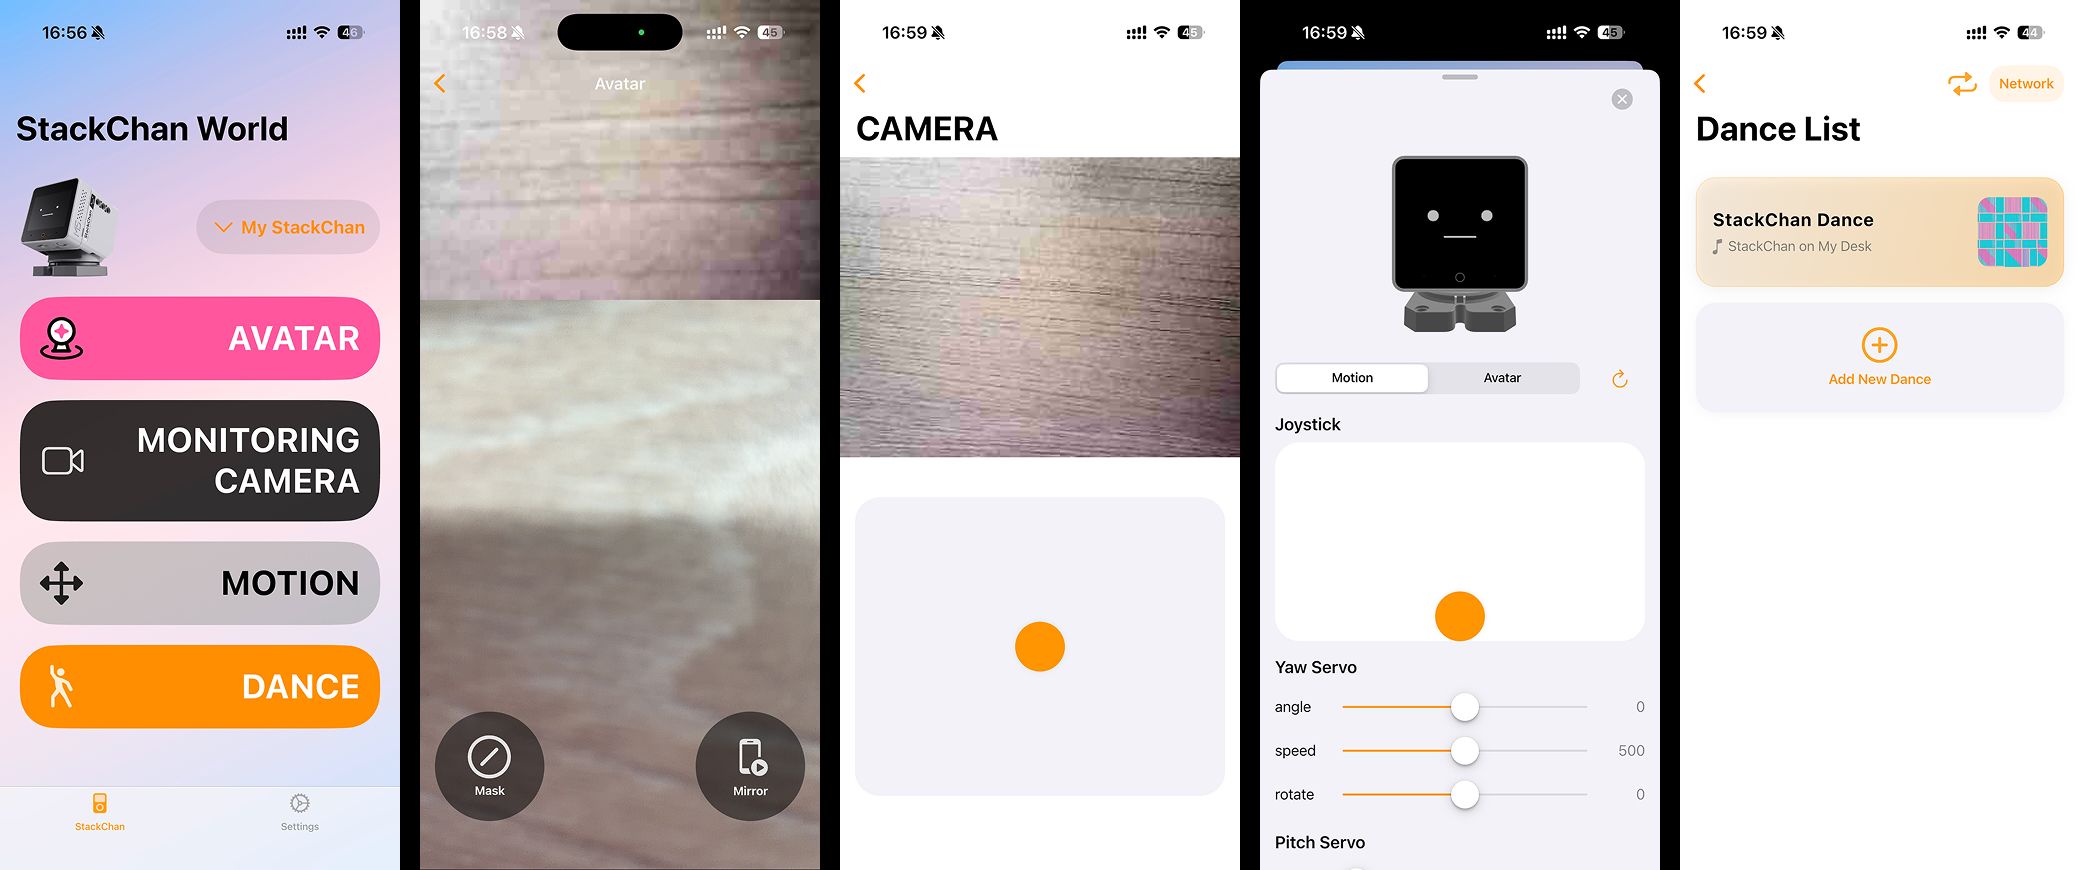
- When you enter the Avatar feature on the mobile app, StackChan becomes your avatar and mimics the person in front of the phone, including head movements (up, down, left, right) and the position and size of the eyes and mouth. Voice call functionality is not available yet.
- When you enter the Monitoring Camera feature on the mobile app, StackChan acts as a monitoring camera. You can use the on-screen joystick to move it to different angles.
- When you enter the Motion feature on the mobile app, you can control head movement and on-screen expressions. The rotate option enables continuous horizontal rotation.
- When you enter the Dance feature on the mobile app, select Network (Wi-Fi mode) in the top-right corner. You can set music, movements (rotation angles), and lighting colors to choreograph StackChan’s dance.
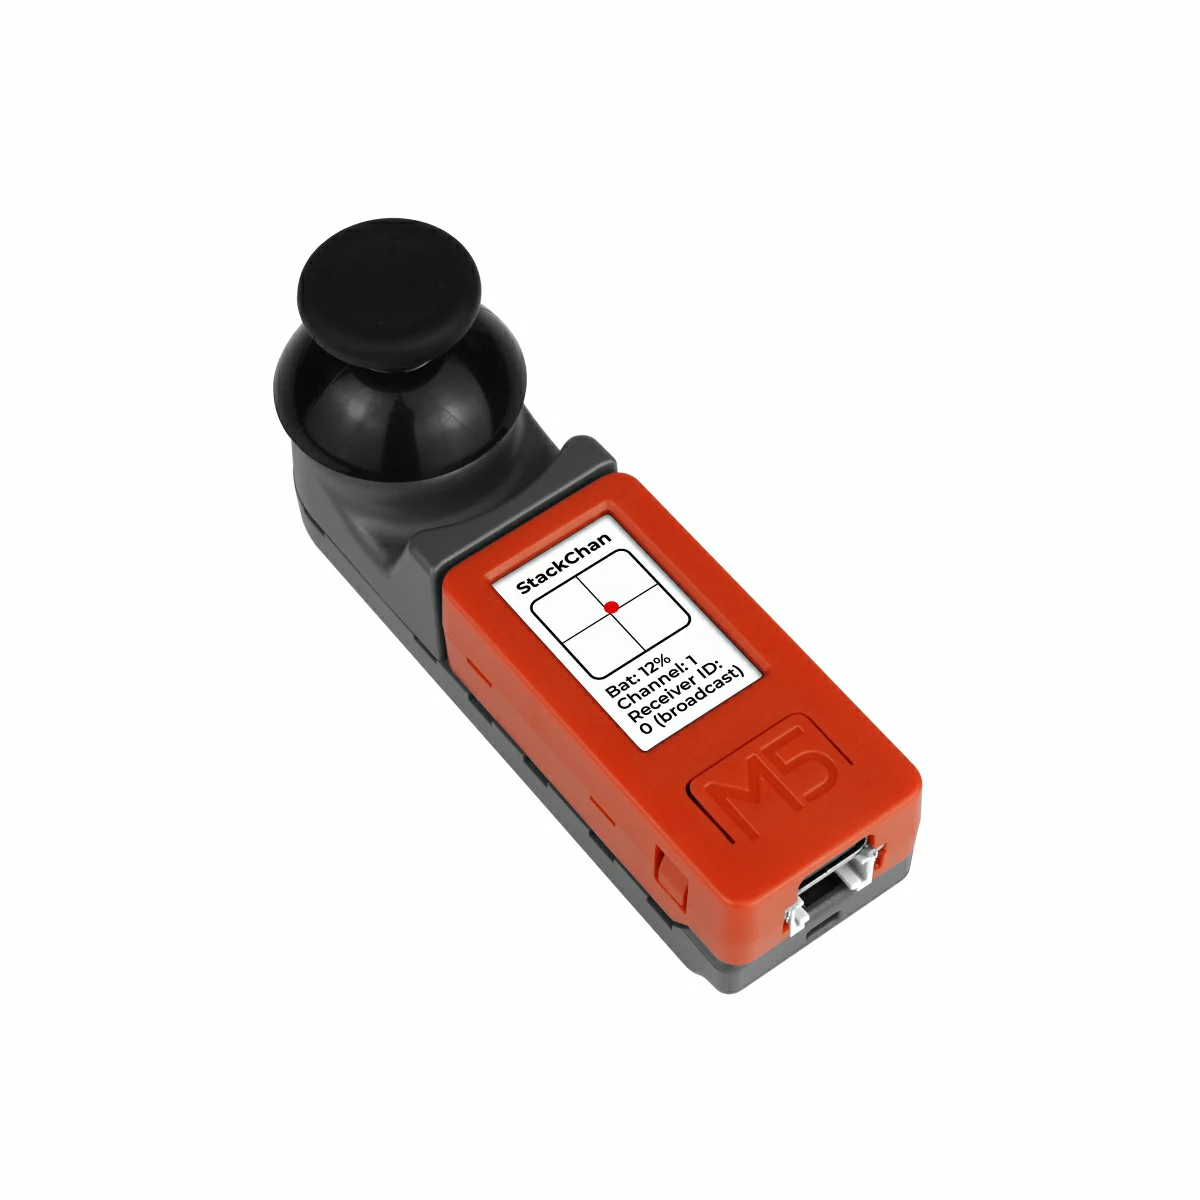
ESP-NOW Remote Control

This feature enables remote control via the ESP-NOW wireless transmission protocol based on Wi-Fi. StackChan acts as the receiver, while a remote controller or another StackChan acts as the sender.
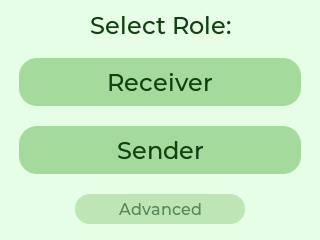
After entering the remote control feature, StackChan can quickly select Receiver or Sender to enter the default control mode, or tap Advanced to customize the Wi-Fi Channel and Receiver ID. When StackChan is used as the sender, manually rotating its head will cause the receiver to rotate to the same angle.
The remote controller consists of the StickC-Plus controller and the Hat Mini JoyC joystick. Press and hold the left power button for 2 seconds to power on, and for 6 seconds to power off, consistent with the controller behavior. After powering on, short press the small right-side button (BtnB) to switch between Wi-Fi Channel and Receiver ID selection, and move the joystick up or down to increase or decrease the value. Short press the large front button (BtnA) to enter joystick control mode; press again to switch to IMU attitude control mode; press once more to return to Wi-Fi Channel and Receiver ID settings.
Wi-Fi Channel and Receiver ID rules: only devices on the same Wi-Fi Channel can communicate; devices on different channels cannot communicate. The receiver sets its own ID, while the sender sets the target receiver ID. When the target ID is 0, it acts as a broadcast, and all receivers (regardless of ID) will be controlled (receiver ID cannot be set to 0). When the target ID is not 0, only the receiver with the matching ID will be controlled. Multiple receivers can share the same ID to enable group control.
App Center

This feature allows you to download various applications online, such as a pipe-jumping mini game, IMU stabilizer, and universal IR learning remote. More applications will be added over time.
EZData
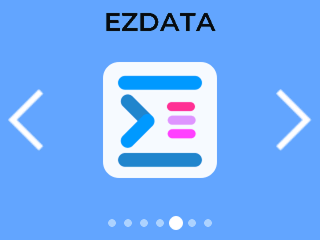
This feature is not available yet.
Dance

This feature corresponds to the Dance function in the mobile app under Bluetooth mode. You can set music, movements (rotation angles), and lighting colors to choreograph StackChan’s dance.
Setup
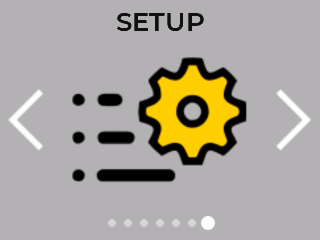
This section contains various on-device settings for StackChan, including Wi-Fi network, screen brightness, speaker volume, time zone, servo calibration, RGB strip test, account unbinding, firmware update, and more.
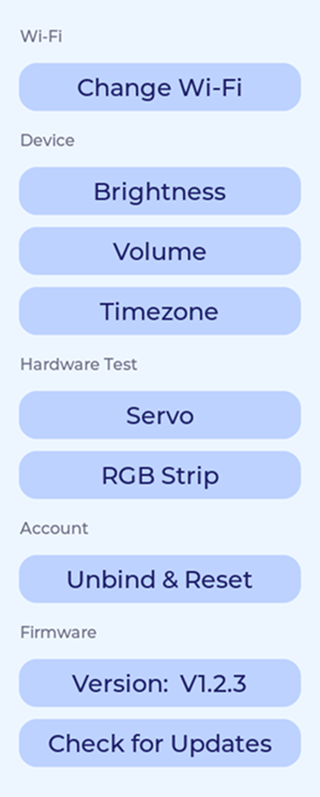
Servo calibration: In some cases, abnormal servo behavior can be corrected using this feature. After entering the calibration screen, gently rotate the device manually to the initial position, with the screen perpendicular to the base and centered between the two “feet”. Then tap Set Current Position As Home. Next, verify whether the calibration is effective: gently rotate the device away from the initial position, then tap Move To Home. If the device returns to the initial position, the calibration is successful. Tap Done at the bottom to complete the process.
Firmware update: Similar to entering the AI Agent, the device will check for firmware updates online, automatically download and install them, and then restart.
Mobile App Settings
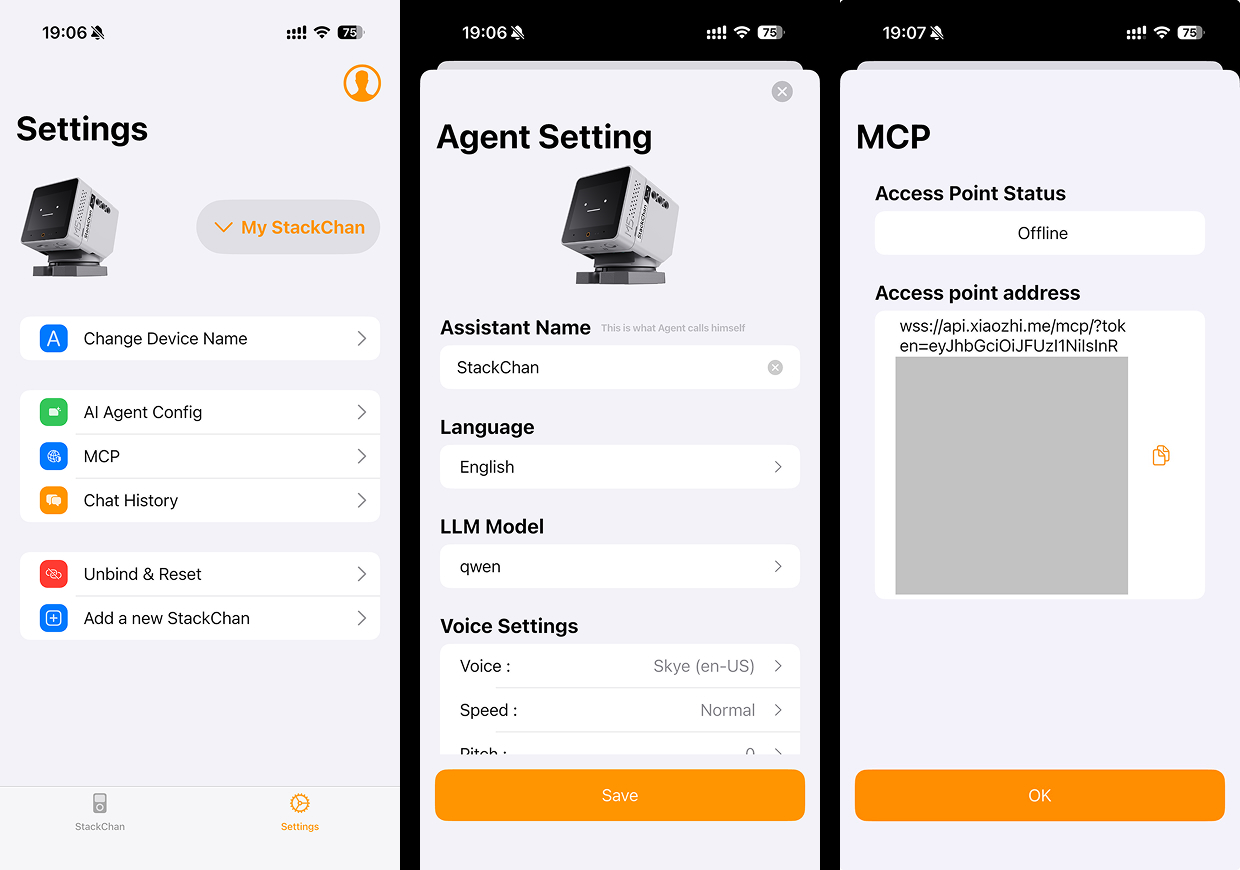
Settings in the mobile app include multi-device management, device name, AI Agent profile, MCP, conversation history, device unbinding, and more. Unbinding from the StackChan device or from the mobile app has the same effect: it clears AI Agent settings, deletes conversation history, disconnects the mobile app, and allows the device to be rebound to another M5Stack account after restart.
Restore Factory Firmware
If you have flashed custom firmware to StackChan using Arduino, UiFlow, or other methods, or need to restore the factory firmware due to unexpected issues, you can use the M5Stack unified flashing tool, M5Burner, on your computer:
- Windows https://m5burner-cdn.m5stack.com/app/M5Burner-v3-beta-win-x64.zip
- macOS https://m5burner-cdn.m5stack.com/app/M5Burner-v3-mac-x64.dmg
- Linux https://m5burner-cdn.m5stack.com/app/M5Burner-v3-beta-linux-x64.zip
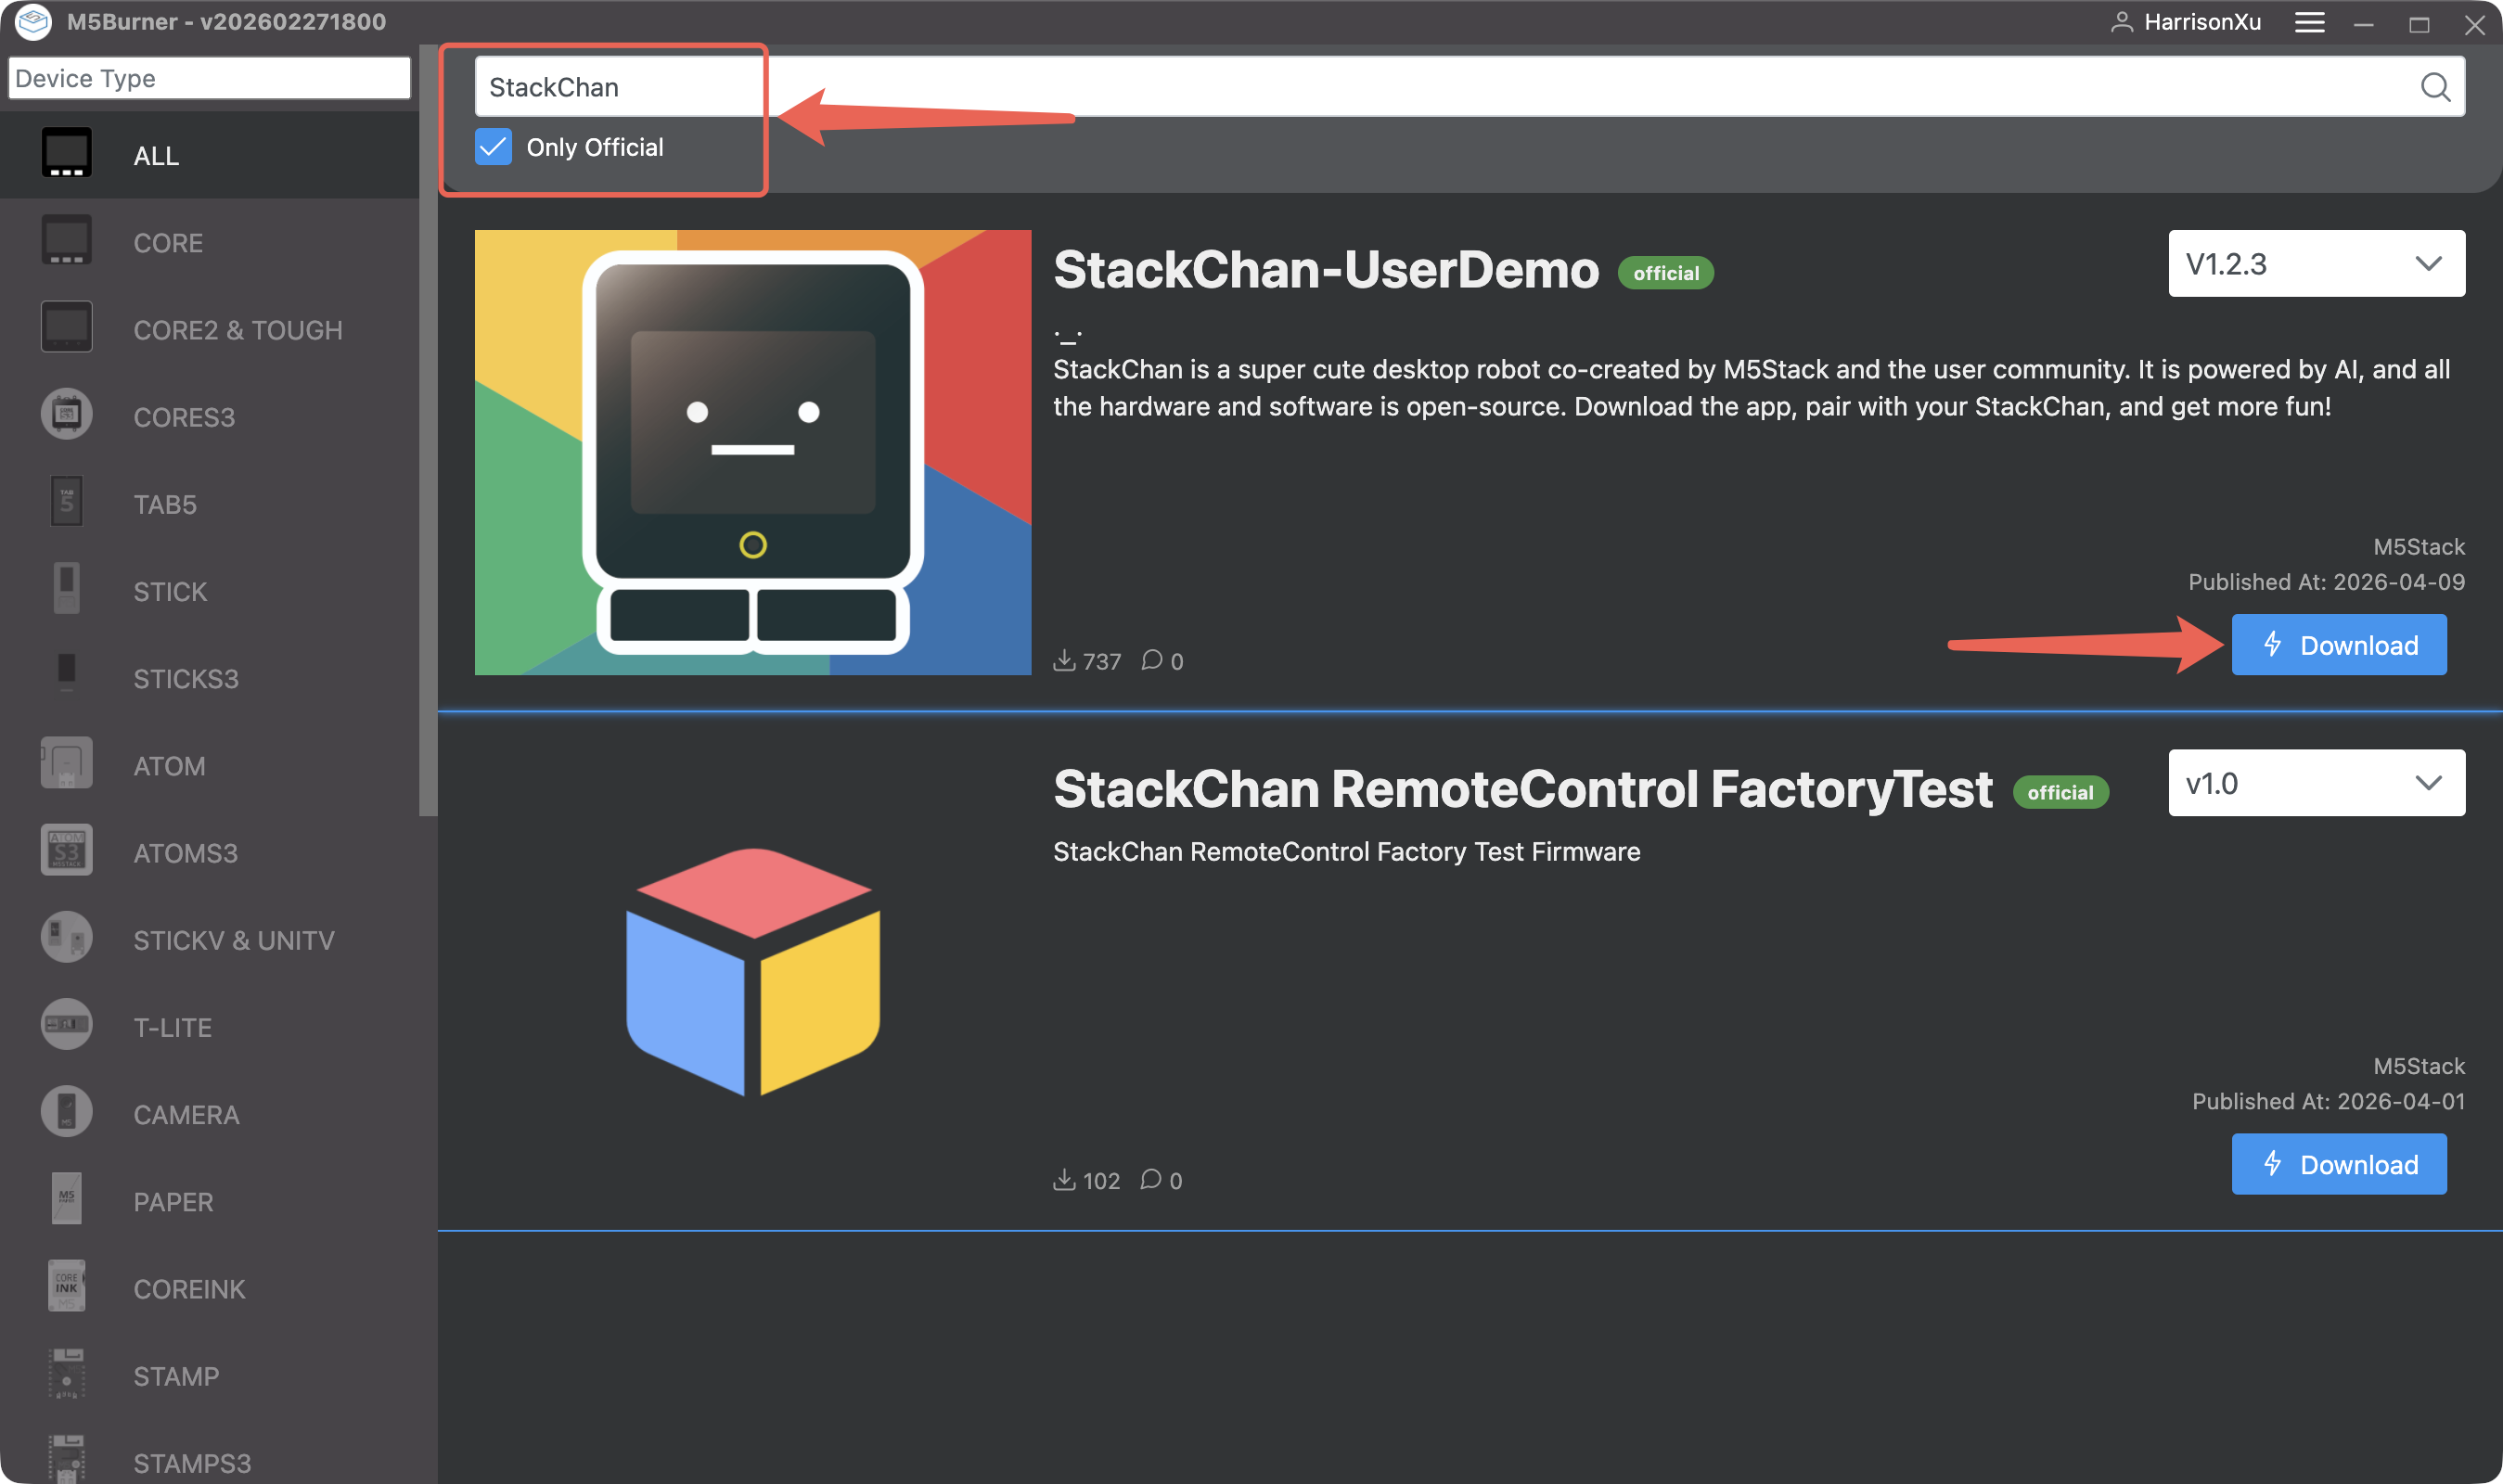
Open M5Burner, search for StackChan, check Only Official, and click Download to get the latest firmware version.
Connect the computer and StackChan using a USB-C cable. Both USB-C ports support data transfer, but it is recommended to use the one on the base to avoid accidental movement. Press the power button once to turn on the device. On macOS, if a permission prompt appears, please allow it.
In M5Burner, click Burn, then select the corresponding port of the device. Click Start and wait for the progress bar to complete the flashing process.
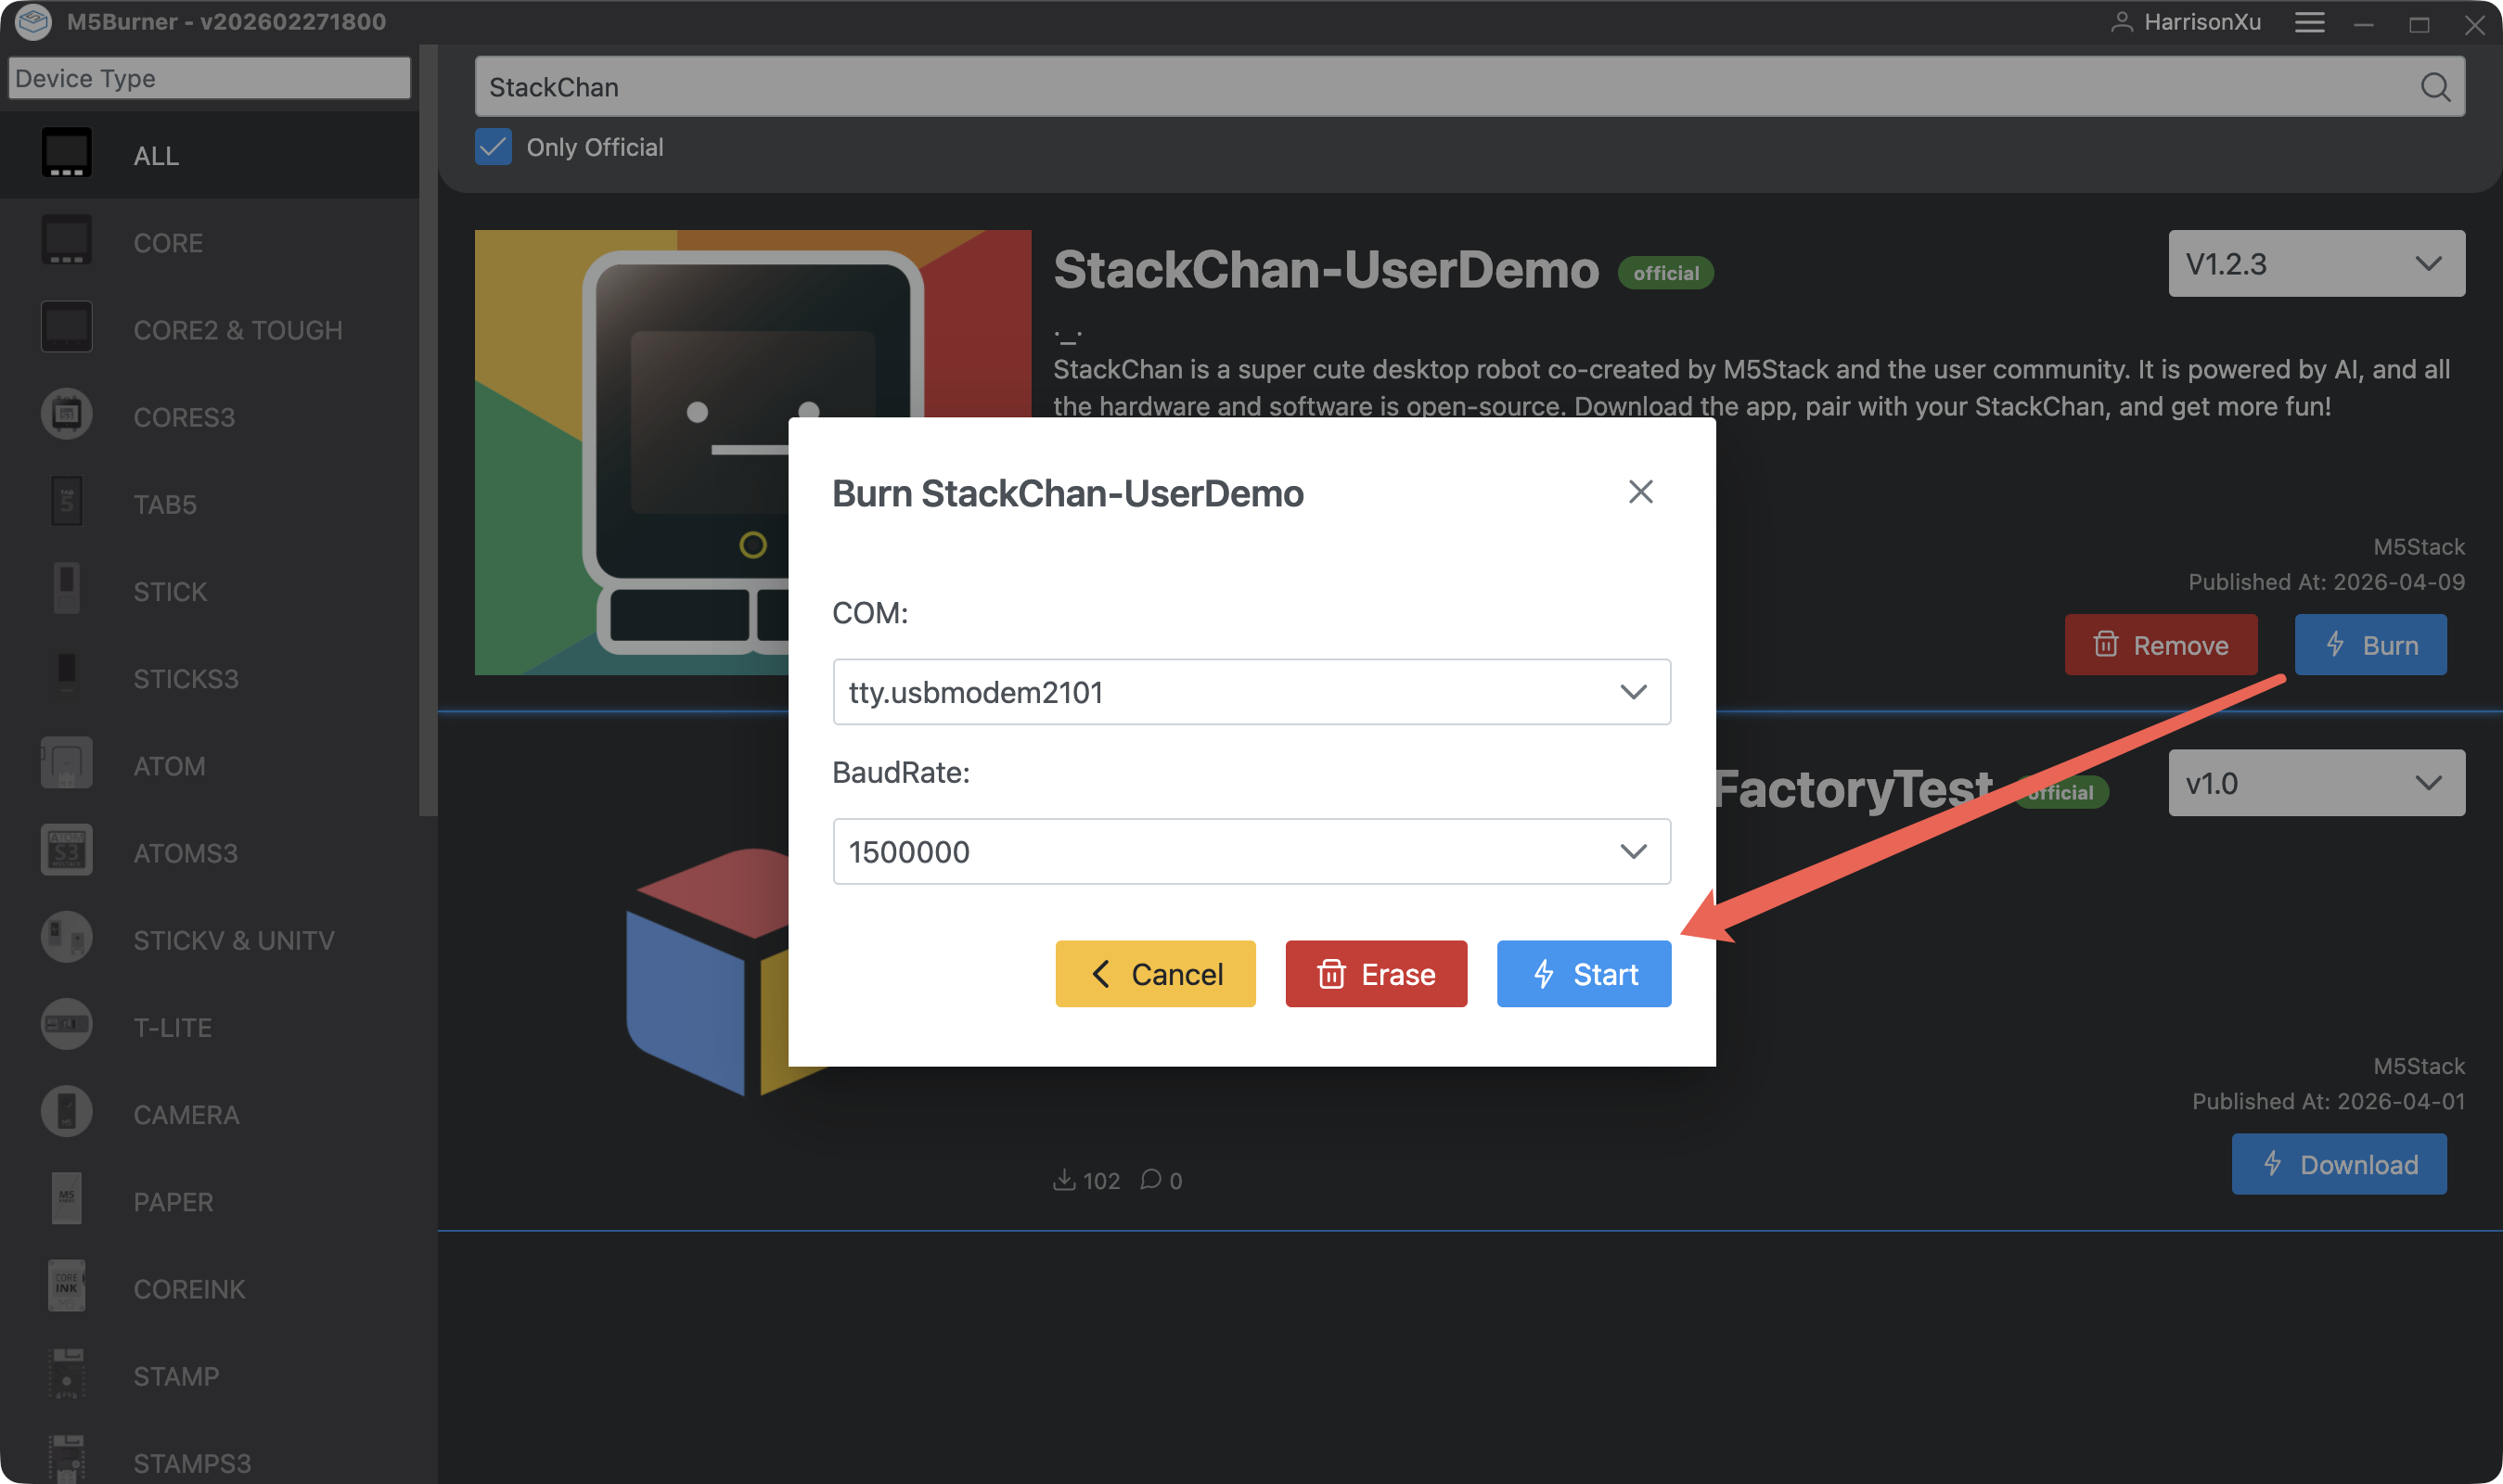
If you are not sure which port corresponds to the device, expand the port list, disconnect the device and note which port disappears, then reconnect the device. If the device port does not appear, press and hold the RST button for 3 seconds. The indicator next to the button will turn green, indicating that the device has entered download mode. Then release the button.
Troubleshooting
Pairing Issues
When using StackChan for the first time, you configure it through the mobile app. If the StackChan screen already displays an ID, but after tapping "Add a new StackChan" in the app you only see pairing instructions instead of a list of nearby devices available for pairing, please check whether the StackChan World app has been granted the required permissions, such as Bluetooth access. After granting the necessary permissions, retrying the pairing process will usually resolve the issue.
The Wi-Fi network StackChan is connected to must be 2.4 GHz. 5 GHz networks are not supported. Networks that require additional web-based login authentication (captive portal) are also not supported.
Poor Network Connectivity
If your StackChan is running in AI Agent mode and, after being awakened by the voice wake word "Hi, StackChan" or by tapping the screen, the green LED at the top of the device does not light up (that is, it does not start listening for your voice command), or if StackChan's speech output is intermittent or choppy, the issue is usually caused by poor network connectivity. Please switch to a different network and try again.
Voice Wake-up Abnormality
If your StackChan fails to wake up, please troubleshoot following the steps below:
- Confirm that the device has entered AI Agent mode.
- Move closer to StackChan, refer to the pronunciation in the demo video, and increase the volume to attempt wake-up.
- Try tapping the screen to wake up the device. The top LED will light up green when woken up normally. Do not tap the screen continuously, as this may accidentally exit the wake-up mode.
XiaoZhi Pairing and Unpairing
The AI Agent feature in the factory firmware is powered by XiaoZhi. StackChan also supports other XiaoZhi-based firmware. The factory firmware is configured through the StackChan World app, while other firmware versions are typically configured through xiaozhi.me. These two systems are not interoperable. Therefore, before flashing and using another XiaoZhi-based firmware, you must first unpair StackChan (either through the StackChan World app or through the Settings menu in the factory firmware; both methods have the same effect). Otherwise, you may encounter pairing issues when attempting to pair the device on xiaozhi.me. The reverse is also true. If the device has already been paired on xiaozhi.me, it must be unpaired before it can be paired in the StackChan World app and used with the factory firmware.
Hardware Issues
If your StackChan appears to have a hardware-related issue, such as failing to power on, abnormal servo movement, display abnormalities, or the green LED lighting up after wake-up in AI Agent mode but the device not responding to voice commands, please perform the following tests as appropriate:
- In the Settings menu on the StackChan device, run the Microphone Test, RGB LED Test, and Servo Test. Check whether the microphone responds to sound, whether the RGB LED displays the correct colors, and whether the servo can move from its current position back to the home position after tapping "Move To Home".
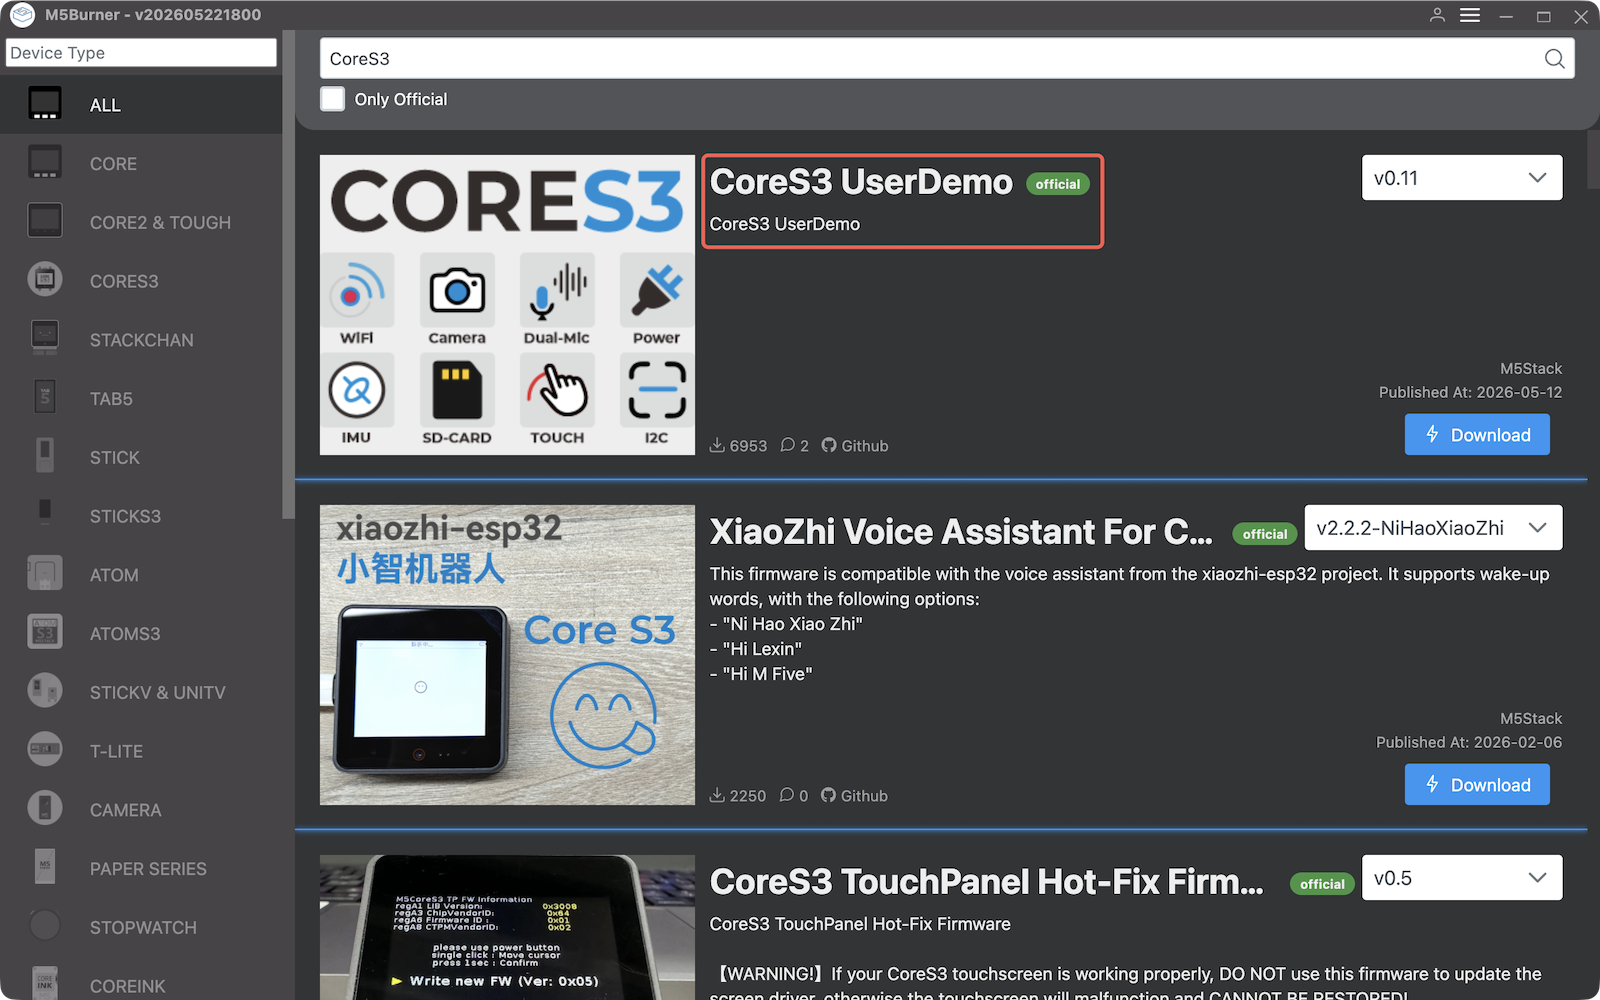
- Use M5Burner to flash the latest version of CoreS3 UserDemo, then run the built-in tests for CoreS3 hardware functions, such as checking battery voltage, USB voltage, and other information in the Power Test section.
- If StackChan cannot power on, try supplying power through each of the two USB-C ports separately. If you are comfortable with hardware disassembly, you may also follow the instructional video to separate the CoreS3 controller from the body and test the controller independently.
After completing the relevant tests, please send the test procedure, photos, and videos to official customer support for further assistance.
Video
- StackChan Product Overview and Feature Demonstration
- StackChan Usage Tutorial