

Home Assistant
传感器
Unit VMeter Home Assistant 集成
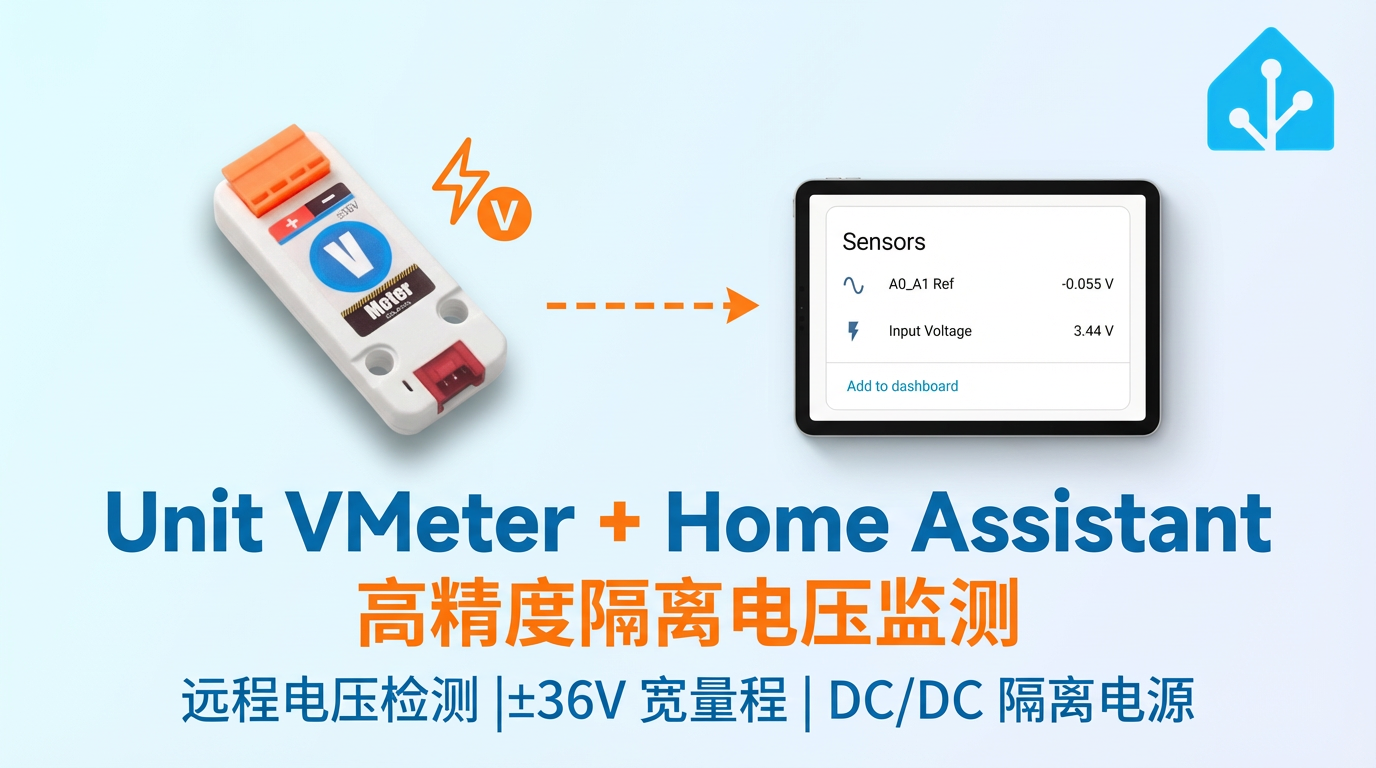
本章节介绍将 Unit VMeter 电压传感器集成至 Home Assistant 的配置方法与实操步骤。
1. 准备工作
环境准备
- 参考 Home Assistant 官方文档安装 Home Assistant。
- 参考 ESPHome 官方文档完成 ESPHome Device Builder 插件安装。
- 查阅以下配置资料:
- ADS1115 Datasheet
- 从 ESPHome 获取 ADS1115 的最新配置:ADS1115 4-Channel 16-Bit A/D Converter
硬件产品
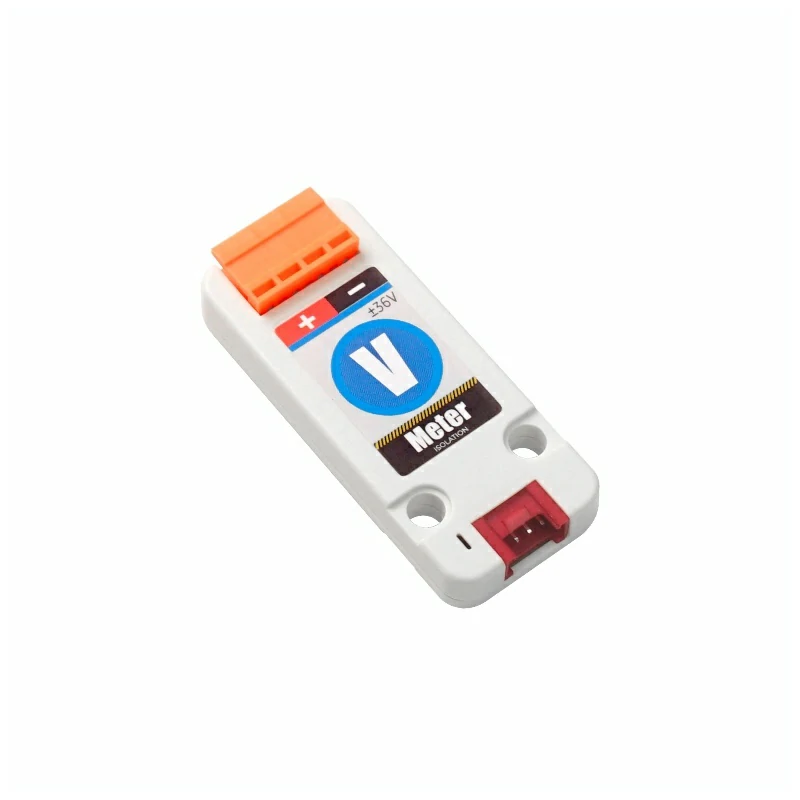
- Unit VMeter
- 兼容主控设备(如 Atom 系列、Stamp 系列、Stick 系列、Core/Basic 系列等)
注意
Unit VMeter 只是单独的传感器平台,需要额外的主控设备(如 Atom 系列、Stamp 系列, Stick 系列、Core/Basic 系列等)才能集成至 Home Assistant。
2. 修改配置
- 需要在 ESPHome 配置中启用 I²C 组件:
# Example configuration entry for ESP32
i2c:
  sda: GPIOXX
  scl: GPIOXX
scan: true这里的 GPIO 引脚会因为使用的主控设备不一而不同。比如使用 Atom Lite 作为主控:
# I2C Bus on Grove Port (HY2.0-4P)
i2c:
  sda: GPIO26
scl: GPIO32Unit VMeter 配置范例:
- 首先配置基础组件 ADS1115:
yaml
1 2 3 4 5 6 7 8 9 10 11
ads1115:
  - address: 0x49

sensor:
  - platform: ads1115
    multiplexer: "A0_A1"
    gain: 1.024
    sample_rate: 128
    name: "Unit VMeter A0_A1 Ref"
    id: diff
update_interval: 10s提示
Unit VMeter 只使用了
AIN0 和 AIN1 两个通道,所以最多可以使用 3 个 multiplexer: "A0_A1" , "A0_GND" , "A1_GND" ;而此处测量电压,仅用到了 A0_A1 参与电压计算。- 配置 EEPROM 读取校准参数,结合
TemplateSensor 创建自定义数据:
yaml
1 2 3 4 5 6 7 8 9 10 11 12 13 14 15 16 17 18 19 20 21 22 23 24 25 26 27 28 29 30 31 32 33 34 35 36 37 38 39 40 41 42 43 44 45 46 47 48 49 50 51 52 53 54 55
   i2c_device:
     id: eeprom
     address: 0x53

   sensor:
     # Previous ads1115 declarations
     ...
     - platform: template
       name: "Input Voltage"
       id: input_volt
       unit_of_measurement: "V"
       icon: "mdi:flash"
       accuracy_decimals: 2
       update_interval: 10s
       lambda: |-

         float d = id(diff).state;

         if (isnan(d)) return NAN;

         const float PRESSURE_COEFF = 0.015918958f;

         // Remember to change the 'EEPROM_REG' if you changed the 'gain'
         const uint8_t EEPROM_REG = 0xE8;

         uint8_t calib[8];
         uint16_t hope, actual;

         // Read EEPROM
         if ( id(eeprom).read_register(EEPROM_REG, calib, 8) != i2c::ERROR_OK ) {
           ESP_LOGD("vmeter.sensor", "Failed to read from EEPROM..");
           return NAN;
         }

         uint8_t xor_result = 0x00;

         for (uint8_t i = 0; i < 5; i++) {
             xor_result ^= calib[i];
         }

         if (xor_result != calib[5]) {
           return NAN;
         }

         hope   = (calib[1] << 8) | calib[2];
         actual = (calib[3] << 8) | calib[4];

         float calibration_ratio = (float)hope / actual;

         ESP_LOGD("vmeter.sensor", "Factory calibration factor: %f", calibration_ratio);

         float vin = - d / PRESSURE_COEFF;
         vin = vin * calibration_ratio;

return vin;- 在读取 EEPROM 的时候,需要根据 ADS1115 设置的
gain值,修改 lambda 表达式中EEPROM_REG读取地址:
c++
1 2 3 4
   // In lambda expression
   // remember to change the 'EEPROM_REG' if you changed the 'gain'
   // for an example, when 'gain' is 1.024
const uint8_t EEPROM_REG = 0xE8;| ADS1115 Gain | EEPROM Data Register | Max Input Voltage (theory) |
|---|---|---|
| 6.144 | 0xD0 | - |
| 4.096 | 0xD8 | - |
| 2.048 | 0xE0 | - |
| 1.024 | 0xE8 | 64 V |
| 0.512 | 0xF0 | 32 V |
| 0.256 | 0xF8 | 16 V |
推荐的 gain 值为 0.256, 0.512 和 1.024; 其中,在测量 16V 以下电压分辨率为 1mV,16V 以上电压分辨率为 7.9 mV,请根据被测对象电压选择最合适的 gain 值,以及读取 EEPROM 中合适的校准参数。为了数据精准,仅能测量 AIN0 或 AIN1 其中一路,请勿将两路都接上电压输入。
警告
产品设计的最佳测量区间为 ±36V, 请不要输入此范围之外的电压,以免设备损坏;EEPROM (0x53) 在出厂时内置了校准参数,请勿对 EEPROM 进行写操作,否则校准数据将被覆盖,可能导致测量结果不准确。
3. 开始使用
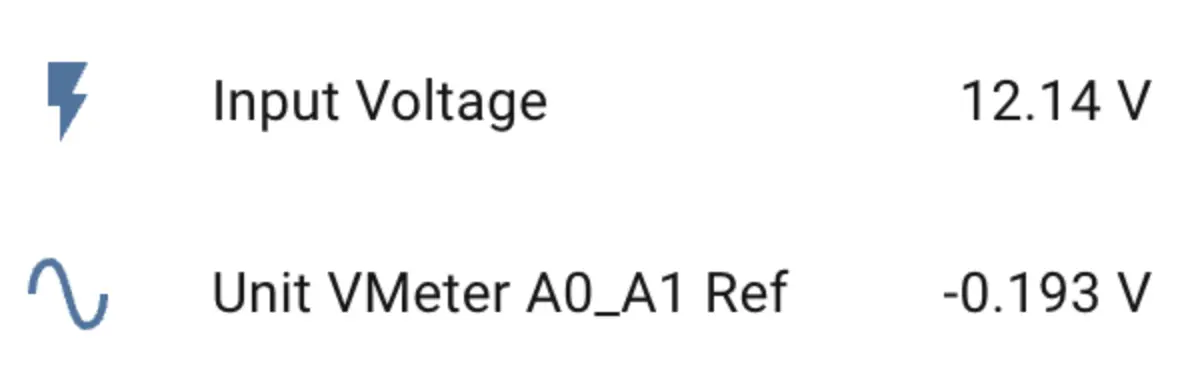
当添加至 Dashboard 之后,您可以在 Home Assistant 中查看传感器数据。
4. 相关视频
Page Tools