

Home Assistant
Media Player
Expansion
Sensor
AtomS3R-CAM Home Assistant Integration
This chapter describes how to integrate AtomS3R-CAM with Home Assistant.

1. Preparation
Environment Setup
- Install Home Assistant by following the official Home Assistant documentation.
- Install the ESPHome Device Builder add-on by following the official ESPHome documentation. (Note: This tutorial is based on
ESPHome 2026.3.0. If you encounter compilation errors, switch to this version for verification.)
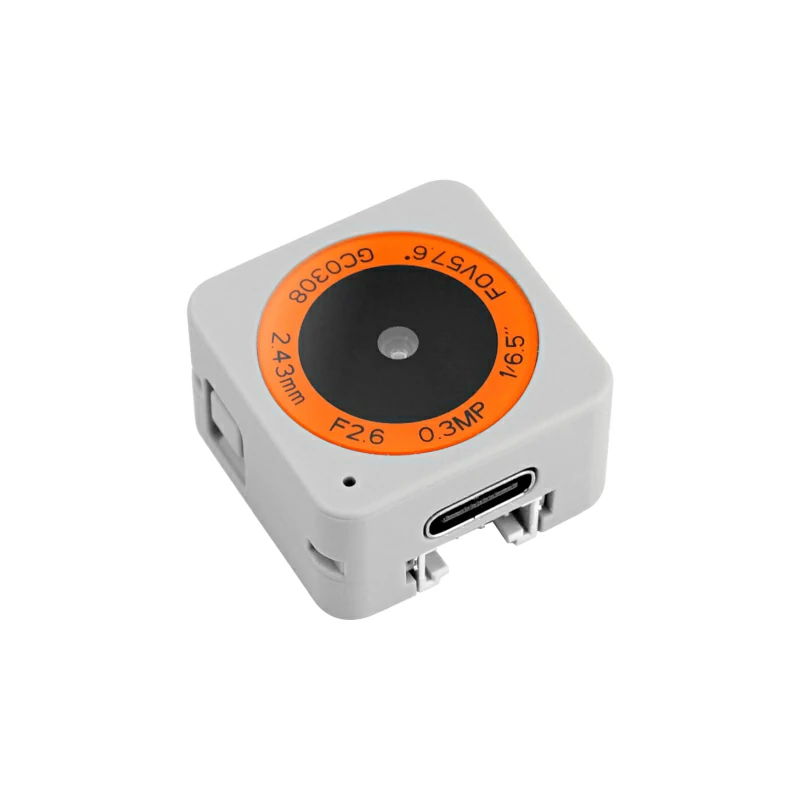
Hardware
2. Firmware Compilation & Flashing
This section explains how to recompile the project from the yaml configuration file for secondary development, feature modifications, or adding new features.
Compilation Time
The first build may take a long time, depending on the performance of the Home Assistant host and network conditions.
Create Device
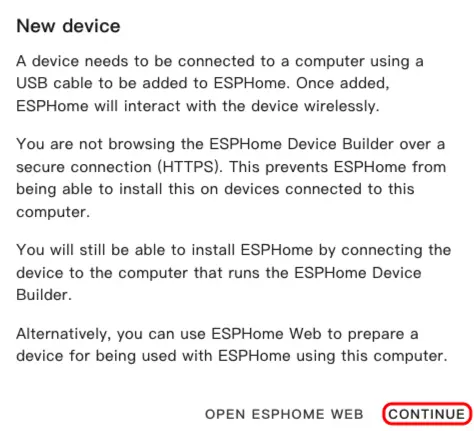
- Open ESPHome Dashboard. If the initial wizard appears, click
CONTINUE.
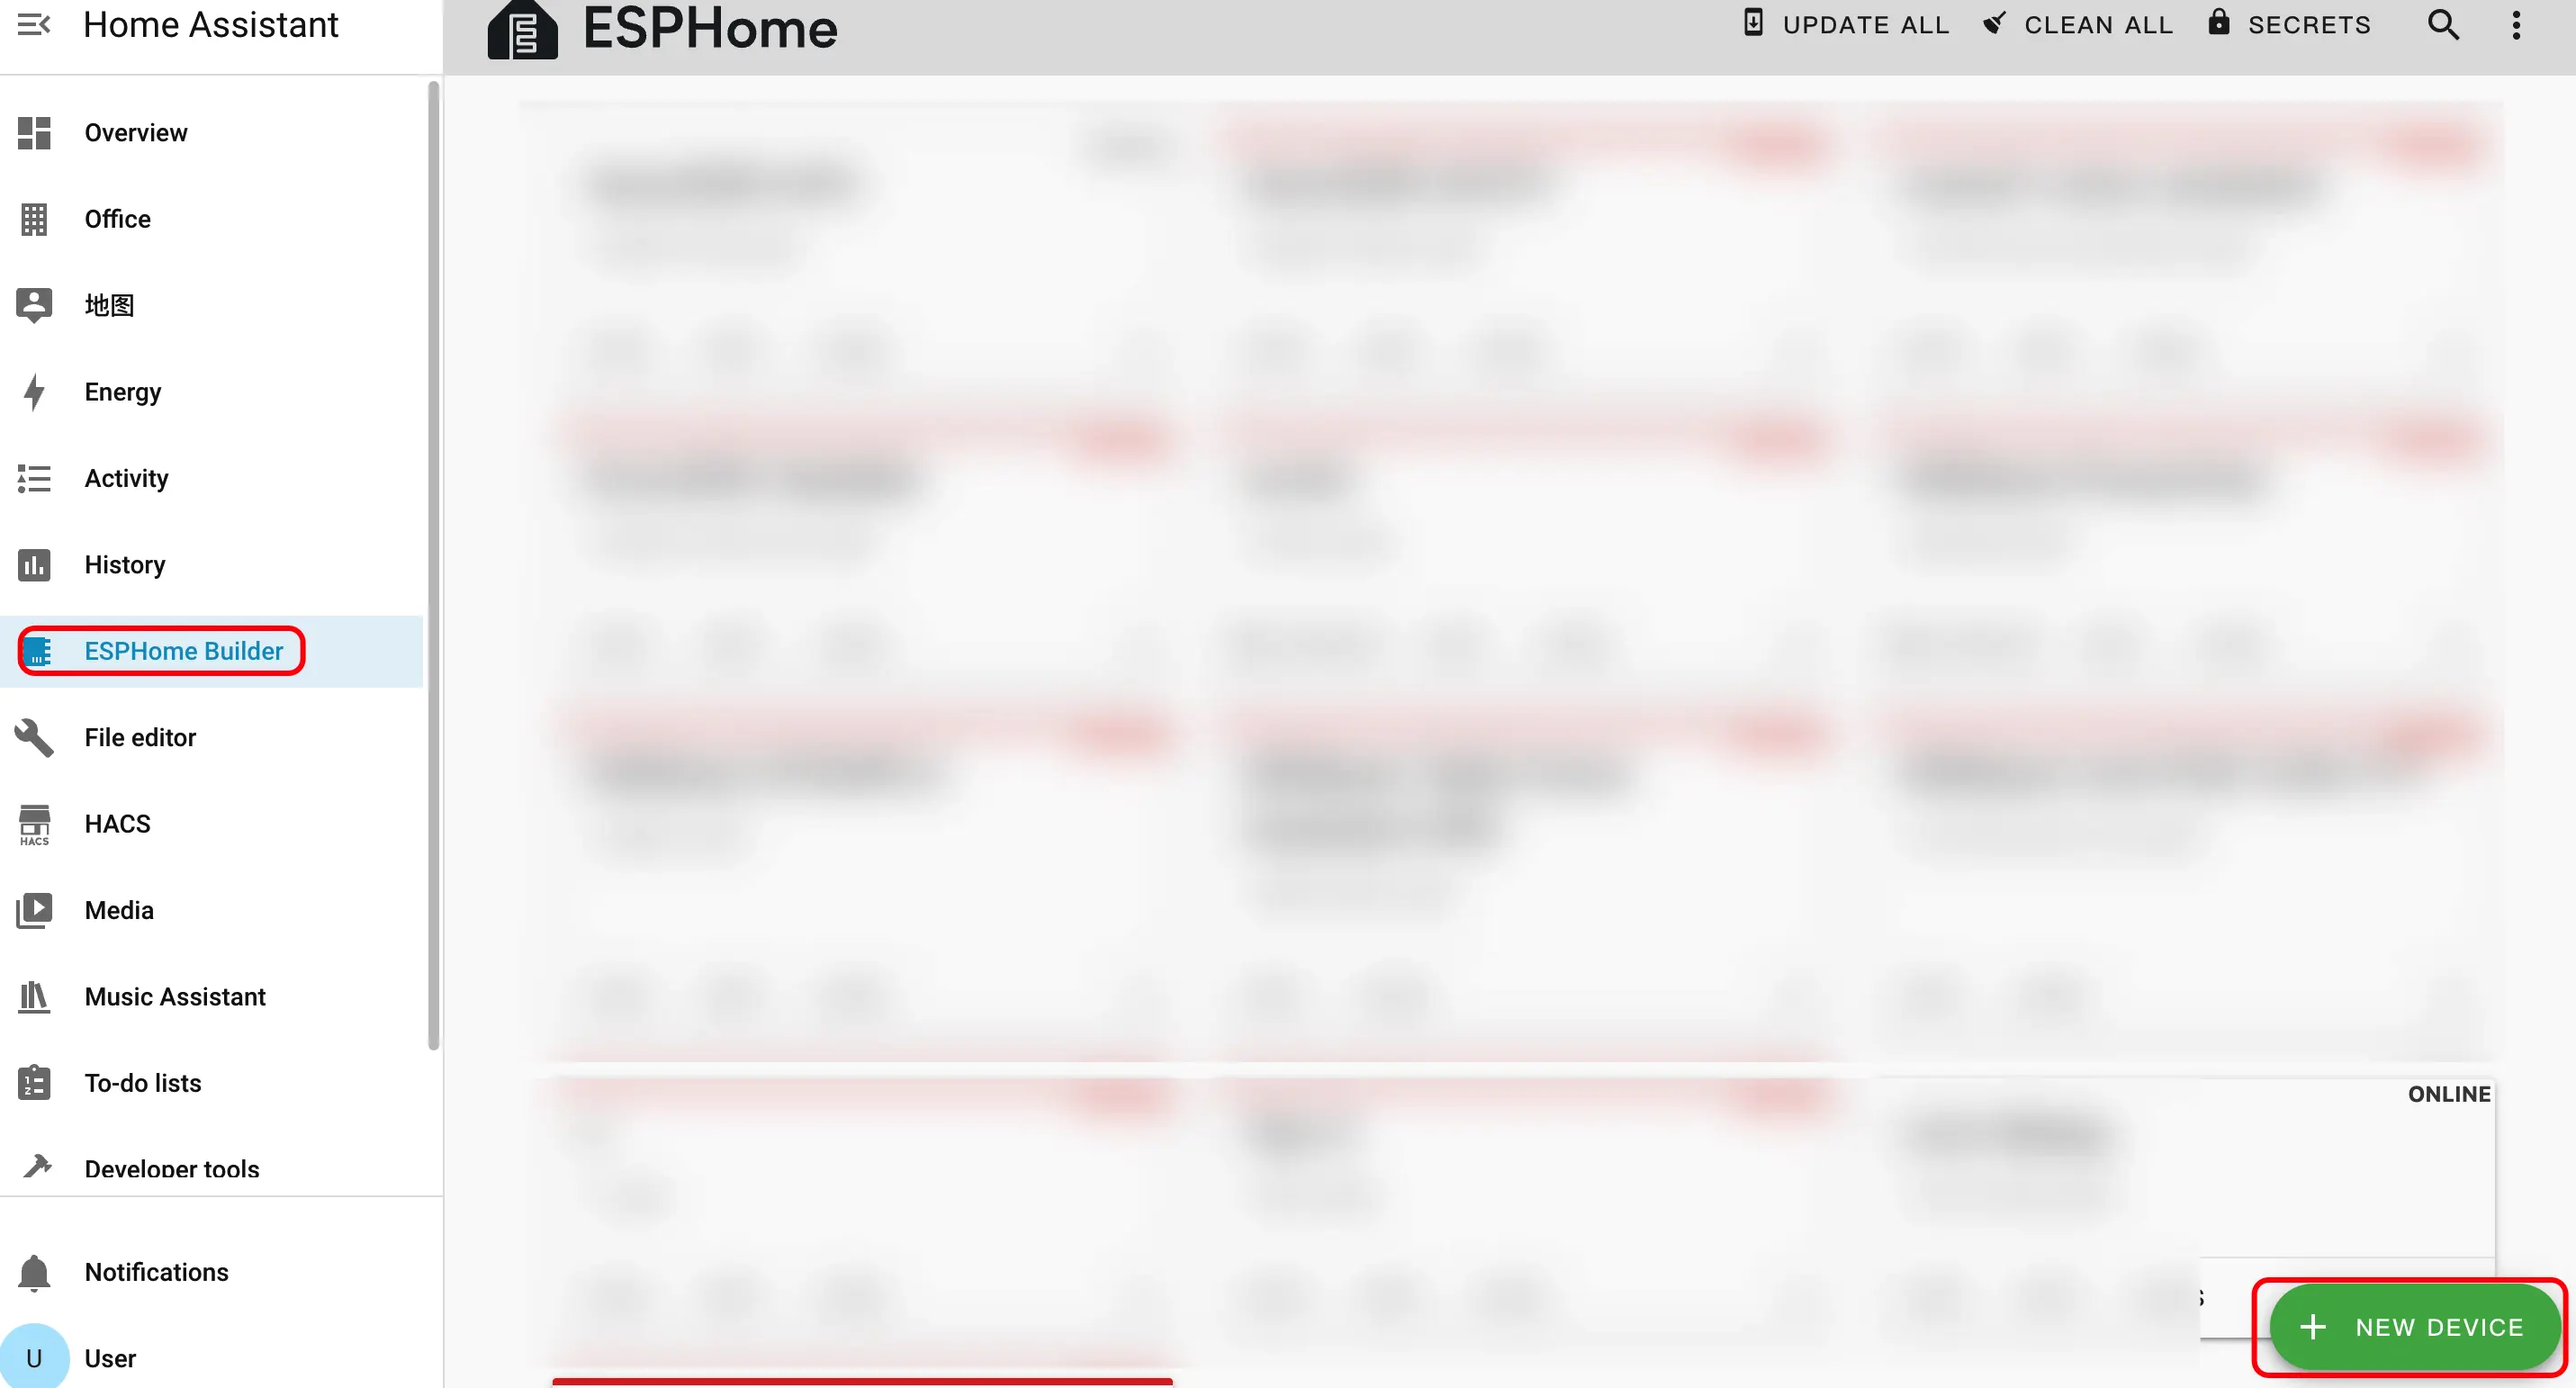
- Click the green + button in the bottom right to create a new device.
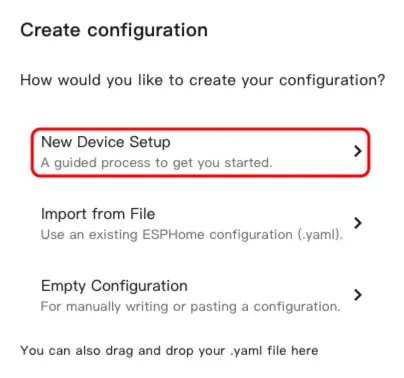
- Click
New Device Setupto enter the device creation wizard.
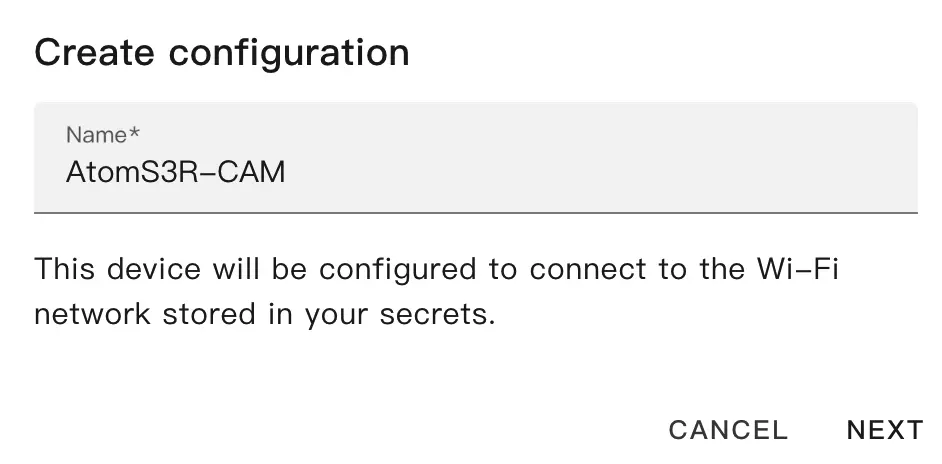
- Enter a device name and click
NEXT.
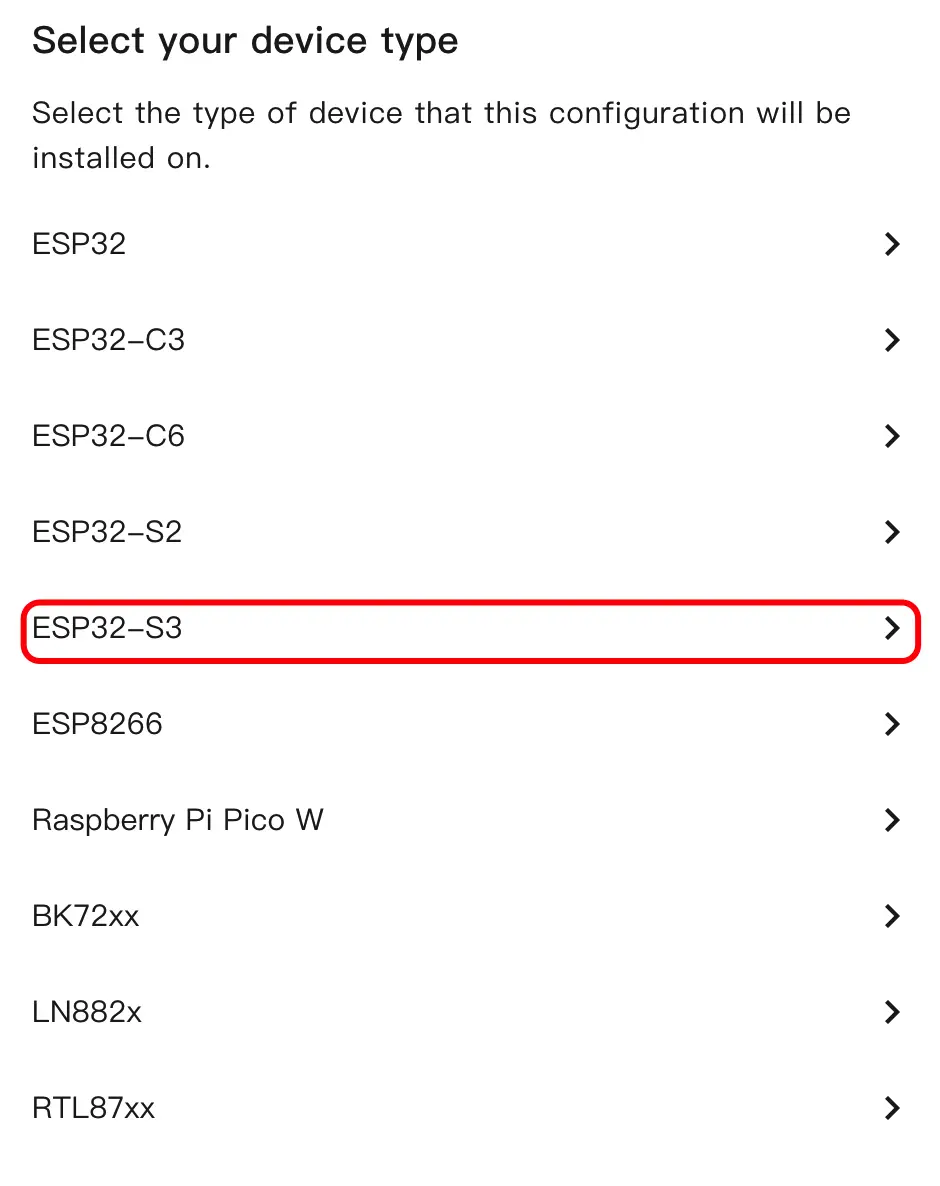
- Select the device type and click
ESP32S3.
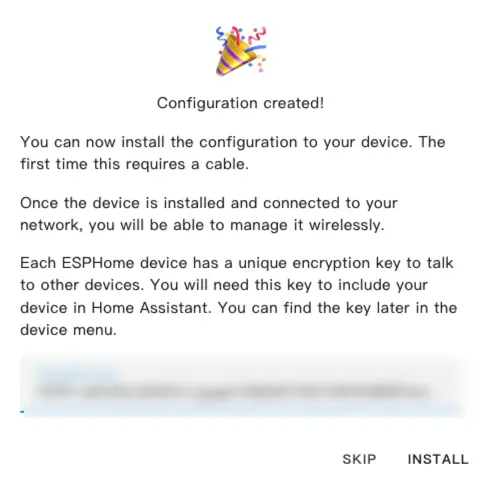
- Click
SKIPto skip the encryption key setup.
Modify Configuration
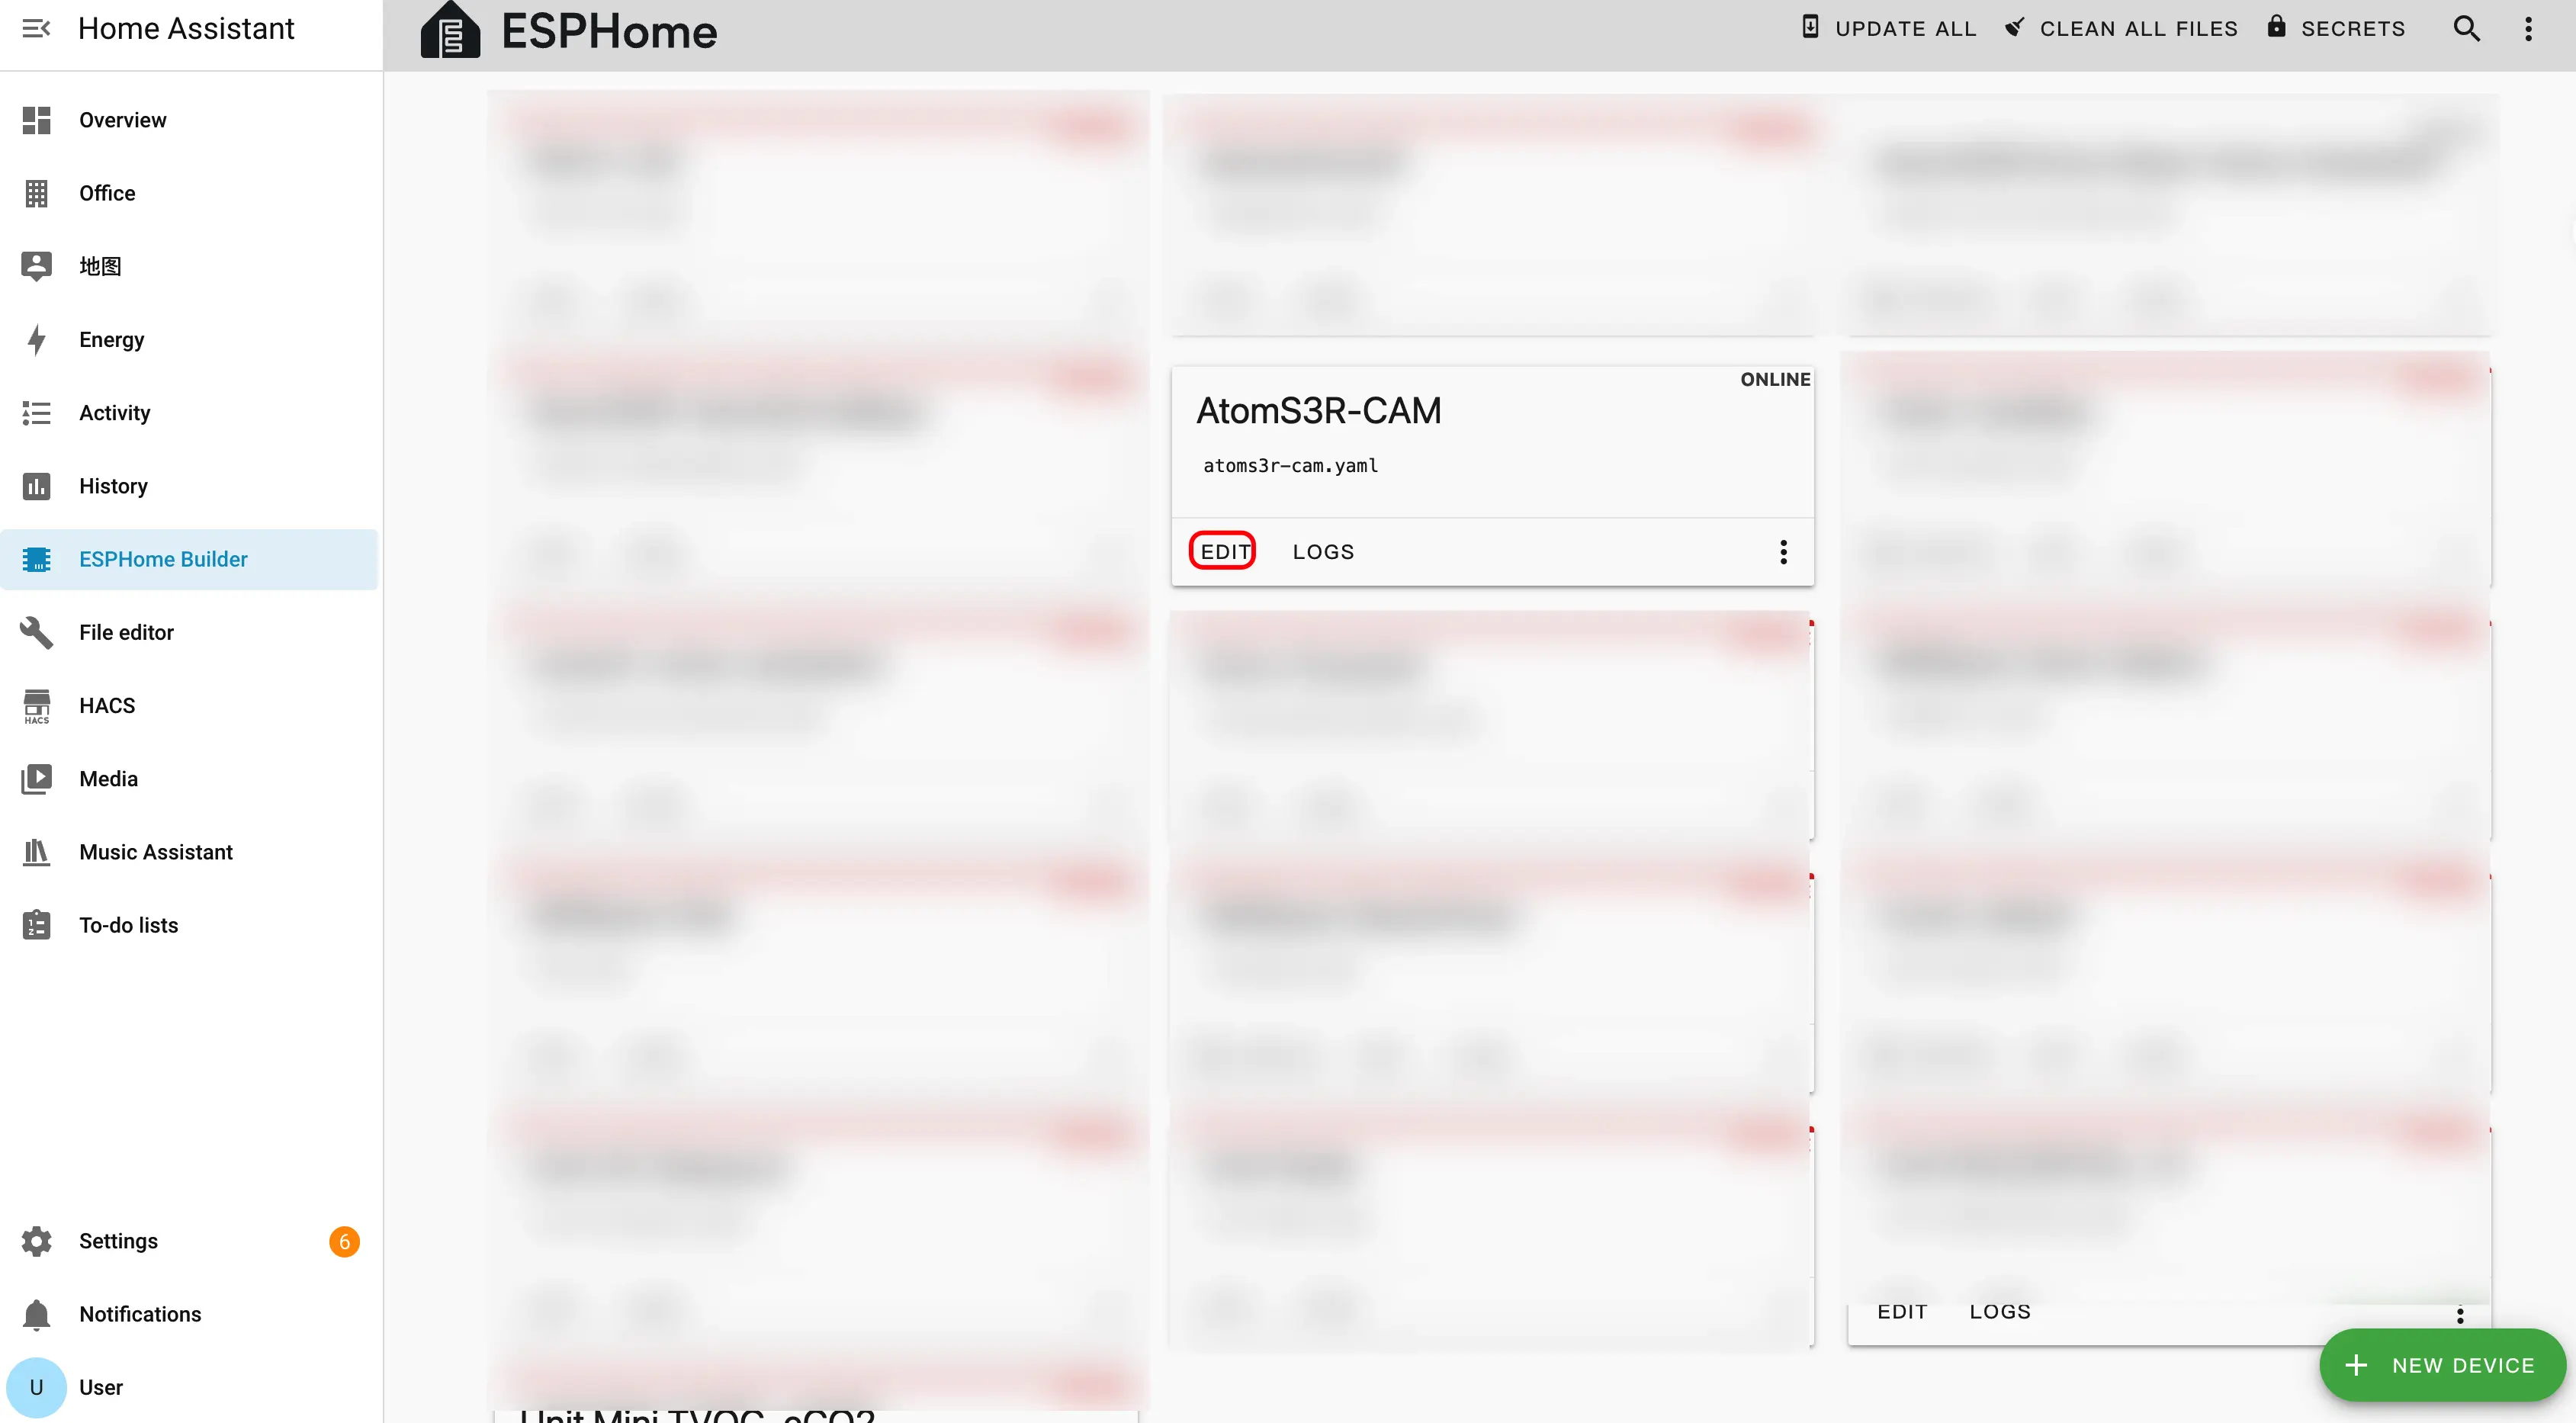
- Click
EDITto open the YAML editor and customize the device configuration.
External Components Configuration
Add the External Components entry to load the early_init component from the M5Stack ESPHome repository.
external_components:
  - source: github://m5stack/esphome-yaml/components
components: [early_init]PSRAM Configuration
Add the PSRAM component to enable the on-chip octal PSRAM required by the camera.
psram:
  mode: octal
speed: 80MHzI2C Bus Configuration
Add the I2C bus for the OV3660 camera.
i2c:
  - id: camera_i2c
    sda: GPIO12
    scl: GPIO9
    frequency: 100kHz
    timeout: 10ms
scan: trueCamera Configuration
Add the ESP32 Camera component to stream video from the OV3660 camera.
esp32_camera:
  name: "OV3660 Camera"
  external_clock:
    pin: GPIO21
    frequency: 20MHz
  i2c_id: camera_i2c
  data_pins: [GPIO3, GPIO42, GPIO46, GPIO48, GPIO4, GPIO17, GPIO11, GPIO13]
  vsync_pin: GPIO10
  href_pin: GPIO14
  pixel_clock_pin: GPIO40
  resolution: 640X480
jpeg_quality: 10Compile Firmware
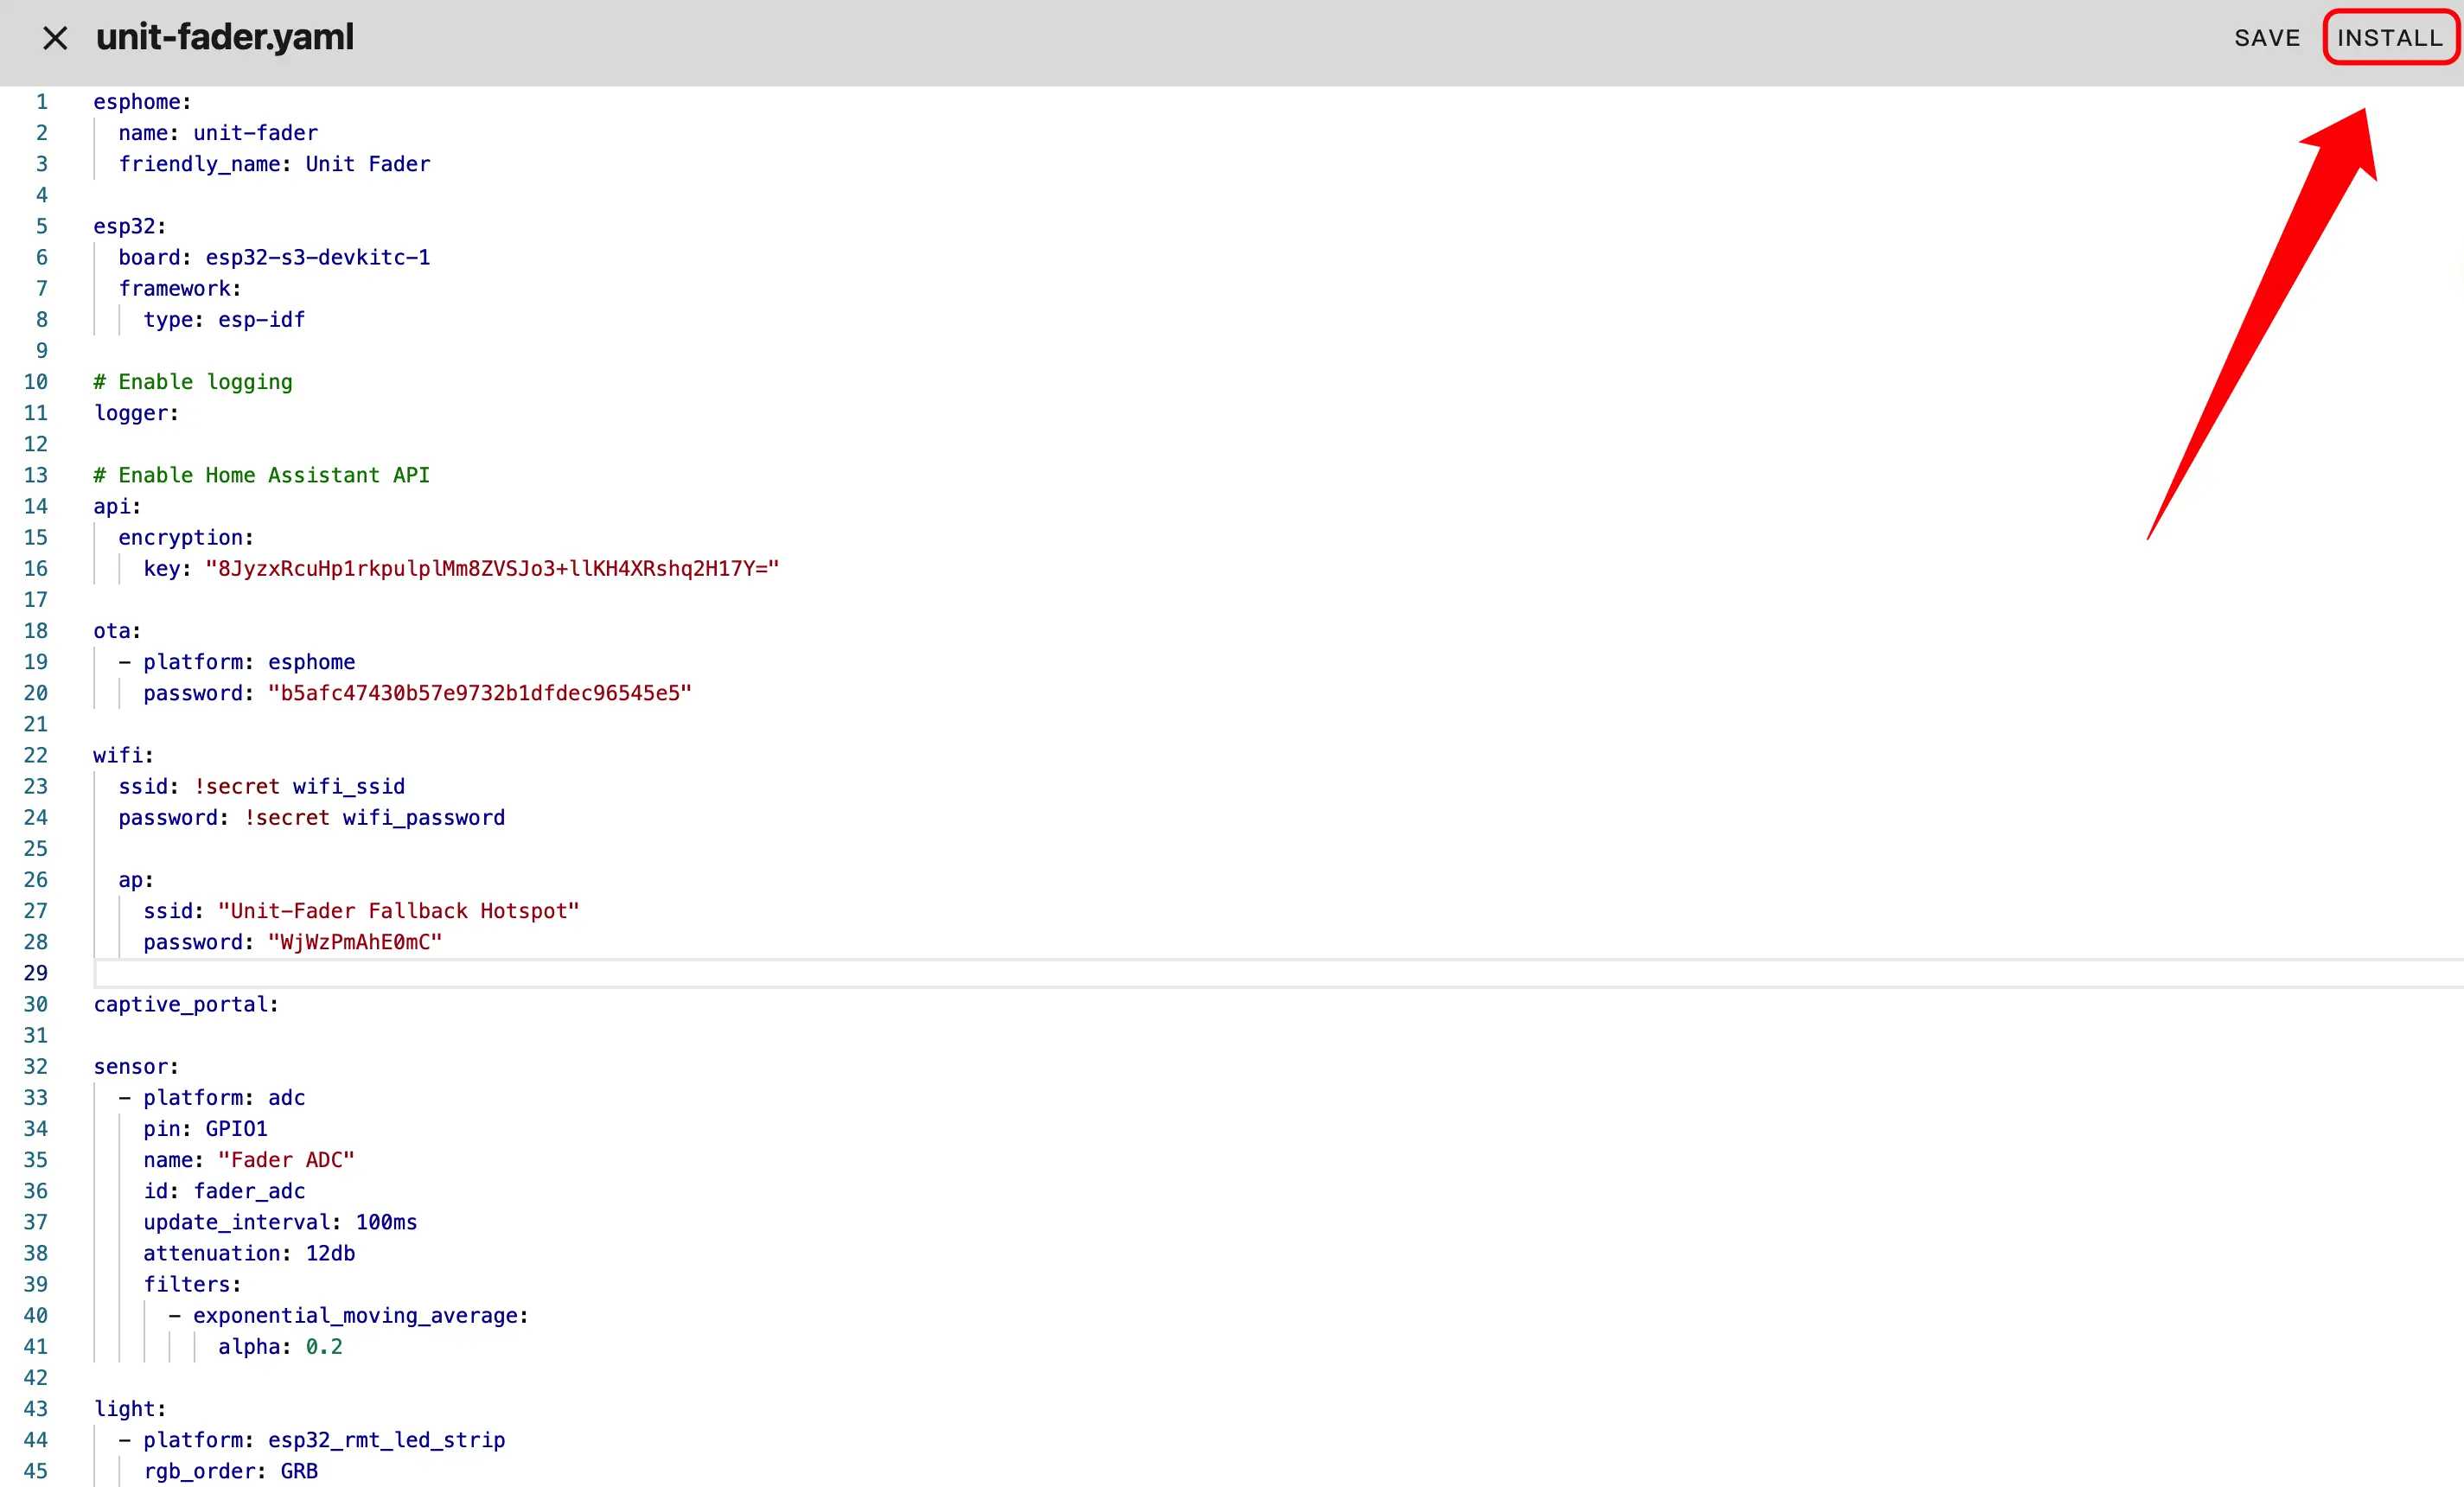
- After editing the YAML configuration, click
SAVEin the top right, then clickINSTALL.
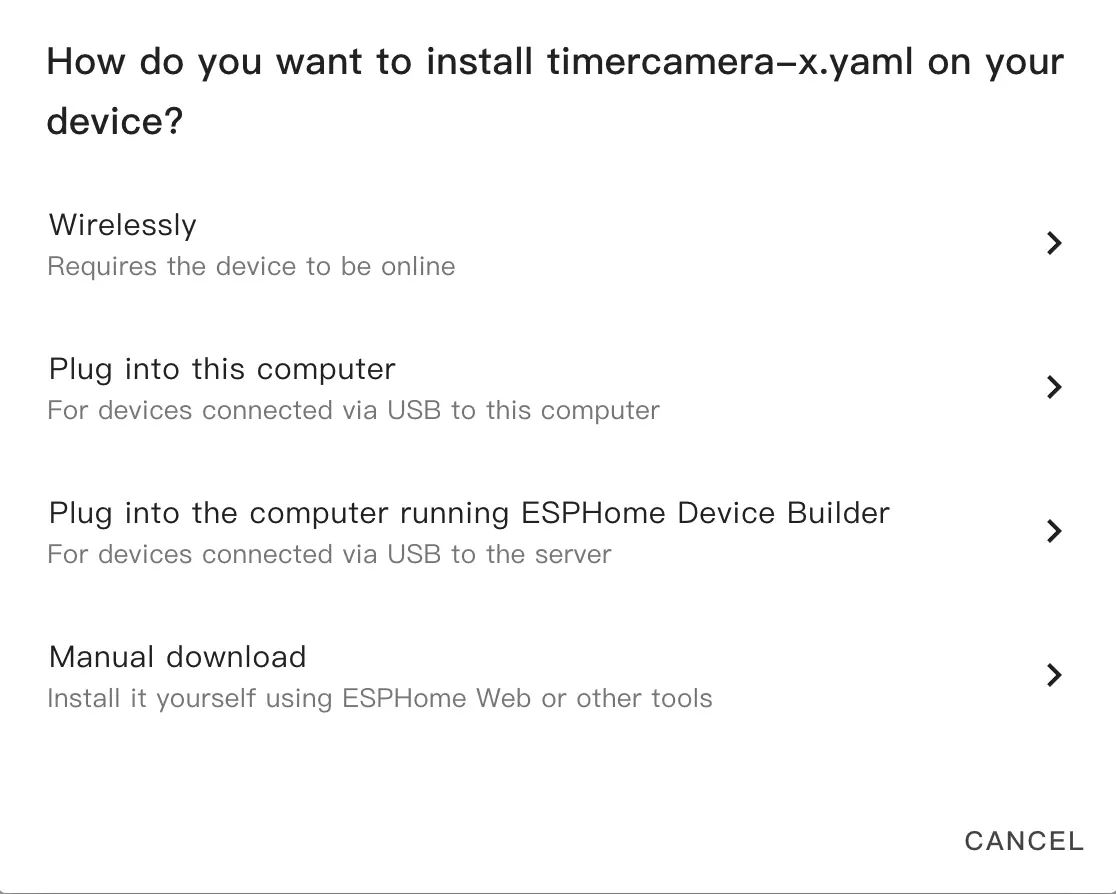
- In the popup dialog, select
Manual Download.
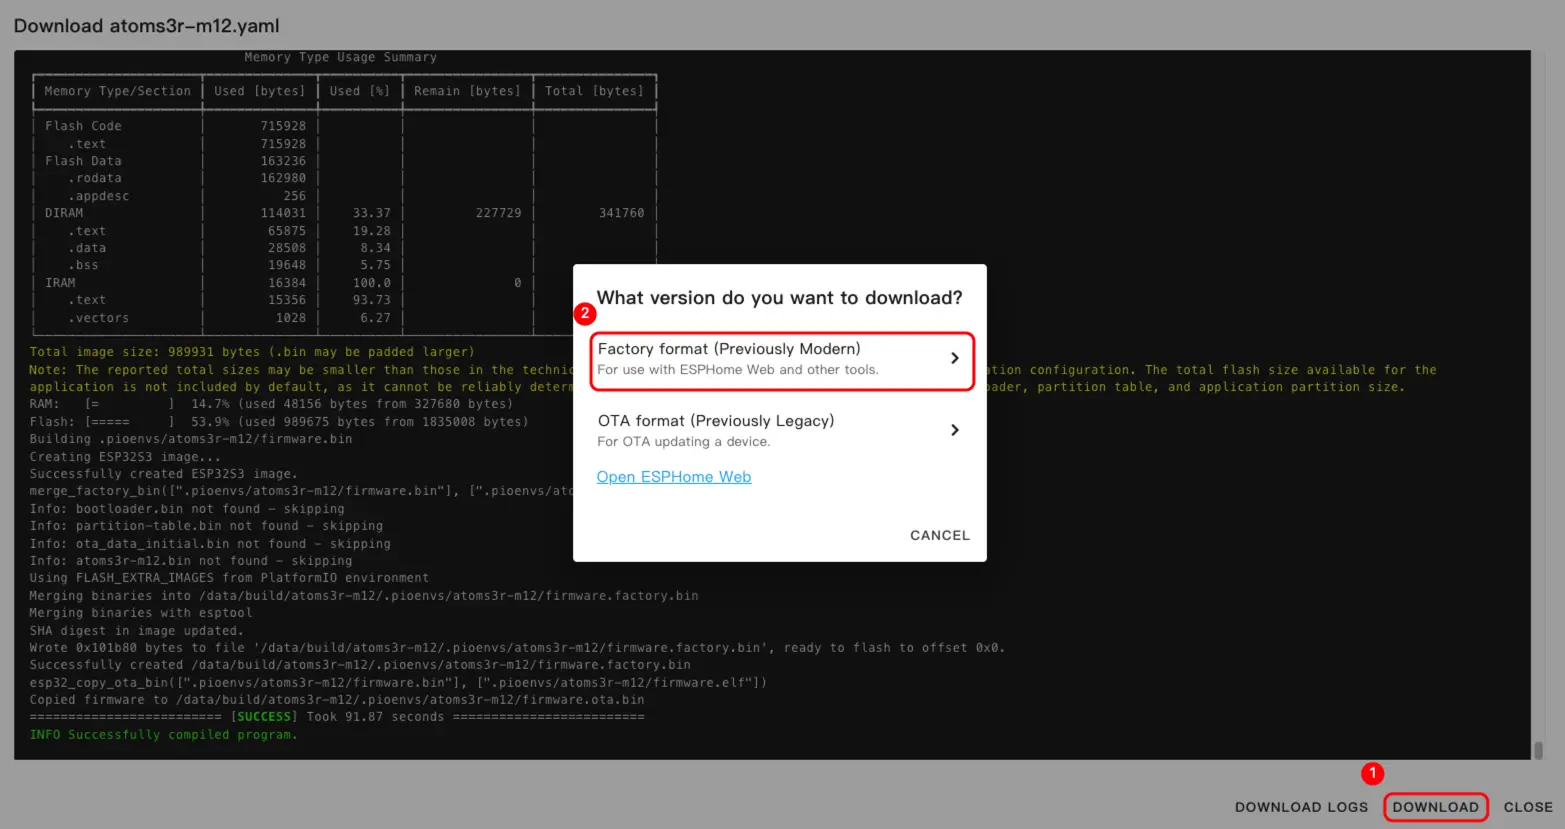
- Wait for the firmware to compile, then click
Downloadand chooseFactory format (Previously Modern)to save the firmware file locally.
Configuration Example
For a complete example configuration, see AtomS3R-CAM.
Flash Firmware
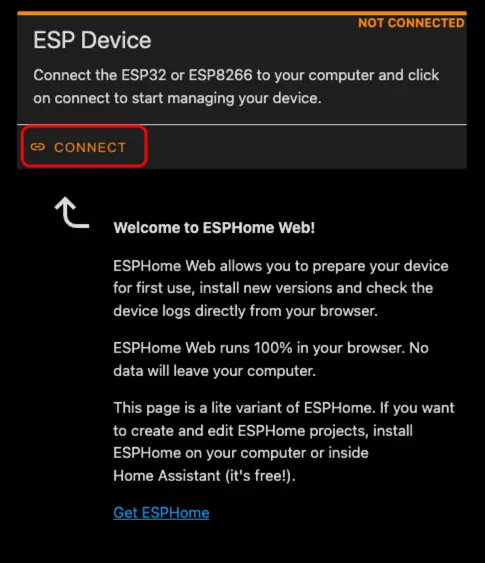
- Connect AtomS3R-CAM to your computer using a USB Type-C cable. Open ESPHome Web and click
CONNECT.
- In the serial port selection dialog, select the correct port.
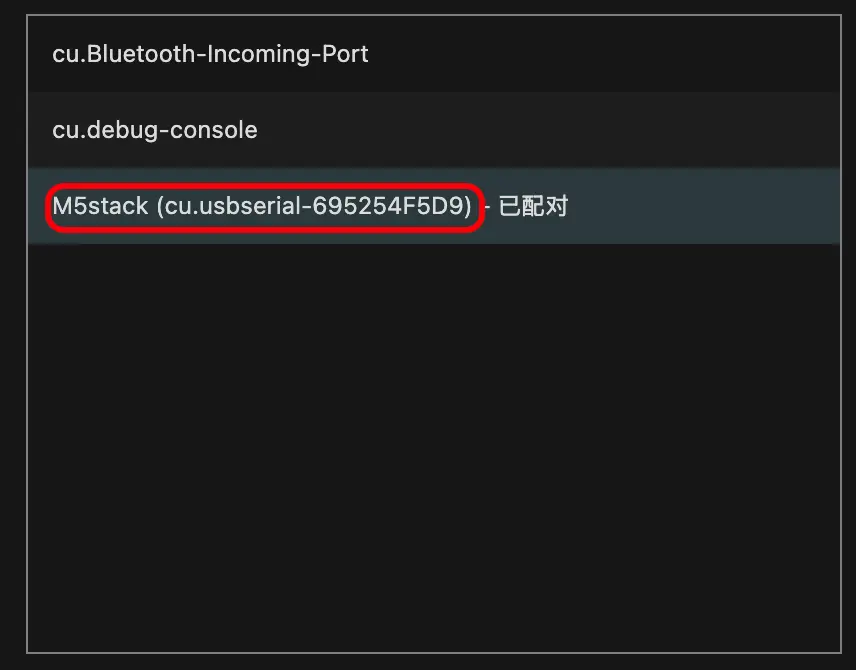
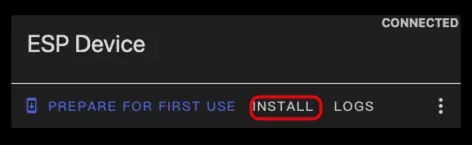
- Click
INSTALL.
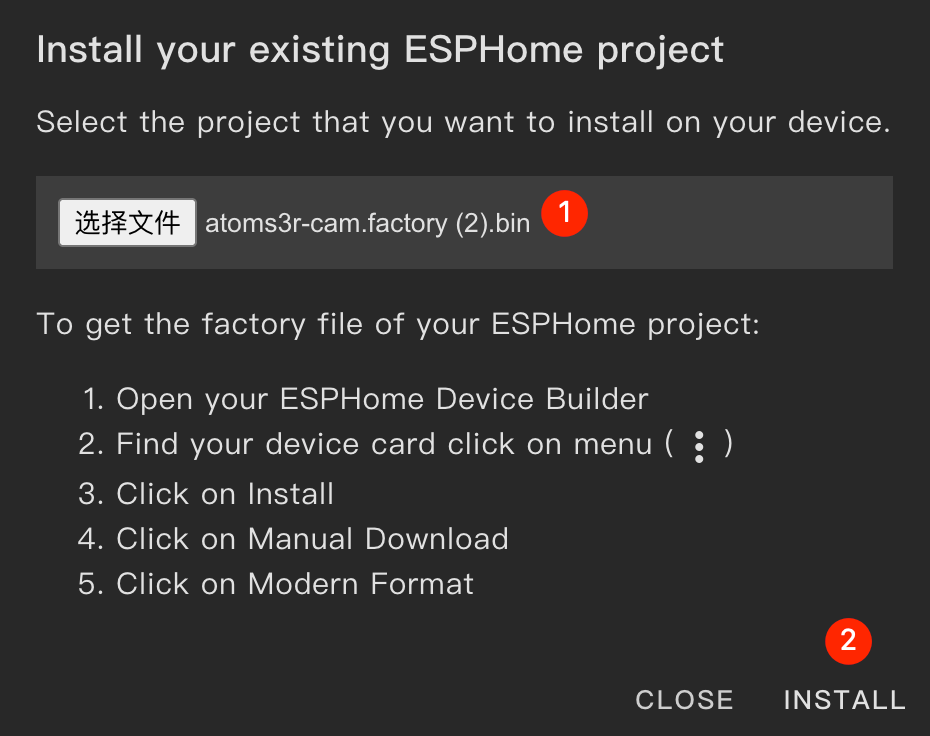
- Select the previously downloaded firmware file and start flashing.
Flashing Note
After flashing is complete, you must reset the device; otherwise the firmware may not start correctly.
3. Getting Started
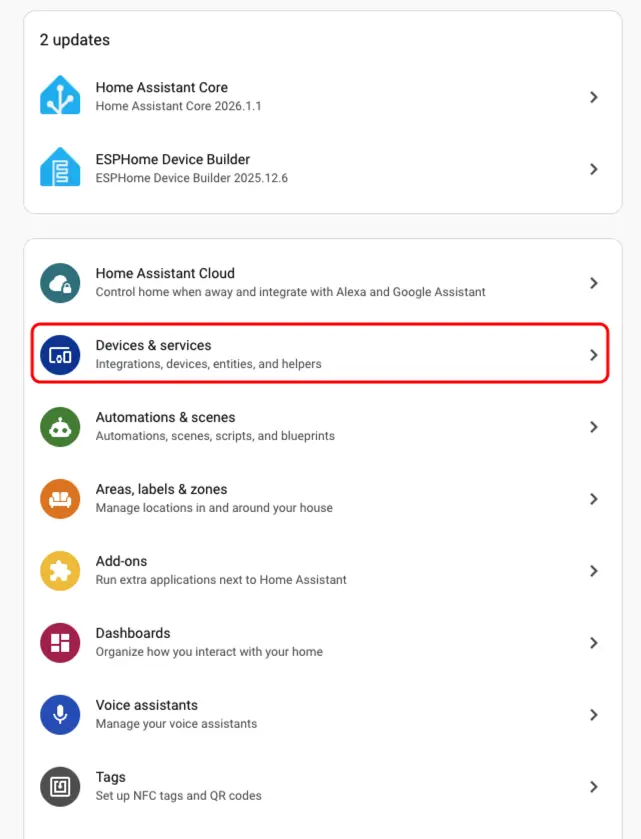
- In Home Assistant, go to
Settings>Devices & Servicesto open the integration management page.
- In the
Discoveredsection, find the AtomS3R-CAM device, clickCONFIGURE, and follow the wizard to complete the setup.
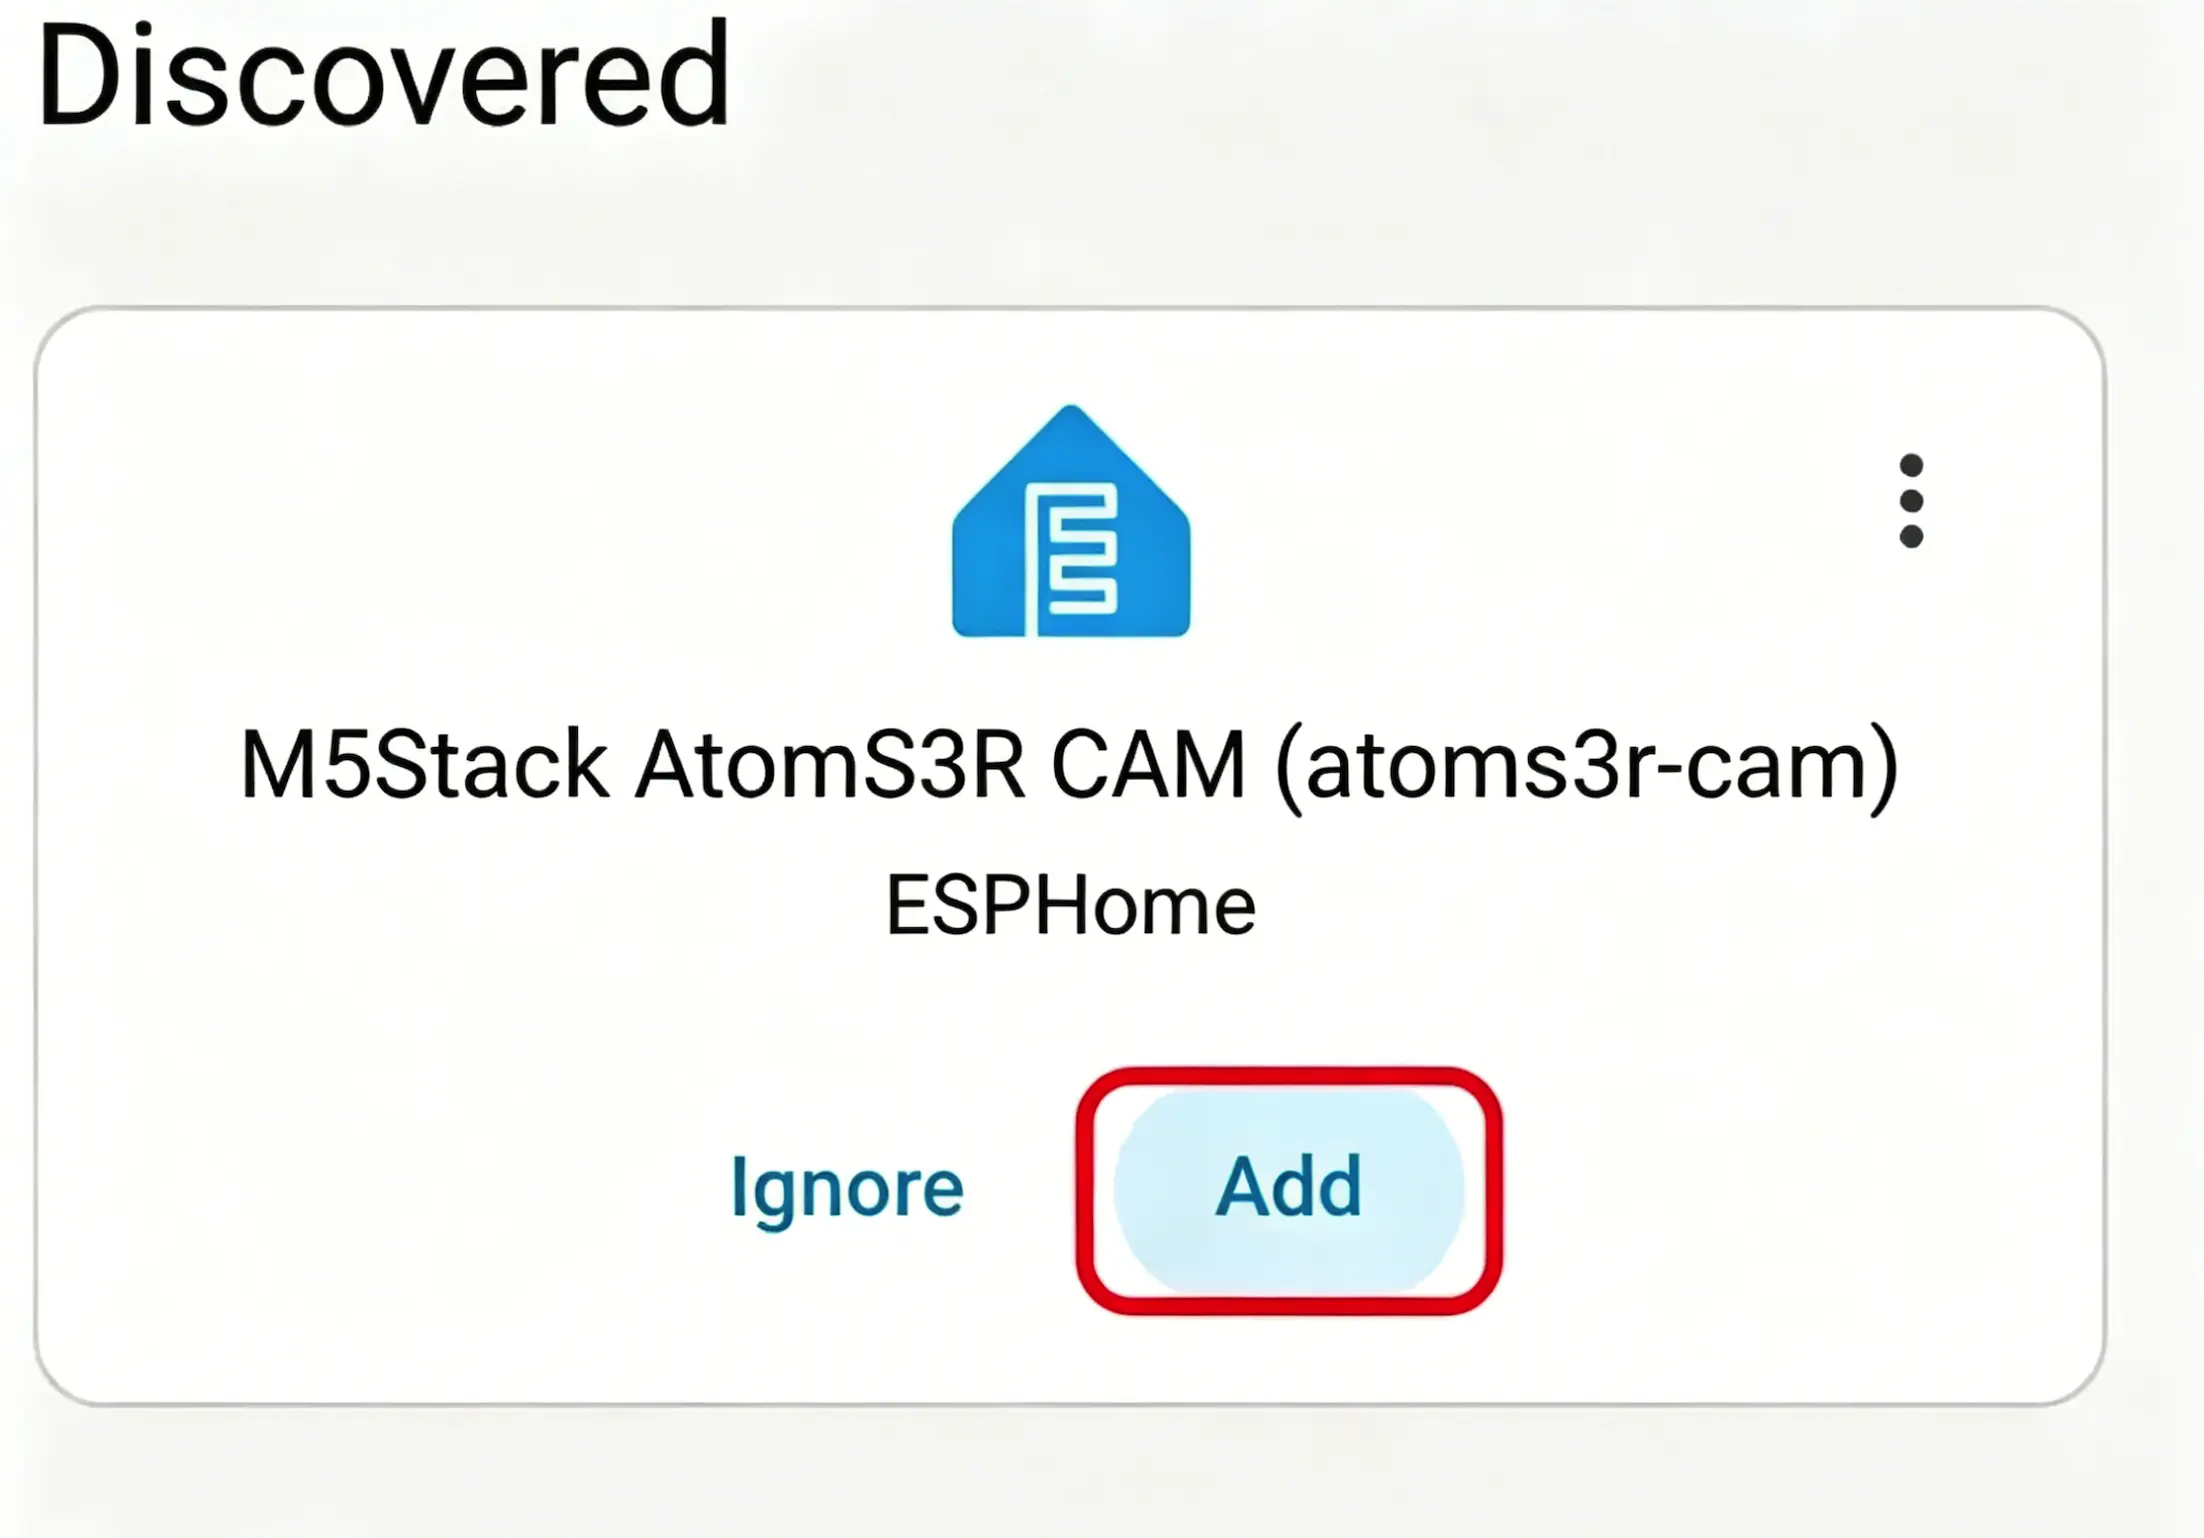
- After the device is added, you can view it in the Devices list.
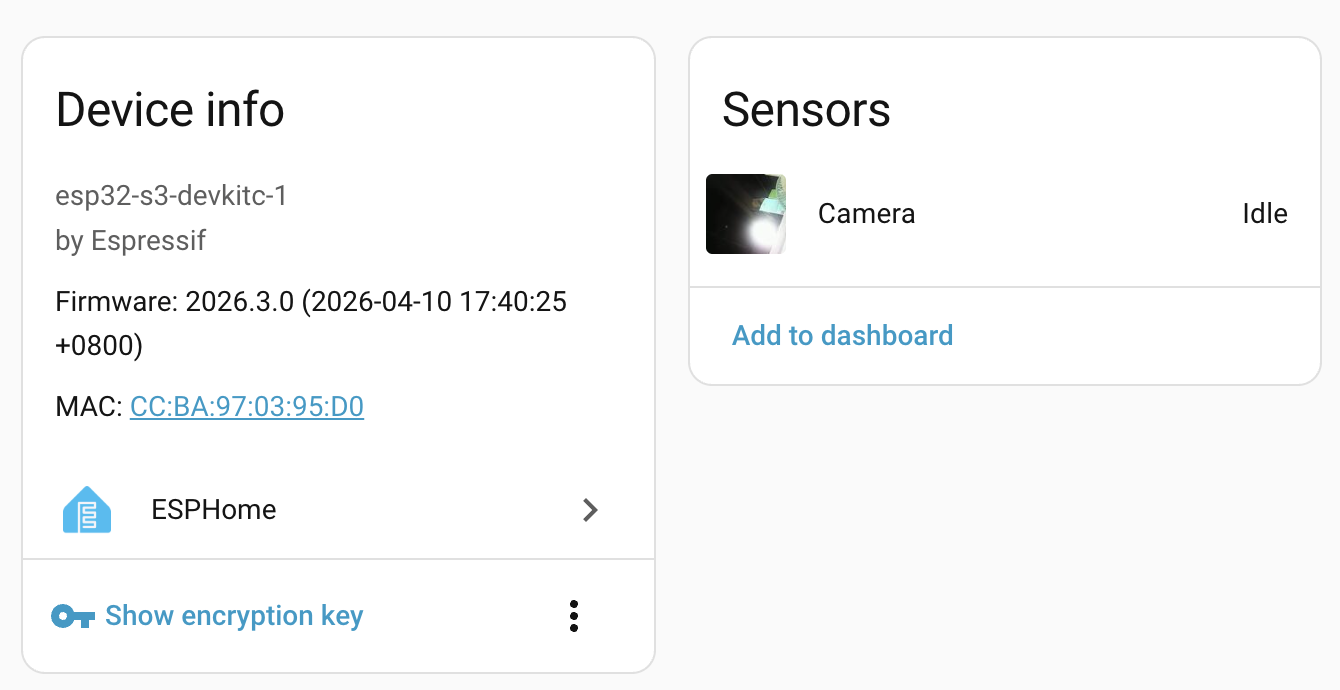
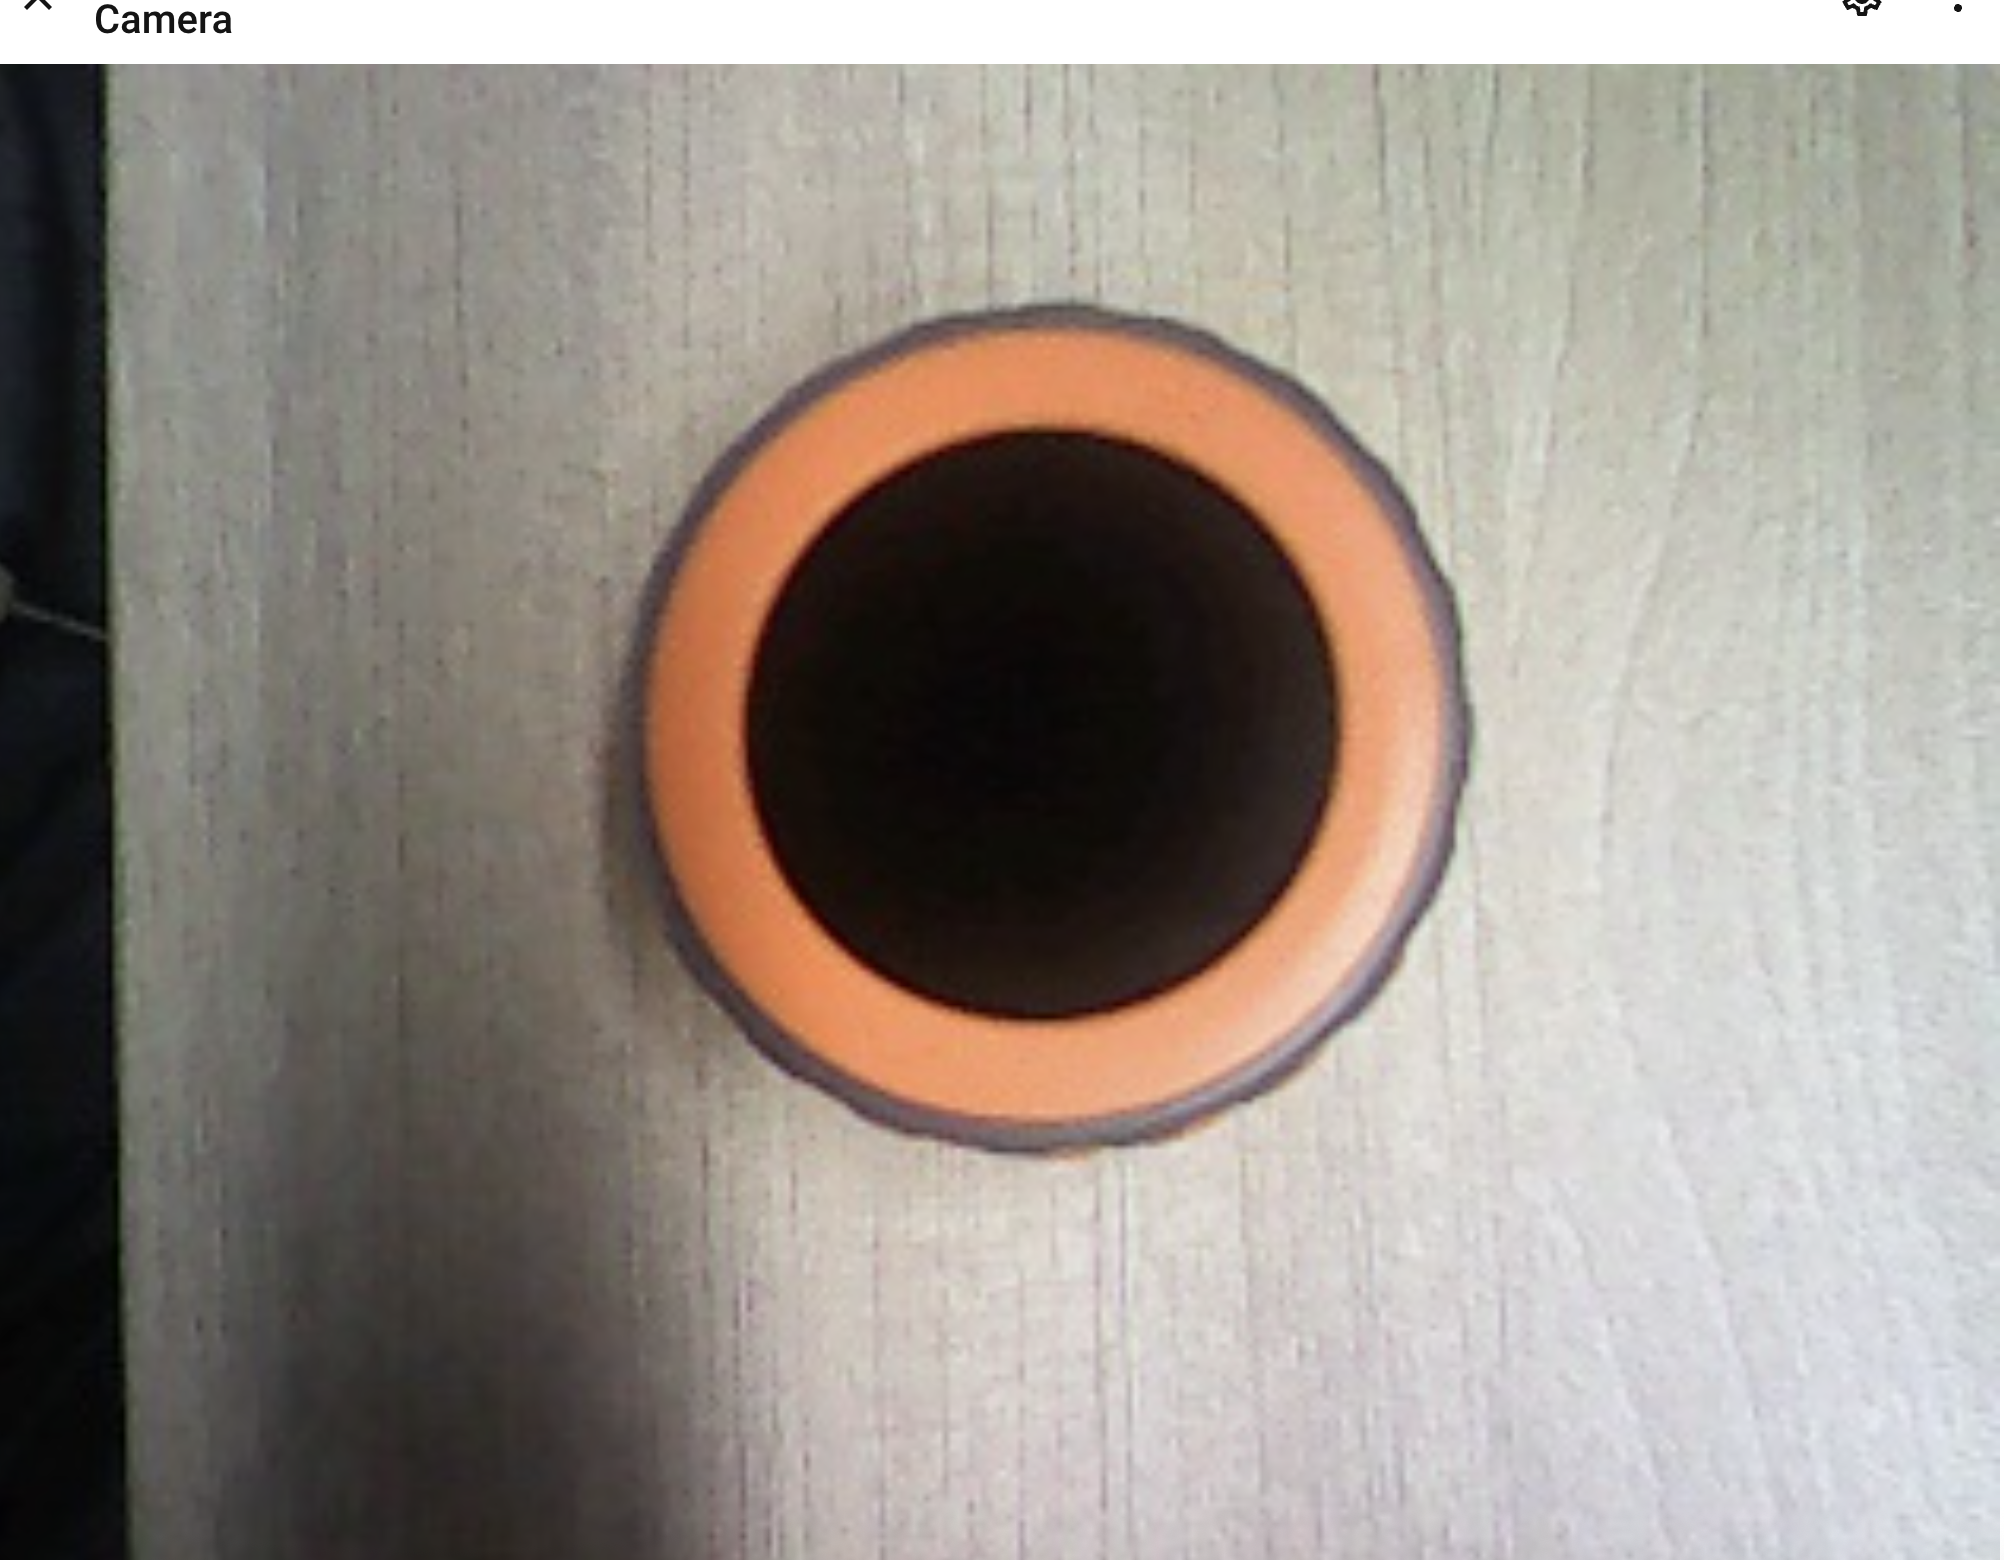
- Finally, add these sensor entities to a dashboard.
Page Tools