


Home Assistant
Home Assistant OS
Light
Air Quality V1.1 Kit Home Assistant Integration
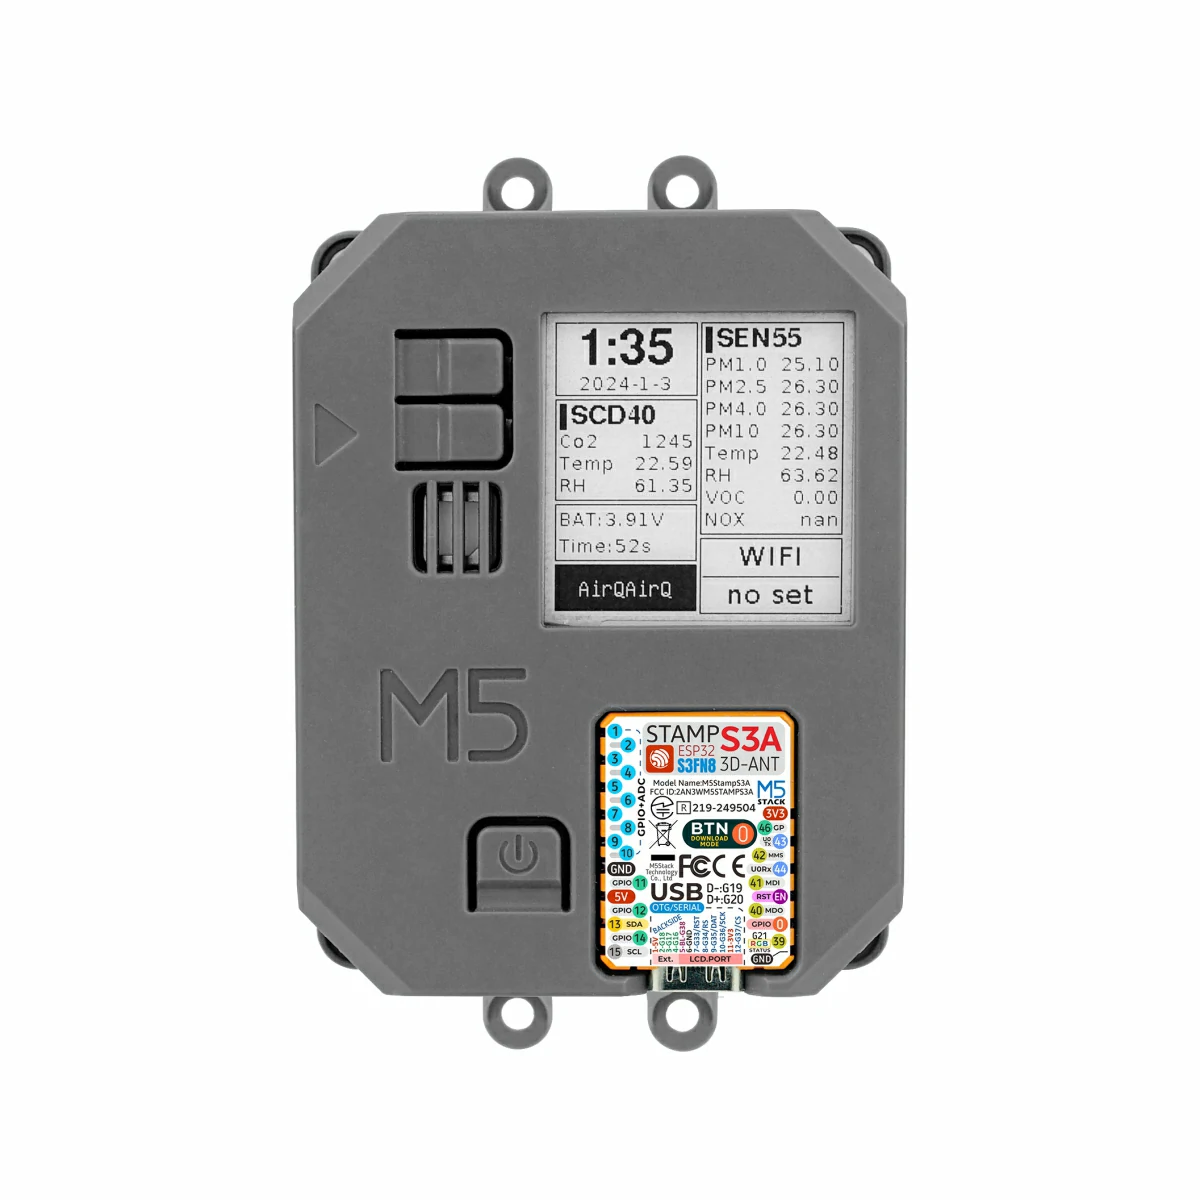
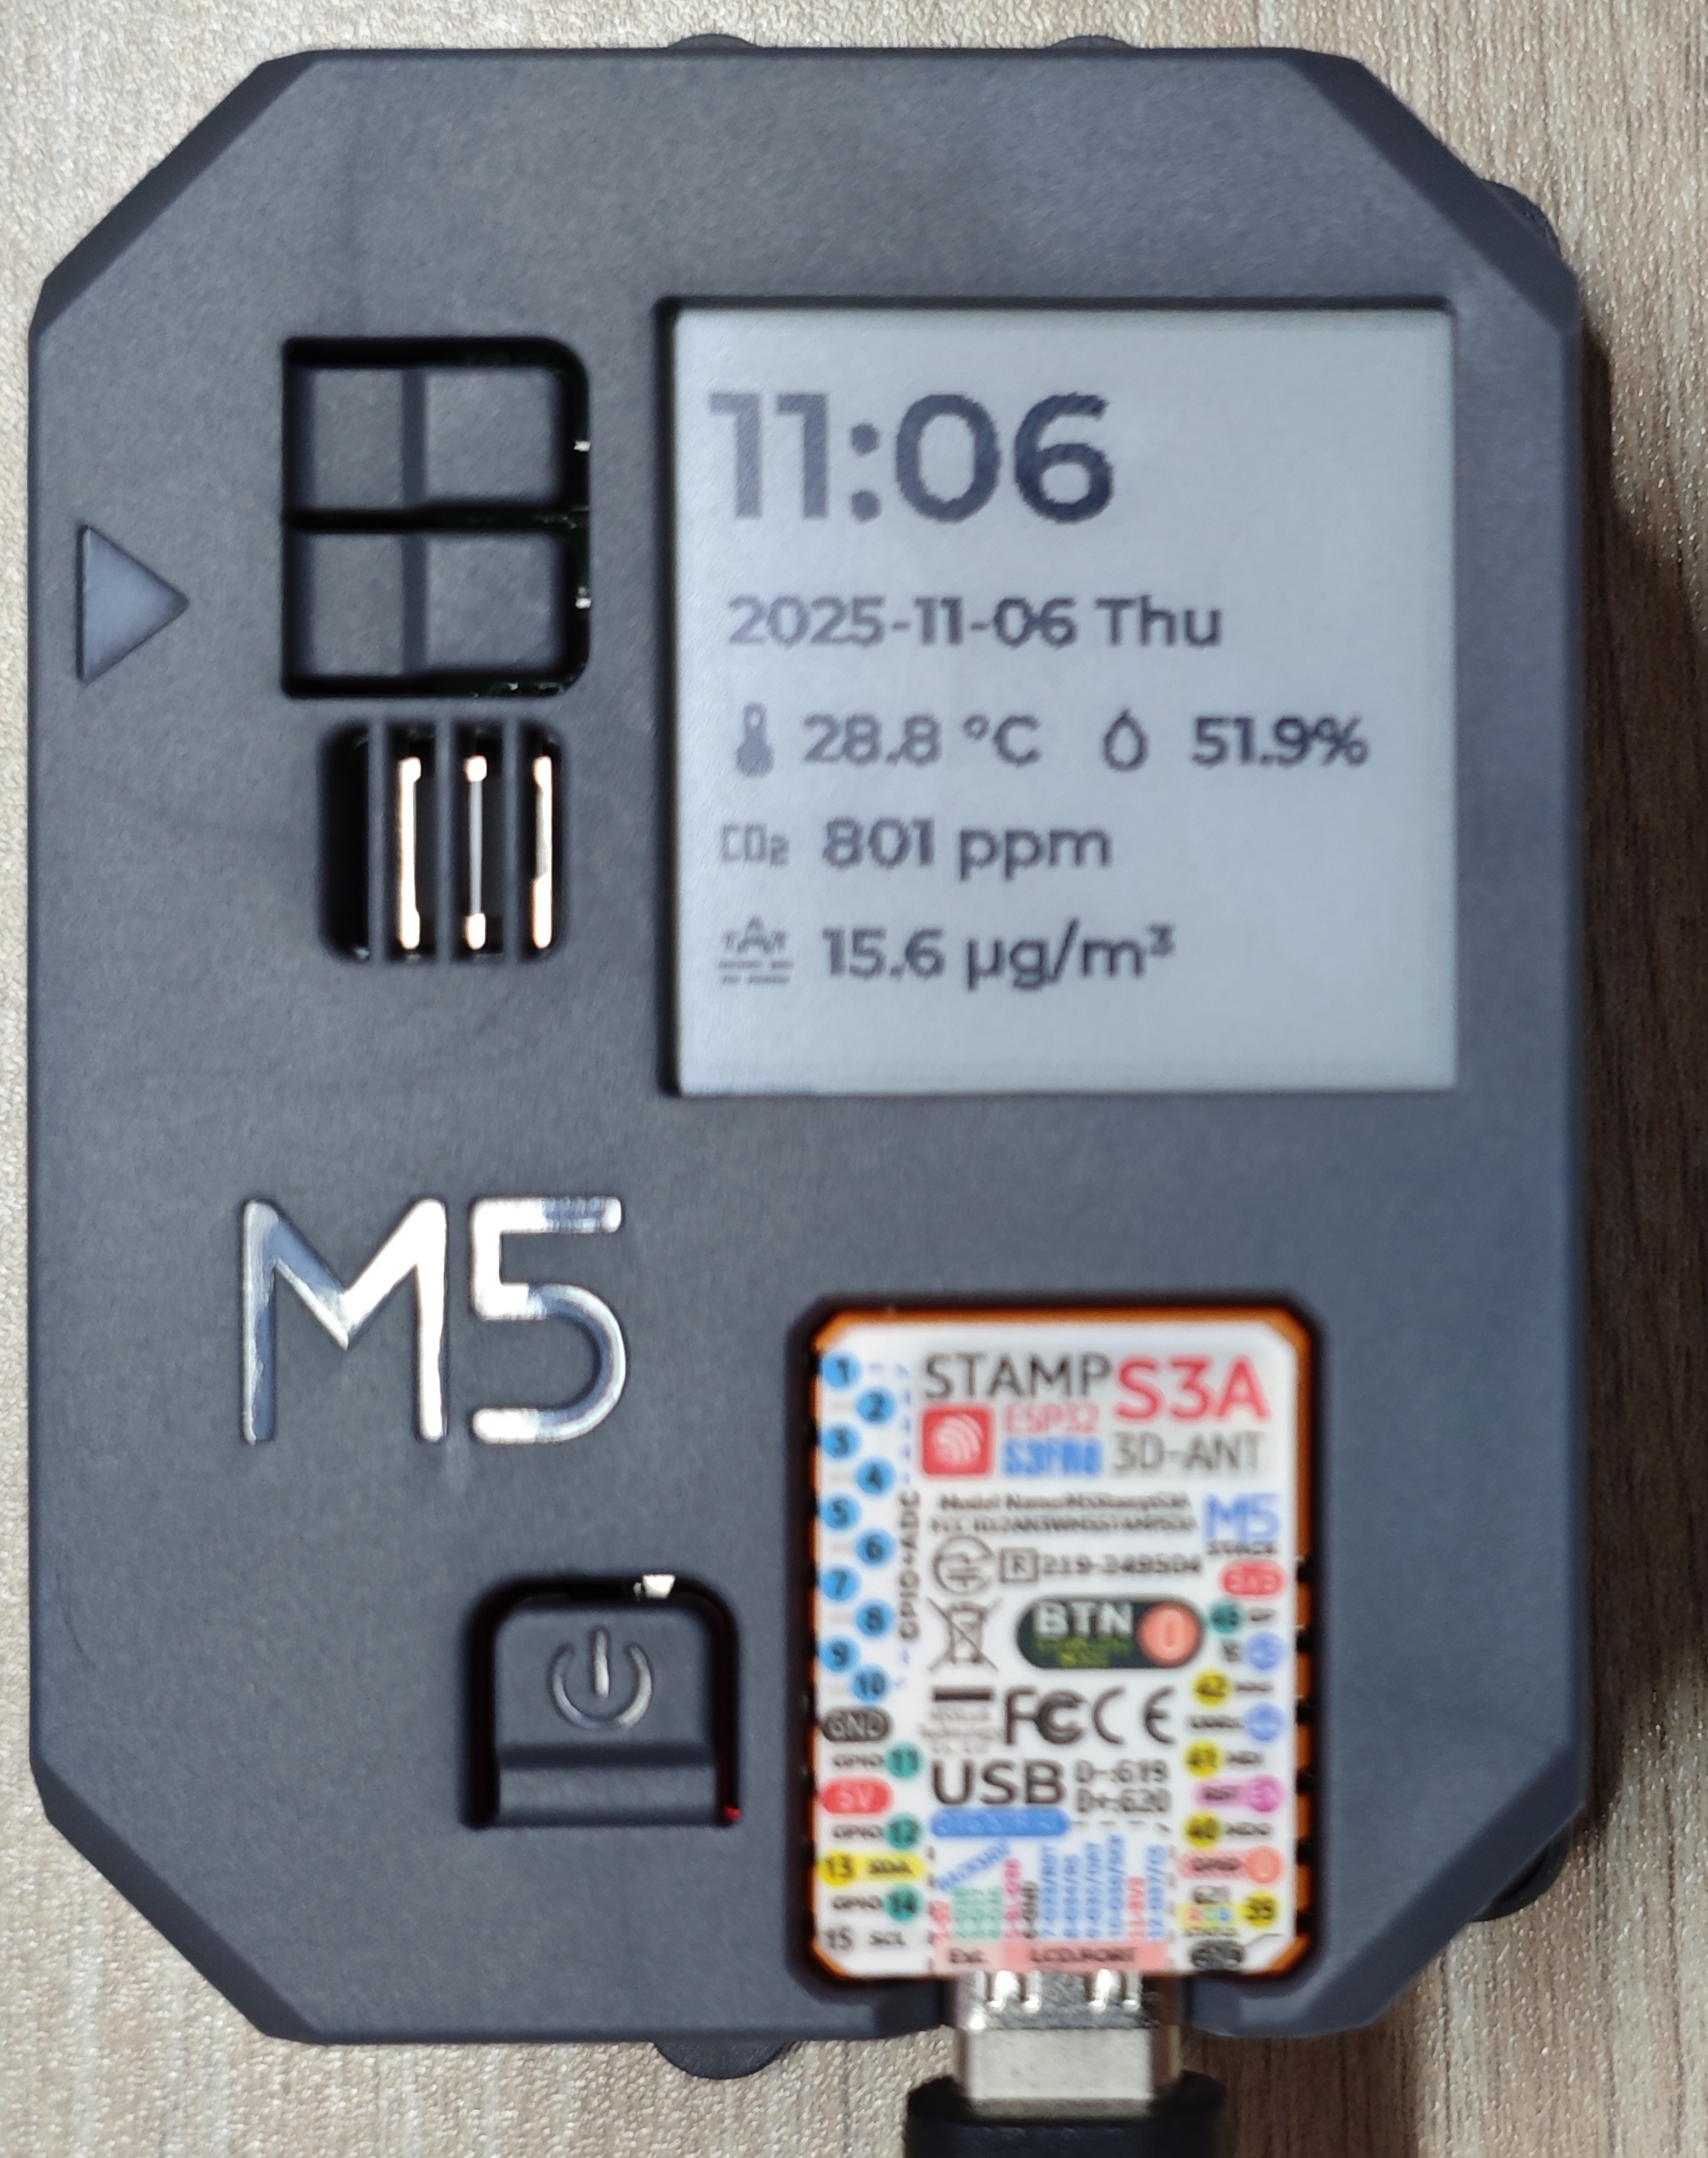
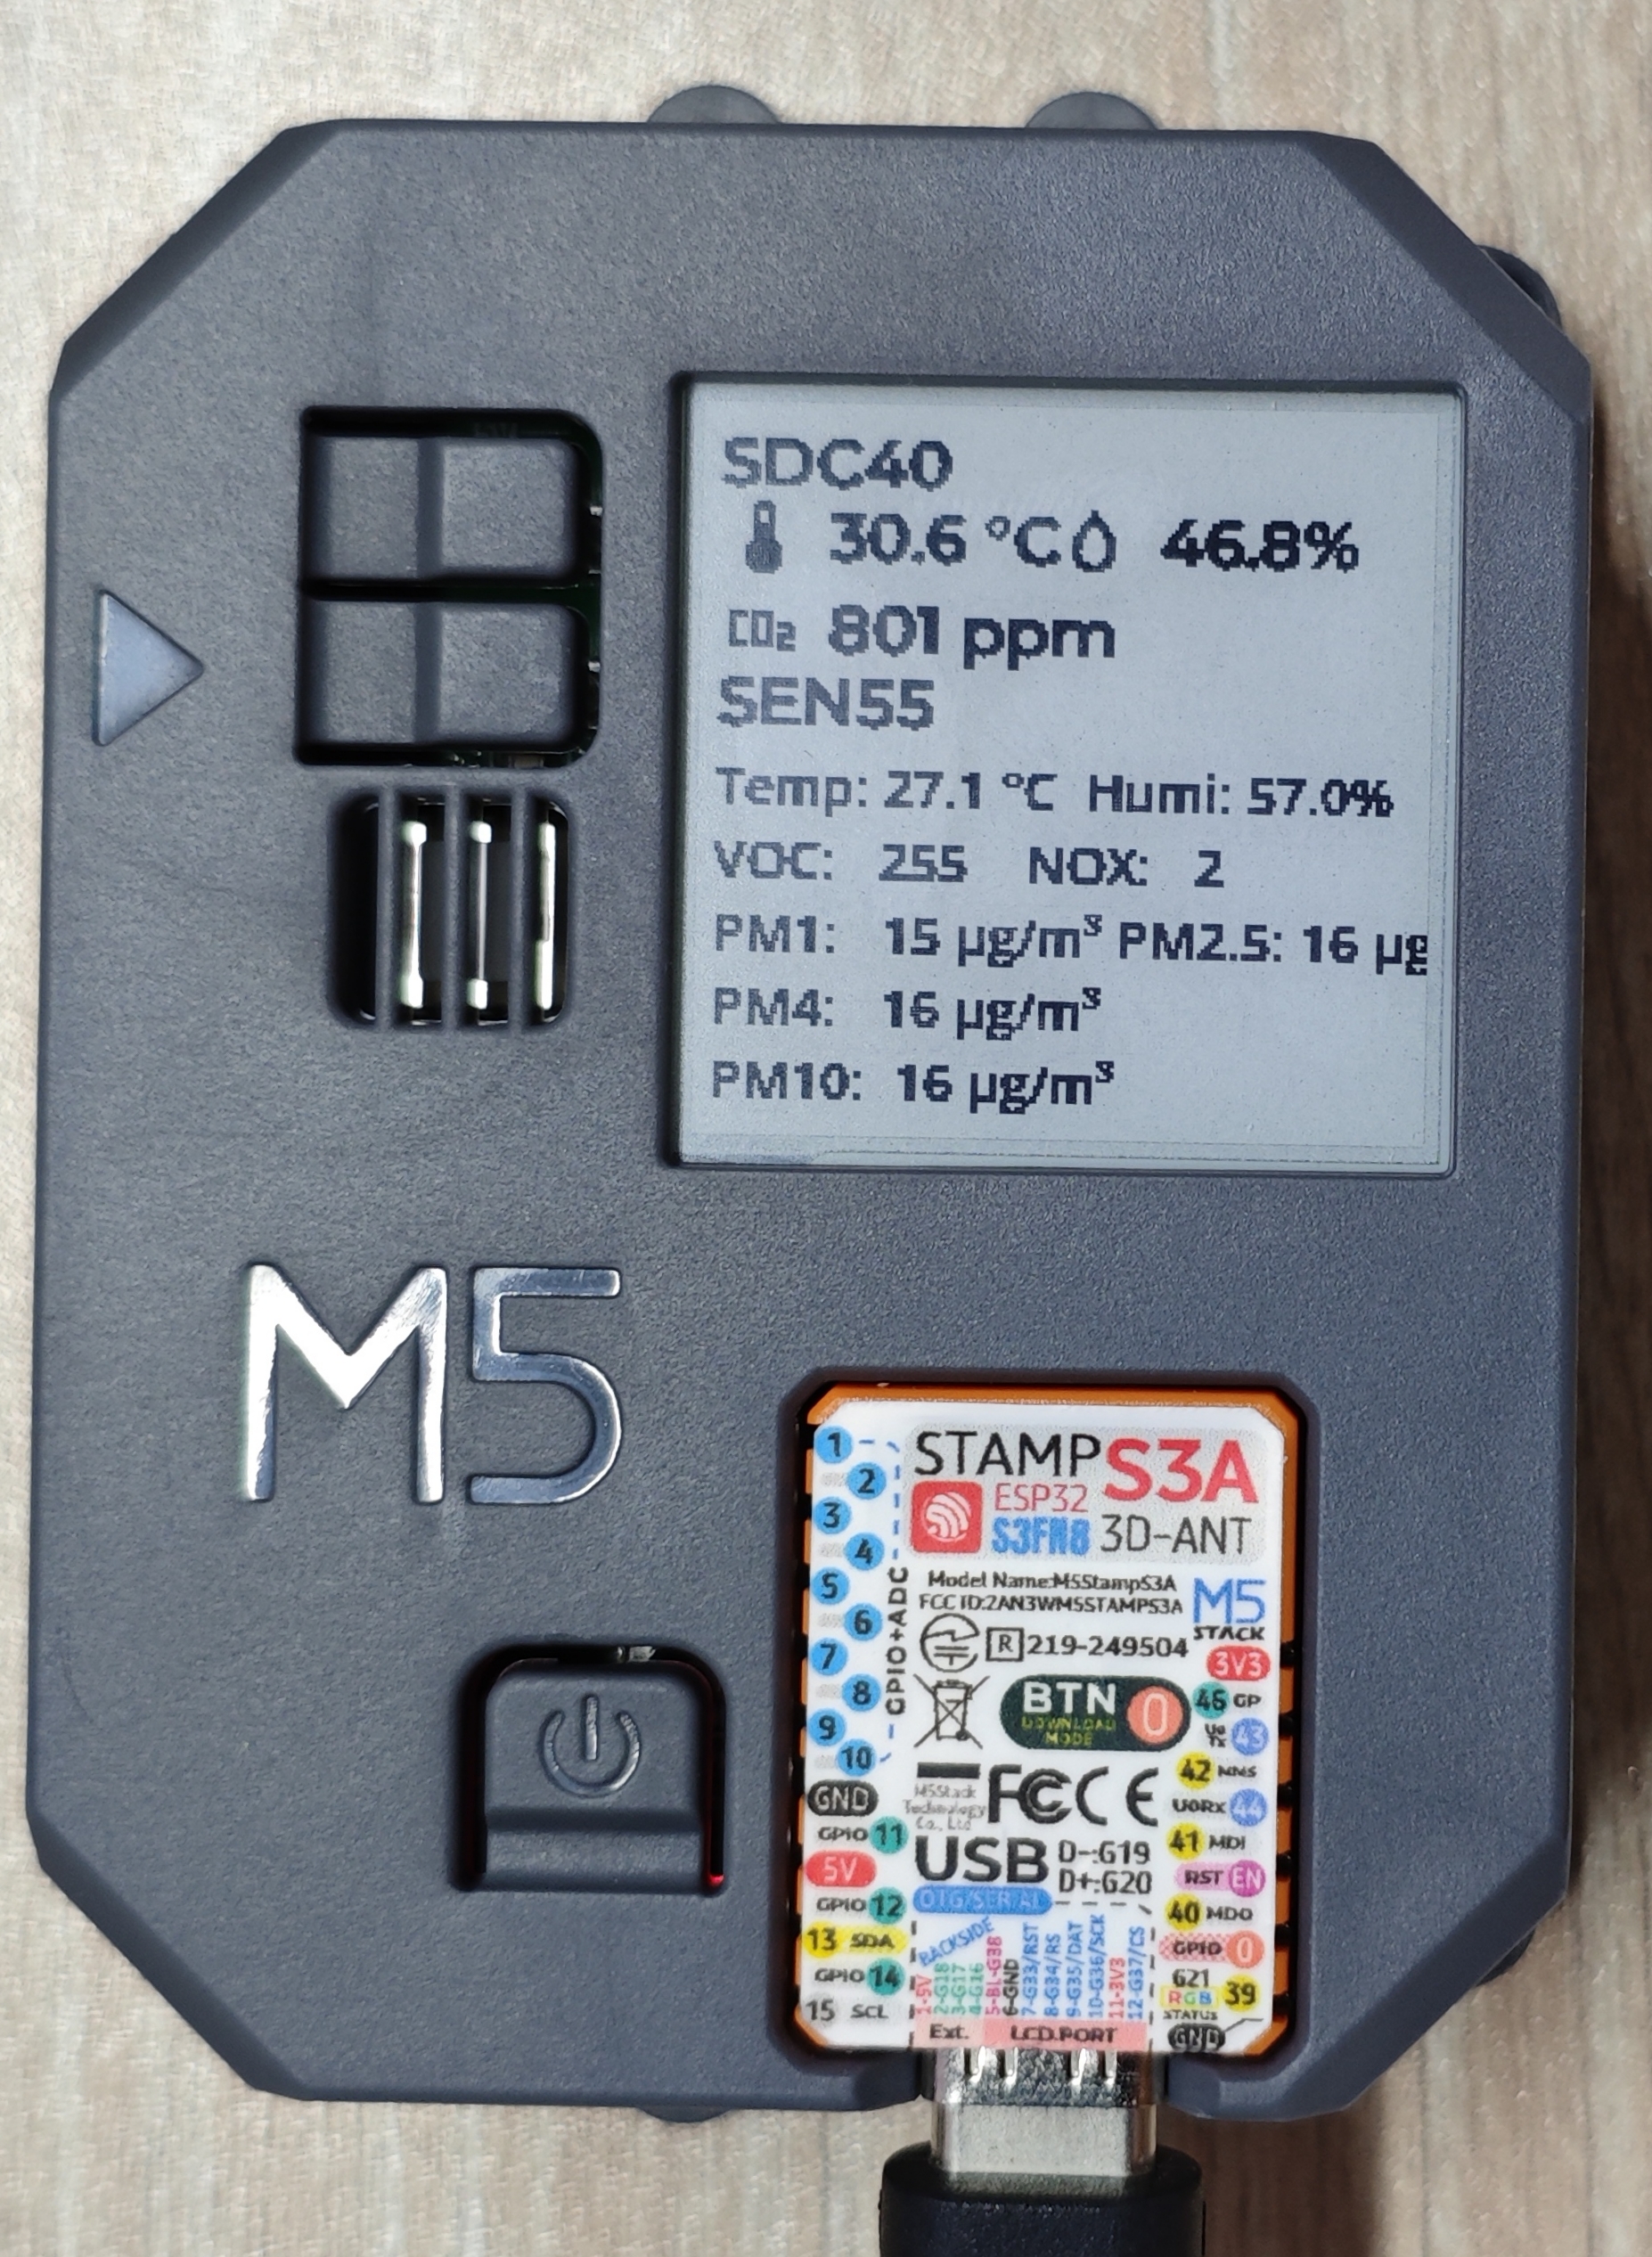
Air Quality v1.1 an integrated, low-power air quality monitoring device featuring the multi-functional SEN55 air quality sensor and SCD40 CO₂ sensor. It monitors particulate matter concentration (PM1.0, PM2.5, PM4, PM10), temperature, humidity, VOCs, and CO₂ concentrations. This tutorial shows how to integrate the device into Home Assistant.
You can refer to ESPHome for the latest configurations of the above sensors.
Preparations
- A Home Assistant host.
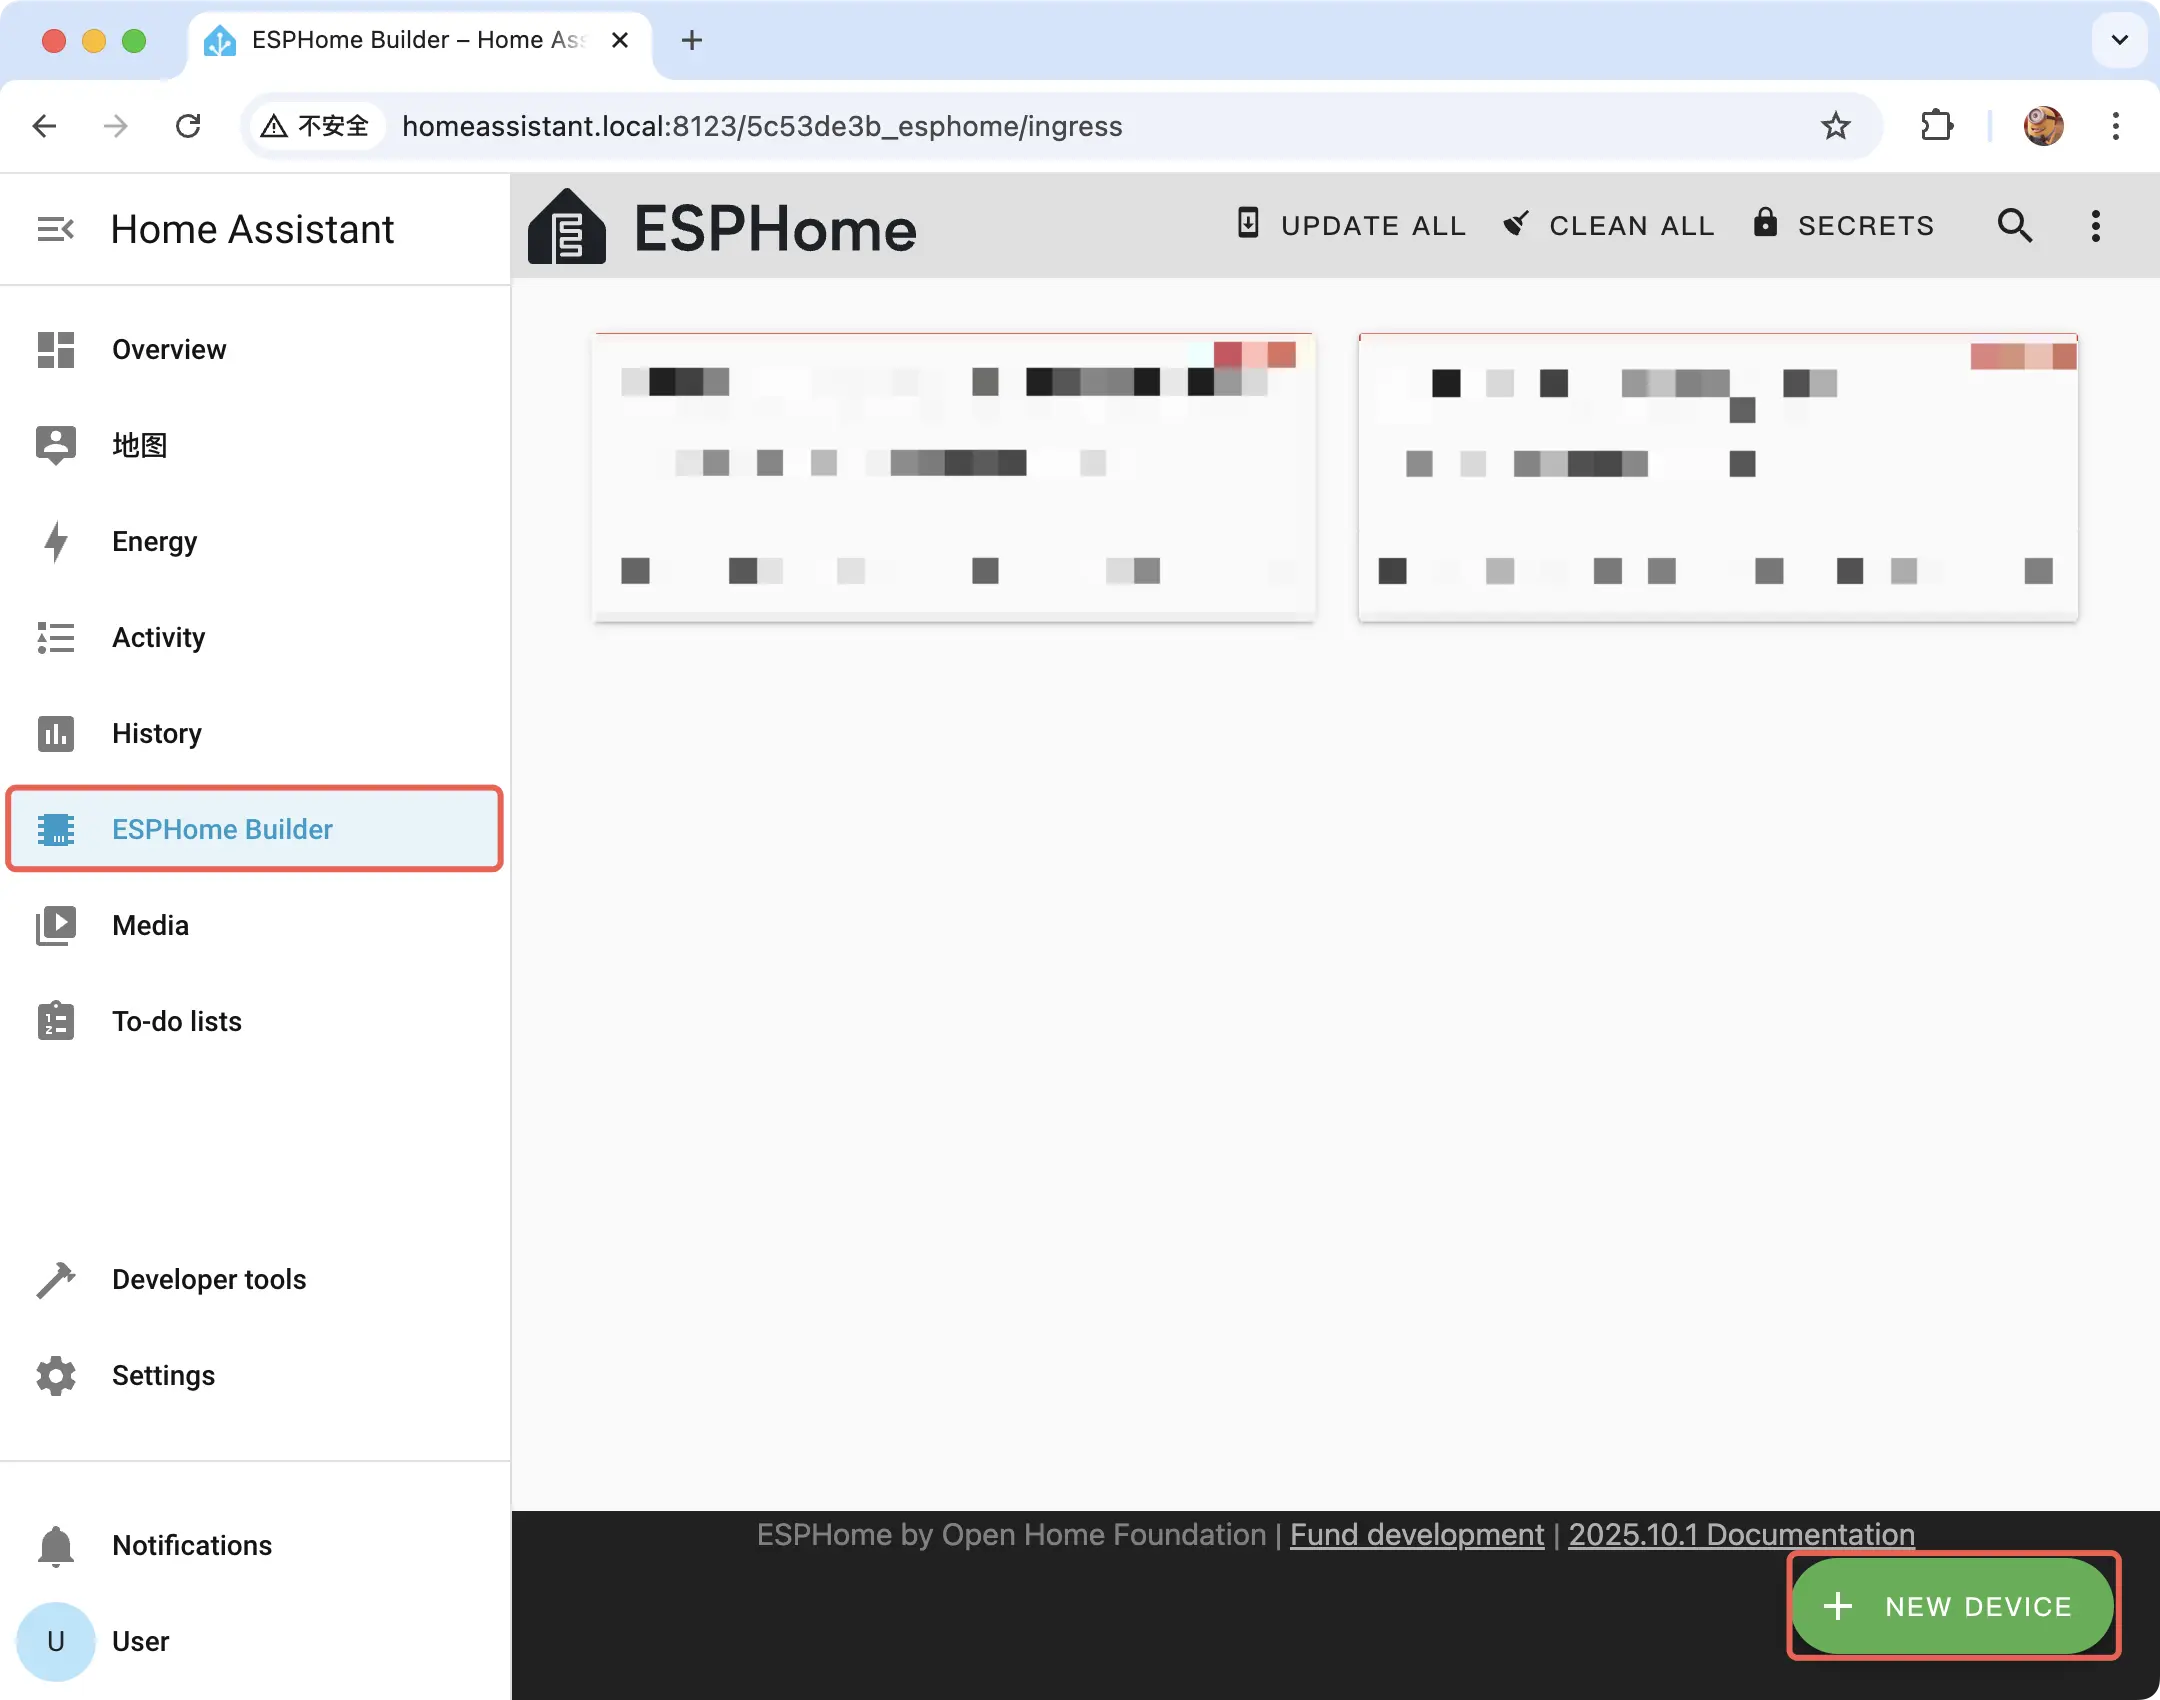
- Install and enable the ESPHome Builder in Home Assistant
Open ESPHome Builder, click the NEW DEVICE on the bottom right to create a new device configuration.
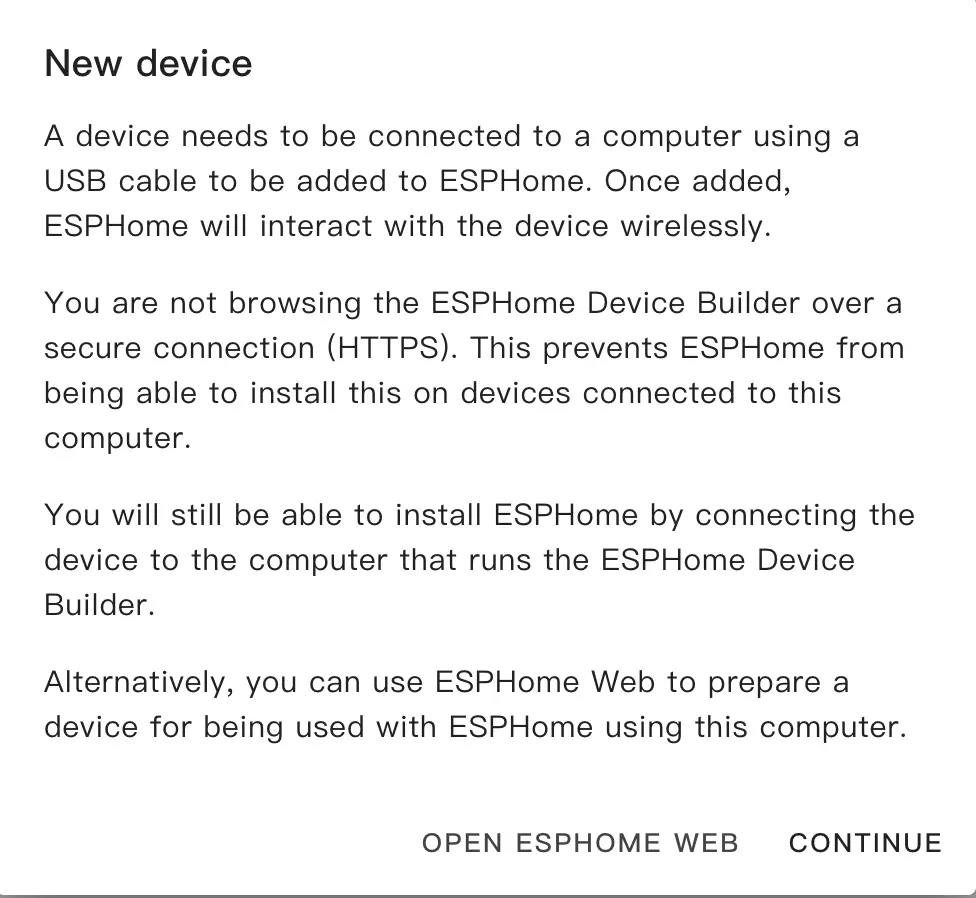
Click CONTINUE
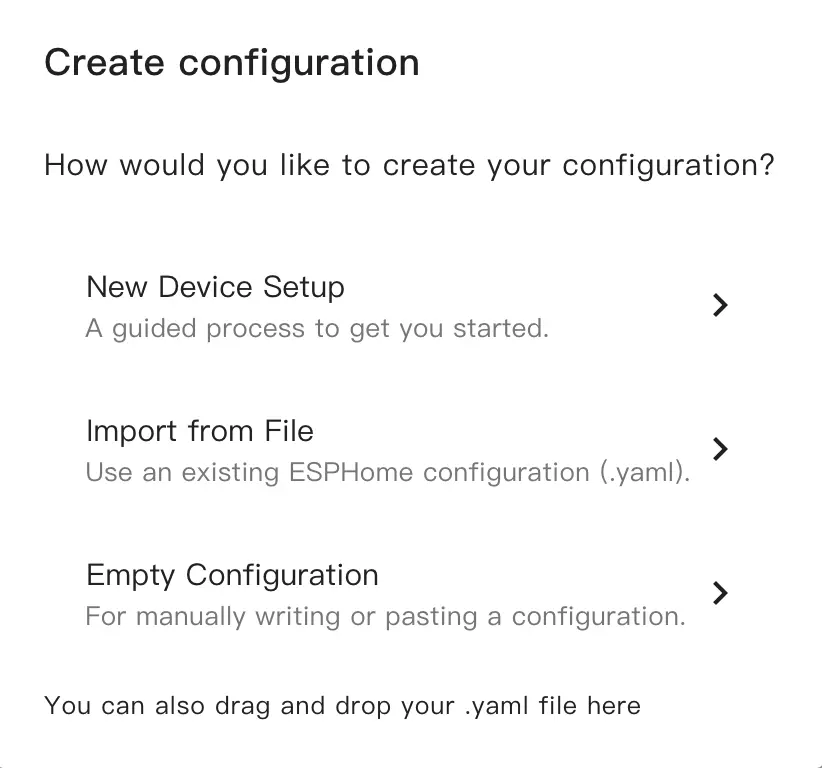
Select New Device Setup to create a new configuration file
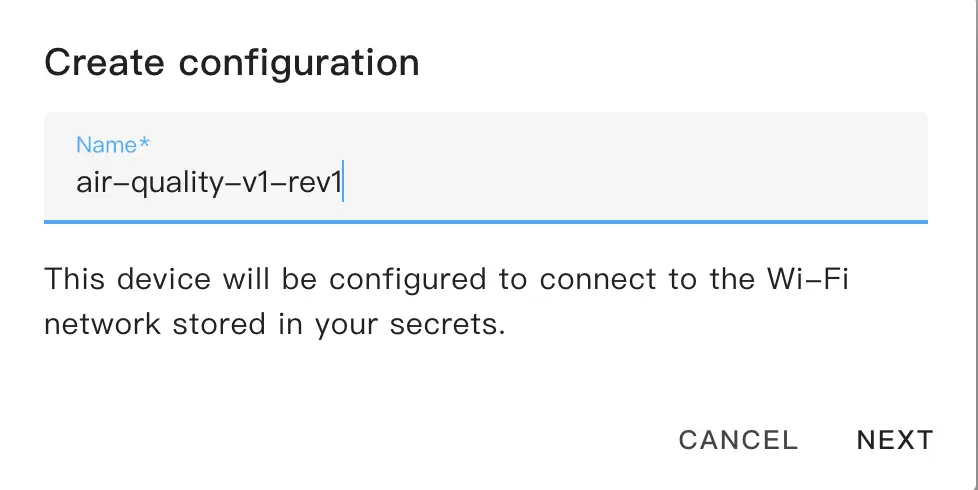
fill in the configuration name
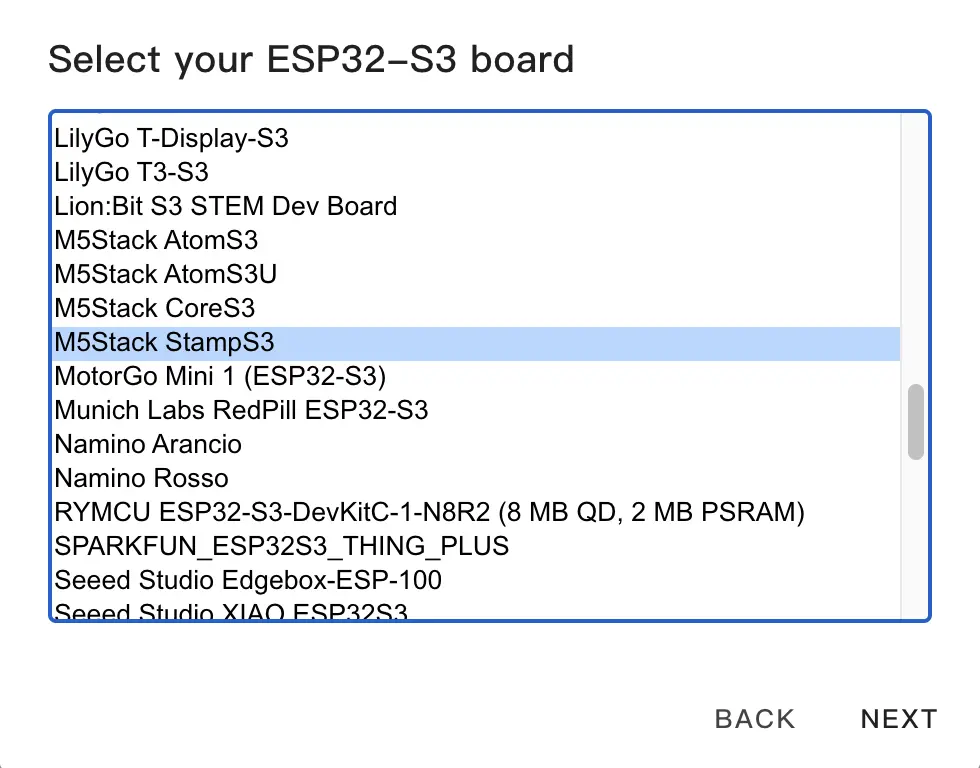
Select the device model, first cancel the Use recommended settings, then click ESP32 and select the M5Stack StampS3
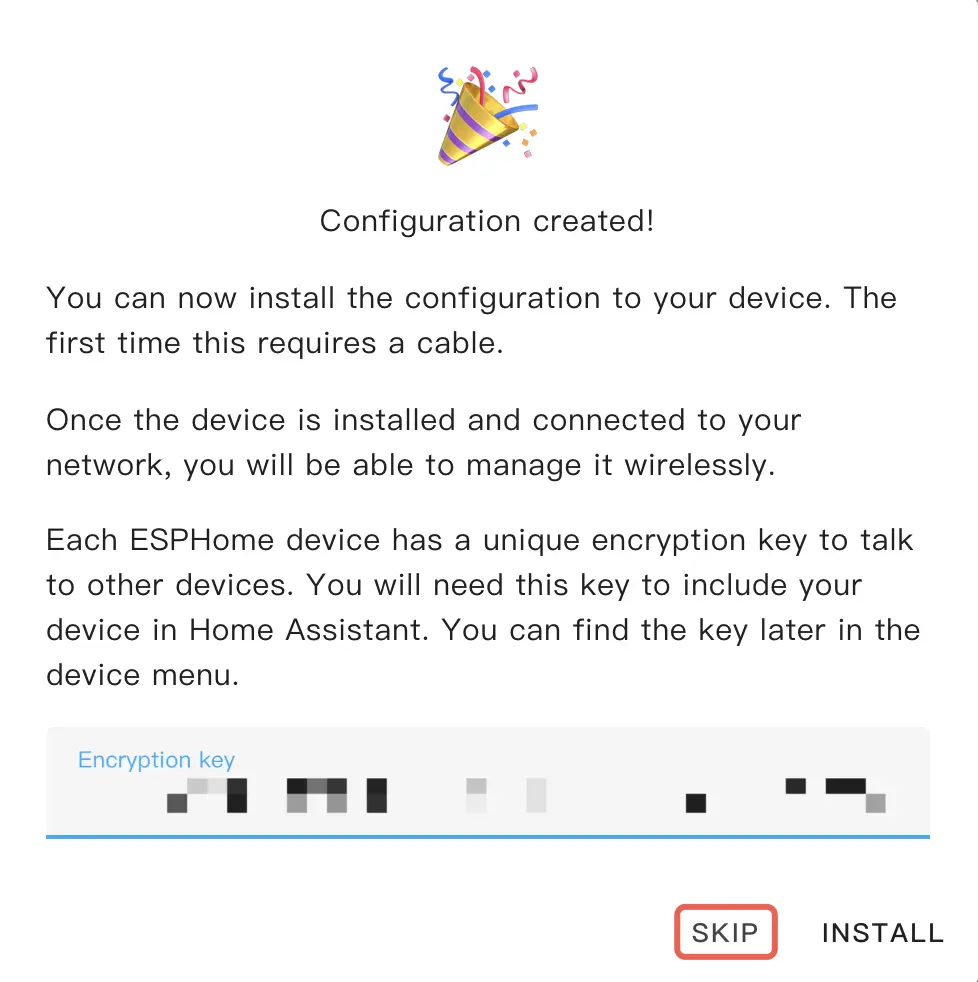
Copy the Encryption Key for later use, then click SKIP
配置设备
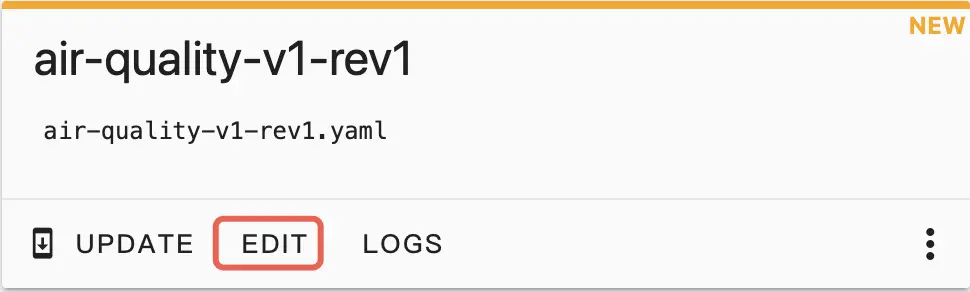
Click EDIT on the device configuration card that generated
Edit the file, add the following package to the end of the file
packages:
  air_quality_base_config:
    url: https://github.com/m5stack/esphome-yaml
    files: common/air-quality-v1-rev1-base.yaml
    ref: main
    refresh: 1d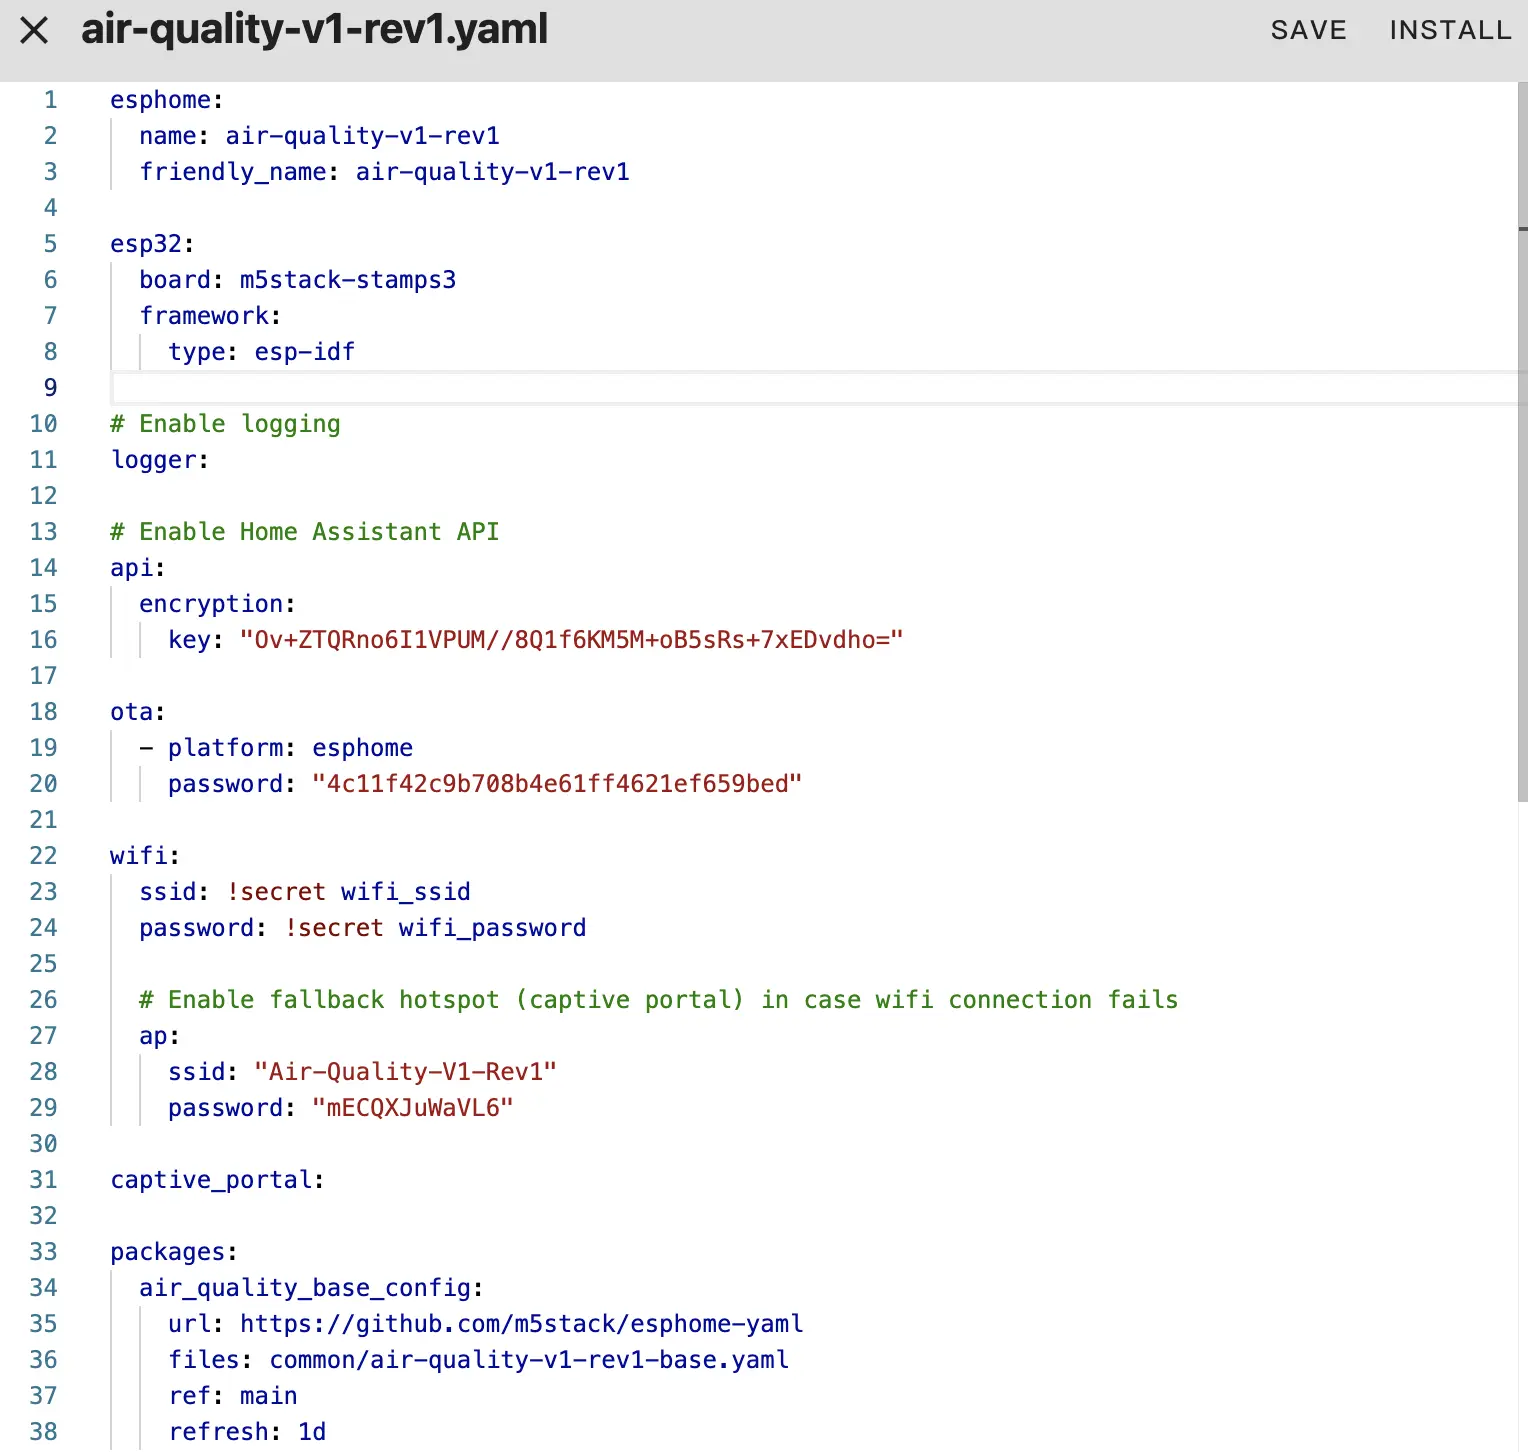
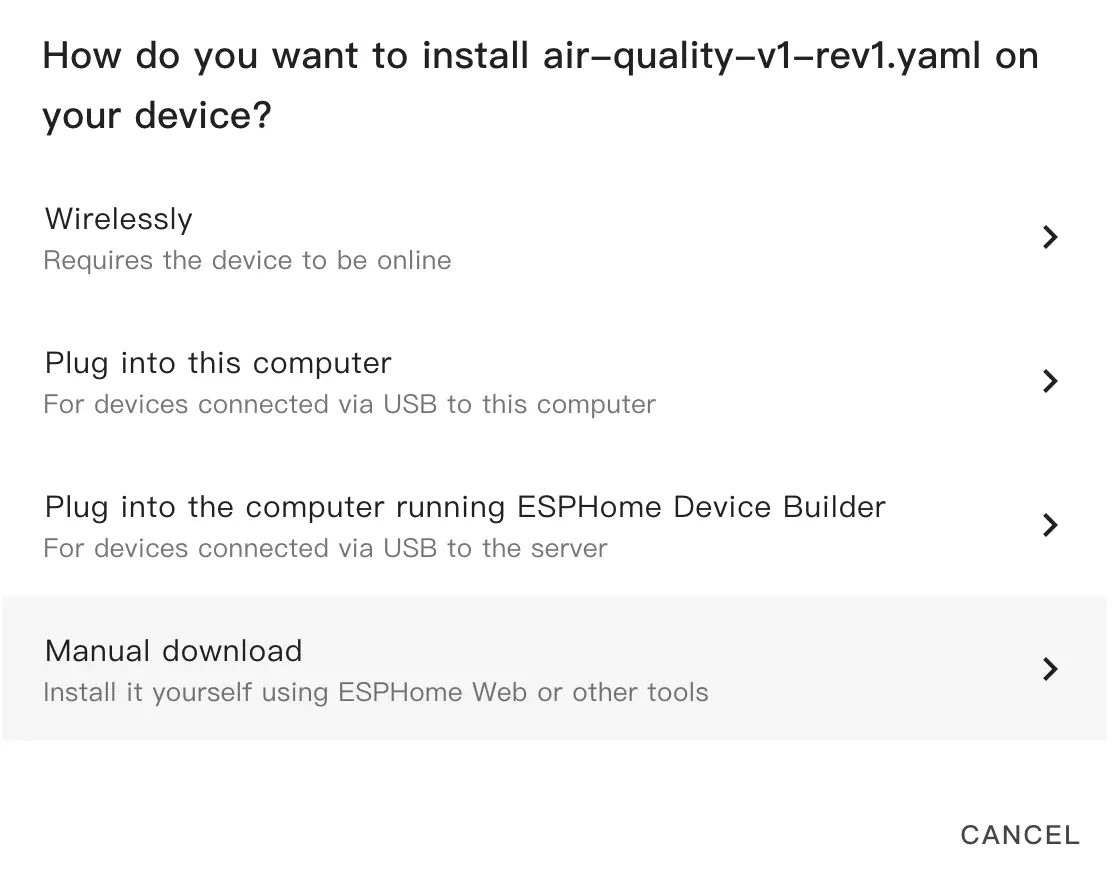
Then, click SAVE and INSTALL, when prompt appeared, select Manual download to compile and download the firmware.
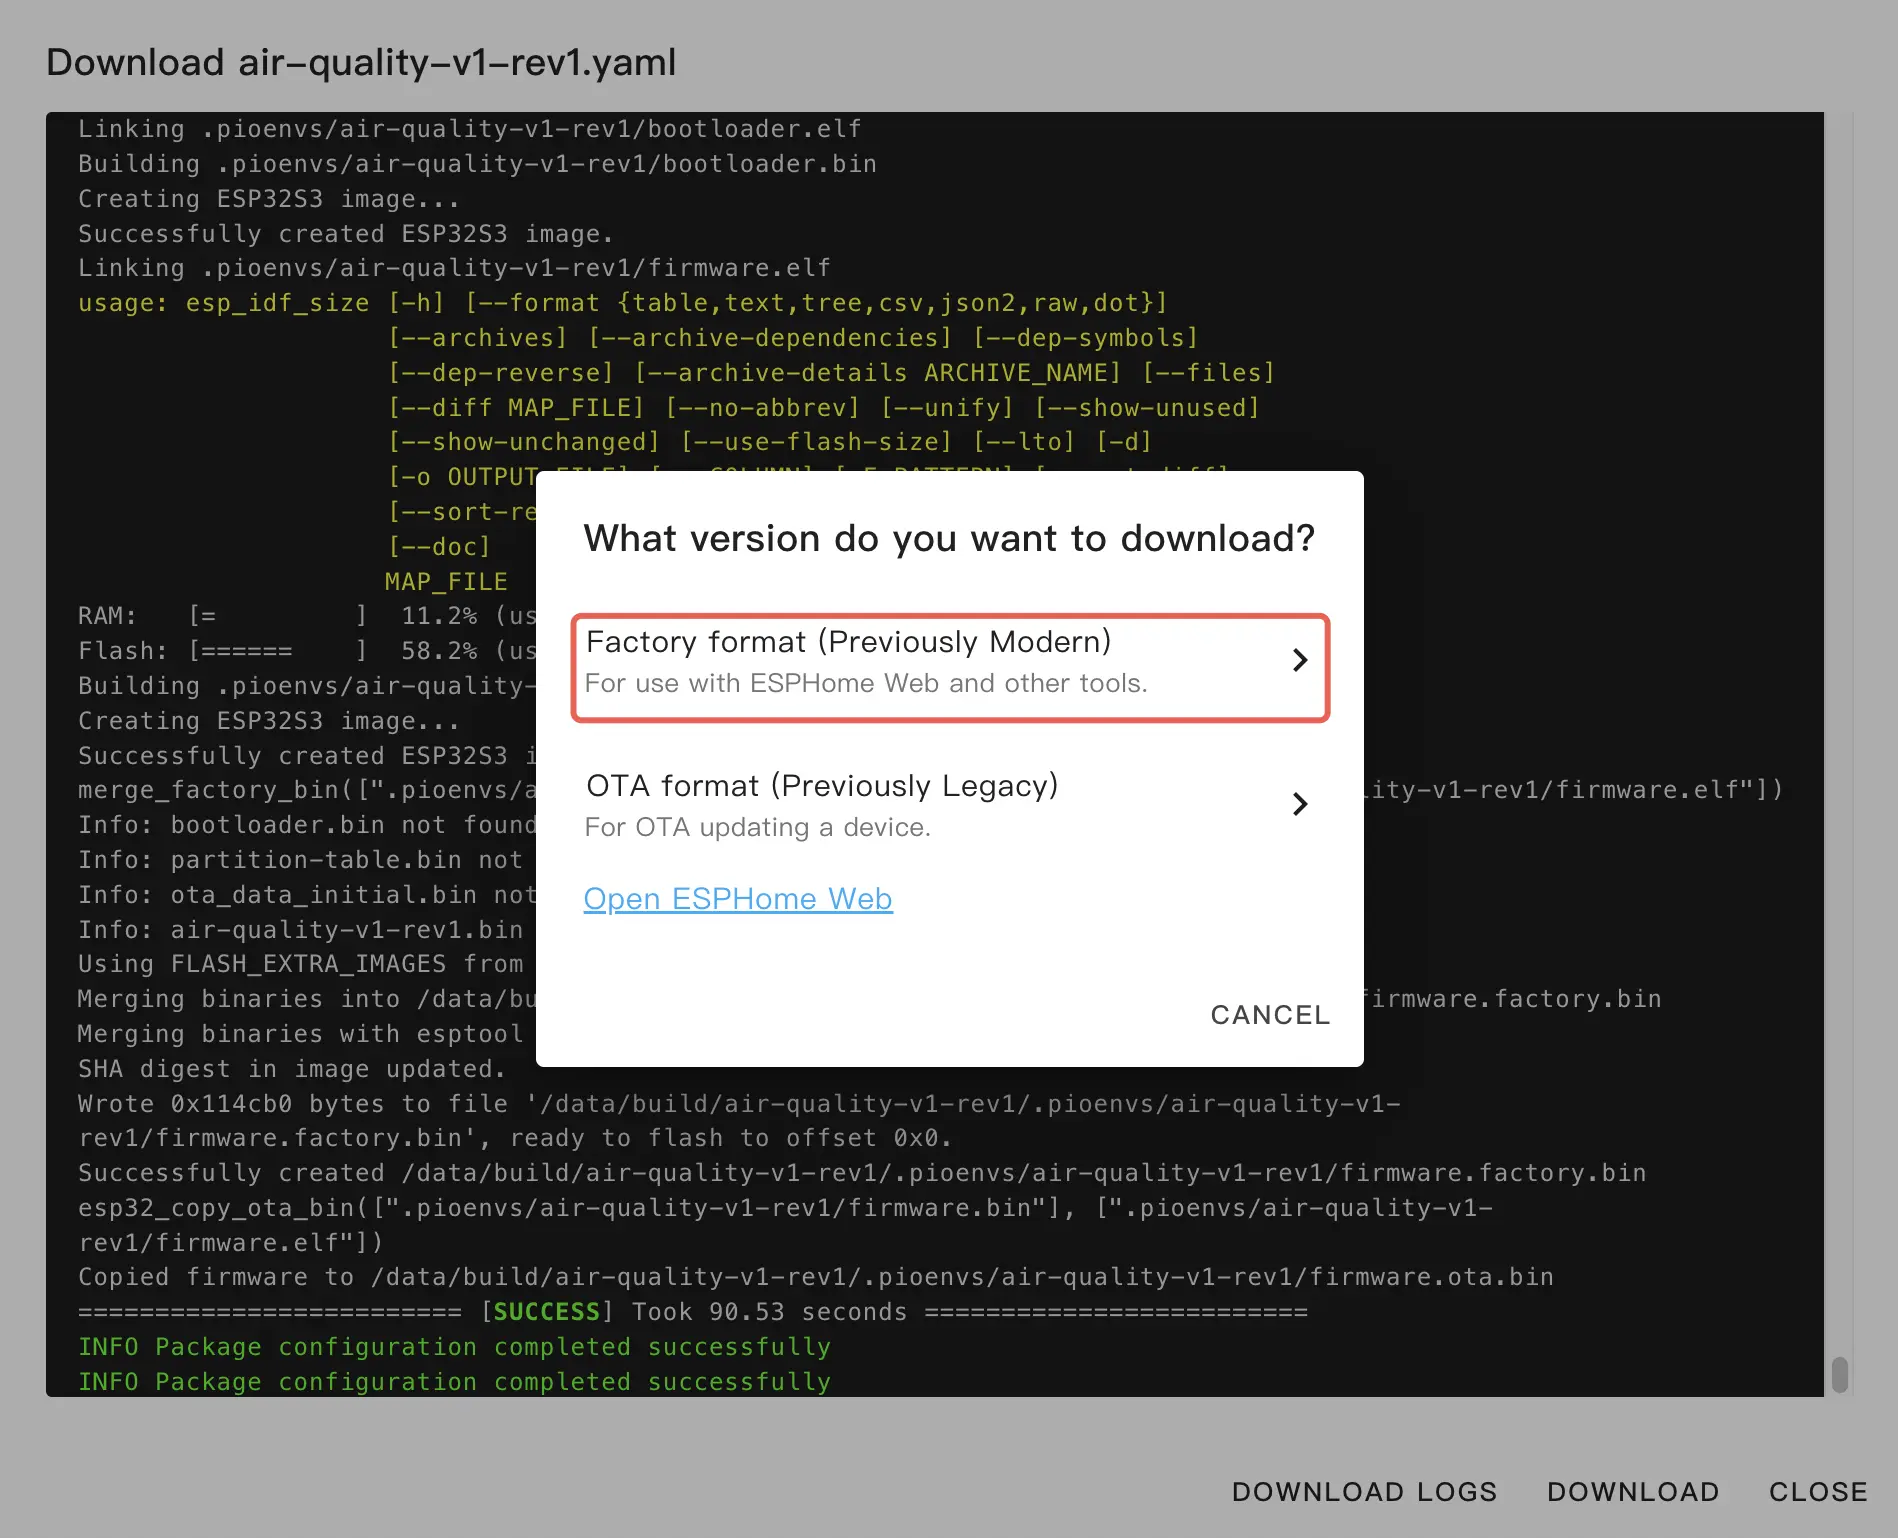
Upon completion of compilation, click the Download button and select Factory Format to download the firmware.
Flash the firmware
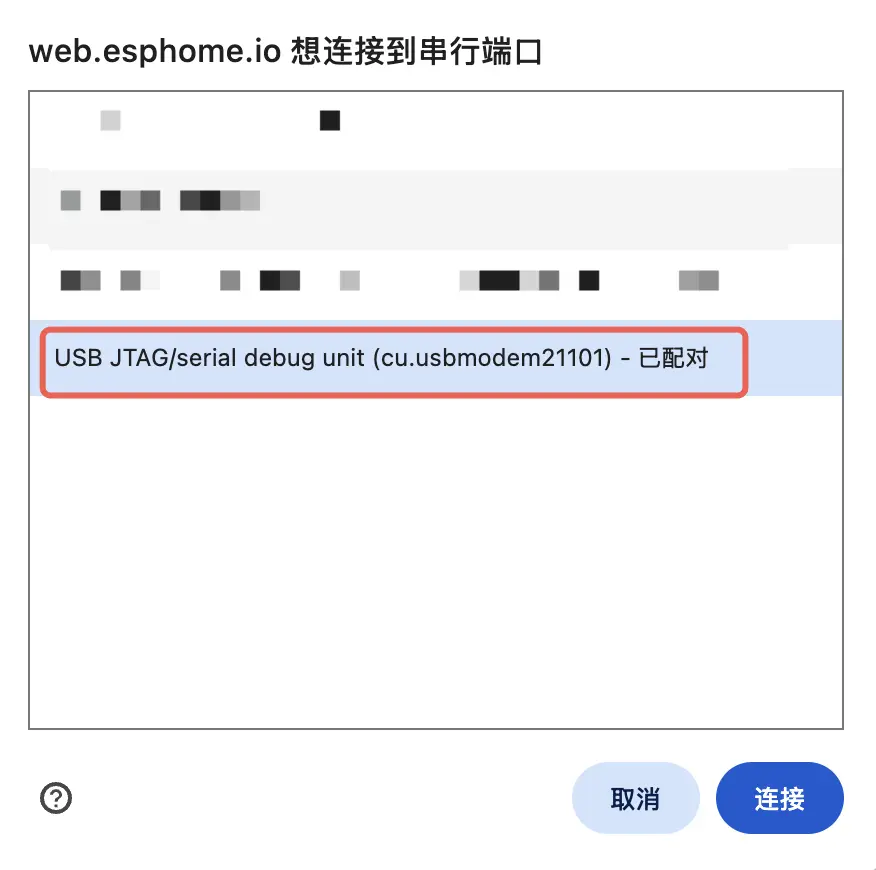
Plug the device with your PC. Open ESPHome Web, and click CONNECT to connect the device
Click INSTALL, select the firmware previously downloaded and upload it.
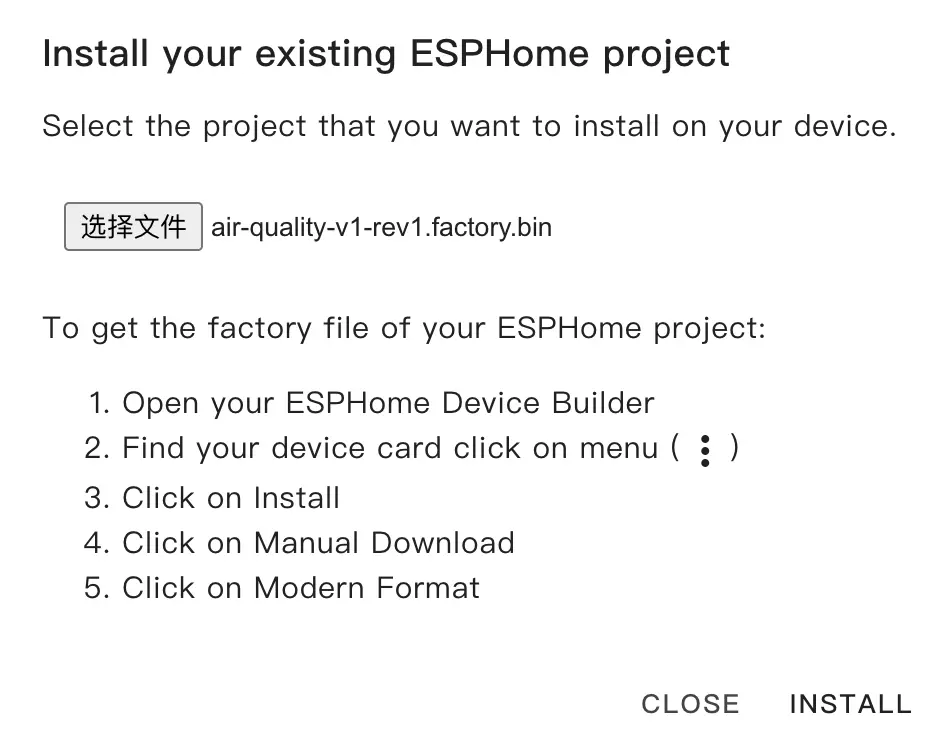
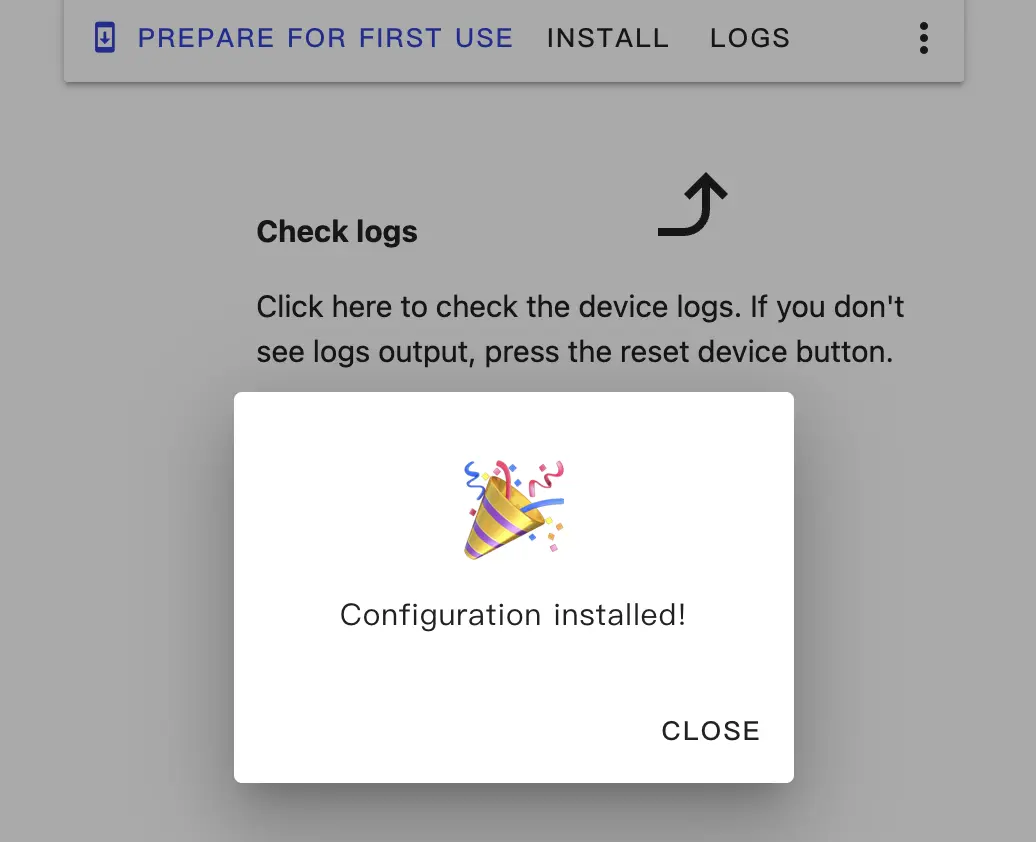
Click INSTALL again to flash the firmware, and wait for the process finished.
Adding the Device into Home Assistant
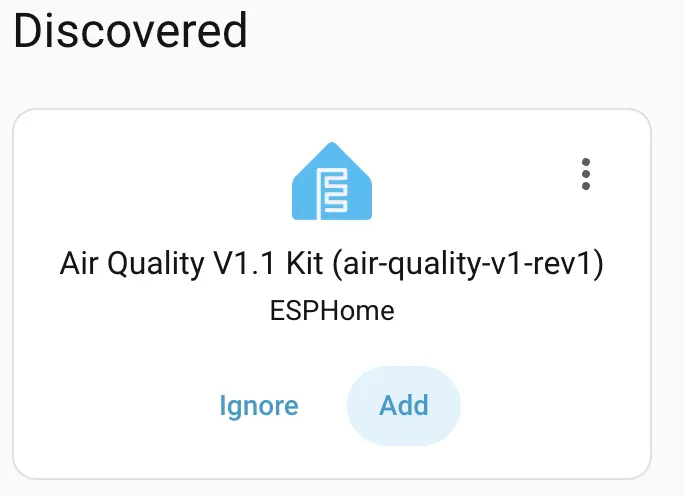
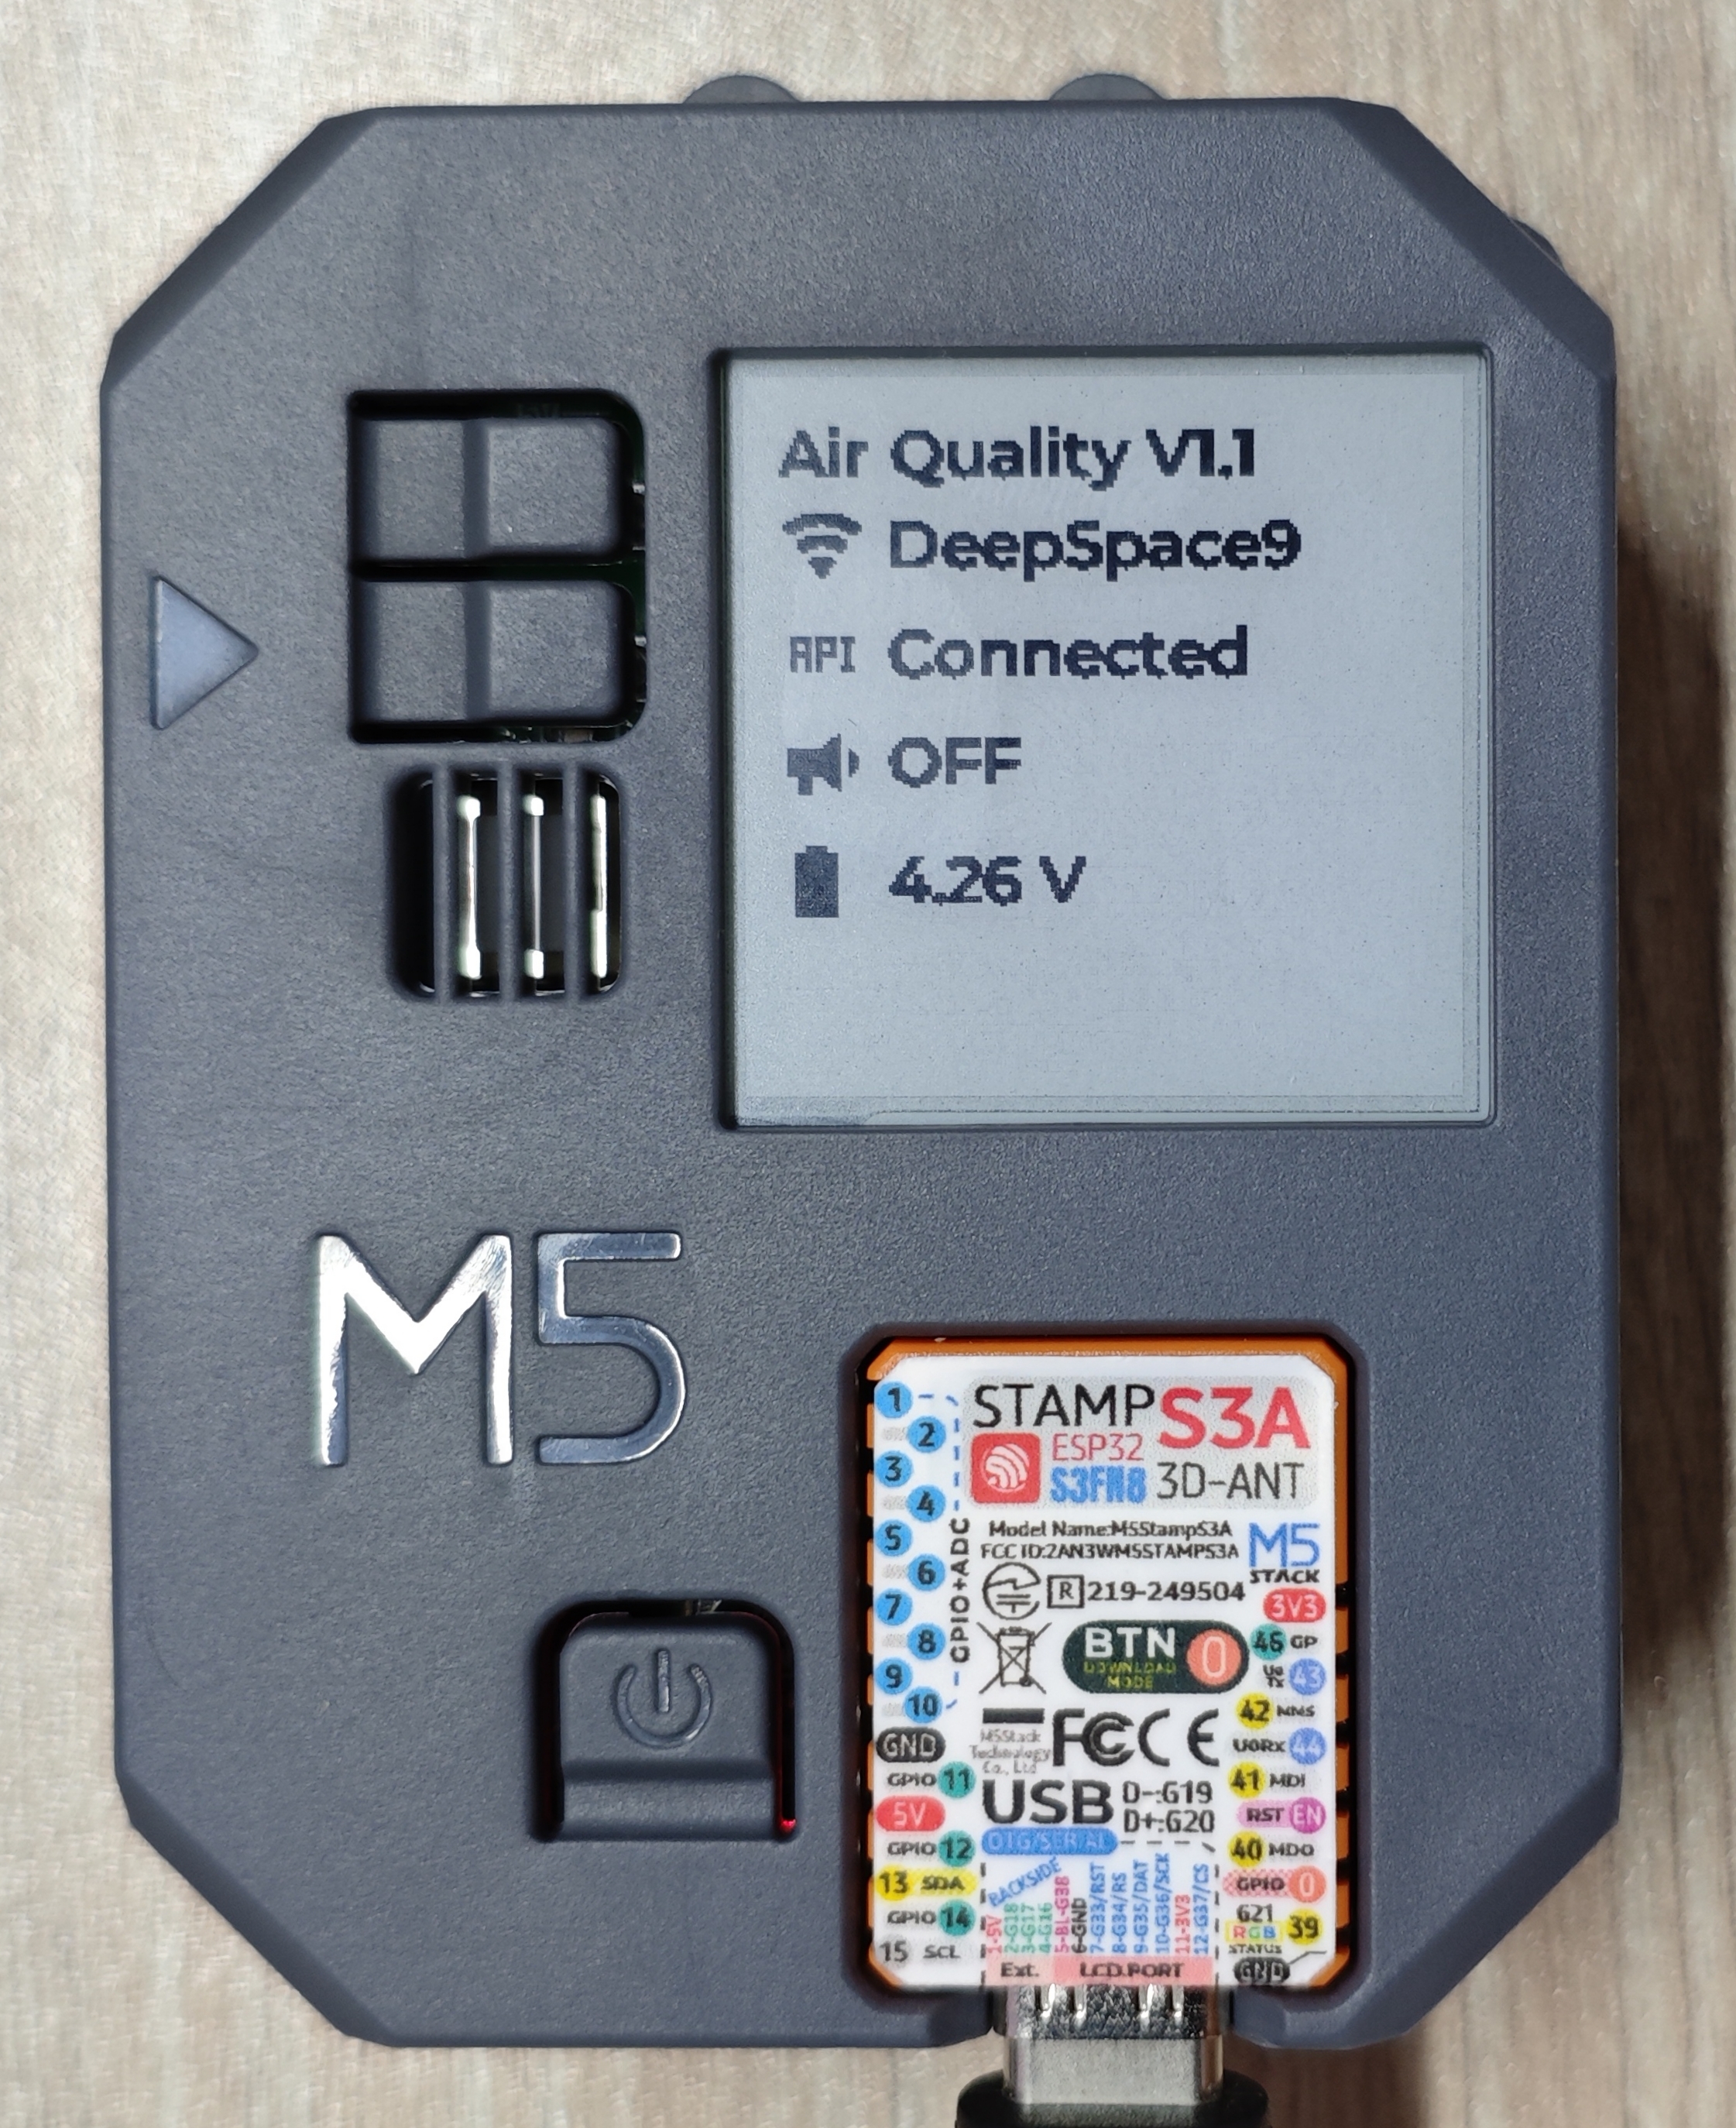
Upon successfully flash the firmware, the device should reset automatically and connected to the Wi-Fi configured in the Home Assistant. The Home Assistant will discover the device. You can click Check it out->CONFIGURE in notifications, and finish the configuration accordingly.

If you didn't see the device discovery under notifications, you can also navigate to Settings->Device & services to check device discovery status. Click Add to add the device into Home Assistant.
Below is the dashboard example
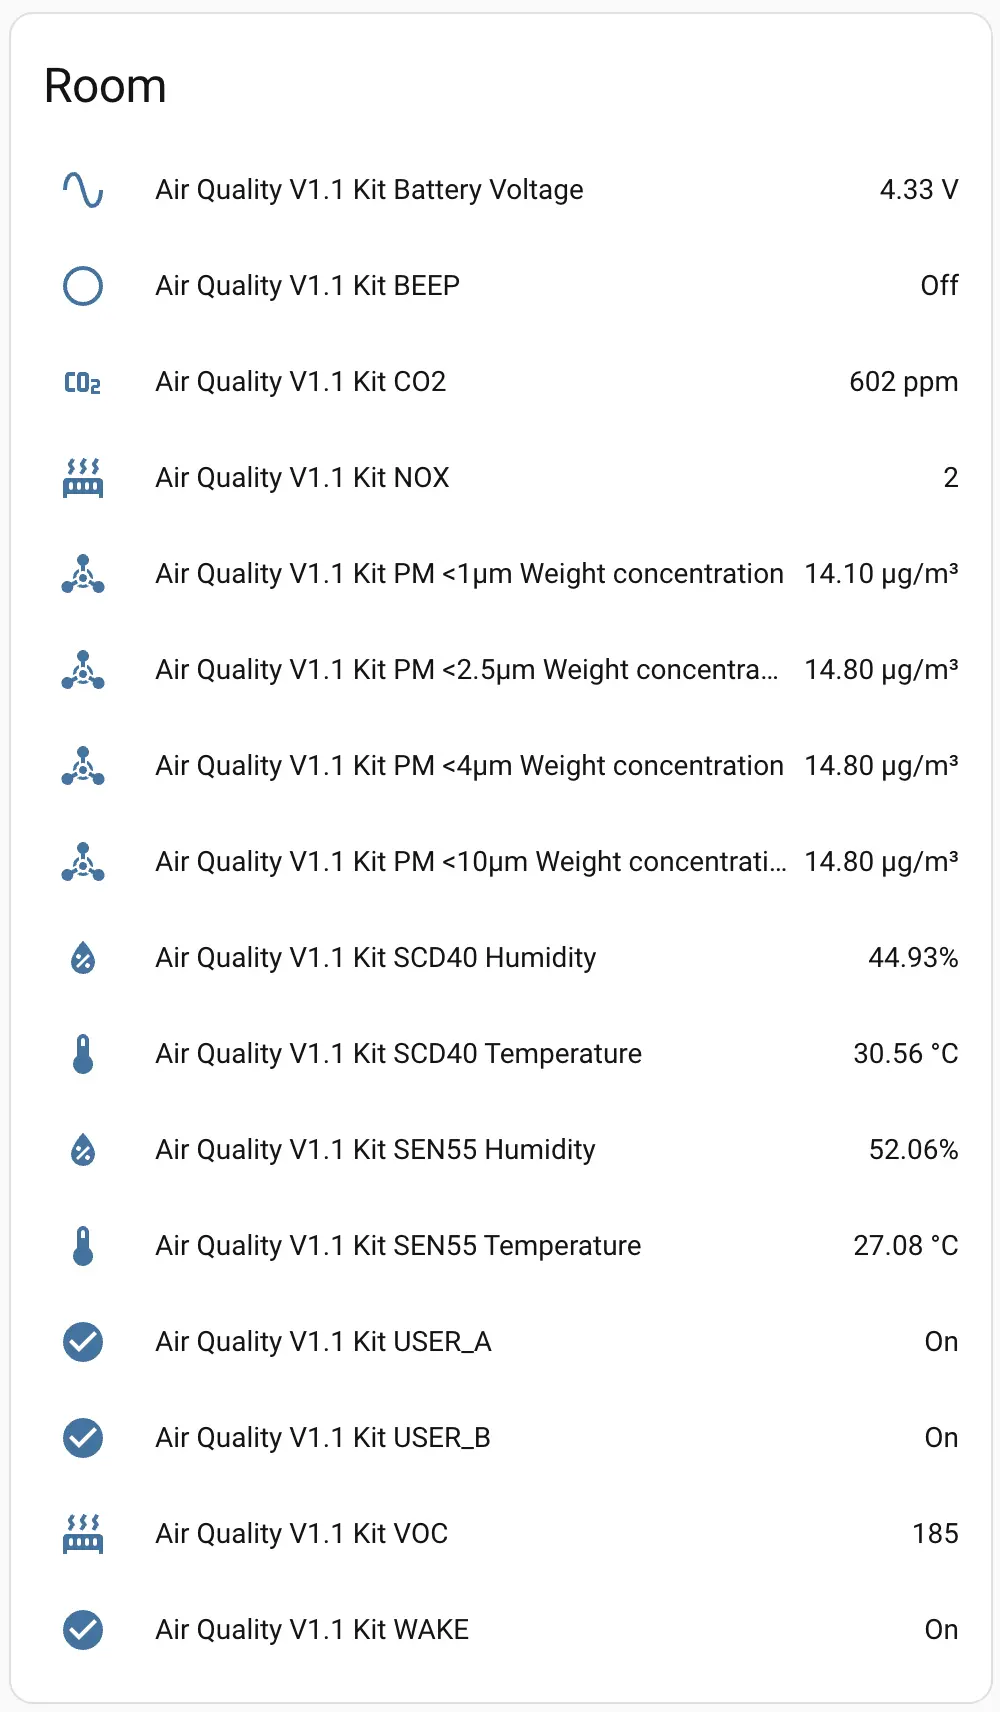
Meanwhile, you can press the physical buttons on devices (USER_A/USER_B), to show more information on epaper display.
2. It takes a while (usually a minute) for sensors to sample and push data, and it's recommended to use a USB-C cable to power the device instead of using a battery for better readings, since sensors and Wi-Fi would drastically increase the power consumption.