Home Assistant
Media Player
Expansion
Sensor
PM2.5 Air Quality Kit (SHT30) Home Assistant Integration
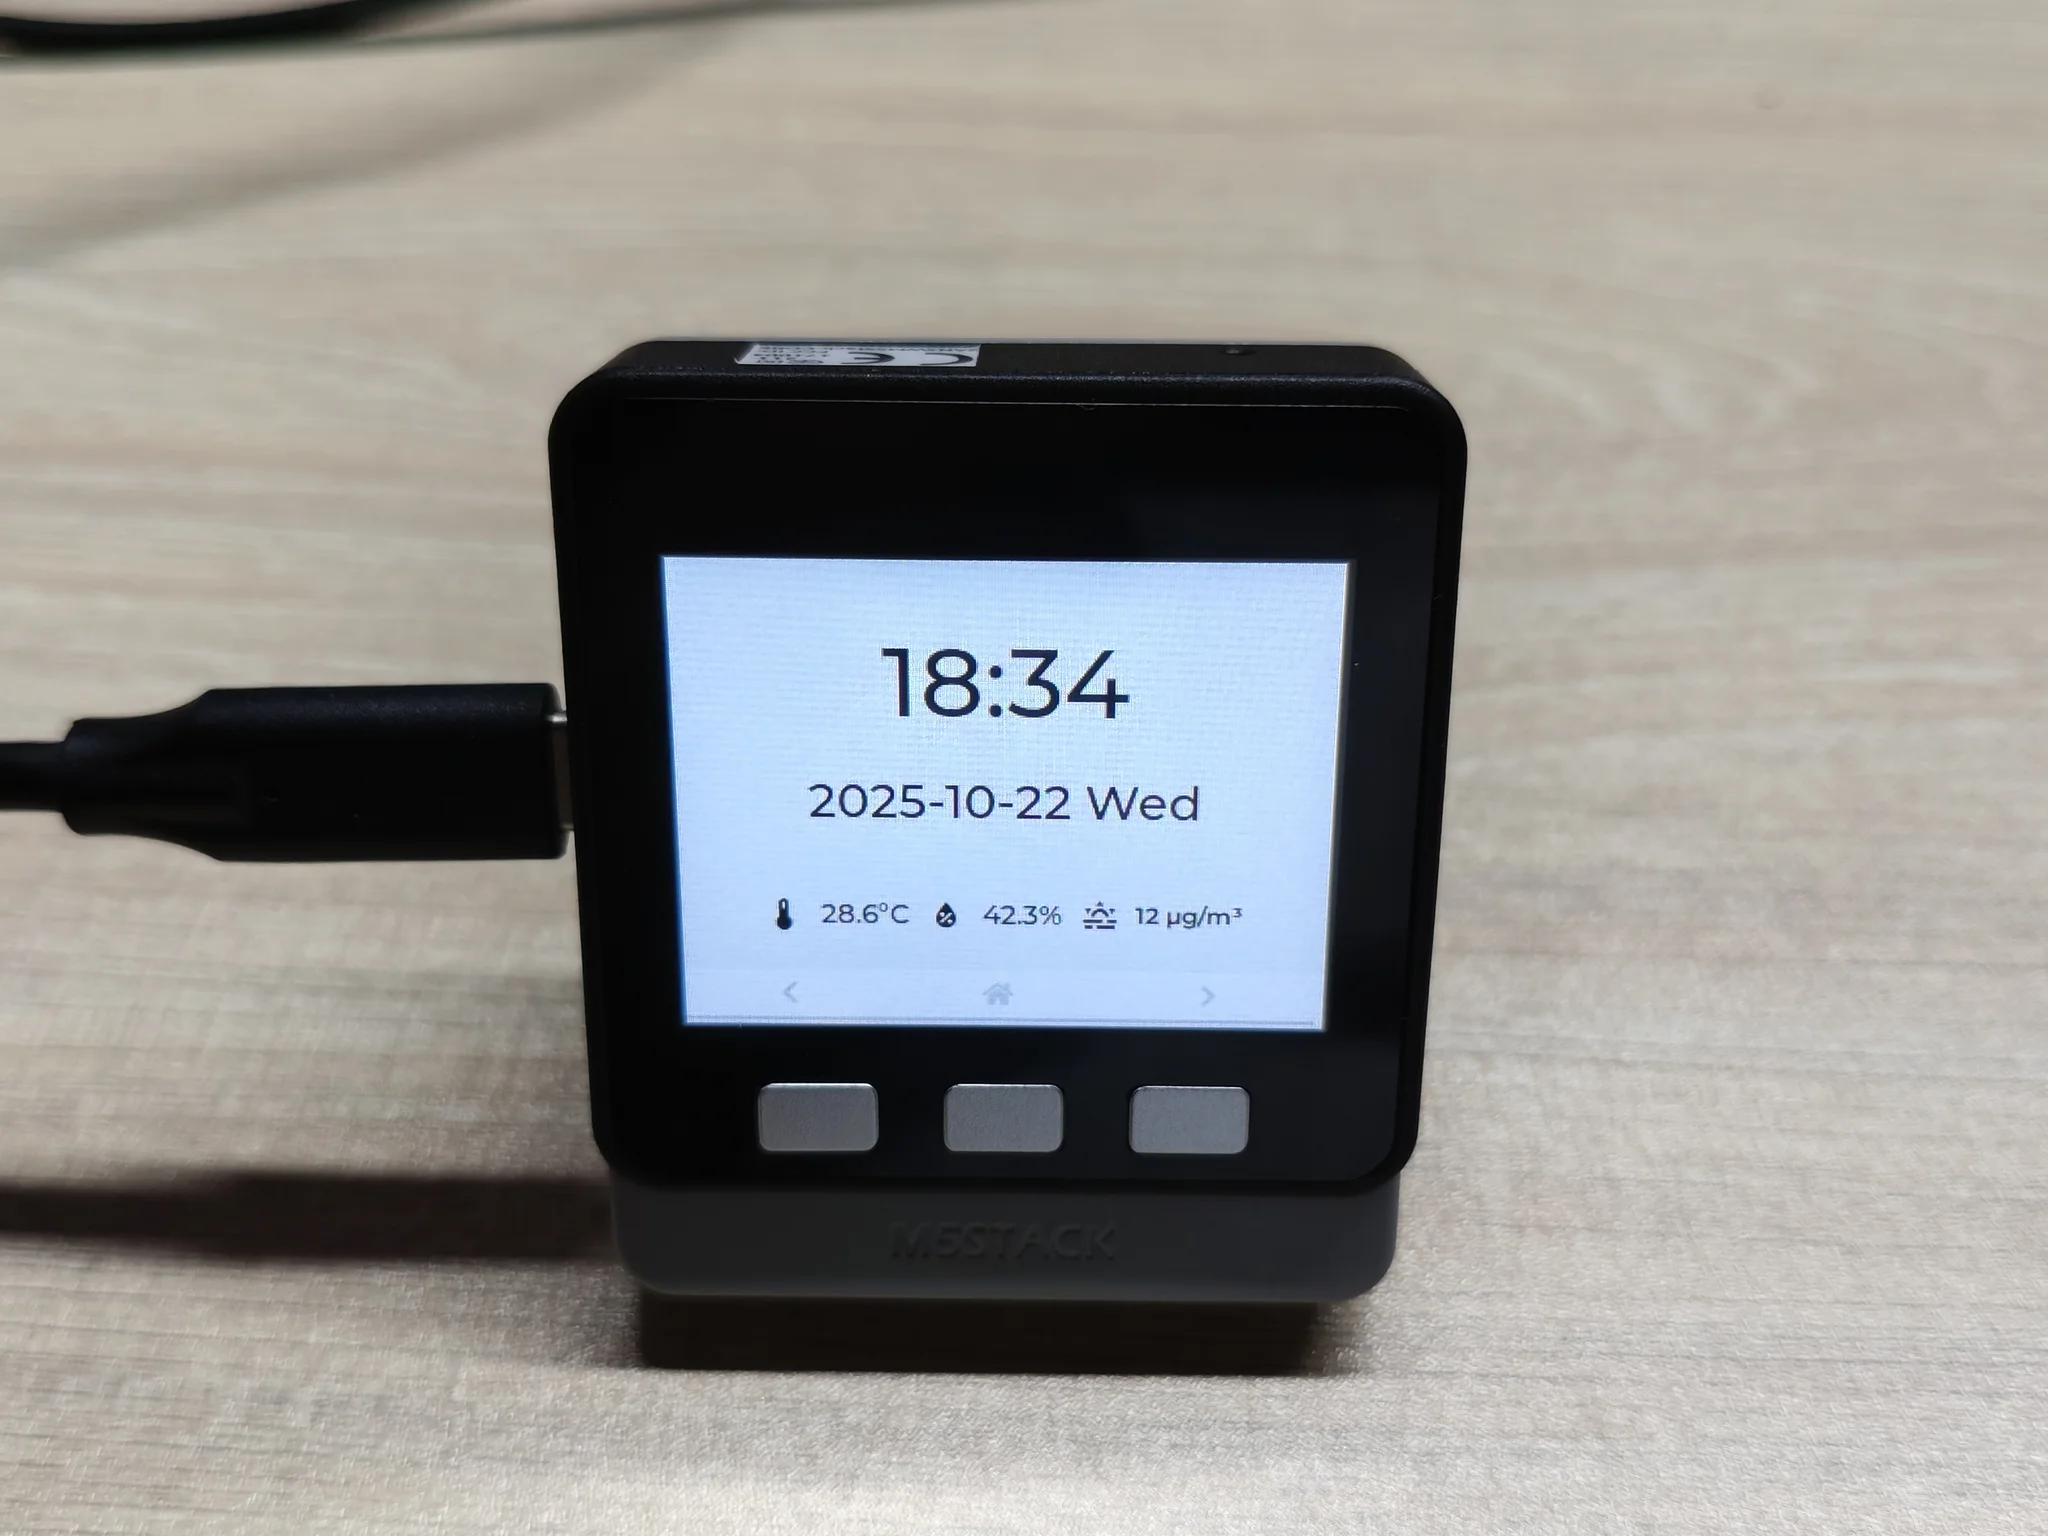
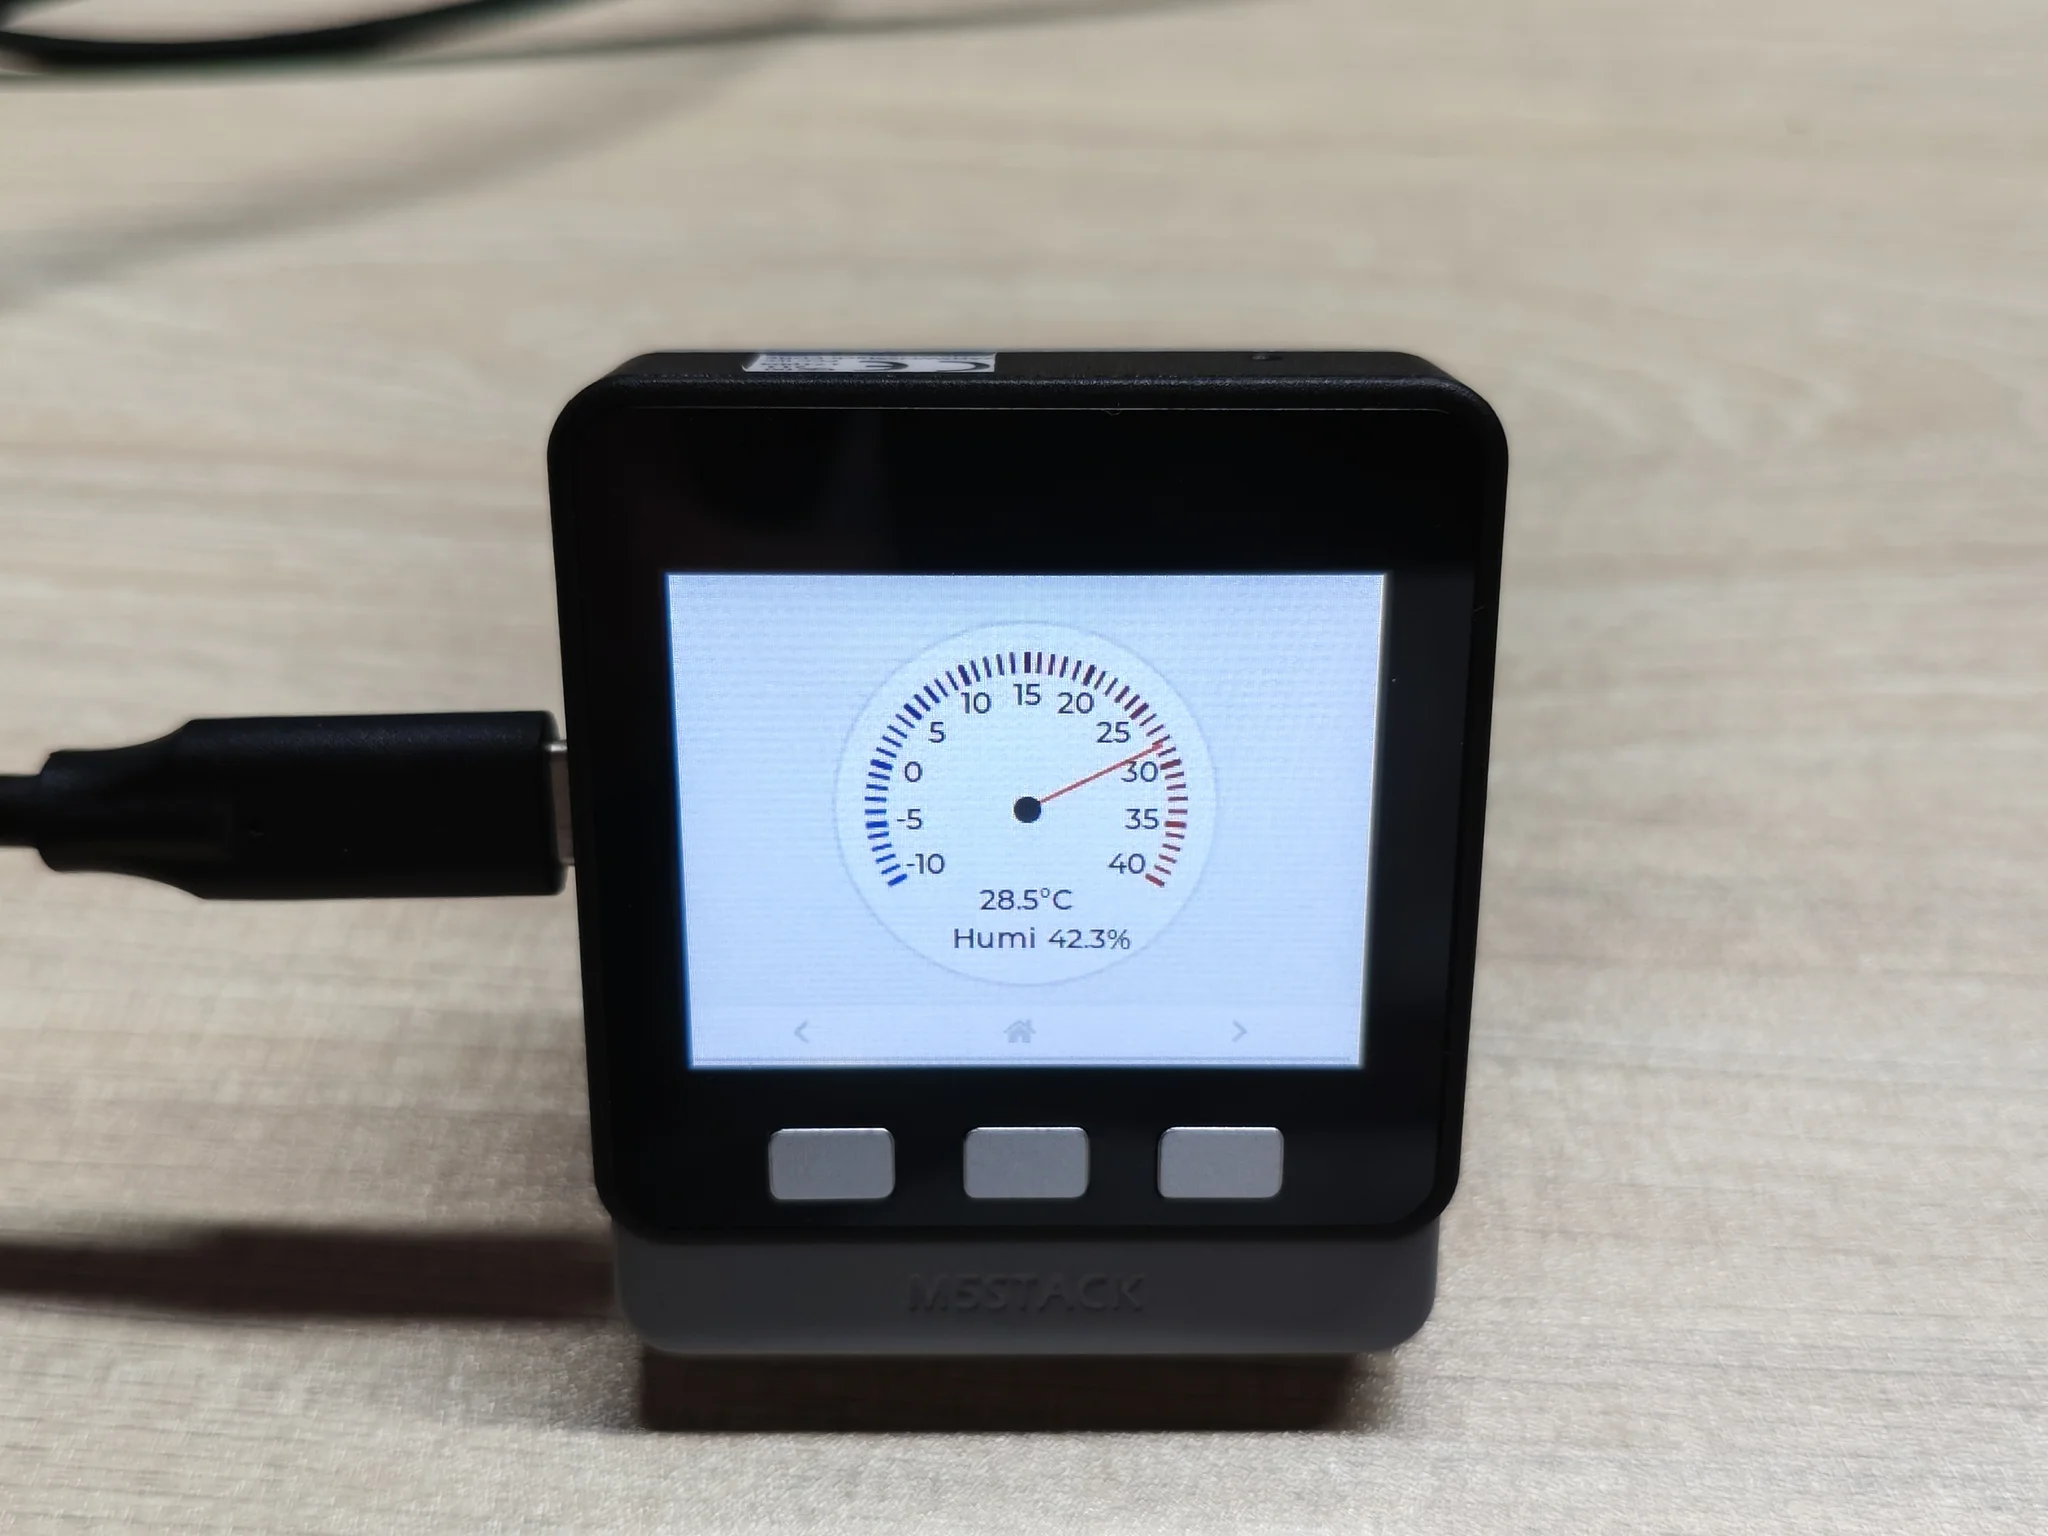
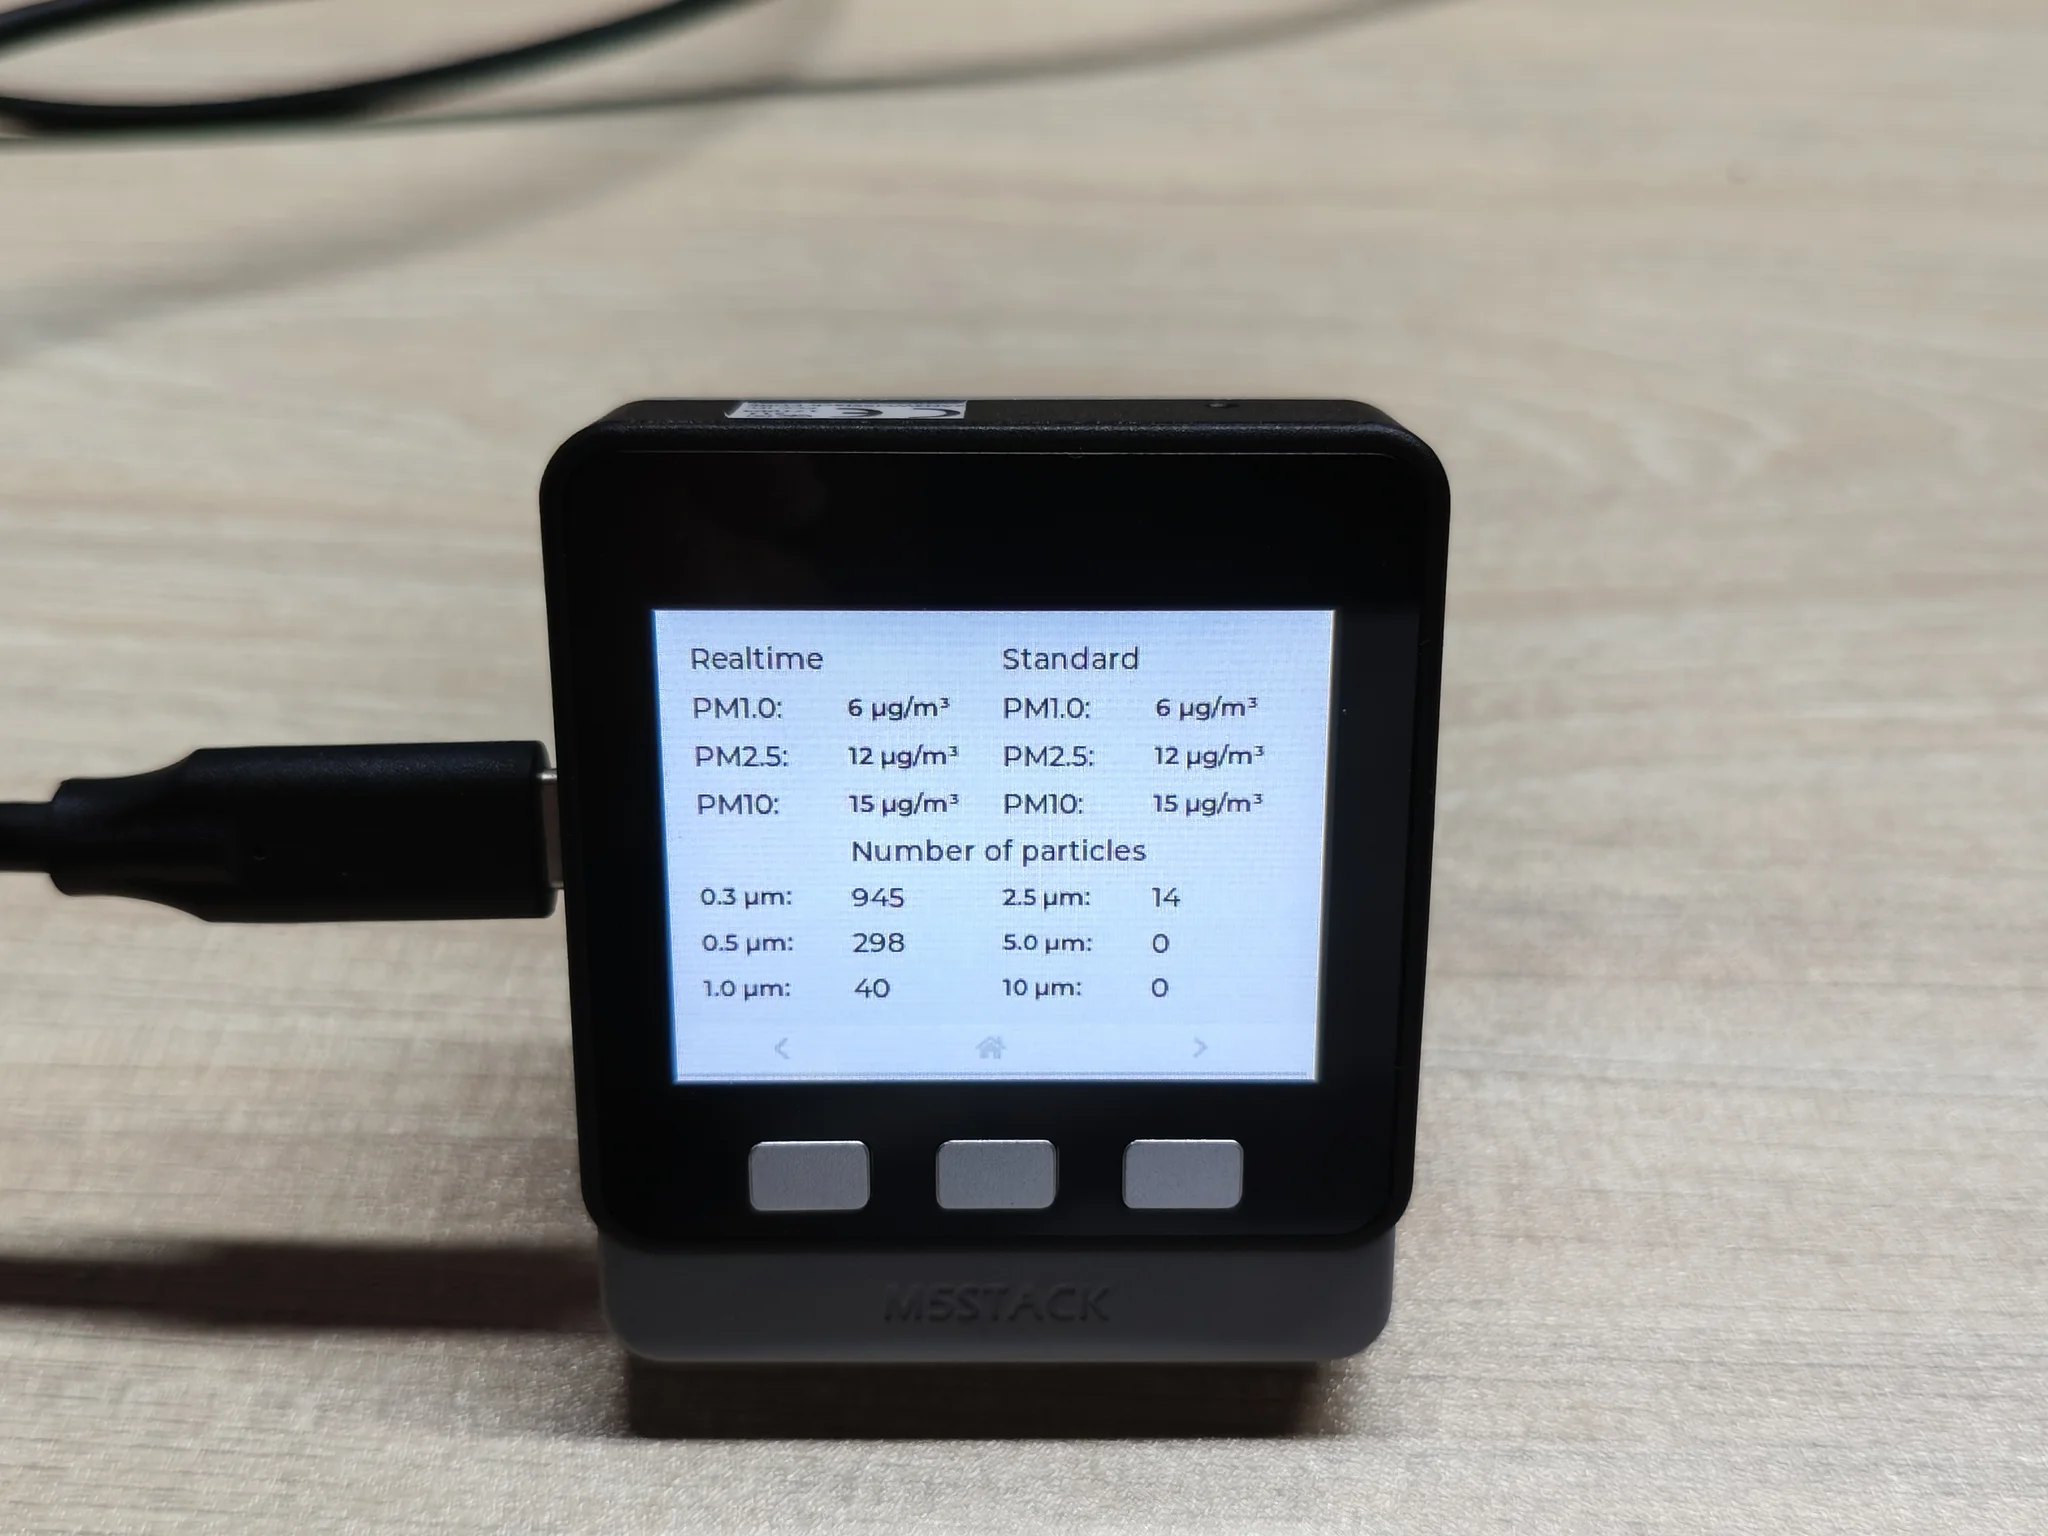
This section introduces the method of integrating the PM2.5 Air Quality Kit-SHT30 air quality monitoring kit into Home Assistant and outputting data to the LCD screen.
Preparation
- Home Assistant host.
- Install and enable ESPHome Builder in Home Assistant.
- Reference documents:
Quick Start
Click the button below to flash the firmware with one click. Follow the on-screen instructions to complete the configuration and quickly experience the PM2.5 Air Quality Kit (SHT30) integration with Home Assistant. For one-click flashing and subsequent configuration, please refer to the tutorial.
Note
- In this tutorial, the kit is compiled and uploaded under ESPHome 2025.9.0. If you encounter compilation/upload issues, consider switching ESPHome to this version.
Create Device
Open ESPHome Builder, click
NEW DEVICEin the bottom right corner to create a new device.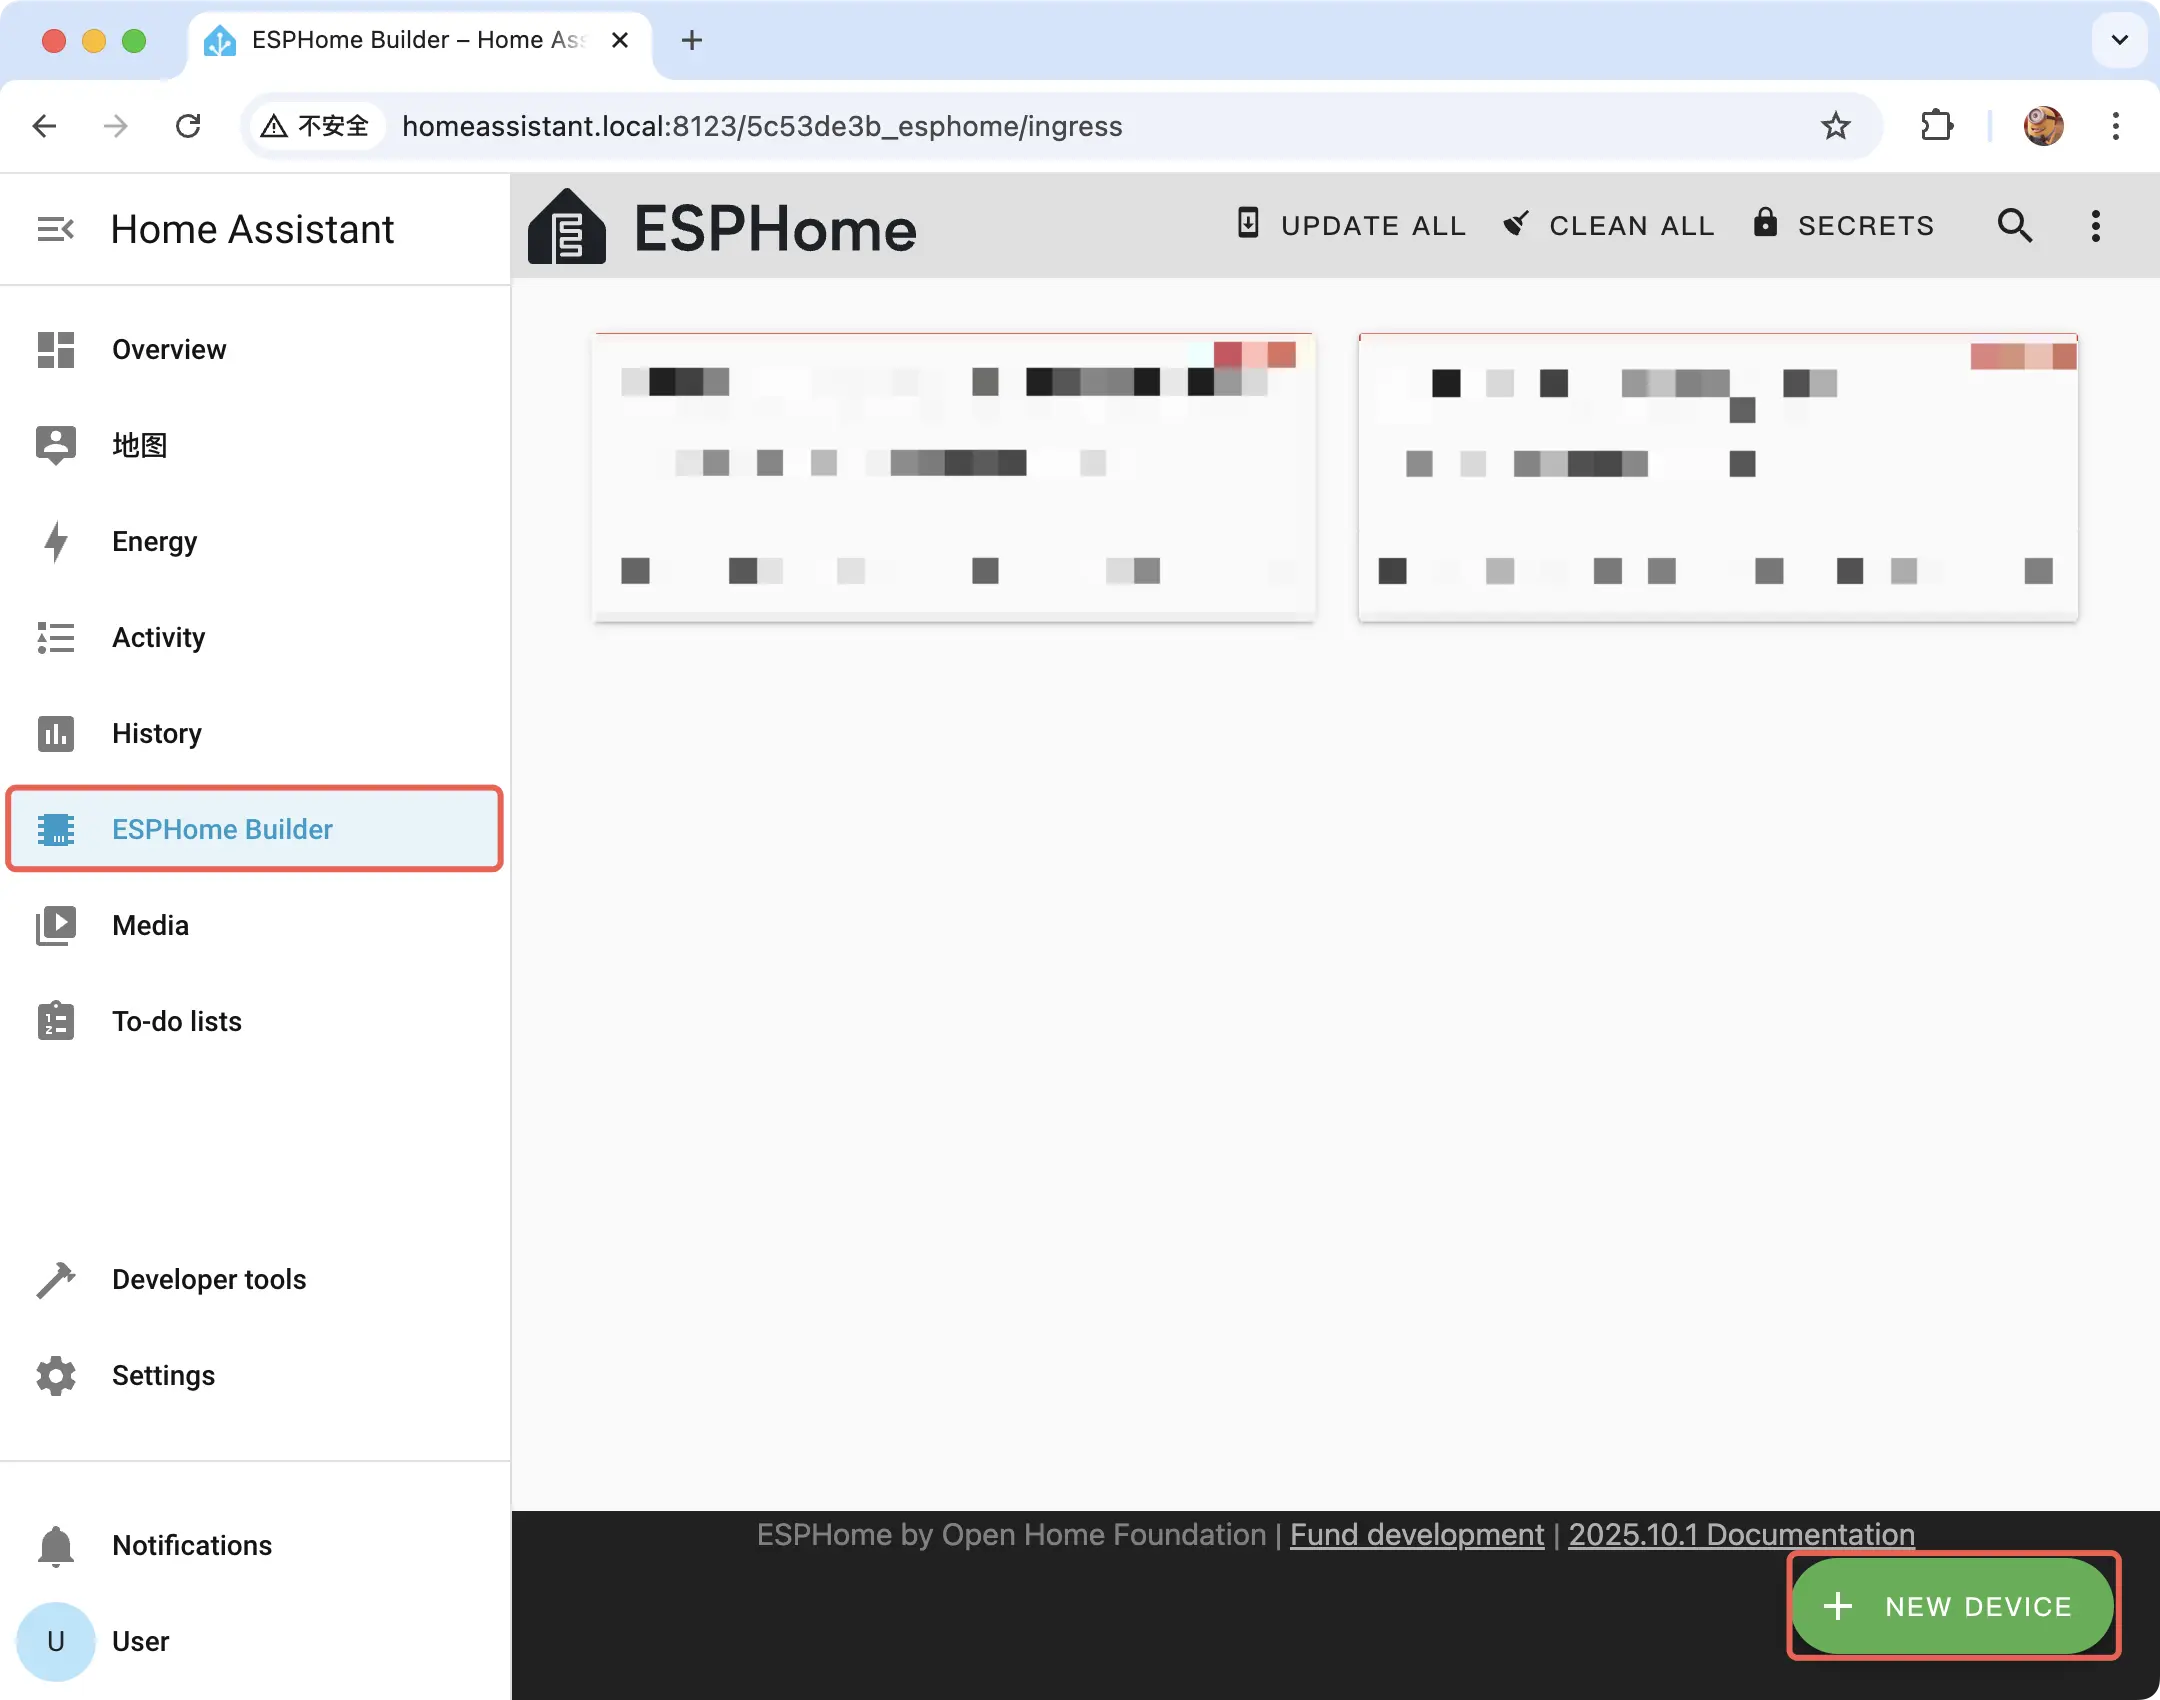
Click
CONTINUEin the pop-up window.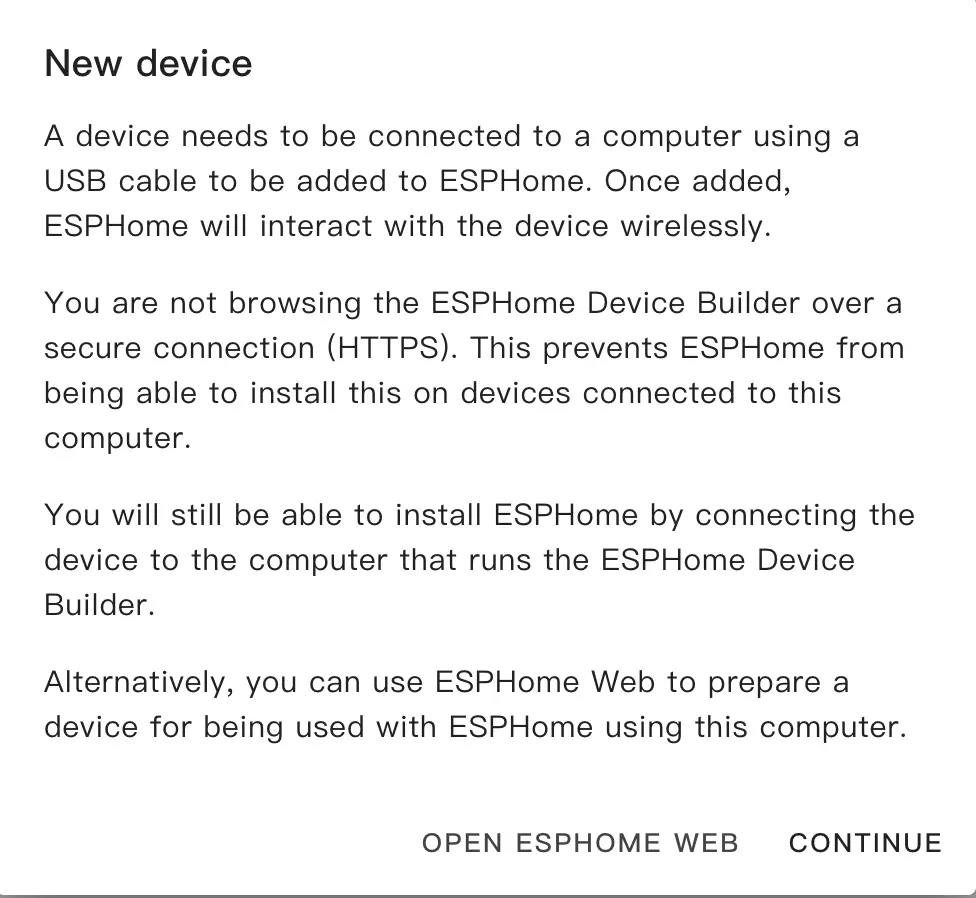
Select
New Device Setupto create a new configuration file.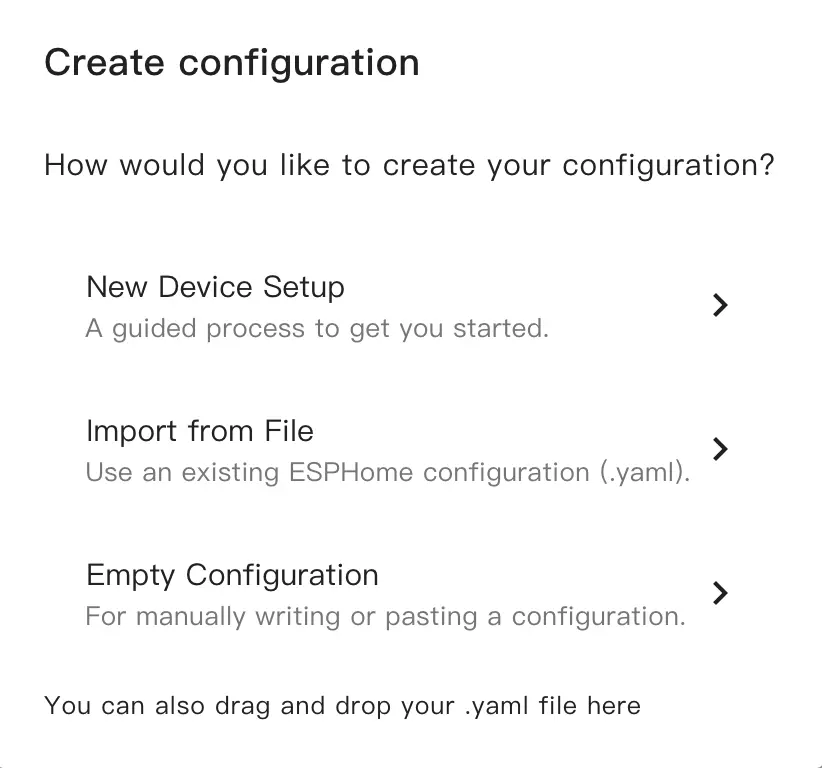
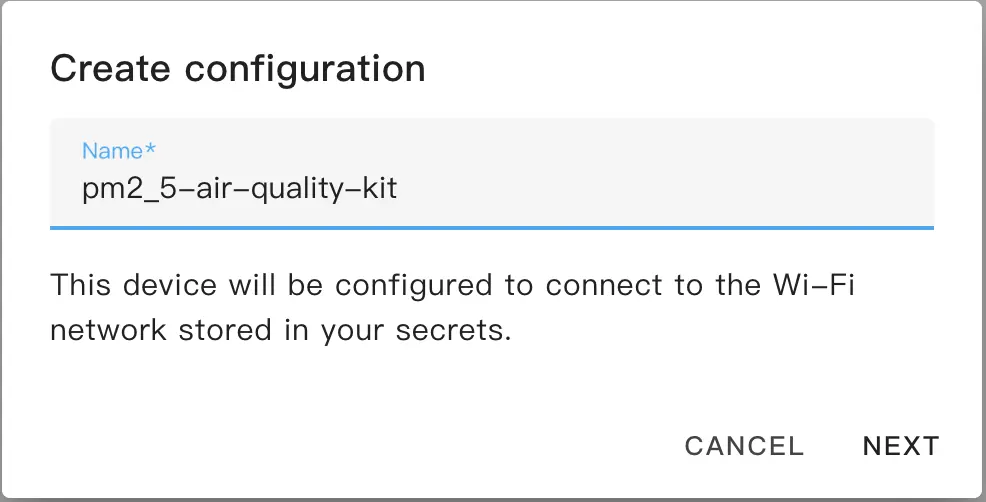
Fill in the configuration file name.
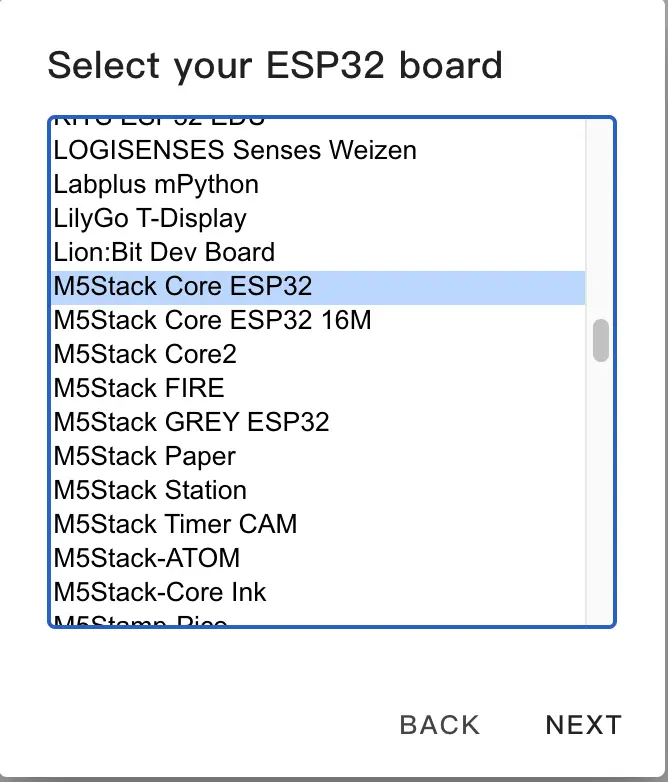
Select the device type: first uncheck
Use recommended settings, then clickESP32, and selectM5Stack Core ESP32.
Copy the Encryption Key for backup, then click
SKIP.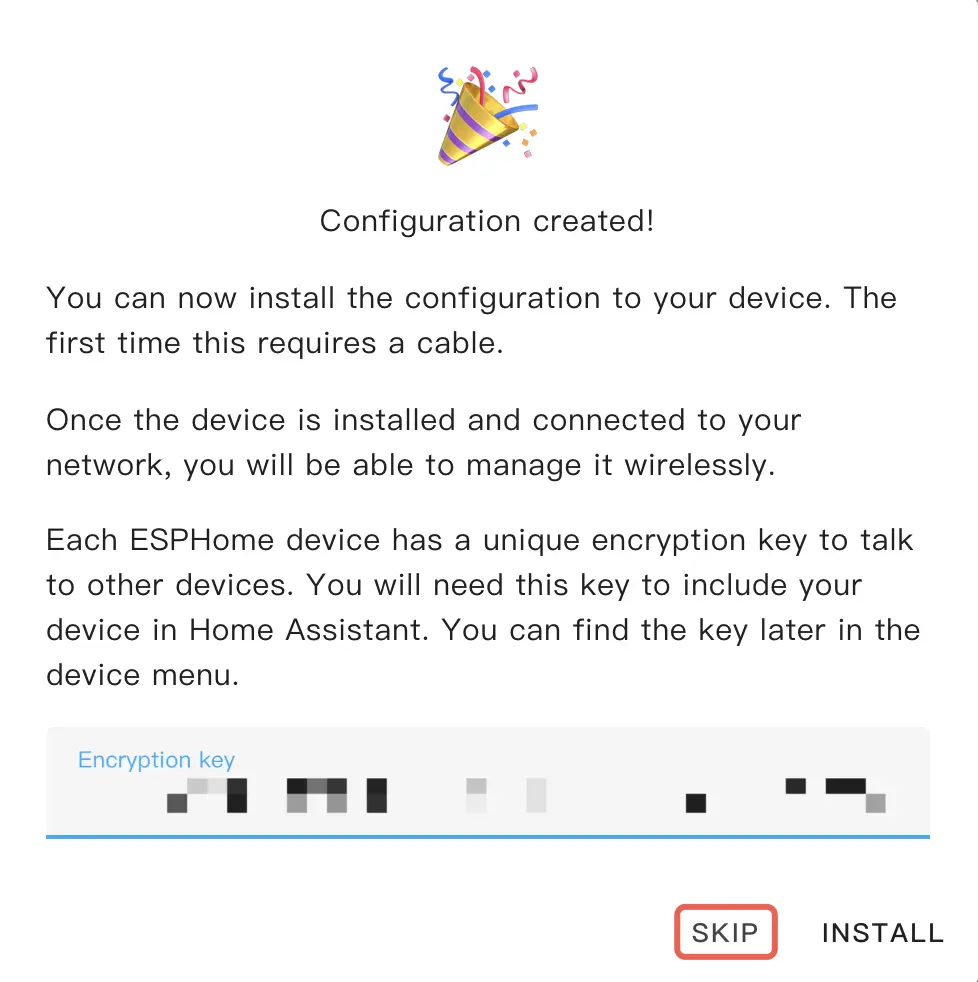
Modify Configuration
Click
EDITunder the generated configuration file card to edit it.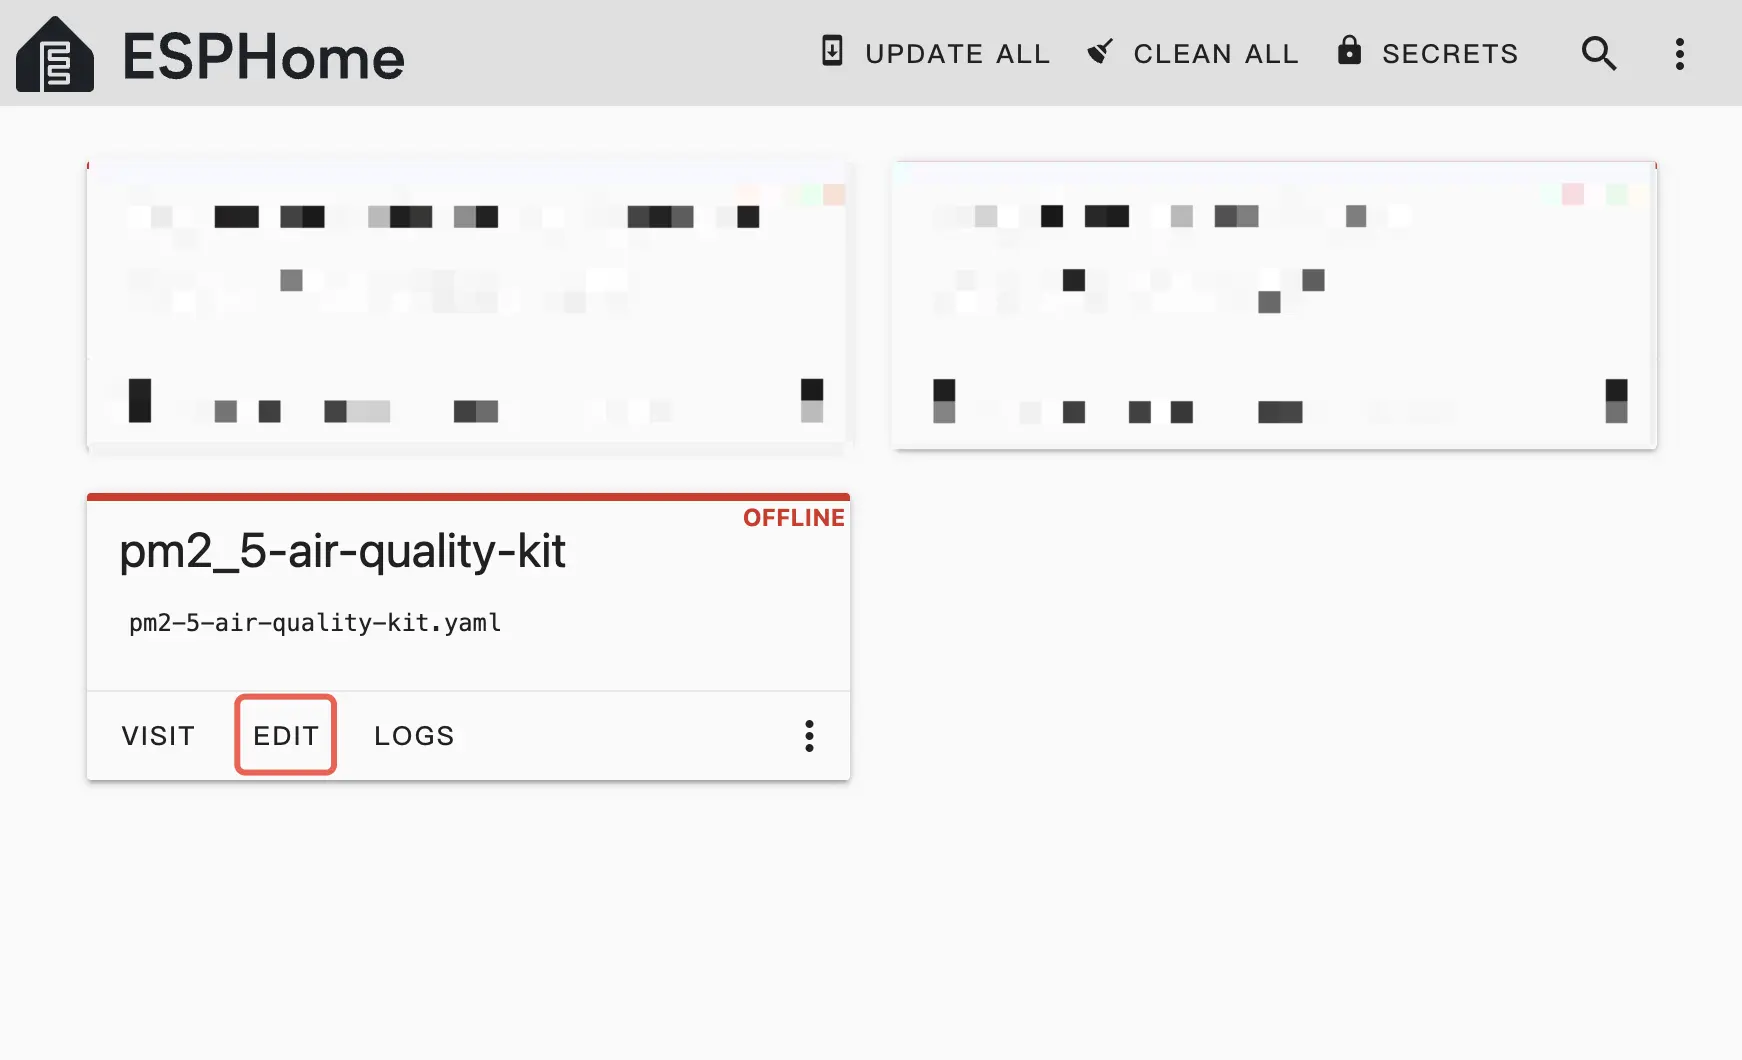
Add the following to the end of the file:
yaml1 2packages: m5stack.pm2_5-air-quality-kit: github://m5stack/esphome-yaml/common/pm2_5-air-quality-kit-base.yaml@main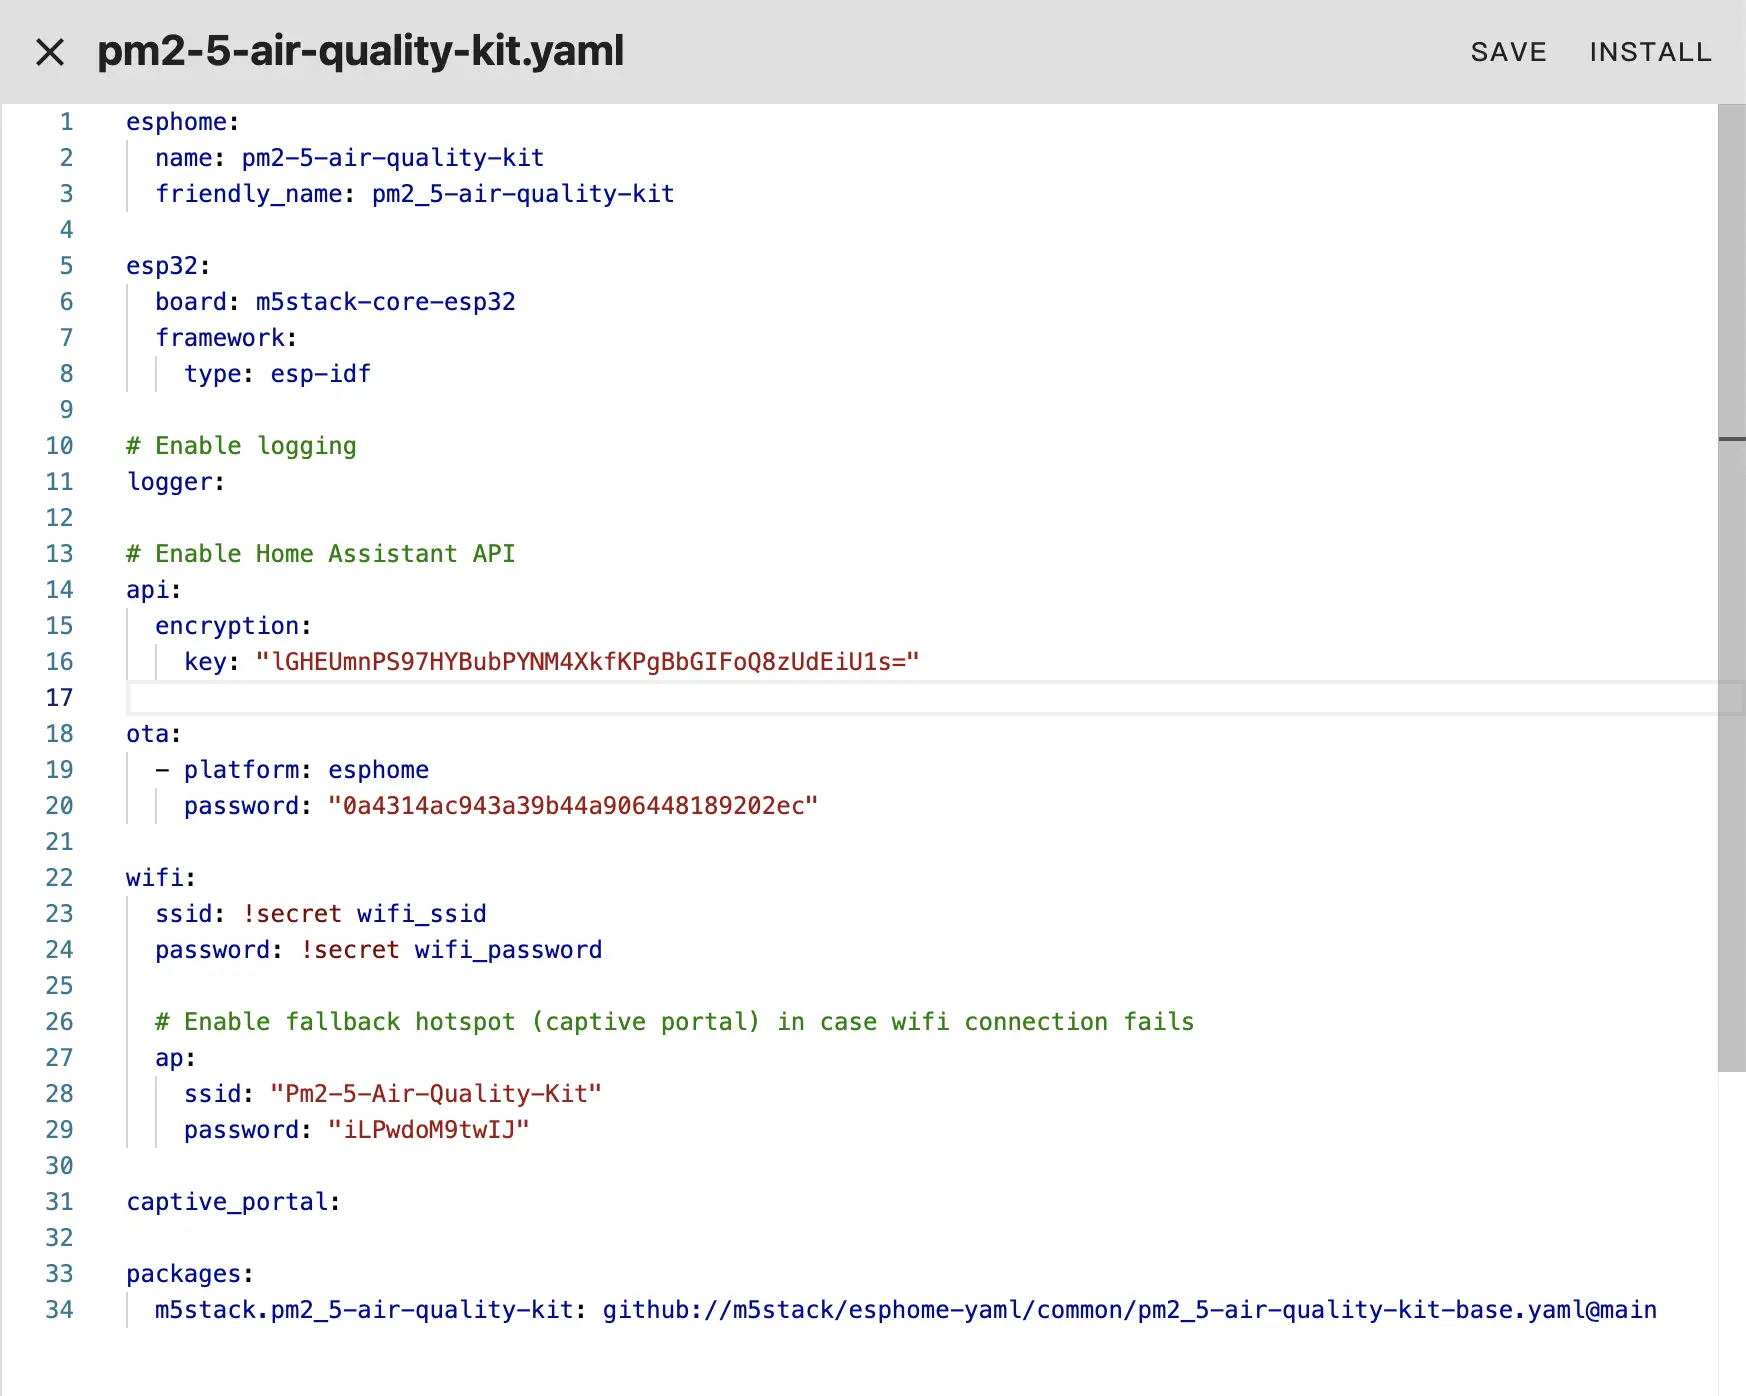
Then click
SAVEandINSTALLin the upper right corner. In the pop-up installation method, selectManual download.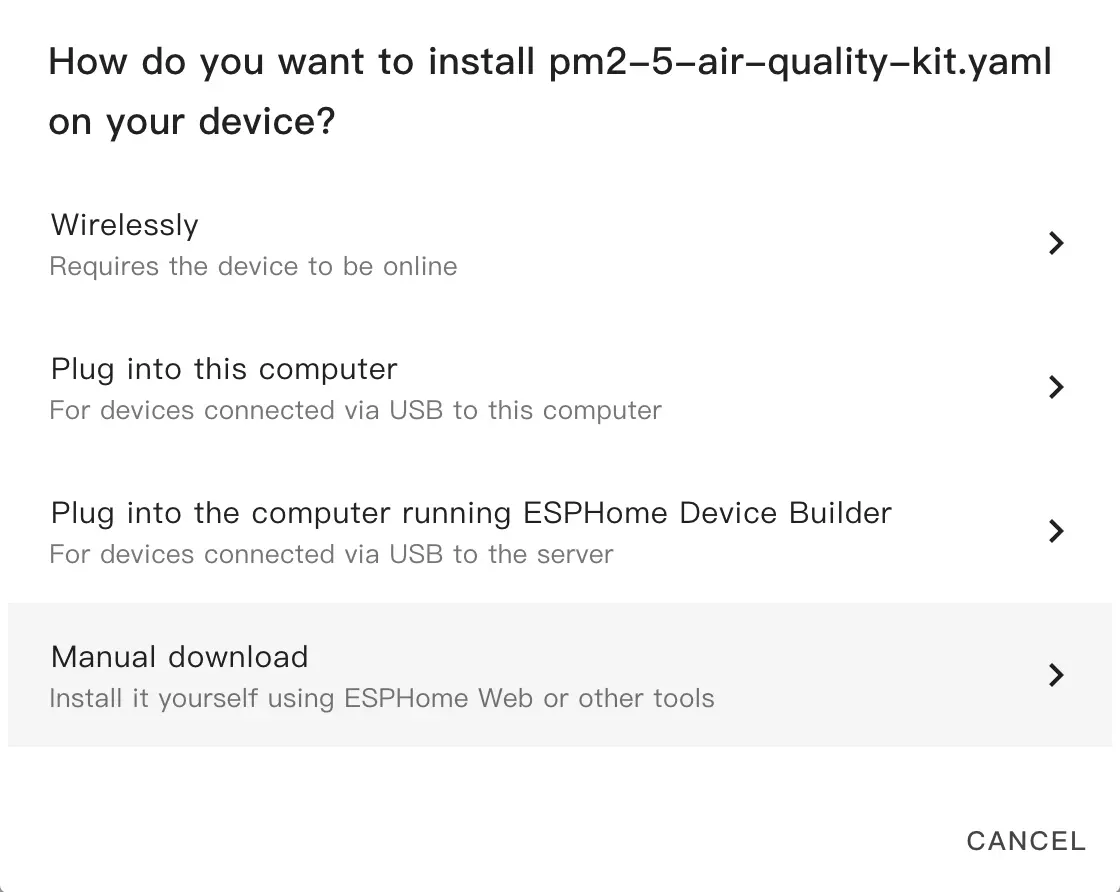 Note:The first compilation may take a long time, depending on the performance of the Home Assistant host and the network quality.
After compilation is complete, click the
Downloadbutton and selectFactory Formatto download the firmware.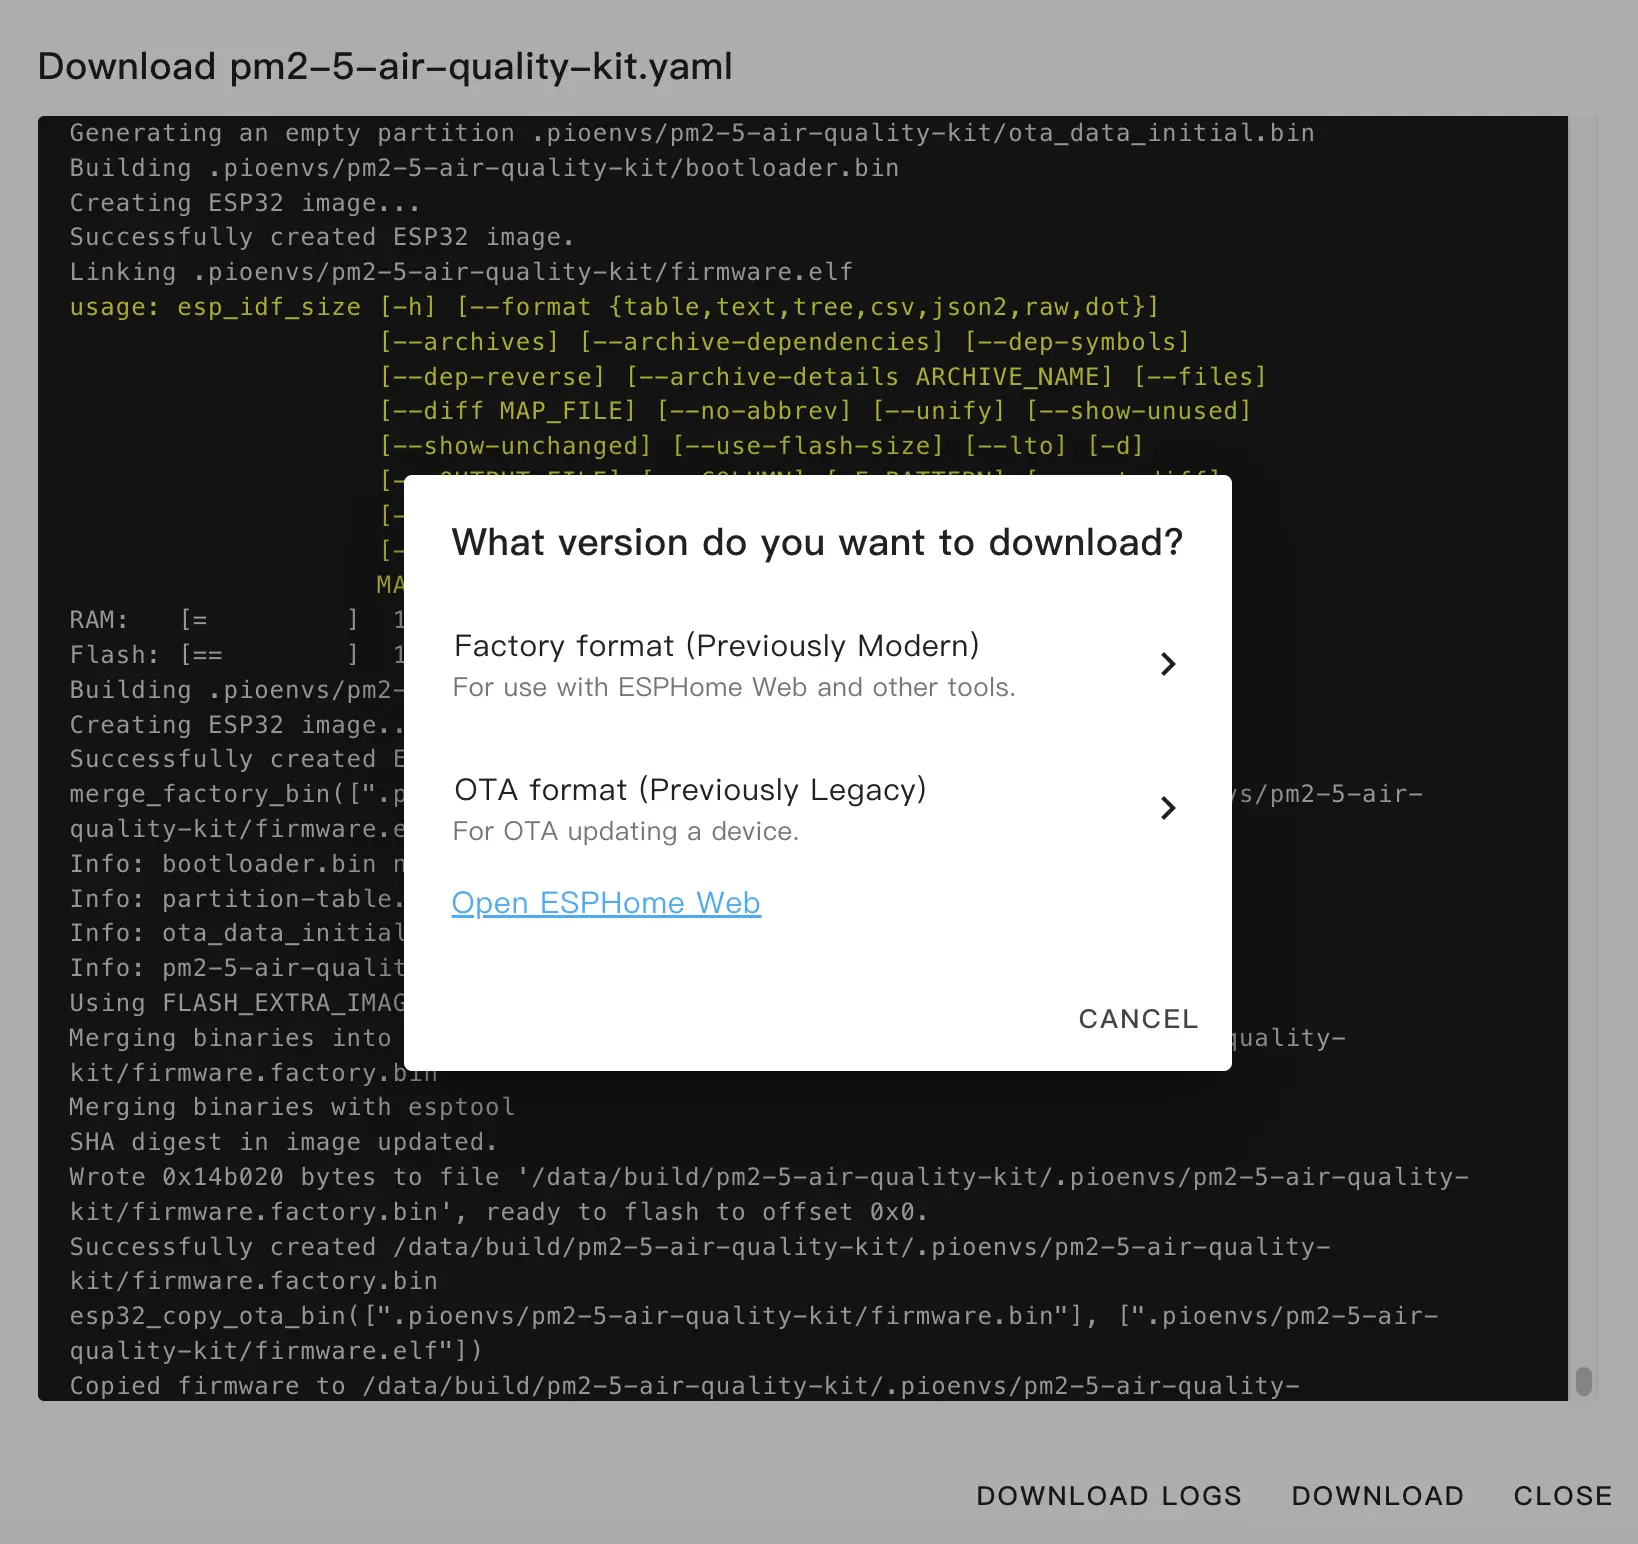
Download and Flash Firmware
Download Firmware: Download the Factory Format firmware via the
Manual downloadmethod in ESPHome Builder.Flash firmware using web tools:
Connect the kit to the host via a USB-C cable, open ESPHome Web, and click
CONNECTto connect the device.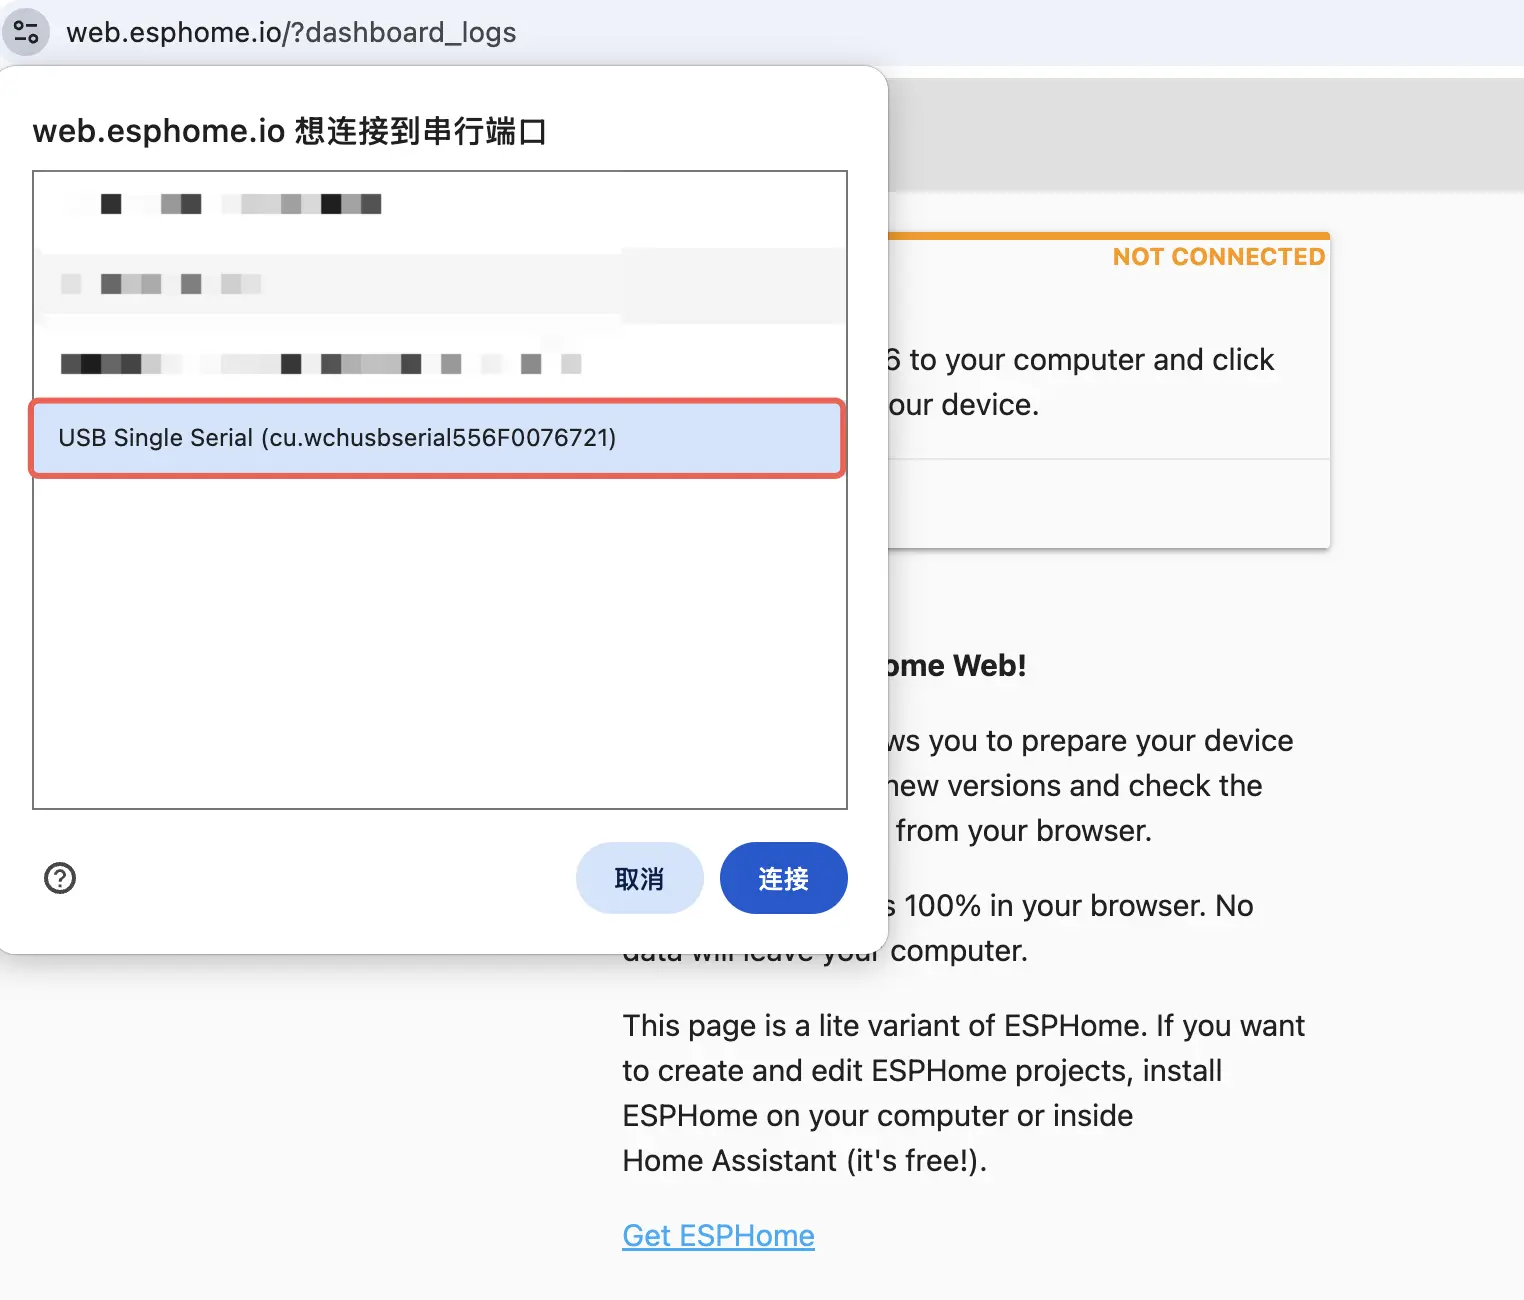
Then click
INSTALLand select the previously compiled firmware to upload.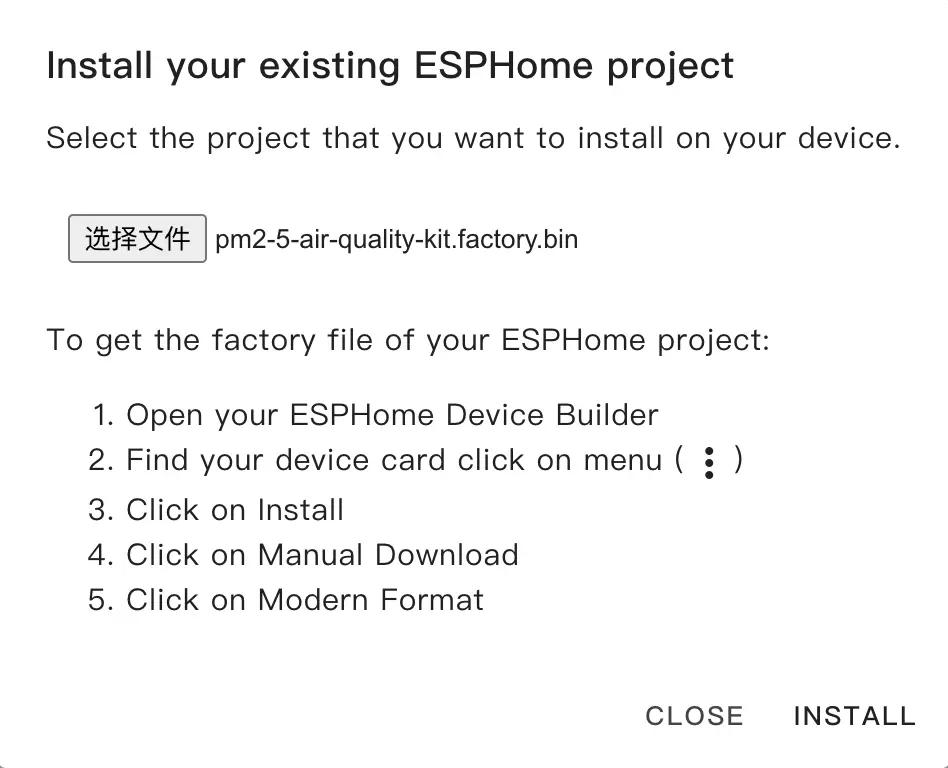
Click
INSTALLagain to flash, and wait for the process to complete.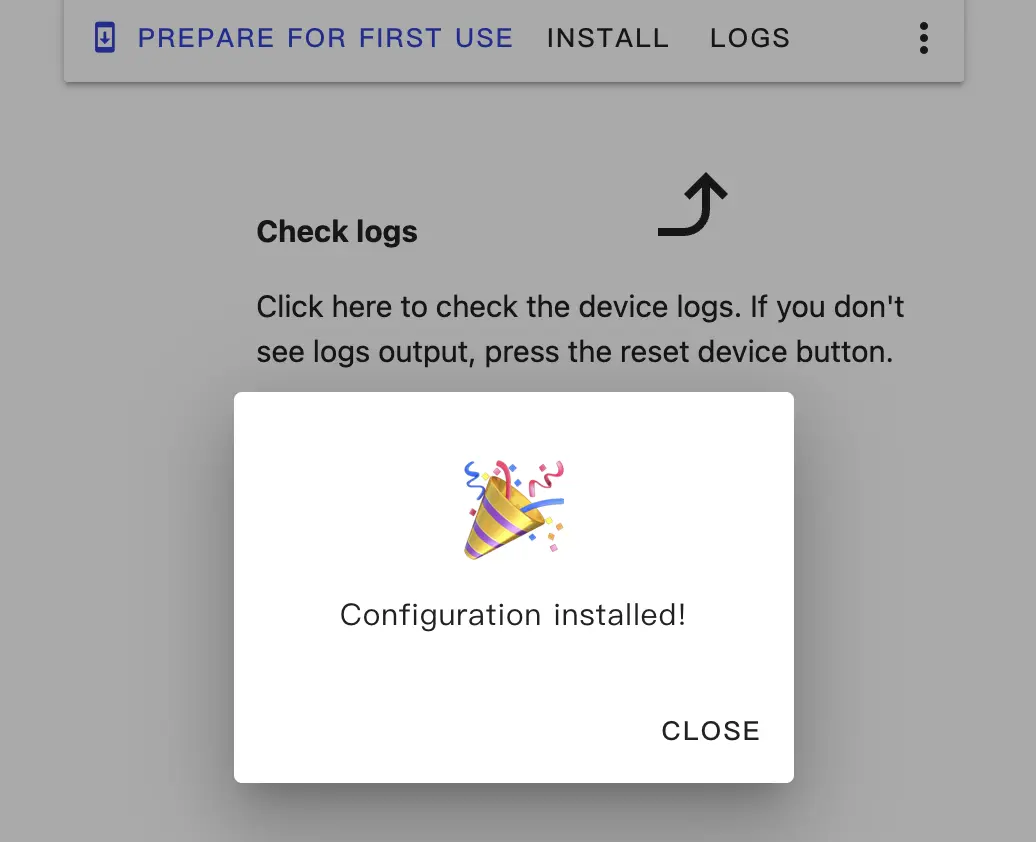
Getting Started
After flashing the firmware, the device will automatically connect to Wi-Fi upon startup. The Home Assistant service will automatically discover the new device. Select the new device in Notifications and click
Check it out->CONFIGURE. Follow the steps in the pop-up window to add the device to a specified area to complete the configuration.
If no notification message for the new device is received, you can also navigate to
Settings->Device & servicesto check the device status. ClickAddto add the device to Home Assistant.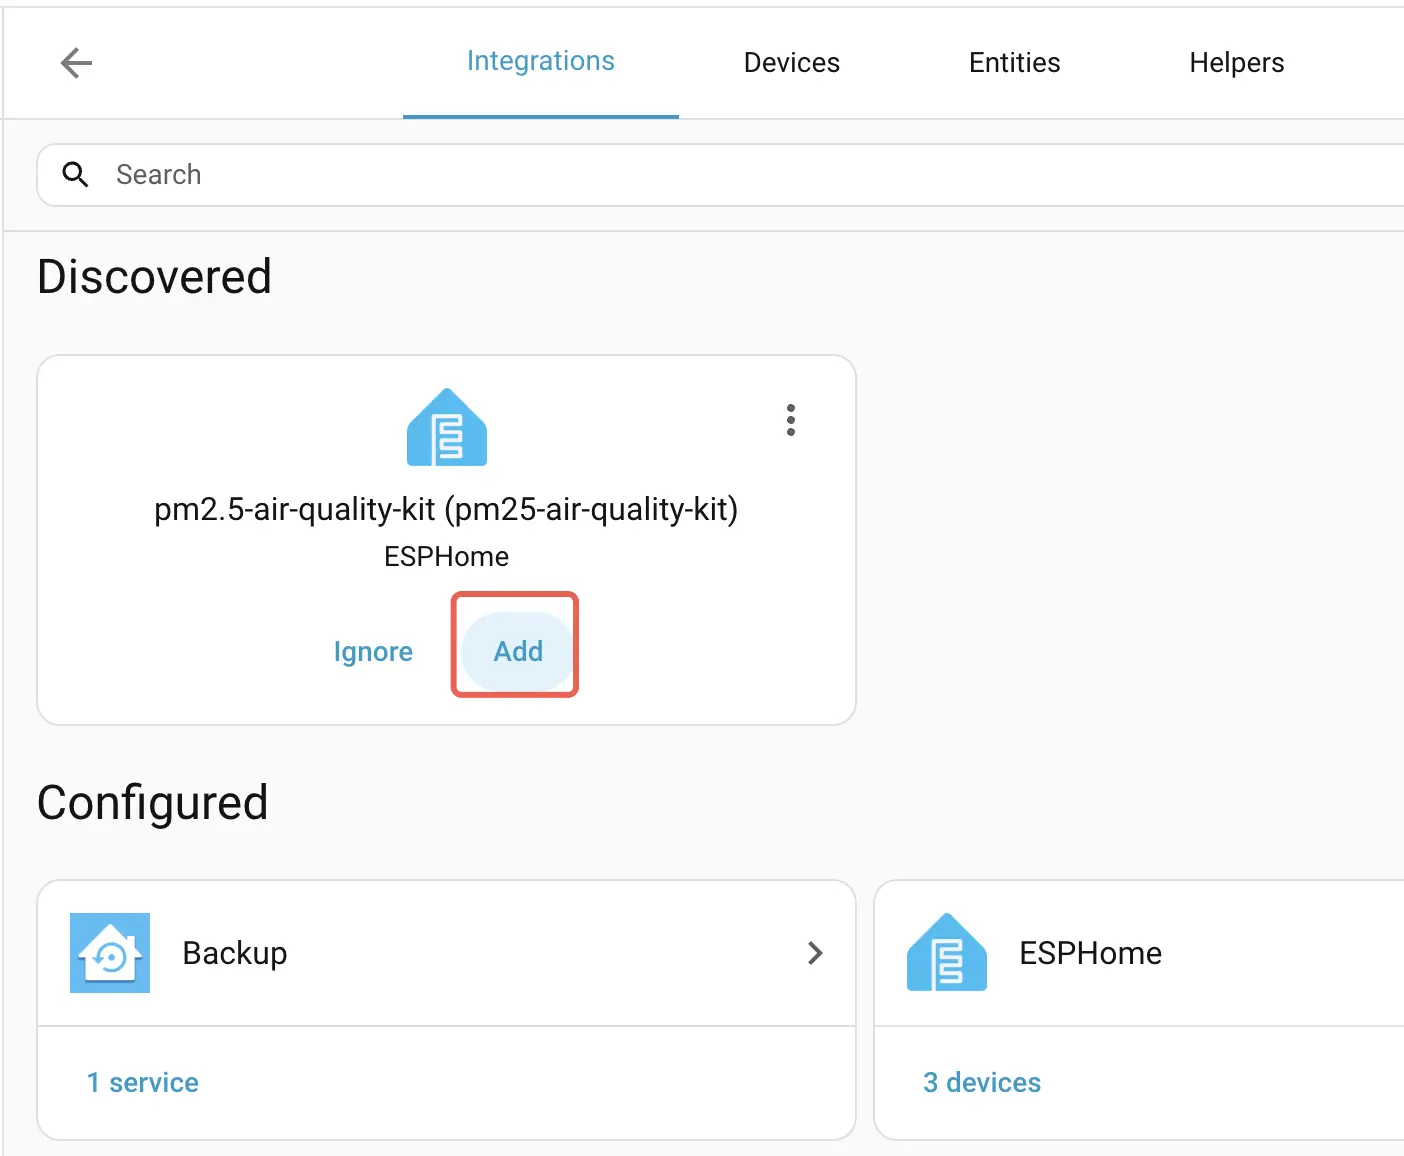
Dashboard Example:

At the same time, the buttons on the Basic host can switch pages to display more information.