Home Assistant
Home Assistant OS
Light
Unit PoE CAM-W v1.1 Home Assistant Integration
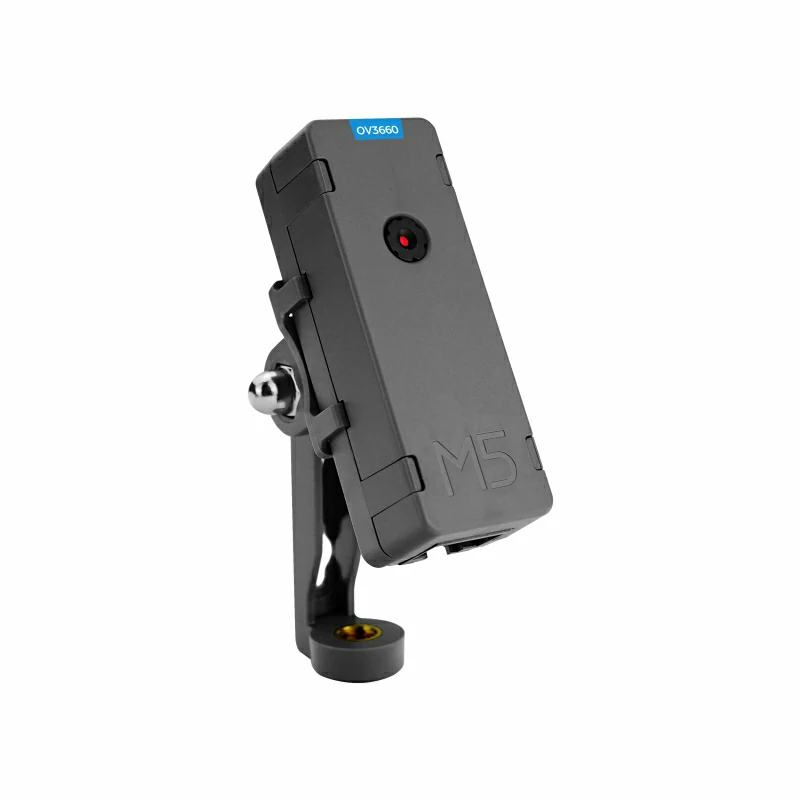
The Unit PoE CAM-W v1.1 is a programmable PoE camera based on an "ESP32 + W5500" solution. It features a built-in 3MP OV3660 image sensor with a 66.5° field of view, and integrates PoE (Power over Ethernet, maximum power 6W) and Wi‑Fi connectivity. This guide explains how to integrate the Unit PoE CAM-W v1.1 into Home Assistant.
See ESPHome for the latest configuration examples:
Preparation
- A Home Assistant host
- Install and enable the ESPHome Builder add-on in Home Assistant
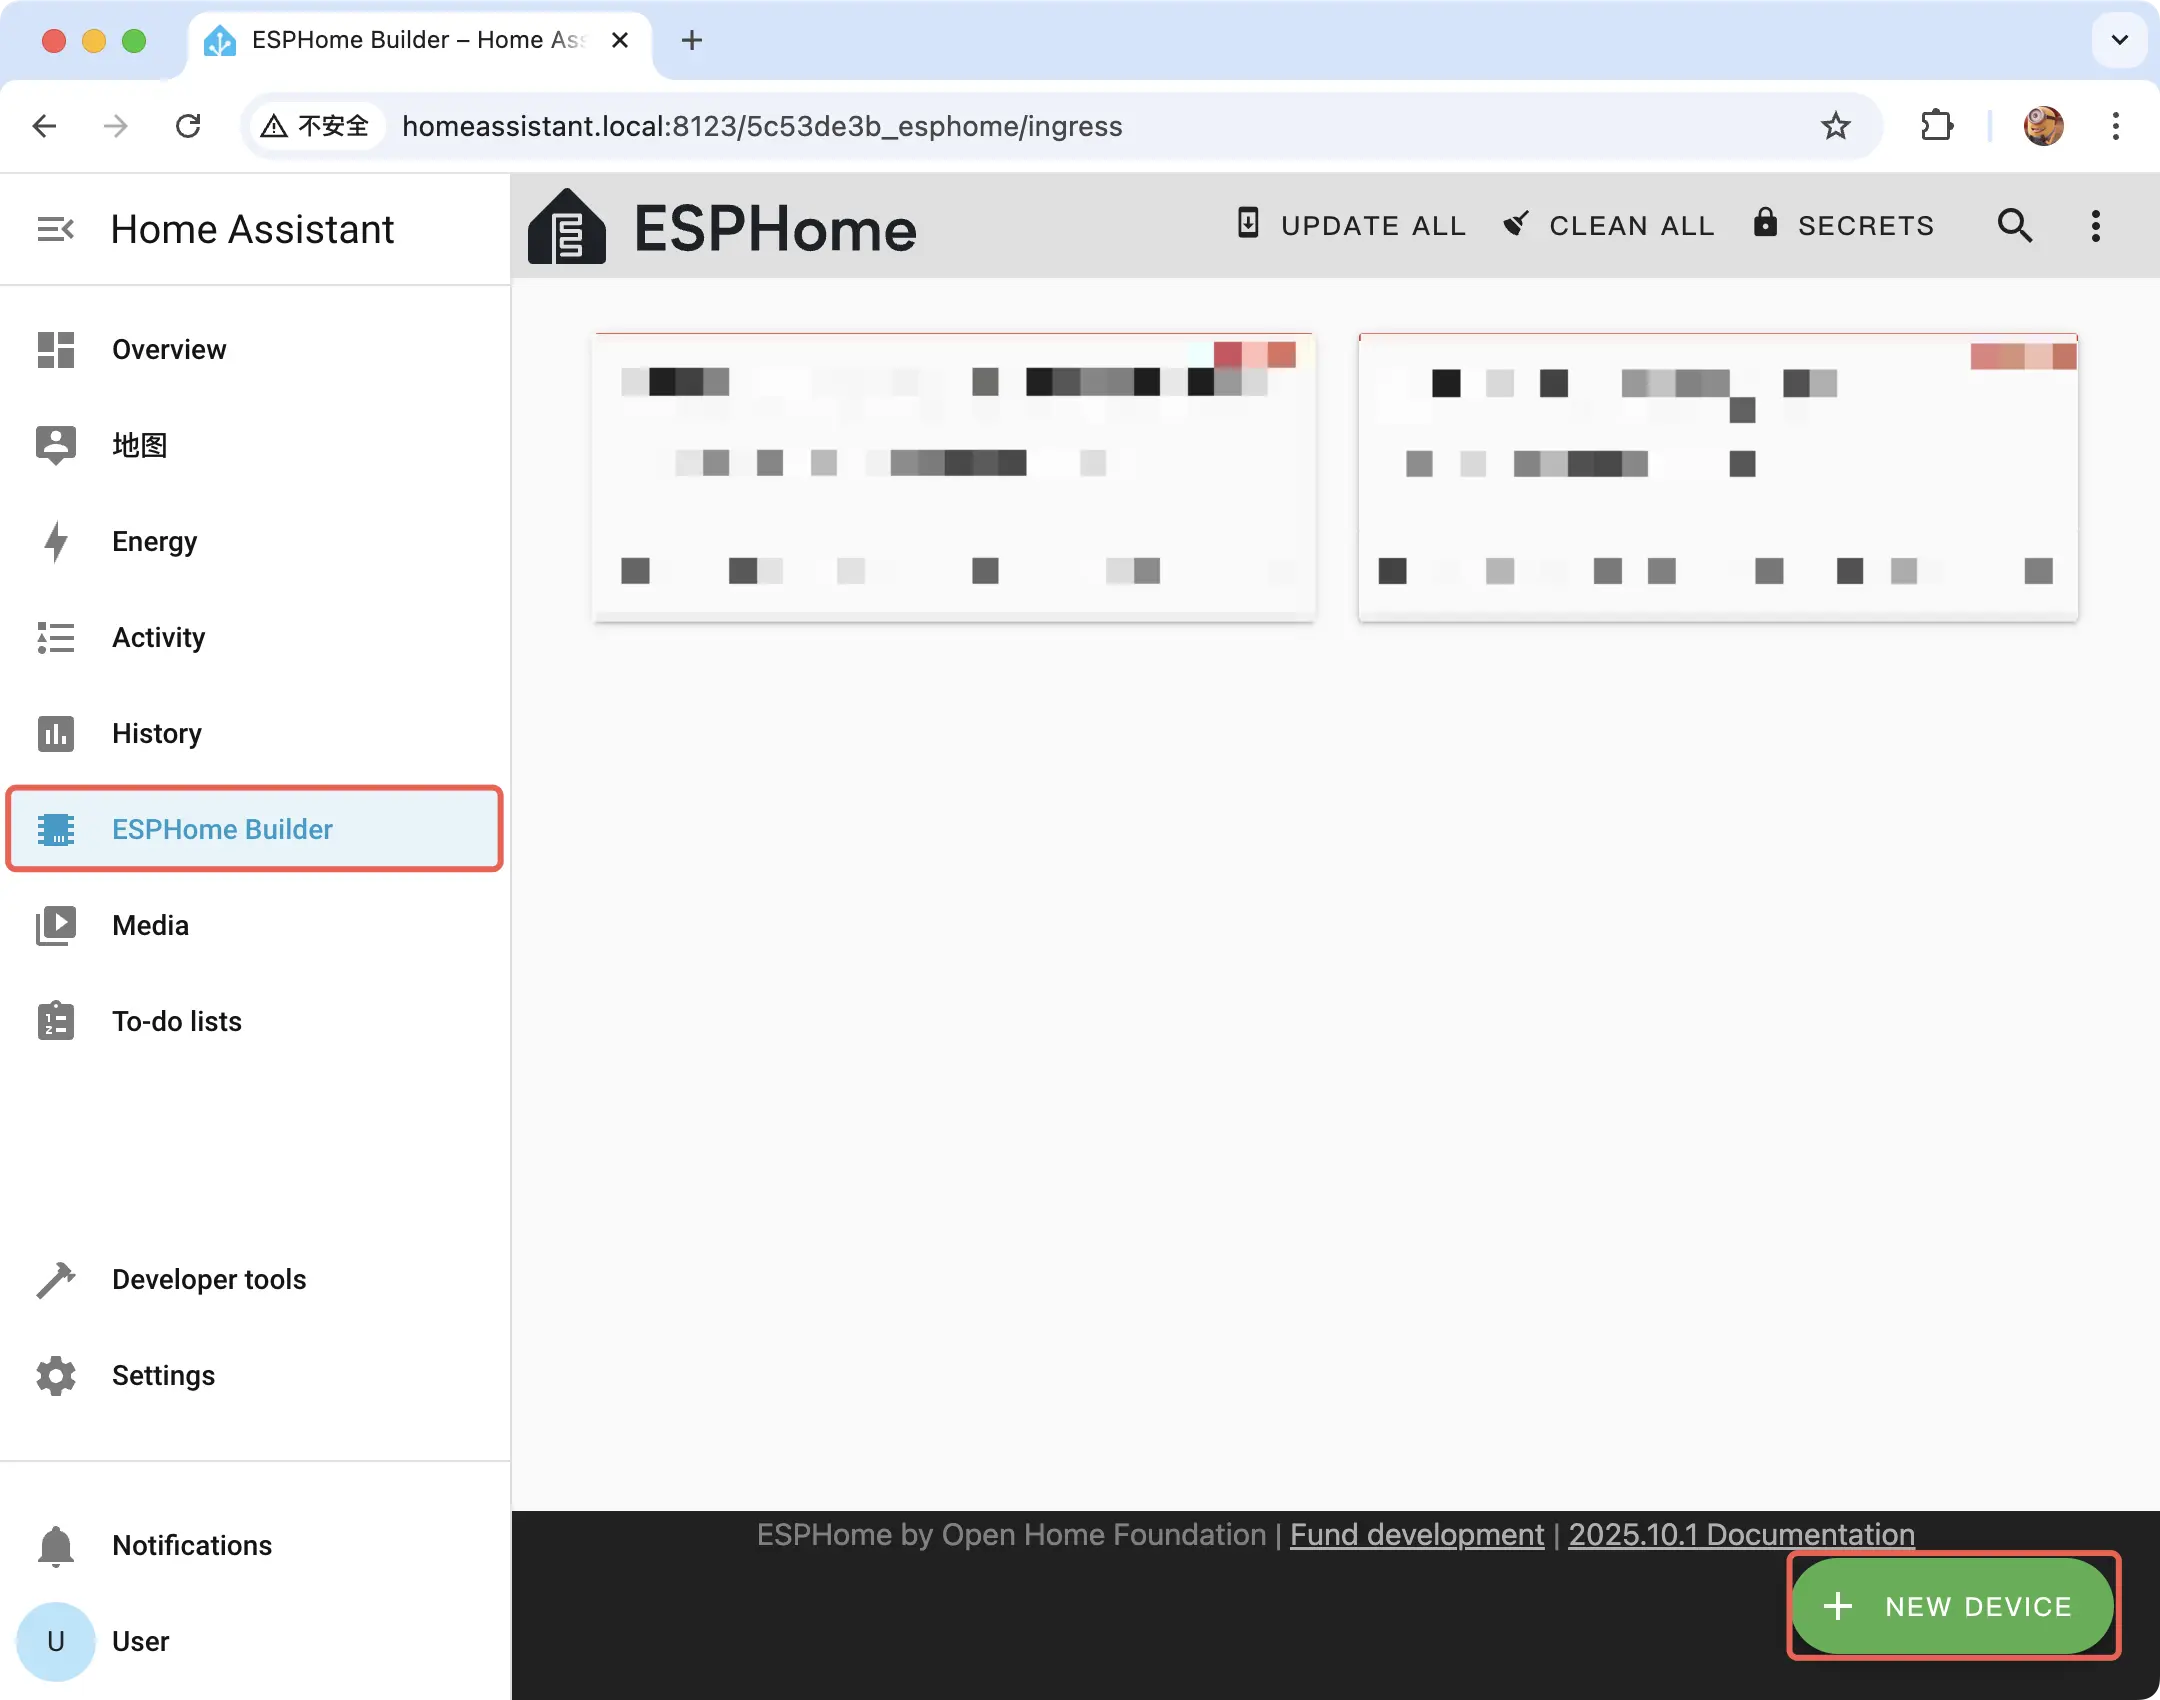
2025.10.3. If you encounter build or upload issues, consider switching ESPHome to this version.Open ESPHome Builder and click NEW DEVICE in the bottom-right to create a new device.
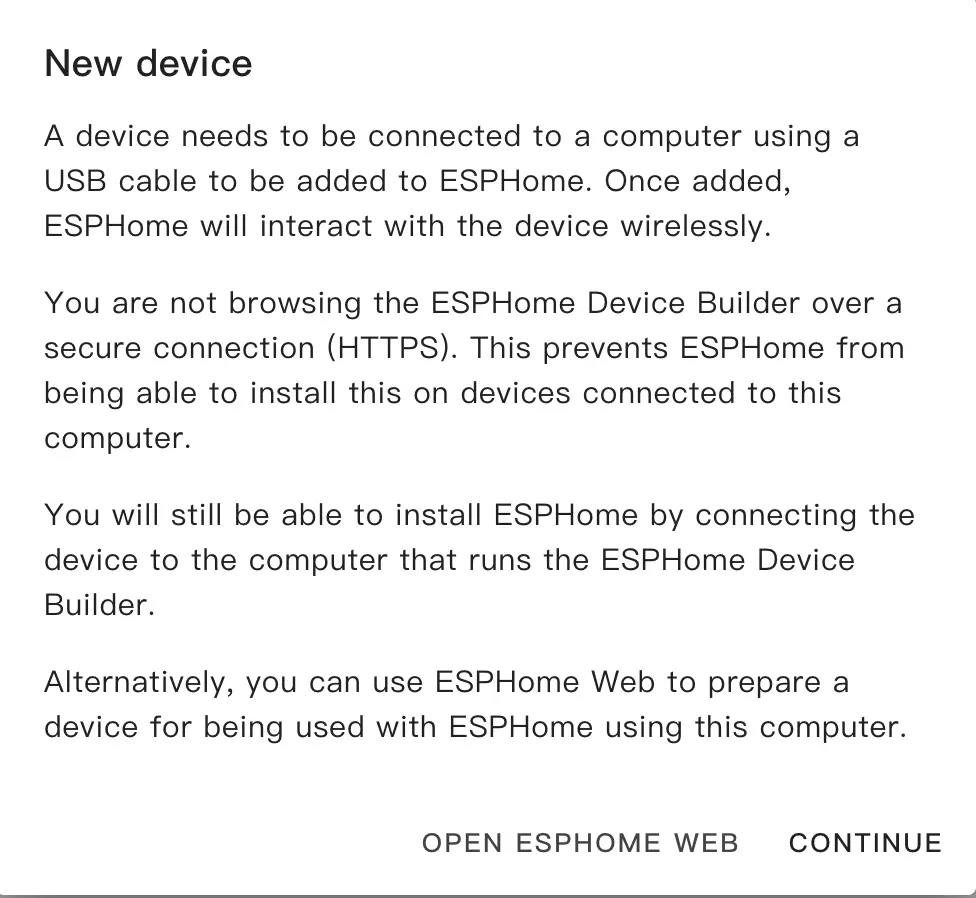
When the prompt appears, click CONTINUE.
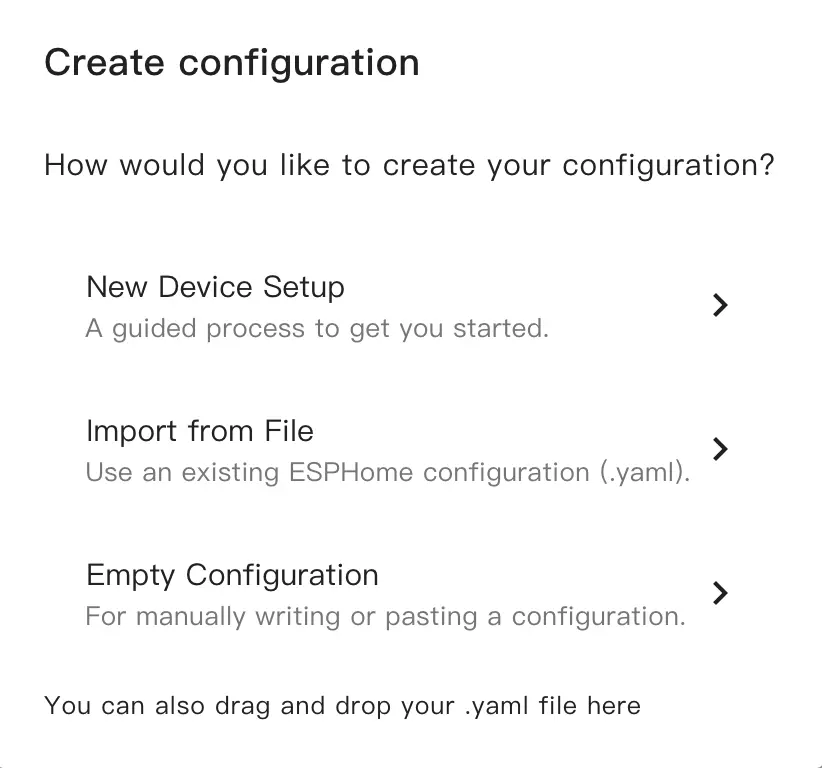
Choose New Device Setup to create a new configuration file.
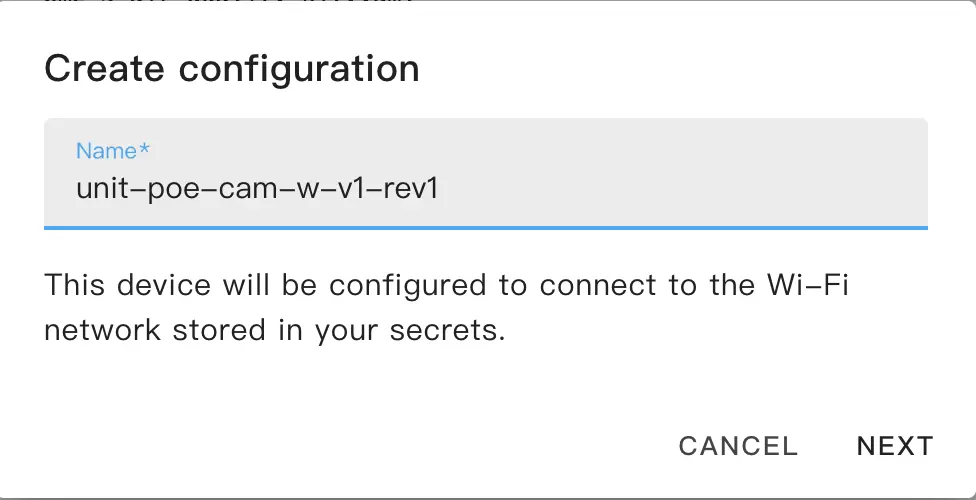
Give the new configuration a name.
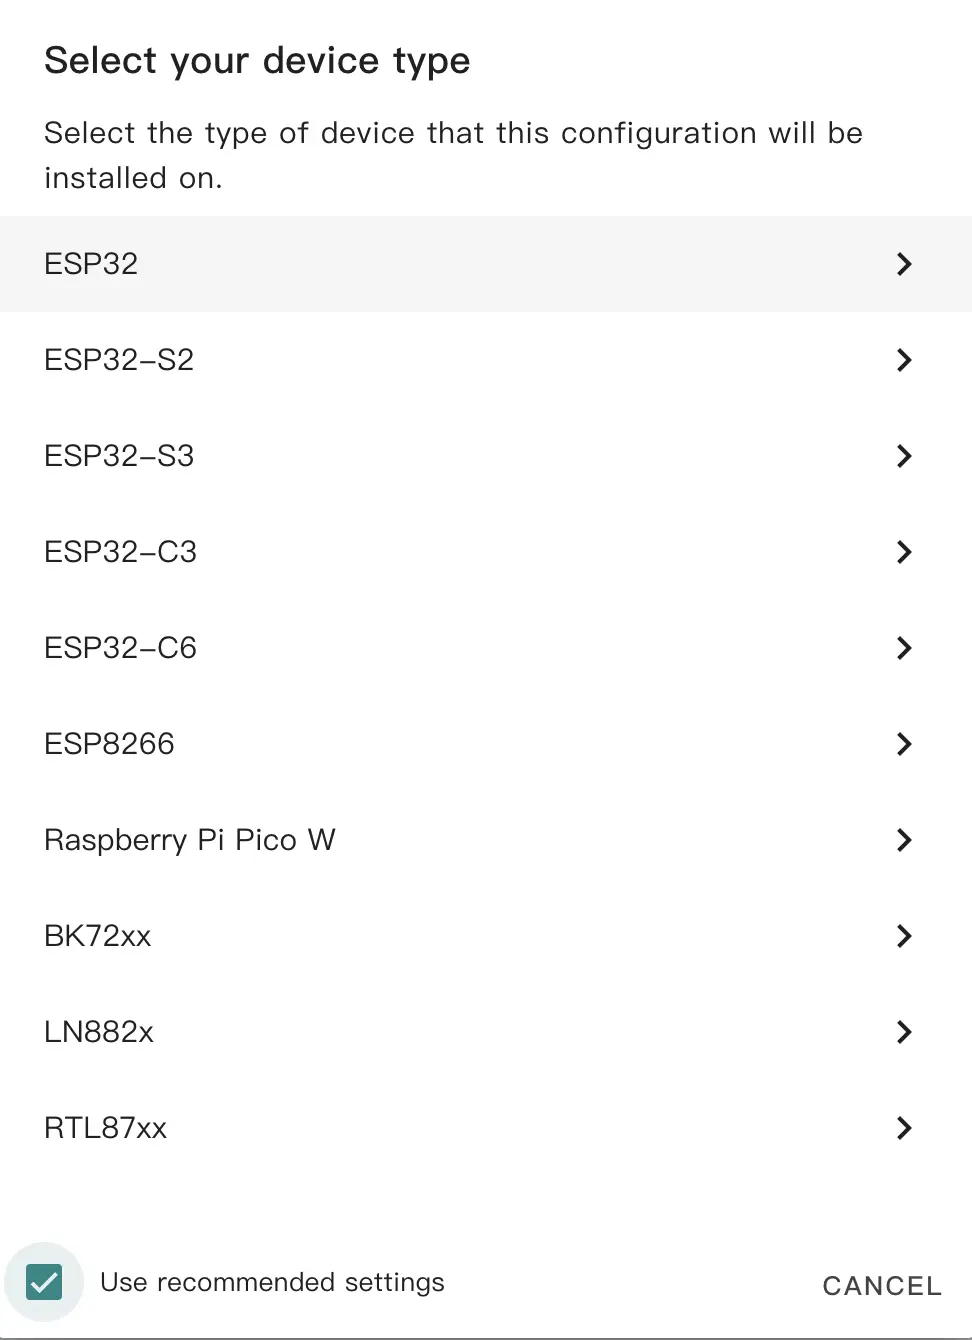
Select the device type. The default ESP32 selection is sufficient here.
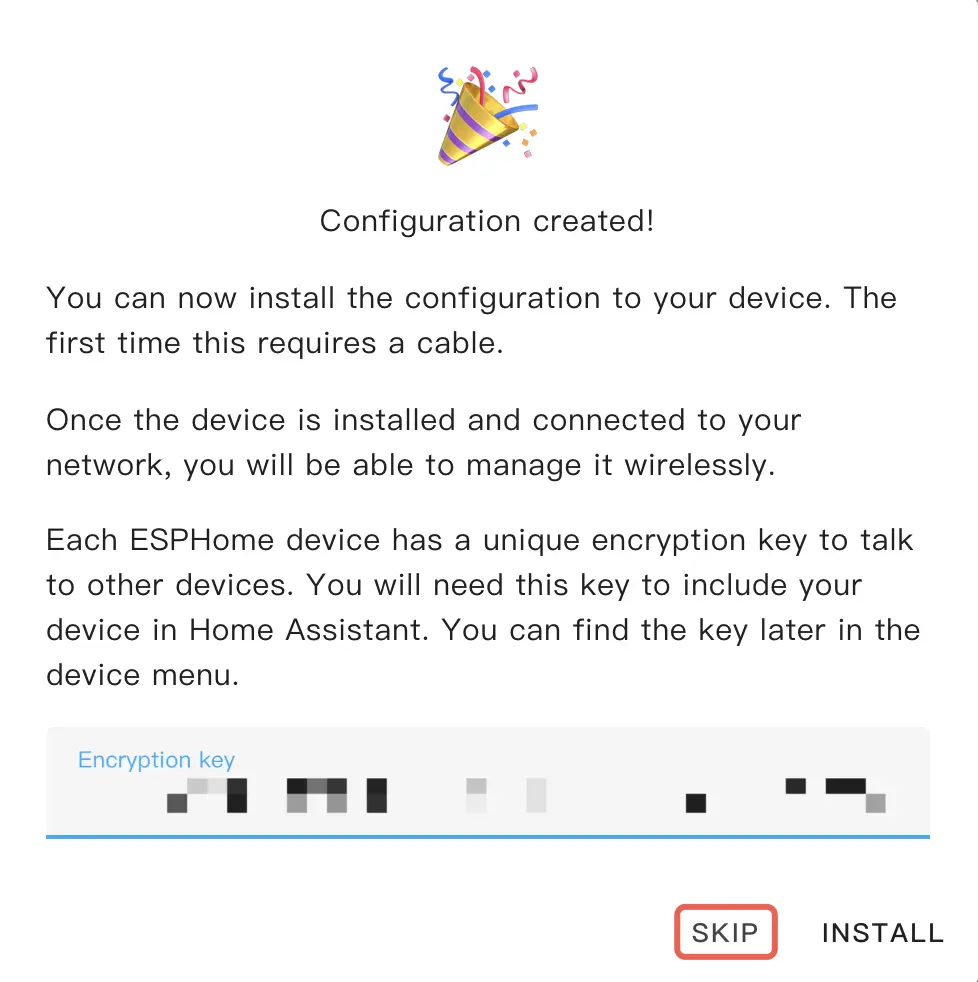
Copy the Encryption Key for later use, then click SKIP.
Configure the device
Click EDIT on the generated configuration card to edit the configuration:
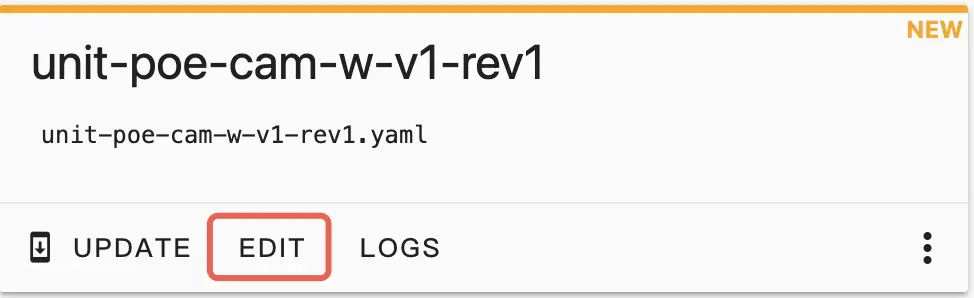
Open the configuration file and make changes as needed.
- Configure Wi‑Fi or Ethernet depending on the network type you plan to use.
Wi‑Fi or Ethernet. By default, a new configuration provides a Wi‑Fi option.If you plan to use the Ethernet component, comment out the Wi‑Fi component and add the Ethernet configuration:
# Wi-Fi or Ethernet, you can only enable one of it
# wifi:
#   ssid: !secret wifi_ssid
#   password: !secret wifi_password

#   # Enable fallback hotspot (captive portal) in case wifi connection fails
#   ap:
#     ssid: "unit-poe-cam-w-v1-rev1"
#     password: ""

ethernet:
  type: W5500
  clk_pin: GPIO23
  mosi_pin: GPIO13
  miso_pin: GPIO38
  cs_pin: GPIO4
clock_speed: 20MHz- Add the
I2Ccomponent and theesp32_cameracomponent.
i2c:
  - id: cam_i2c
    sda: GPIO14
    scl: GPIO12


esp32_camera:
  name: "OV3660 Camera"
  i2c_id: cam_i2c
  external_clock:
    pin: GPIO27
    frequency: 20MHz
  data_pins: [ GPIO32, GPIO35, GPIO34, GPIO5, GPIO39, GPIO18, GPIO36, GPIO19 ]
  vsync_pin: GPIO22
  href_pin: GPIO26
  pixel_clock_pin: GPIO21
reset_pin: GPIO15- Add button and LED components.
binary_sensor:
  - platform: gpio
    name: "Button"
    pin:
      number: GPIO37
      inverted: true

output:
  - platform: ledc
    pin:
      number: GPIO0
      inverted: true
    id: status_led

light:
  - platform: monochromatic
    output: status_led
    name: "Status LED"
    id: sled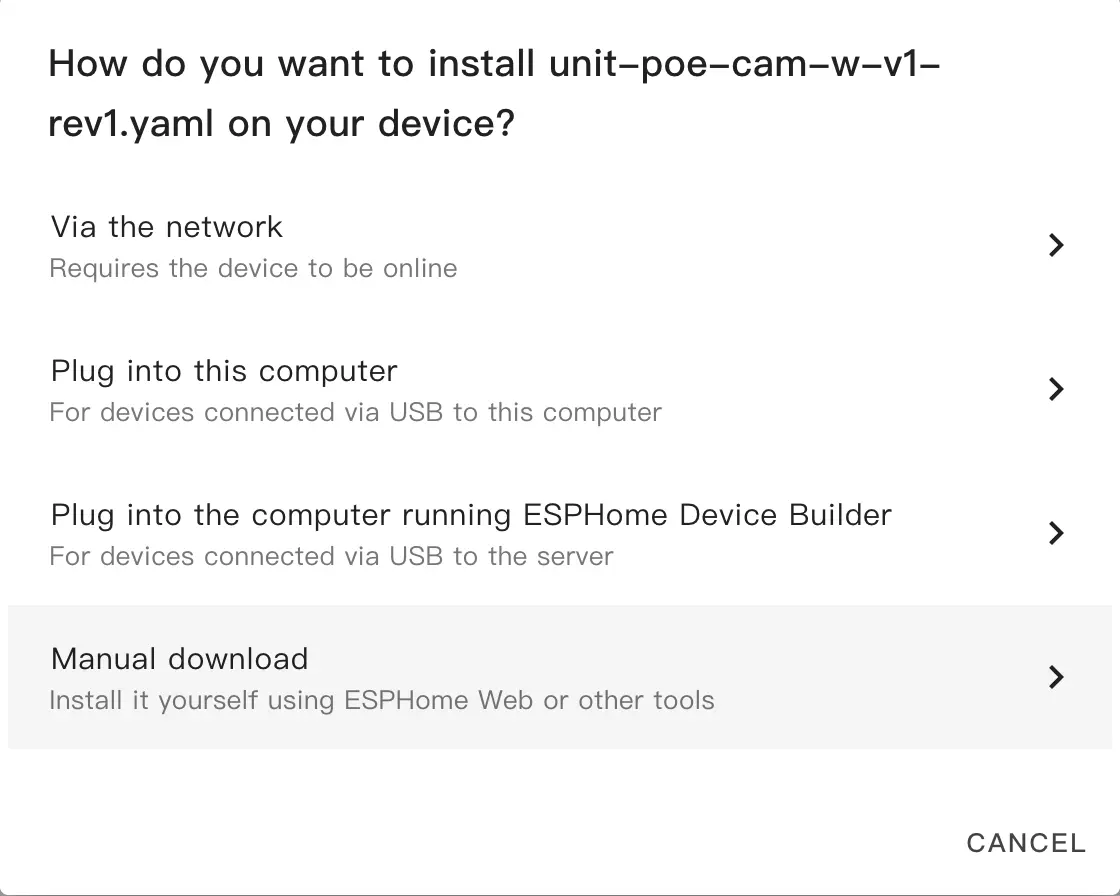
restore_mode: RESTORE_DEFAULT_ONAfter editing, click SAVE and then INSTALL. Choose Manual Download from the options.
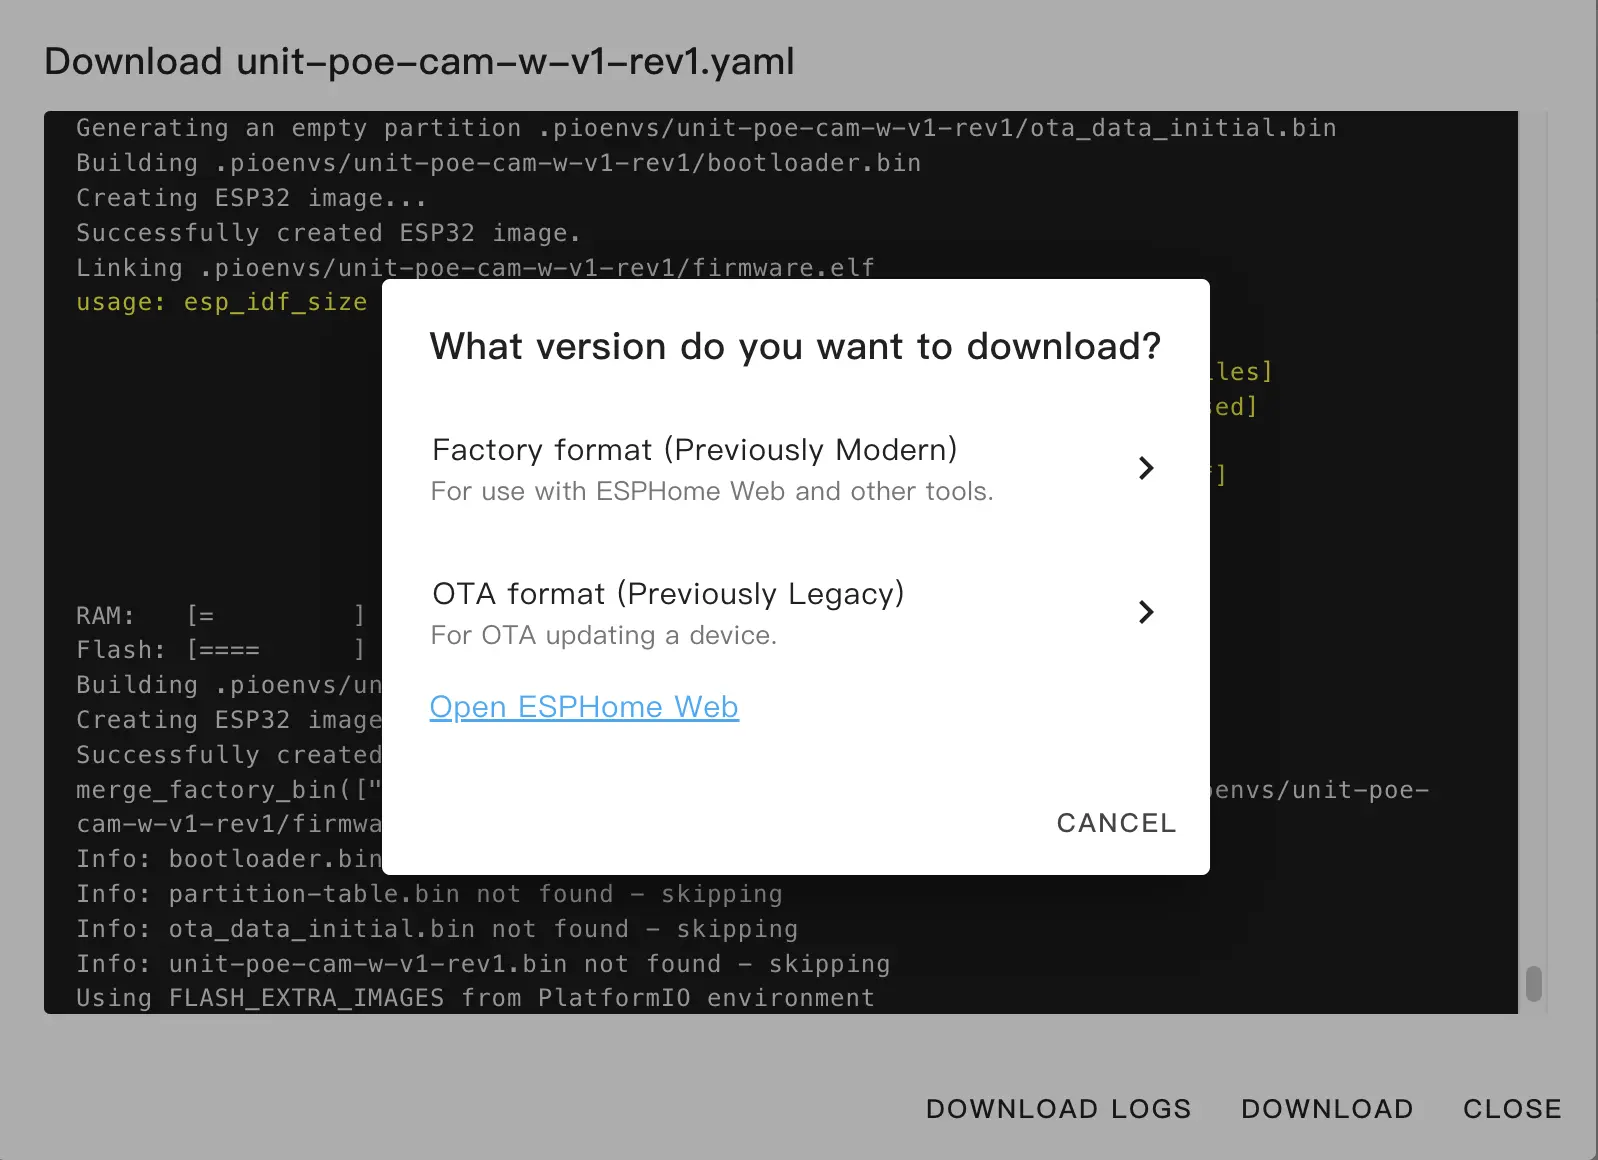
When the build finishes, click the Download button and select Factory Format to download the firmware.
Flash the firmware
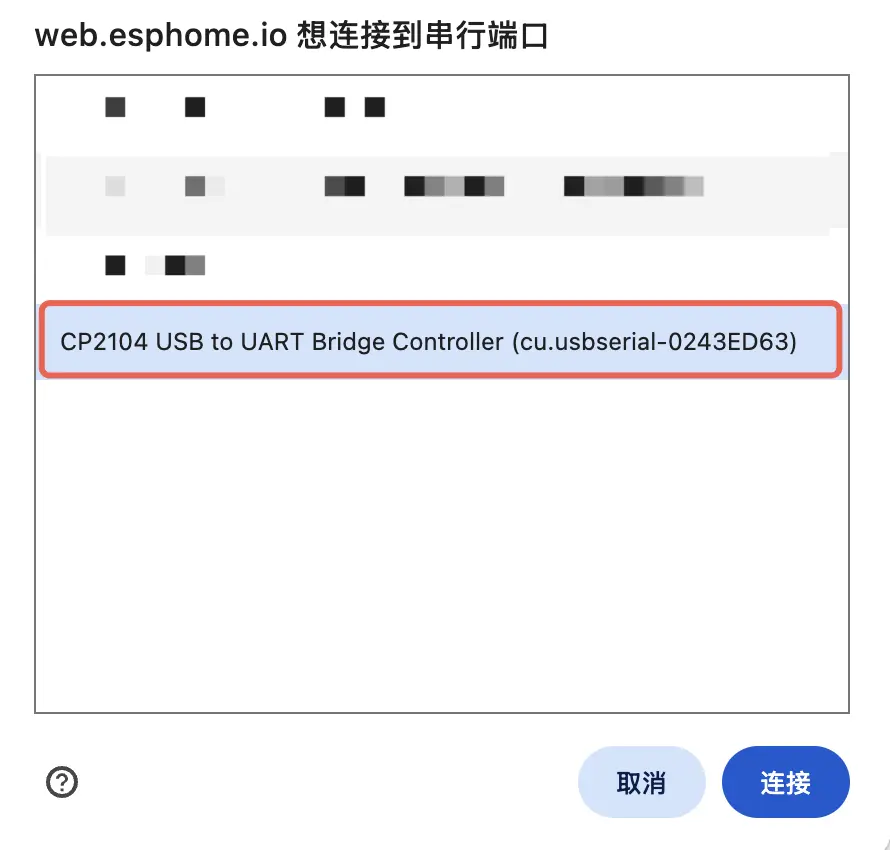
Connect the kit to your host using a programmer/flash board, open ESPHome Web, and click CONNECT to connect to the device.
Refer to the operation instructions if needed.
Then click INSTALL, choose the previously compiled firmware, and upload it.
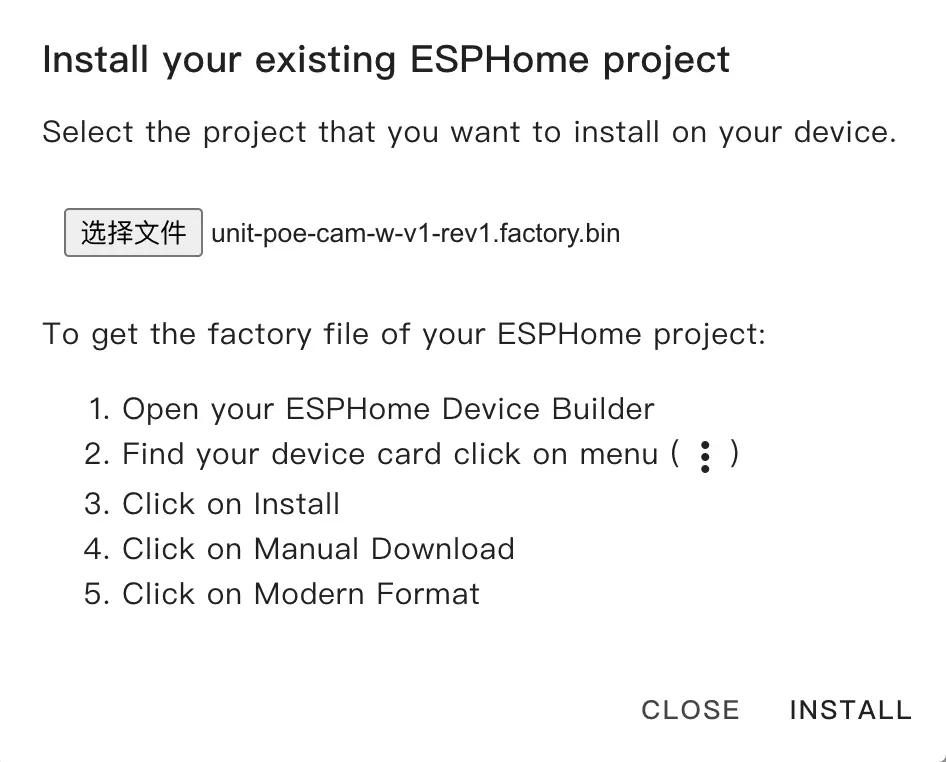
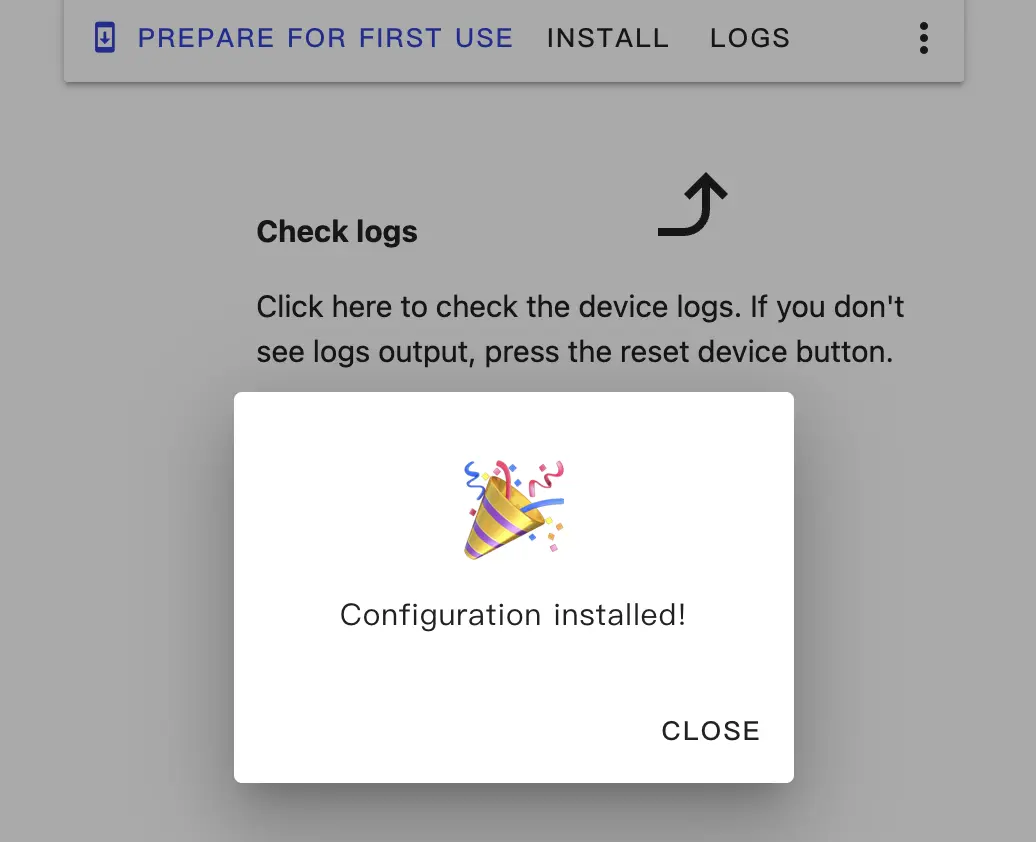
Click INSTALL again to start flashing and wait for the process to complete.
Add the device to Home Assistant
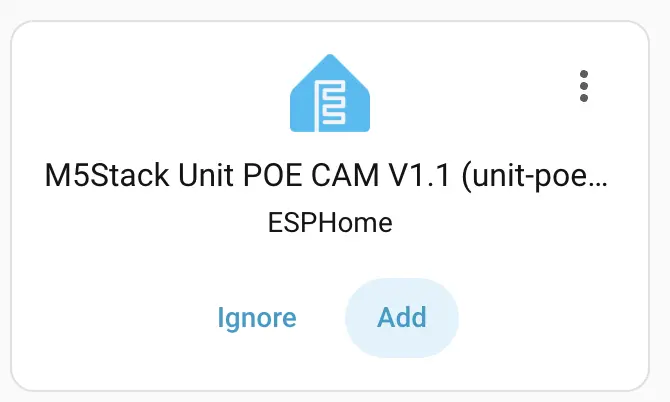
After flashing, the device will boot and automatically connect to Wi‑Fi (if configured). Home Assistant on the same network should discover the new device; check Notifications and click Check it out -> CONFIGURE to add the device to the desired area following the wizard. If you do not see a discovery notification, go to Settings -> Device & services to view and add the device.

If you don't see the notification, go to Settings -> Device & services to check the device status. Click Add to manually add the device to Home Assistant.
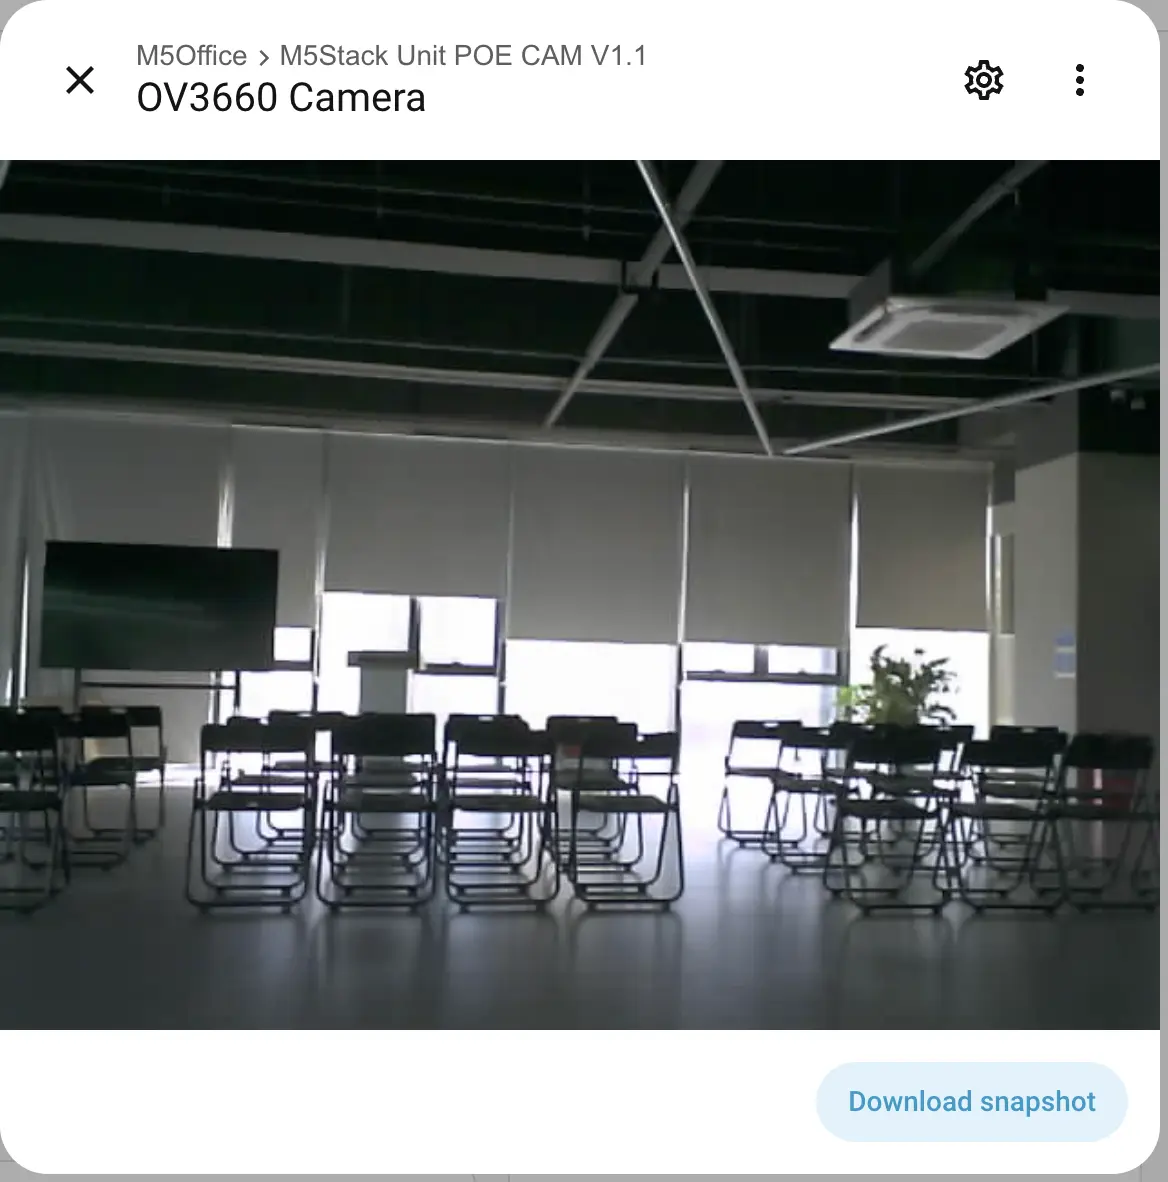
Dashboard example:
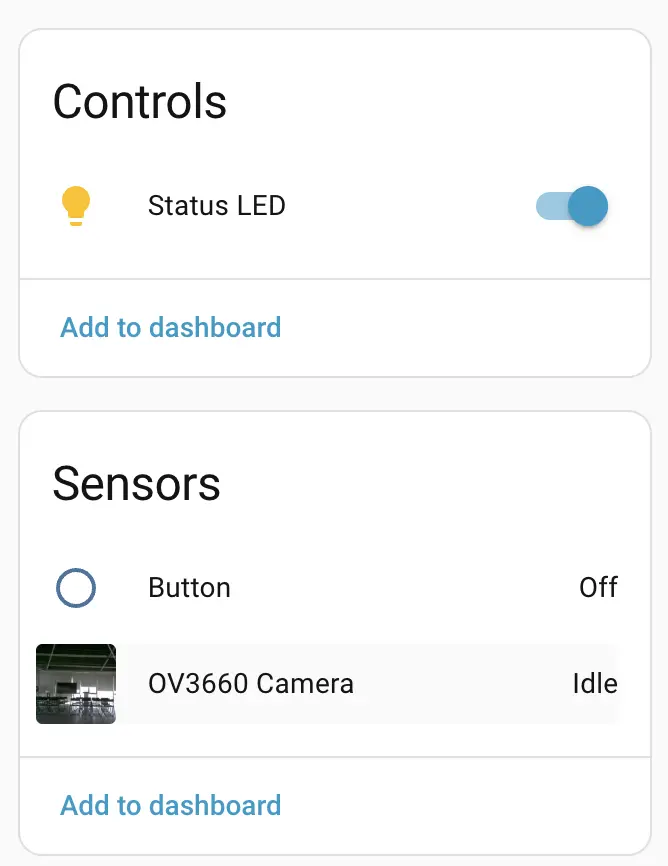
Click the camera entity to view a live preview.