Home Assistant
Media Player
Expansion
Sensor
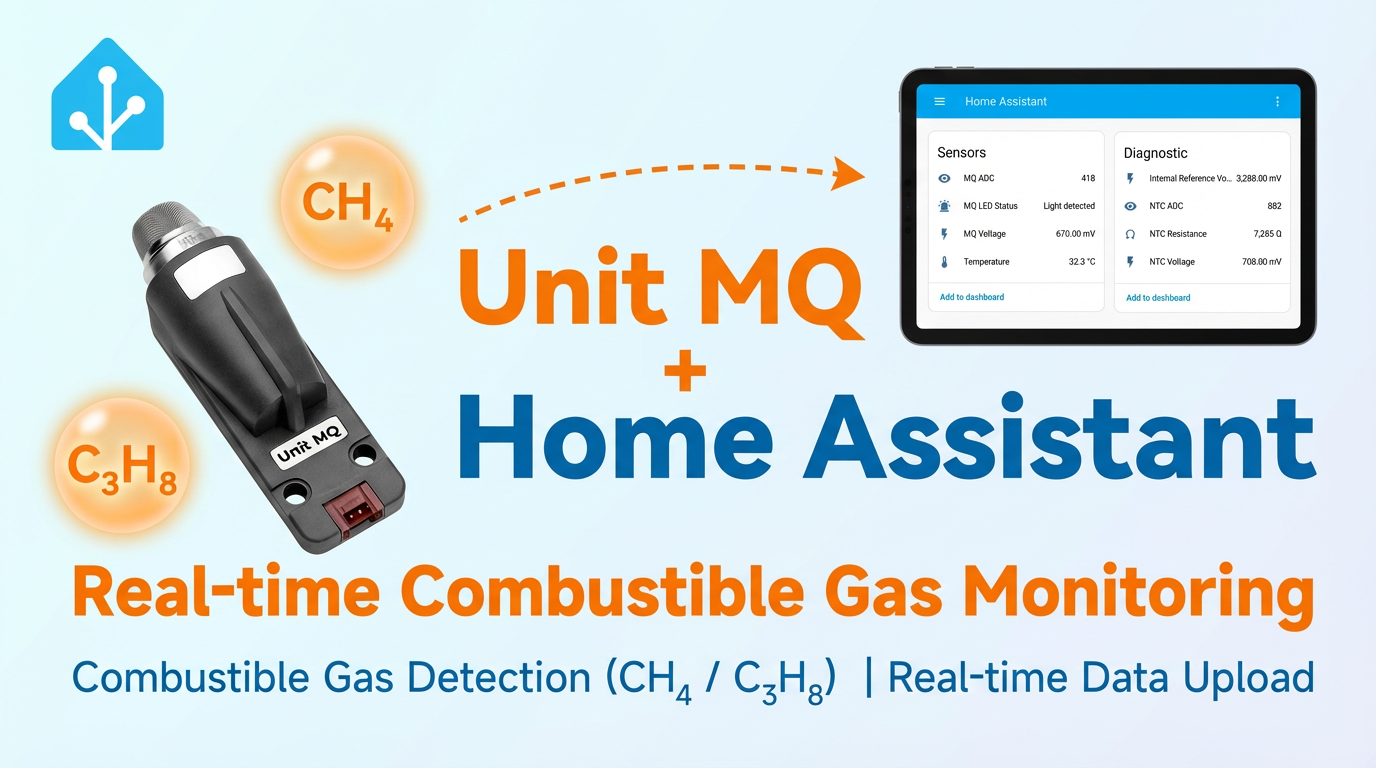
Unit MQ Sensor Home Assistant Integration
This chapter introduces the configuration methods and practical steps for integrating the Unit MQ combustible gas detection unit into Home Assistant.
Precautions
The Unit MQ is merely a sensor platform and requires an additional host device (such as the Atom series, Stamp series, Stick series, Core/Basic series, etc.) to be integrated into Home Assistant.
Preparation
- Refer to the relevant documentation:
- Prepare a compatible host device (such as Atom series, Stamp series, Stick series, Core/Basic series, etc.)
- Confirm the I2C pin definitions of the host device (pins vary by host device).
Configuring the Sensor
- You need to enable the I²C component in the ESPHome configuration:
# Example configuration entry for ESP32
i2c:
  sda: GPIOXX
  scl: GPIOXX
scan: trueThe GPIO pins here will differ depending on the host device used. For example, using Atom Lite as the host:
# I2C Bus on Grove Port (HY2.0-4P)
i2c:
  sda: GPIO26
scl: GPIO32Example configuration for Unit MQ:
external_components:
  - source: github://m5stack/esphome-yaml/components@main
    components: m5stack_unit_mq
    refresh: 0s

sensor:
  - platform: m5stack_unit_mq
    heat_mode: SWITCH
    temperature:
      id: mq_temp
      name: "Unit MQ Temperature"
    mq_adc:
      id: mq_adc_val
      name: "MQ ADC"
    ntc_adc:
      id: ntc_adc_val
      name: "NTC ADC"
    ntc_resistance:
      id: ntc_resistance_val
      name: "NTC Resistance"
    reference_voltage:
      id: in_ref_volt
      name: "Internal Reference Voltage"
    mq_voltage:
      id: mq_volt
      name: "MQ Voltage"
    ntc_voltage:
      id: ntc_volt
      name: "NTC Voltage"
    led:
      id: mq_led
      name: "MQ LED Status"
update_interval: 20sConfigurable options:
- heat_mode (Required): Unit MQ heating mode. Options:
CONTINUOUS,SWITCH, andOFF. - temperature (Optional): Temperature data derived from the thermistor reading.
- mq_adc (Optional): 12-bit MQ ADC reading.
- ntc_adc (Optional): 12-bit NTC ADC reading.
- ntc_resistance (Optional): NTC resistance value.
- reference_voltage (Optional): Internal reference voltage.
- mq_voltage (Optional): MQ voltage reading.
- led (Optional): LED status reading. The LED lights up when the reading is valid.
Warning | The device needs to be heated for a period of time before it can output normally (ADC readings generally appear only after heating to around 29 degrees Celsius). When the heating mode heat_mode: CONTINUOUS is configured, the device will heat continuously. Be careful of burns when touching the probe.
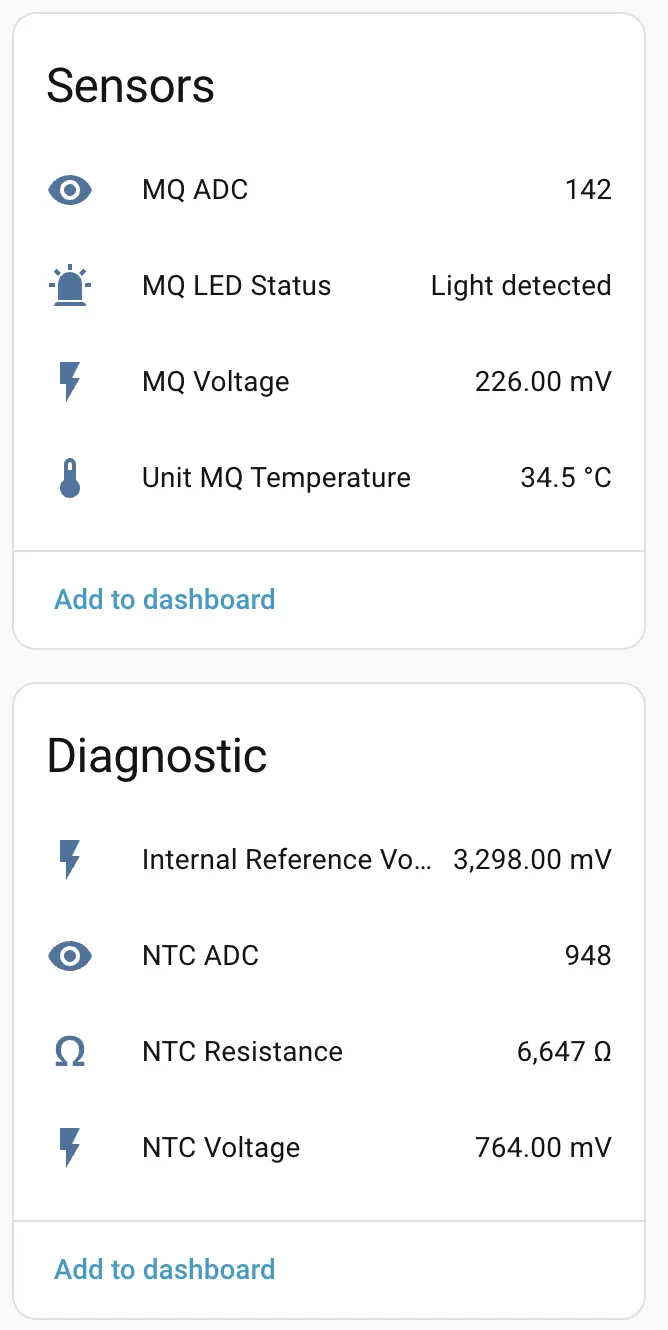
Dashboard Example
Example display after configuration and integration into Home Assistant: