


UIFlow - Integration - Blynk
Overview
This tutorial will demonstrate how to connect programming devices to the Blynk cloud service platform through UIFlow programming, using the construction of a temperature and humidity collection node as a case study. It will also show how to implement simple remote control functionality using the Blynk app.
Create a Project
Before integration, you need to register an account and log in to create an application instance through the Blynk app, obtaining the corresponding Auth Token. Click here to visit Blynk's official website to install the Blynk app .
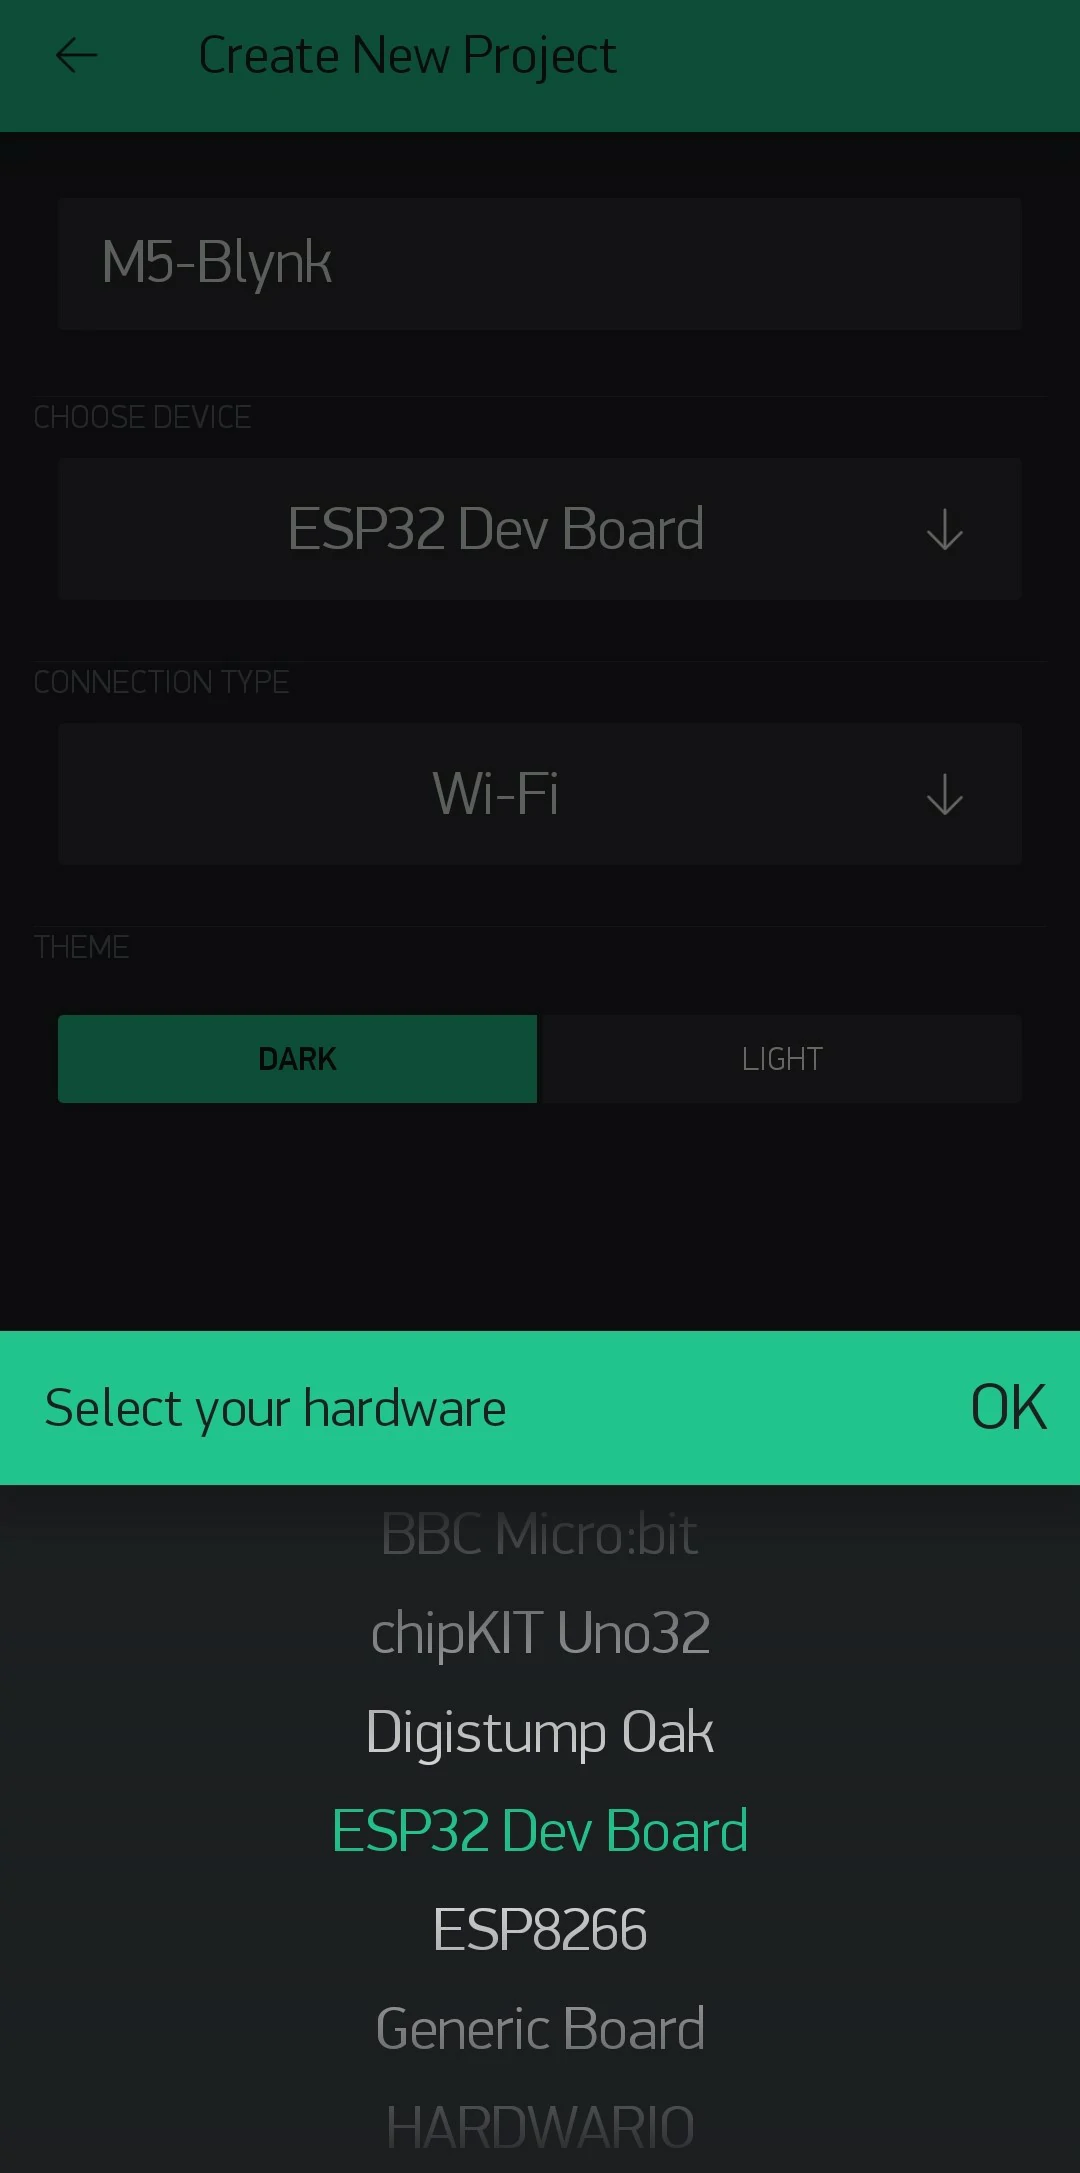
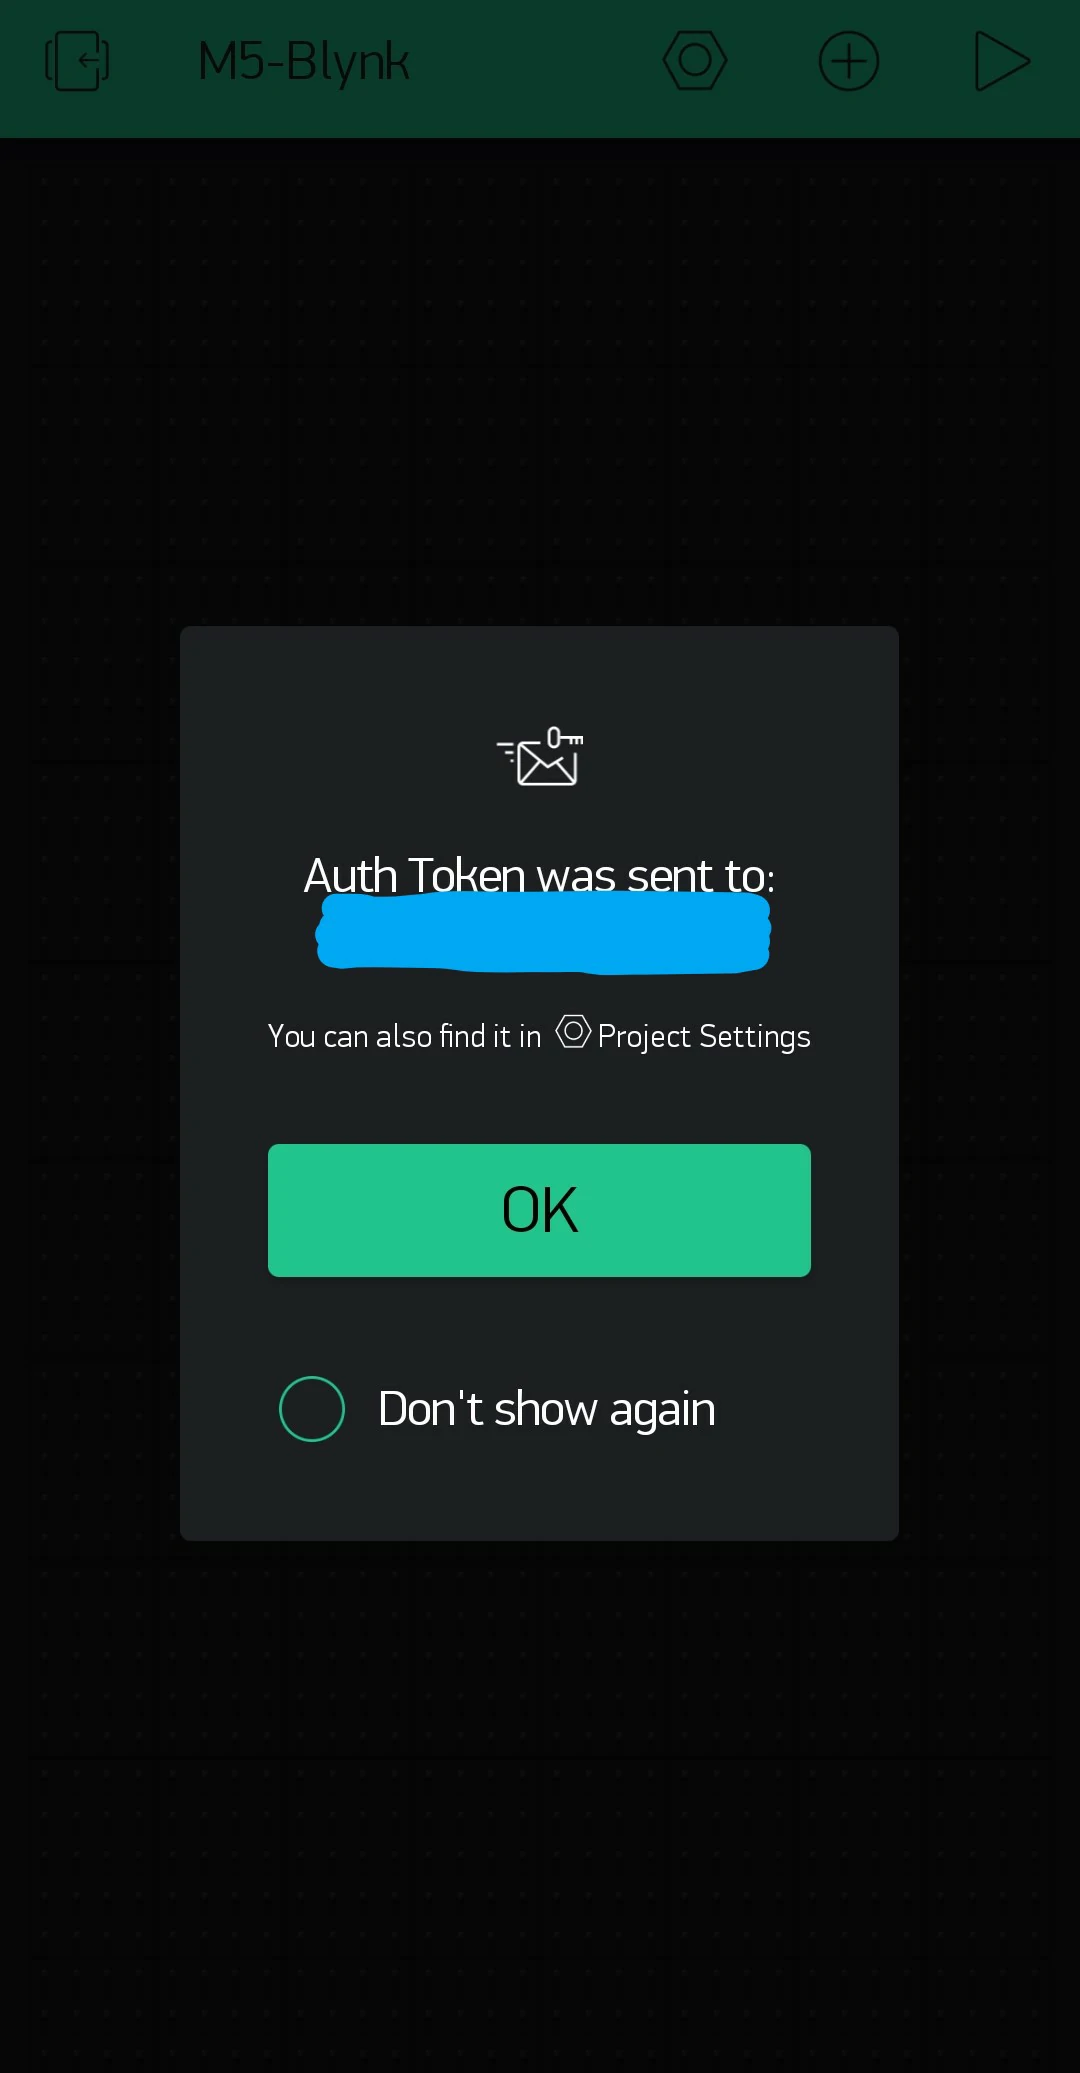
Click the + button at the top of the app to add, Create Project -> device type as ESP32 Dev Board, connection mode as Wi-Fi. After successfully creating the project, the Blynk service will generate a unique Auth Token for the project and send it to your registered email. In the following steps, we will use this key.
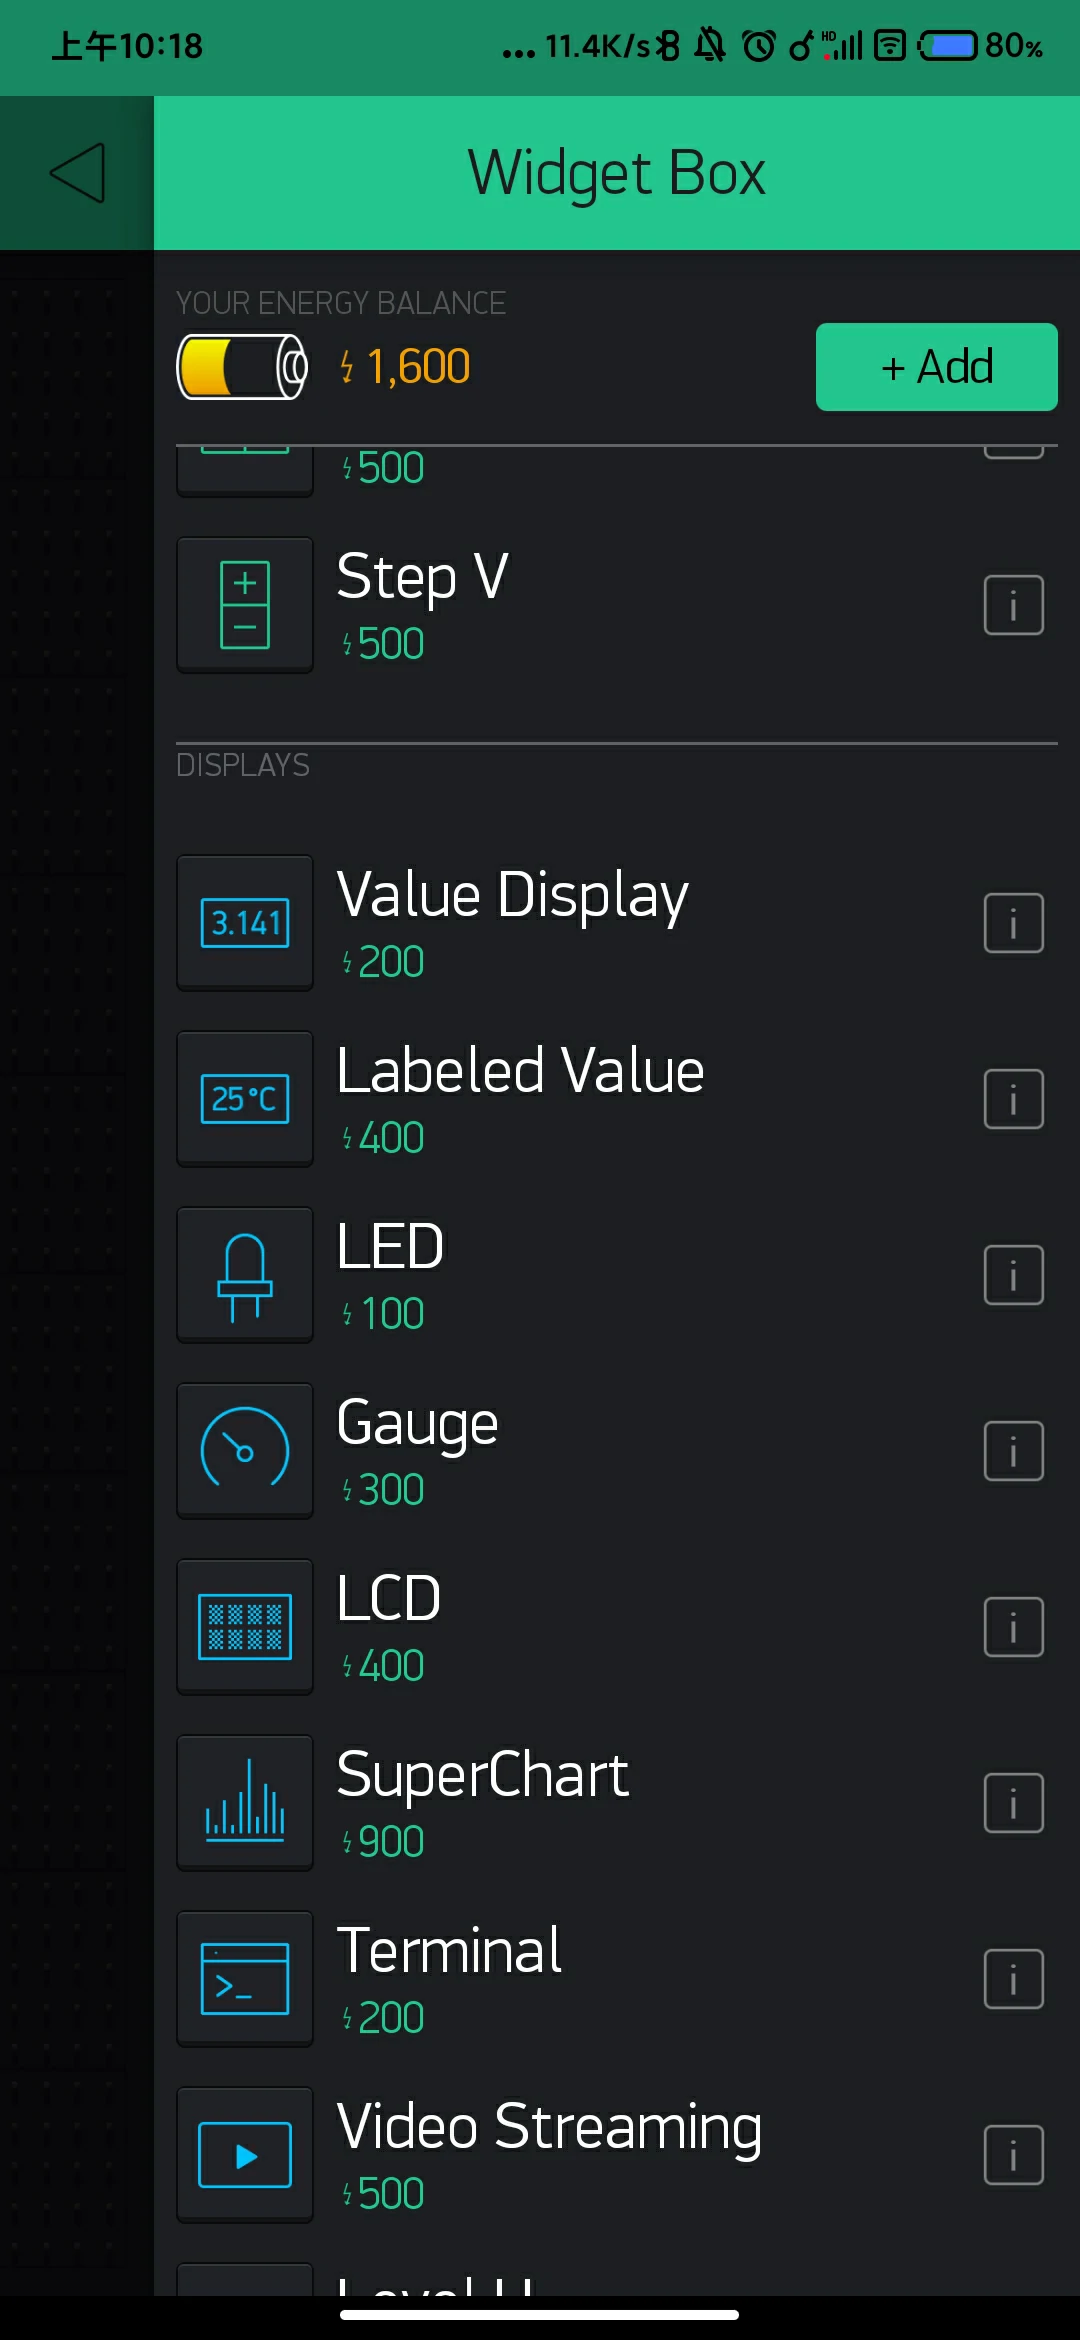
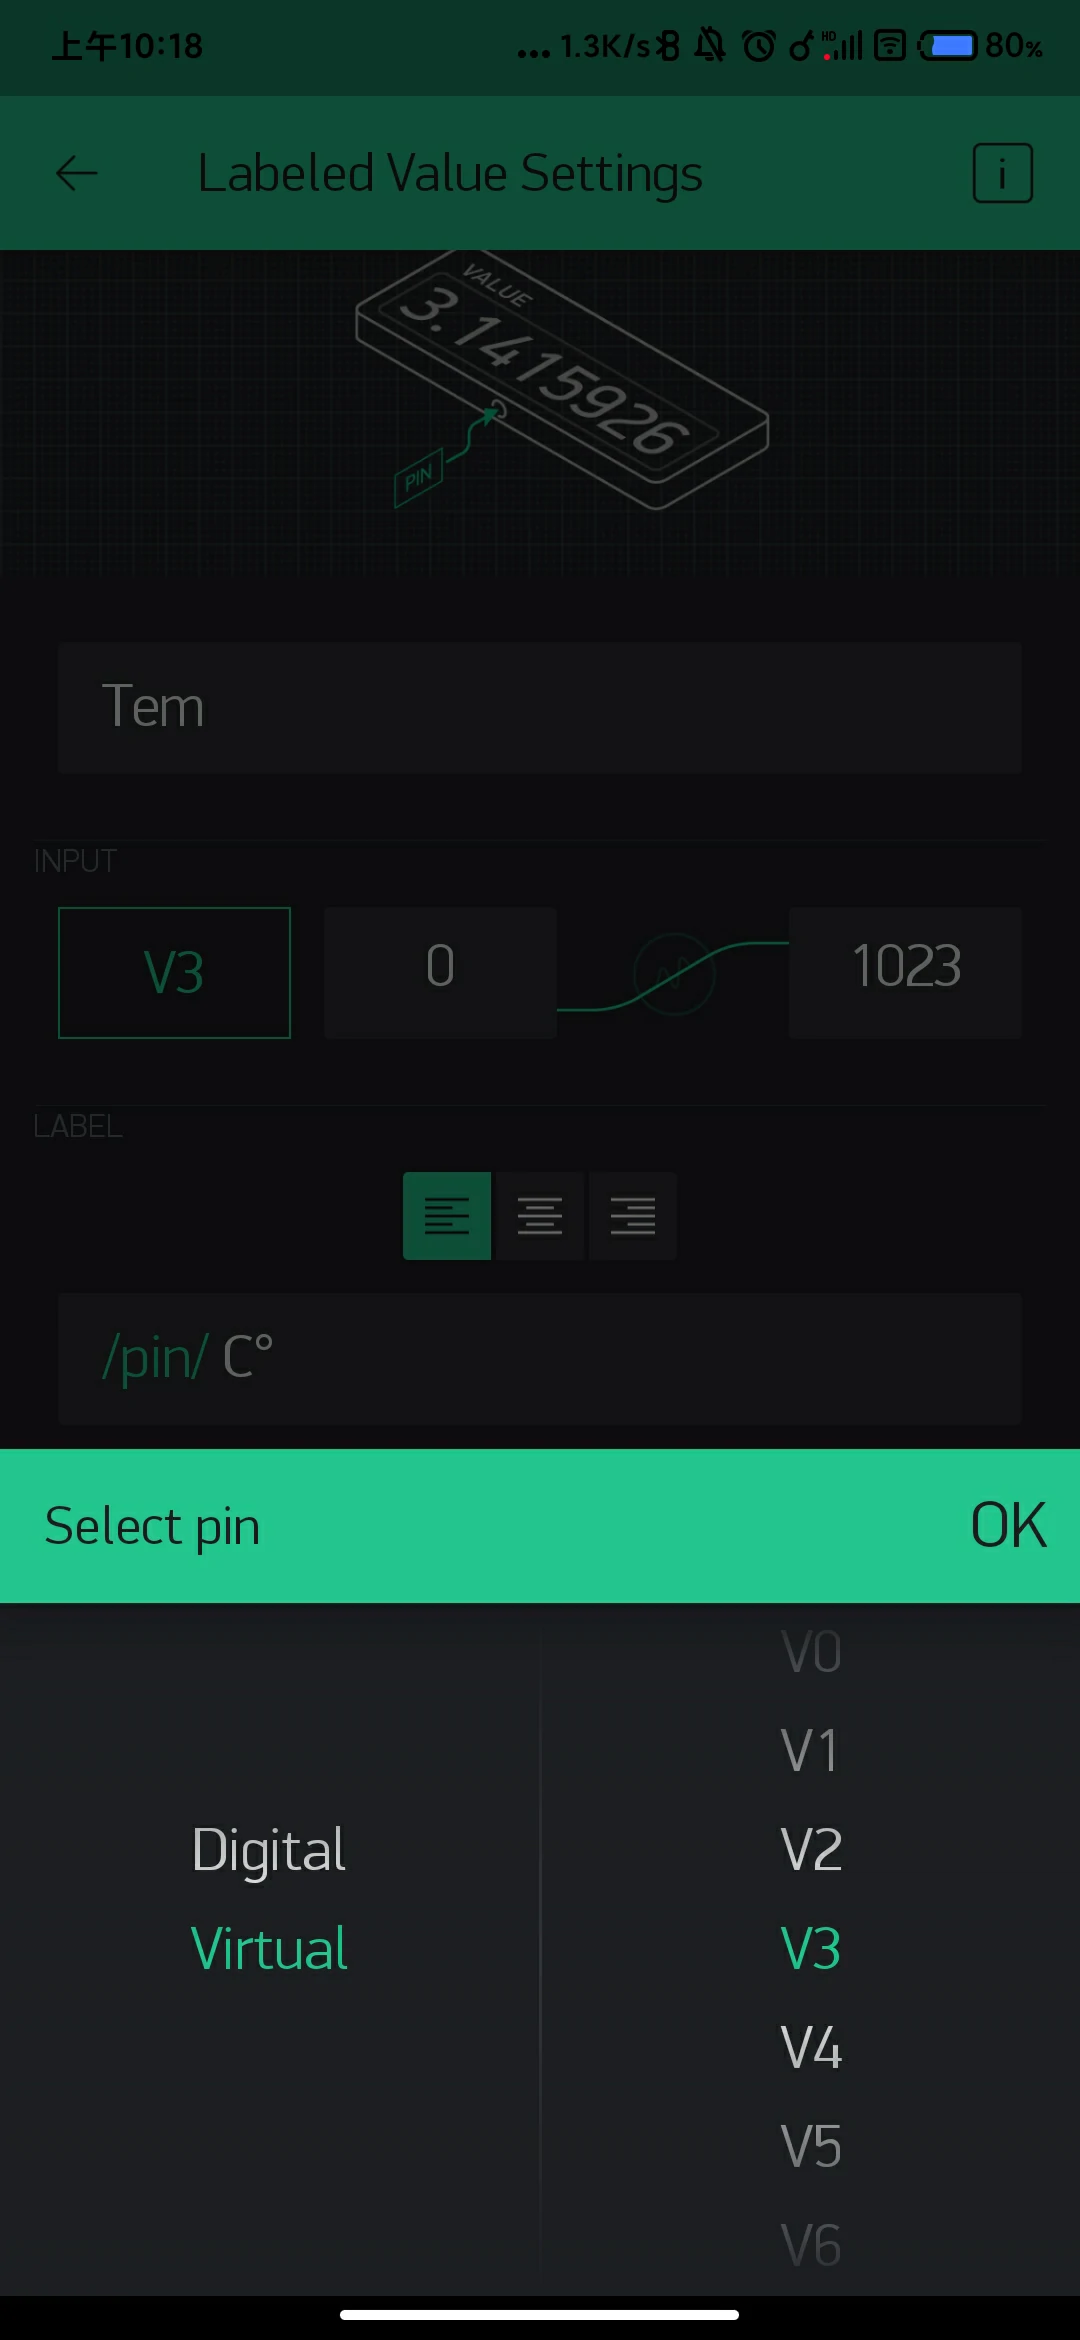
After completing the project creation, you will enter the control panel where you can customize and add widgets through the sidebar. In this case, we will add two Labeled Value widgets for displaying temperature and humidity data (set refresh time to 1s) and one Button for controlling the Speaker to make sound.
Blynk uses "physical pins" and "virtual pins". Physical pins refer to the actual application of app level controls to the corresponding pin numbers on the hardware device. Virtual pins are virtual identifiers through which the app and the device program exchange information and customize processing programs. The application case below will use virtual pins for configuration.
Burn Firmware
Burn UIFlow firmware to your device (firmware version 1.7.4 and above required). Click the document link below to view detailed burning steps.
Write the Program
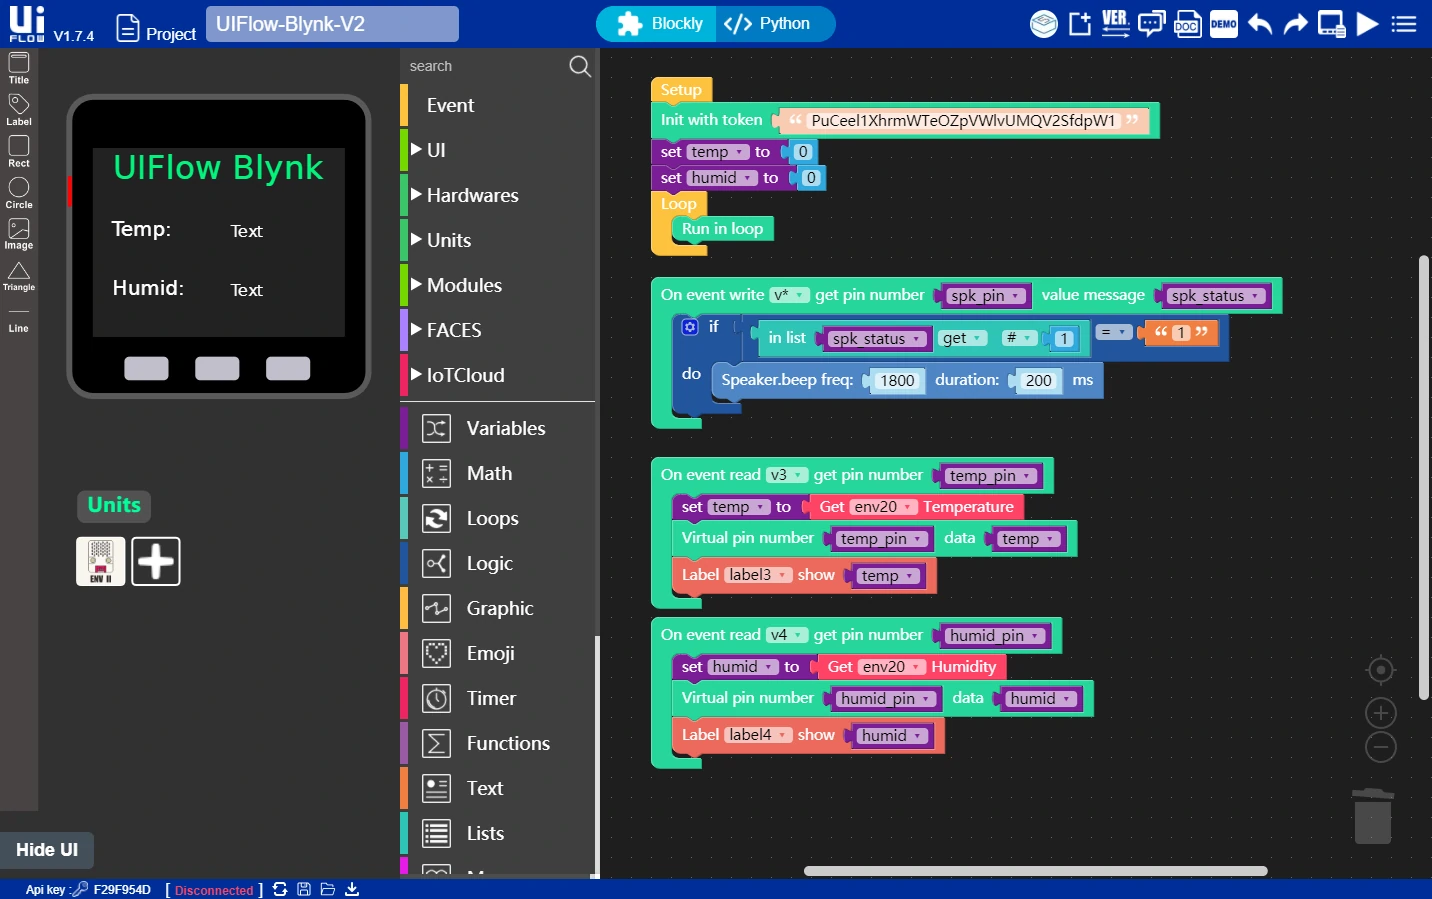
- Click to download the case program m5f file , open the file in UIFlow, or you can drag and drop code blocks as shown below.
The case program pushes data to the Blynk server, which then pushes it to the app display panel upon data refresh requests.
UIFlow also supports user-defined configuration for connecting to Blynk servers, simply by passing the server IP and port parameters during the program initialization phase.

- Micropython API
from IoTcloud import blynk

// Initialize connection
blynk1 = blynk.Blynk(token='xxxxxxxxxxxxxxxxxxxxxxxxxx')

// Response callback
def blynk_read_v3(v_pin,value):
  print(value)
  // Respond data to specified VPIN
  blynk1.virtual_write(v_pin, "Hello!")

// Bind virtual pin response callback
blynk1.handle_event('read v3', blynk_read_v3)

// Disconnect
blynk1.disconnect()

// Send email
blynk1.email('', '', '')

// Send notification
blynk1.tweet('')

// Send notification
blynk1.notify('')

// Configure widget property parameters
blynk1.set_property(0, '', '')

// Sync virtual pin status
blynk1.virtual_sync(0)

while True:
  blynk1.run()
APP Data Acquisition and Control
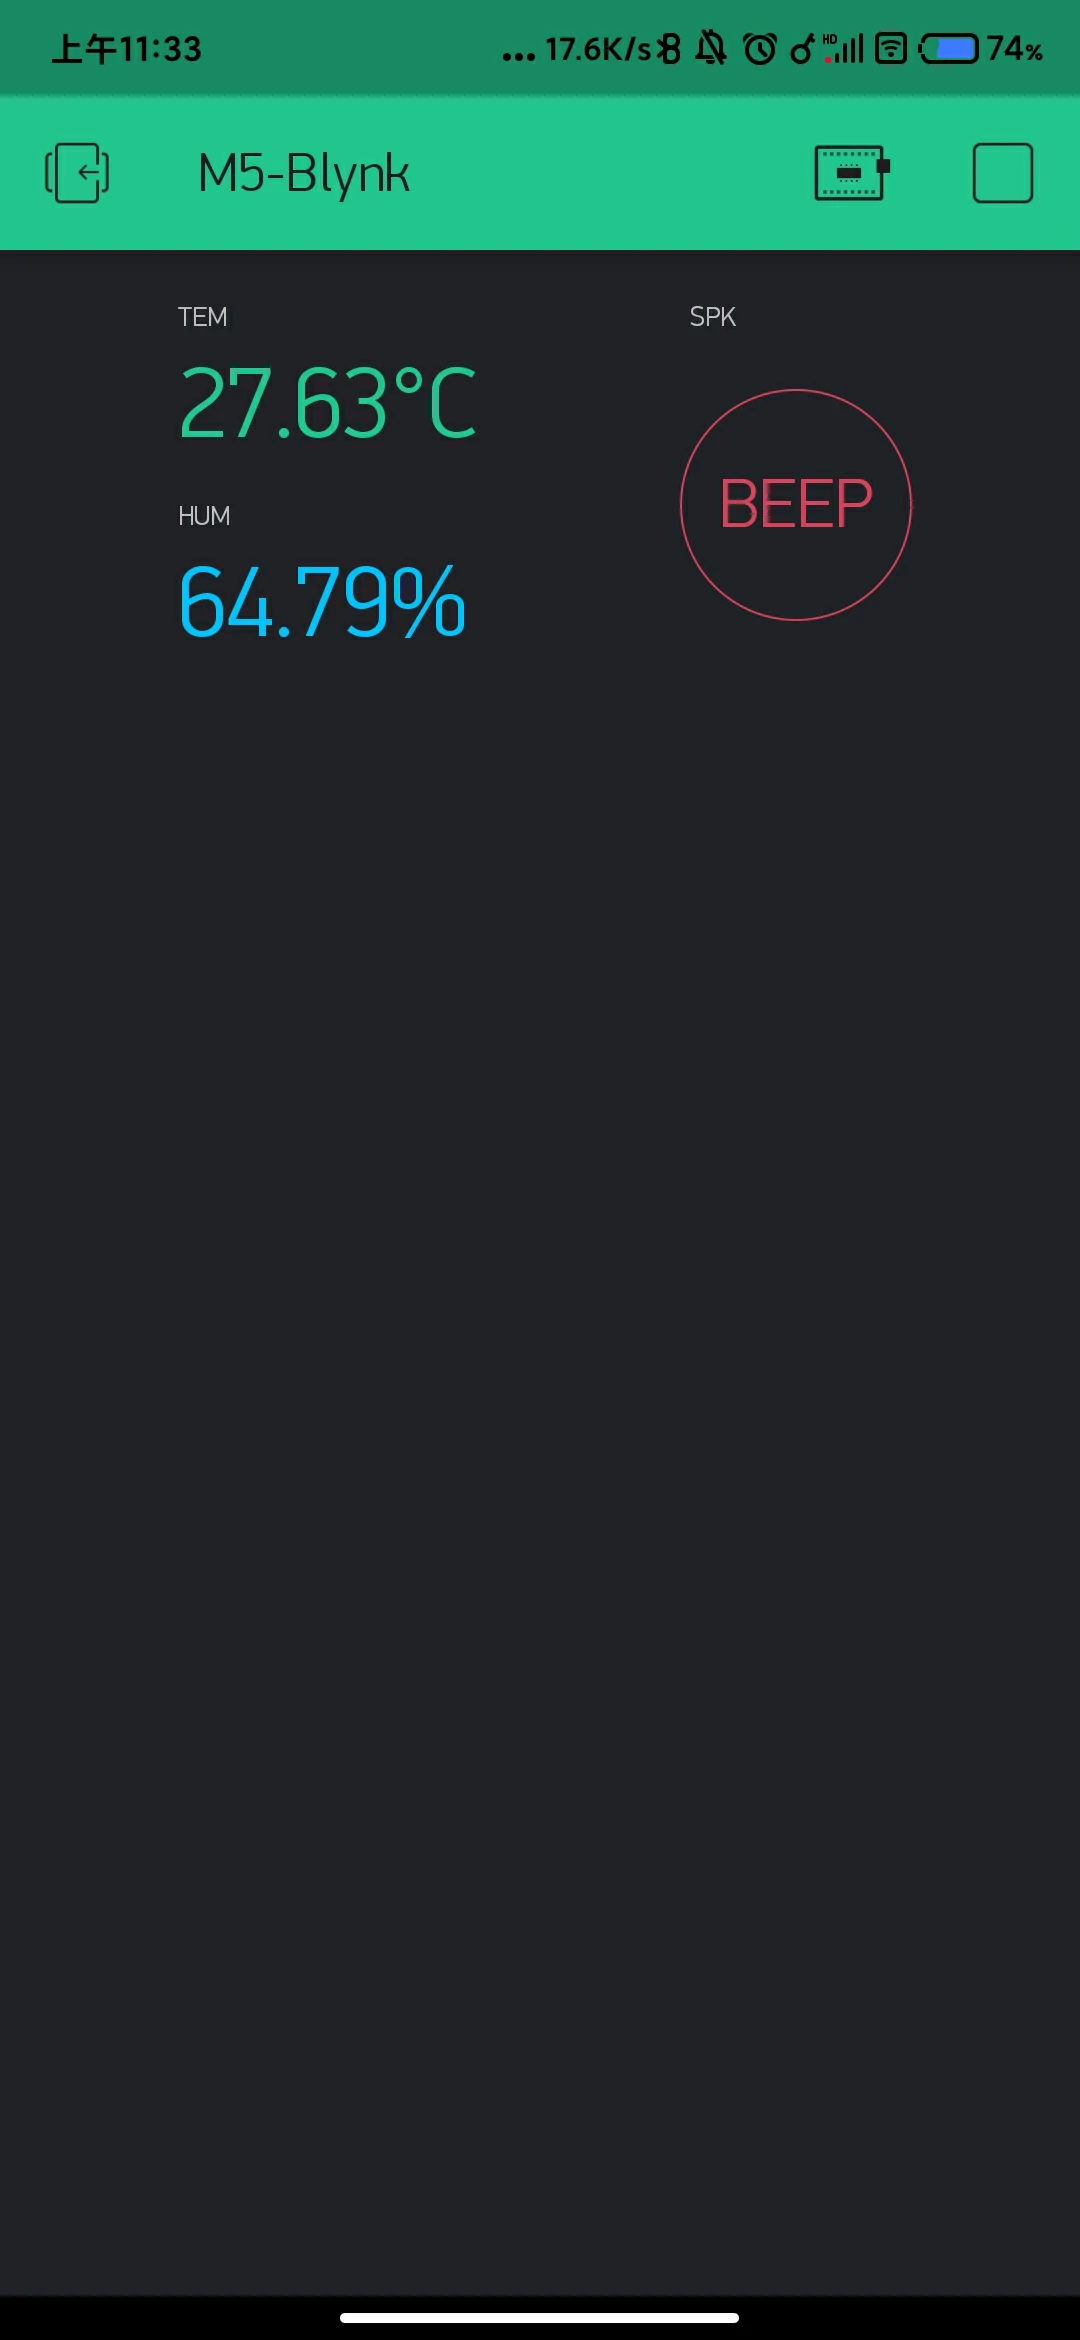
Once the device side successfully connects to the network and runs the code, clicking the run button at the top right corner of the app project page will achieve cloud connection and real-time acquisition of temperature and humidity data. Clicking the SPK control button will drive the device speaker to make a sound.
View Blynk's official documentation for more information on widget-related content