


Product Guide
Linux PC
AI Accelerator Card
LLM-8850 Card
Large Language Models
AI & Agent
Real-Time AI Voice Assistant
XiaoZhi Voice Assistant
AtomS3R-M12 Volcengine Kit
Offline Voice Recognition
Industrial Control
IoT Measuring Instruments
Air Quality
PowerHub
Module13.2 PPS
VAMeter
T-Lite
Ethernet Camera
PoECAM
Wi-Fi Camera
Unit CamS3/-5MP
AI Camera
LoRa & LoRaWAN
Motor Control
Restore Factory Firmware
DIP Switch Usage Guide
V-Training
Preparation
Log in to the Platform
Easily build custom recognition models through M5Stack's V-Training (AI Model Training Service). Use your phone or other camera devices to shoot image materials and save them to your computer. Visit the V-Training online training platform using a browser, register, and log in (M5 forum user accounts can log in directly).
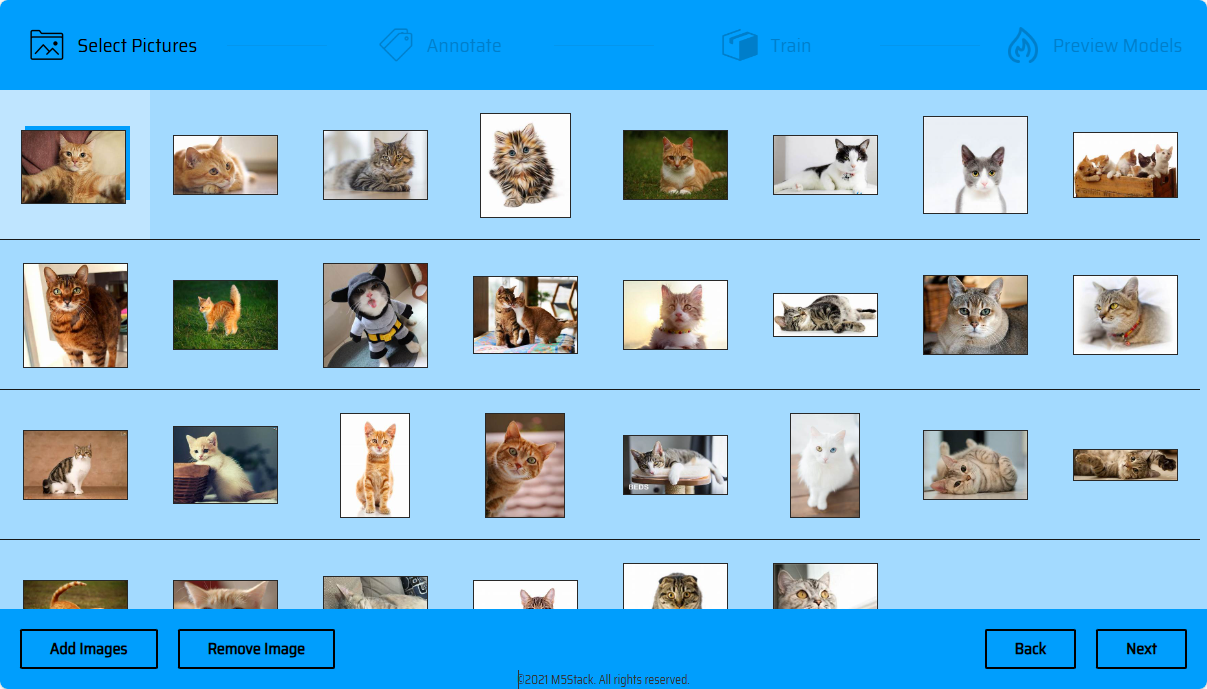
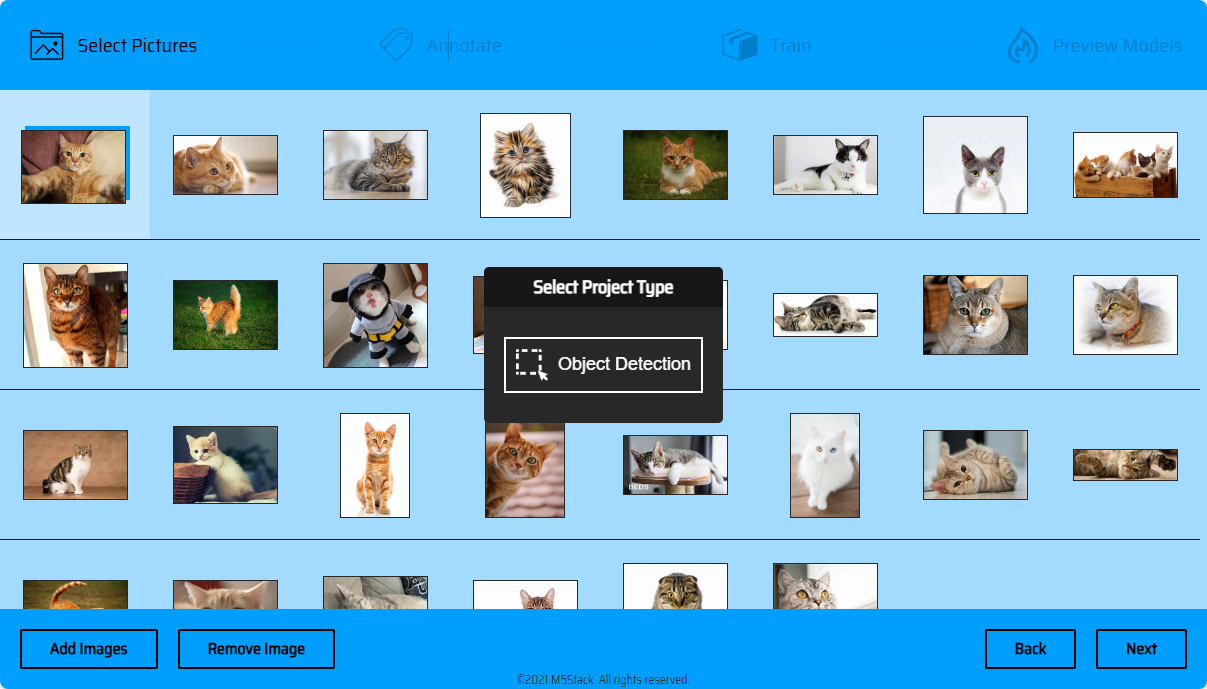
Import Images
Start -> New Project -> Import Images -> NEXT -> Object Detection. Note: The quality and quantity of the training set will directly affect the quality of the trained model. Therefore, when shooting or collecting training materials, please provide high-quality training materials as much as possible. The more, the better. The scenes of shooting materials should match the actual recognition scenes. Note:
The overall size of the image training set is not allowed to exceed 200M.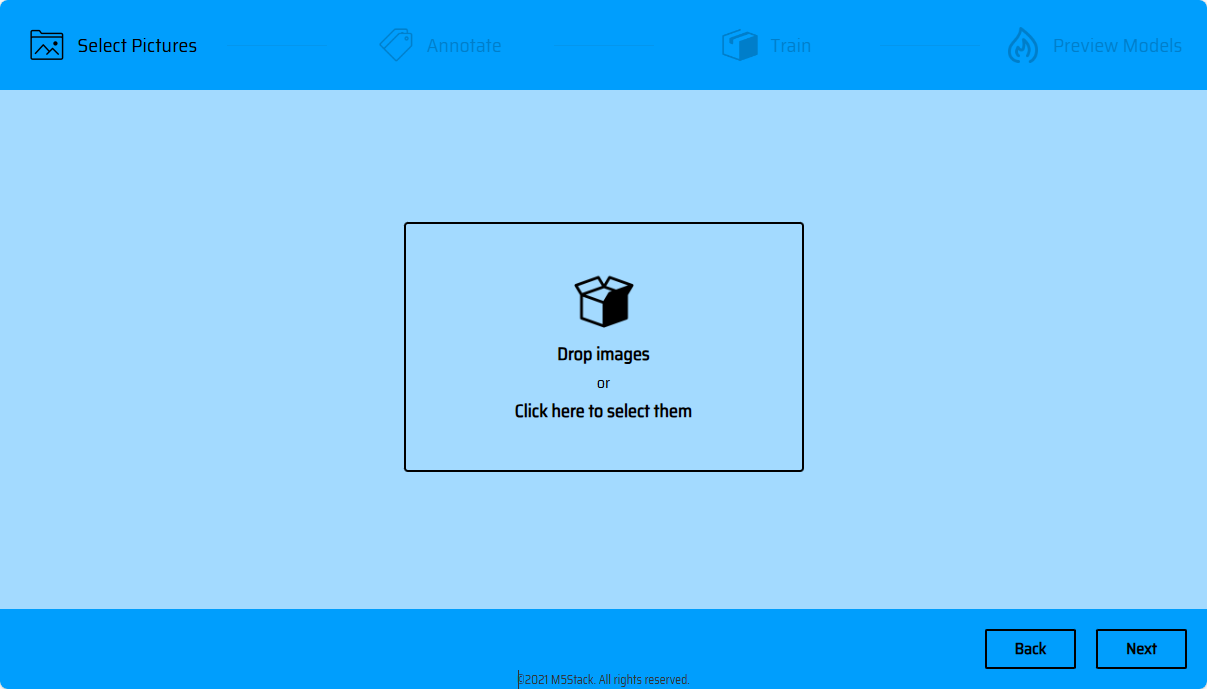
Material Processing
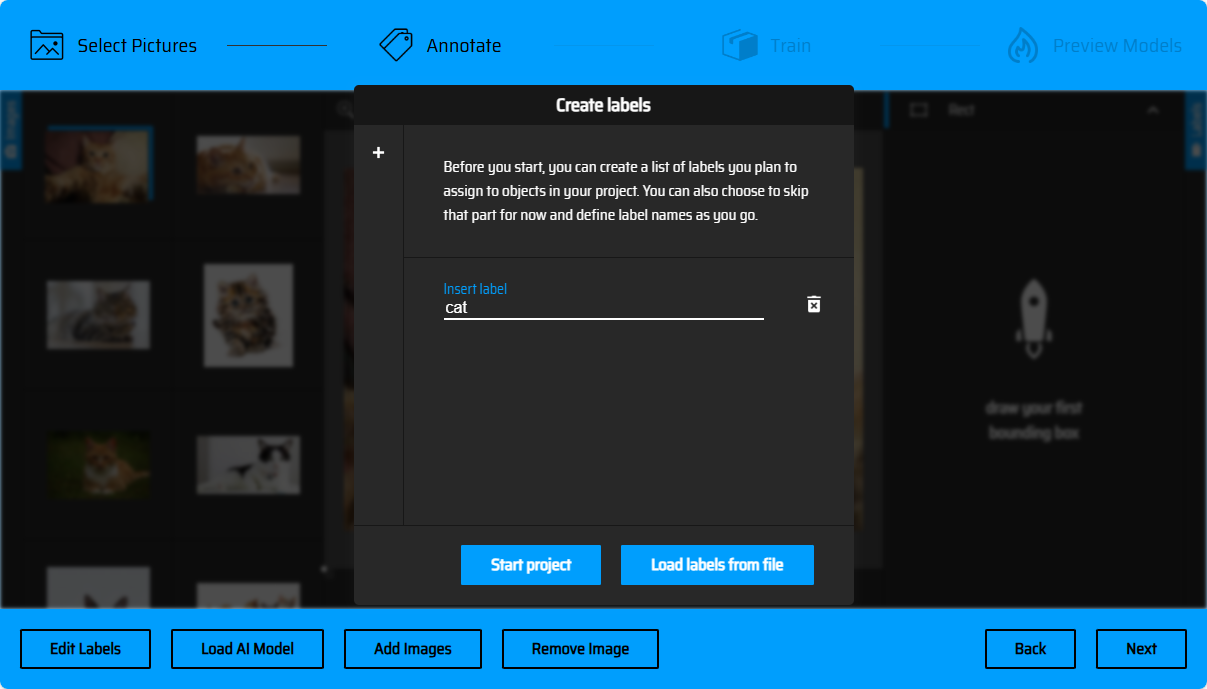
Create Labels
Before selecting object boxes, we need to create a label name for the objects to be recognized. In the subsequent image marking operation, you need to select the corresponding label according to different objects (you can click the + sign on the left side of the popup to create multiple labels). You can also batch import labels as text files (Load Labels from file), with the file format as txt, and each line of the file containing a label name (as shown below).
//Labels.txt

Dog
Cat
Bird
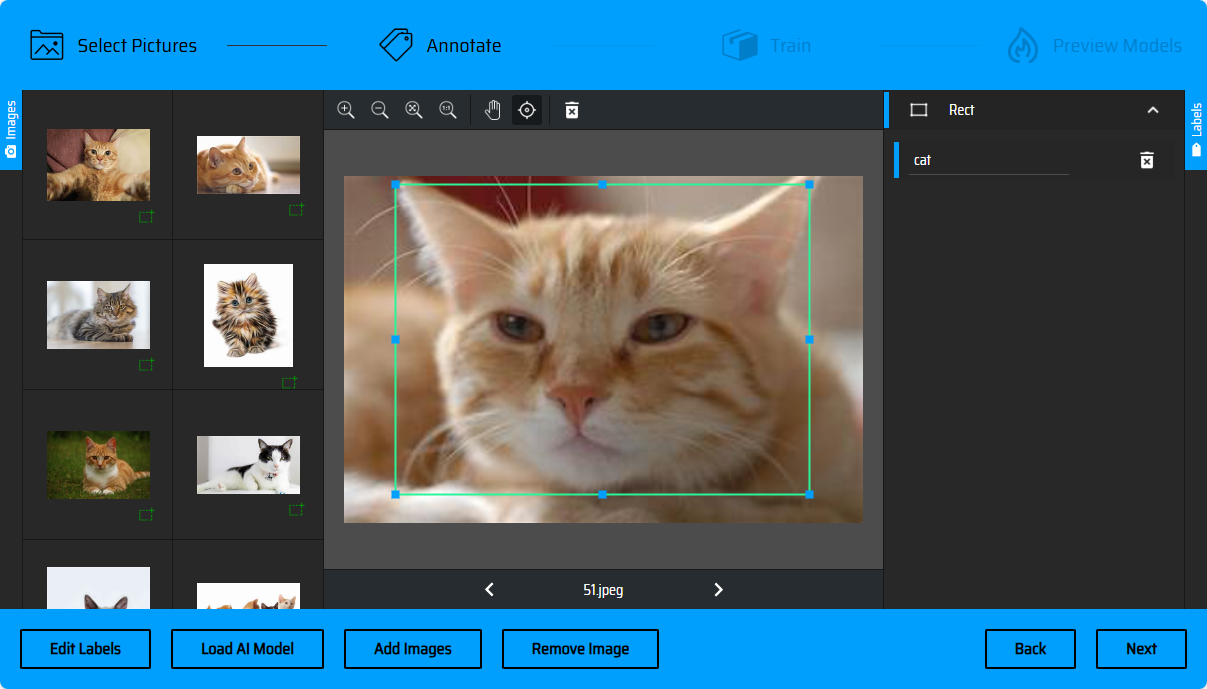
Mark Images
After creating the labels, the next step is to mark the images. We need to select the objects to be recognized from the training set materials. The left side of the page shows the list of images to be processed, and you can know which images have been processed according to the index.
Manual Marking
Click the arrow on the bottom bar to switch images (or press the <- left-> right keyboard keys to switch images). The right-side menu bar is the label list. After selecting the objects, you can specify the corresponding label according to the selected objects.
AI Auto-Marking
When processing materials in batches, you can also try using the AI auto-marking function to improve marking efficiency. Click on the bottom left corner of Load AI Model -> check COCO SSD - object detection using rectangles -> Use model!. After the marking model is loaded, the page color will change to green. At this time, you can check the label names created in the previous step to add to the list for subsequent marking. Click Accept.
AI will automatically mark the objects recognized in the images and draw bounding boxes. What you need to do next is to review the bounding boxes of each image. When AI recognizes an object of a certain category, a class selection box will pop up. You can check the label category recommended by AI and add it to the label list, or directly click Accept to proceed to the next operation and use the existing labels in the label list for classification marking.
If the bounding box is correctly recognized, click + on the bounding box to add it (or press Enter to confirm). If the bounding box is recognized incorrectly, you can also click the delete button on the bounding box to remove it and manually draw a bounding box. After AI completes marking, you can also specify the bounding box as other labels in the label bar on the right side.
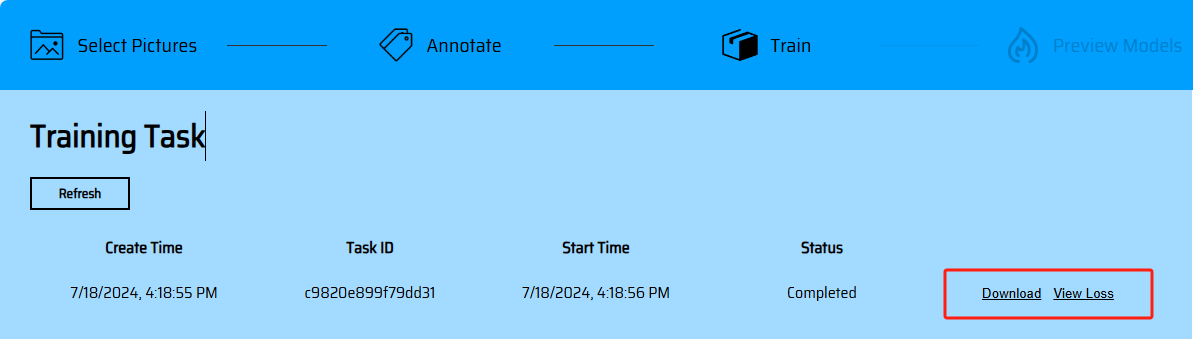
Model Training
After marking is completed, click next to upload materials (if there are materials that have not been marked, you will be prompted on this page). Click UPLOAD to upload materials (currently supports efficient training mode for efficient model training). You will be redirected to the task list. Click Refresh to refresh and view the latest status of the task. After training is completed, you will get the model Download link and loss curve.

Model Online Preview
The model online preview function is still in the development stage. Currently, users can experience recognition effects by loading the model through programs.
Loading Models with Programs
Running the Model
Ethernet Mode Connection: UnitV2 is equipped with a wired network card. When you connect to a PC via the Type-C interface, it will automatically establish a network connection with UnitV2.AP Mode Connection: After UnitV2 starts, it will automatically enable the AP hotspot (SSID: M5UV2_XXX: PWD:12345678). Users can connect to UnitV2 through WiFi to establish a network connection.
Connect to the UnitV2 device through one of the above two modes, and visit the domain unitv2.py or IP:10.254.239.1 to access the preview webpage with recognition functionality. Switch the function to Object Recognition, click add to upload the model. Note: Please install the SR9900 driver before use. For installation steps, please refer to the previous chapter Jupyter notebook.
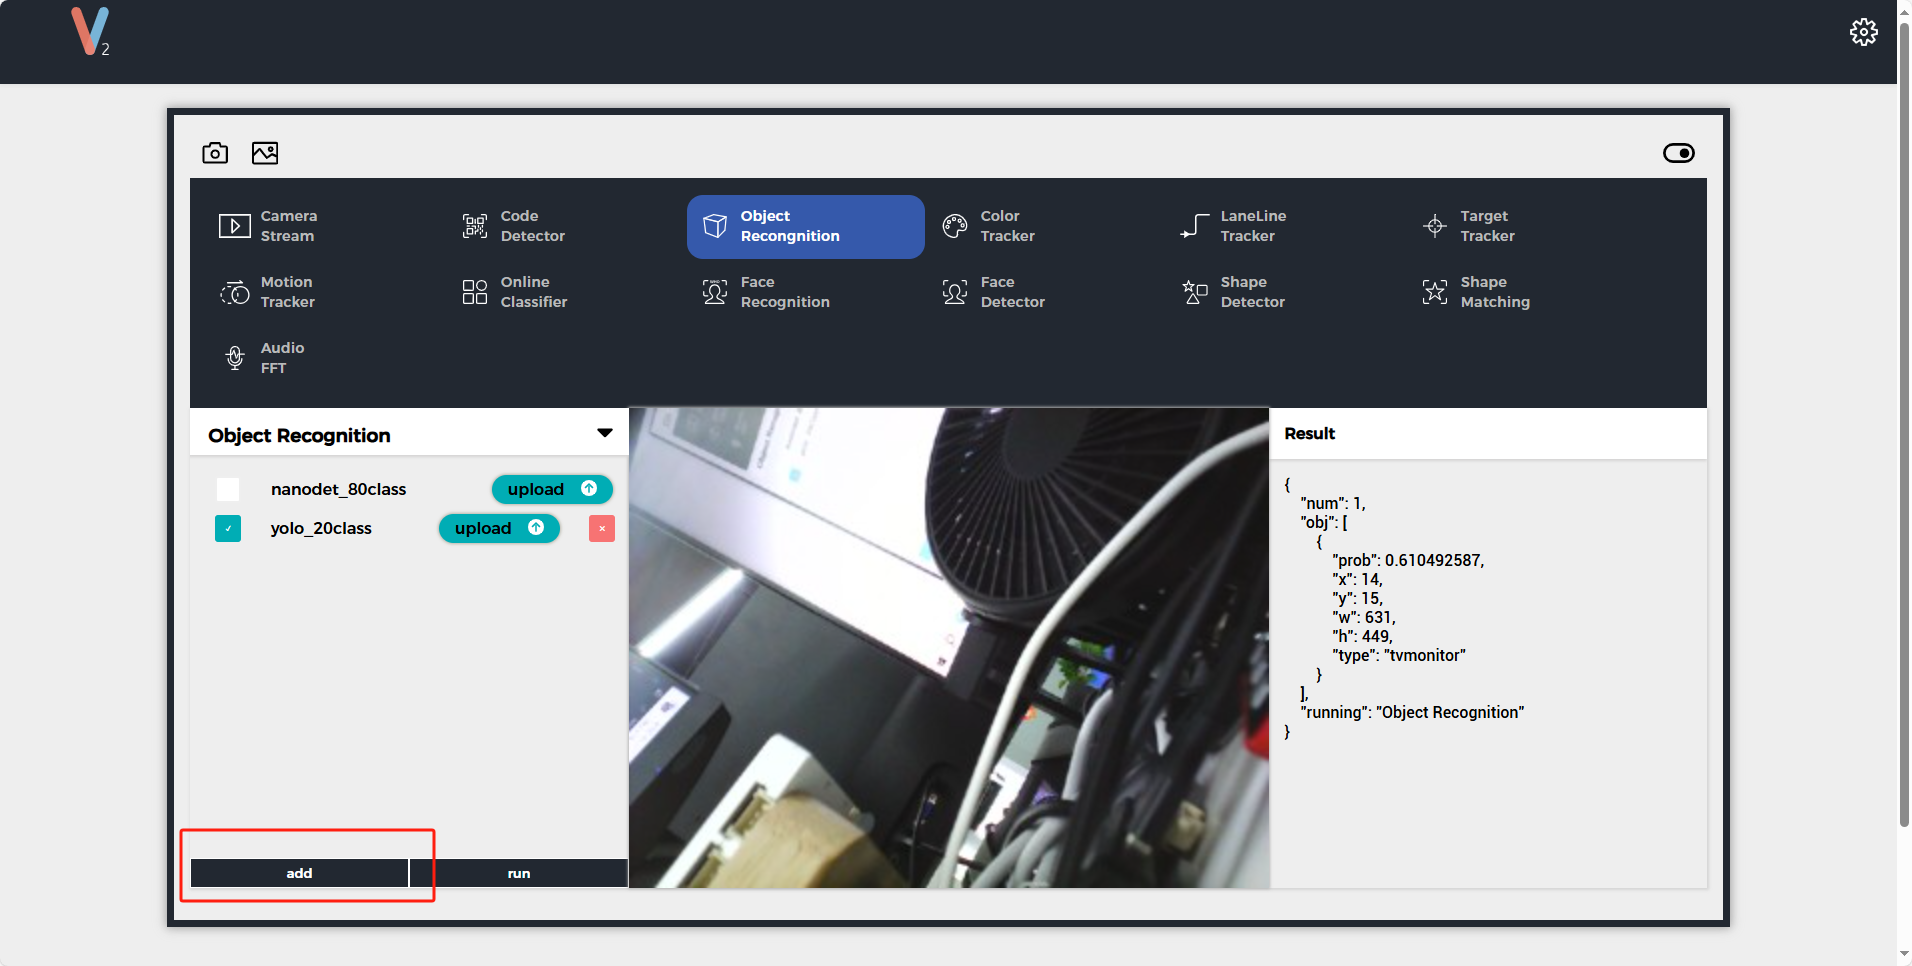
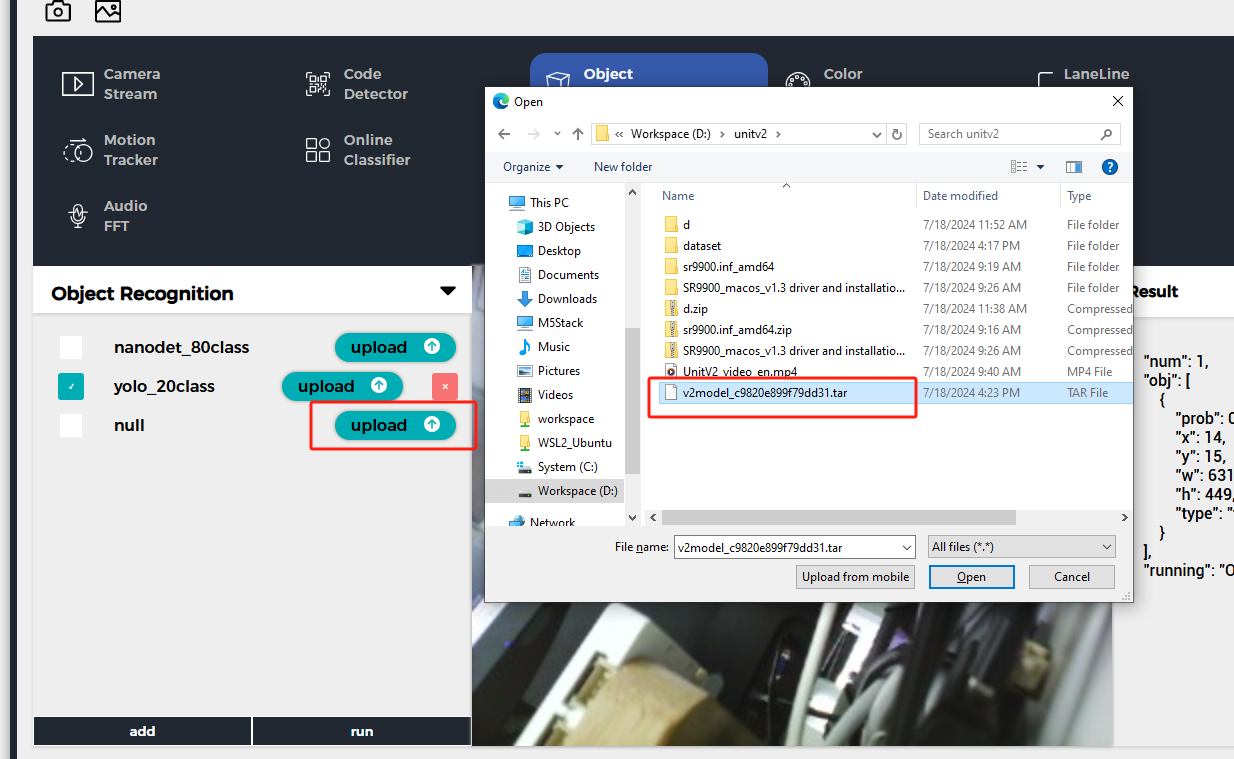
After uploading, click run to start using the model. During the recognition process, UnitV2 will continuously output recognition sample data (JSON format) through the serial port (bottom HY2.0-4P interface).
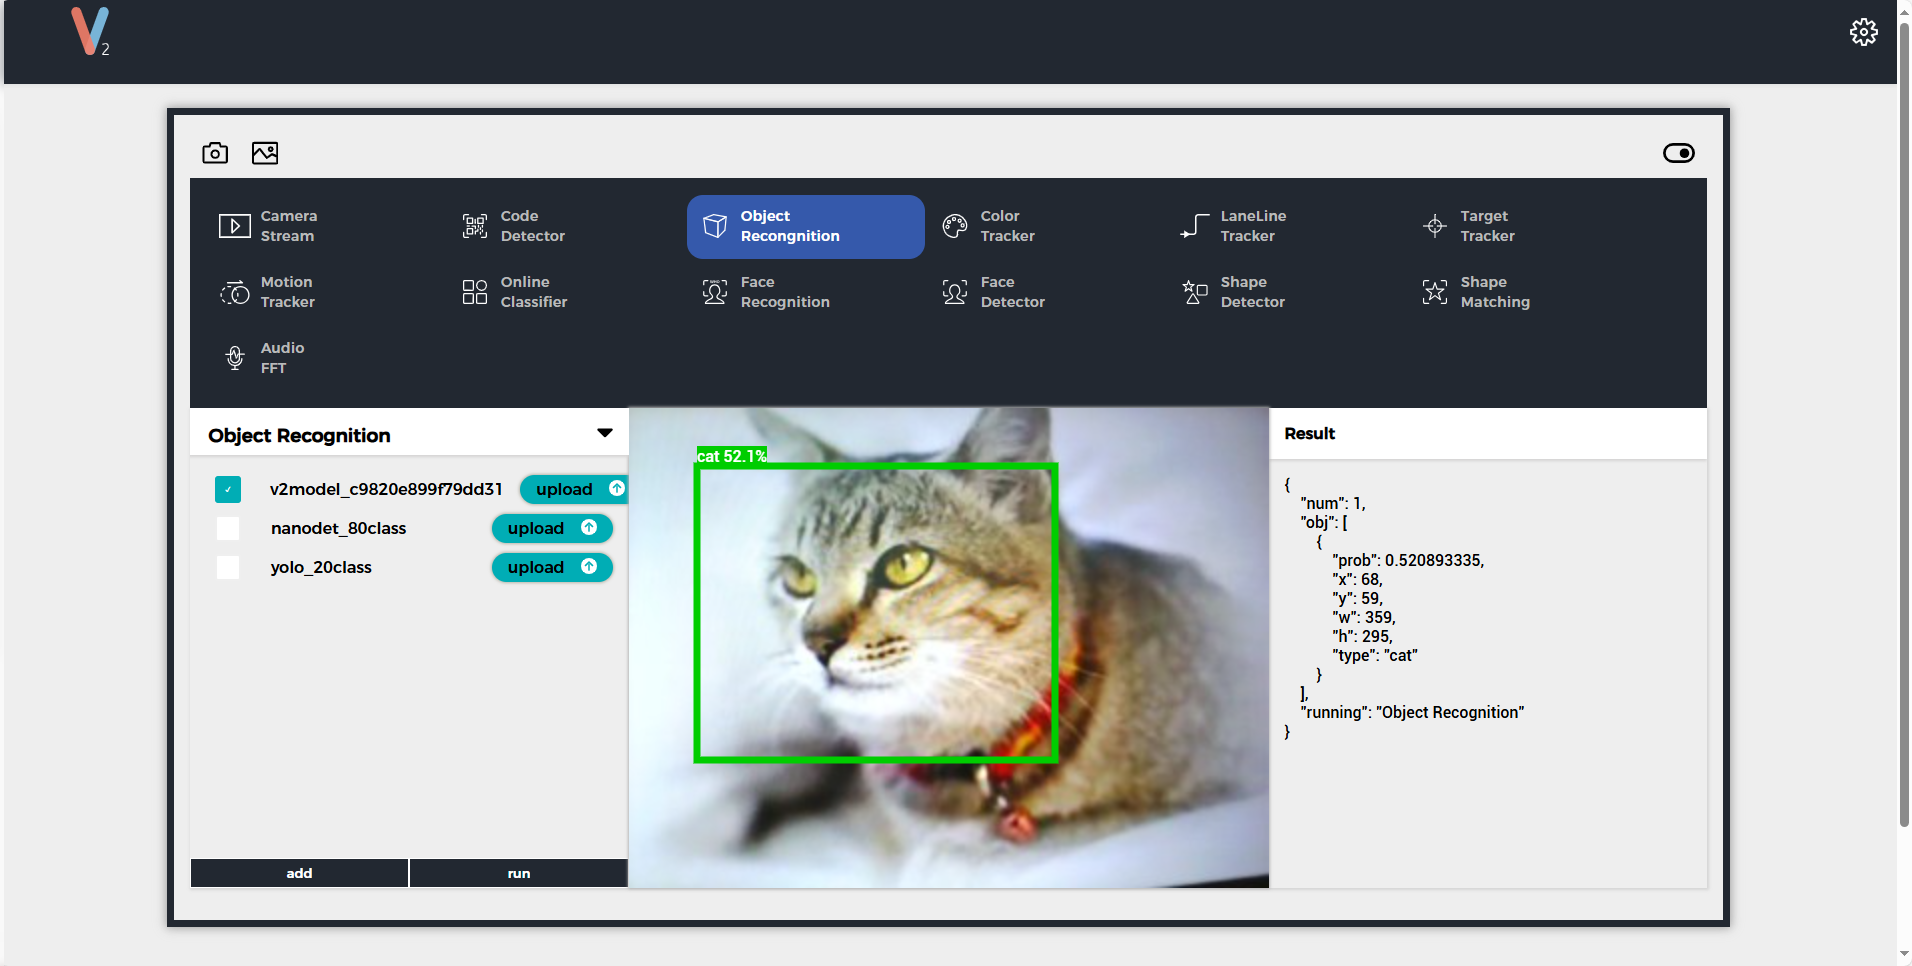
Sample Output
{
    "num": 1,
    "obj": [
        {
            "prob": 0.938137174,
            "x": 179,
            "y": 186,
            "w": 330,
            "h": 273,
            "type": "dog"
        }
    ],
    "running": "Object Recognition"
}
Using Python to Call Model Files
from json.decoder import JSONDecodeError
import subprocess
import json
import base64

reconizer = subprocess.Popen(['/home/m5stack/payload/bin/object_recognition', '/home/m5stack/payload/uploads/models/nanodet_80class'], stdin=subprocess.PIPE, stdout=subprocess.PIPE, stderr=subprocess.PIPE)

reconizer.stdin.write("_{\"stream\":1}\r\n".encode('utf-8'))
reconizer.stdin.flush()

img = b''

while 1:
    doc = json.loads(reconizer.stdout.readline().decode('utf-8'))
    print(doc)
    if 'img' in doc:
        byte_data = base64.b64decode(doc["img"])
        img = bytes(byte_data)
    elif 'num' in doc:
        for obj in doc['obj']:
            print(obj)