

Product Guide
Linux PC
AI Accelerator Card
LLM-8850 Card
Large Language Models
AI & Agent
Real-Time AI Voice Assistant
XiaoZhi Voice Assistant
AtomS3R-M12 Volcengine Kit
Offline Voice Recognition
Industrial Control
IoT Measuring Instruments
Air Quality
PowerHub
Module13.2 PPS
VAMeter
T-Lite
Input & Output Devices
Ethernet Camera
PoECAM
Wi-Fi Camera
Unit CamS3/-5MP
AI Camera
LoRa & LoRaWAN
Motor Control
Restore Factory Firmware
DIP Switch Usage Guide
Camera-Tool Tutorial
Note
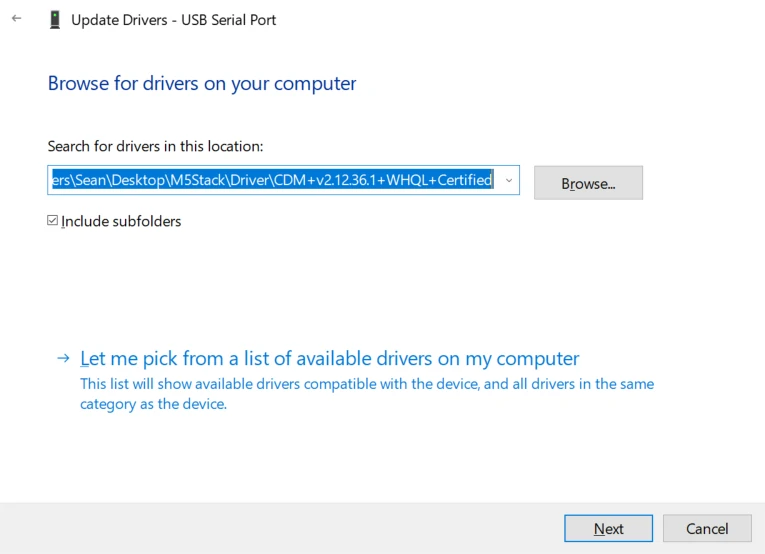
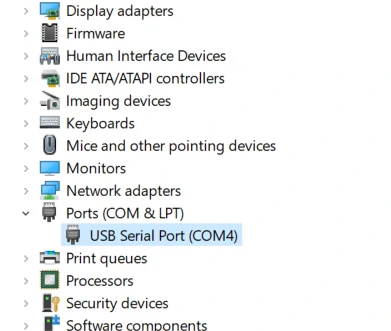
Driver Installation
M5Stack or USB Serial, Windows recommend to use the driver file in the device manager to install it directly (customize the update), the executable file installation method may not work properly). Click here to go to download FTDI driver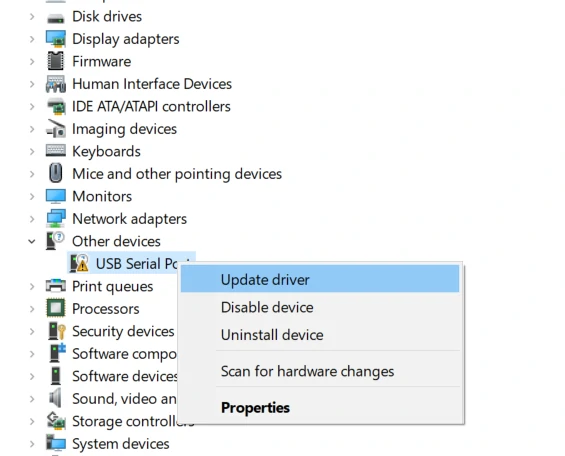
System Preferences - > Security & Privacy - > General - > Apps Allowed to be Downloaded from the Following Locations - > App Store and Approved Developer Options.Software Introduction
Camera-Tool is used to control the Timer-CAM camera to take pictures, and currently supports both serial and WiFi connection modes.
Software Download
Currently only available for windows
| Version | Download |
|---|---|
| cameraToolsV1.5 | Download |
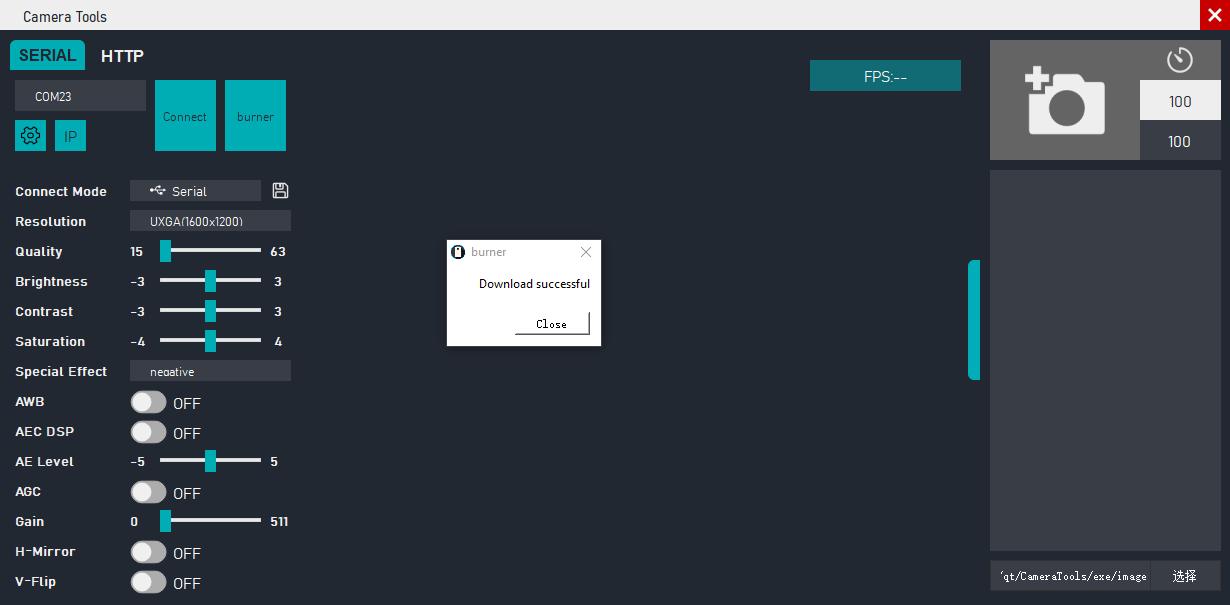
Burning Firmware
Open the host software, connect the device to the computer, select the corresponding port, click Burner to burn, wait for the pop-up window successful means that the burner is complete.
Wait for the pop-up window to be successful to indicate that the burner is complete. > Note | Do not click Connect before burning the firmware, otherwise it will occupy the port and cause failure of burning the firmware.

Serial Mode
In Serial Mode, the device is connected to the computer via USB and the Camera-Tool is used to access the serial port of the device/acquire images.
Unit-CAM series, when using CameraTools, the image transfer interface is Grove interface. Please connect the TX and RX of Grove interface to PC via USB-TTL adapter board, and then select the corresponding port for connection.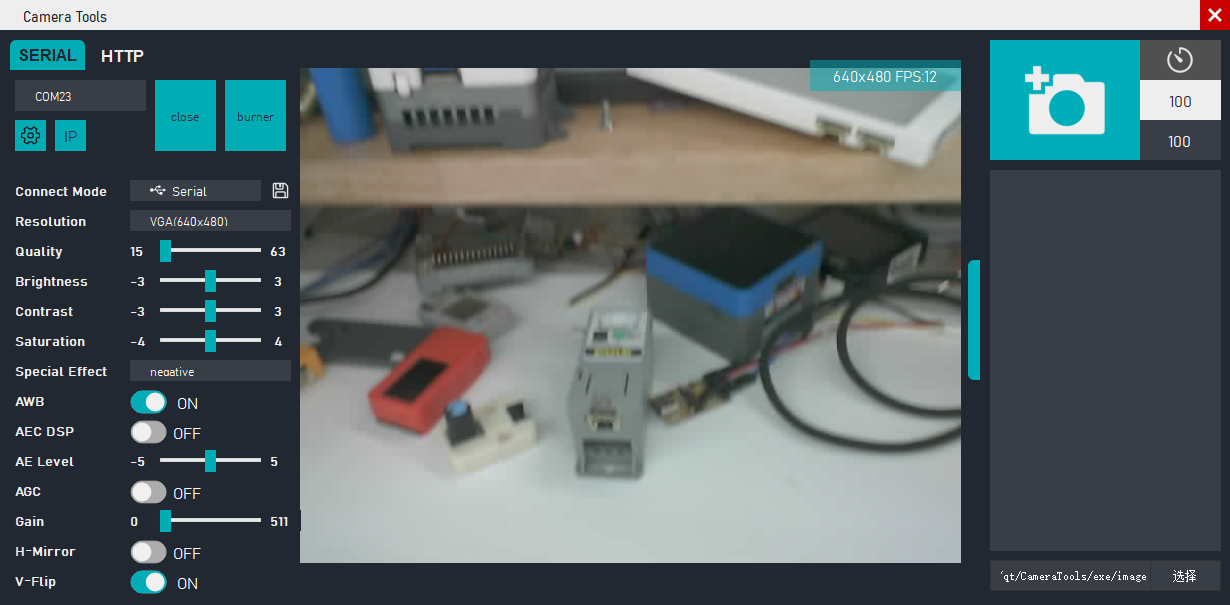
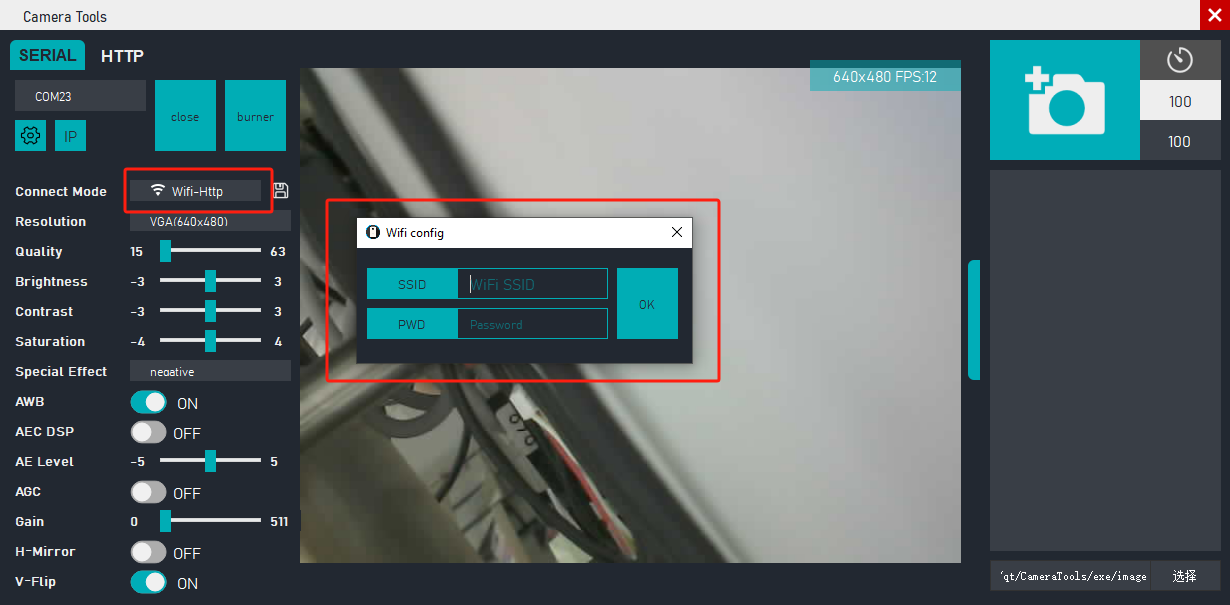
Wi-Fi Mode
Connect the device to the port, click the Configure button, enter the Wi-Fi name and password, click Connect, the face will automatically switch to the HTTP tab Switch the mode to Wi-Fi-HTTP and display the image.
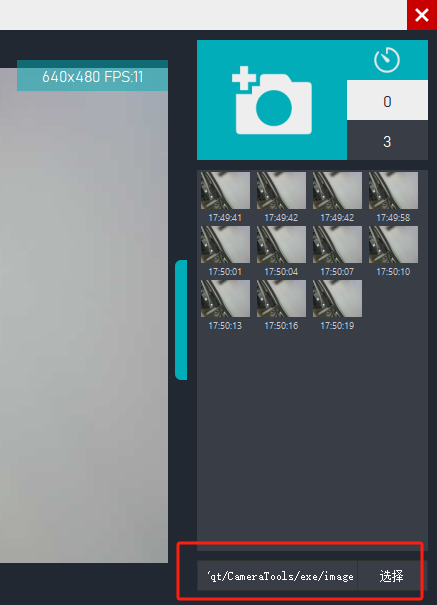
Taking pictures
The shooting menu can be expanded by clicking the Fold switch. The operation bar provides functions for Shooting, Time-lapse, and Setting the picture save path.
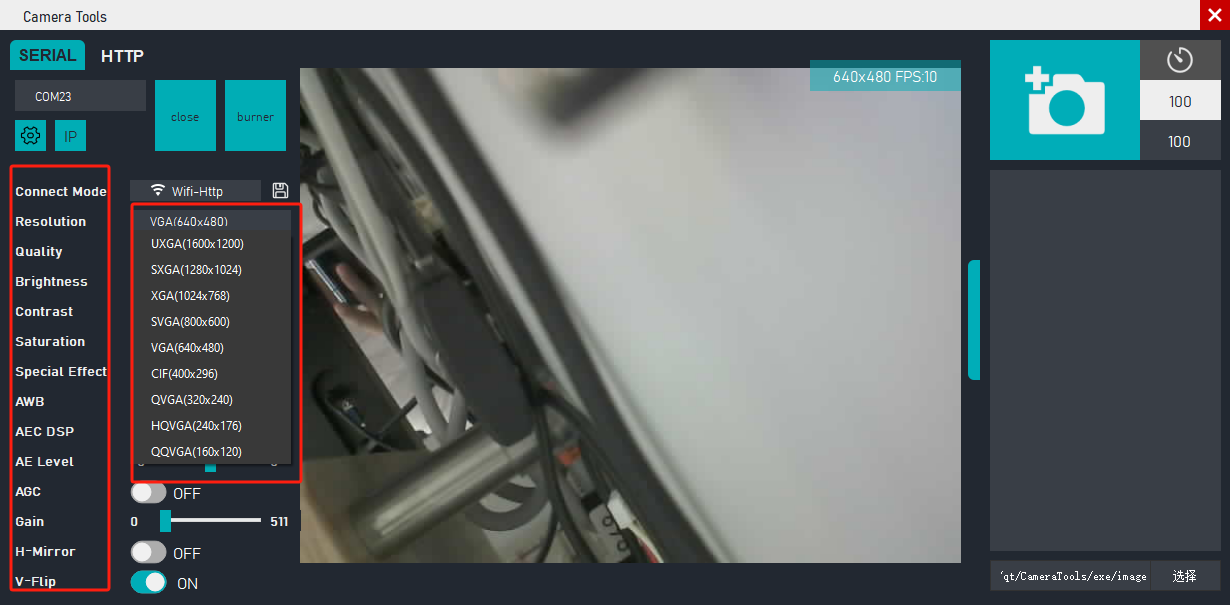
Parameter Adjustment
The Configuration menu on the left provides a series of image parameter settings for adjusting the imaging effect of the picture.
Mobile APP
In network mode, you can also use the mobile version of the APP to take pictures and view the monitoring.
| Version | Download |
|---|---|
| TimerCAM-App-Android v1.0 | Download |