Product Guide
Linux PC
CardputerZero
AI Accelerator Card
LLM-8850 Card
Large Language Models
AI & Agent
Real-Time AI Voice Assistant
XiaoZhi Voice Assistant
AtomS3R-M12 Volcengine Kit
Offline Voice Recognition
Industrial Control
IoT Measuring Instruments
Air Quality
PowerHub
Module13.2 PPS
VAMeter
T-Lite
Input & Output Devices
Ethernet Camera
PoECAM
Wi-Fi Camera
Unit CamS3/-5MP
AI Camera
LoRa & LoRaWAN
Motor Control
Restore Factory Firmware
DIP Switch Usage Guide
BALA2 Calibration
Calibration
Calibration
The M5Bala2 has been calibrated at the factory, if you need to recalibrate it, follow the steps below.
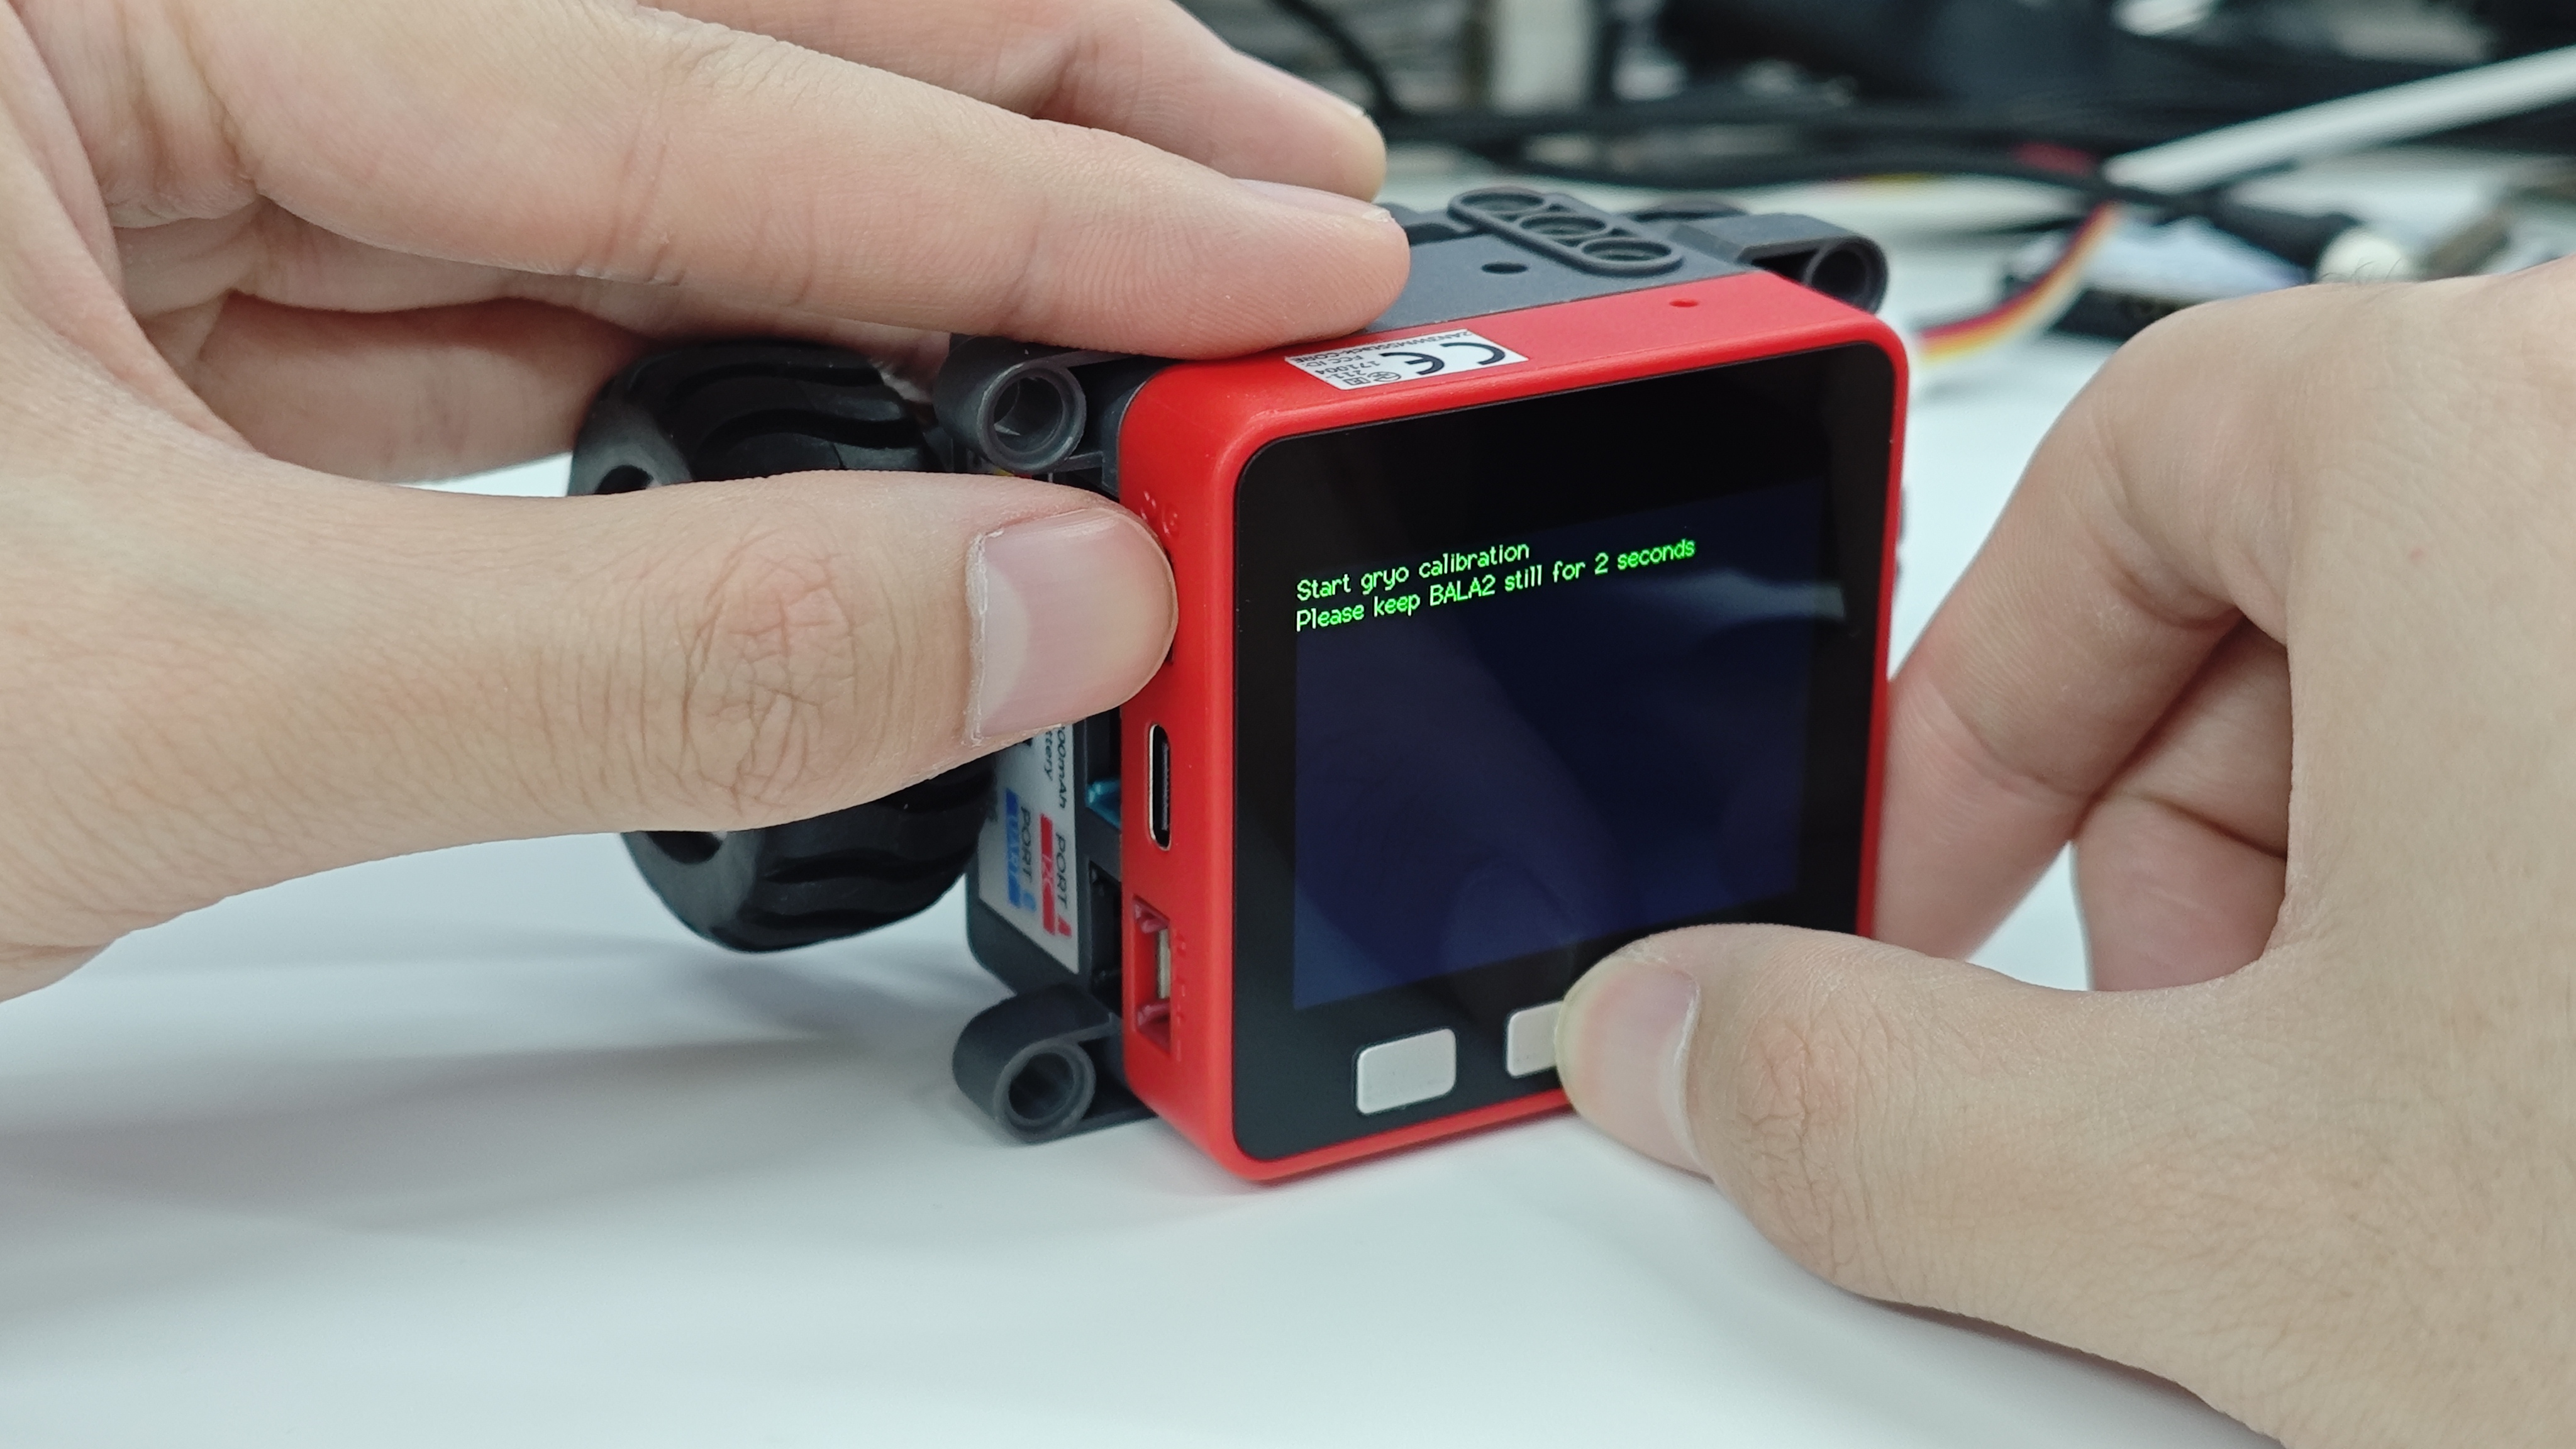
1.Place BALA2 on a horizontal desktop and keep it turned off. Keep the center button (button B) pressed, then click the left red power button to turn on the power and release it when the screen lights up. The IMU data will be acquired at this time, please do not touch it during this time.
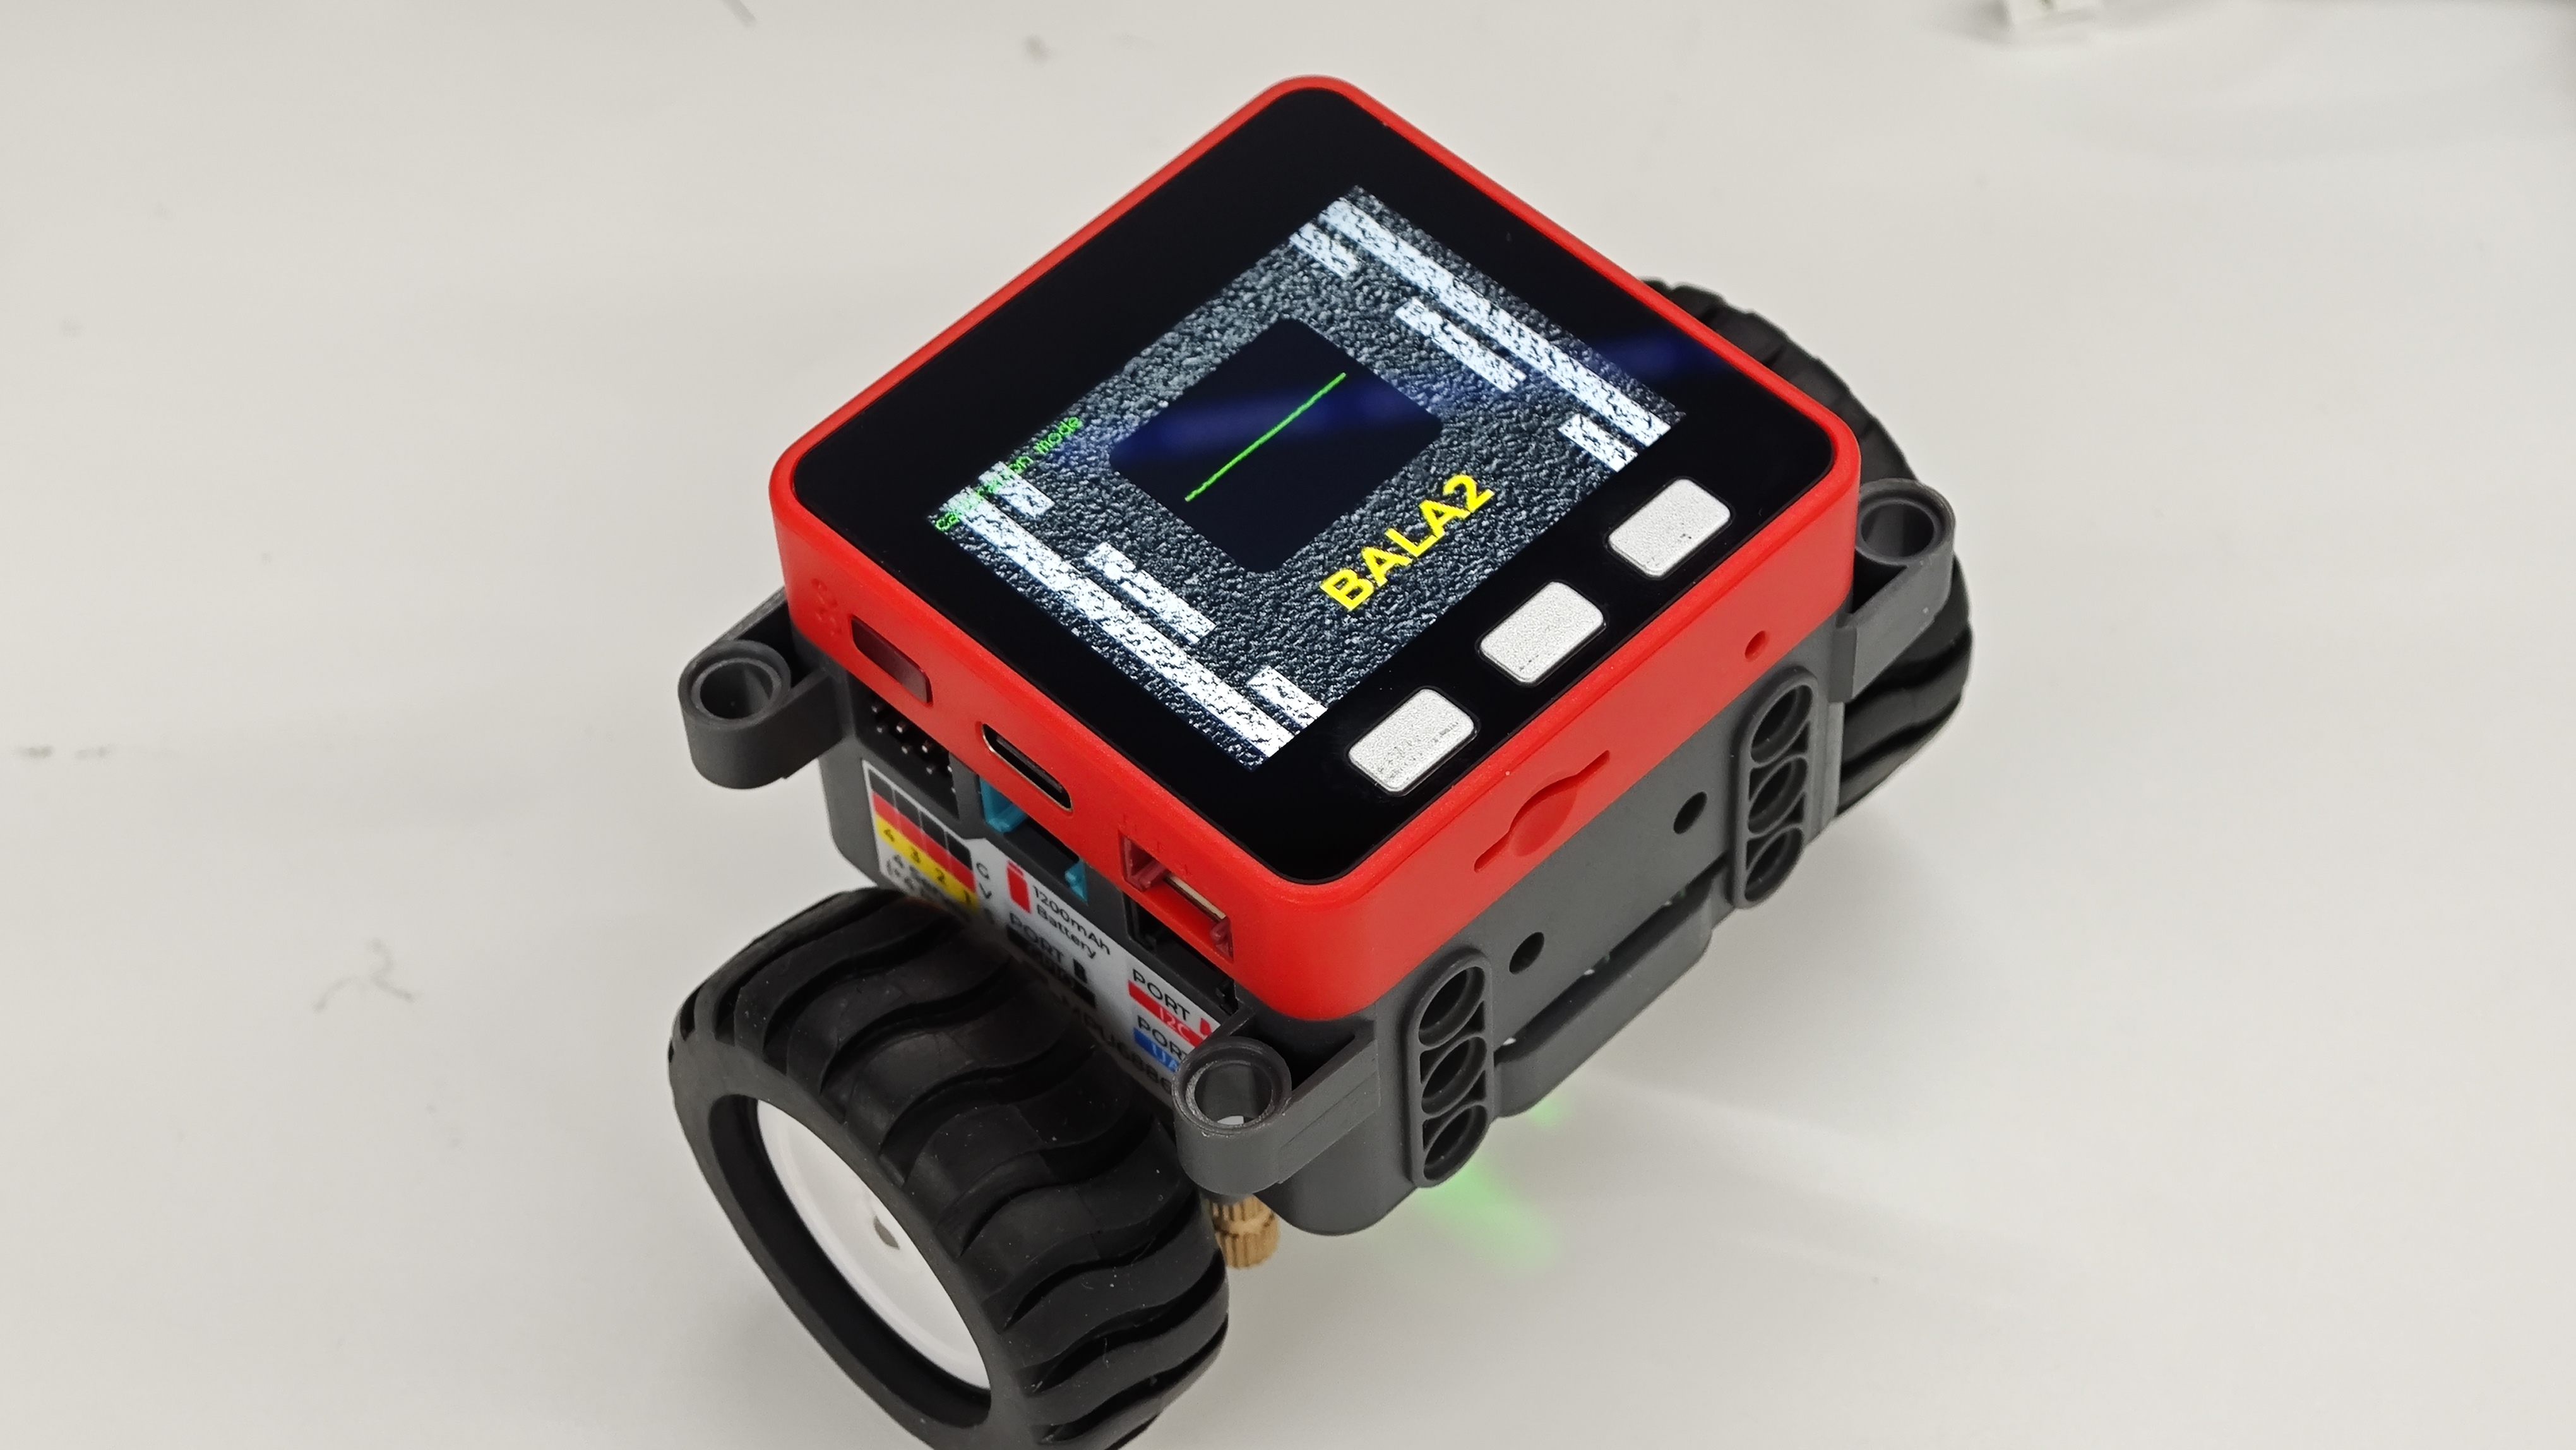
2.Automatically enters the Calibration Mode screen when data acquisition is complete.
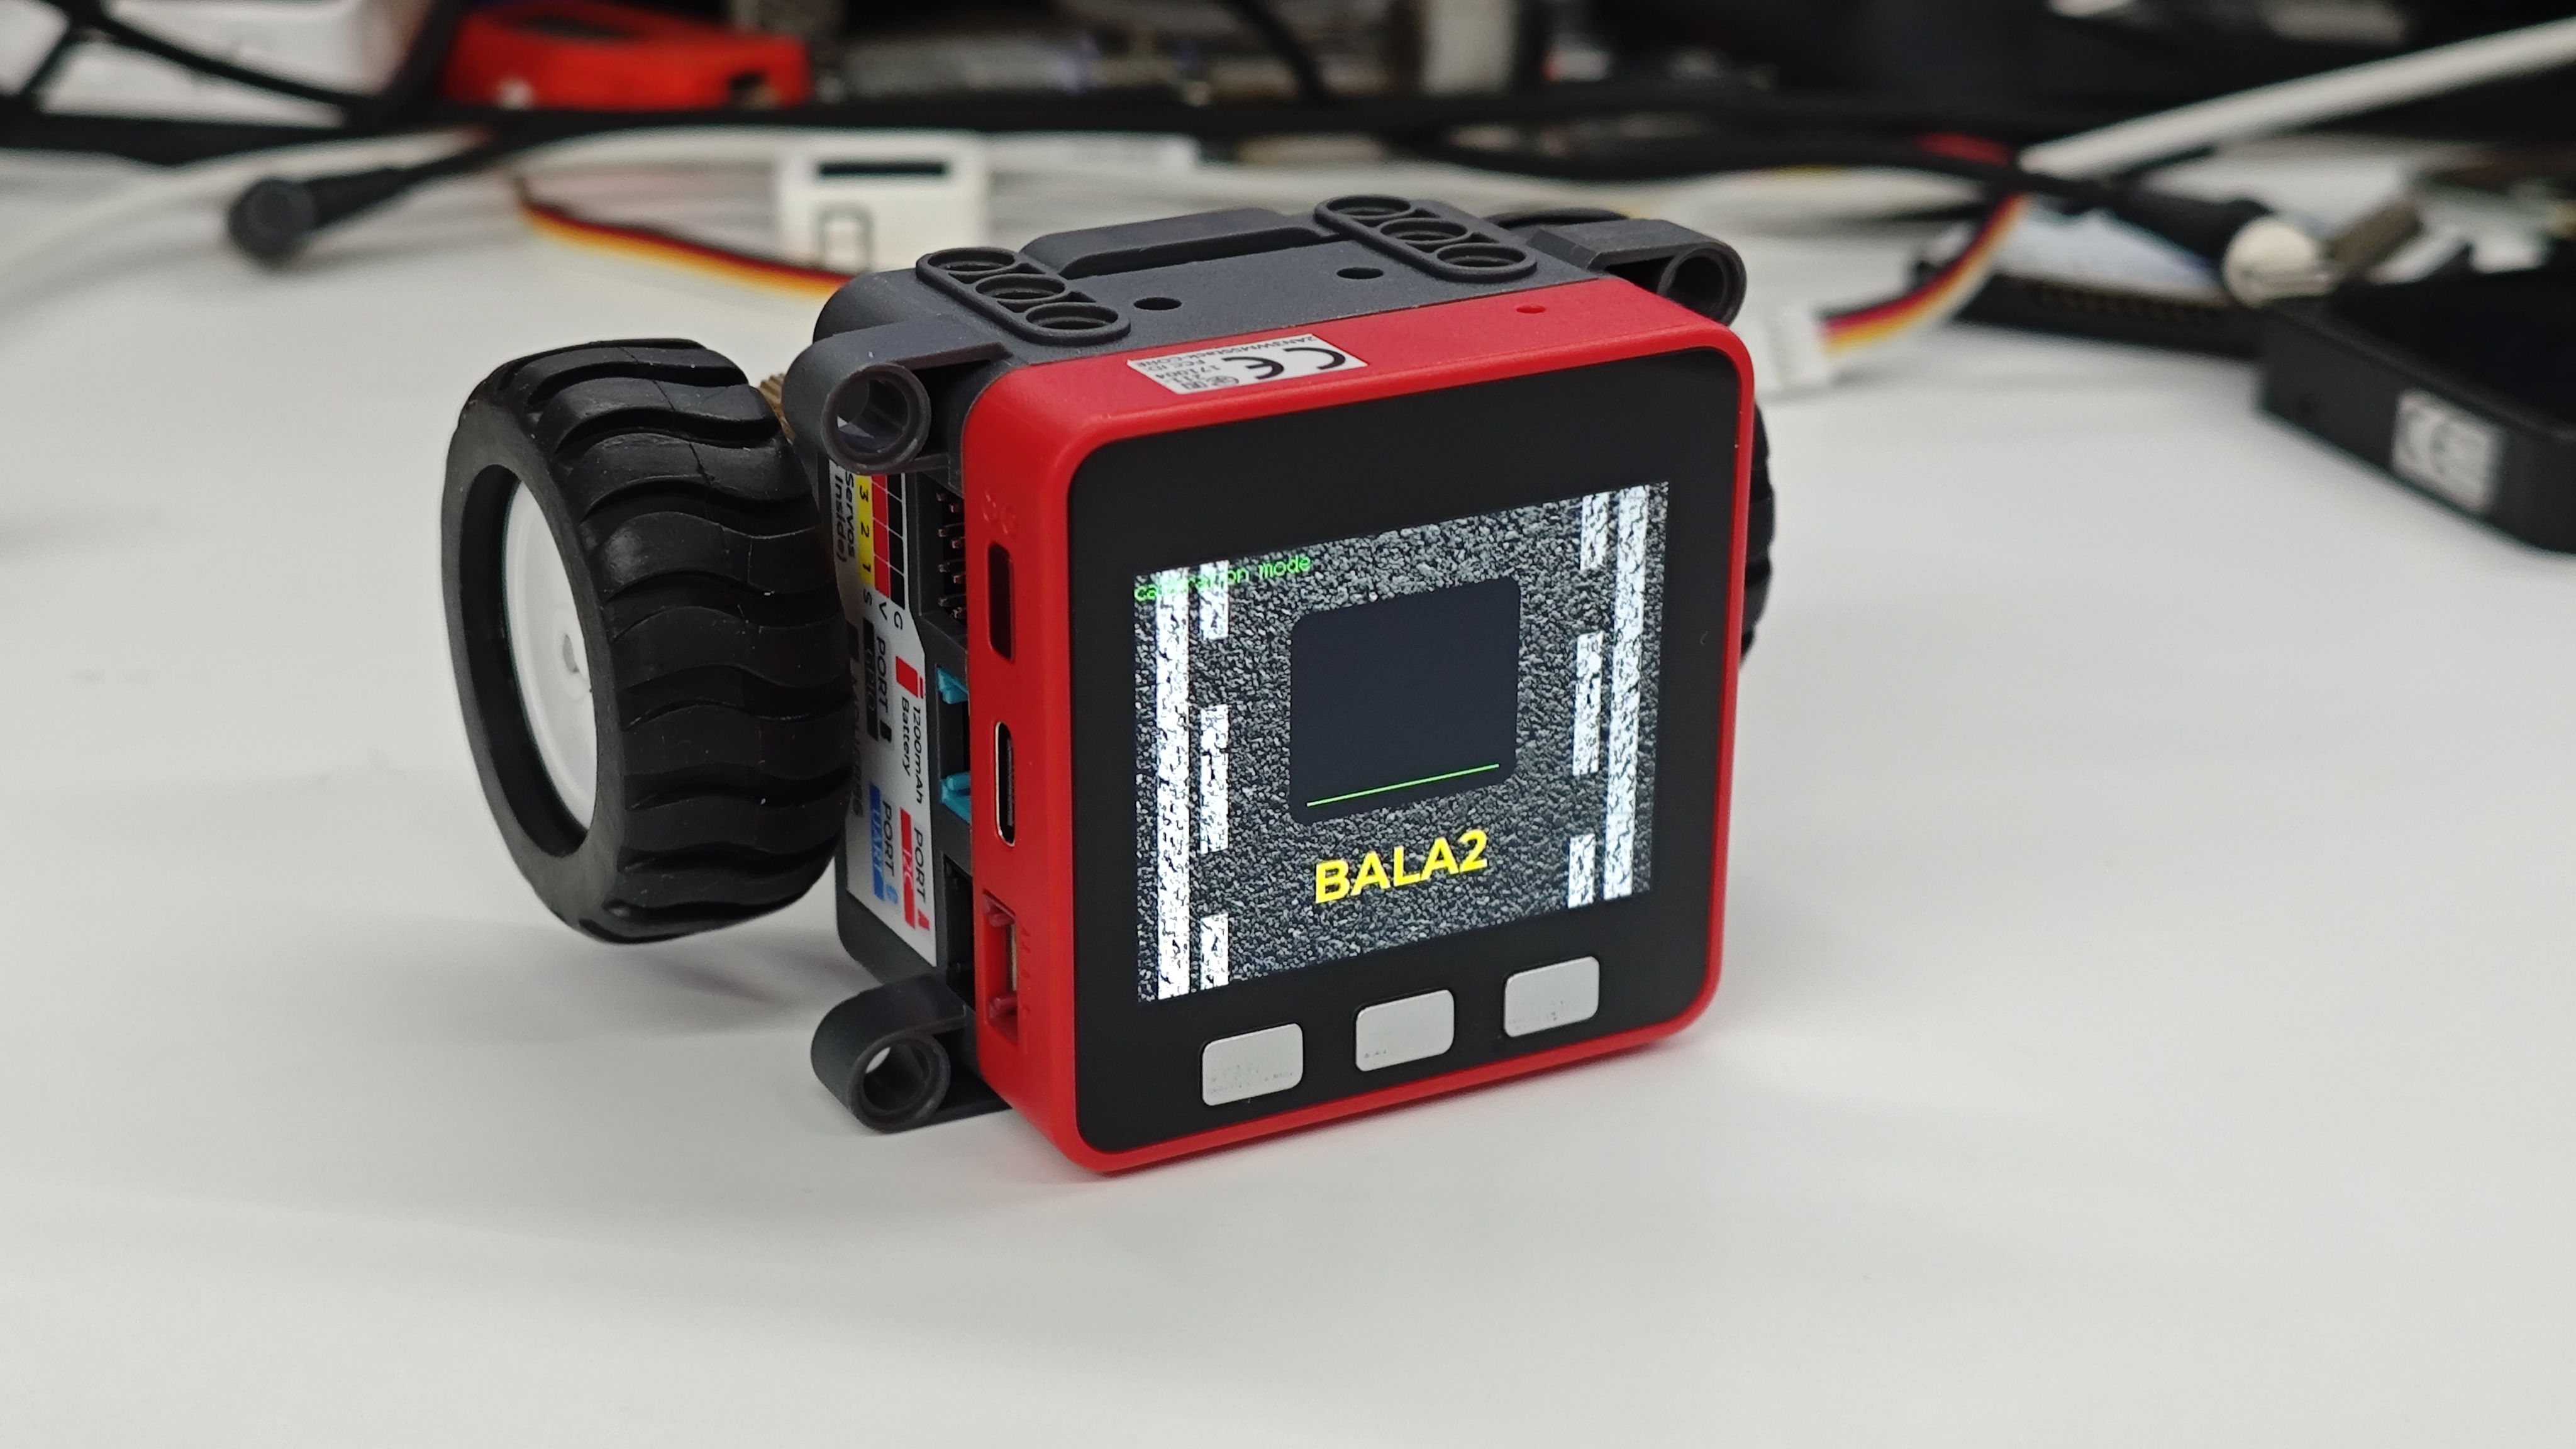
3.At this point, try to place the balancer in a horizontal position. The correction value can be increased or decreased by using the A/C keys, and when it is adjusted to the right value (the balance bike can be leveled adaptively), press the B key to save the parameter. When the power is restarted, BALA2 will run with the saved parameters.