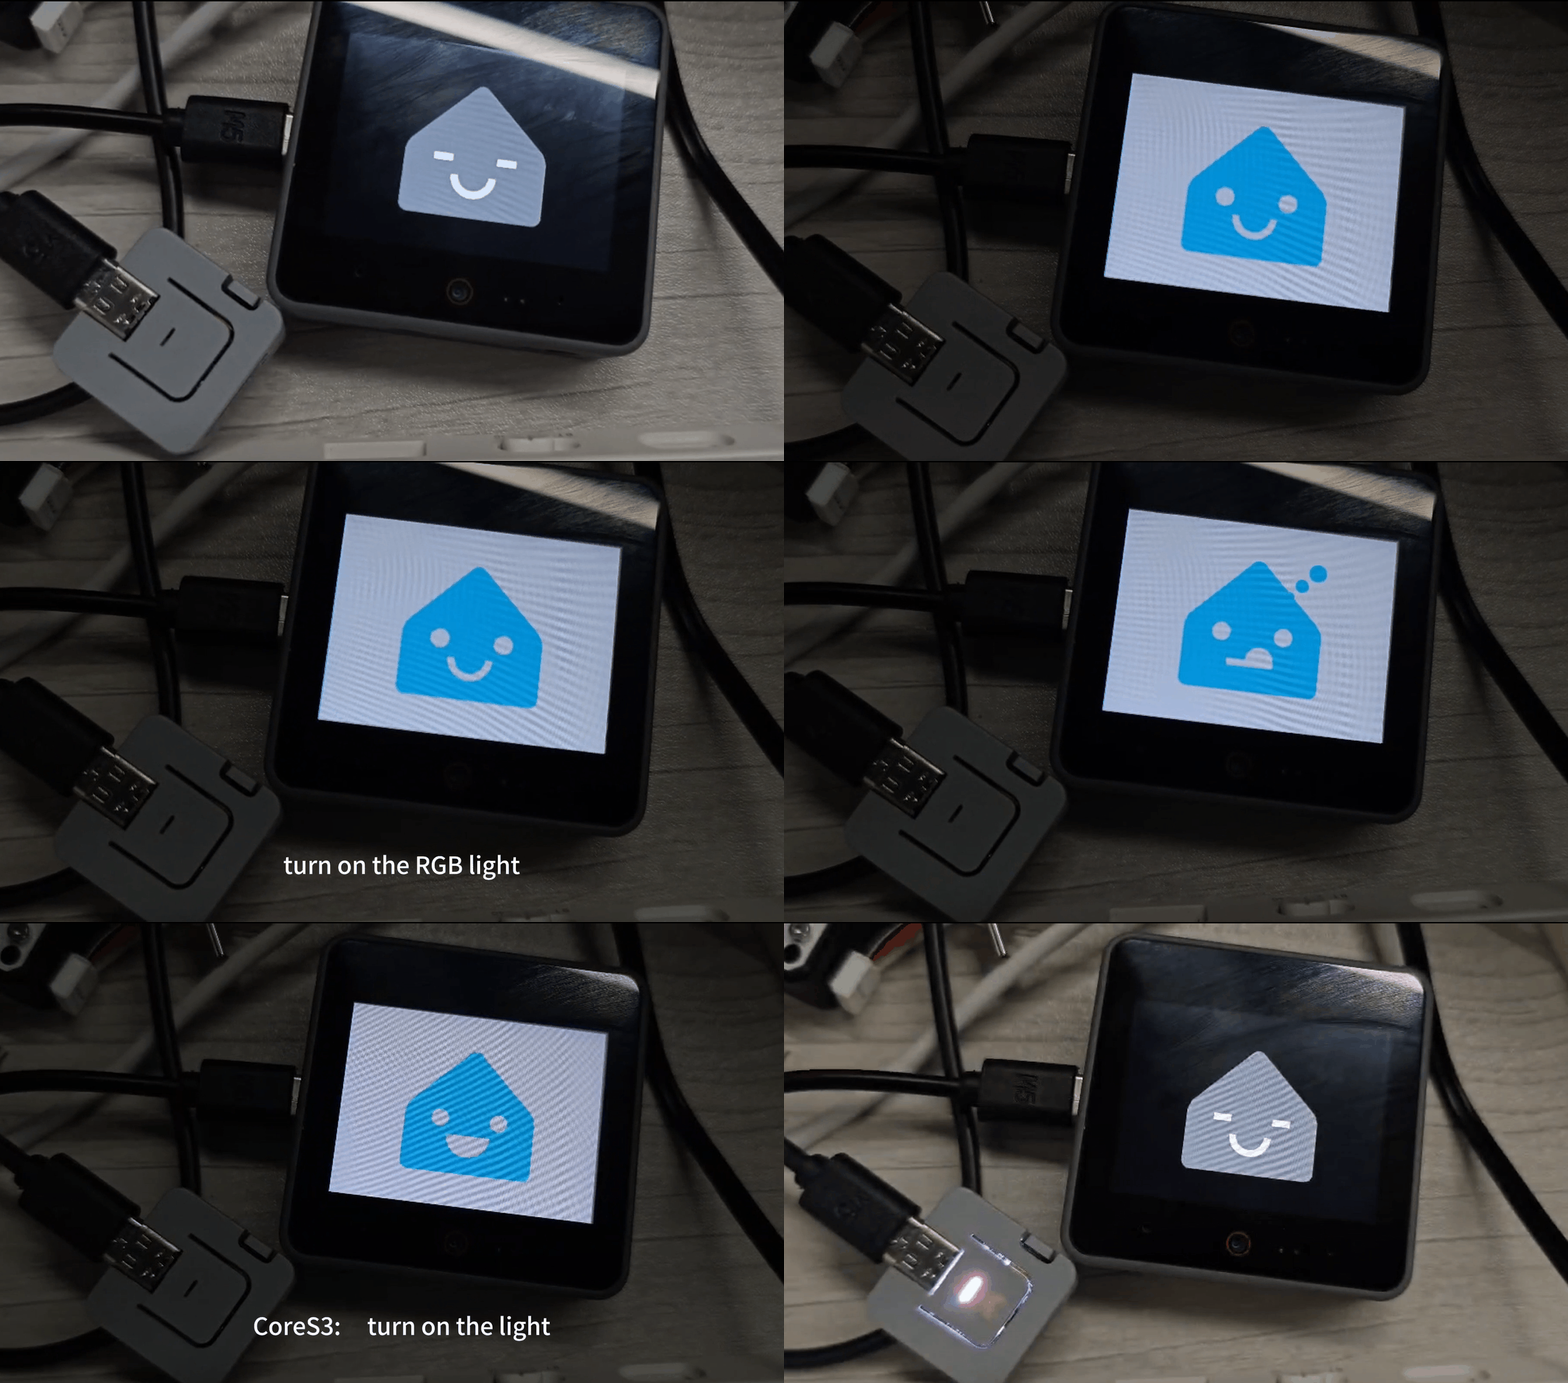
CoreS3 HA Voice Assistant
1.Environmental installation
- 1.Follow the Home Assistant official documentation to install Home Assistant `version 2023.
- 2.Complete the installation and configuration of voice recognition-related plugins by referring to the following tutorials:
- 3.In
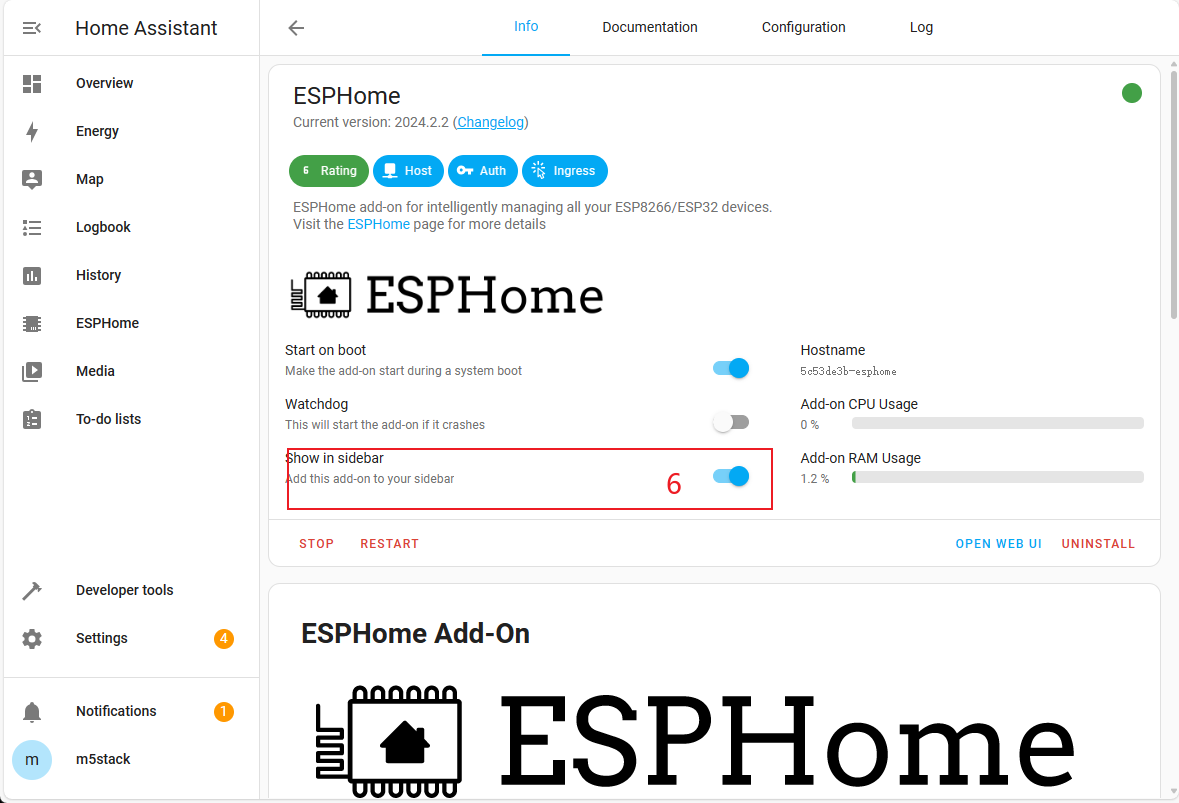
Settings->Add-ons->Add-ons STORE, install the ESPHome addon. - 4.After successfully installing the ESPHome addon, enable
Show in sidebarin the ESPHome management page to add it to the left navigation bar.


2.Adding a Device
Open the ESPHome addon page and click NEW DEVICE in the lower-right corner to create a new device.

Follow the prompts for creating a new device, click CONTINUE, fill in the device name, select the device type as ESP32-S3, and complete the device creation.

3.Configuring the Device
Click EDIT in the lower-left corner of the device to modify the Wi-Fi connection configuration. (The Wi-Fi configuration defaults to the current HA server's Wi-Fi settings, but you can also modify it directly with plaintext: ssid:"xxxx")


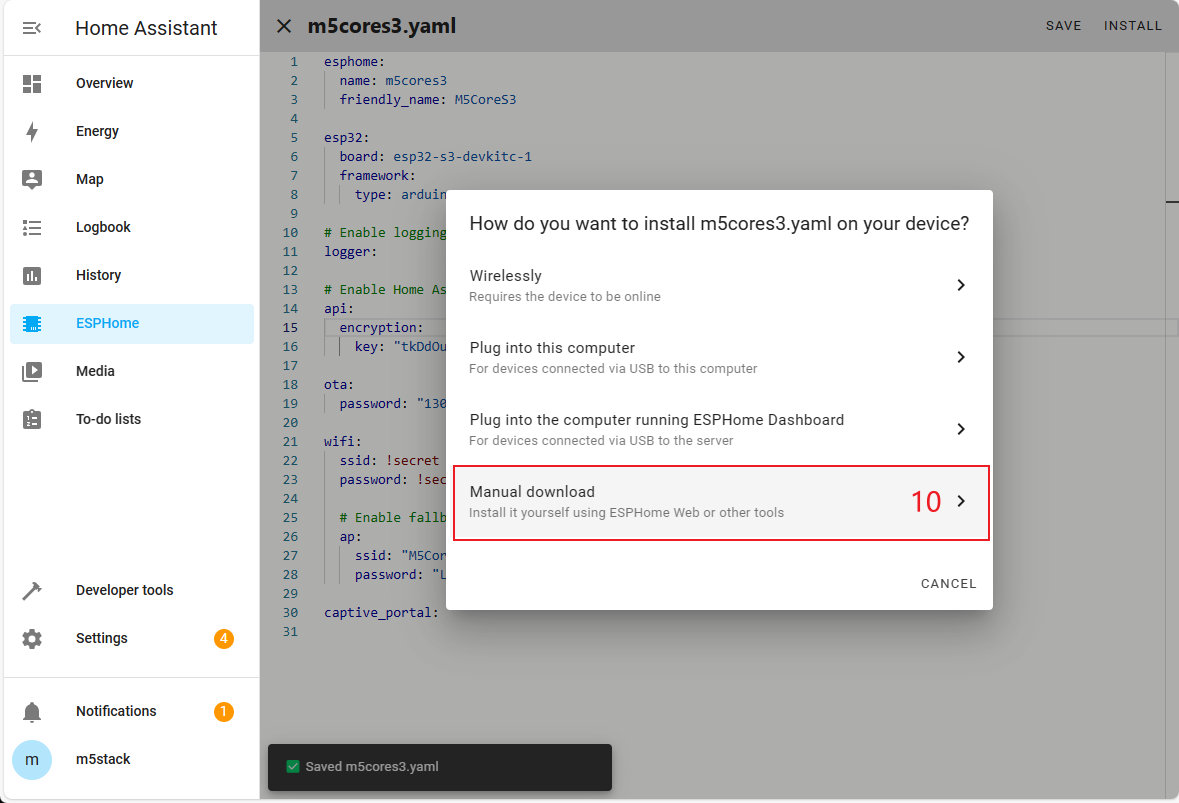
Add the following package configuration link to add voice assistant functionality to the device. Click Save and then Install in the upper-right corner.
packages:
  m5stack.cores3-voice-assistant: github://m5stack/M5CoreS3-Esphome/voice-assistant/m5stack-cores3.yaml@main
Select Manual Download to start compiling the firmware.
4.Firmware Flashing
Saving the Firmware
- 1.After firmware compilation is complete, click the Download button and select the
Modern Formatfirmware to download to your local machine. - 2 Use the ESPHome Web flashing tool to flash the firmware, or use tools like esptool. The starting address for firmware flashing is 0x00.


Connecting for Flashing
Connect the M5CoreS3 device to your computer via a USB-C cable and press and hold the reset button until the green light turns on, then release it to enter download mode.
.gif)
In ESPHome Web, click Connect to connect to the device and select the corresponding device port.

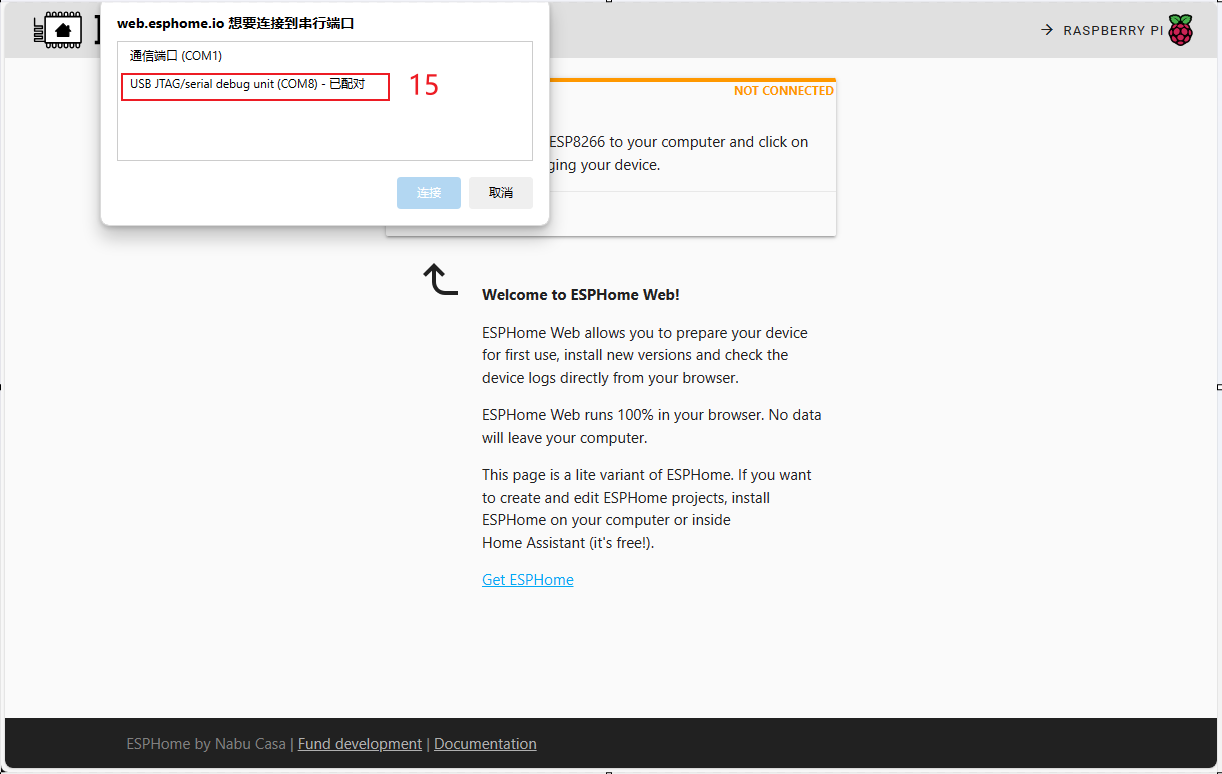
Click Install, select the previously compiled .bin file, and click Install again to flash the firmware.


5.Confirming the New Device Configuration
After firmware flashing, the device will automatically connect to Wi-Fi. The Home Assistant service within the same local network will prompt for a new device discovery. In Notifications, select the new device and click Check it out -> CONFIGURE, then follow the pop-up steps to add the device to the specified area to complete the configuration. If you do not receive a new device notification, click Settings -> Devices & services to view device status.

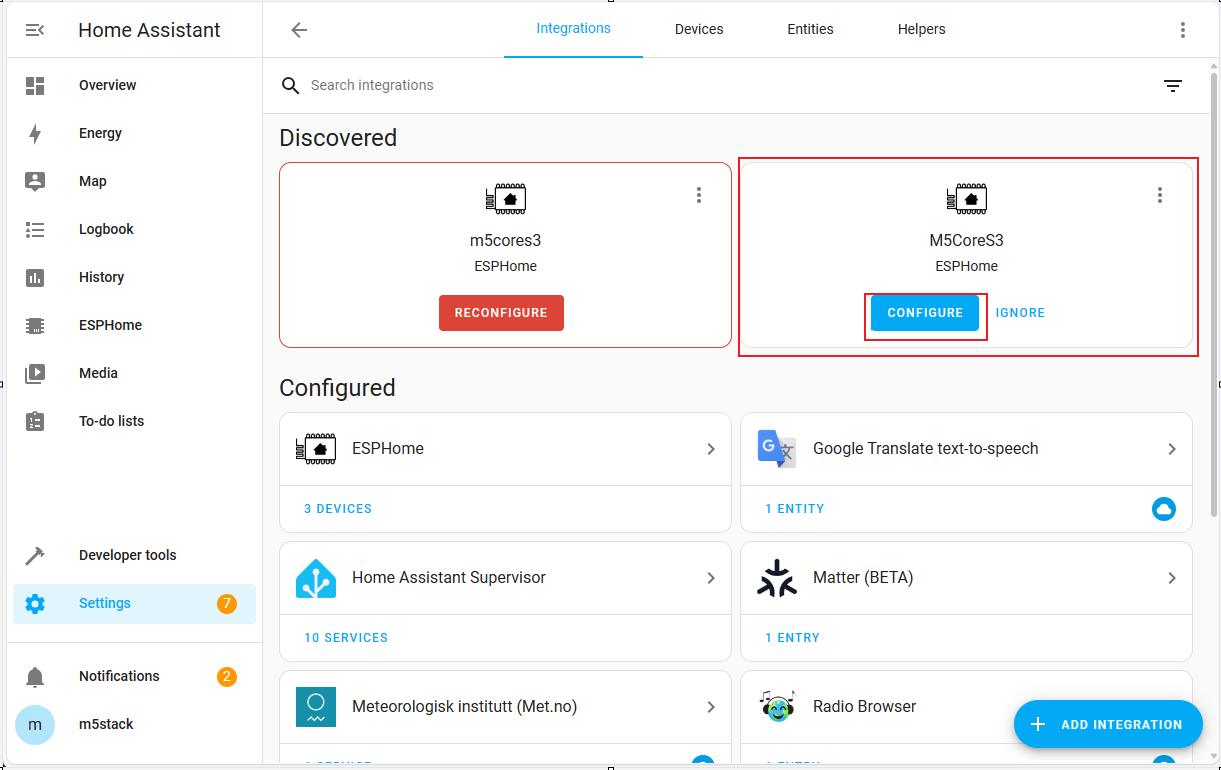
The device is online and successfully added.

6.Waking Up the Device
After adding the device and completing the preparation steps forHome Assistant CloudandAssist ipeline,you can now wake up the device using voice commands.
