

Product Guide
Linux PC
CardputerZero
AI Accelerator Card
LLM-8850 Card
Large Language Models
AI & Agent
Real-Time AI Voice Assistant
XiaoZhi Voice Assistant
AtomS3R-M12 Volcengine Kit
Offline Voice Recognition
Industrial Control
IoT Measuring Instruments
Air Quality
PowerHub
Module13.2 PPS
VAMeter
T-Lite
Input & Output Devices
Ethernet Camera
PoECAM
Wi-Fi Camera
Unit CamS3/-5MP
AI Camera
LoRa & LoRaWAN
Motor Control
Restore Factory Firmware
DIP Switch Usage Guide
CM4Stack Raspberry Pi OS
1. CM4Stack Image
| Image Version | Download Link |
|---|---|
| 2023-03-08-CM4StackOS-canary-2023-02-21-raspios-bullseye-armhf | Download |
| 2023-02-21-CM4StackOS-raspberry-bullseye-arm64 | Download |
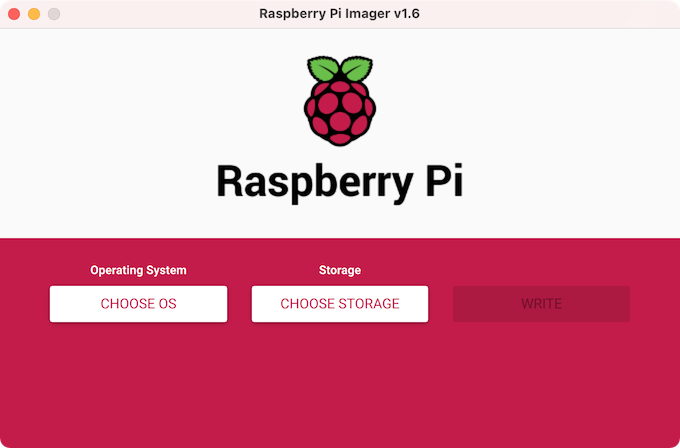
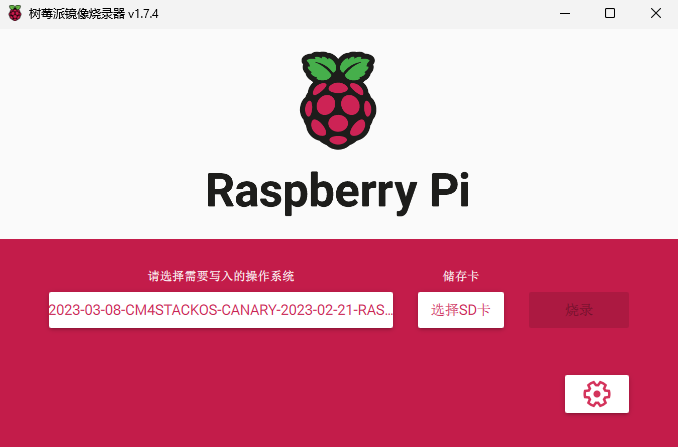
2. Burning Tool
Visit the Raspberry Pi official website to download the appropriate version of the Raspberry Pi Imager burning tool and install it based on your operating system.
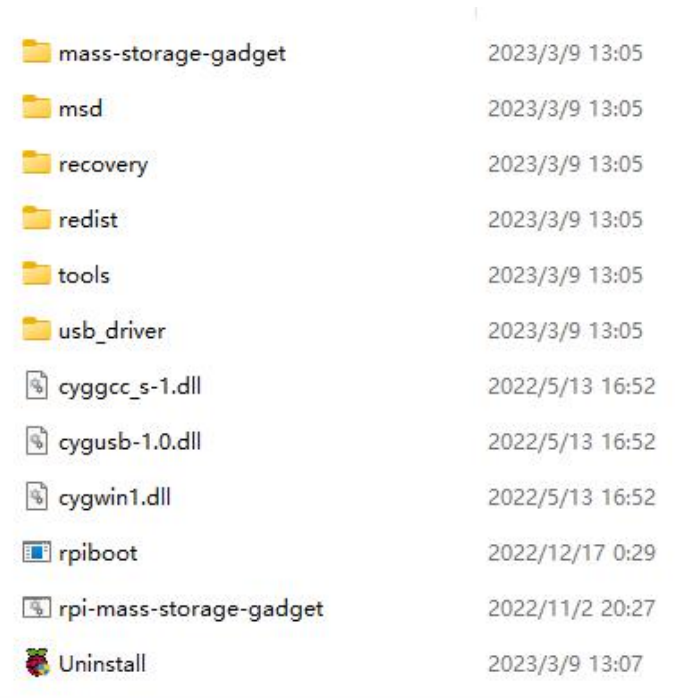
3. Rpiboot
This tool is used to simulate CM4 as a disk, which is necessary for burning the image later.
For Windows
- Download and install the rpiboot program.
For Linux
- On Linux systems, you need to compile the rpiboot tool from source.
sudo apt install git libusb-1.0-0-dev pkg-config
git clone --depth=1 https://github.com/raspberrypi/usbboot
cd usbboot
make
sudo ./rpiboot4. Burning the Image
For Windows
- Hold down the BOOT button on the device, then connect the device to your computer using a USB cable.
- On your computer, locate and run the previously installed
rpiboot.exe. Wait until the new disk device is detected.
- On your computer, locate and run the previously installed
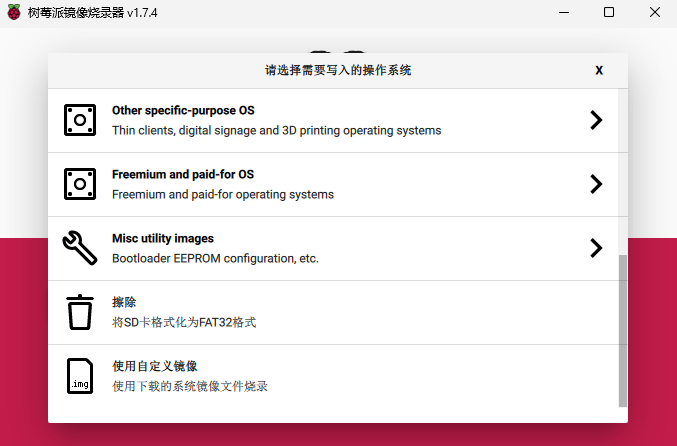
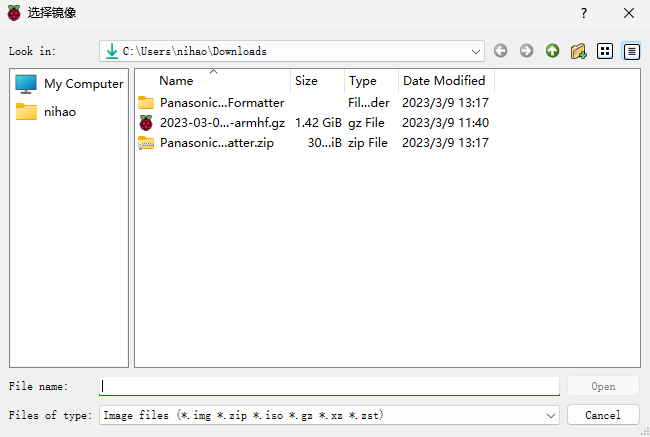
- Open the burning software
Raspberry Pi Imager, select "Choose OS", and then click on "Use Custom" to select the downloaded image. Choose the target disk and start the burning process. Wait patiently for the process to complete.
- Open the burning software
- Reconnect the power and wait for the system to boot up.
For Linux
- Hold down the BOOT button on the device, then connect the device to your computer using a USB cable.
- Run the previously compiled
rpiboottool using the commandsudo ./rpiboot. Wait until the new disk device is detected.
- Run the previously compiled
- Open the burning software
Raspberry Pi Imager, select "Choose OS", and then click on "Use Custom" to select the downloaded image. Choose the target disk and start the burning process. Wait patiently for the process to complete.
- Open the burning software
- Reconnect the power and wait for the system to boot up.
5. Initial Setup
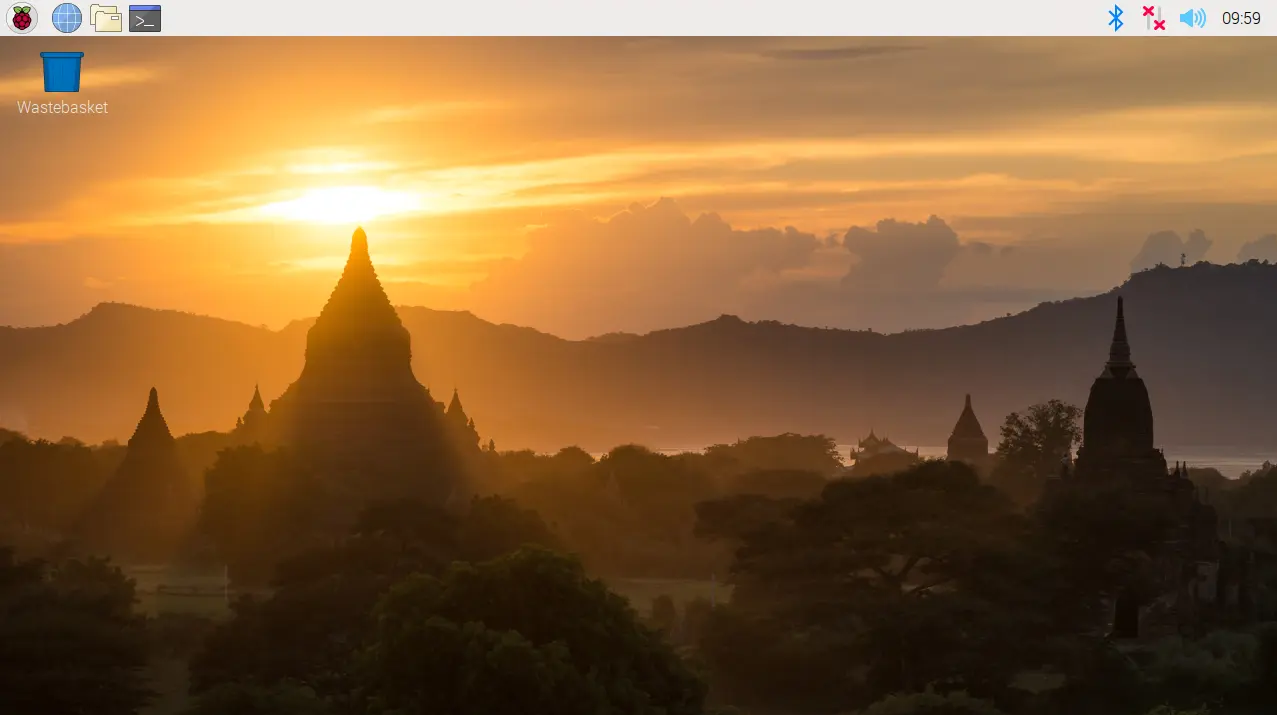
After starting CM4Stack, initial setup is required upon first login to the system. You can perform this operation via SSH or through a high‑resolution multimedia interface connection. Follow the on‑screen prompts to sequentially configure the username, password, network connection, language, and other parameters. Once initialization is complete, CM4Stack is ready for use.
Page Tools