

Arduino Quick Start
2. Devices & Examples
3. M5Unified
4. M5GFX
5. Extensions
Unit
Atomic
Tab5
IoT
Accessories
Hat CBack Driver Arduino Tutorial
1. Preparation
- Environment Setup: Refer to the Arduino IDE Getting Started Tutorial to complete the IDE installation, and install the corresponding board manager and the required driver libraries according to the development board you are using.
- Driver Libraries Used:
- Hardware Products Used:
2. Example
Example Explanation
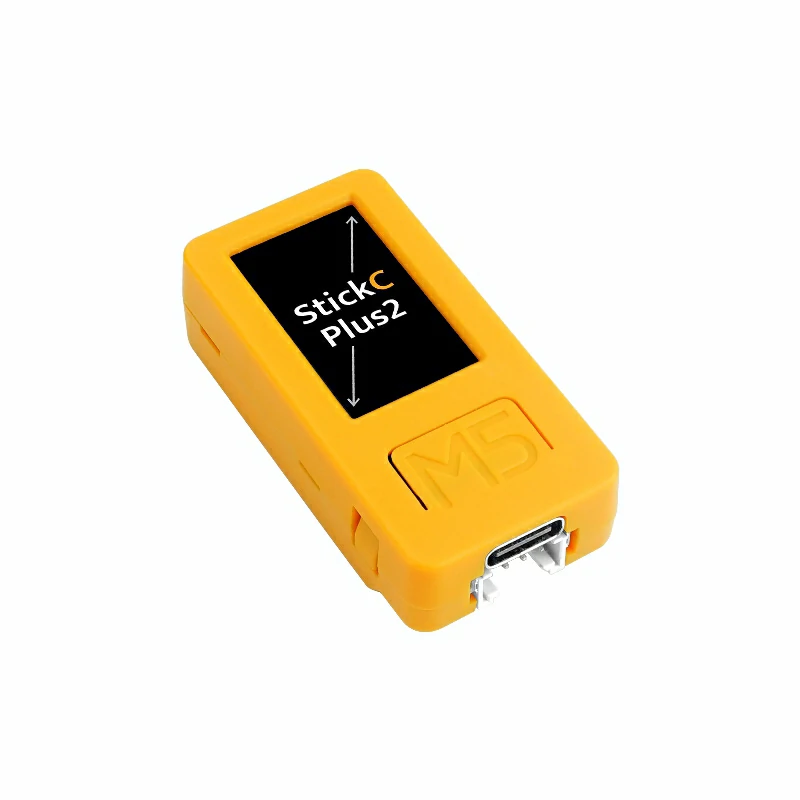
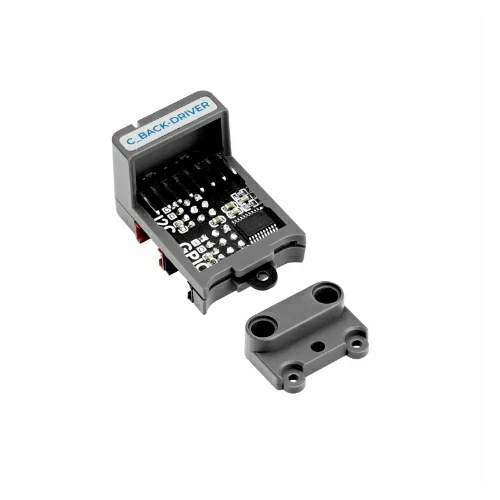
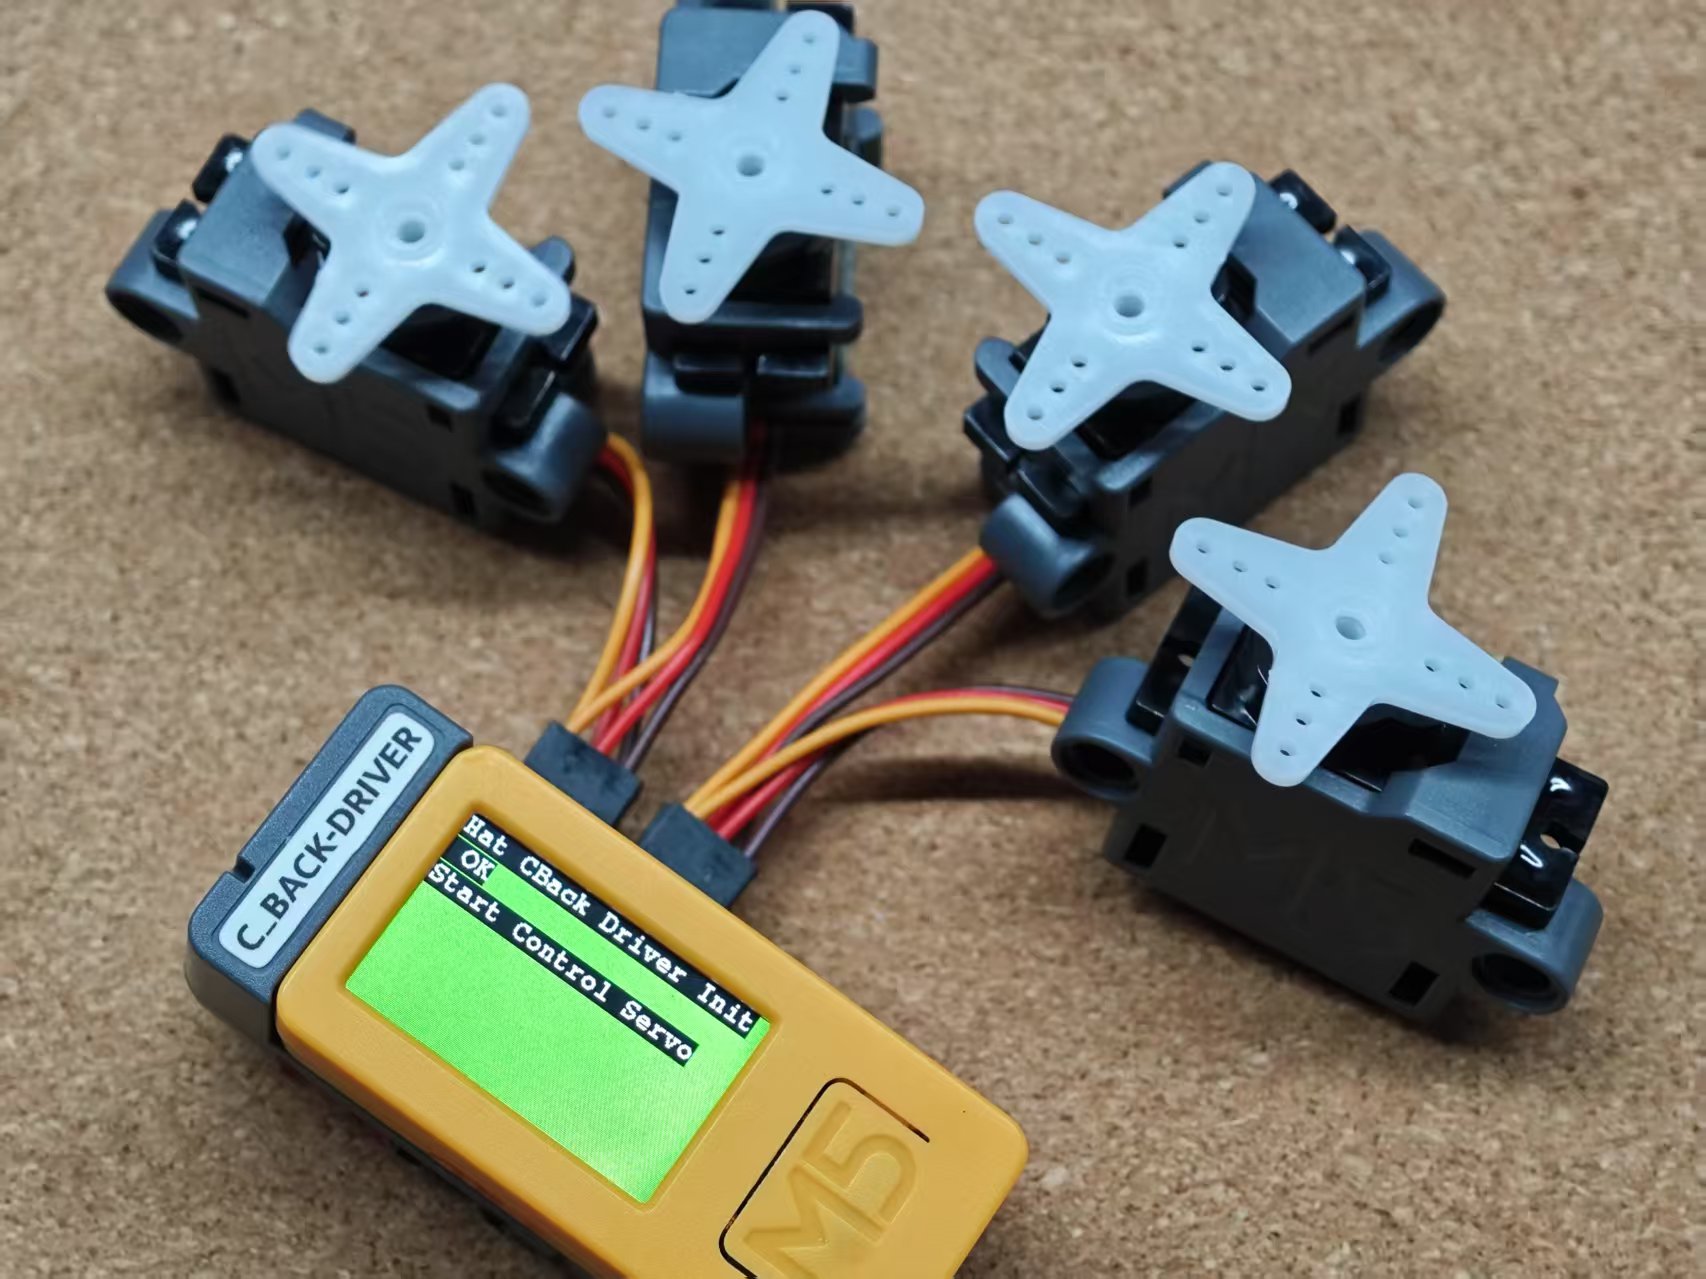
Hat CBack Driver is a servo driver board designed for the StickC series controllers. It provides 4-channel servo control and two Grove expansion interfaces (I2C+GPIO). The servo power supply is directly connected to the StickC controller battery to ensure better power capability. This example demonstrates basic servo driving control as well as basic digital signal output and analog signal input using the GPIO expansion interface (black interface).
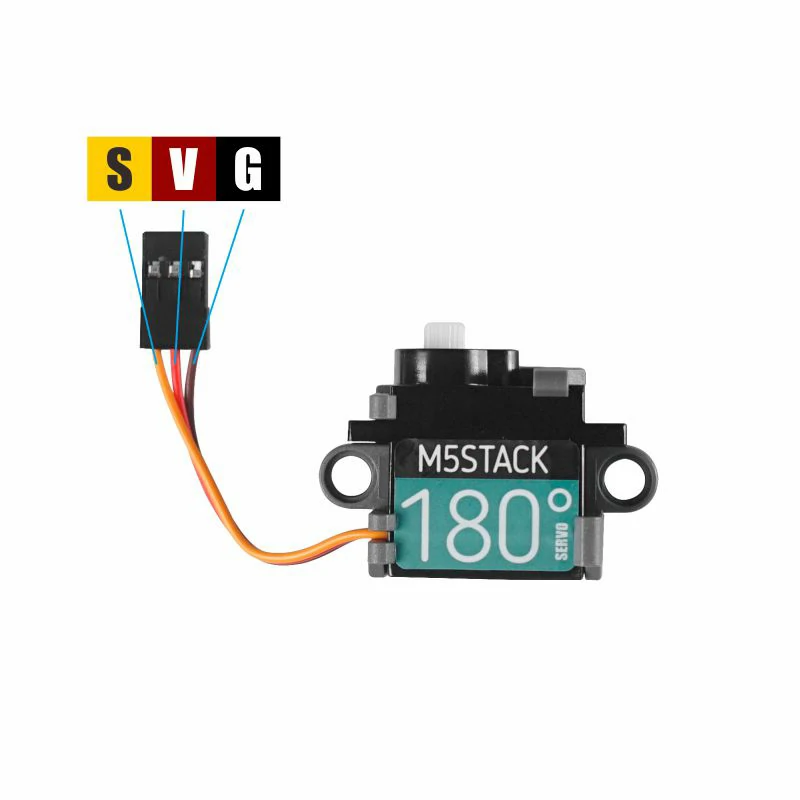
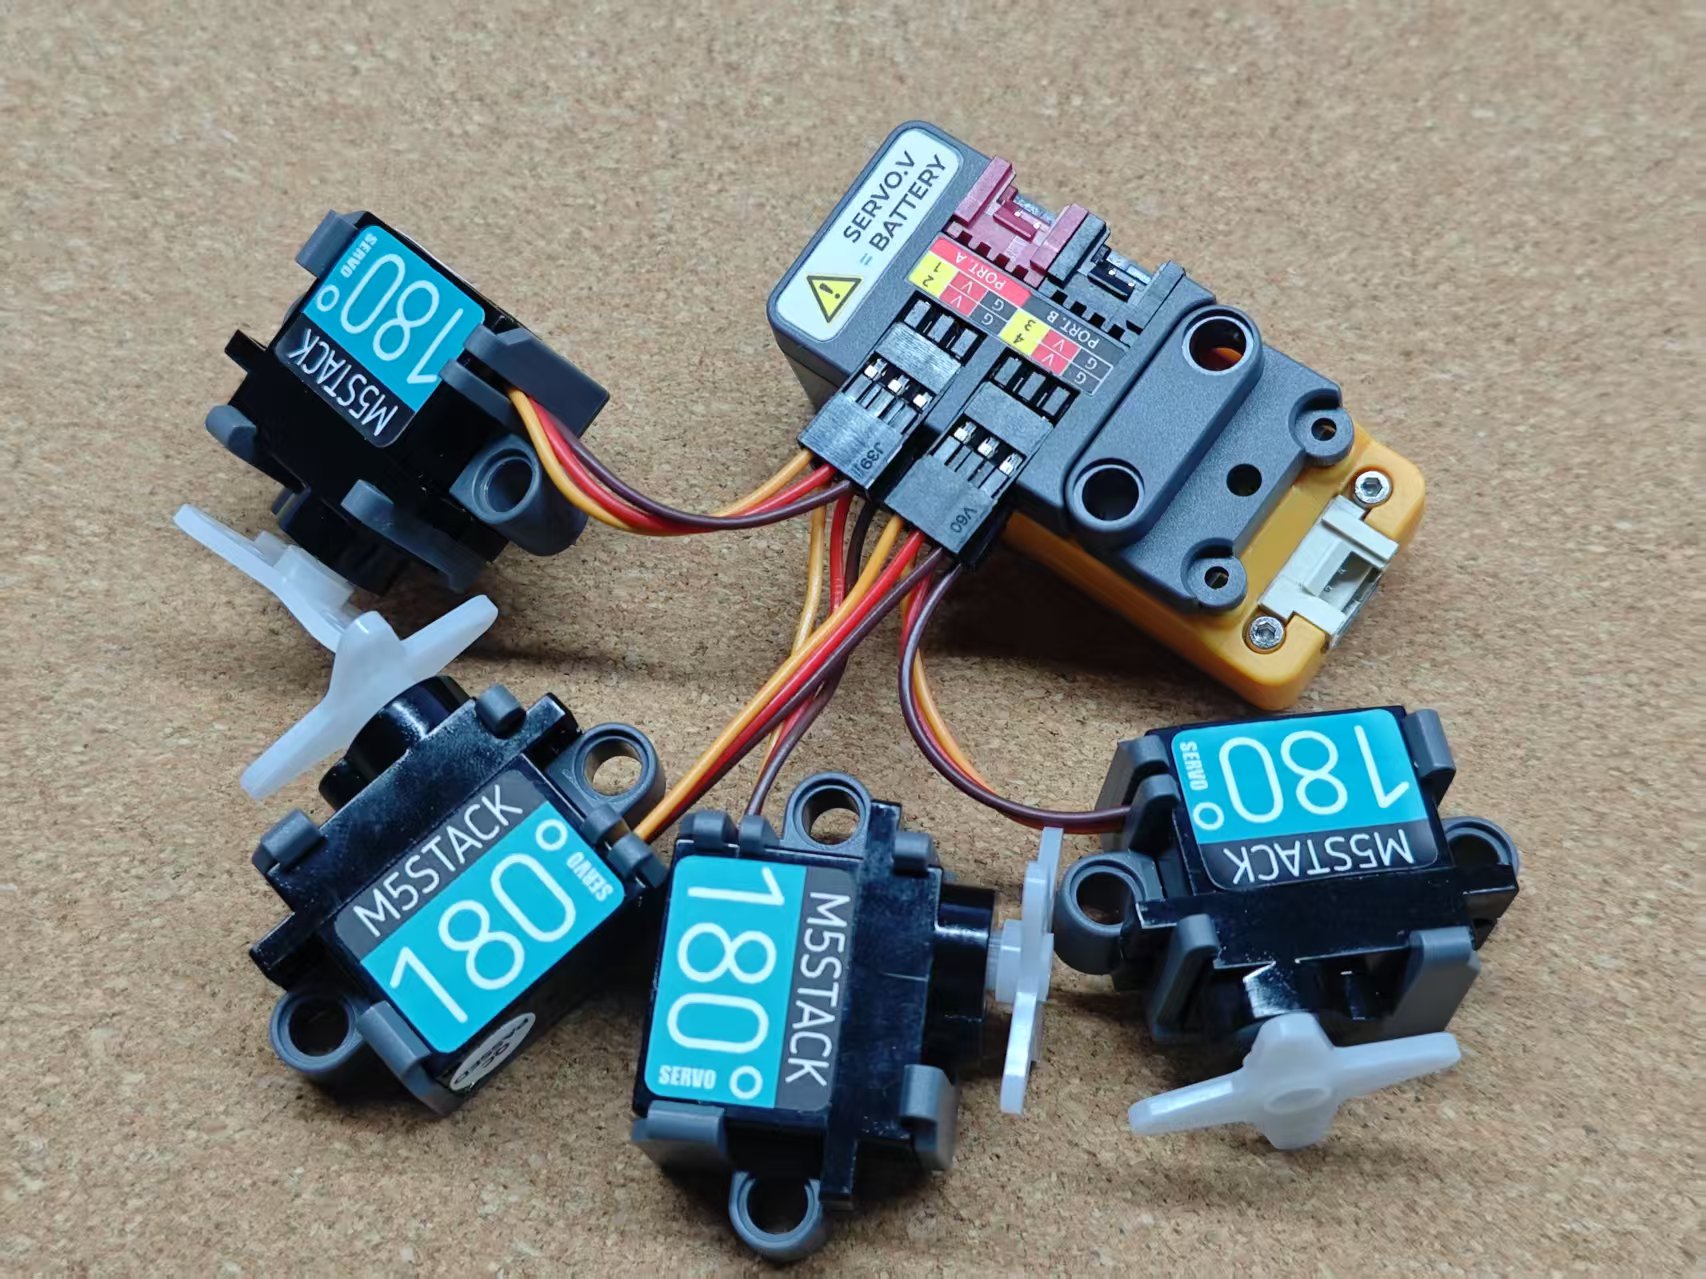
Servo Wiring
Complete Program
cpp
1 2 3 4 5 6 7 8 9 10 11 12 13 14 15 16 17 18 19 20 21 22 23 24 25 26 27 28 29 30 31 32 33 34 35 36 37 38 39 40 41 42 43 44
#include <M5Unified.h>
#include "M5HatCBackDriver.h"

M5HatCBackDriver driver;

void setup()
{
   M5.begin();
   Serial.begin(115200);
   Wire.begin(0, 26);
   M5.Display.setFont(&fonts::FreeMonoBold9pt7b);
   M5.Display.setRotation(1);
   while (!driver.begin(&Wire, M5_HAT_CBACK_DRIVER_I2C_ADDR)) {
       M5.Display.fillScreen(YELLOW);
       Serial.println("Hat CBack Driver Init Fail");
       M5.Display.setCursor(0, 0);
       M5.Display.println("Hat CBack Driver Init Fail");
       delay(1000);
   };
   M5.Display.setCursor(0, 0);
   M5.Display.fillScreen(GREEN);
   Serial.println("Hat CBack Driver Init OK");
   M5.Display.println("Hat CBack Driver Init OK");
   M5.Display.println("Start Control Servo");
}

void loop()
{
   for (int i = 0; i <= 3; i++) {   // channel 0-3
       driver.setServoAngle(i, 0);  // 0-180 degree
       // driver.setServoPulse(i,500); // 500-2500us
       delay(200);
   }
   for (int i = 0; i <= 3; i++) {     // channel 0-3
       driver.setServoAngle(i, 180);  // 0-180 degree
       // driver.setServoPulse(i,2500);  // 500-2500us
       delay(200);
   }
   driver.digitalWritePortB(1);
   delay(1000);
   driver.digitalWritePortB(0);
   Serial.print("PortB Analog Read: ");
   Serial.println(driver.analogReadPortB());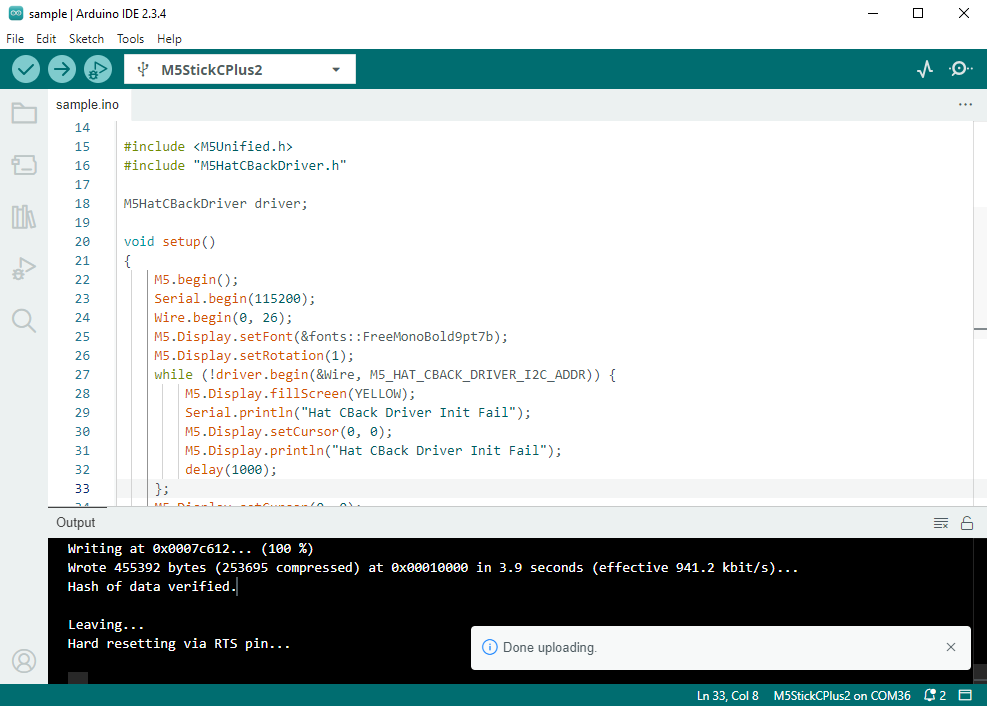
}3. Compilation and Upload
- Download Mode: Before programming the different Stick devices, you need to install the corresponding driver. The driver and installation steps may vary depending on the main control device. For details, please refer to the device programming download tutorials at the bottom of the Arduino IDE Getting Started Tutorial page to check the specific instructions for each device.
- Select the device port, click the compile and upload button at the top left corner of the Arduino IDE, and wait for the program to finish compiling and uploading to the device.
4. Servo Driving
Page Tools