


Arduino Quick Start
2. Devices & Examples
3. M5Unified
4. M5GFX
5. Extensions
Unit
Atomic
Base
Tab5
IoT
Accessories
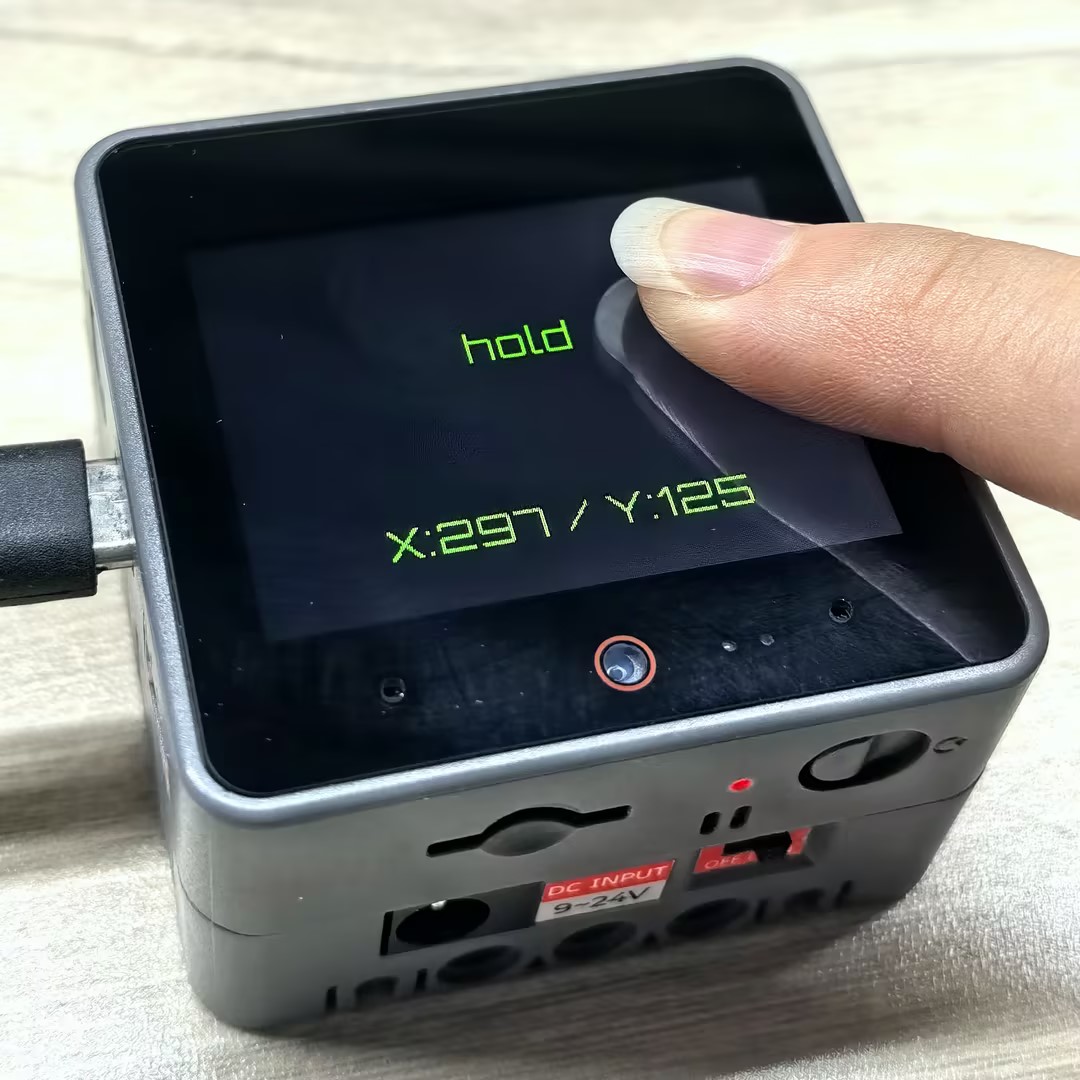
CoreS3 Touch Screen
CoreS3 touch screen related APIs and example programs.
Example Program
Compilation Requirements
- M5Stack Board Manager version >= 3.2.2
- Board selection = M5CoreS3
- M5Unified library version >= 0.2.11
cpp
1 2 3 4 5 6 7 8 9 10 11 12 13 14 15 16 17 18 19 20 21 22 23 24 25 26 27 28 29 30 31 32 33 34 35 36 37 38 39 40 41 42 43 44 45 46 47 48
#include "M5Unified.h"

void setup(void) {
    auto cfg = M5.config();
    M5.begin(cfg);

    M5.Display.setTextColor(GREEN);
    M5.Display.setTextDatum(middle_center);
    M5.Display.setFont(&fonts::Orbitron_Light_24);
    M5.Display.setTextSize(1);

    M5.Display.drawString("Touch Test", M5.Display.width() / 2,
                              M5.Display.height() / 2);
}

int prev_x = -1;
int prev_y = -1;

static m5::touch_state_t prev_state;

void loop(void) {
    M5.update();

    auto t = M5.Touch.getDetail();
    if (prev_state != t.state) {
        prev_state                                  = t.state;
        static constexpr const char* state_name[16] = {
            "none", "touch", "touch_end", "touch_begin",
            "___",  "hold",  "hold_end",  "hold_begin",
            "___",  "flick", "flick_end", "flick_begin",
            "___",  "drag",  "drag_end",  "drag_begin"};
        M5_LOGI("%s", state_name[t.state]);
        M5.Display.fillRect(0, 0, M5.Display.width(), 140, BLACK);

        M5.Display.drawString(state_name[t.state],
                                  M5.Display.width() / 2,
                                  M5.Display.height() / 2 - 30);
    }
    if (prev_x != t.x || prev_y != t.y) {
        M5.Display.fillRect(0, 140, M5.Display.width(), 100, BLACK);
        M5.Display.drawString(
            "X:" + String(t.x) + " / " + "Y:" + String(t.y),
            M5.Display.width() / 2, 200);
        prev_x = t.x;
        prev_y = t.y;
        M5.Display.fillCircle(prev_x, prev_y, 4, GREEN);
    }
}After successful upload, you can trigger events by touching the CoreS3 screen. When the touch state changes, the device will detect this event and display the current touch state and the touch point coordinates on the screen.
API
The CoreS3 touch screen section uses the Touch_Class from the M5Unified library. For more related APIs, please refer to the documentation below: