


Arduino Quick Start
2. Devices & Examples
3. M5Unified
4. M5GFX
5. Extensions
Unit
Atomic
Base
IoT
Accessories
M5Unified Quick Start Guide
Introduction
M5Unified is a driver library for M5Stack main control devices. This library supports most of the built-in hardware drivers for M5Stack main controllers, such as LCD, Touch, Buttons, Speaker, Microphone, etc. M5Unified provides a unified API, allowing the same program to run conveniently on different M5Stack devices. M5Unified supports both Arduino and ESP-IDF development platforms, greatly enhancing development efficiency.
Preparation
- Arduino IDE Installation: Refer to the Arduino IDE Installation Guide to complete the IDE installation.
- Board Manager Installation: Refer to the Basic Environment Setup Guide to complete the M5Stack board manager installation and select your actual development board.
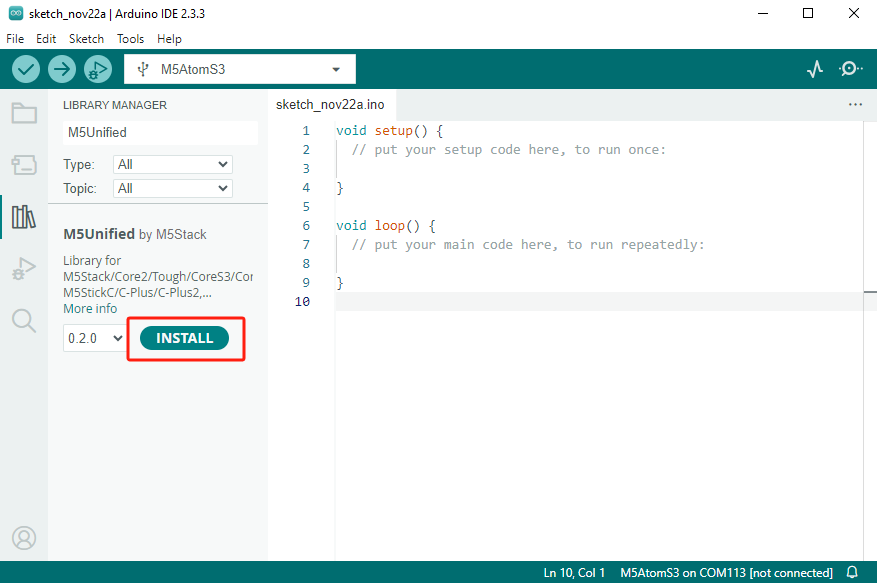
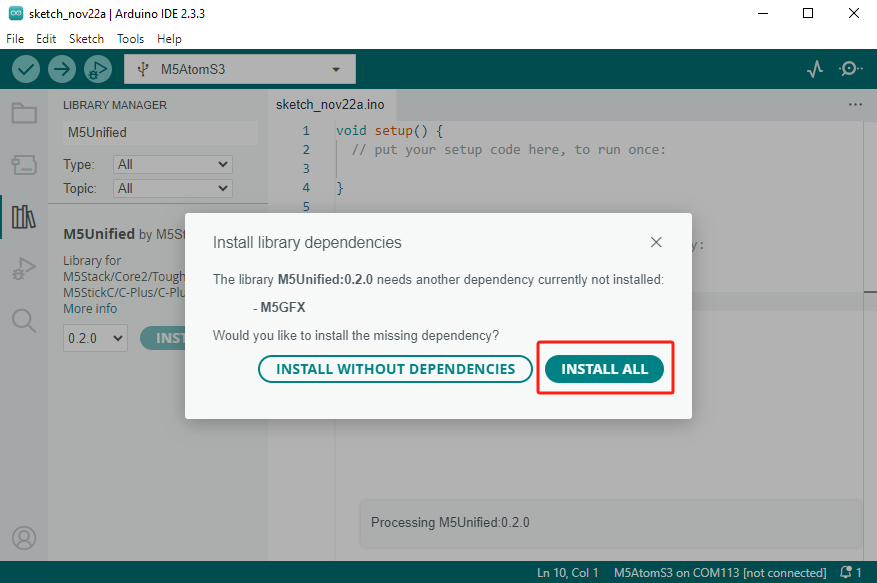
- Library Installation: Refer to the Library Manager Installation Guide to install the
M5Unifieddriver library. (Follow the prompts to install the required libraryM5GFX)
- Library Installation: Refer to the Library Manager Installation Guide to install the
Hello World
Create a new program in Arduino IDE, and paste the Hello World example code below. Compile and upload it to the device. The screen and the serial monitor will display "HelloWorld!" and count every second.
#include <M5Unified.h>  // Make the M5Unified library available to your program.

// global variables (define variables to be used throughout the program)
uint32_t count;

// setup function is executed only once at startup.
// This function mainly describes the initialization process.
void setup()
{
    auto cfg = M5.config();  // Assign a structure for initializing M5Stack
    // If config is to be set, set it here
    // Example.
    // cfg.external_spk = true;

    M5.begin(cfg);  // initialize M5 device

    M5.Display.setTextSize(3);           // change text size
    M5.Display.print("Hello World!!!");  // display Hello World! and one line is displayed on the screen
    Serial.println("Hello World!!!");    // display Hello World! and one line on the serial monitor
    count = 0;                           // initialize count
}

// loop function is executed repeatedly for as long as it is running.
// loop function acquires values from sensors, rewrites the screen, etc.
void loop()
{
    M5.Display.setCursor(0, 20);              // set character drawing coordinates (cursor position)
    M5.Display.printf("COUNT: %d\n", count);  // display count on screen
    Serial.printf("COUNT: %d\n", count);      // display count serially
    count++;                                  // increase count by 1
    delay(1000);                              // wait 1 second(1,000msec)
}Examples
The M5Unified driver library provides a series of example programs, which can be used to reference the usage of APIs for different hardware peripherals.
M5Unified API
Migration Guide
Refer to the guide below to learn how to migrate from other M5Stack main control driver libraries to M5Unified.