

Home Assistant
Home Assistant
主控与整机
摄像头
扩展模块
灯光控制
Stamp-AddOn Cam3660 ESPHome 集成
本教程介绍如何将 Stamp-AddOn Cam3660 连接到 Stamp-S3Bat,并通过 ESPHome 集成到 Home Assistant。
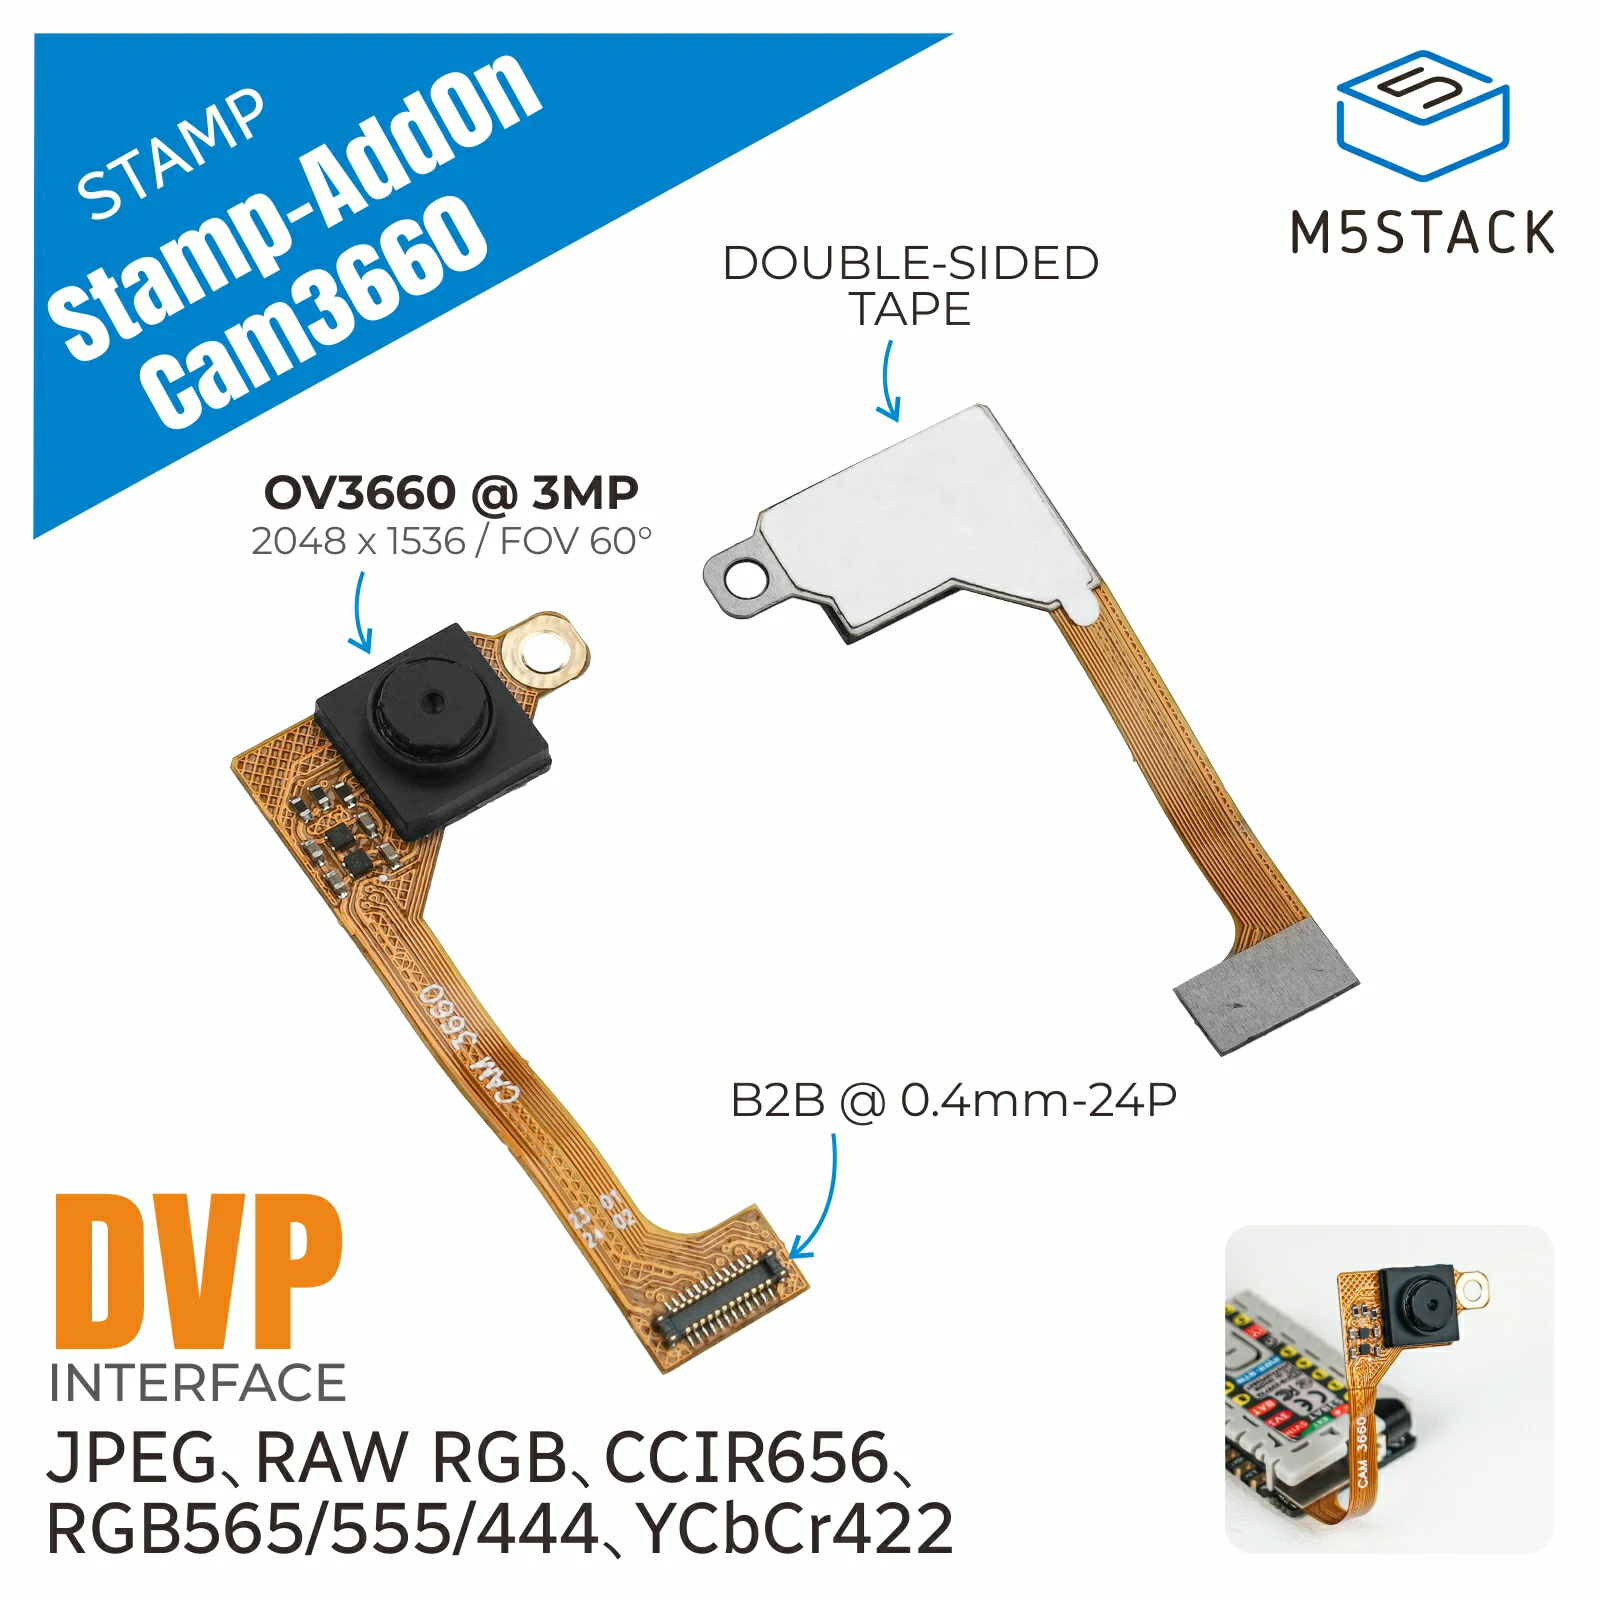
1. 设备简介
| 项目 | 信息 |
|---|---|
| 产品名称 | Stamp-AddOn Cam3660 |
| SKU | A182 |
| 适配主控 | Stamp-S3Bat |
| 图像传感器 | OV3660,3MP |
| 图像接口 | SCCB、8 位 DVP 并行接口 |
| ESPHome 版本要求 | 2026.3.0 及以上 |
2. 配置说明
ESP32 框架
完整案例使用 Arduino 框架,并配置摄像头所需的编译选项:
esphome:
  name: stamp-addon-cam3660-example
  friendly_name: Stamp Addon Cam3660
  environment_variables:
    IDF_COMPONENT_STORAGE_URL: https://components-file.espressif.cn

esp32:
  board: esp32-s3-devkitc-1
  variant: esp32s3
  flash_size: 8MB
  framework:
    type: arduino
    sdkconfig_options:
      CONFIG_CAMERA_TASK_STACK_SIZE: "2048"
CONFIG_CAMERA_PSRAM_DMA: "n"启动初始化
摄像头驱动初始化前,需要先将 PWDN (GPIO39) 拉低、RESET (GPIO41) 拉高并等待 500ms。完整案例通过 M5Stack 的 early_init 外部组件执行该启动时序:
external_components:
  - source: github://m5stack/esphome-yaml/components@main
    components: [early_init]

early_init:
  id: camera_power_up_barrier
  pins:
    - pin:
        number: GPIO39
        allow_other_uses: true
      level: false
    - pin:
        number: GPIO41
        allow_other_uses: true
      level: true
delay: 500ms启动时序
early_init、GPIO39/GPIO41 的电平设置及 500ms 延时用于保证摄像头正常启动,请保留该配置。摄像头配置
Cam3660 的 SCCB 数据线为 GPIO48/GPIO47,图像数据通过 8 位 DVP 接口输入。allow_other_uses: true 用于允许摄像头组件复用启动初始化阶段使用的 GPIO39 和 GPIO41:
i2c:
  - id: camera_i2c
    sda: GPIO48
    scl: GPIO47
    frequency: 100kHz

esp32_camera:
  name: "OV3660 Camera"
  id: cam
  i2c_id: camera_i2c
  data_pins:
    - GPIO21
    - GPIO18
    - GPIO16
    - GPIO15
    - GPIO14
    - GPIO12
    - GPIO38
    - GPIO40
  vsync_pin: GPIO42
  href_pin: GPIO17
  pixel_clock_pin: GPIO13
  external_clock:
    pin:
      number: GPIO46
      ignore_strapping_warning: true
    frequency: 20MHz
  power_down_pin:
    number: GPIO39
    allow_other_uses: true
  reset_pin:
    number: GPIO41
    allow_other_uses: true
  resolution: 320x240
  jpeg_quality: 12
  max_framerate: 10 fps
  idle_framerate: 0.5 fps
  frame_buffer_location: PSRAM
  frame_buffer_count: 1
  horizontal_mirror: true
  vertical_flip: true
  brightness: 1
saturation: -2示例默认使用 QVGA (320 x 240) 分辨率、10 fps 最大帧率和 0.5 fps 空闲帧率。需要调整分辨率或帧率时,建议逐项修改并确认设备运行稳定。
3. 参考案例
完整配置请参考 stamp-addon-cam3660.yaml。该文件已经包含设备、网络、API、OTA、启动初始化和摄像头配置。
配置修正
当前完整案例的
esphome.name 末尾包含多余的句点。使用前请将 stamp-addon-cam3660-example. 修改为 stamp-addon-cam3660-example,否则 ESPHome 会提示设备名称无效。- 在 ESPHome 中导入完整案例,并按上方提示修正设备名称。
- 按照 ESPHome 常规流程完成配置、编译和固件烧录。
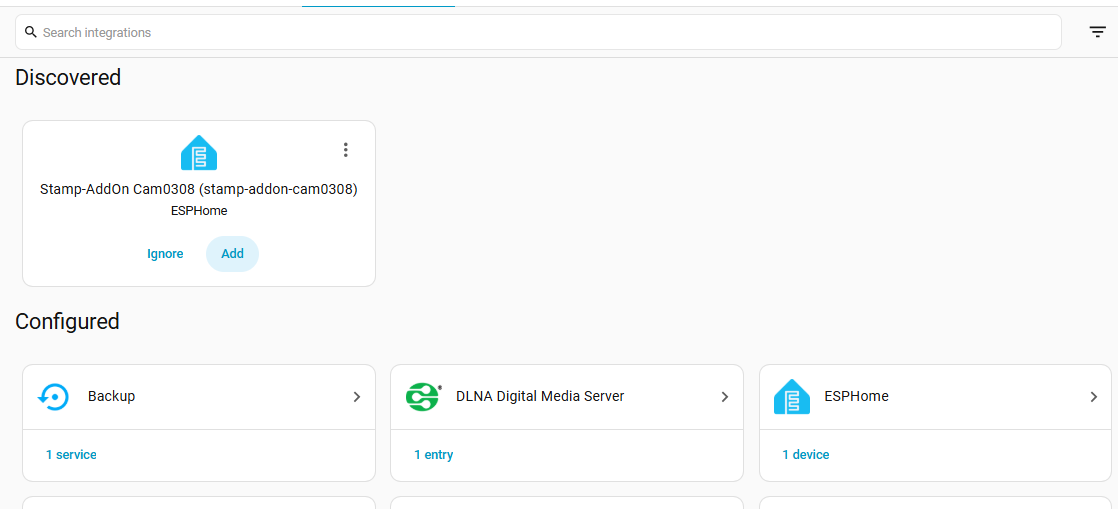
- 设备连接网络后,在 Home Assistant 中完成发现和添加。
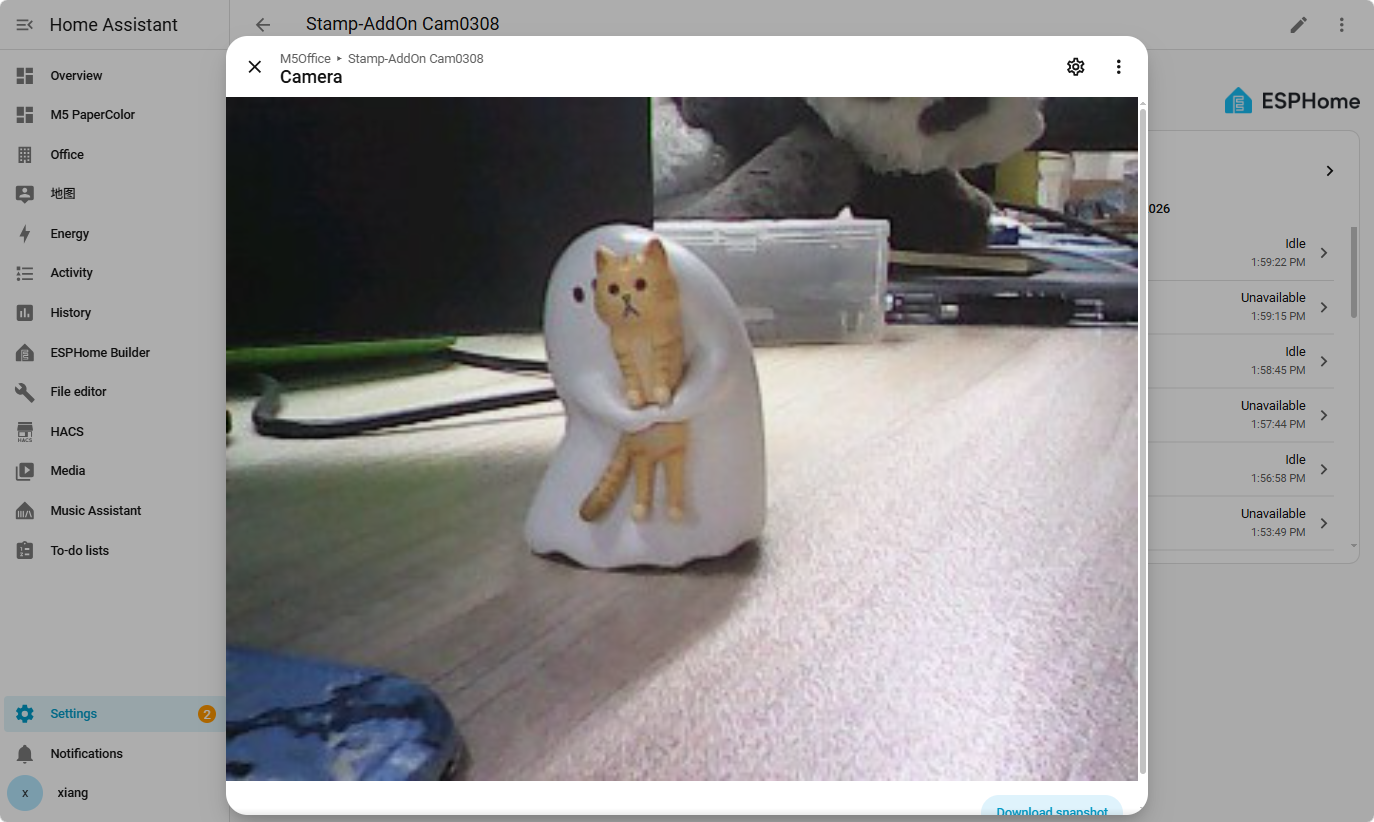
- 打开设备页面,将
OV3660 Camera实体添加到 Dashboard,即可查看摄像头画面。
4. 相关链接
Page Tools