Home Assistant
Home Assistant
Controller & Devices
Cameras
Components
Lighting
Interfaces and Expansion
Applications
Media Playback
Dashboard
Station-Bat ESPHome Integration
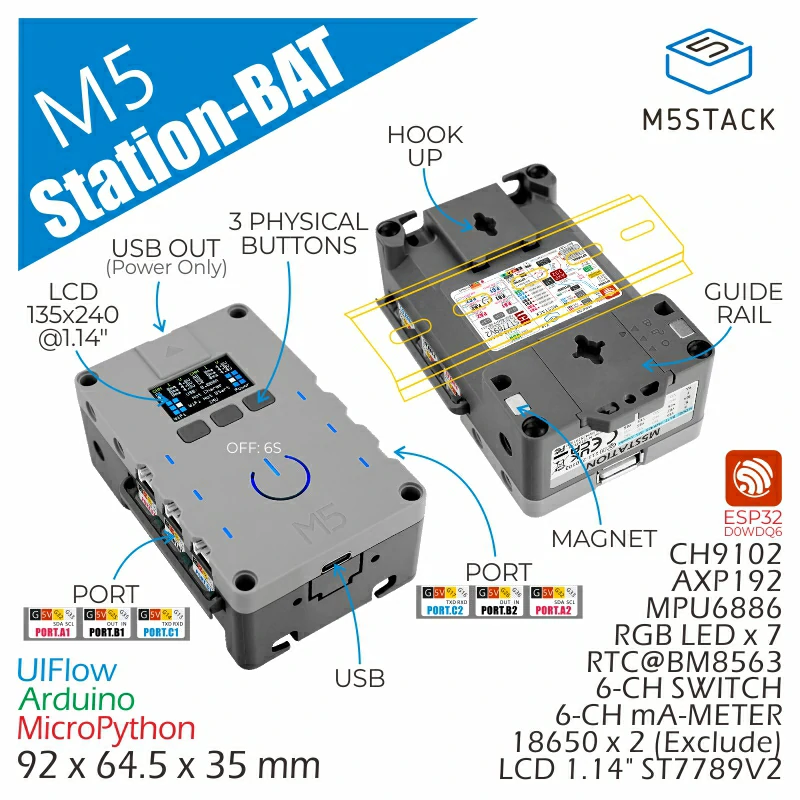
The Station-Bat ESPHome integration includes power management, sensor, button, display, and RTC components.
1. Device Overview
| Item | Information |
|---|---|
| Product Name | Station-Bat |
| SKU | K124-B |
| Main Functions | Power and battery management, motion and current monitoring, buttons, display, and RTC |
| Communication | I2C, SPI, GPIO |
| ESPHome Components | m5station_axp192 (external component), mpu6886, ina3221, binary_sensor.gpio, bm8563, esp32_rmt_led_strip, st7789v |
| ESPHome Version | / |
2. Component Description
AXP192 External Component
Station-Bat uses the M5Stack m5station_axp192 external component to read the battery level and control power to the LCD:
external_components:
  - source: github://m5stack/esphome-yaml/components
    components: [m5station_axp192]
refresh: 0sIMU, Power, and Port Measurement
MPU6886 uses the official MPU6886 platform. The two INA3221 devices use addresses 0x40 and 0x41 and cover voltage and current measurement for six ports. The m5station_axp192 external platform provides the battery level:
i2c:
  - id: i2c_bus
    sda: GPIO21
    scl: GPIO22

sensor:
  - platform: mpu6886
    i2c_id: i2c_bus
    accel_x:
      name: "MPU6886 Accel X"
      id: imu_ax
    accel_y:
      name: "MPU6886 Accel Y"
      id: imu_ay
    accel_z:
      name: "MPU6886 Accel z"
      id: imu_az
    gyro_x:
      name: "MPU6886 Gyro X"
    gyro_y:
      name: "MPU6886 Gyro Y"
    gyro_z:
      name: "MPU6886 Gyro z"
    temperature:
      name: "MPU6886 Temperature"
      id: imu_temp
    update_interval: 5s

  - platform: m5station_axp192
    id: pmu
    i2c_id: i2c_bus
    battery_level:
      name: "M5Station Battery Level"
      id: bat_level
    update_interval: 60s
    brightness: 0.8

  - platform: ina3221
    id: ina1
    i2c_id: i2c_bus
    address: 0x40
    update_interval: 1s
    channel_1:
      shunt_resistance: 0.01
      bus_voltage:
        name: "P.A1 Bus Voltage"
        id: v_a1
      current:
        name: "P.A1 Current"
        id: i_a1
    channel_2:
      shunt_resistance: 0.01
      bus_voltage:
        name: "P.A2 Bus Voltage"
        id: v_a2
      current:
        name: "P.A2 Current"
        id: i_a2
    channel_3:
      shunt_resistance: 0.01
      bus_voltage:
        name: "P.B1 Bus Voltage"
        id: v_b1
      current:
        name: "P.B1 Current"
        id: i_b1

  - platform: ina3221
    id: ina2
    i2c_id: i2c_bus
    address: 0x41
    update_interval: 1s
    channel_1:
      shunt_resistance: 0.01
      bus_voltage:
        name: "P.B2 Bus Voltage"
        id: v_b2
      current:
        name: "P.B2 Current"
        id: i_b2
    channel_2:
      shunt_resistance: 0.01
      bus_voltage:
        name: "P.C1 Bus Voltage"
        id: v_c1
      current:
        name: "P.C1 Current"
        id: i_c1
    channel_3:
      shunt_resistance: 0.01
      bus_voltage:
        name: "P.C2 Bus Voltage"
        id: v_c2
      current:
        name: "P.C2 Current"
id: i_c2Button Input
The three panel buttons use the official GPIO Binary Sensor platform and are connected to GPIO37, GPIO38, and GPIO39 respectively:
binary_sensor:
  - platform: gpio
    name: "Button1"
    pin:
      number: GPIO37
      inverted: true
  - platform: gpio
    name: "Button2"
    pin:
      number: GPIO38
      inverted: true
  - platform: gpio
    name: "Button3"
    pin:
      number: GPIO39
inverted: trueLCD and USB Power Control
LCD power is controlled through the m5station_axp192 component, while USB output is controlled by GPIO12:
switch:
  - platform: template
    name: "LCD Backlight"
    id: lcd_backlight
    lambda: |-
      return true;
    restore_mode: ALWAYS_ON
    turn_on_action:
      - lambda: |-
          id(pmu).set_backlight(true);
    turn_off_action:
      - lambda: |-
          id(pmu).set_backlight(false);

  - platform: gpio
    name: "USB Power"
    id: usb_power
pin: GPIO12RTC
The onboard RTC uses the official BM8563 platform. The RTC is read at startup and written back after Home Assistant synchronizes the time:
time:
  - platform: bm8563
    id: bm8563_time
    update_interval: never
  - platform: homeassistant
    on_time_sync:
      then:
- bm8563.write_time:RGB LED
The seven onboard WS2812 RGB LEDs use the ESP32 RMT LED Strip platform and are driven through GPIO4:
light:
  - platform: esp32_rmt_led_strip
    rgb_order: GRB
    pin: GPIO4
    num_leds: 7
    chipset: ws2812
name: "My Light"LCD Display
The 1.14-inch IPS display uses the ST7789V platform. The following minimal example displays fixed text:
spi:
  clk_pin: GPIO18
  mosi_pin: GPIO23

font:
  - file: "gfonts://Roboto"
    id: display_font
    size: 18

display:
  - platform: st7789v
    model: CUSTOM
    width: 135
    height: 240
    offset_height: 52
    offset_width: 40
    cs_pin: GPIO5
    dc_pin: GPIO19
    reset_pin: GPIO15
    rotation: 90
    update_interval: 1s
    lambda: |-
it.print(0, 0, id(display_font), "Station-Bat");3. Reference Example
See station-bat.example.yaml for the complete device example. It includes the main controller, networking, API, external components, all sensors, and display configuration.
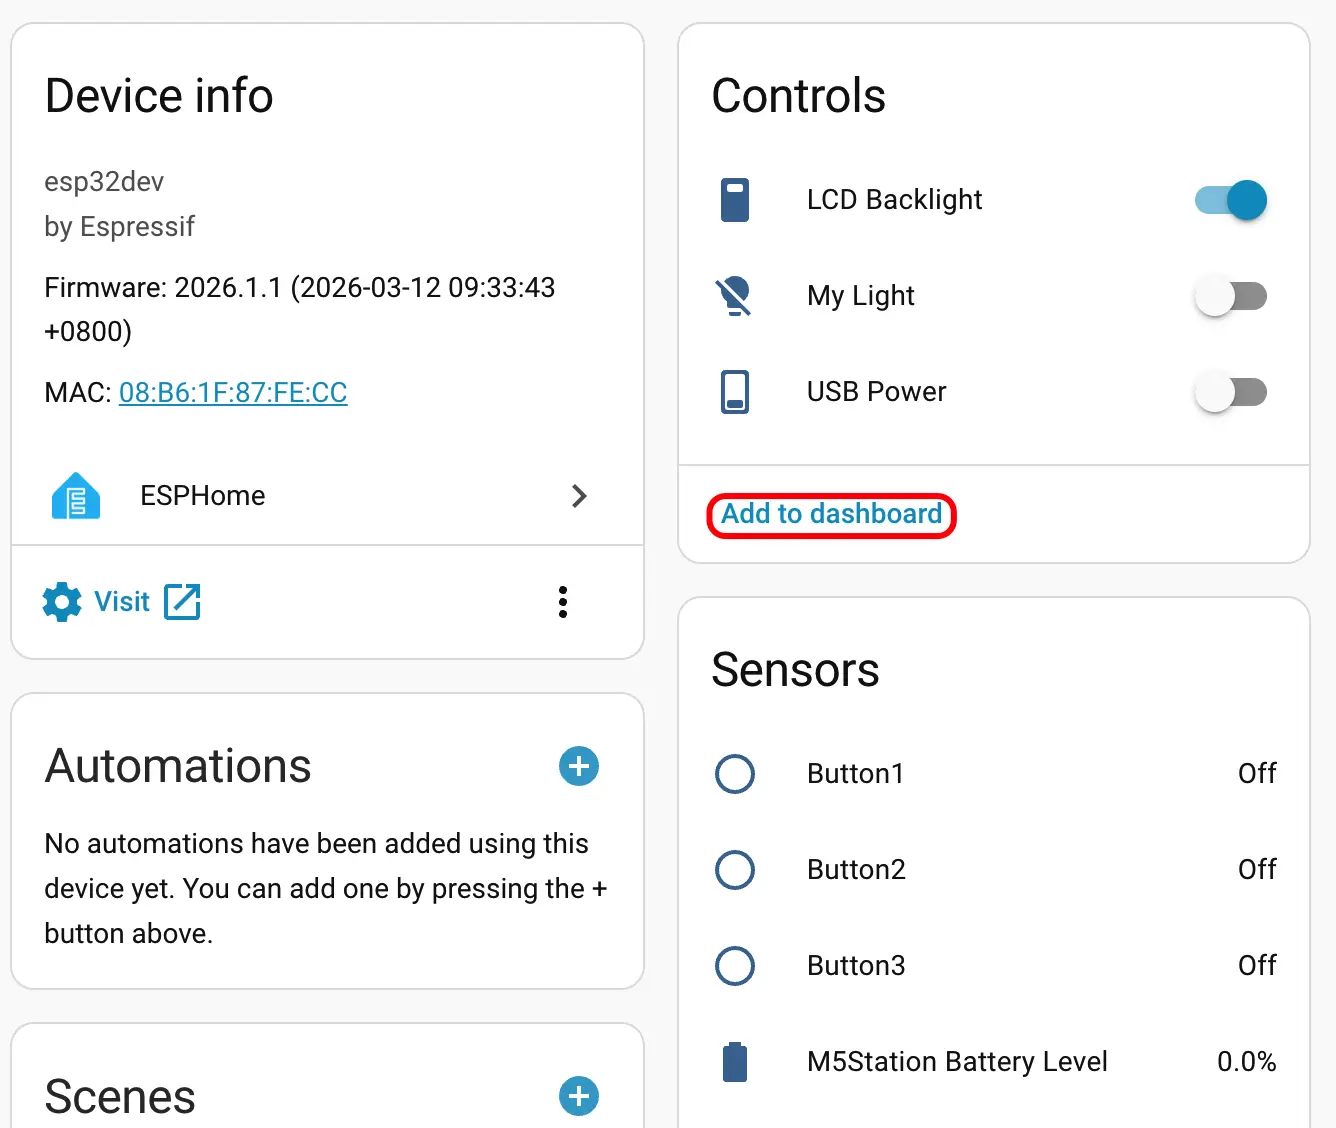
Home Assistant interface when adding the device:
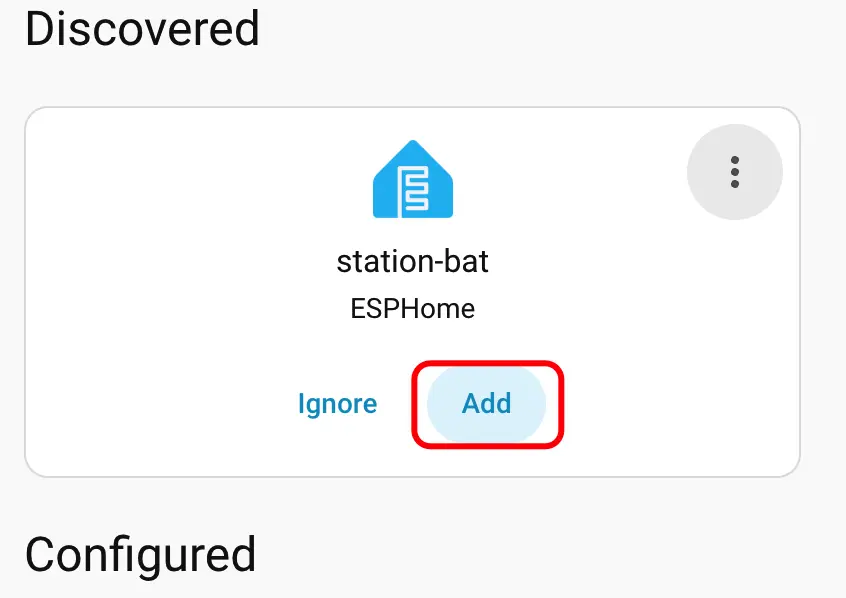
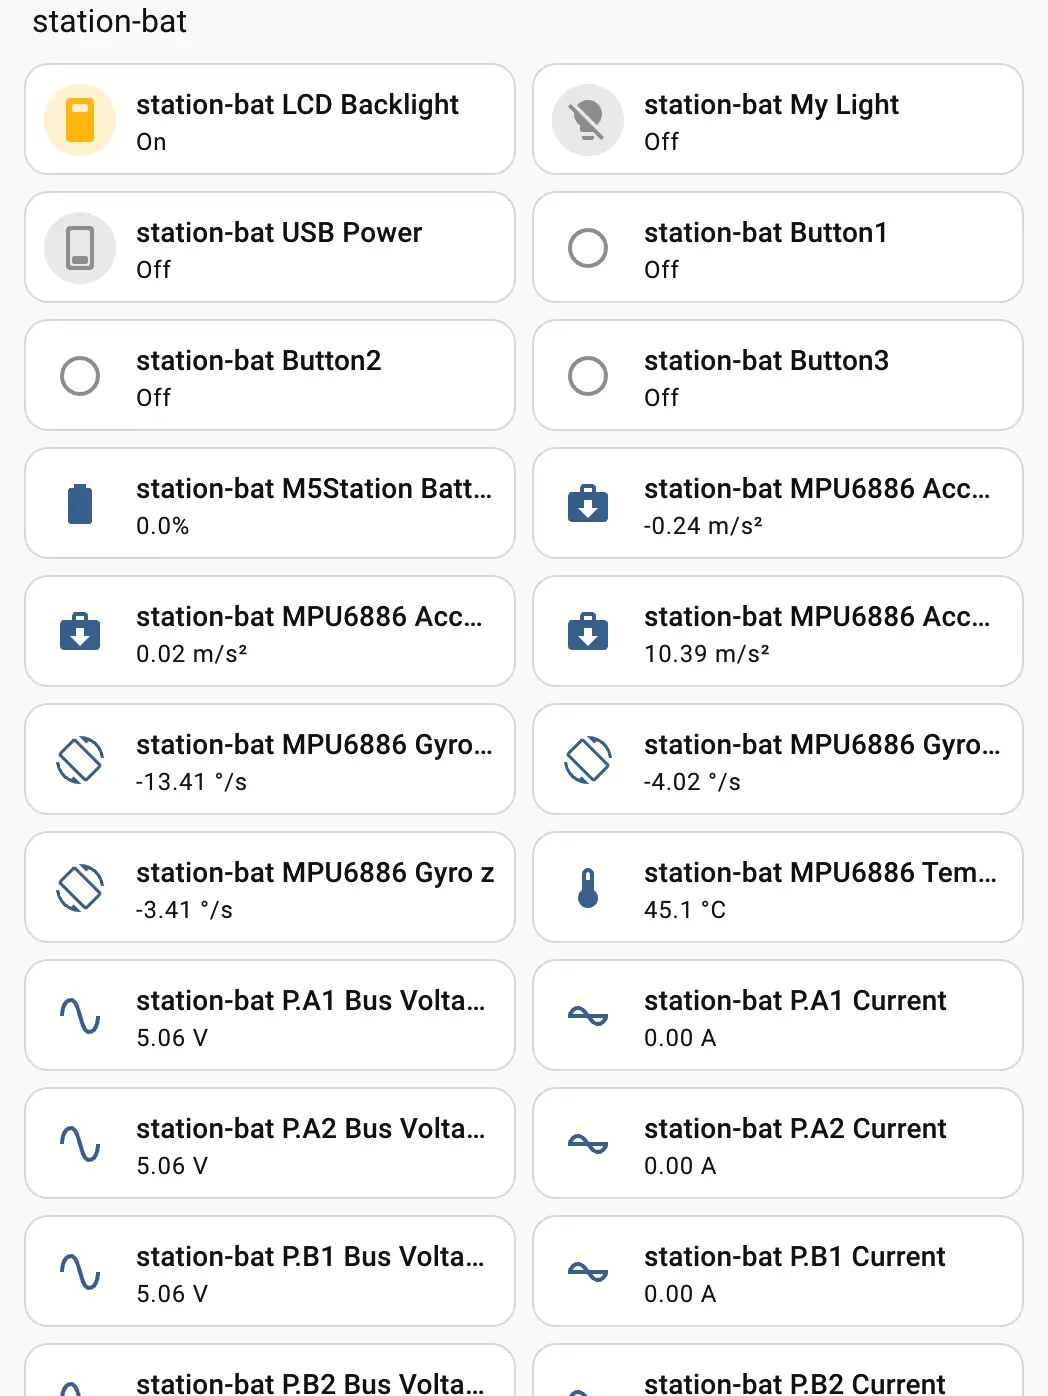
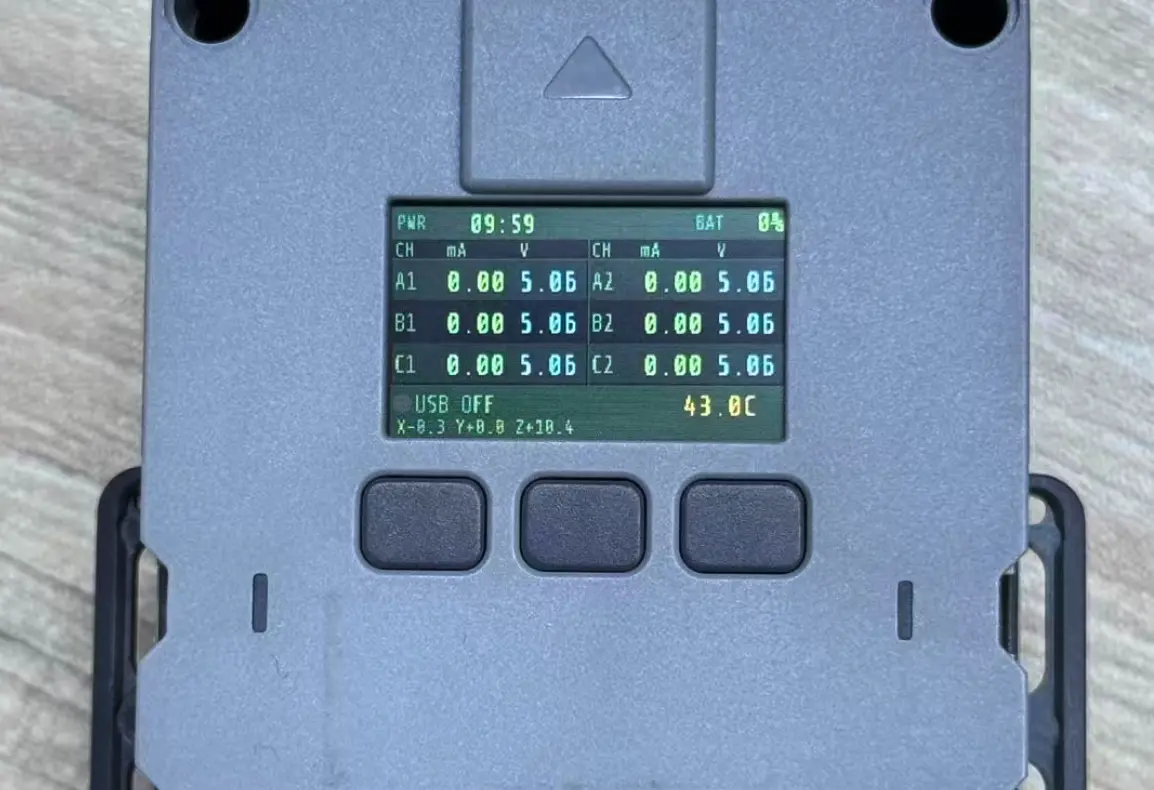
After the device is added, you can view entities such as the battery, motion, port measurements, buttons, USB power, and RGB LEDs, and add them to the Dashboard: