Home Assistant
Home Assistant
Controller & Devices
Cameras
Components
Lighting
Interfaces and Expansion
Applications
Media Playback
Dashboard
Stamp-AddOn Cam3660 ESPHome Integration
This tutorial explains how to connect Stamp-AddOn Cam3660 to Stamp-S3Bat and integrate it into Home Assistant through ESPHome.
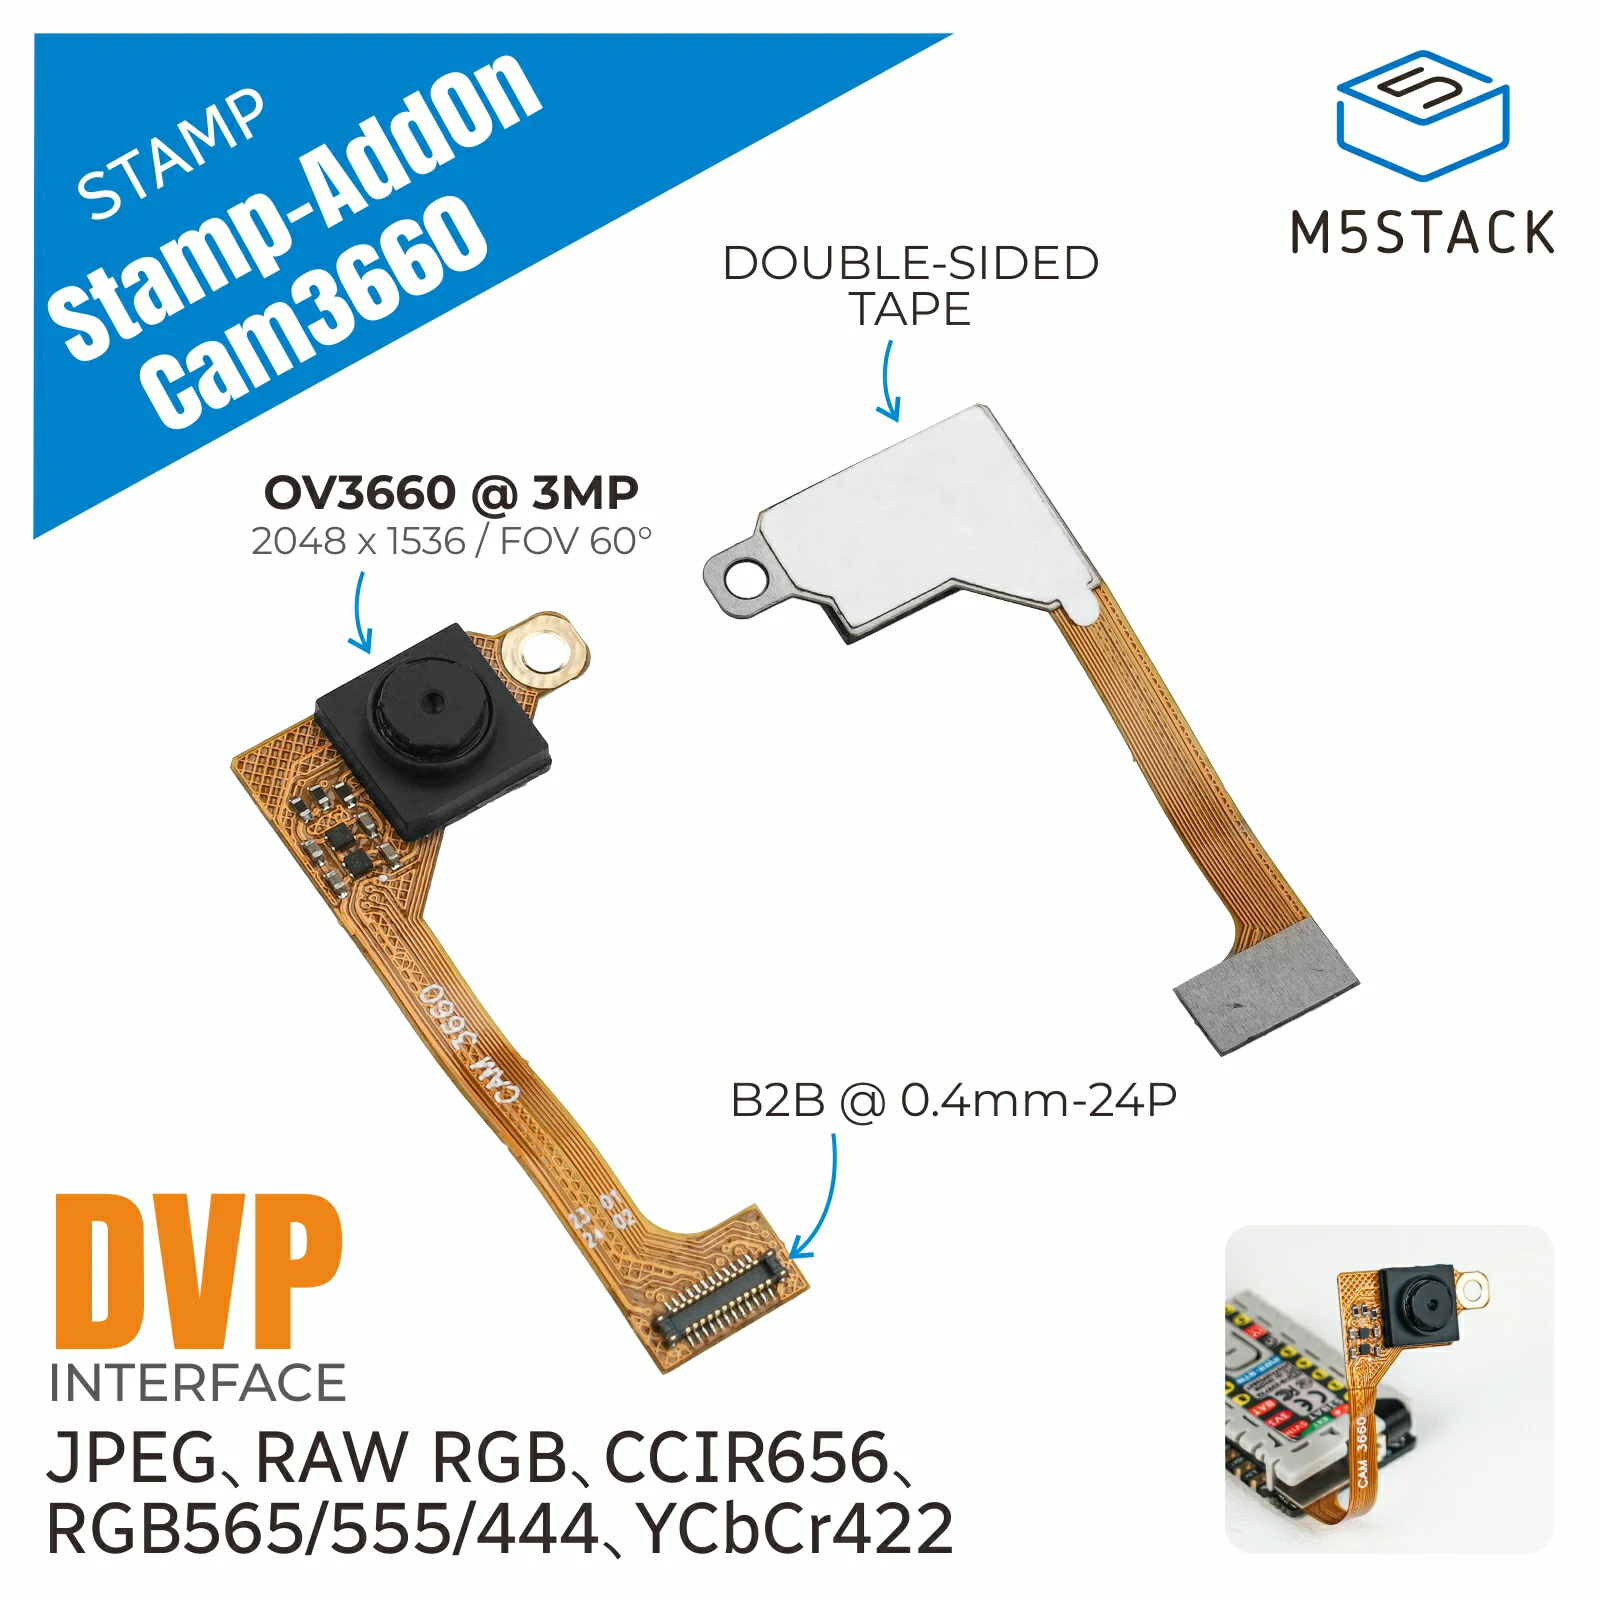
1. Device Overview
| Item | Information |
|---|---|
| Product | Stamp-AddOn Cam3660 |
| SKU | A182 |
| Compatible Controller | Stamp-S3Bat |
| Image Sensor | OV3660, 3MP |
| Image Interface | SCCB, 8-bit DVP parallel interface |
| ESPHome Version | 2026.3.0 or later |
2. Configuration
ESP32 Framework
The complete example uses the Arduino framework and configures the compilation options required by the camera:
esphome:
  name: stamp-addon-cam3660-example
  friendly_name: Stamp Addon Cam3660
  environment_variables:
    IDF_COMPONENT_STORAGE_URL: https://components-file.espressif.cn

esp32:
  board: esp32-s3-devkitc-1
  variant: esp32s3
  flash_size: 8MB
  framework:
    type: arduino
    sdkconfig_options:
      CONFIG_CAMERA_TASK_STACK_SIZE: "2048"
CONFIG_CAMERA_PSRAM_DMA: "n"Startup Initialization
Before the camera driver initializes, PWDN (GPIO39) must be pulled low, RESET (GPIO41) pulled high, and a 500ms delay applied. The complete example performs this startup sequence through M5Stack's early_init external component:
external_components:
  - source: github://m5stack/esphome-yaml/components@main
    components: [early_init]

early_init:
  id: camera_power_up_barrier
  pins:
    - pin:
        number: GPIO39
        allow_other_uses: true
      level: false
    - pin:
        number: GPIO41
        allow_other_uses: true
      level: true
delay: 500msearly_init component, GPIO39/GPIO41 level settings, and 500ms delay ensure that the camera starts correctly. Keep this configuration unchanged.Camera Configuration
Cam3660 uses GPIO48/GPIO47 for the SCCB data lines, while image data is received through the 8-bit DVP interface. allow_other_uses: true allows the camera component to reuse GPIO39 and GPIO41 from the startup initialization stage:
i2c:
  - id: camera_i2c
    sda: GPIO48
    scl: GPIO47
    frequency: 100kHz

esp32_camera:
  name: "OV3660 Camera"
  id: cam
  i2c_id: camera_i2c
  data_pins:
    - GPIO21
    - GPIO18
    - GPIO16
    - GPIO15
    - GPIO14
    - GPIO12
    - GPIO38
    - GPIO40
  vsync_pin: GPIO42
  href_pin: GPIO17
  pixel_clock_pin: GPIO13
  external_clock:
    pin:
      number: GPIO46
      ignore_strapping_warning: true
    frequency: 20MHz
  power_down_pin:
    number: GPIO39
    allow_other_uses: true
  reset_pin:
    number: GPIO41
    allow_other_uses: true
  resolution: 320x240
  jpeg_quality: 12
  max_framerate: 10 fps
  idle_framerate: 0.5 fps
  frame_buffer_location: PSRAM
  frame_buffer_count: 1
  horizontal_mirror: true
  vertical_flip: true
  brightness: 1
saturation: -2The example uses QVGA (320 x 240) resolution, a maximum frame rate of 10 fps, and an idle frame rate of 0.5 fps by default. When adjusting the resolution or frame rate, change one setting at a time and confirm that the device remains stable.
3. Example
See stamp-addon-cam3660.yaml for the complete configuration. It includes the device, network, API, OTA, startup initialization, and camera settings.
esphome.name. Before use, change stamp-addon-cam3660-example. to stamp-addon-cam3660-example; otherwise, ESPHome will report an invalid device name.- Import the complete example into ESPHome and correct the device name as described above.
- Follow the standard ESPHome process to configure, compile, and flash the firmware.
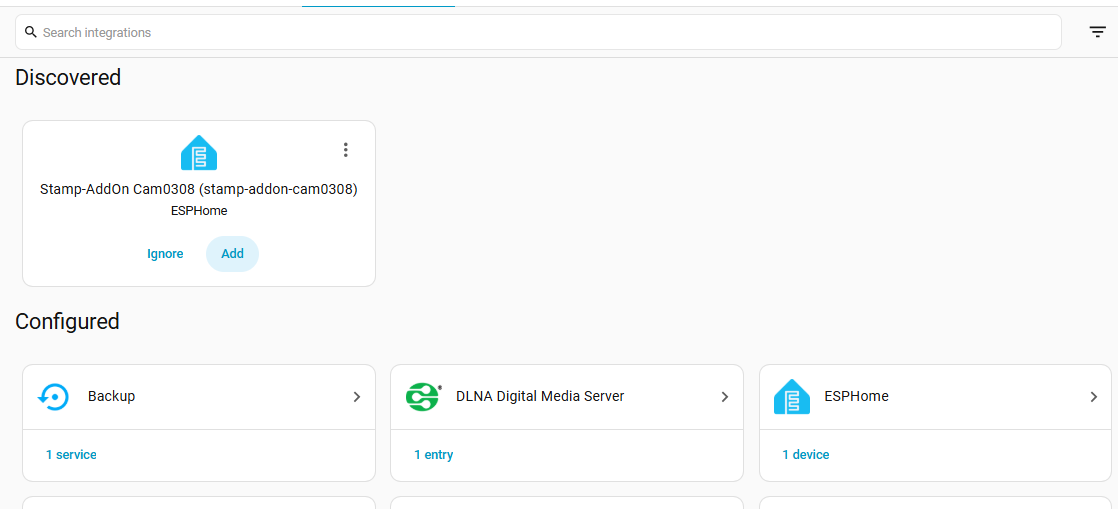
- After the device connects to the network, complete discovery and setup in Home Assistant.
- Open the device page and add the
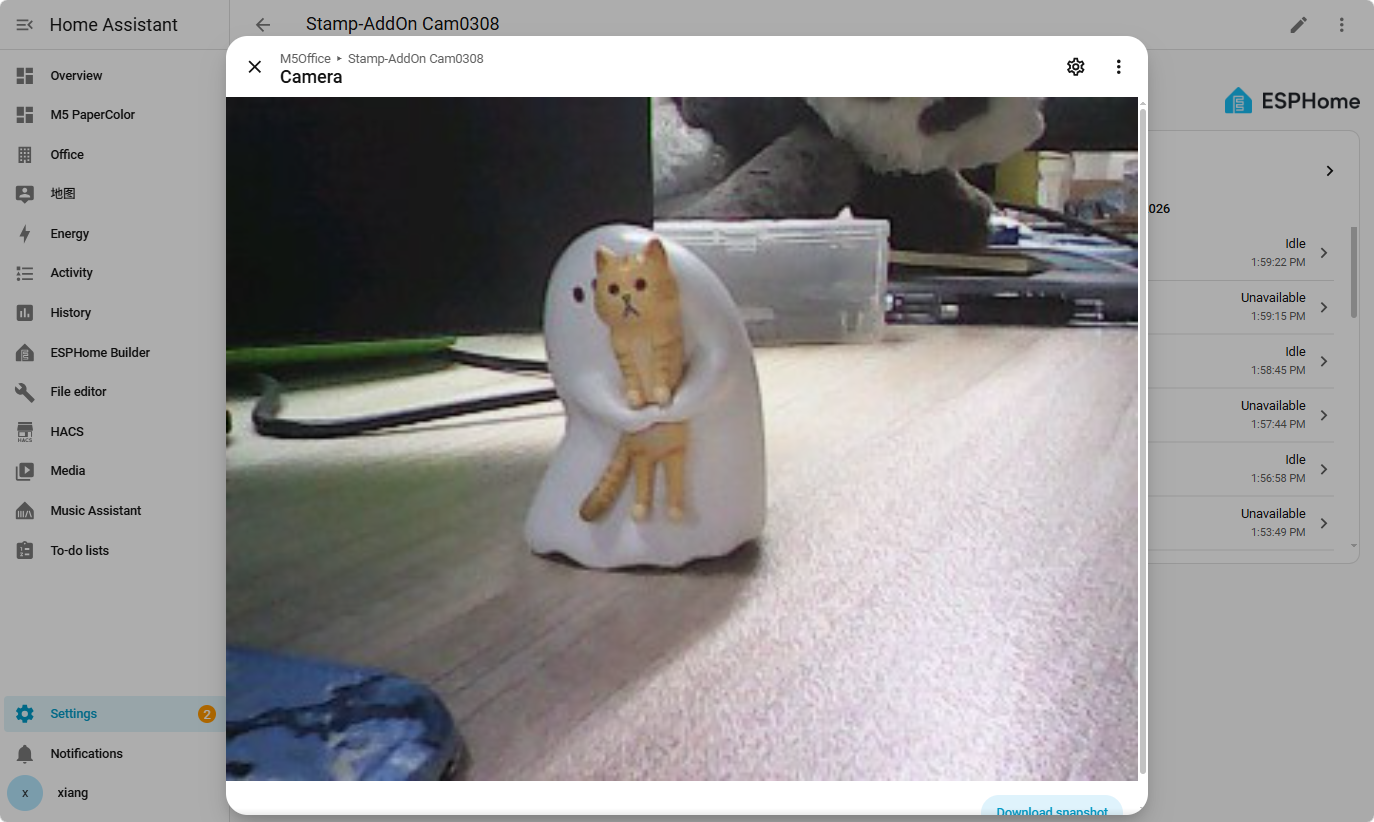
OV3660 Cameraentity to the Dashboard to view the camera stream.