

Home Assistant
Home Assistant
Controller & Devices
Cameras
Components
Lighting
Interfaces and Expansion
Applications
Media Playback
Dashboard
TimerCamera Series ESPHome Integration
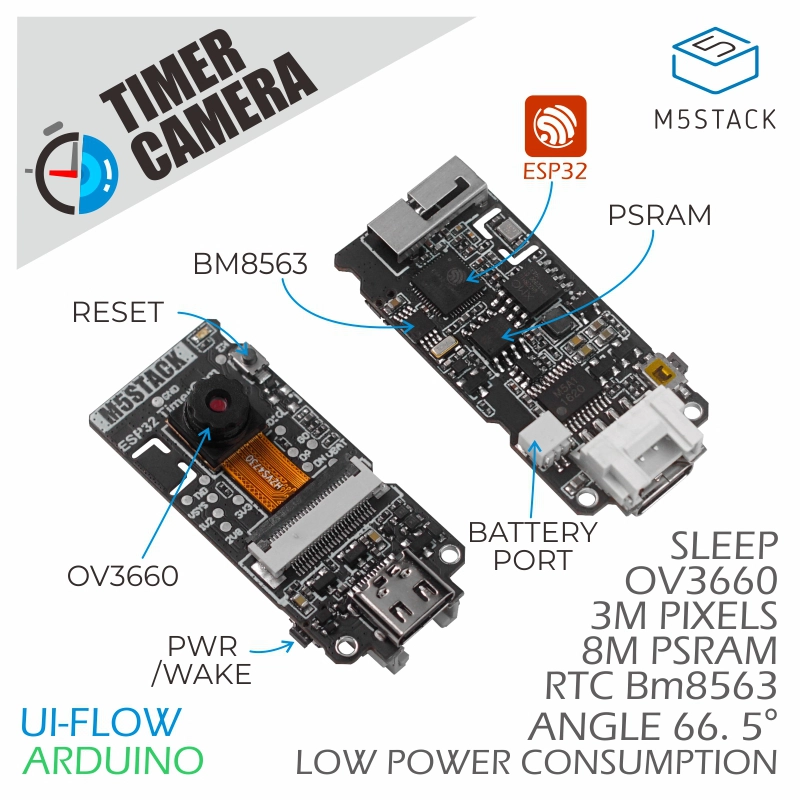
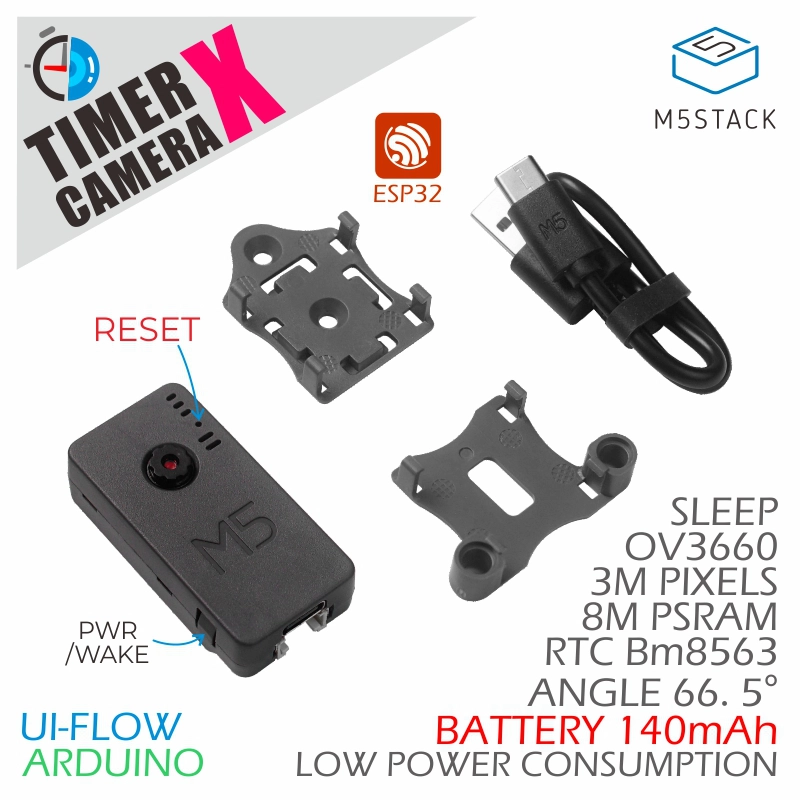
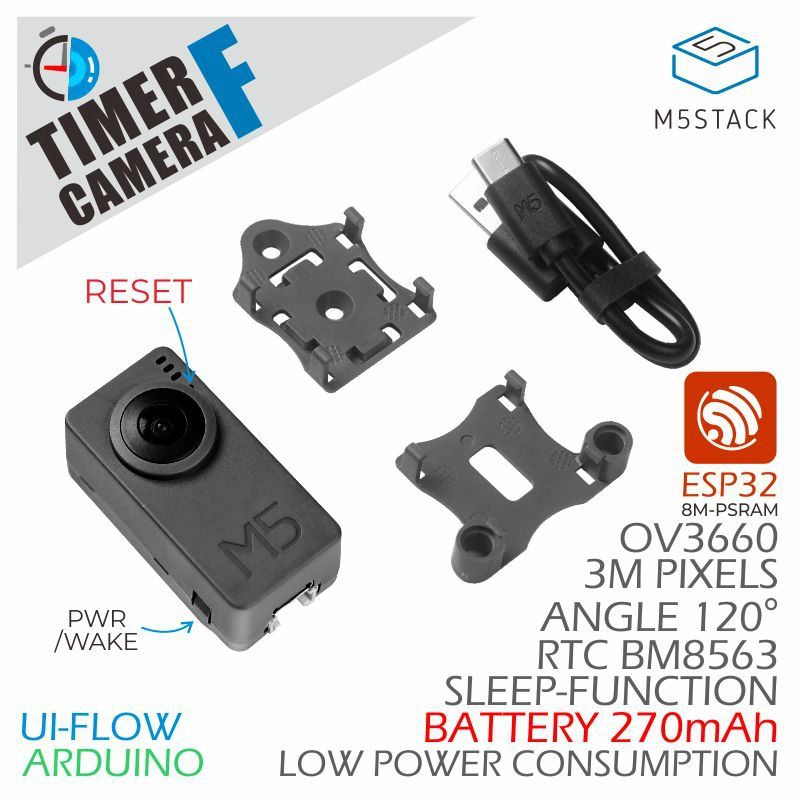
The ESPHome integration for TimerCamera / -X / -F includes camera, RTC, PSRAM, and status LED components.
1. Device Overview
| Item | Information |
|---|---|
| Products | TimerCamera / TimerCamera-X / TimerCamera-F |
| SKU | U082 / U082-X / U082-F |
| Main Functions | Image capture, RTC timing, and status LED control |
| Interfaces | I2C, camera parallel interface, GPIO |
| ESPHome Components | psram, esp32_camera, bm8563, adc, switch.gpio, ledc, monochromatic |
| ESPHome Version | / |
2. Component Details
PSRAM
The camera frame buffer uses the official ESPHome PSRAM component:
psram:
  mode: quad
speed: 80MHzOV3660 Camera
TimerCamera-X uses the official ESPHome ESP32 Camera component:
i2c:
  - id: bsp_i2c
    sda: GPIO12
    scl: GPIO14
  - id: cam_i2c
    sda: GPIO25
    scl: GPIO23

esp32_camera:
  name: OV3660 Camera
  external_clock:
    pin: GPIO27
    frequency: 20MHz
  i2c_id: cam_i2c
  data_pins: [GPIO32, GPIO35, GPIO34, GPIO5, GPIO39, GPIO18, GPIO36, GPIO19]
  vsync_pin: GPIO22
  href_pin: GPIO26
  pixel_clock_pin: GPIO21
  reset_pin: GPIO15
  resolution: 640x480
jpeg_quality: 10RTC
The onboard RTC uses the official ESPHome BM8563 platform. The RTC is read at startup and written after Home Assistant synchronizes the time:
time:
  - platform: bm8563
    i2c_id: bsp_i2c
    update_interval: never
  - platform: homeassistant
    on_time_sync:
      then:
- bm8563.write_time:Status LED
The blue status LED uses the LEDC Output and Monochromatic Light platforms:
output:
  - platform: ledc
    id: blue_led
    pin: GPIO2

light:
  - platform: monochromatic
    output: blue_led
    name: "Blue LED"
restore_mode: RESTORE_DEFAULT_ONBattery Hold and Voltage Measurement
GPIO33 controls the battery power hold circuit. The pin is pulled high by default; when USB power is not connected, turning this switch off powers down the device:
switch:
  - platform: gpio
    id: bat_hold_pin
    name: "Battery Hold Pin"
    pin: GPIO33
restore_mode: RESTORE_DEFAULT_ONTimerCamera-X and TimerCamera-F can read the battery voltage on GPIO38 with the official ESPHome ADC Sensor platform:
sensor:
  - platform: adc
    pin: GPIO38
    attenuation: 12dB
    name: "Battery Voltage"
    id: battery_voltage
    update_interval: 10s
    filters:
- multiply: 1.513. Example
Select the complete configuration for the device model:
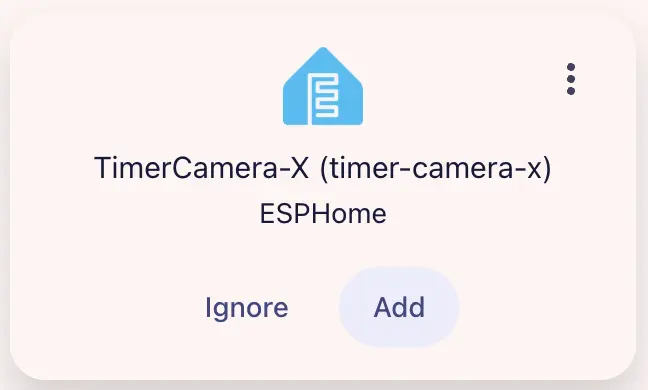
Home Assistant during device setup:
After the device is added, the camera entity is available in the Dashboard:
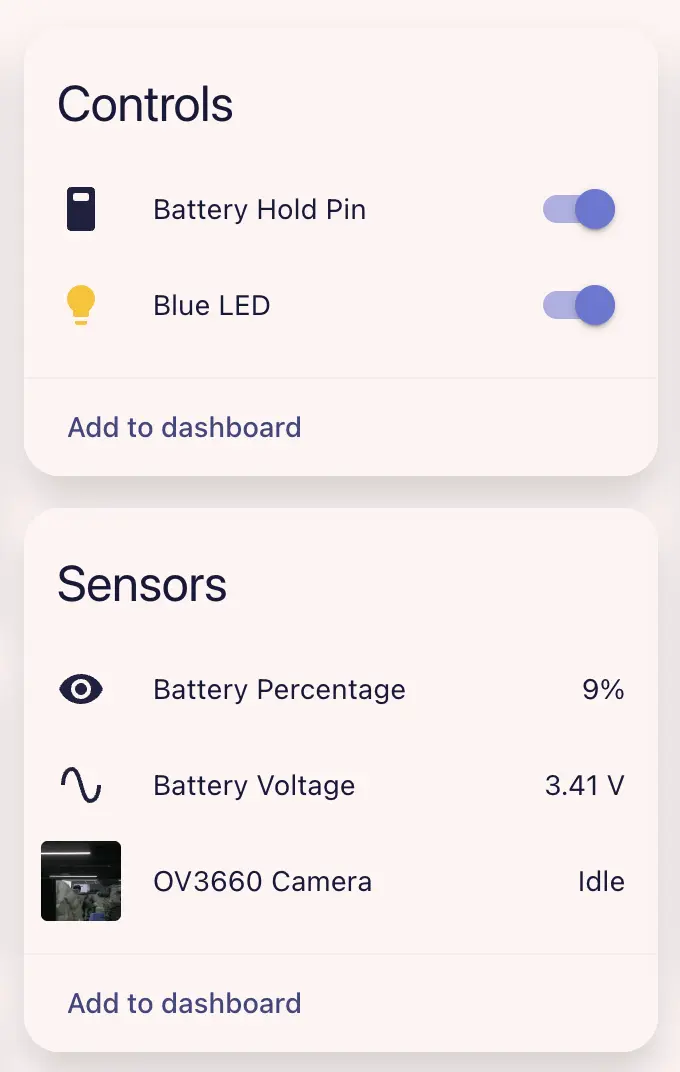
Click the camera entity to view a live preview.
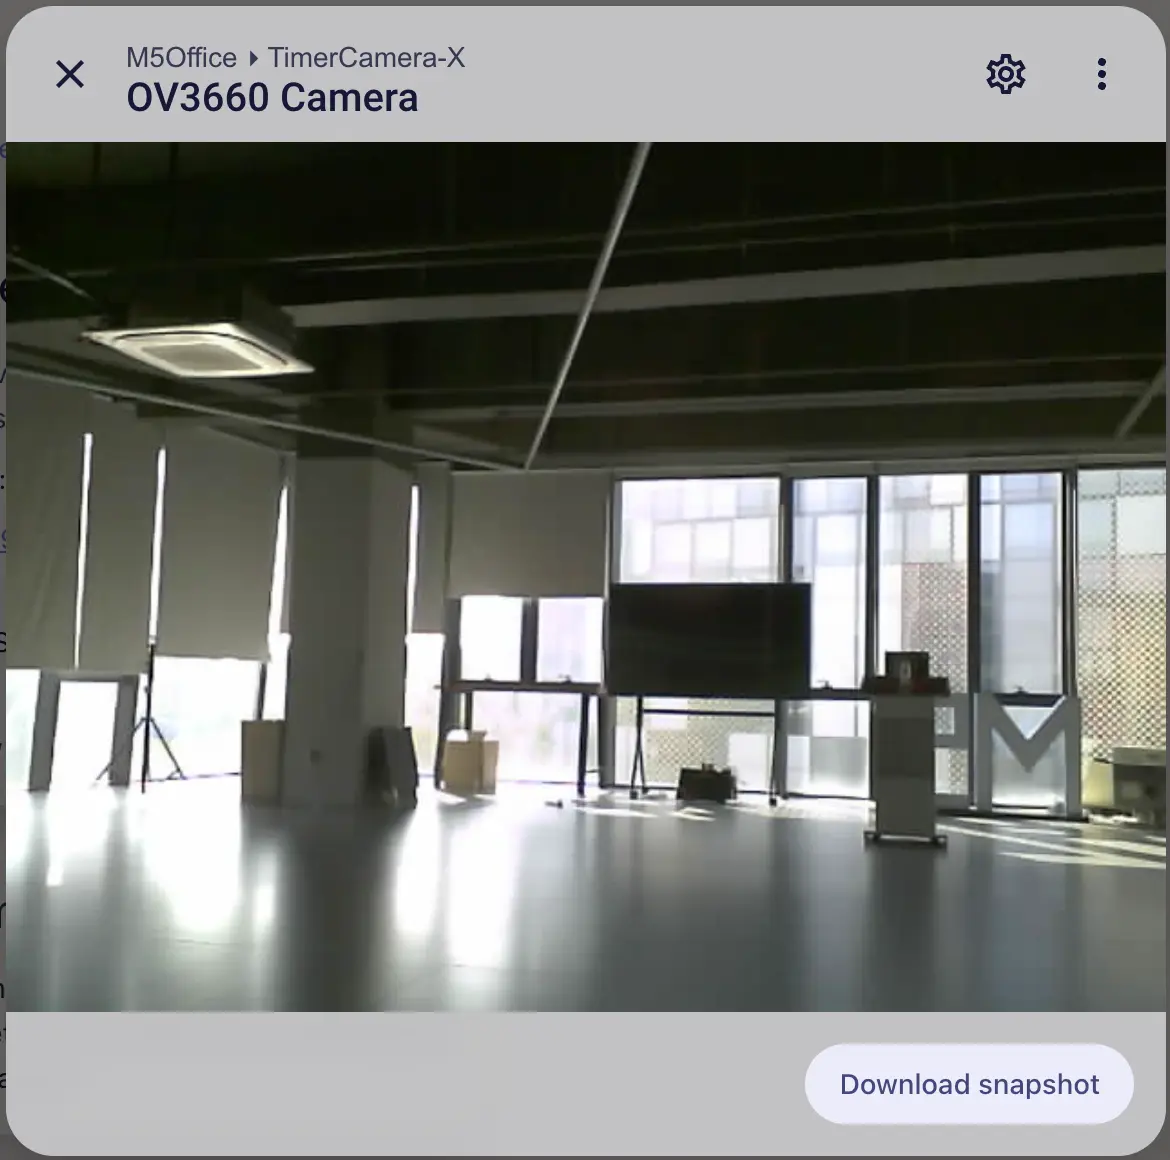
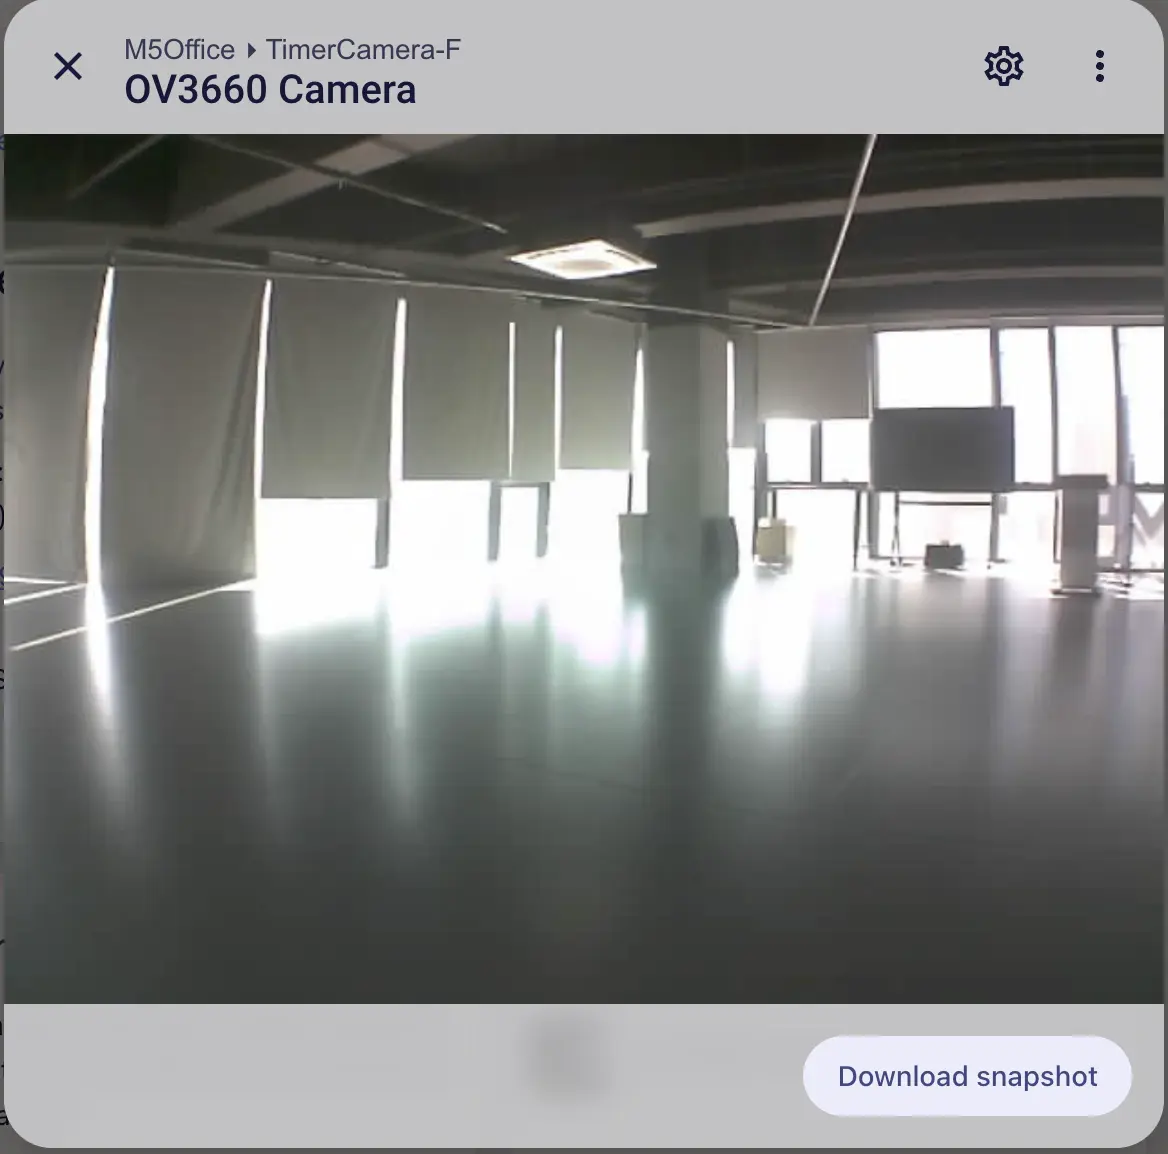
TimerCamera (TimerCamera-X) is shown on the left. TimerCamera-F uses a fisheye lens and is shown on the right.