

Home Assistant
Home Assistant
Controller & Devices
Cameras
Components
Lighting
Interfaces and Expansion
Applications
Media Playback
Dashboard
ESPHome Usage Tutorial
This tutorial explains how to use ESPHome Device Builder to create an ESPHome configuration, compile the firmware, and flash it to a device.
1.12.4 and ESPHome 2026.8.1. Button names and locations may differ slightly between versions, but the workflow is essentially the same.1. Preparation
Set Up the Environment
- Install and start Home Assistant by following the official Home Assistant documentation.
- Install and start ESPHome Device Builder by following the official ESPHome documentation.
2. Compile and Flash the Firmware
Create a Device
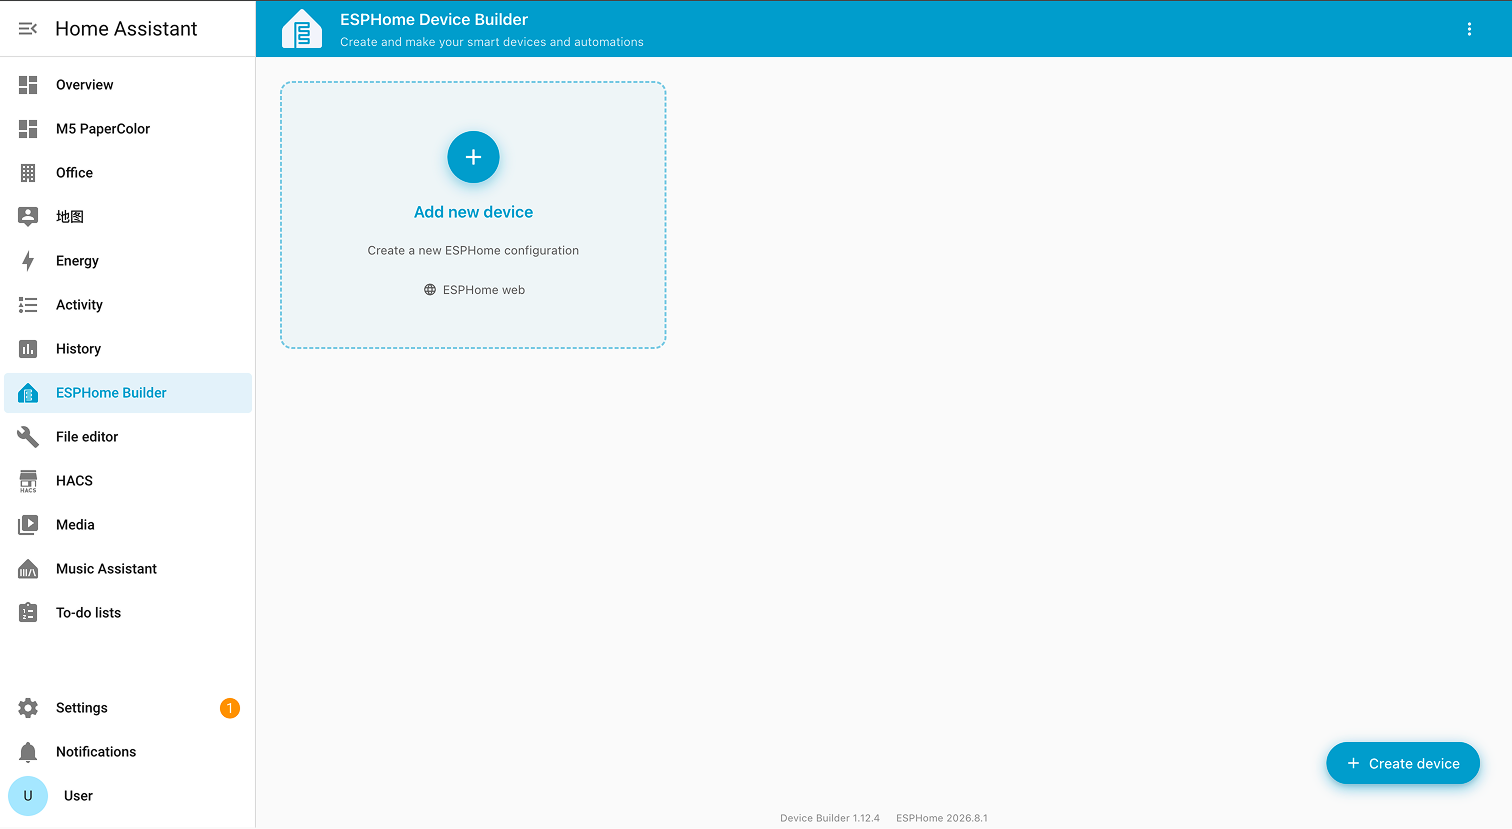
- Open
ESPHome Builderfrom the Home Assistant sidebar. - Click
+ Create devicein the lower-right corner. On the first run, you can also clickAdd new deviceon the page.
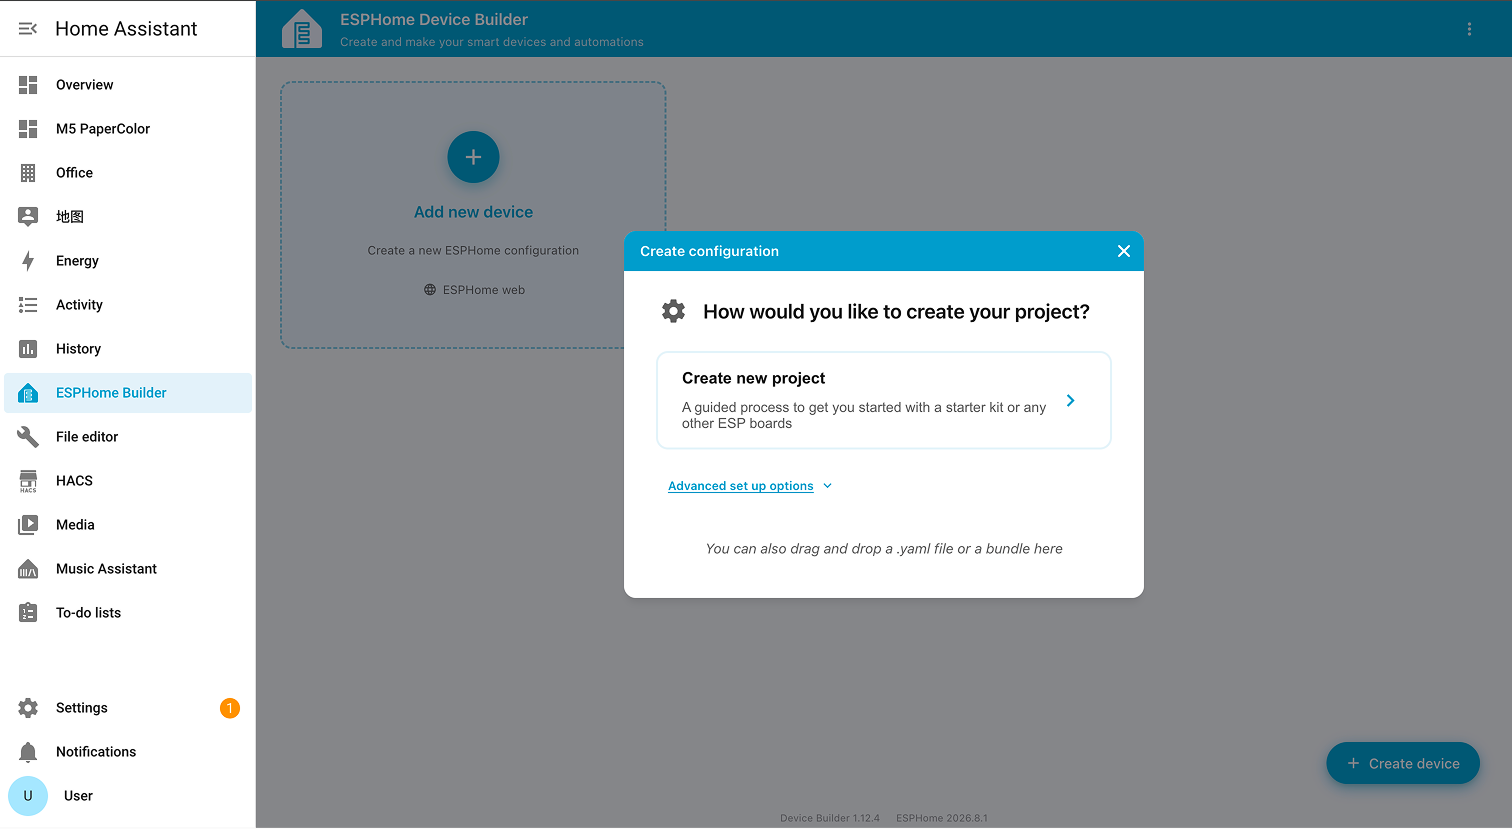
- In the
Create configurationwindow, selectCreate new project.
- Search for and select the board actually used from the board list.
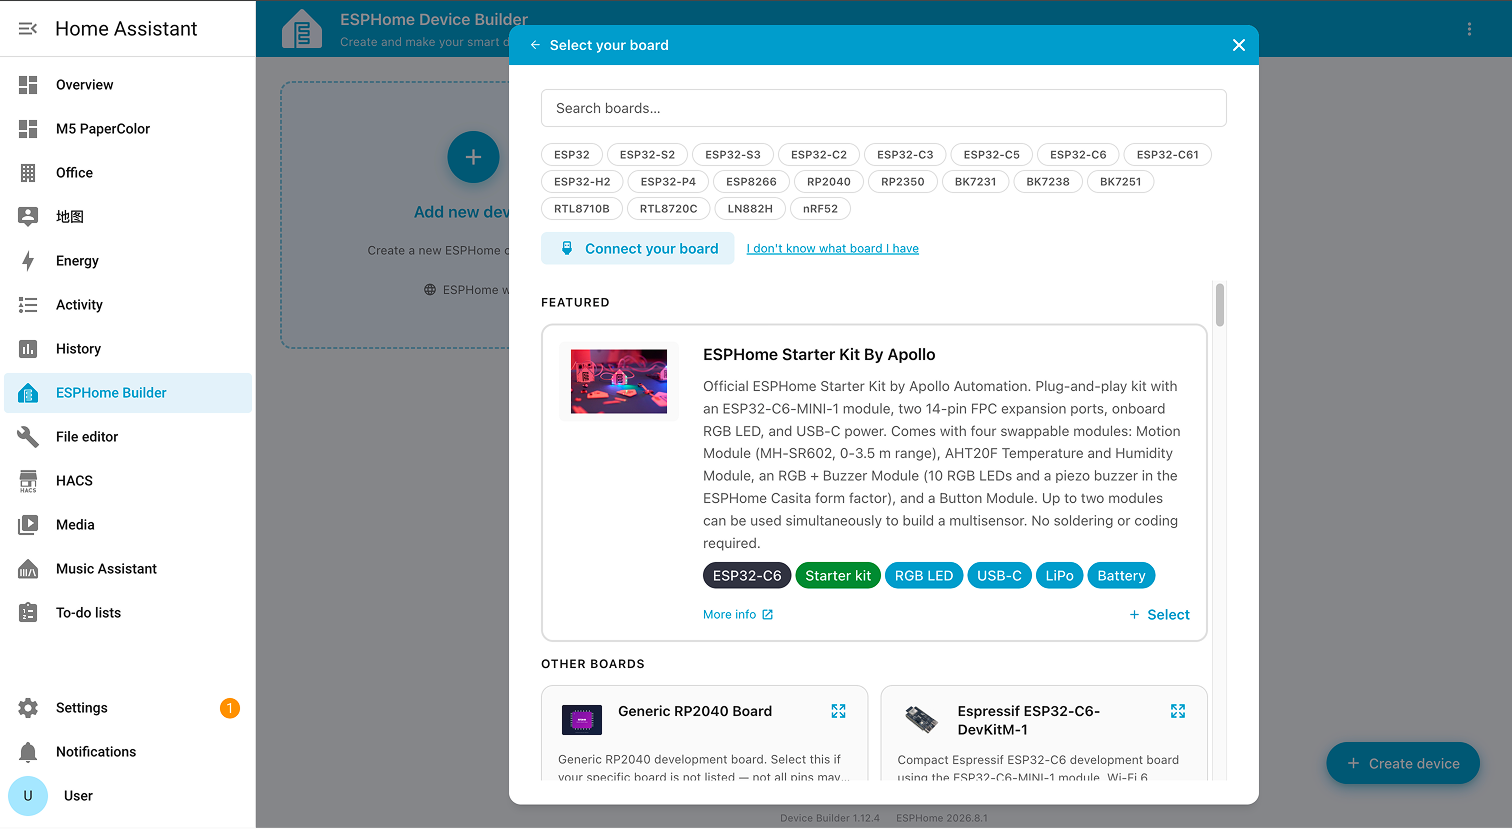
- If the exact model is listed, select it.
- If you are unsure which board to use, click
Connect your boardand let ESPHome try to identify it. - Use a generic board such as
Generic ESP32 Boardonly after confirming the chip model and required parameters.
- Enter a device name, then click
Finish setup.
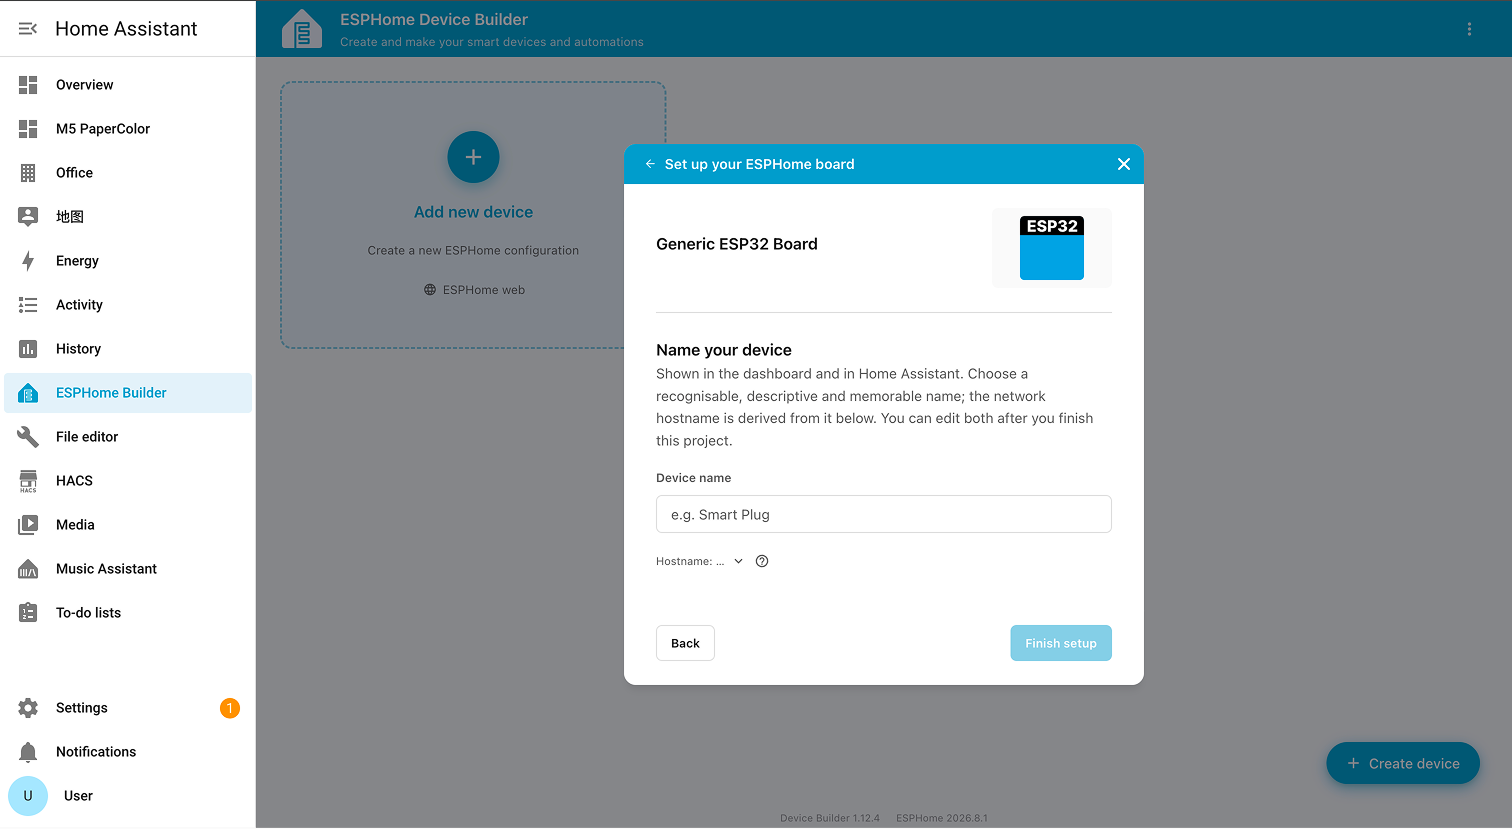
living-room-sensor. The name is used to generate the network hostname, so use only lowercase letters, numbers, and hyphens.Edit the Configuration
After the project is created, ESPHome generates a minimal configuration. Edit YAML in the editor on the right. Use Core configuration, Components, and Automations on the left to review or add configuration items.
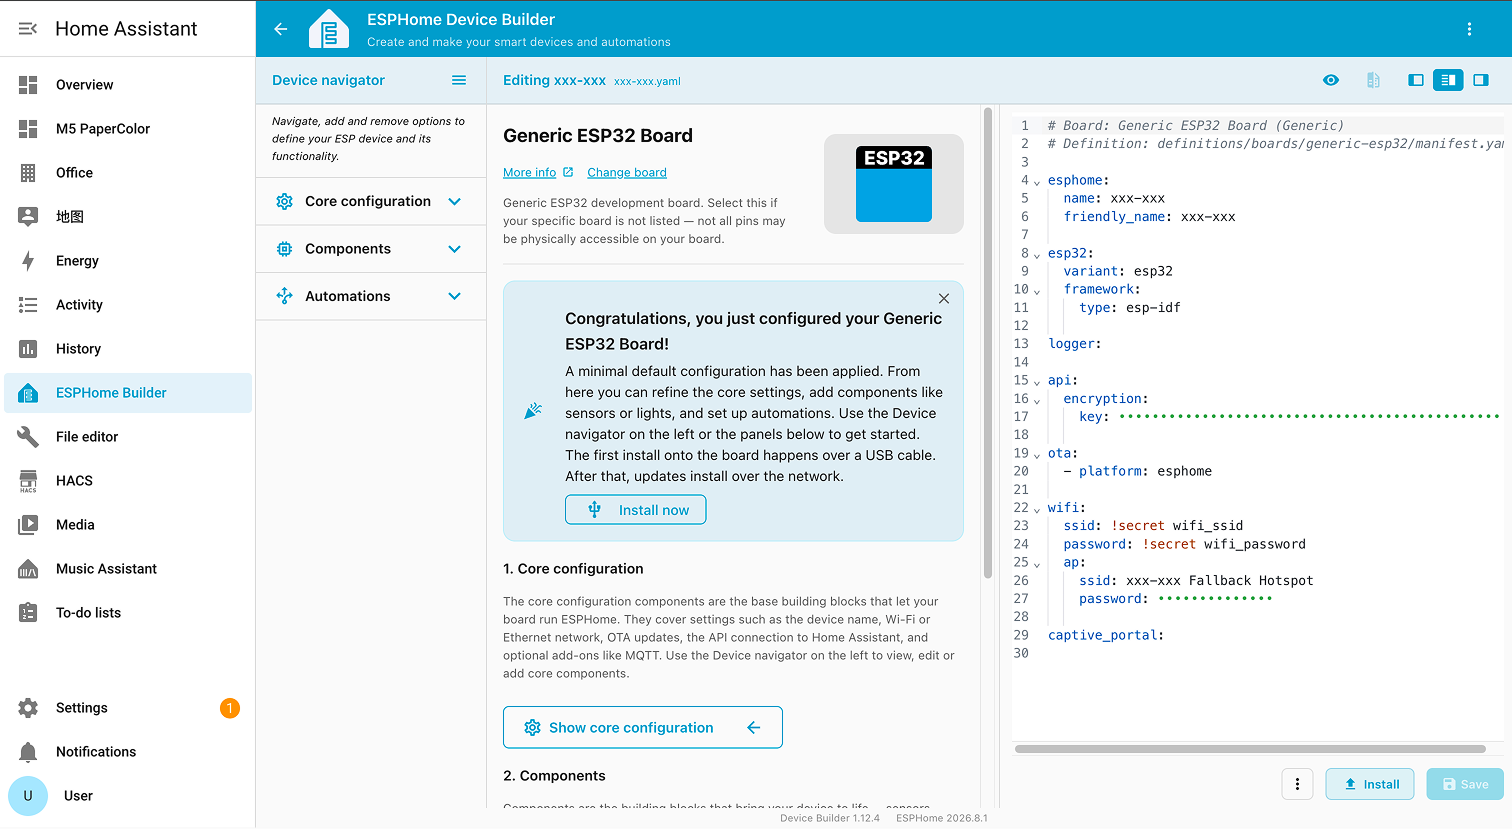
The default configuration usually contains the following sections:
| Configuration Item | Purpose |
|---|---|
esphome | Sets the device name and friendly name |
esp32 / esp8266 / rp2040 | Sets the chip, board, and framework |
logger | Outputs runtime logs for debugging |
api | Allows Home Assistant to connect |
ota | Enables future firmware updates over the network |
wifi | Configures Wi-Fi and the fallback access point |
captive_portal | Provides a provisioning page on the fallback access point |
api.encryption.key generated by the wizard. It encrypts API communication between the device and Home Assistant. Never publish real Wi-Fi passwords, API keys, or OTA passwords in public repositories, screenshots, or forums.Components panel. Some components used by M5Stack products are hosted in external GitHub repositories. Add the repository with external_components in the YAML editor before configuring the component. See the example below. For sensor-specific parameters and usage, follow the corresponding ESPHome component page.Using Unit TMOS PIR as an example, first import the ESPHome component repository:
external_components:
  - source: github://m5stack/esphome-yaml/components
    components: [sths34pf80]
refresh: 0sThen use the component in the appropriate ESPHome platform configuration. Refer to the corresponding component page for the exact platform name, parameters, and entity configuration for each product.
When editing is complete, click Save in the lower-right corner. Correct any syntax or component errors reported by the editor before compiling.
Compile the Firmware
- Click
Installin the lower-right corner of the editor.
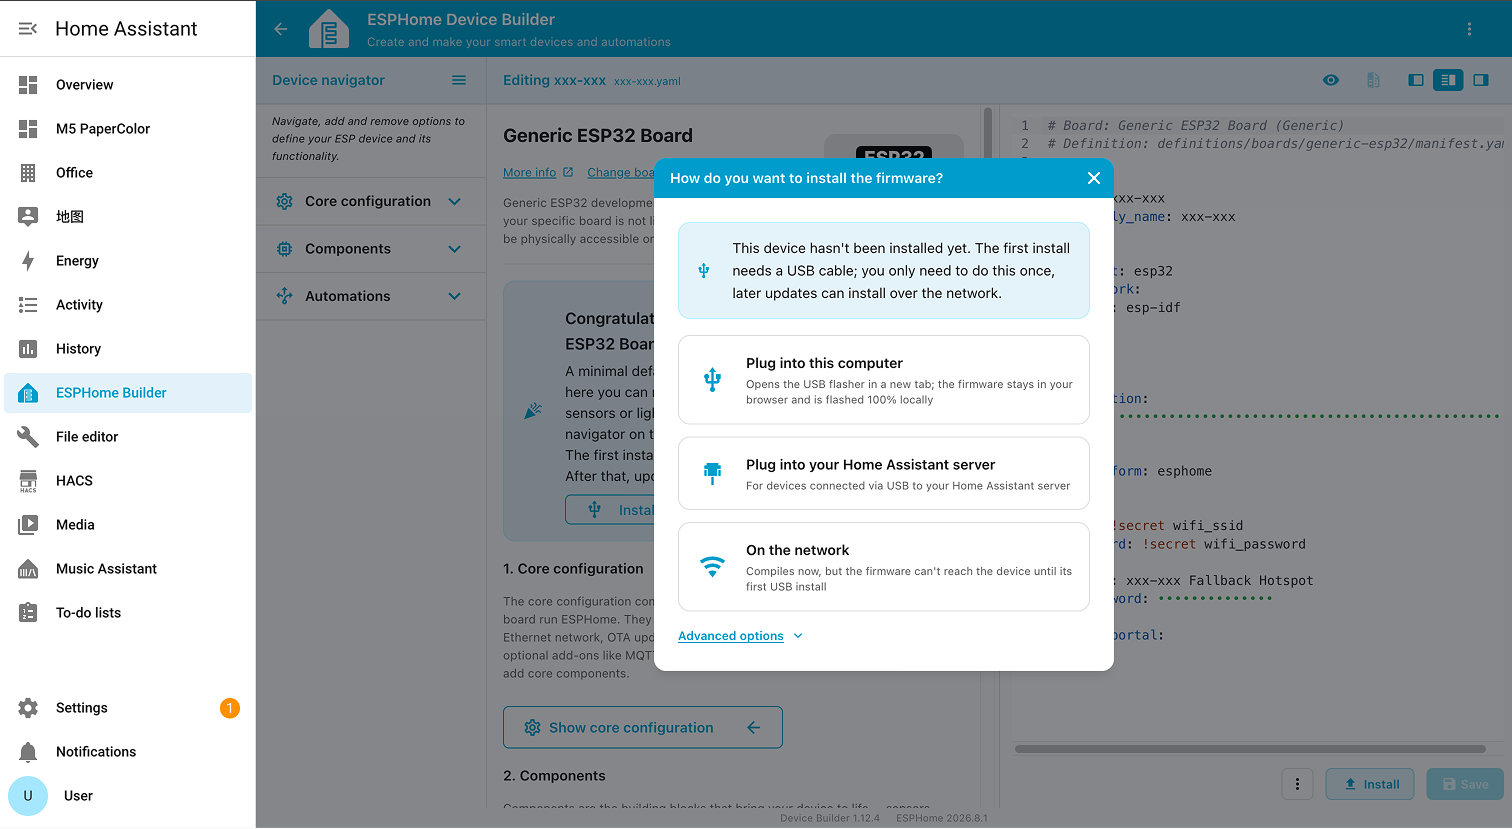
Use the following table when choosing an installation method:
| Installation Method | Use Case | Requirements |
|---|---|---|
Plug into this computer | First flash; device connected to the computer running the browser | WebSerial-capable browser, USB data cable, HTTPS or localhost page |
Plug into your Home Assistant server | Device connected directly to the Home Assistant host | Host recognizes the USB serial port and permits ESPHome access |
On the network | Subsequent OTA updates | ESPHome firmware running, device online, and OTA configured |
Plug into this computer refers to the computer where the browser is open. Plug into your Home Assistant server refers to the server actually running Home Assistant. When Home Assistant is accessed remotely, these are usually different machines.Flash the Firmware
Plug into this computer
This method is recommended for the first flash.
- Connect the device to the current computer with a USB data cable. Some devices must first enter download mode; see the product-specific instructions.
- Select
Plug into this computerin the installation method dialog. - Wait for compilation to finish. When the log shows
Successfully compiled program, clickOpen USB flasher.
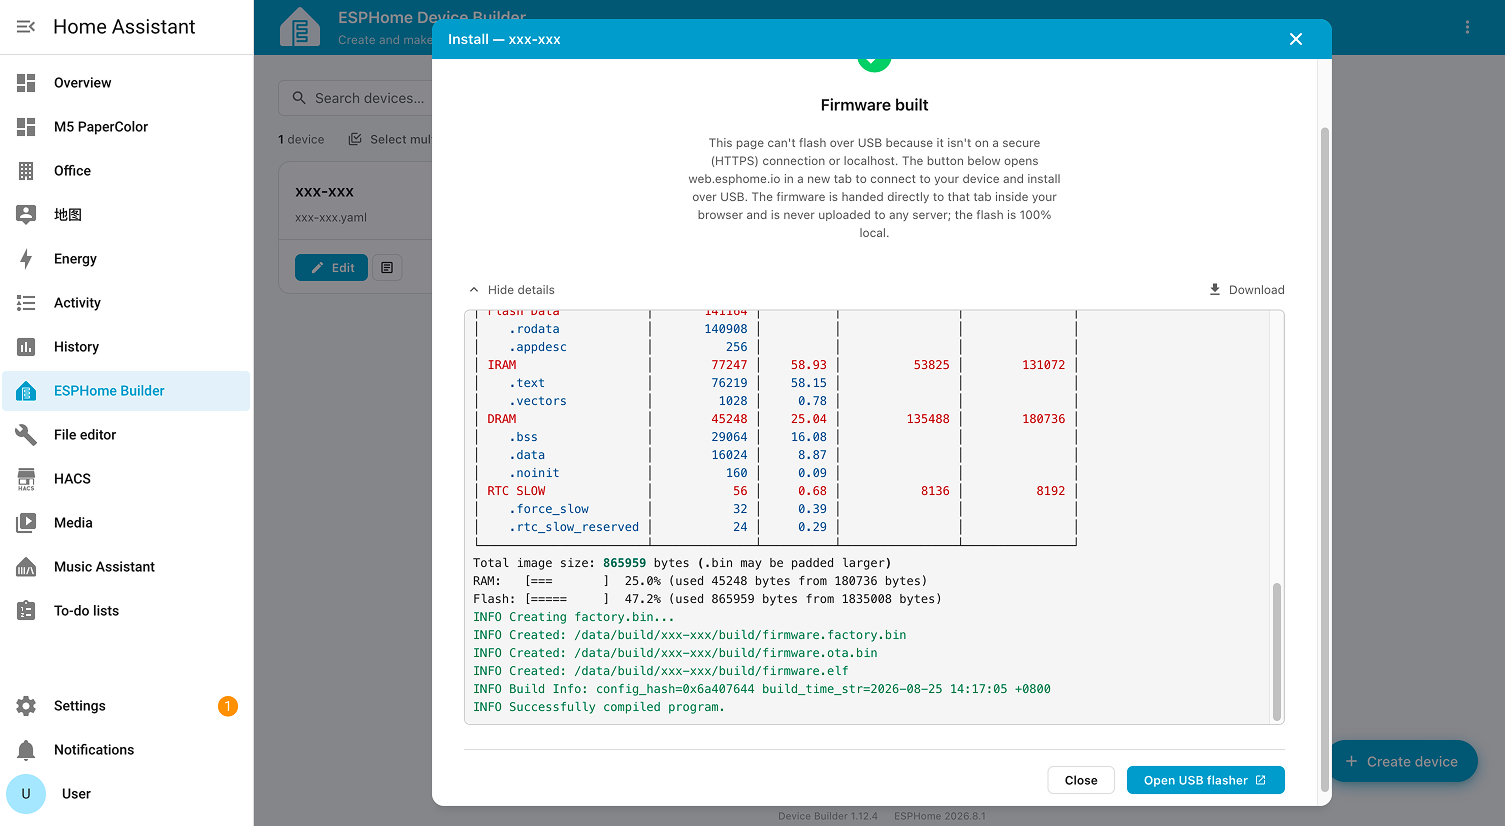
- ESPHome Web opens in a new browser tab. Confirm that it has received
firmware.factory.bin, then clickConnect & install.
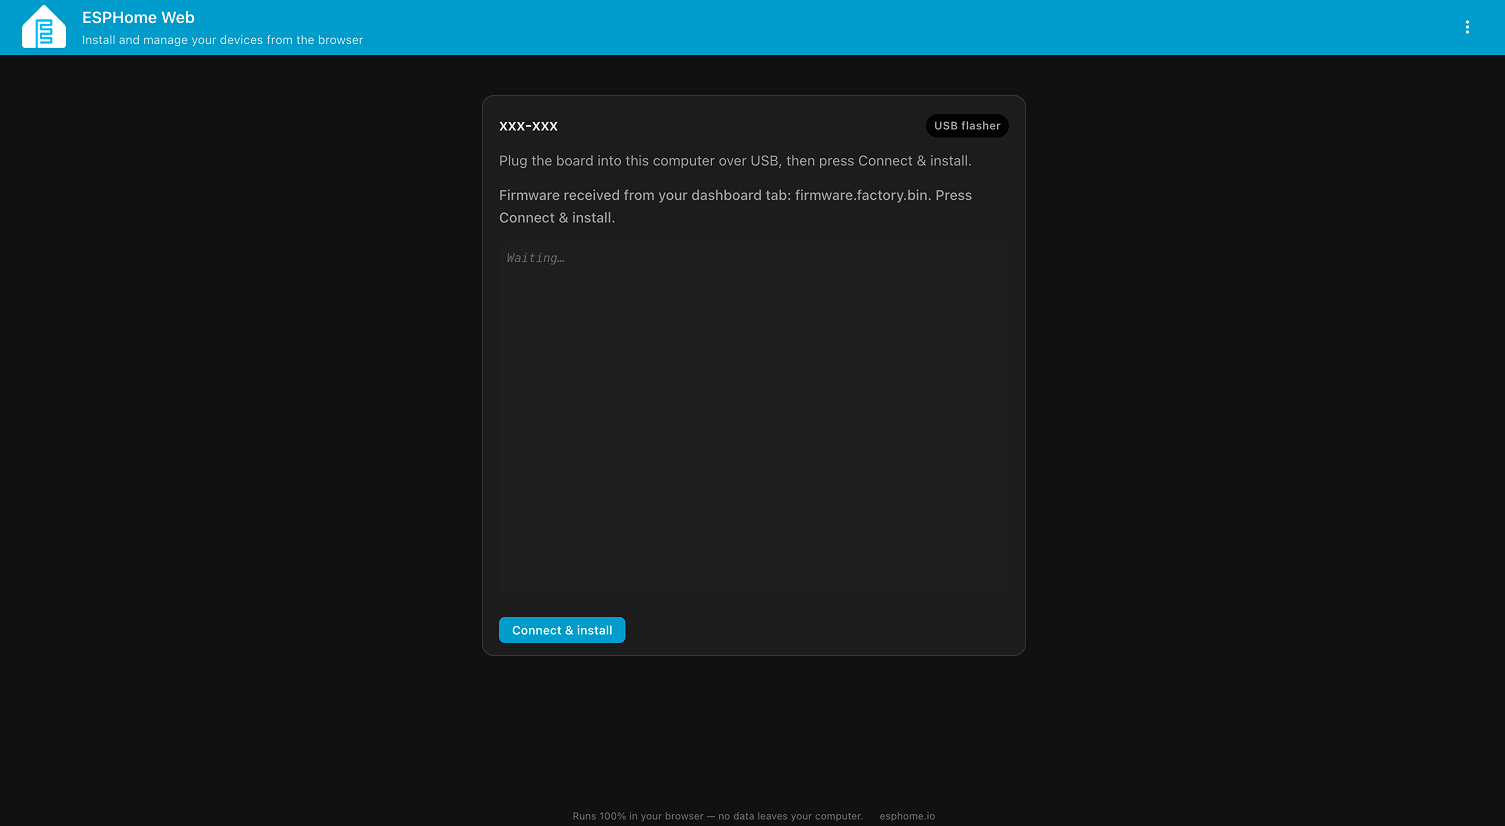
- Select the target device from the serial-port list and click
Connect.
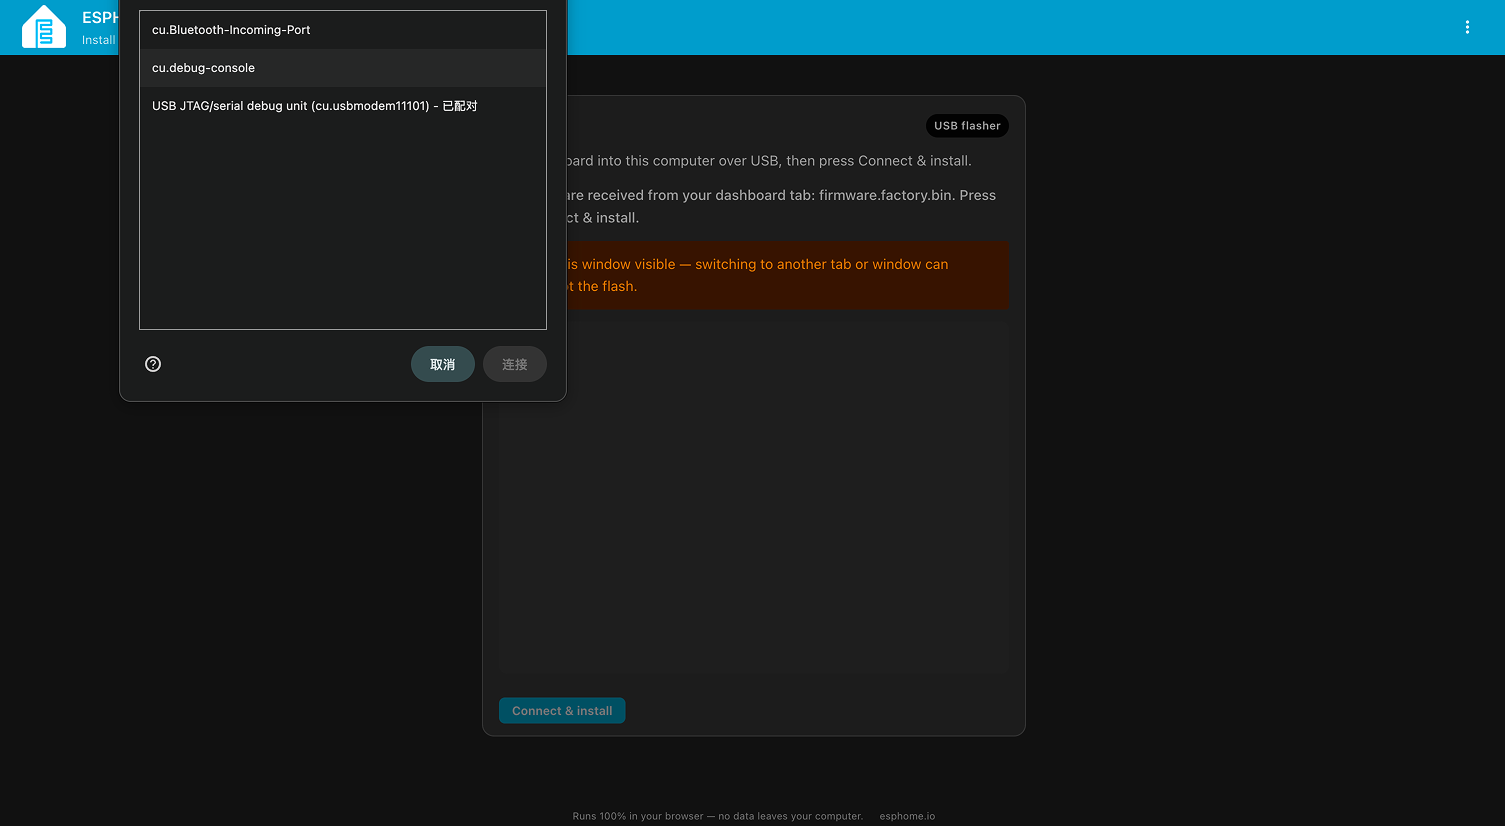
Common serial-port names include:
- macOS:
cu.usbmodem...orcu.usbserial... - Linux:
/dev/ttyUSB...or/dev/ttyACM... - Windows:
COM...
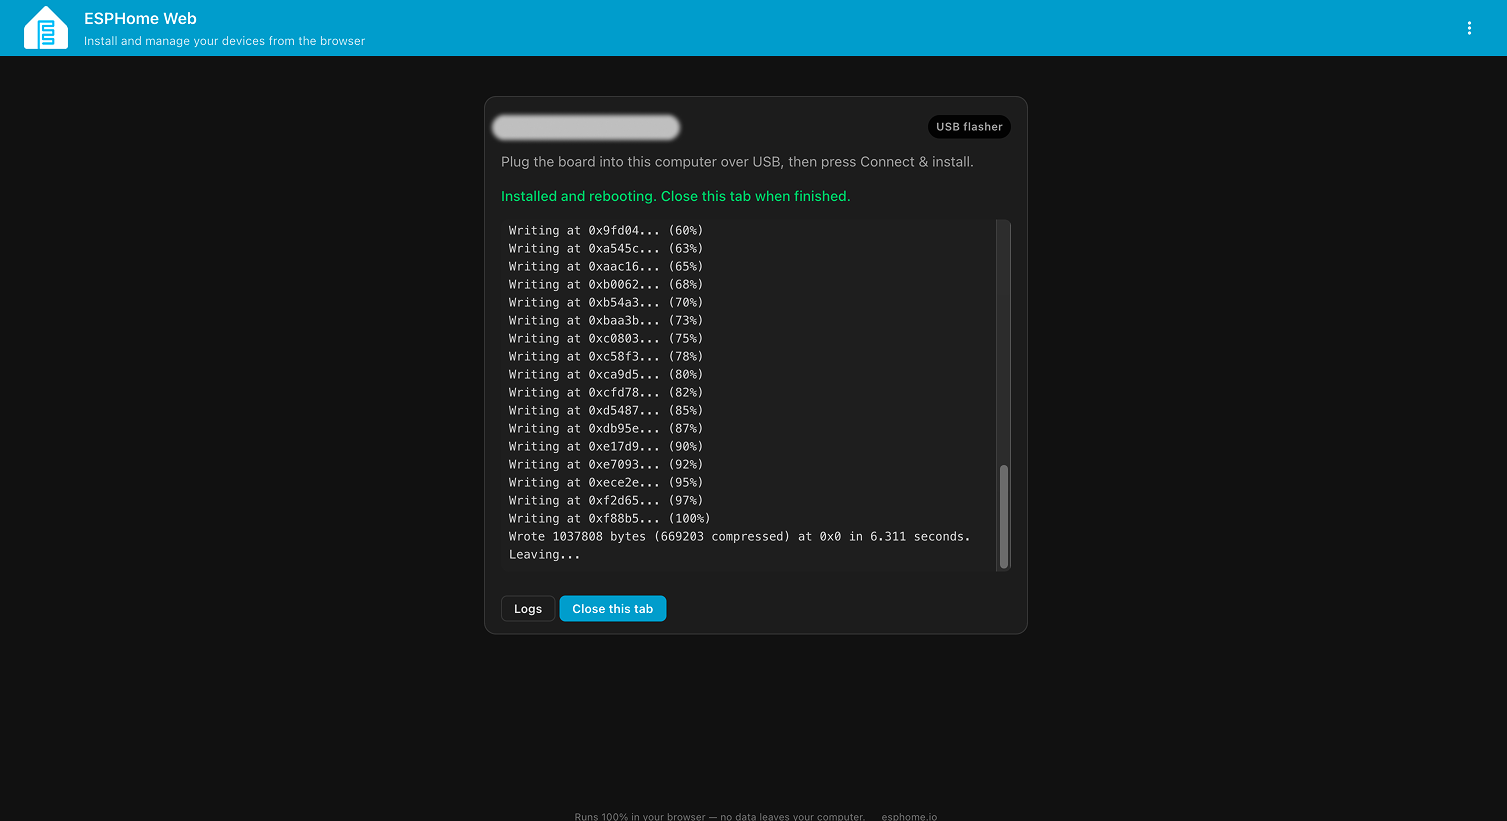
- Confirm the installation as prompted and wait for erasing, writing, and verification to complete. Keep the page visible and do not disconnect the USB cable during flashing.
- Restart the device after flashing. It uses the Wi-Fi settings in the YAML to connect. If the connection fails, it starts a fallback access point.
Plug into your Home Assistant server
Use this method when the device is connected directly to the Home Assistant host rather than to the computer running the browser.
- Connect the device to a USB port on the Home Assistant host.
- Select
Plug into your Home Assistant server. - Select the target device from the serial-port list, such as
/dev/ttyUSB0or/dev/ttyACM0. - Wait for compilation and flashing to finish, then restart the device.
If the target port is not listed, check that:
- The USB cable supports data transfer and the device is powered correctly.
- The Home Assistant host has detected the USB device.
- A virtual machine, Docker, or NAS environment has passed the USB device through to Home Assistant/ESPHome.
- The serial port is not in use by another add-on or program.
On the network (OTA)
Use this method only for devices that are already running ESPHome firmware and are currently online.
- Confirm that the device and Home Assistant can communicate over the network.
- Select
On the network. - Select the target device and wait for compilation, upload, and restart to finish.
- Check the logs to confirm that the device is back online without startup errors.
For a first flash, an offline device, a device that cannot reconnect after network changes, or a device with OTA removed, recover it over USB instead.
Flash Manually after Downloading the Firmware
Click Download on the compilation results page to save the firmware. A first full flash normally uses firmware.factory.bin; firmware.ota.bin is for OTA updates and must not replace the first full-flash image.
Before flashing manually, verify the file type, chip model, Flash settings, and write address. If no product-specific instructions are available, use the ESPHome USB flasher where possible.
After flashing, ESPHome Web displays the installation progress and restart status.
3. Get Started
Add to Home Assistant
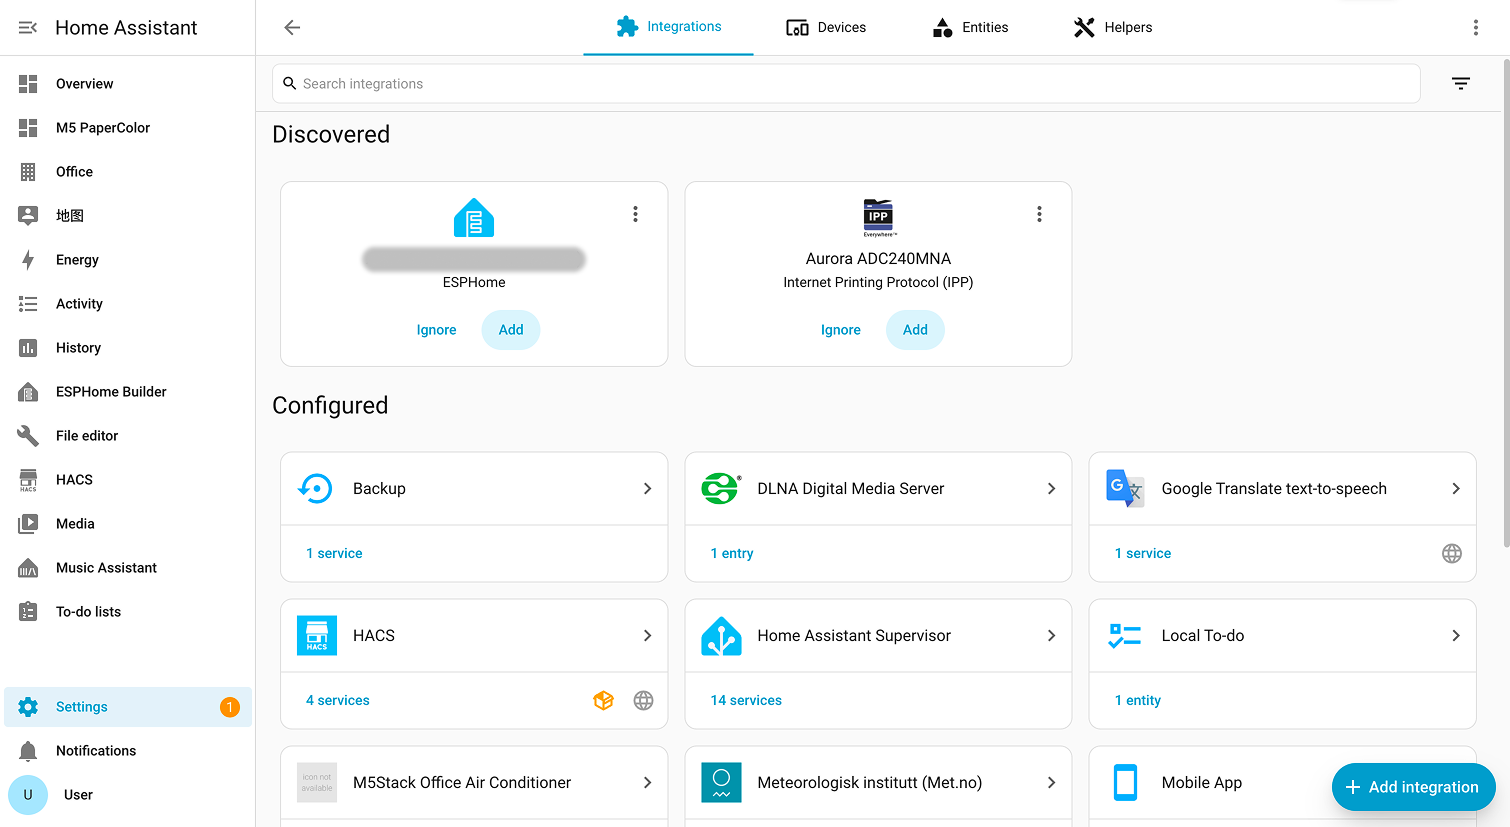
After the firmware starts and connects to the network, Home Assistant normally discovers the ESPHome device automatically.
Open
Settings -> Devices & services.Find the ESPHome device under Discovered and click
Add.
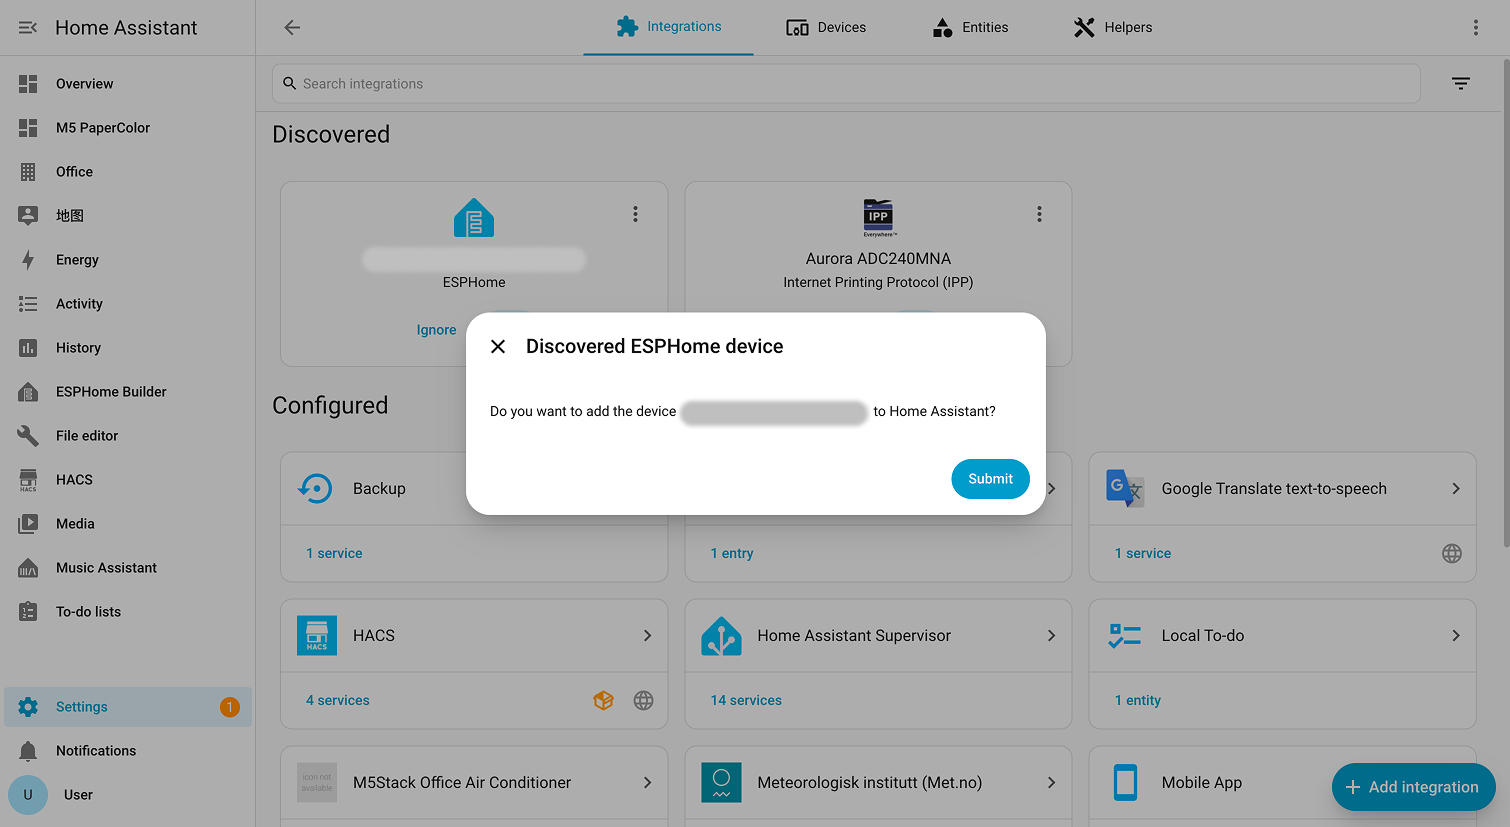
- Check the device information in the confirmation dialog, then click
Submit.
- Enter a device name, select the appropriate
Area, and clickFinish.
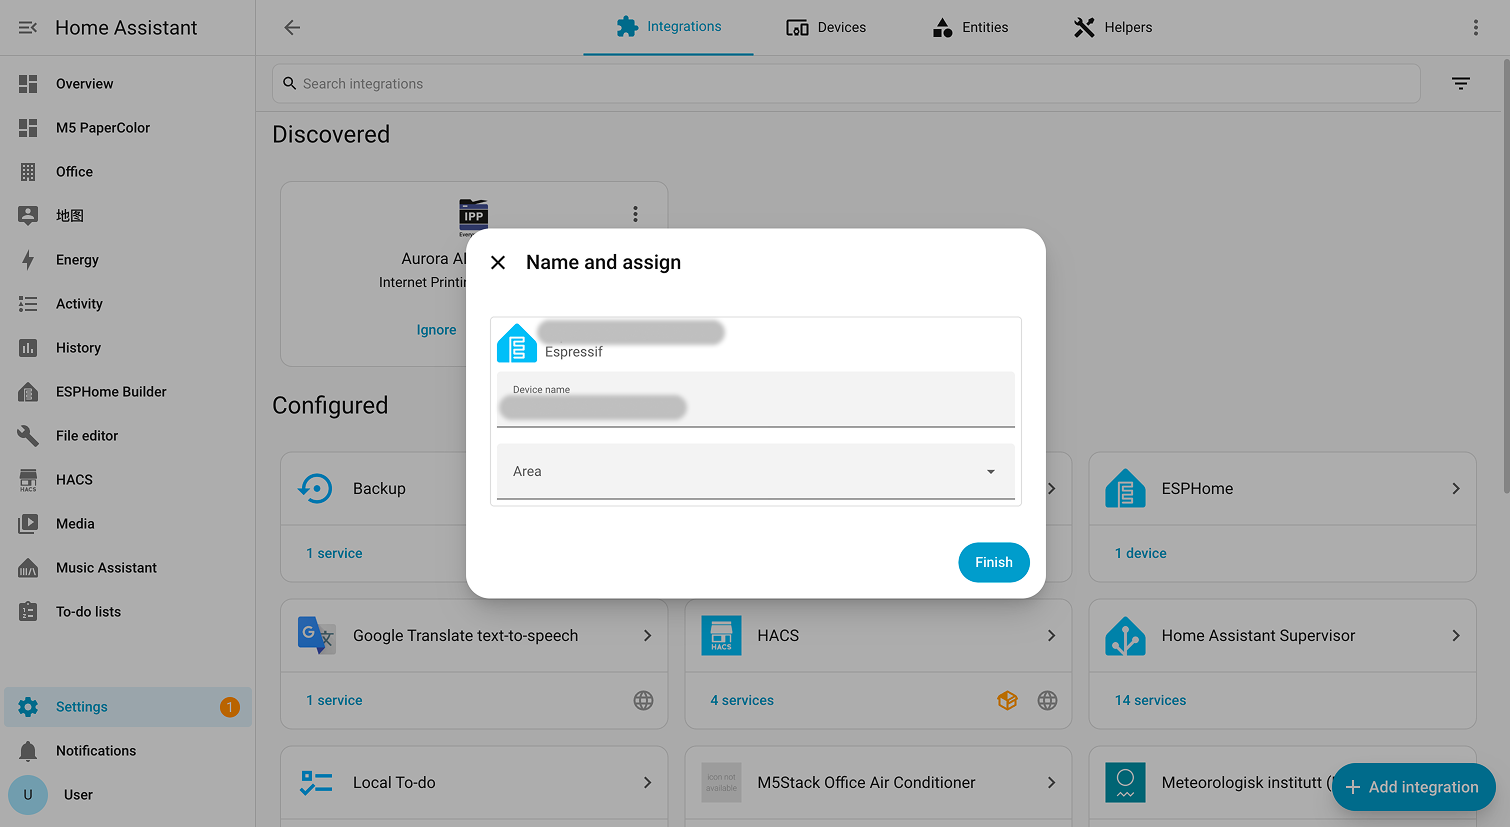
- Open the device details page and confirm that entity states and sensor data update normally.
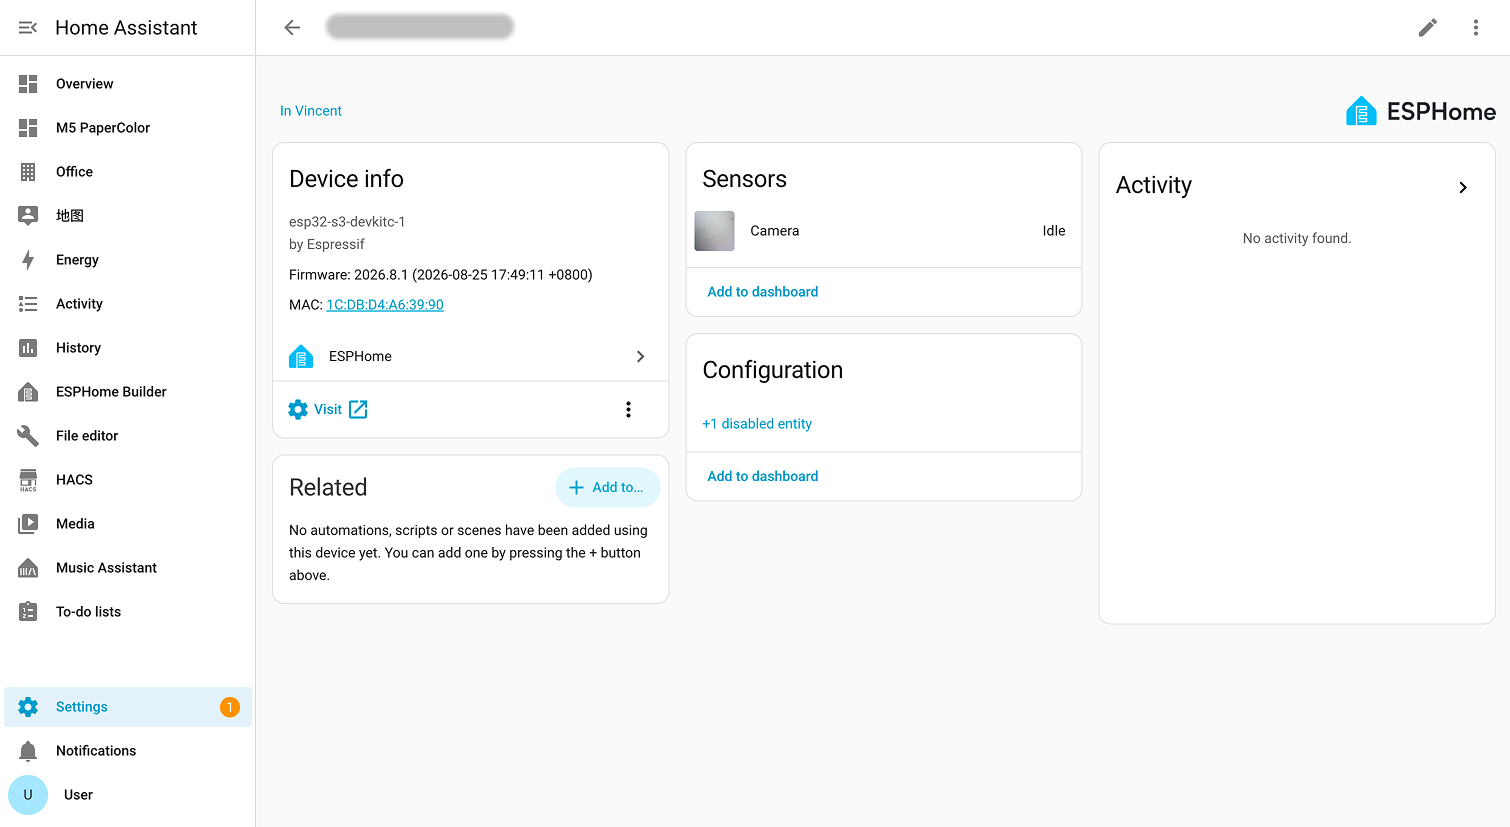
If Home Assistant does not discover the device automatically:
- Click
Add integrationand search forESPHome. - Enter the device hostname, such as
living-room-sensor.local, or its IP address. - If prompted, enter the key corresponding to
api.encryption.keyin the YAML.
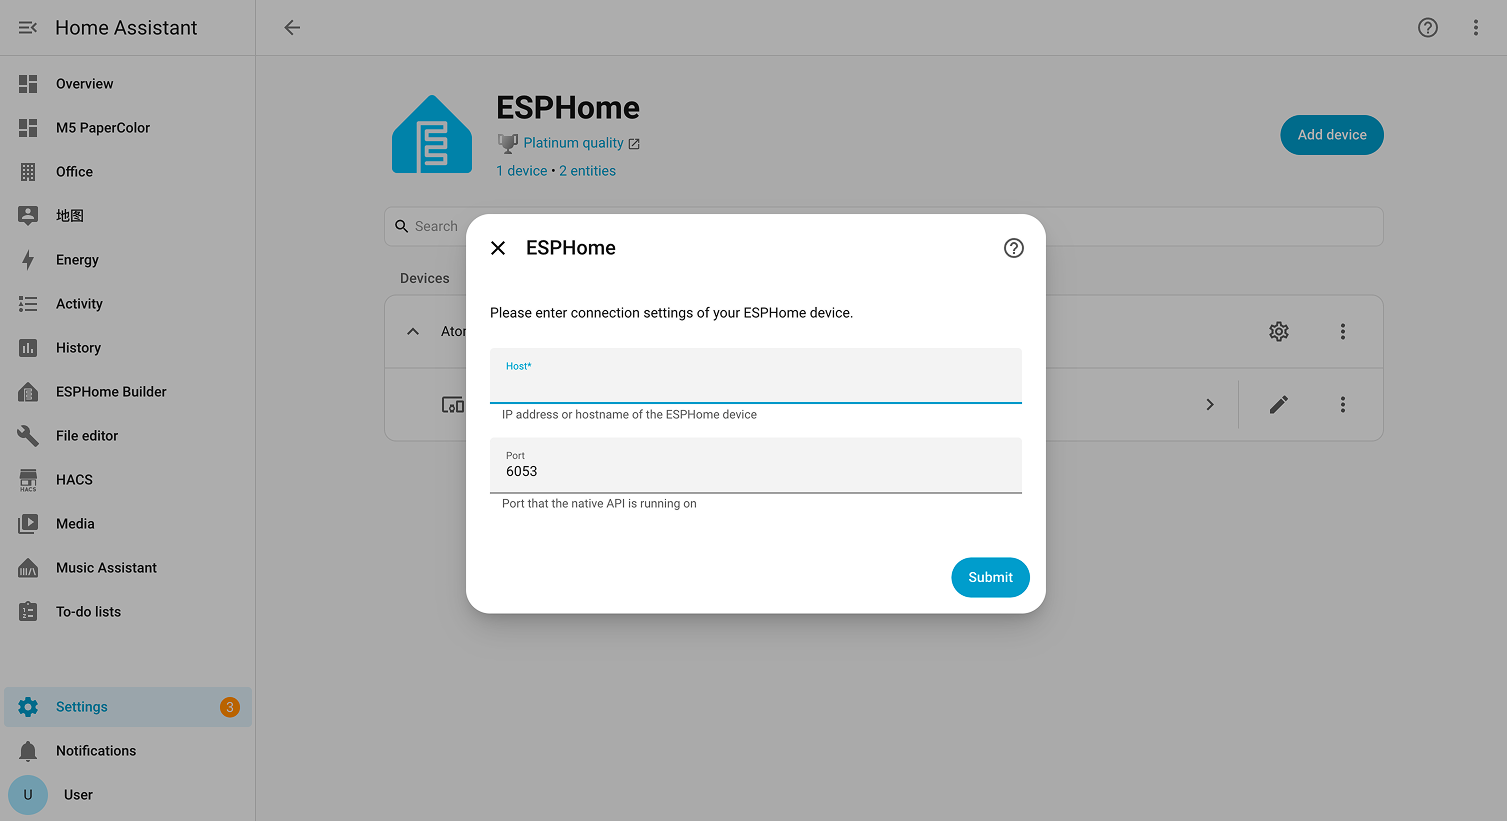
logger. If the IP address is not shown, confirm that the device is connected to Wi-Fi and check the serial connection and log-output settings.