

Home Assistant
Home Assistant
コントローラーとデバイス
カメラ
コンポーネント
照明
インターフェース拡張
アプリケーション
ダッシュボード
Unit AMeter ESPHome コンポーネント
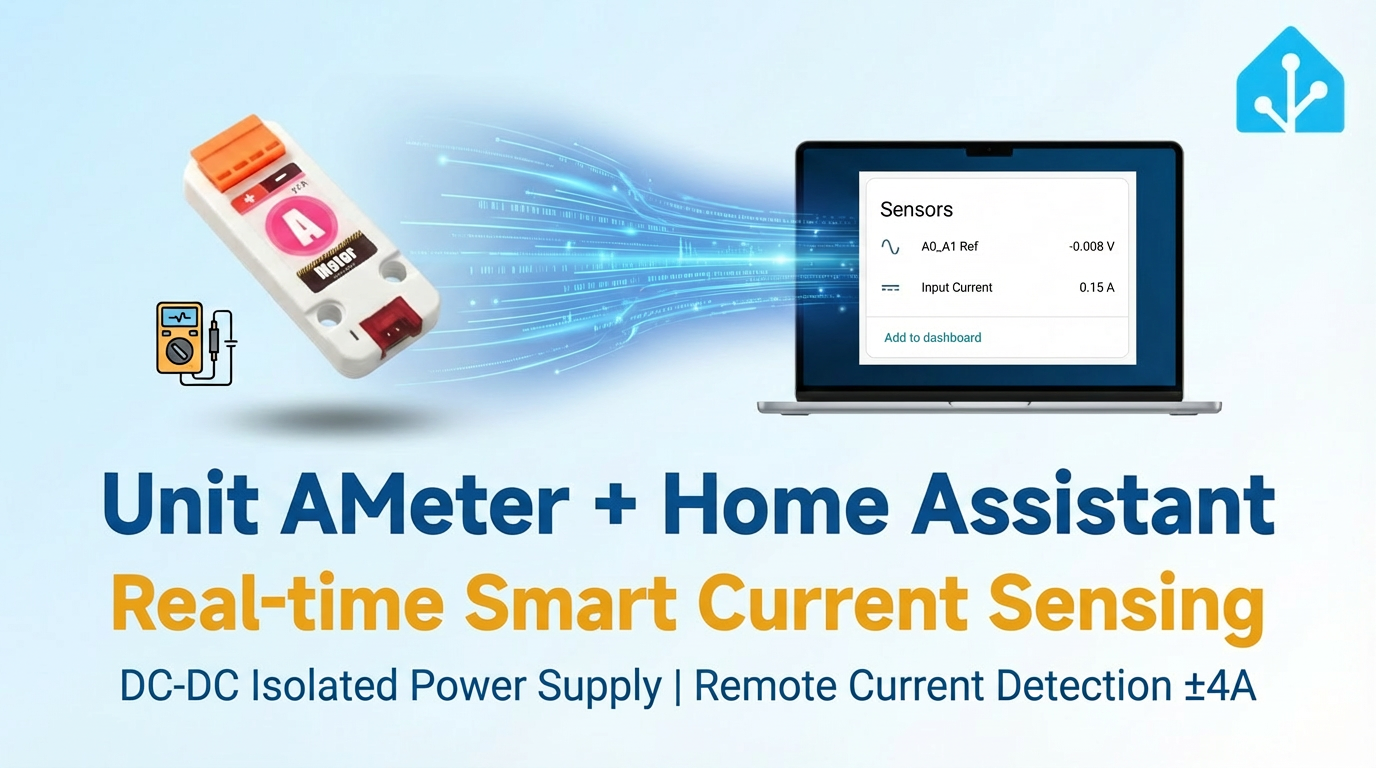
Unit AMeter コンポーネントは、I2C 経由で電流測定データを読み取ります。
1. コンポーネント概要
| 項目 | 情報 |
|---|---|
| 製品名 | Unit AMeter |
| SKU | U086 |
| 主な機能 | DC 電流の測定 |
| 通信インターフェース | I2C |
| デフォルト I2C アドレス | ADS1115: 0x48、EEPROM: 0x51 |
| ESPHome コンポーネント | ads1115、template |
| 必要な ESPHome バージョン | / |
2. コンポーネントの説明
公式コンポーネントの読み込み
Unit AMeter は ESPHome 公式の ADS1115 センサーで差動電圧を読み取り、I2C Device で EEPROM の校正パラメータを取得し、Template センサーで電流値に変換します。
Unit AMeter の設定例:
- まず ADS1115 の基本コンポーネントを設定します。
yaml
1 2 3 4 5 6 7 8 9 10 11
ads1115:
  - address: 0x48

sensor:
  - platform: ads1115
    multiplexer: "A0_A1"
    gain: 0.256
    sample_rate: 128
    name: "Unit AMeter A0_A1 Ref"
    id: diff
update_interval: 10s注意
Unit AMeter は
AIN0 と AIN1 の 2 チャンネルのみを使用するため、multiplexer は最大 3 種類("A0_A1"、"A0_GND"、"A1_GND")を使用できます。電流測定では、電流計算に A0_A1 のみを使用します。- EEPROM から校正パラメータを読み取り、
TemplateSensor で電流エンティティを作成します。以下のsensorエントリは、前述の ADS1115 エントリと同じリストに統合してください。
yaml
1 2 3 4 5 6 7 8 9 10 11 12 13 14 15 16 17 18 19 20 21 22 23 24 25 26 27 28 29 30 31 32 33 34 35 36 37 38 39 40 41 42 43 44 45 46 47 48 49 50 51
i2c_device:
  id: eeprom
  address: 0x51

sensor:
  - platform: template
    name: "Input Current"
    id: input_cur
    unit_of_measurement: "A"
    icon: "mdi:current-dc"
    accuracy_decimals: 2
    update_interval: 10s
    lambda: |-
      float d = id(diff).state;

      if (isnan(d)) return NAN;

      const float PRESSURE_COEFF = 0.05f;

      const uint8_t EEPROM_REG = 0xF8;

      uint8_t calib[8];
      uint16_t hope, actual;

      if ( id(eeprom).read_register(EEPROM_REG, calib, 8) != i2c::ERROR_OK ) {
        ESP_LOGD("ameter.sensor", "Failed to read from EEPROM..");
        return NAN;
      }

      uint8_t xor_result = 0x00;

      for (uint8_t i = 0; i < 5; i++) {
          xor_result ^= calib[i];
      }

      if (xor_result != calib[5]) {
        return NAN;
      }

      hope   = (calib[1] << 8) | calib[2];
      actual = (calib[3] << 8) | calib[4];

      float calibration_ratio = (float)hope / actual;

      ESP_LOGD("ameter.sensor", "Factory calibration factor: %f", calibration_ratio);

      float ain = - d / PRESSURE_COEFF;

      ain = ain * calibration_ratio;

return ain;- EEPROM を読み取る際は、ADS1115 に設定した
gain値に応じて、lambda 式のEEPROM_REG読み取りアドレスを変更してください。
c++
1 2 3 4
// In the lambda expression
// Update EEPROM_REG whenever gain is changed
// For example, when gain is 0.256
const uint8_t EEPROM_REG = 0xF8;| ADS1115 Gain | EEPROM Data Register | Max Input Current (theory) |
|---|---|---|
| 6.144 | 0xD0 | - |
| 4.096 | 0xD8 | - |
| 2.048 | 0xE0 | - |
| 1.024 | 0xE8 | - |
| 0.512 | 0xF0 | 10 A |
| 0.256 | 0xF8 | 5 A |
推奨する gain 値は 0.256 で、分解能は 0.3 mA です。**AIN0 または AIN1 のどちらか一方のみ測定できます**。両方のチャンネルに入力を接続しないでください。
警告
製品の設計測定範囲は ±4 V で、ヒューズを内蔵しています。4 A を超える電流が流れるとヒューズが作動します。この範囲外の電流を入力しないでください。また、製品の損傷を防ぐため無負荷状態も避けてください。EEPROM (0x51) には出荷時の校正パラメータが保存されています。EEPROM に書き込まないでください。校正データが上書きされ、測定結果が不正確になるおそれがあります。
3. 参考例
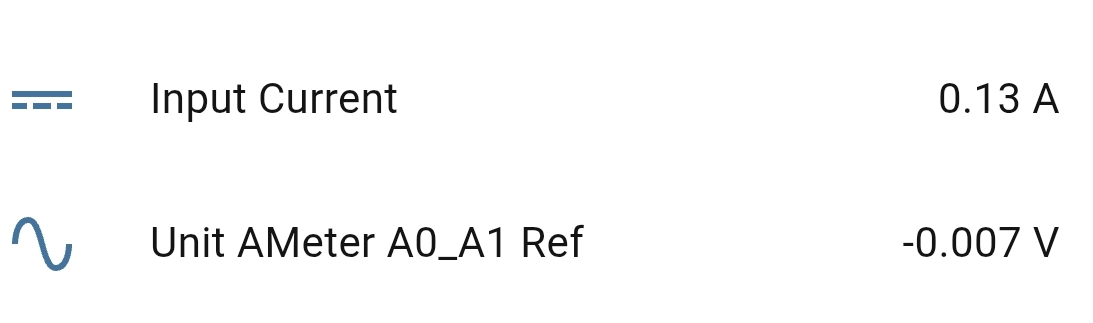
Dashboard に追加すると、Home Assistant でセンサーデータを確認できます。
4. 関連リンク
5. 関連動画
Page Tools