Home Assistant
Home Assistant
コントローラーとデバイス
カメラ
コンポーネント
照明
インターフェース拡張
アプリケーション
ダッシュボード
Station-Bat ESPHome 統合
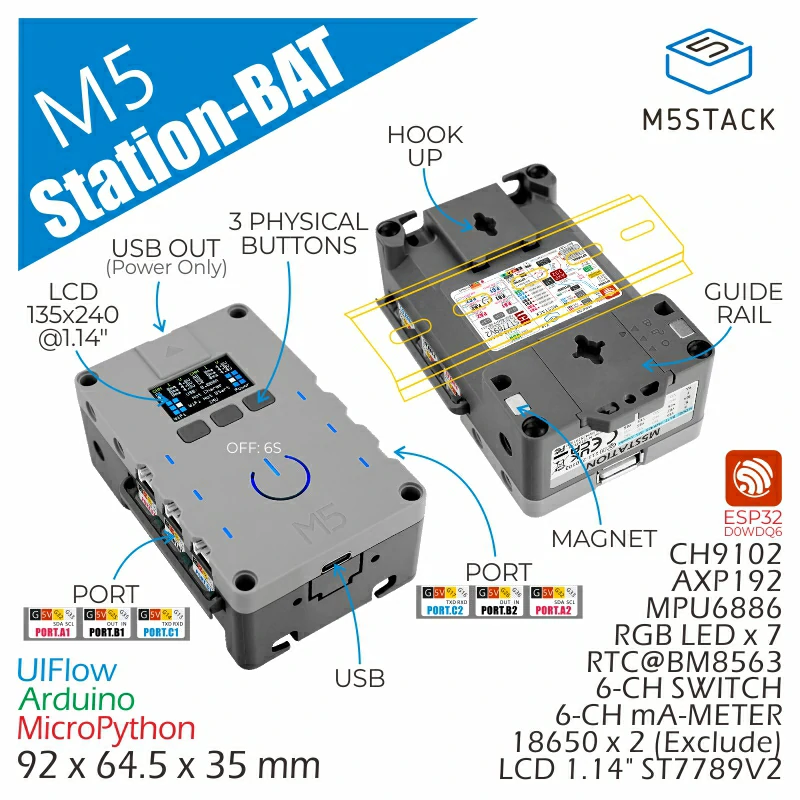
Station-Bat の ESPHome 統合には、電源管理、センサー、ボタン、ディスプレイ、RTC コンポーネントが含まれます。
1. デバイス概要
| 項目 | 情報 |
|---|---|
| 製品名 | Station-Bat |
| SKU | K124-B |
| 主な機能 | 電源・バッテリー管理、姿勢・電流監視、ボタン、ディスプレイ、RTC |
| 通信インターフェース | I2C、SPI、GPIO |
| ESPHome コンポーネント | m5station_axp192(外部コンポーネント)、mpu6886、ina3221、binary_sensor.gpio、bm8563、esp32_rmt_led_strip、st7789v |
| 必要な ESPHome バージョン | / |
2. コンポーネントの説明
AXP192 外部コンポーネント
Station-Bat は、M5Stack の m5station_axp192 外部コンポーネント を使用してバッテリー残量を読み取り、LCD の電源を制御します。
external_components:
  - source: github://m5stack/esphome-yaml/components
    components: [m5station_axp192]
refresh: 0sIMU・電源・ポート測定
MPU6886 には公式の MPU6886 Platform を使用します。アドレス 0x40 と 0x41 の 2 個の INA3221 で、6 系統のポート電圧と電流を測定します。m5station_axp192 外部 Platform はバッテリー残量を提供します。
i2c:
  - id: i2c_bus
    sda: GPIO21
    scl: GPIO22

sensor:
  - platform: mpu6886
    i2c_id: i2c_bus
    accel_x:
      name: "MPU6886 Accel X"
      id: imu_ax
    accel_y:
      name: "MPU6886 Accel Y"
      id: imu_ay
    accel_z:
      name: "MPU6886 Accel z"
      id: imu_az
    gyro_x:
      name: "MPU6886 Gyro X"
    gyro_y:
      name: "MPU6886 Gyro Y"
    gyro_z:
      name: "MPU6886 Gyro z"
    temperature:
      name: "MPU6886 Temperature"
      id: imu_temp
    update_interval: 5s

  - platform: m5station_axp192
    id: pmu
    i2c_id: i2c_bus
    battery_level:
      name: "M5Station Battery Level"
      id: bat_level
    update_interval: 60s
    brightness: 0.8

  - platform: ina3221
    id: ina1
    i2c_id: i2c_bus
    address: 0x40
    update_interval: 1s
    channel_1:
      shunt_resistance: 0.01
      bus_voltage:
        name: "P.A1 Bus Voltage"
        id: v_a1
      current:
        name: "P.A1 Current"
        id: i_a1
    channel_2:
      shunt_resistance: 0.01
      bus_voltage:
        name: "P.A2 Bus Voltage"
        id: v_a2
      current:
        name: "P.A2 Current"
        id: i_a2
    channel_3:
      shunt_resistance: 0.01
      bus_voltage:
        name: "P.B1 Bus Voltage"
        id: v_b1
      current:
        name: "P.B1 Current"
        id: i_b1

  - platform: ina3221
    id: ina2
    i2c_id: i2c_bus
    address: 0x41
    update_interval: 1s
    channel_1:
      shunt_resistance: 0.01
      bus_voltage:
        name: "P.B2 Bus Voltage"
        id: v_b2
      current:
        name: "P.B2 Current"
        id: i_b2
    channel_2:
      shunt_resistance: 0.01
      bus_voltage:
        name: "P.C1 Bus Voltage"
        id: v_c1
      current:
        name: "P.C1 Current"
        id: i_c1
    channel_3:
      shunt_resistance: 0.01
      bus_voltage:
        name: "P.C2 Bus Voltage"
        id: v_c2
      current:
        name: "P.C2 Current"
id: i_c2ボタン入力
3 個のパネルボタンには GPIO Binary Sensor Platform を使用し、それぞれ GPIO37、GPIO38、GPIO39 に接続します。
binary_sensor:
  - platform: gpio
    name: "Button1"
    pin:
      number: GPIO37
      inverted: true
  - platform: gpio
    name: "Button2"
    pin:
      number: GPIO38
      inverted: true
  - platform: gpio
    name: "Button3"
    pin:
      number: GPIO39
inverted: trueLCD と USB 電源制御
LCD の電源は m5station_axp192 コンポーネントで制御し、USB 出力は GPIO12 で制御します。
switch:
  - platform: template
    name: "LCD Backlight"
    id: lcd_backlight
    lambda: |-
      return true;
    restore_mode: ALWAYS_ON
    turn_on_action:
      - lambda: |-
          id(pmu).set_backlight(true);
    turn_off_action:
      - lambda: |-
          id(pmu).set_backlight(false);

  - platform: gpio
    name: "USB Power"
    id: usb_power
pin: GPIO12RTC
基板上の RTC には公式の BM8563 Platform を使用します。起動時に RTC を読み取り、Home Assistant の時刻同期完了後に RTC へ書き戻します。
time:
  - platform: bm8563
    id: bm8563_time
    update_interval: never
  - platform: homeassistant
    on_time_sync:
      then:
- bm8563.write_time:RGB LED
基板上の 7 個の WS2812 RGB LED には ESP32 RMT LED Strip Platform を使用し、GPIO4 で駆動します。
light:
  - platform: esp32_rmt_led_strip
    rgb_order: GRB
    pin: GPIO4
    num_leds: 7
    chipset: ws2812
name: "My Light"LCD ディスプレイ
1.14 インチ IPS ディスプレイには ST7789V Platform を使用します。最小例では固定テキストのみを出力します。
spi:
  clk_pin: GPIO18
  mosi_pin: GPIO23

font:
  - file: "gfonts://Roboto"
    id: display_font
    size: 18

display:
  - platform: st7789v
    model: CUSTOM
    width: 135
    height: 240
    offset_height: 52
    offset_width: 40
    cs_pin: GPIO5
    dc_pin: GPIO19
    reset_pin: GPIO15
    rotation: 90
    update_interval: 1s
    lambda: |-
it.print(0, 0, id(display_font), "Station-Bat");3. 参考例
完全なデバイス例は station-bat.example.yaml を参照してください。この例には、本体、ネットワーク、API、外部コンポーネント、すべてのセンサーとディスプレイの設定が含まれています。
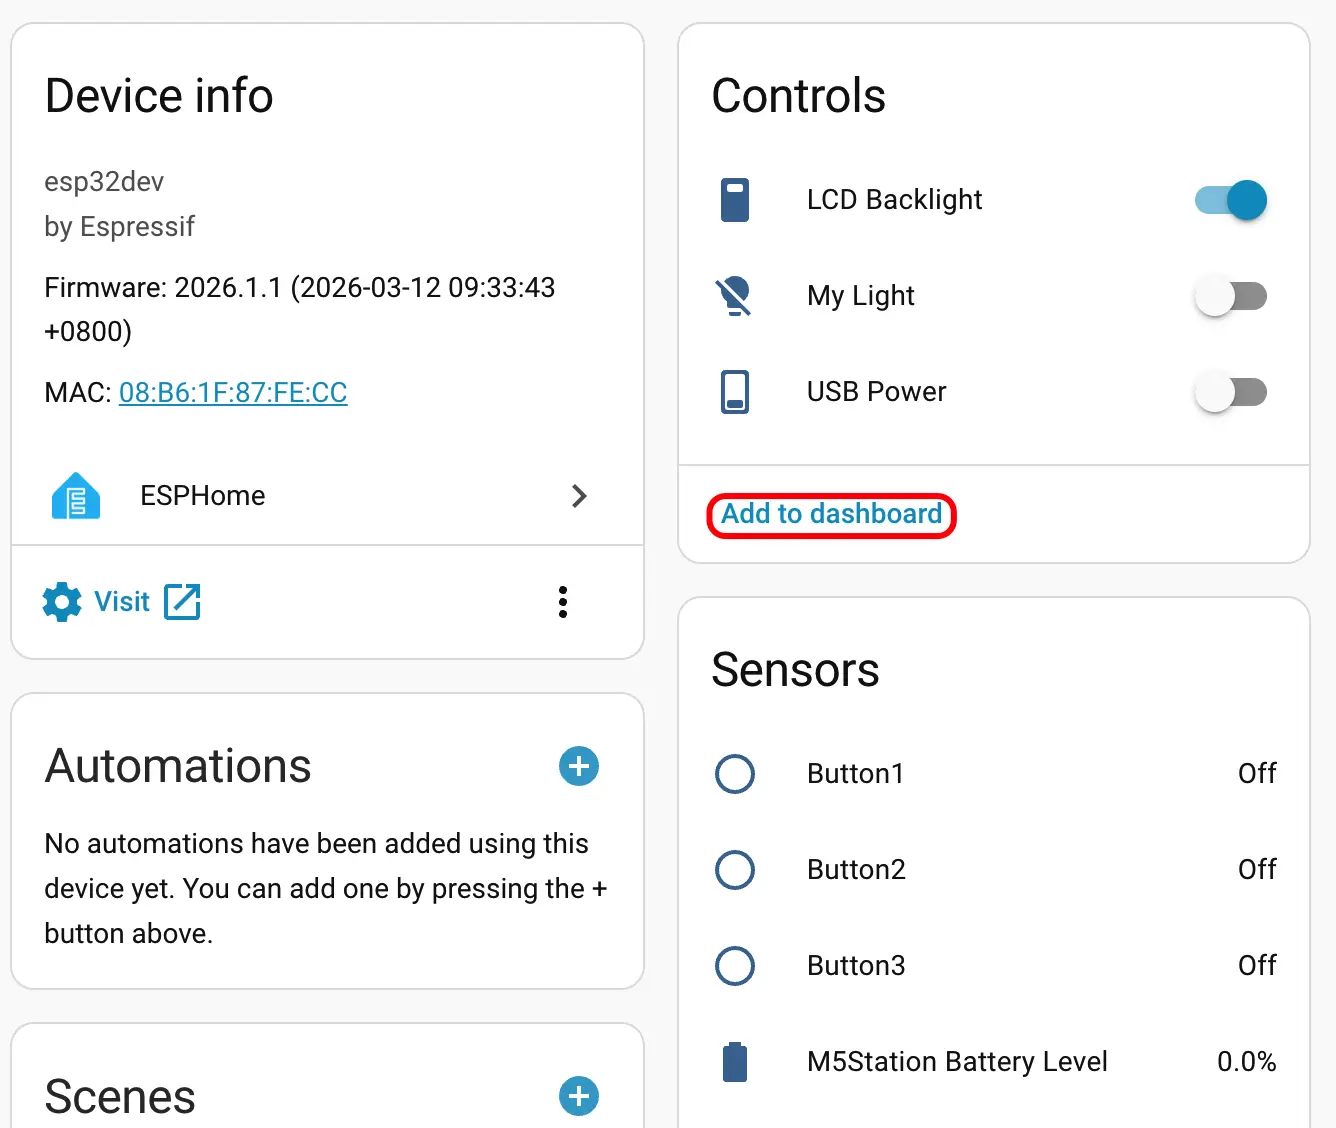
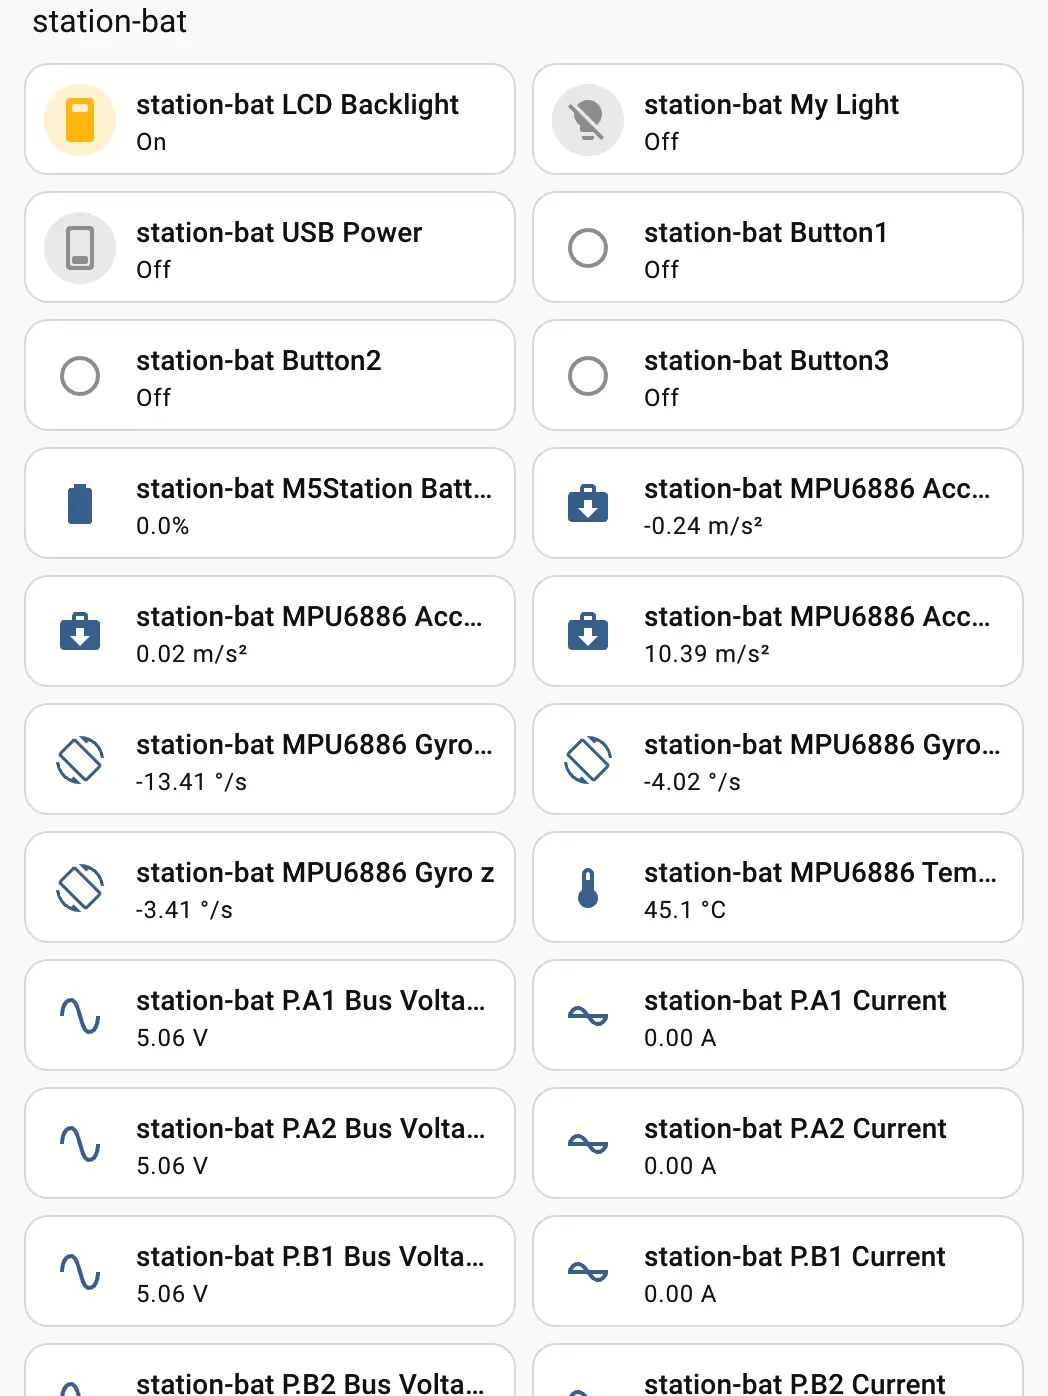
デバイス追加時の Home Assistant 画面:
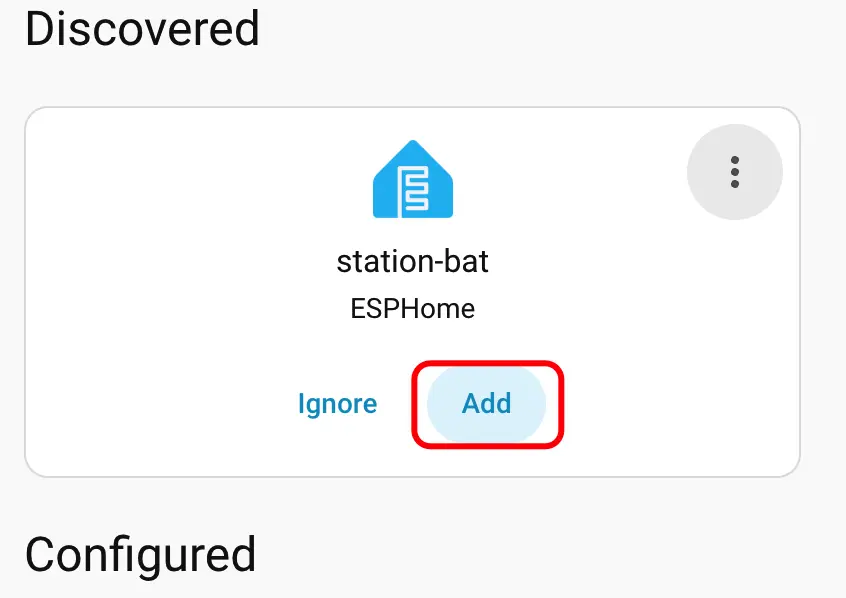
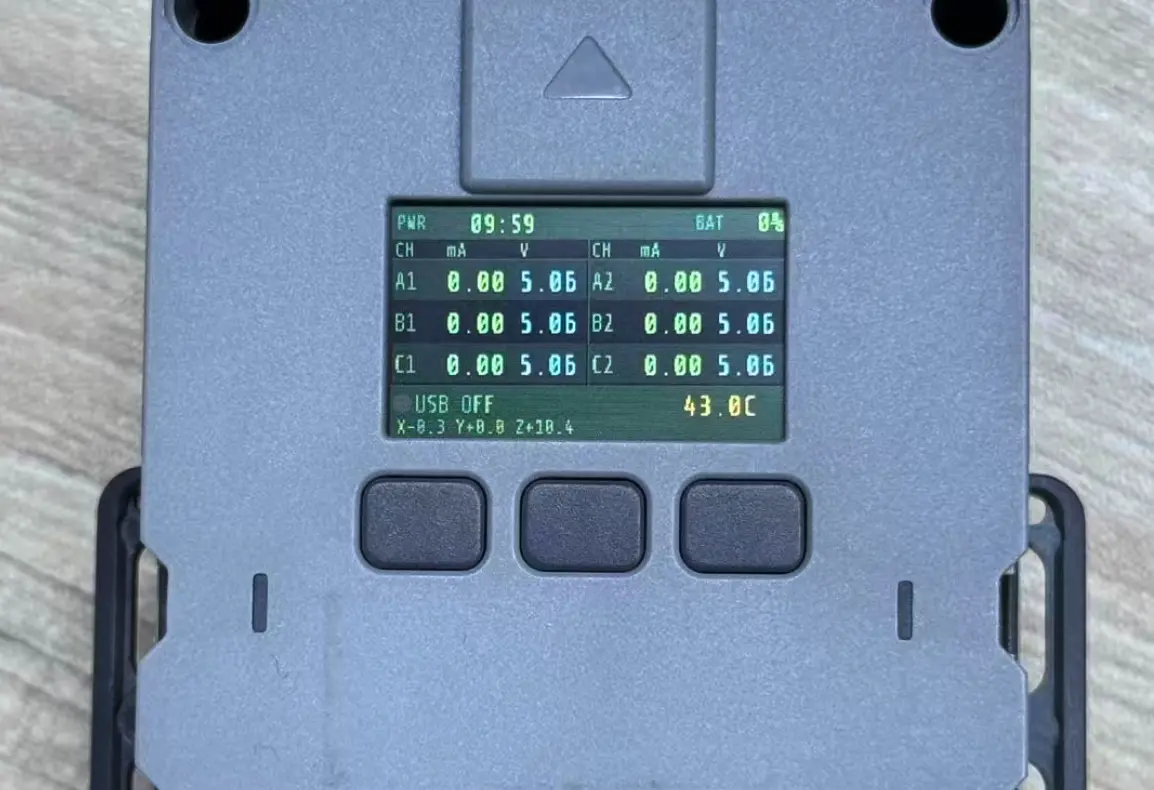
デバイスの追加後は、バッテリー、姿勢、ポート測定、ボタン、USB 電源、RGB ライトなどのエンティティを確認し、Dashboard に追加できます。