Product Guide
Linux PC
CardputerZero
AI Accelerator Card
LLM-8850 Card
Large Language Models
AI & Agent
Real-Time AI Voice Assistant
XiaoZhi Voice Assistant
AtomS3R-M12 Volcengine Kit
Offline Voice Recognition
Industrial Control
IoT Measuring Instruments
Air Quality
PowerHub
Module13.2 PPS
VAMeter
T-Lite
Input & Output Devices
Ethernet Camera
PoECAM
Wi-Fi Camera
Unit CamS3/-5MP
AI Camera
LoRa & LoRaWAN
Motor Control
Restore Factory Firmware
DIP Switch Usage Guide
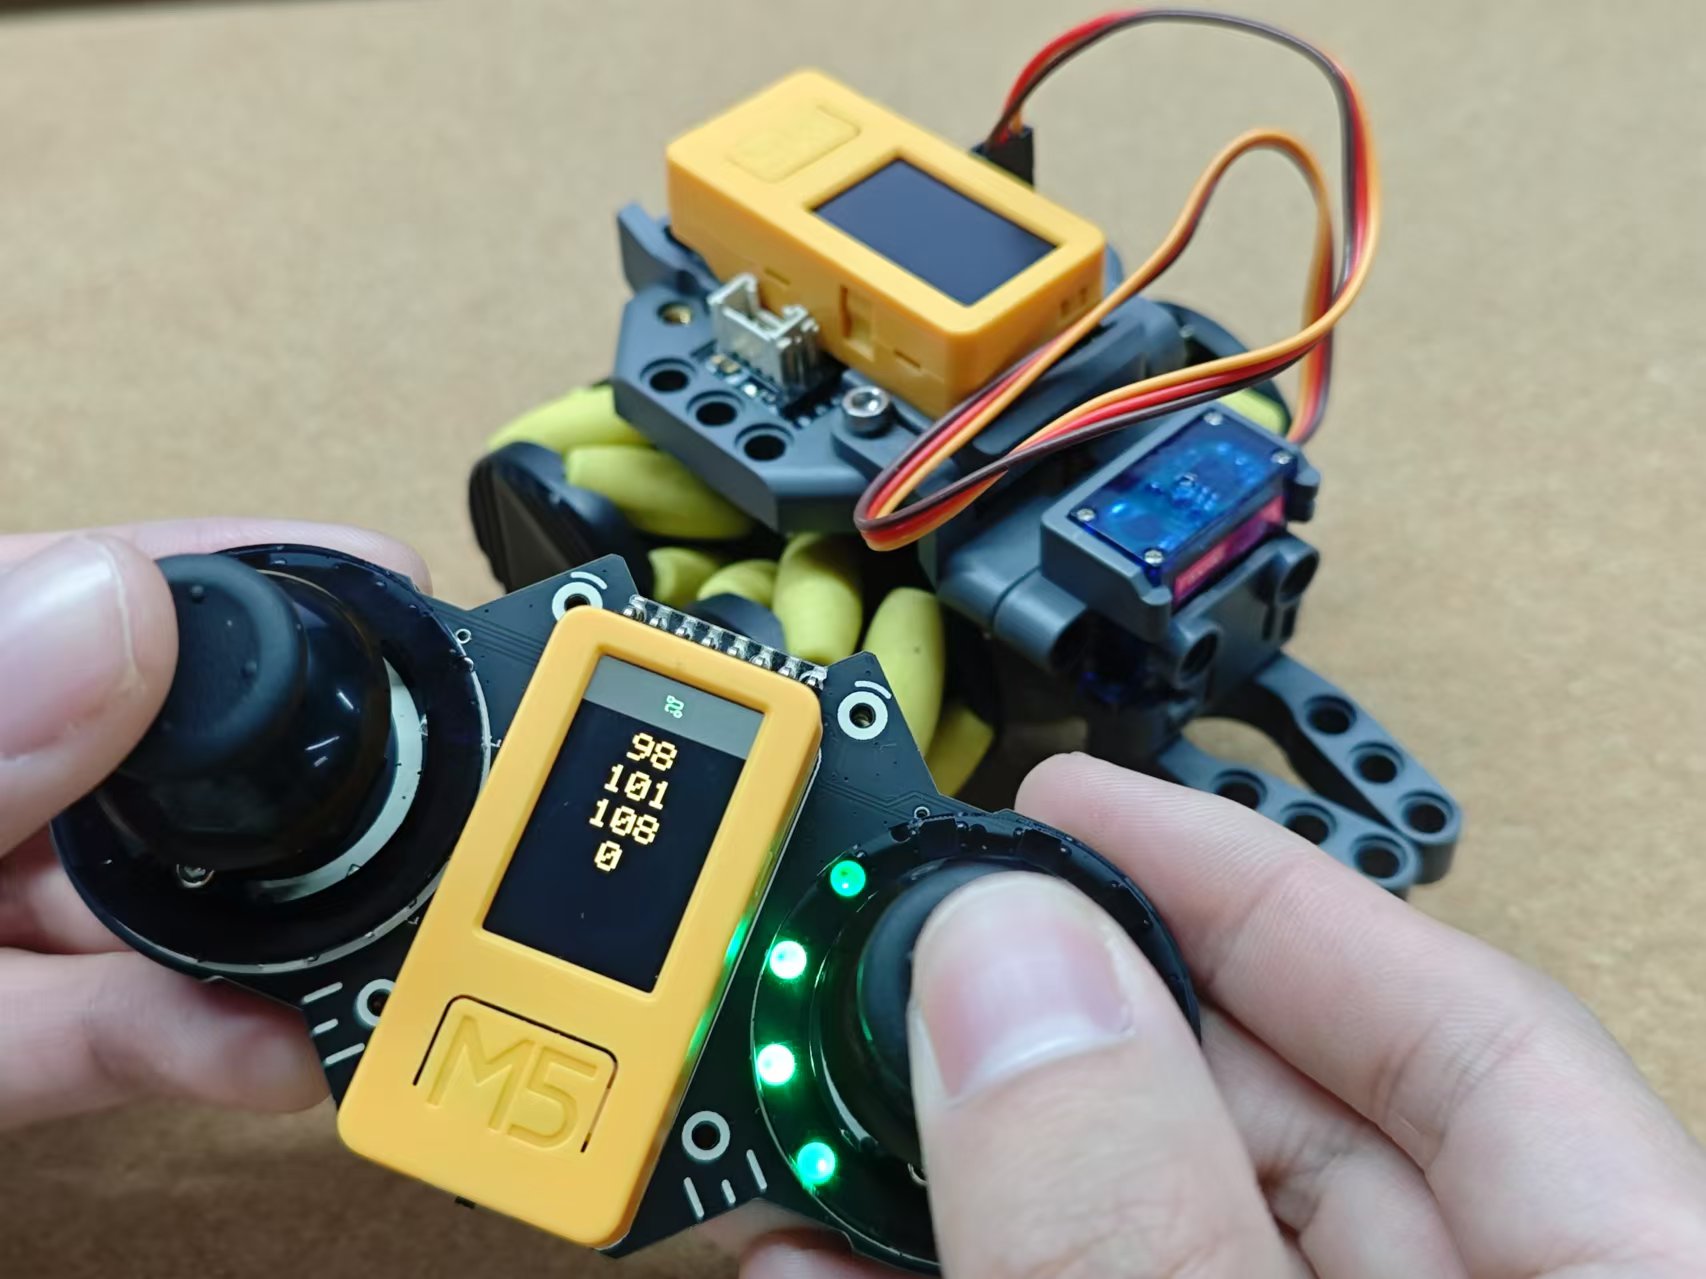
RoverC & JoyC Remote Control
Note
This tutorial demonstrates how to flash wireless control firmware to RoverC and JoyC, pair them, and perform basic control operations. The firmware in this tutorial is compatible with
StickC / StickC-Plus / StickC-Plus2 main control devices. Please refer to the tutorials below and flash the firmware directly using M5Burner.
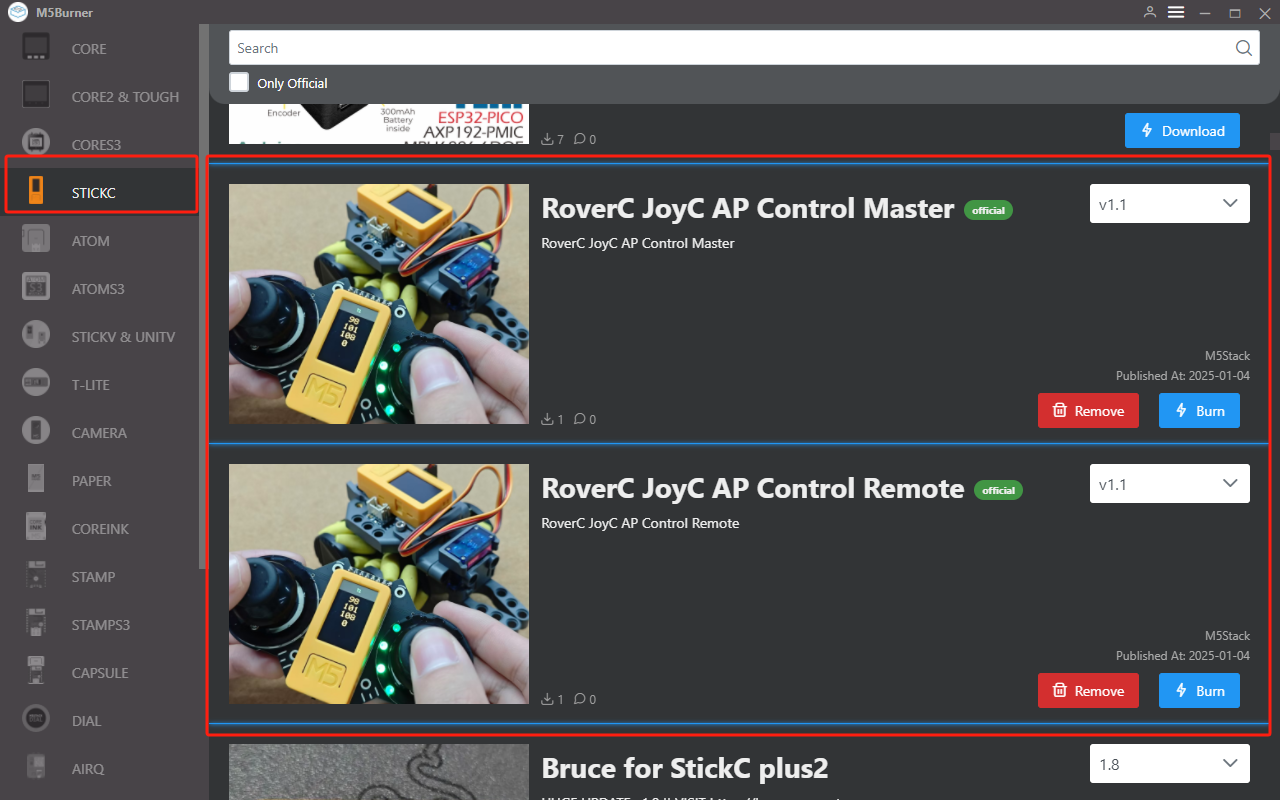
1. Preparation
- Refer to the M5Burner Tutorial to download the flashing tool. Then download the corresponding firmware as shown in the image below.
2. USB Driver Installation
- Before flashing the firmware, you need to install the appropriate driver based on your main controller device.
For StickC / StickC-Plus
Driver Installation Tip
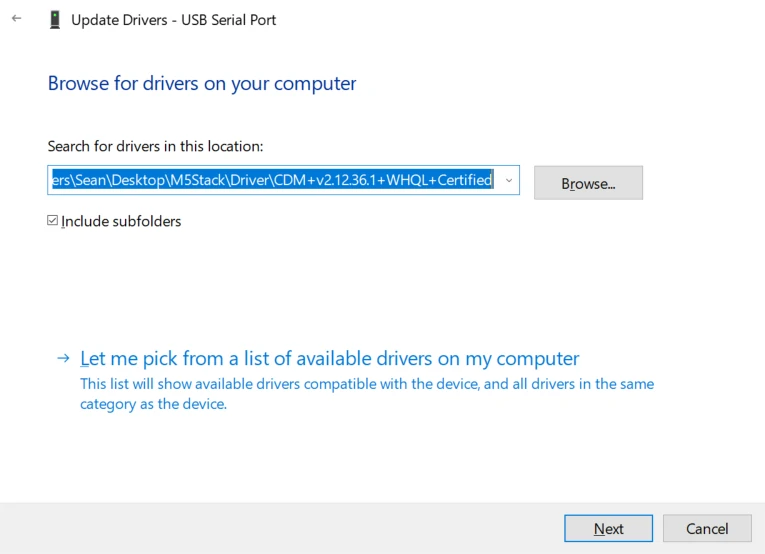
Connect the device to your PC, open Device Manager, and install the FTDI driver. In Windows 10, download the driver matching your system, extract it, and install via Device Manager. (Note: In some systems, the driver may need to be installed twice to take effect. Unrecognized devices usually appear as
M5Stack or USB Serial. It's recommended to install the driver via Device Manager using the extracted files. The executable installer may not work properly.) Click here to download the FTDI driver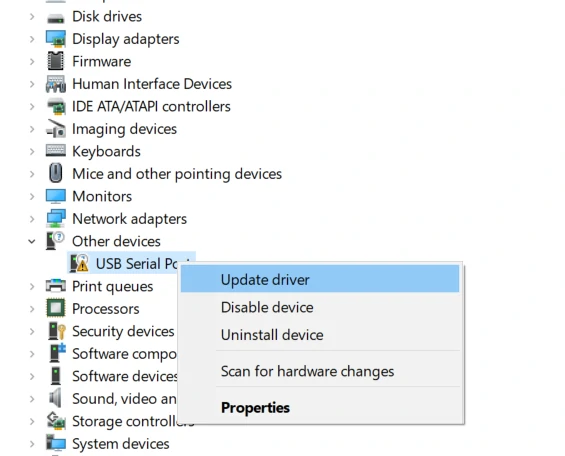
For macOS users: Before installation, go to
System Preferences -> Security & Privacy -> General -> and allow apps downloaded from App Store and identified developers.For StickC-Plus2
Driver Installation Tip
Click the link below to download the driver matching your operating system. The CP34X driver package (for
CH9102) should be extracted, and the appropriate installer (based on system architecture) should be run. If you encounter flashing errors (timeout or "Failed to write to target RAM"), try reinstalling the driver.| Driver Name | Chip | Download Link |
|---|---|---|
| CH9102_VCP_SER_Windows | CH9102 | Download |
| CH9102_VCP_SER_MacOS v1.7 | CH9102 | Download |
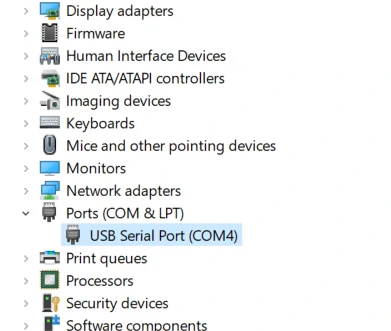
3. Port Selection
Connect the device to your computer via USB. Once in download mode, select the corresponding device port in M5Burner.
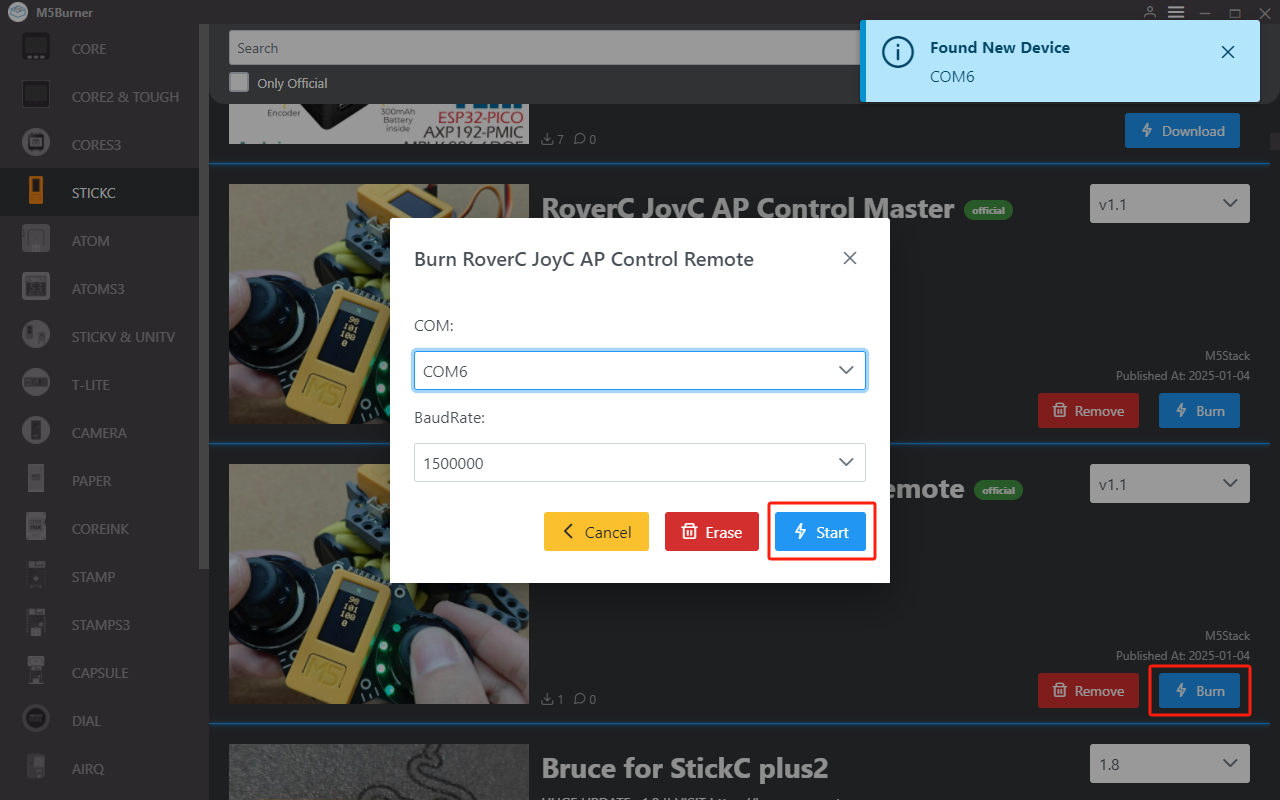
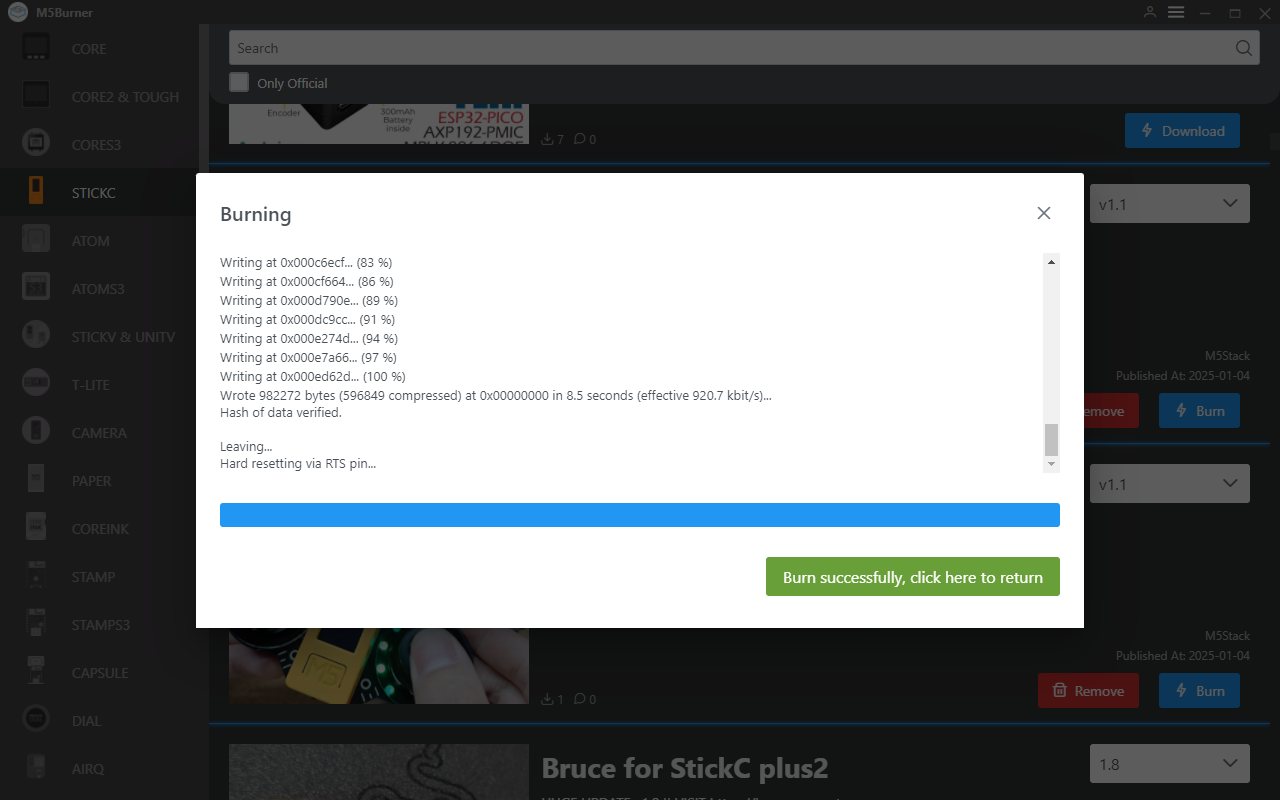
4. Flashing Firmware
Flash the respective Master and Remote firmware to RoverC and JoyC.
5. Pairing
Switch the power of both RoverC and JoyC to ON. Turn on the StickC on RoverC first (starts in AP mode), then power on the StickC on JoyC.
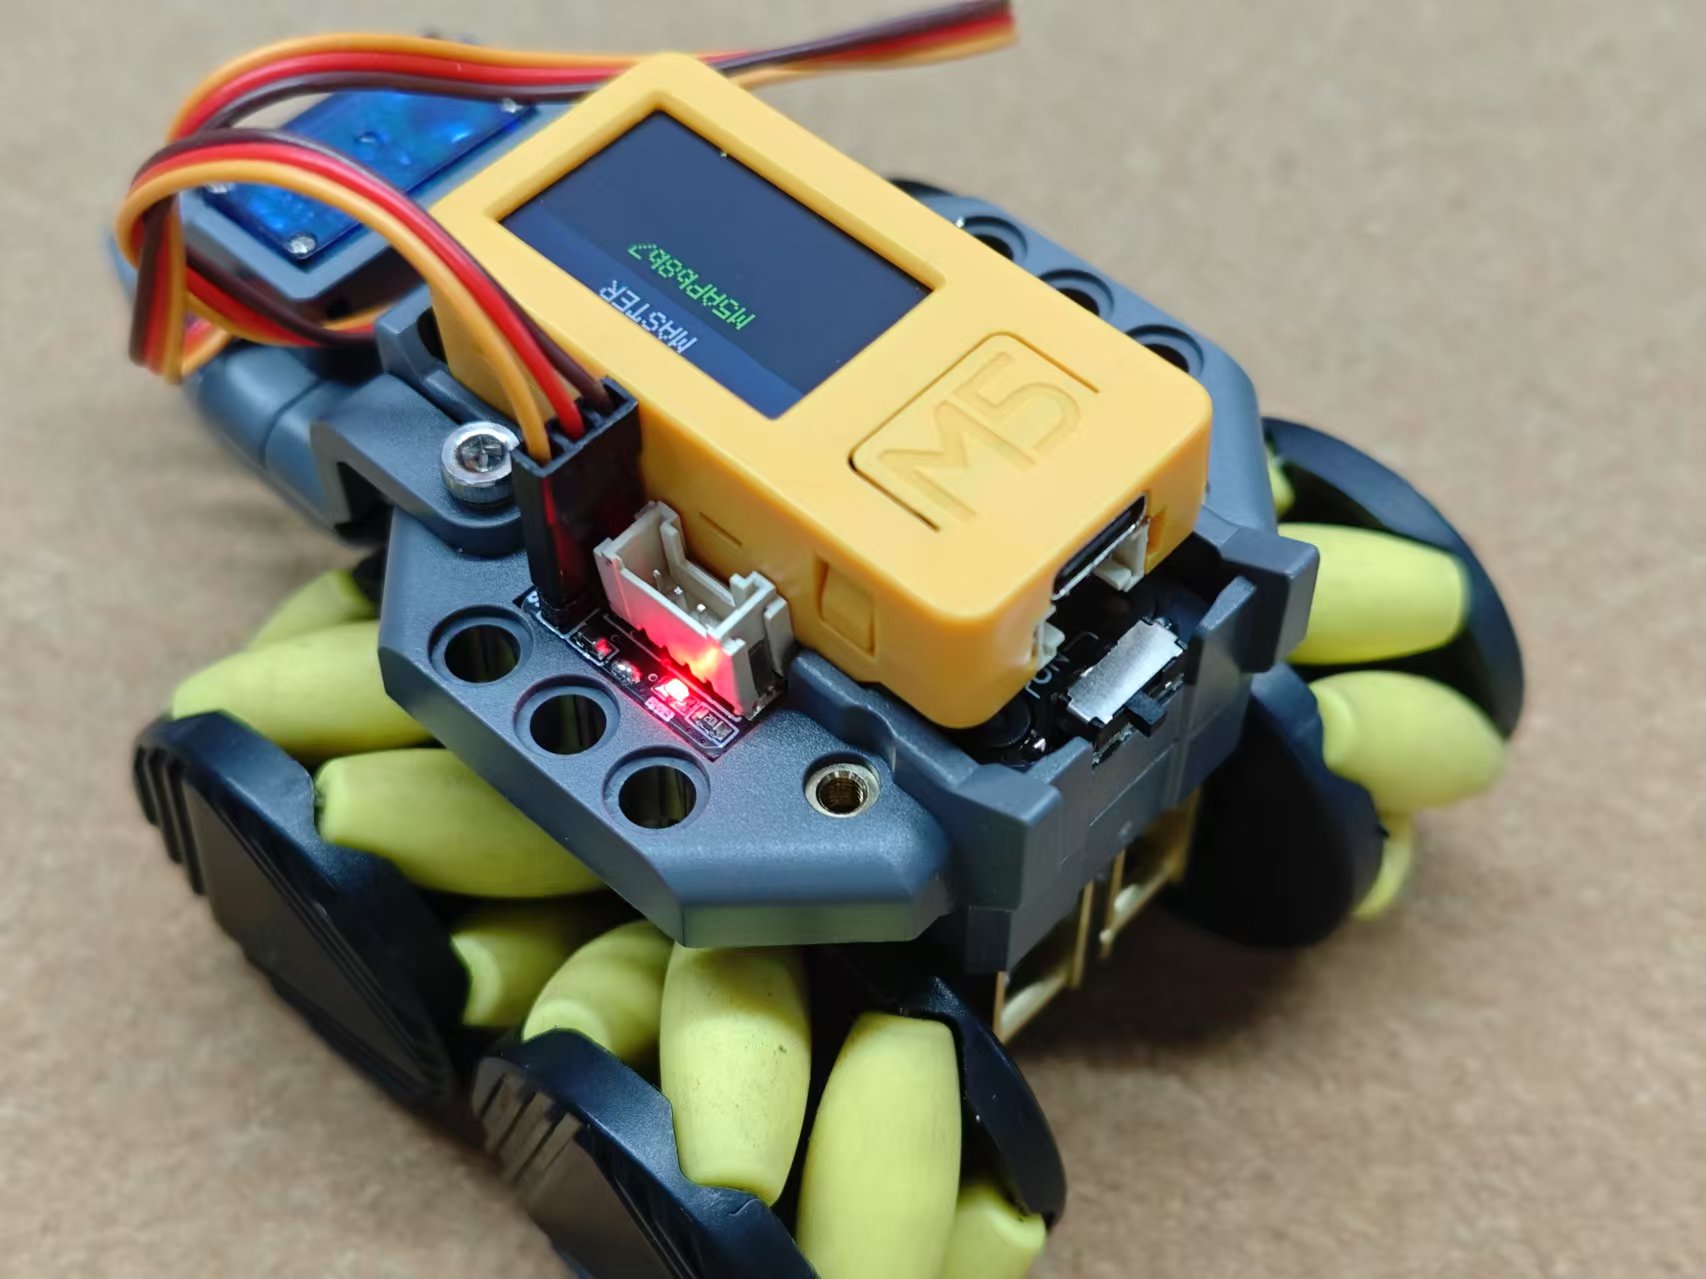
Once the StickC on JoyC scans and detects RoverC, press and hold the middle button to connect. When the remote status appears on the screen, the connection is successful.


6. How to use
Operation Instructions
The left joystick controls movement, and the right joystick controls steering. Pressing the left/right joystick buttons controls the servo clamp (clamp/release). (Note: Clamping functionality is only supported by RoverC-Pro)