


StackFlow AI Platform
Devices & Quick Start
Models
Qwen3
DeepSeek-R1
AI Pyramid Applications
Module LLM Applications
CV Vision Application
Vision Language Model (VLM)
Large Language Model (LLM)
Voice Assistant
AI Pyramid - Frigate NVR
Frigate is an open-source Network Video Recorder (NVR) built with real-time AI object detection. All video processing is performed locally on your own hardware, and camera streams never leave your network, ensuring data privacy and security.
1. Obtain Resource Files
Choose one of the following methods to obtain the Frigate deployment resources:
Method 1: Manual Download
Visit the Frigate Resource Repository to download the files, then upload them to the AI Pyramid device.
Method 2: Command-Line Clone
git clone -b v0.17-ax650 https://huggingface.co/AXERA-TECH/frigate-resource1.1 Resource File Description
After cloning is complete, the directory structure is as follows:
root@m5stack-AI-Pyramid:~/rsp/frigate-resource# ls -lh
total 4.2G
-rw-rw-r-- 1 axera axera  736 Jan 28 14:27 docker-compose.yml
-rw-rw-r-- 1 axera axera 4.2G Jan 28 14:33 frigate-ax650-990aee8.tar
-rw-rw-r-- 1 axera axera 3.6K Jan 28 14:27 README.md2. Deploy the Docker Image
Step 1: Load the Image
docker load -i frigate-resource/frigate-ax650-990aee8.tarStep 2: Prepare the Working Directory
mkdir -p ~/frigate-runtime/{config,storage}
cp frigate-resource/docker-compose.yml ~/frigate-runtime/docker-compose.yml to ensure that model files can be downloaded automatically.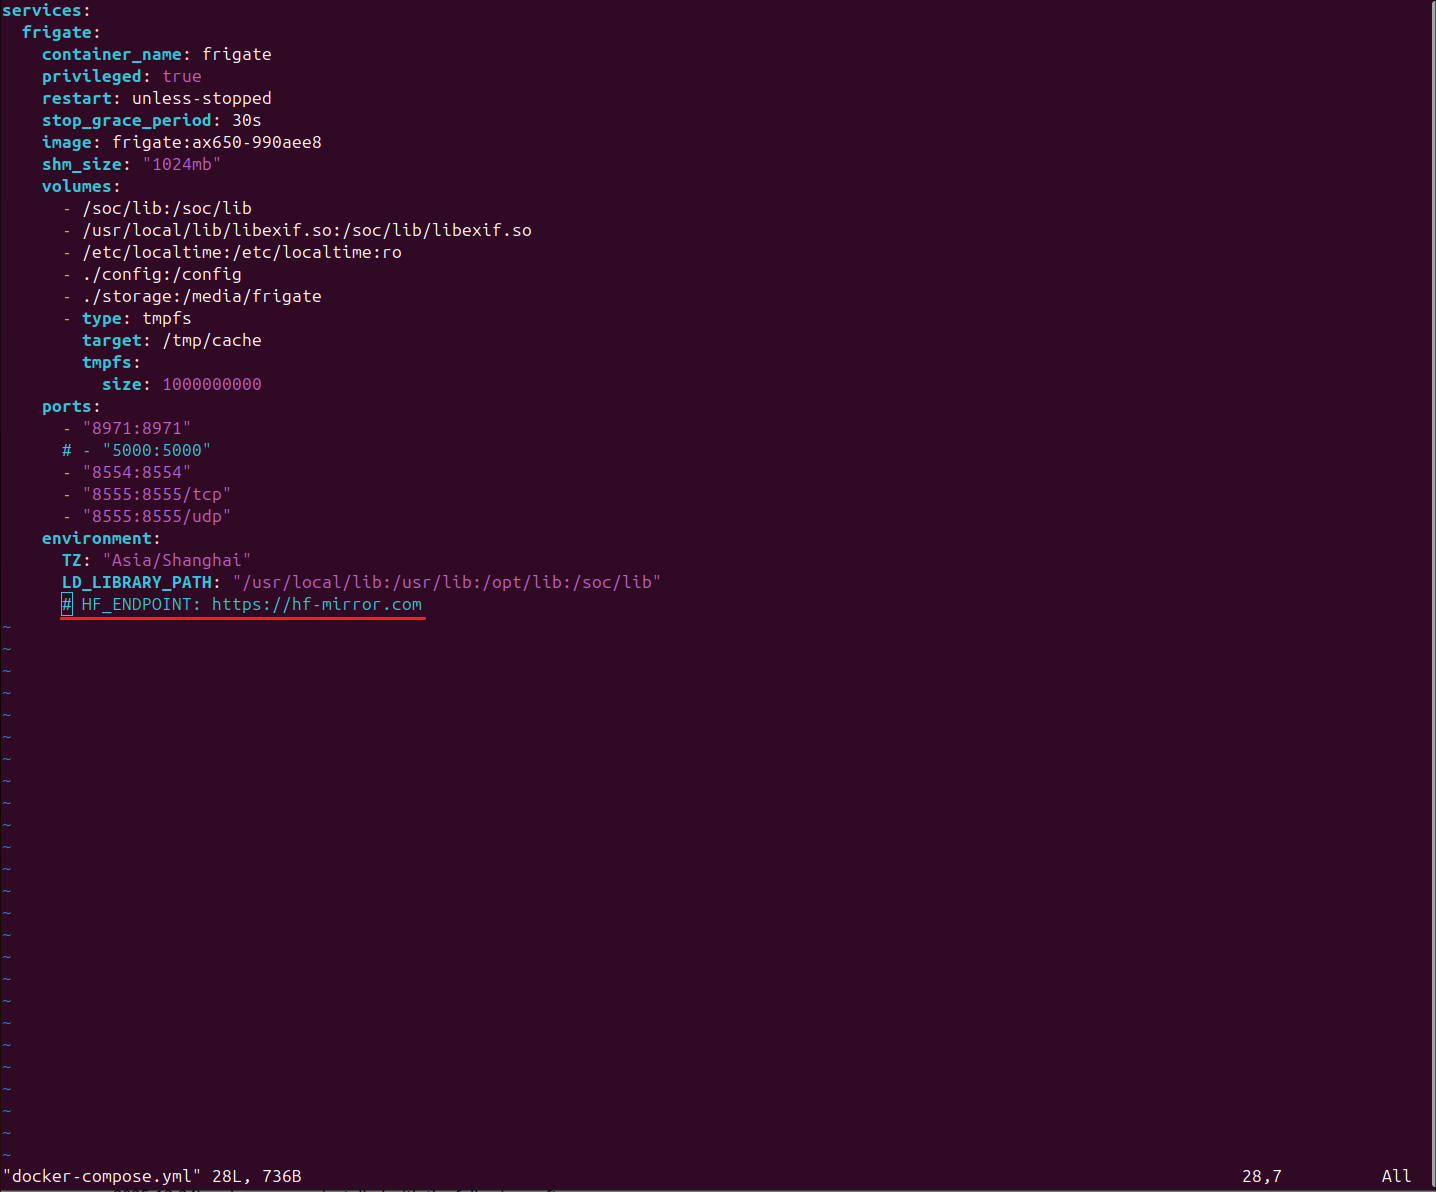
Step 3: Start the Container
cd ~/frigate-runtime/
docker compose up -dStep 4: Obtain Initial Login Credentials
After startup is complete, view the logs to obtain the automatically generated initial username and password:
docker logs frigateExample output:
root@m5stack-AI-Pyramid:~/frigate-runtime# docker logs frigate
2026-01-28 14:55:53.546981309  [2026-01-28 14:55:53] frigate.app                    INFO    : ********************************************************
2026-01-28 14:55:53.548374976  [2026-01-28 14:55:53] frigate.app                    INFO    : ********************************************************
2026-01-28 14:55:53.549670976  [2026-01-28 14:55:53] frigate.app                    INFO    : ***    Auth is enabled, but no users exist.          ***
2026-01-28 14:55:53.550969226  [2026-01-28 14:55:53] frigate.app                    INFO    : ***    Created a default user:                       ***
2026-01-28 14:55:53.574785726  [2026-01-28 14:55:53] frigate.app                    INFO    : ***    User: admin                                   ***
2026-01-28 14:55:53.664755976  [2026-01-28 14:55:53] frigate.app                    INFO    : ***    Password: 3a846bd9fd871ace399e32d7126ad5eb   ***
2026-01-28 14:55:53.734733393  [2026-01-28 14:55:53] frigate.app                    INFO    : ********************************************************
2026-01-28 14:55:53.814732809  [2026-01-28 14:55:53] frigate.app                    INFO    : ********************************************************
2026-01-28 14:55:53.904771809 [2026-01-28 14:55:53] frigate.app INFO : Starting FastAPI app3. Initial Configuration
3. Initial Configuration
3.1 Access the Web Management Interface
Use a browser to access the Frigate management interface:
https://server_ip:8971admin username and the randomly generated password obtained in the previous step.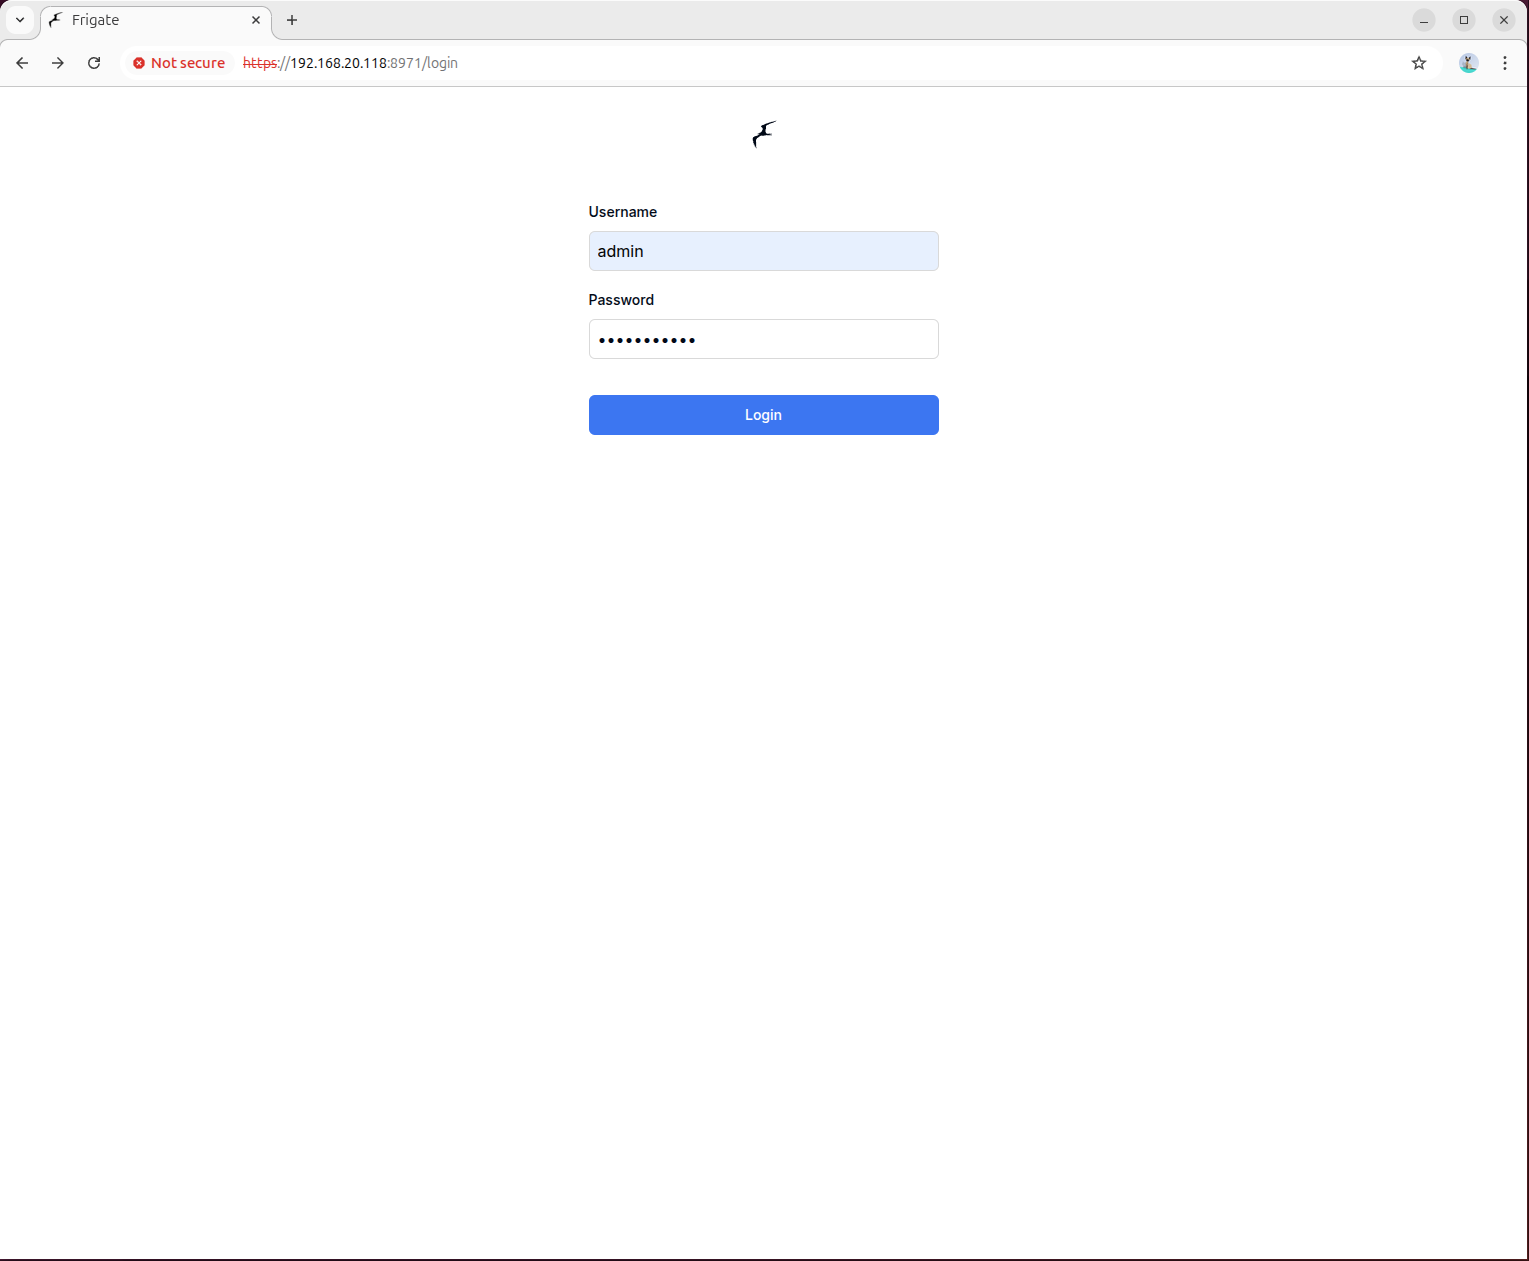
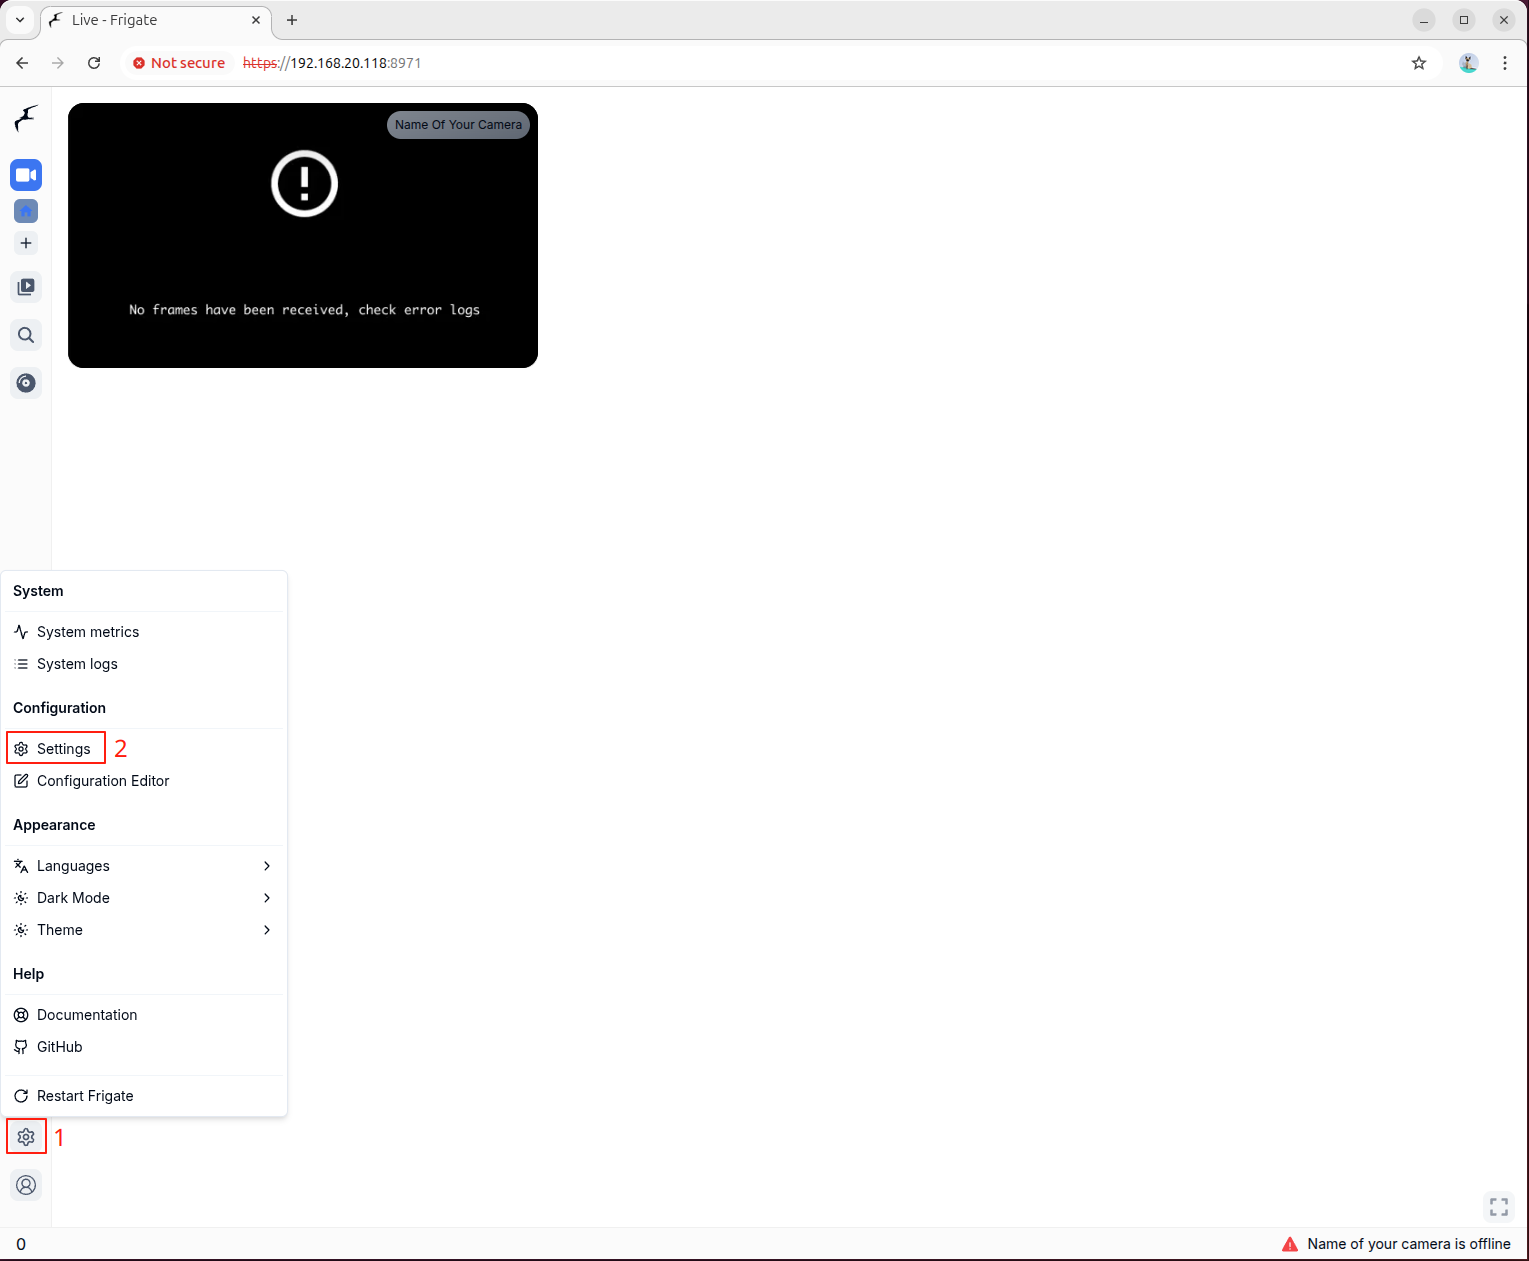
3.2 Configure Camera Parameters
Click Settings on the left side of the interface to enter the configuration page and edit the configuration file. Modify the go2rtc section and replace it with your own IP camera address. Fill in the following example configuration and save it:
Configuration Example
mqtt:
  enabled: false
go2rtc:
  streams:
    # Main stream
    road1:
      - rtsp://192.168.20.57:8554/road1.264
    # Sub stream
    road1_sub:
      - rtsp://192.168.20.57:8554/road1_sub.264
cameras:
  road1:
    enabled: true
    ffmpeg:
      inputs:
        # Path of the recording stream, using the main stream configured in go2rtc
        # During debugging, a local media file can be used here
        - path: rtsp://127.0.0.1:8554/road1
          roles:
            - record
        # Path of the detection stream, using the sub stream configured in go2rtc
        # During debugging, a local media file can be used here
        - path: rtsp://127.0.0.1:8554/road1_sub
          roles:
            - detect
      # preset-axera-h264 is used to decode H.264 streams
      # preset-axera-h265 is used to decode H.265 streams
      # These two decoder presets are preferred
      hwaccel_args: preset-axera-h264
      # If the resolution of the detection sub stream is lower than the detection resolution,
      # you can reduce the detection resolution to match the stream
      # or use preset-axera-h264-compat / preset-axera-h265-compat as decoder presets

record:
  enabled: true

# Enable detection
# If detection width and height are not set, the native resolution of the detection stream is used
detect:
  enabled: true
  width: 576
  height: 320
  fps: 5

# Configure the detection engine to use axengine
detectors:
  axengine:
    type: axengine

# Configure the object detection model for axengine
model:
  path: frigate-yolov9-tiny
  model_type: yolo-generic
  width: 320
  height: 320
  input_pixel_format: bgr
  labelmap_path: /labelmap/coco-80.txt

# Object types to track
objects:
  track:
    - person
    - car
    - bicycle
    - motorcycle

# Semantic search configuration
# When used for the first time, the model needs to be downloaded online, please be patient
semantic_search:
  enabled: true
  model: ax_jinav2
  model_size: large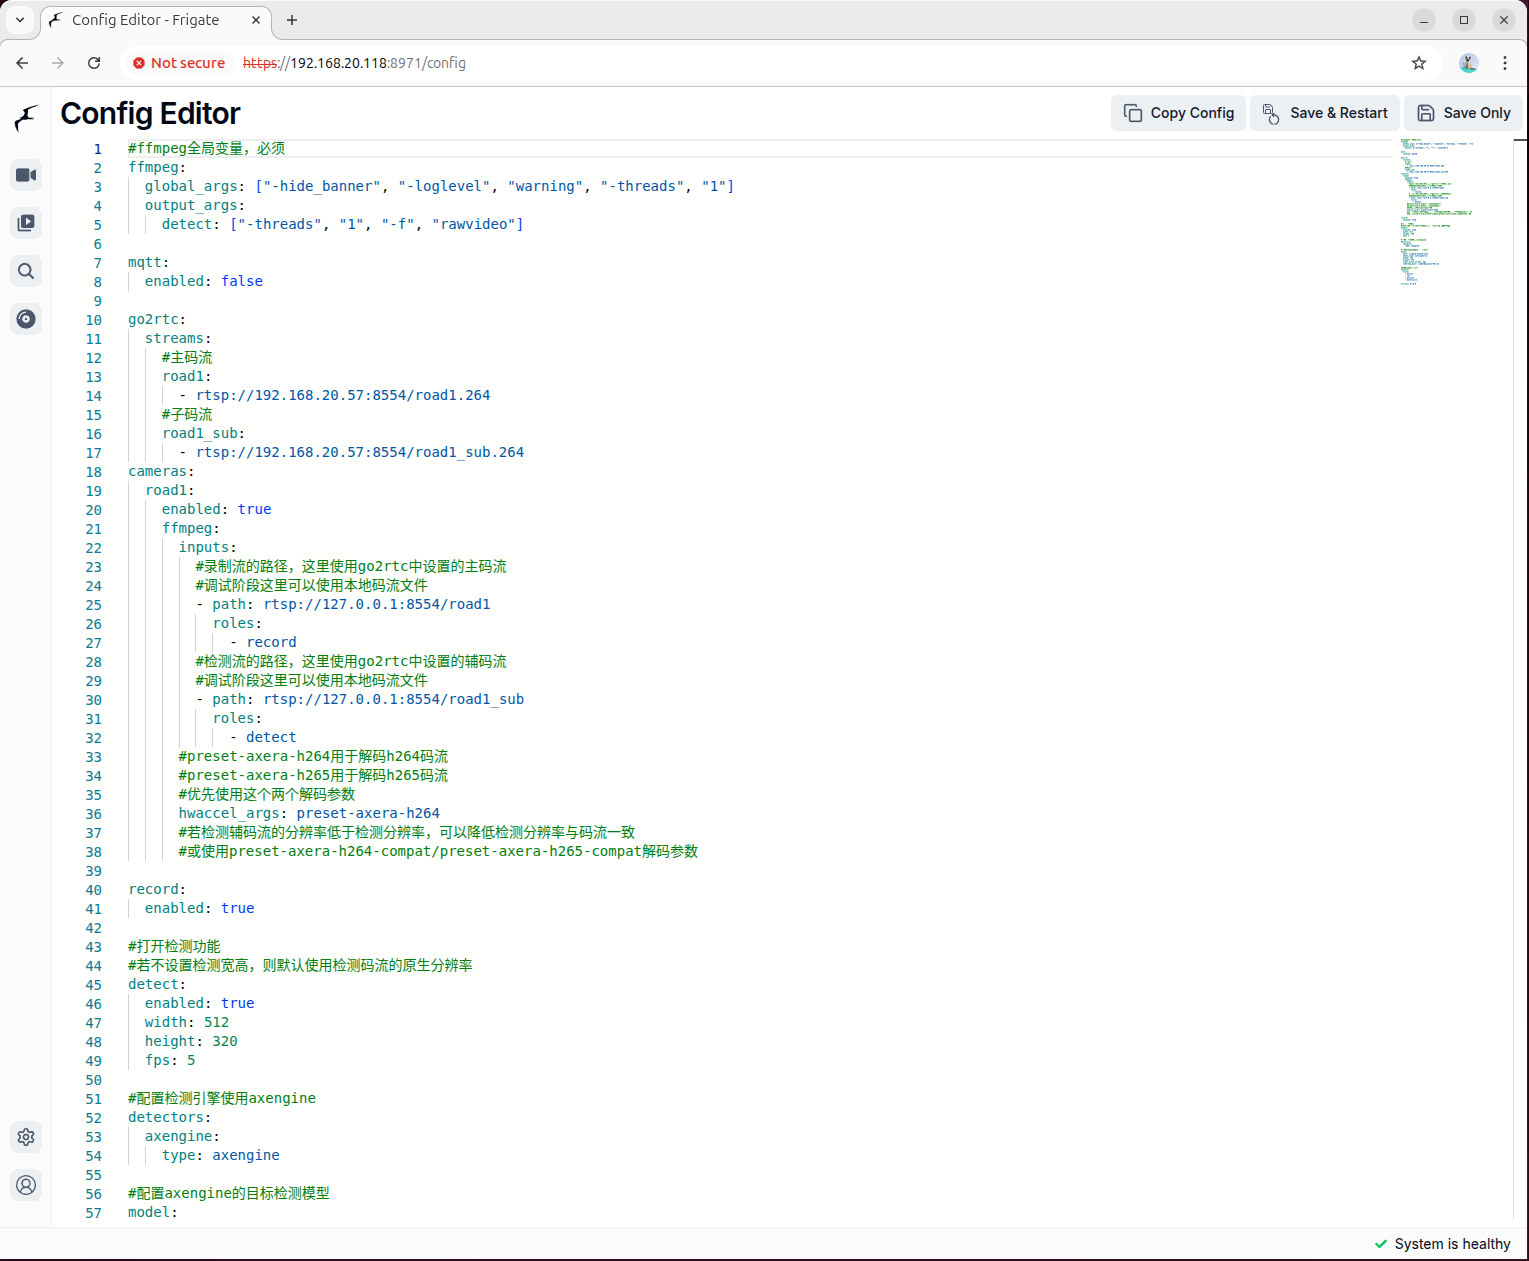
3.3 Restart the Service and Verify
After saving the configuration, restart the Frigate container to apply the new settings:
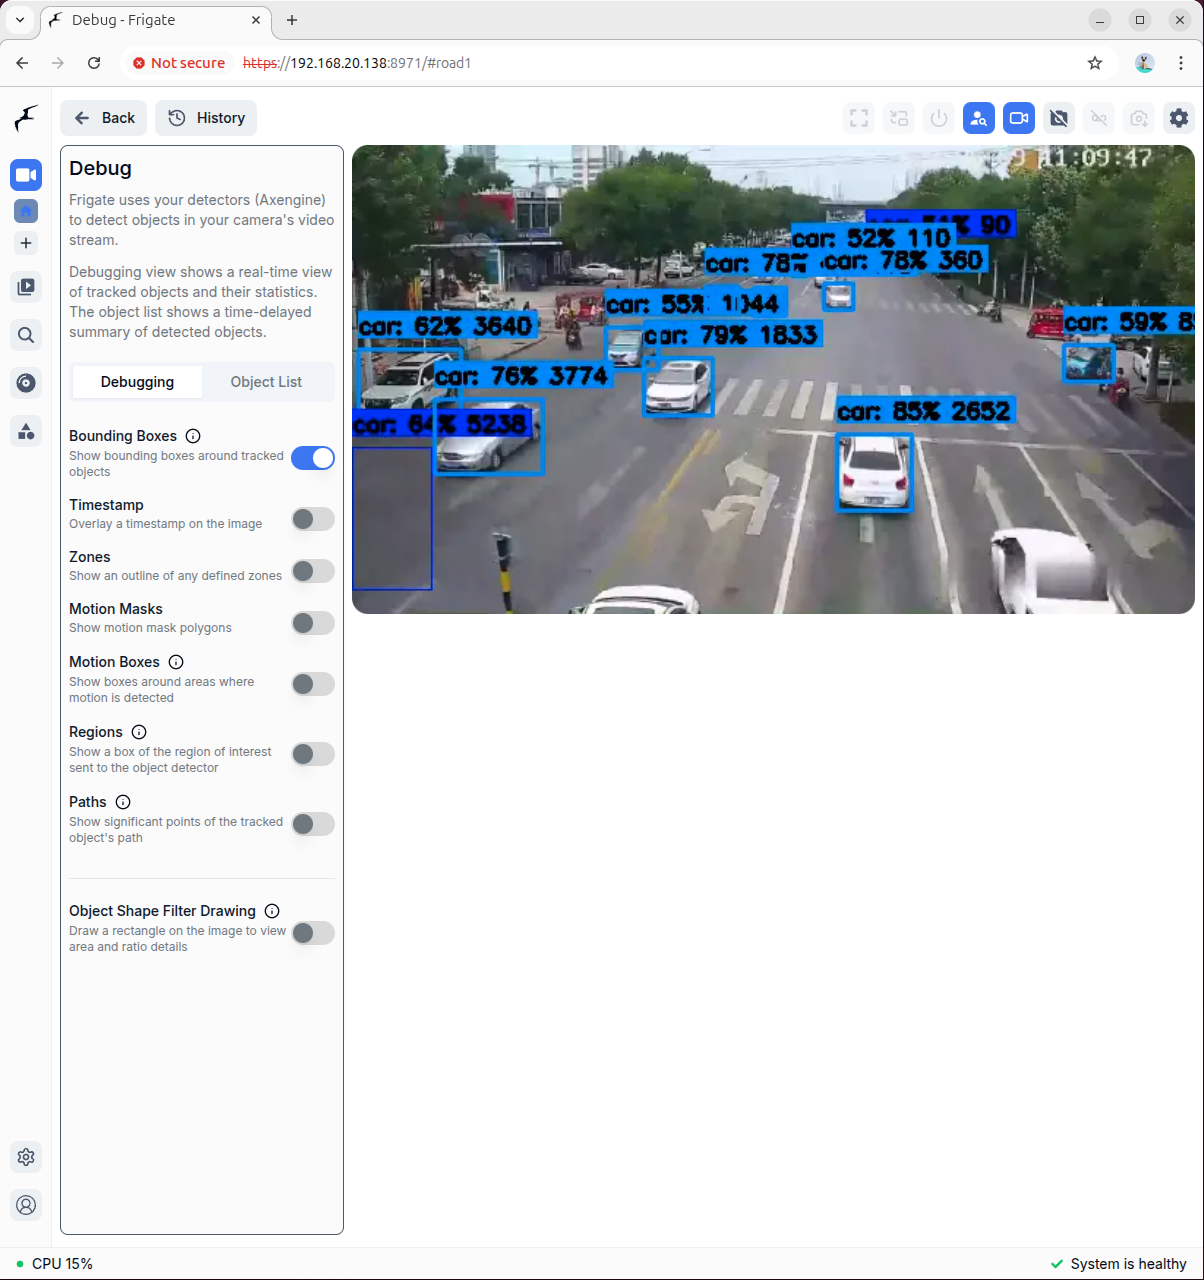
docker restart frigateEnter the debug preview interface. In the right-click menu on the video stream, select Debug View:
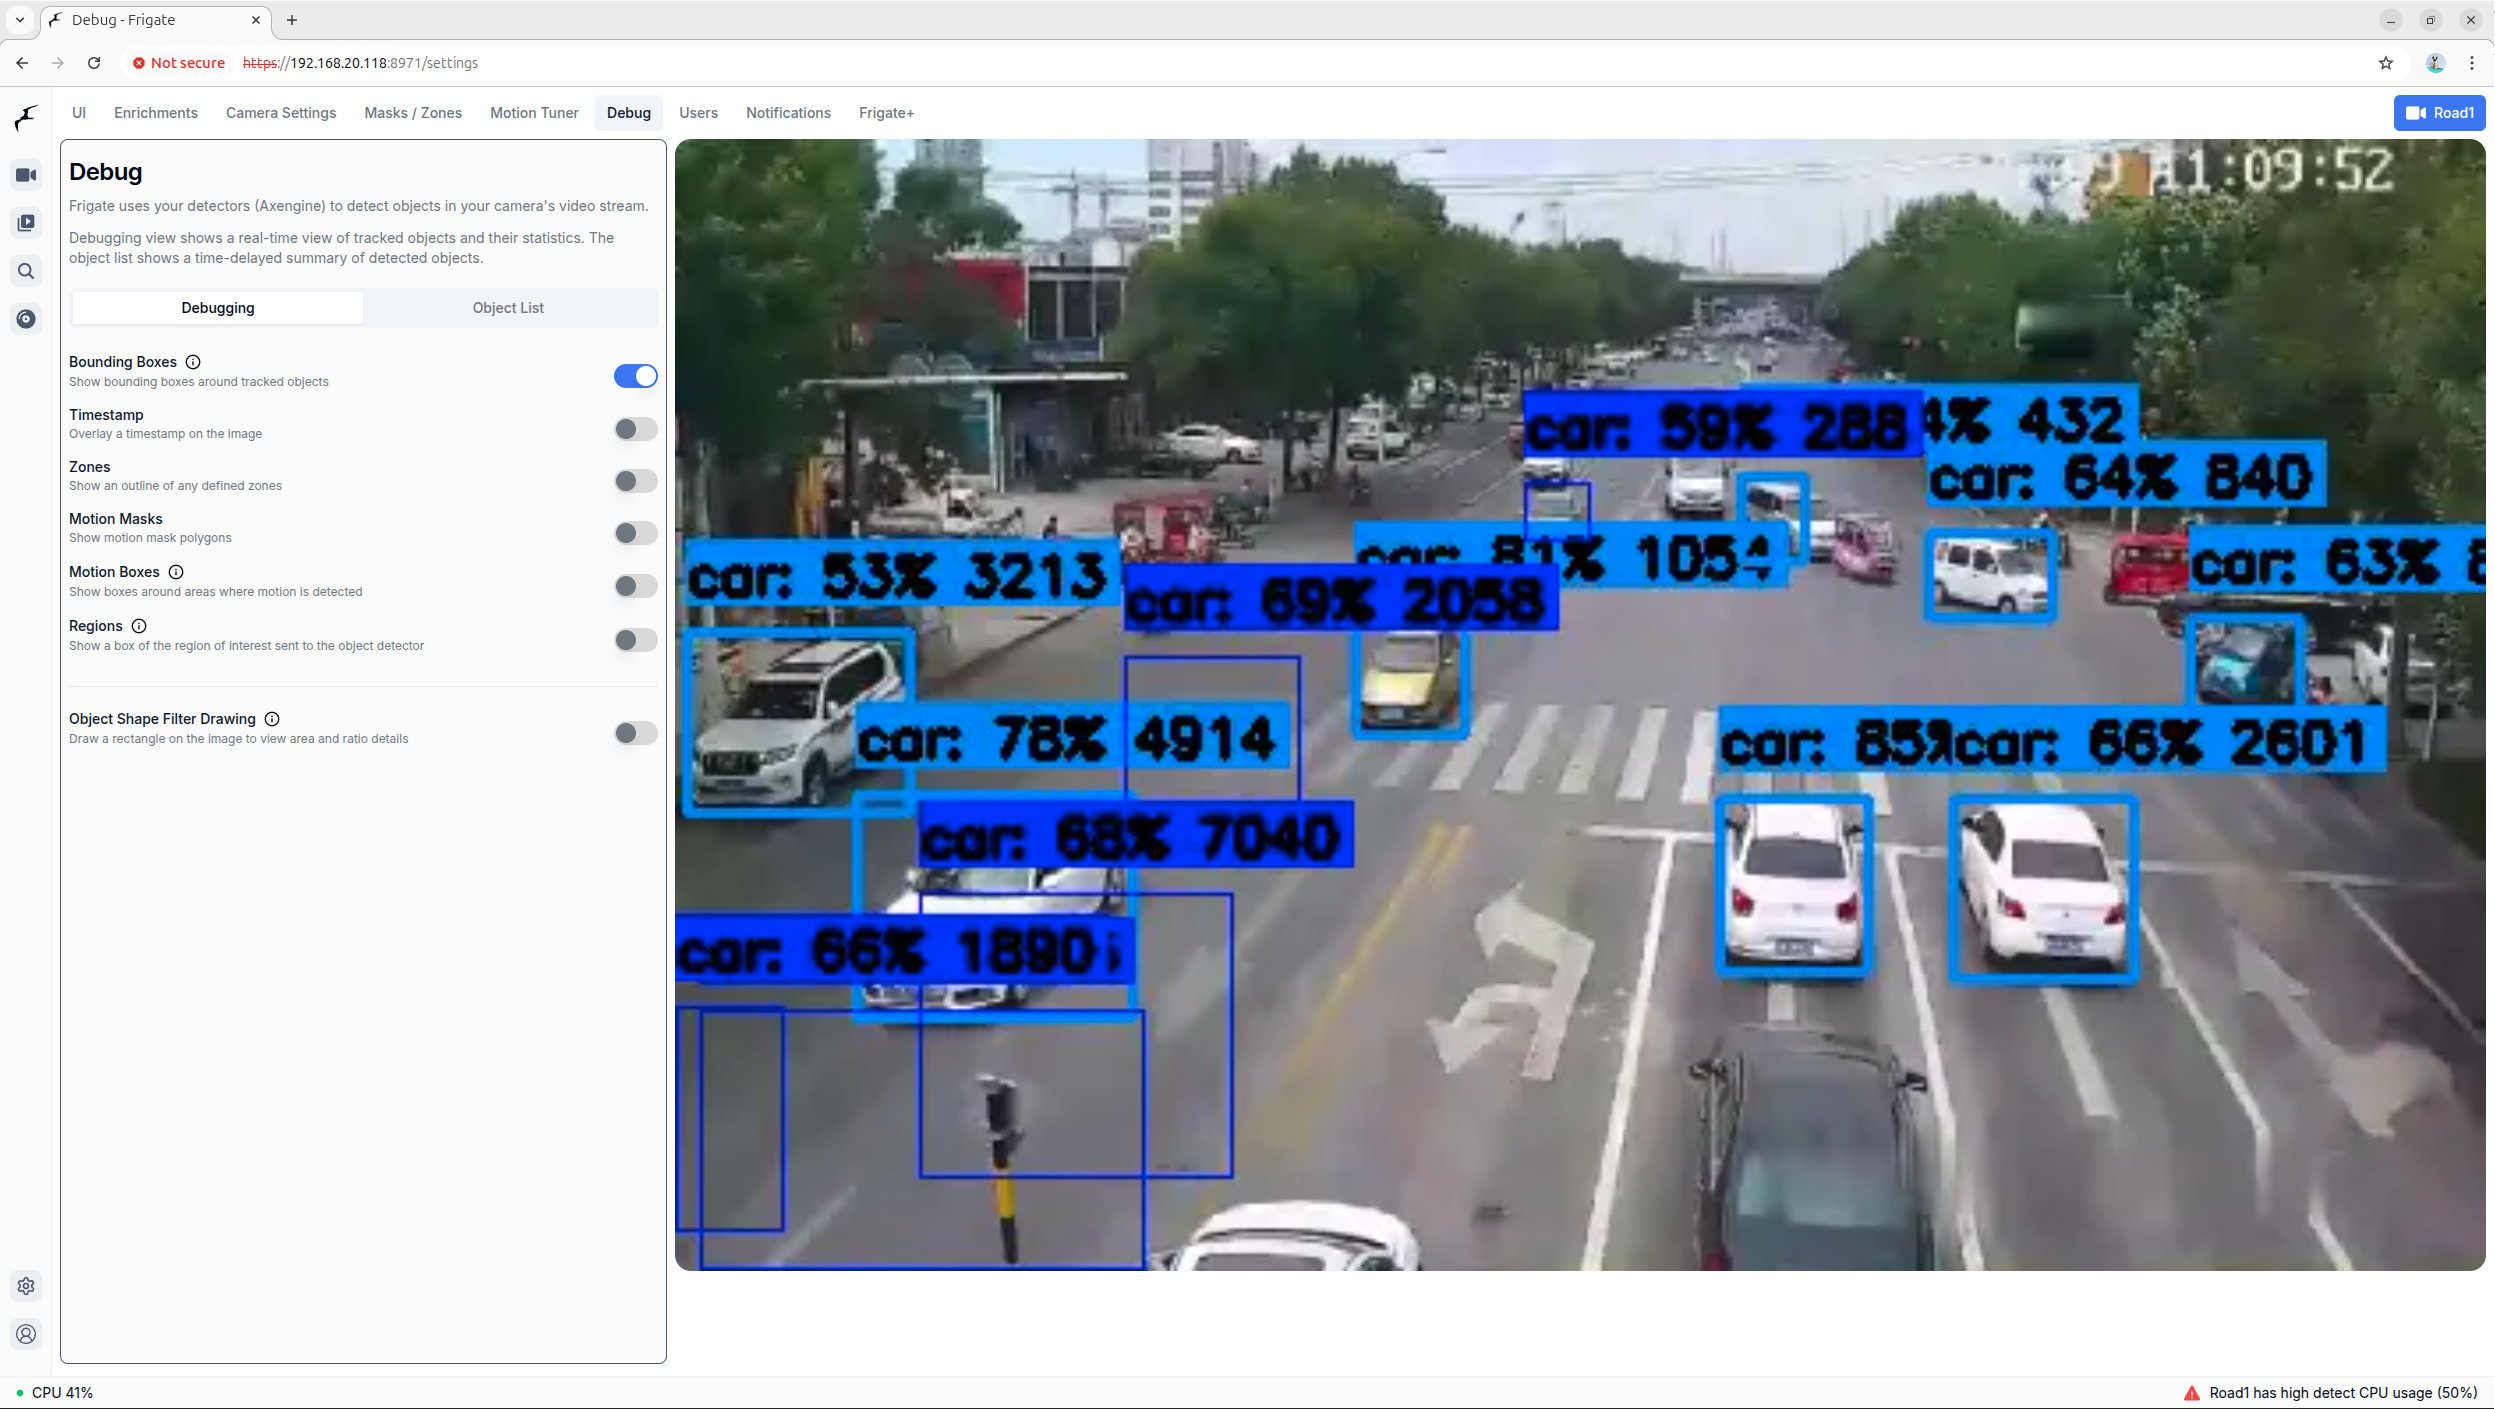
You can preview detection boxes and other information in the settings interface:
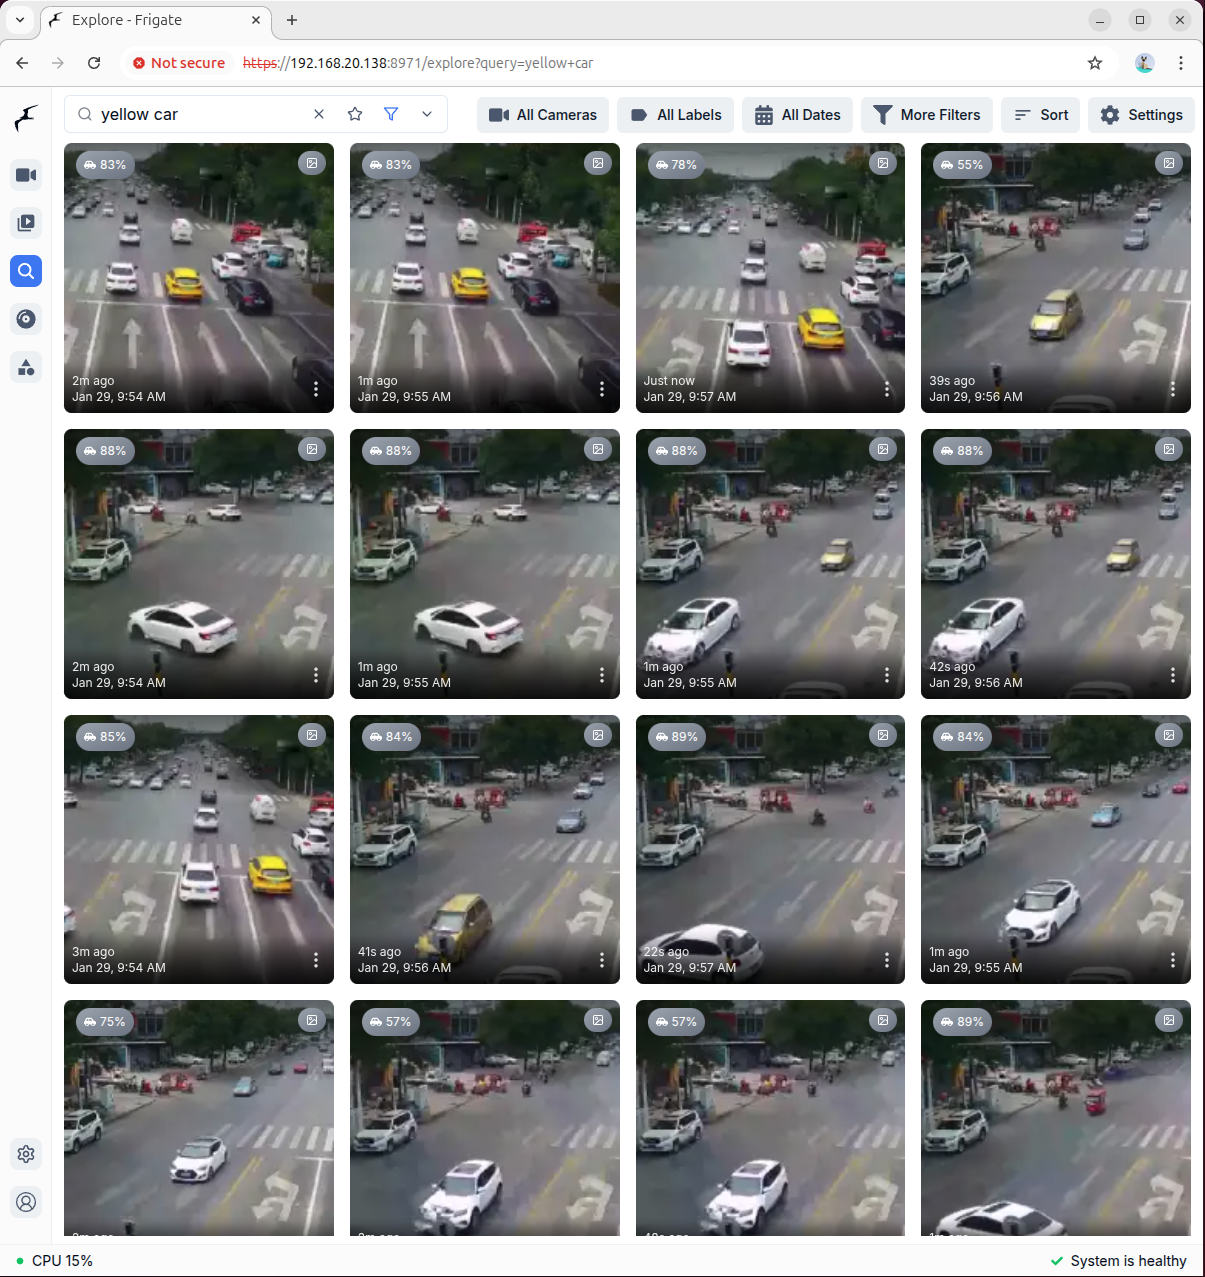
4. Semantic Search and Browsing
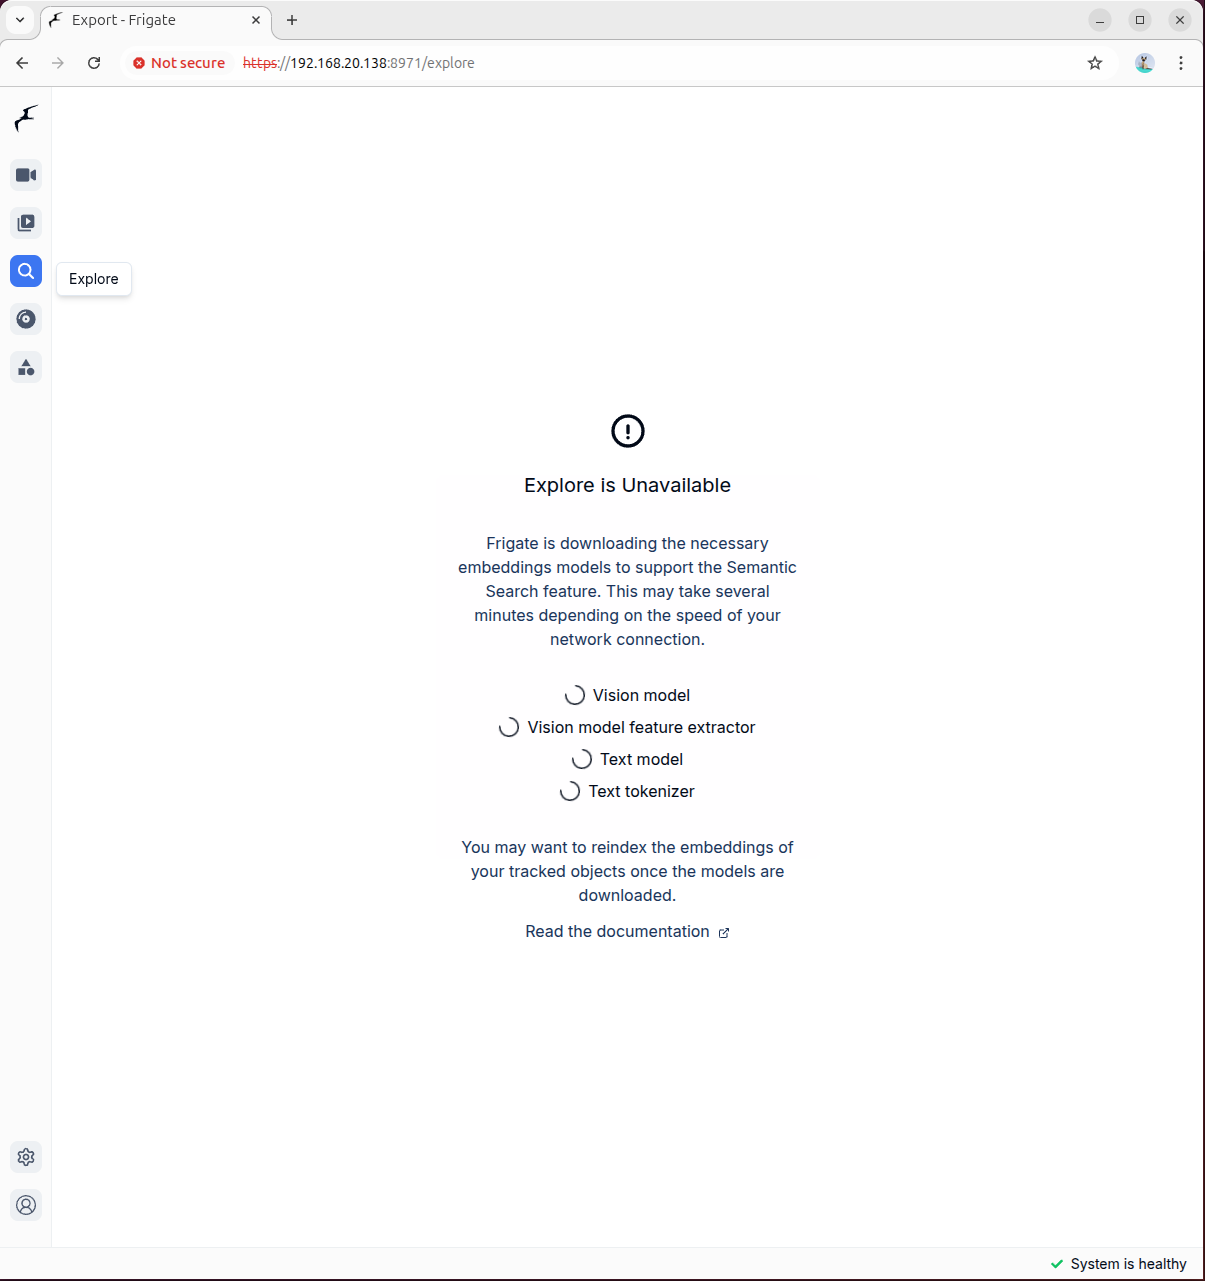
Click the Browse button to enter the media browsing interface. When entering for the first time, the semantic search model needs to be downloaded. The model file is relatively large, so please be patient:
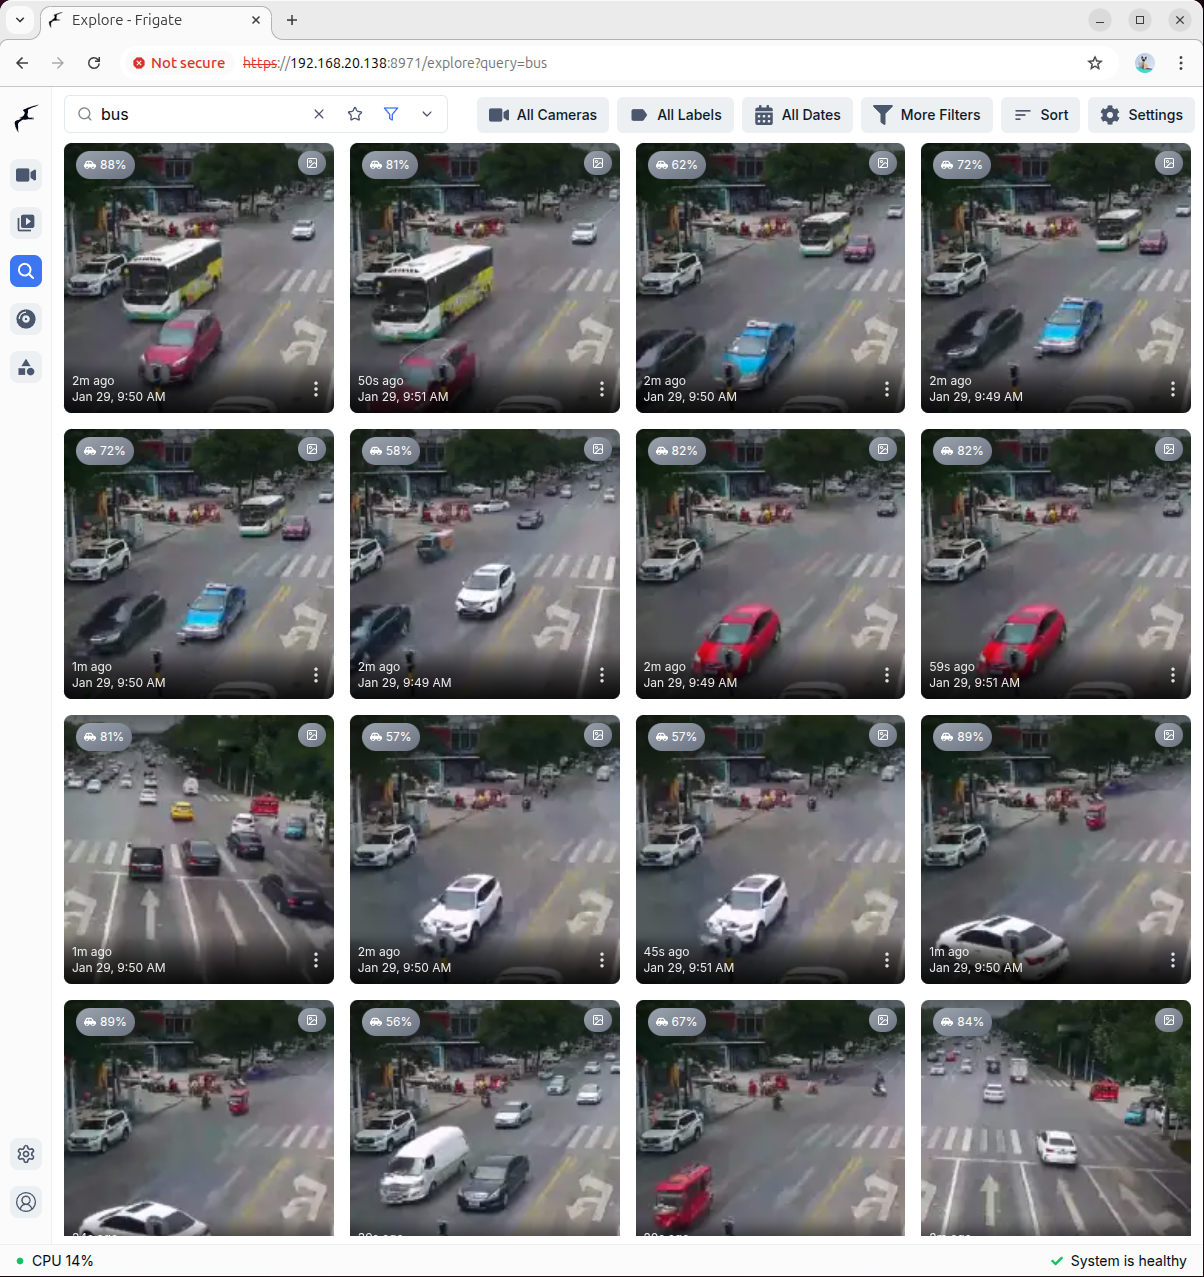
After the model is loaded, enter the keywords you want to search for in the search box. The system will automatically retrieve and return relevant video snapshots:
More Information
For more advanced configuration options and feature descriptions, please refer to the Frigate Official Documentation.