UiFlow Tutorial
UiFlow1 Quick Start
2. Firmware & Program 1.0
UiFlow1 Development Guide
Project Management
Use LTE network
UiFlow1 Blockly
Event
UI
Unit
Module
Hat
UiFlow2 Quick Start
2. Firmware & Program 2.0
UiFlow2 Development Guide
UI Editor
Device Security & Sharing
UiFlow2 Video Column
Cardputer: Flash Firmware & Run Code
1. Flash UiFlow2 Firmware
Refer to the UiFlow2 Web IDE Tutorial to learn the basic workflow of UiFlow2 and install the M5Burner firmware flashing tool.
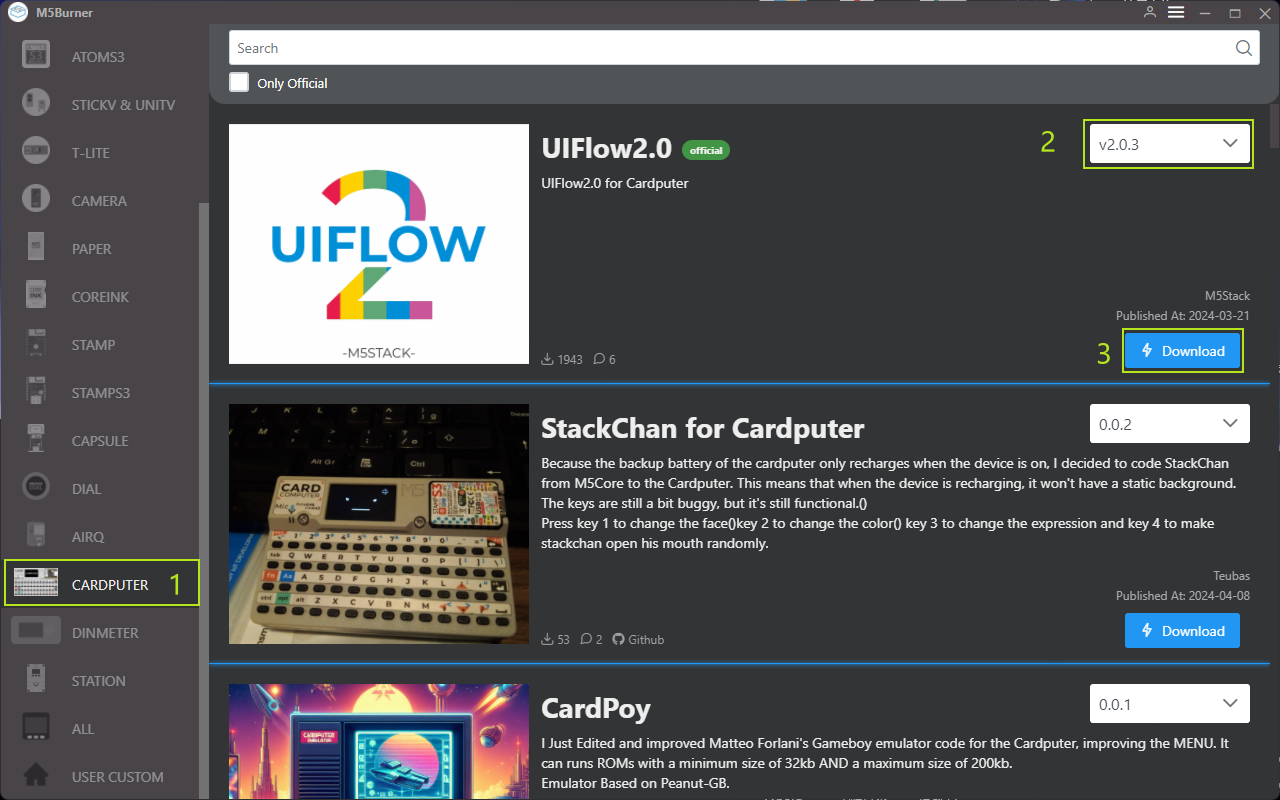
Download the firmware for
Cardputerin M5Burner, as shown below.
- Set the power switch on the side of Cardputer to
OFF, then press and hold theG0button before powering on. Release the button after the device is powered, and the device will enter download mode.
.gif)
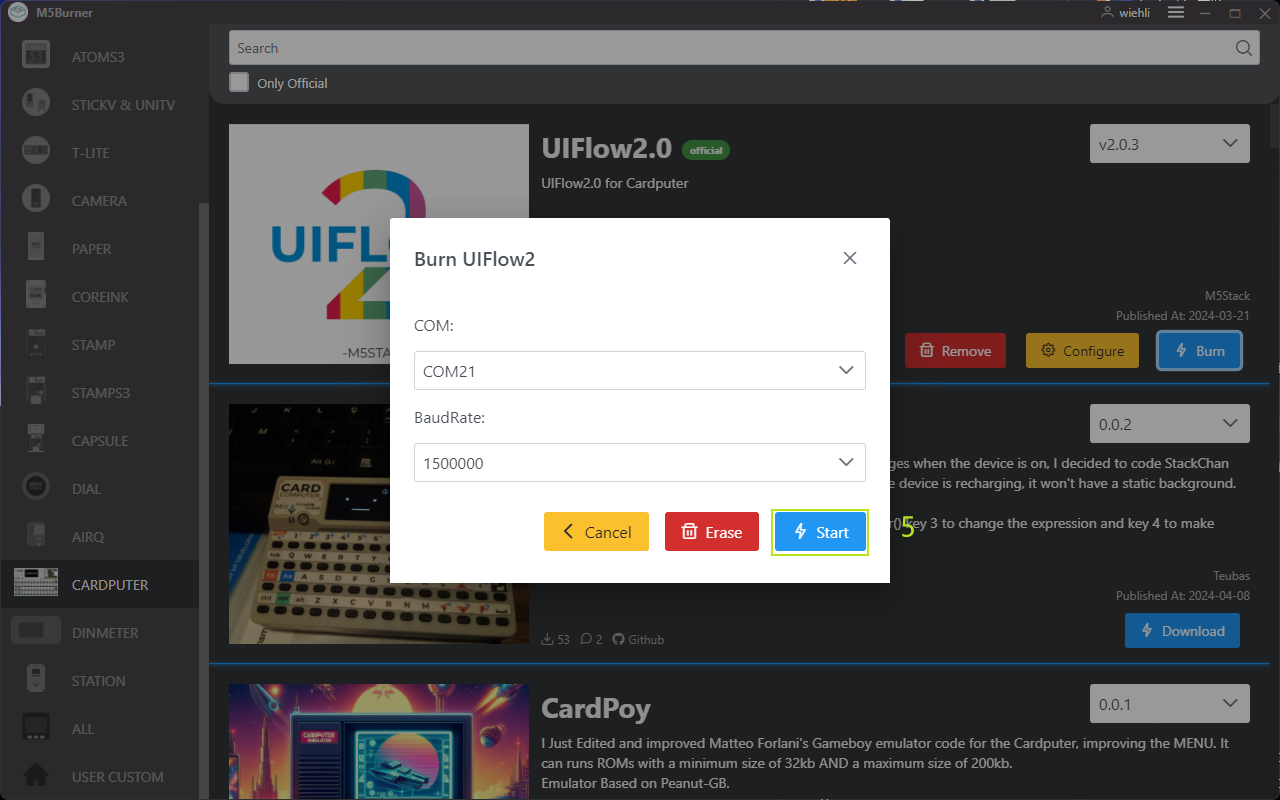
- Connect the device to the computer with a USB cable. In M5Burner, click the
Burnbutton for the corresponding firmware, select the device port, and clickStart.

- Enter the Wi-Fi configuration that the device needs to connect to, including Wi-Fi SSID and Wi-Fi Password, as well as any other device configuration that needs to be added or modified. Then click
Nextto start flashing.

Configuration information:
- COM: Select the serial port corresponding to the device
- BaudRate: Baud rate for serial communication
- Server: Server address the device connects to
- WIFI SSID/WIFI Password: Wi-Fi name and password used by the device
- SNTP Server:
- SNTP0: Alibaba Cloud NTP Server (China)
- SNTP1: Japan NTP server pool
- SNTP2: Global public NTP server pool
- Timezone: Time zone setting
- Boot Option: Set the device boot mode after firmware flashing
- Run main.py directly: After flashing, directly run the program in main.py without connecting to the network or displaying the UiFlow2 startup screen
- Show startup menu and network setup: The device connects to the network, and devices with screens display the UiFlow2 startup screen
- Only network setup: The device only connects to the network and does not display the UiFlow2 startup screen
- When
Burn successfully, click here to returnis displayed, the firmware has been flashed successfully. Reset the device at this point.

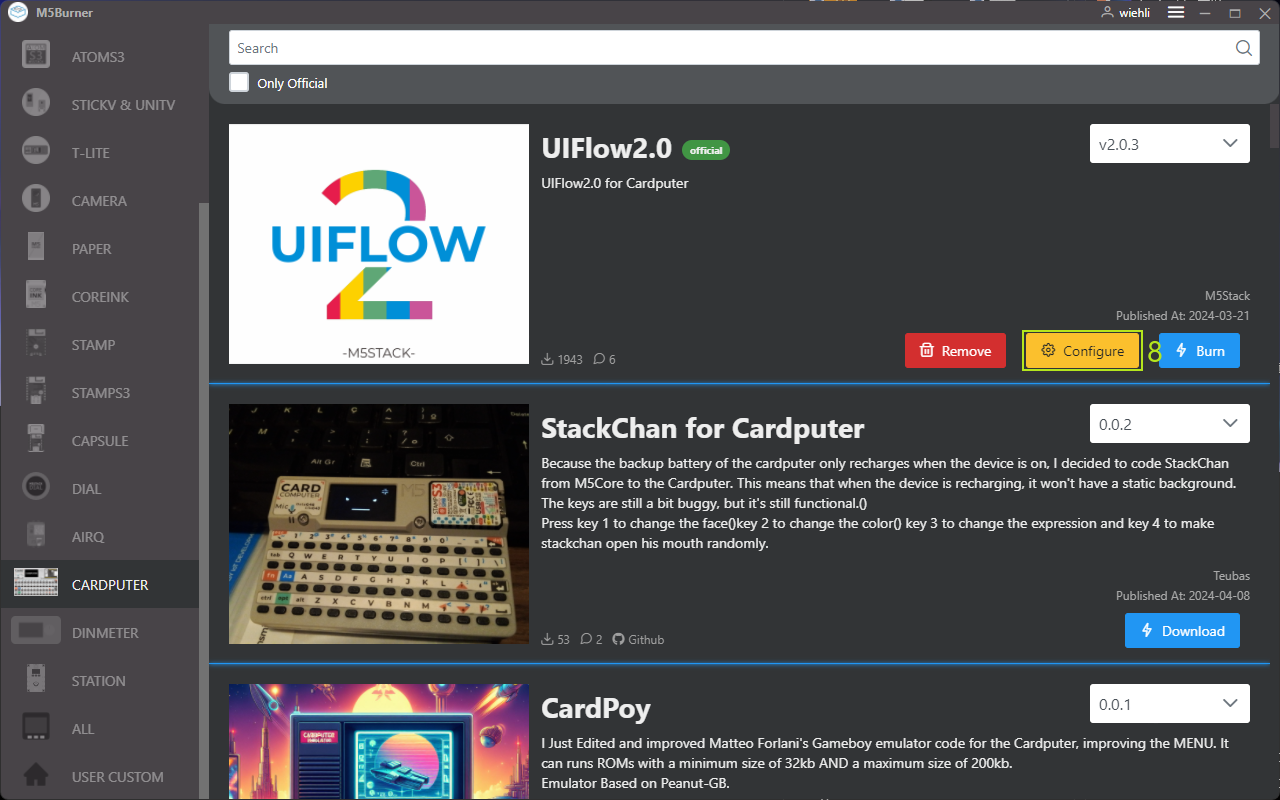
- After firmware flashing is complete, if you need to modify the device configuration, keep the USB connection, restart the device, and click
Configure. Follow the on-screen prompts to make changes.
2. Device Connection
The device supports connecting to UiFlow2 via Access Code (wireless network) or USB (wired connection to a computer) for program upload and debugging. Refer to the following steps:
Access Code Wireless Connection
- Before connecting, make sure the device is connected to the network. If the device is not connected to the network, check whether the Wi-Fi name and password entered when flashing the firmware are correct, modify them through the
Configureoption in M5Burner, and flash again.
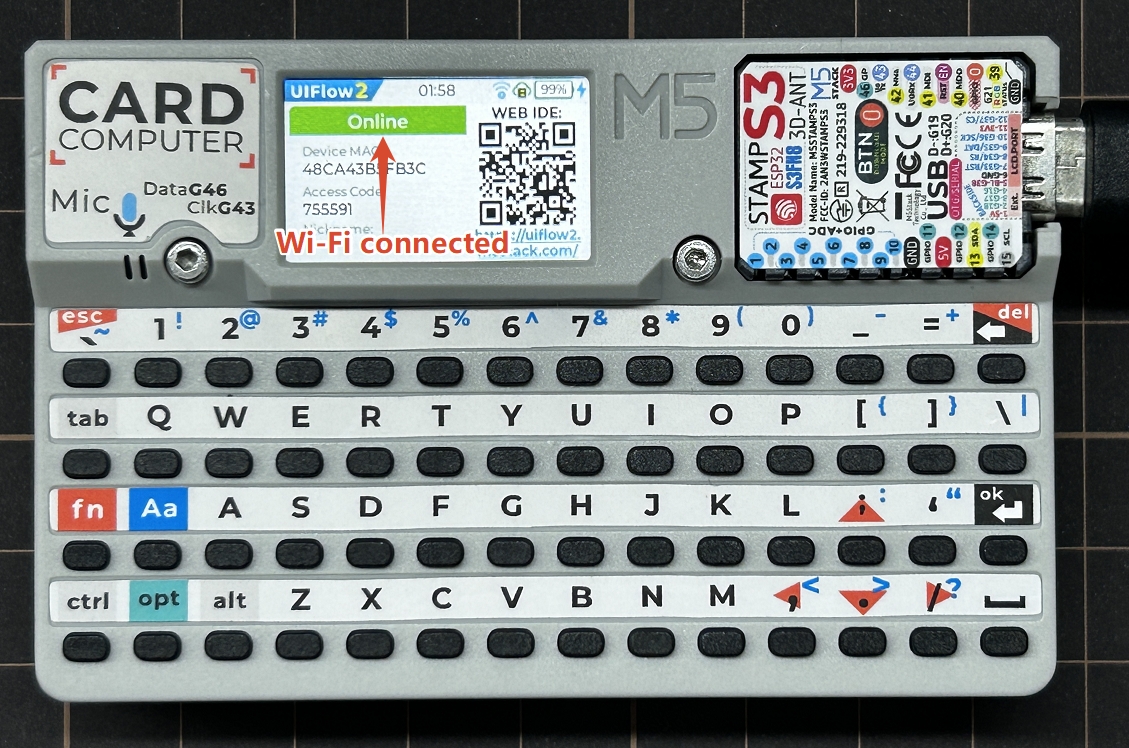
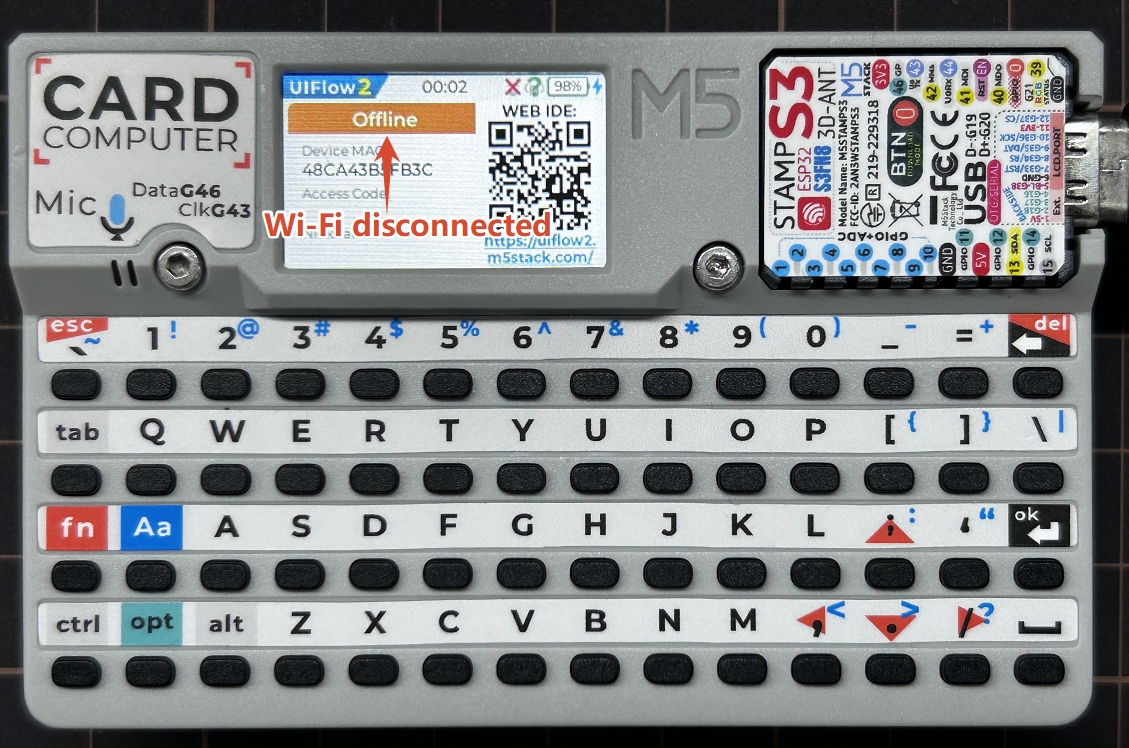
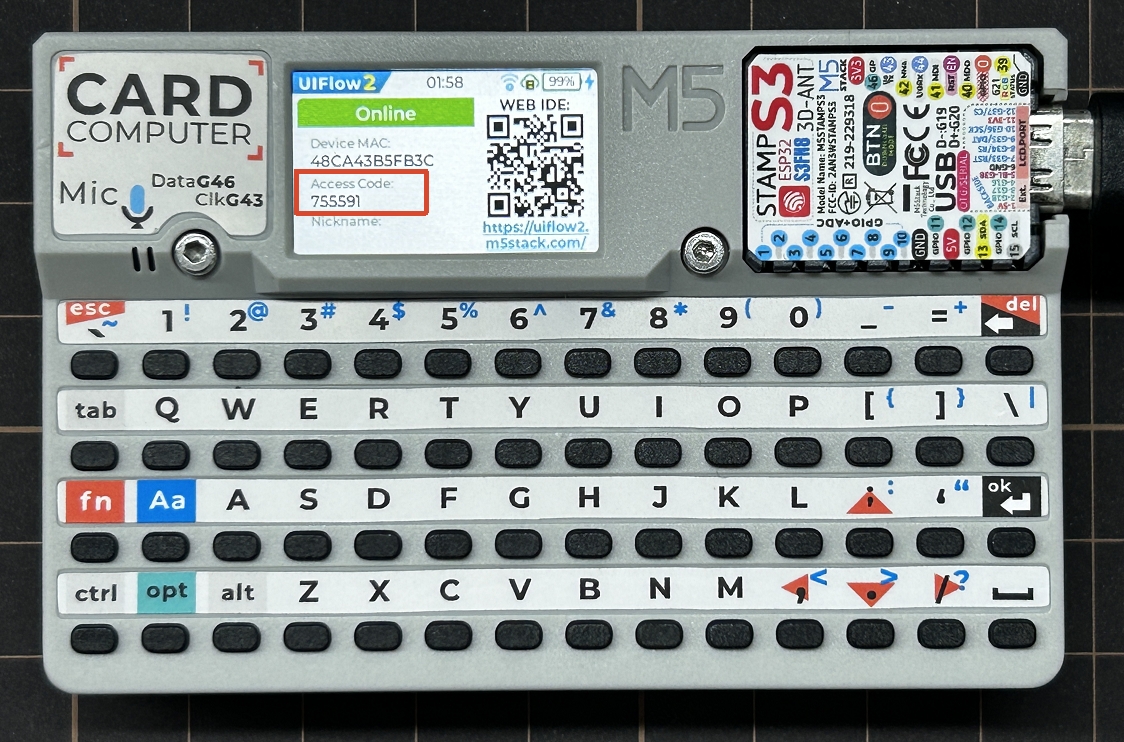
- Check the currently generated valid
Access Codeon the device's UiFlow2 startup screen.
Visit uiflow2.m5stack.com to open the UiFlow2 Web IDE.
Click
Select Your Controller(shown on first entry) or theControllerbutton on the page to enter theSelect Devicepage.
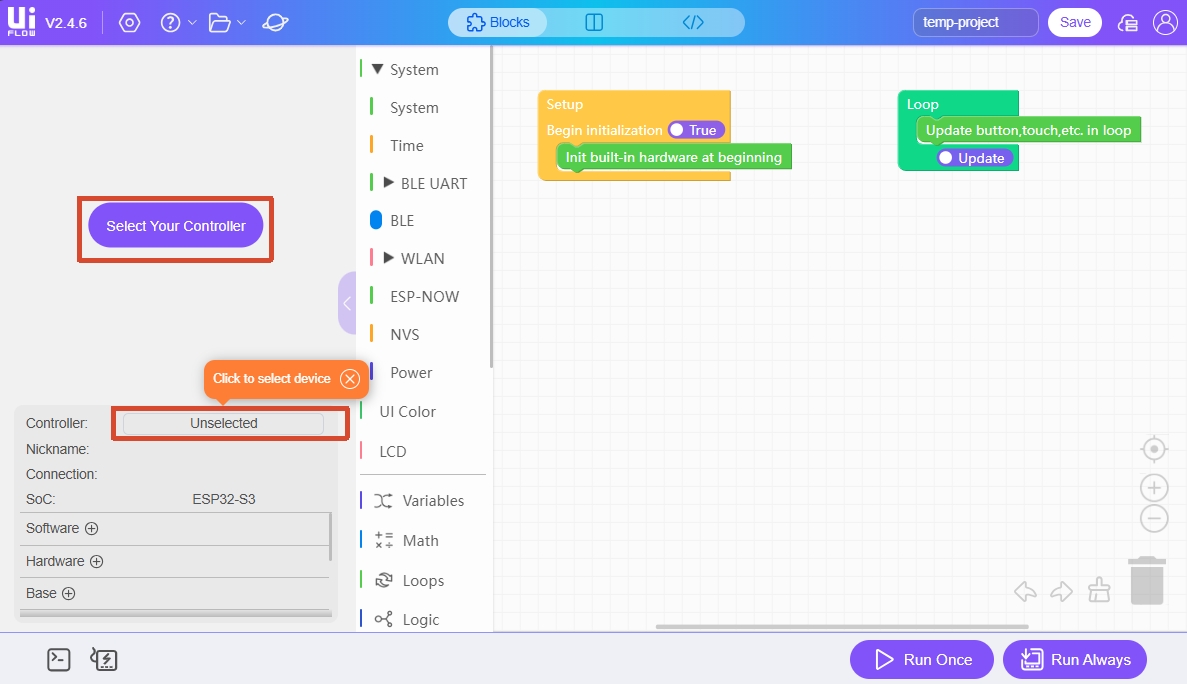
- Click
Connect Device, enter the access code and a custom device name, then clickConfirmto connect Cardputer to UiFlow2.
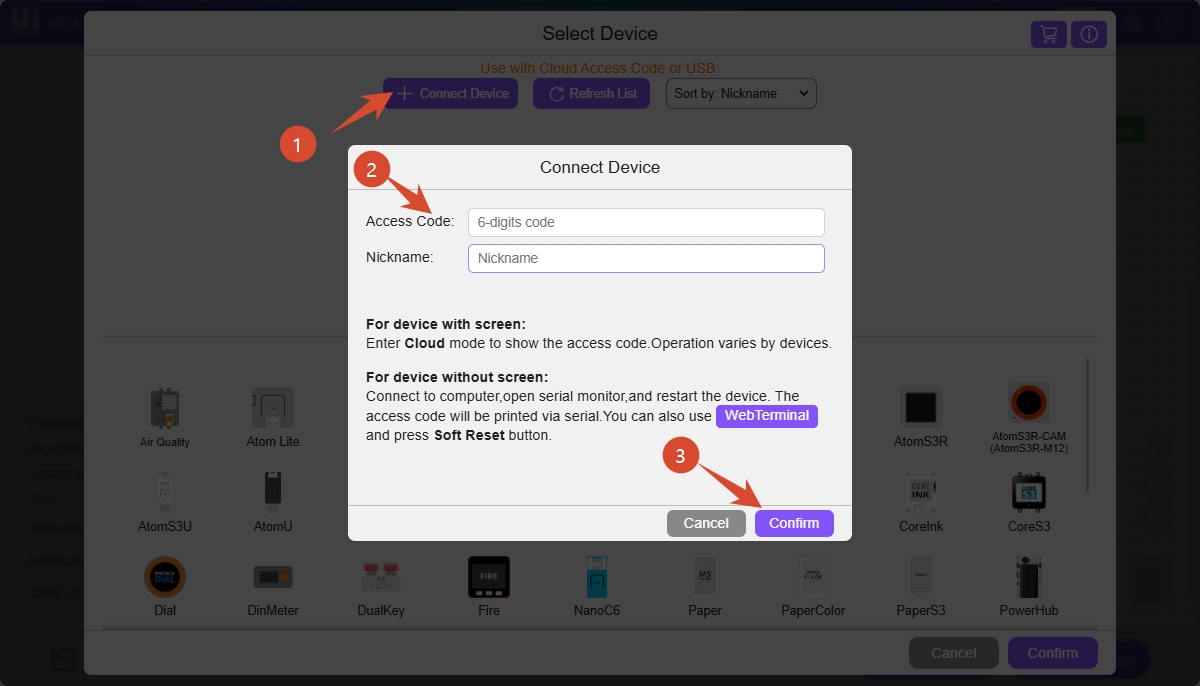
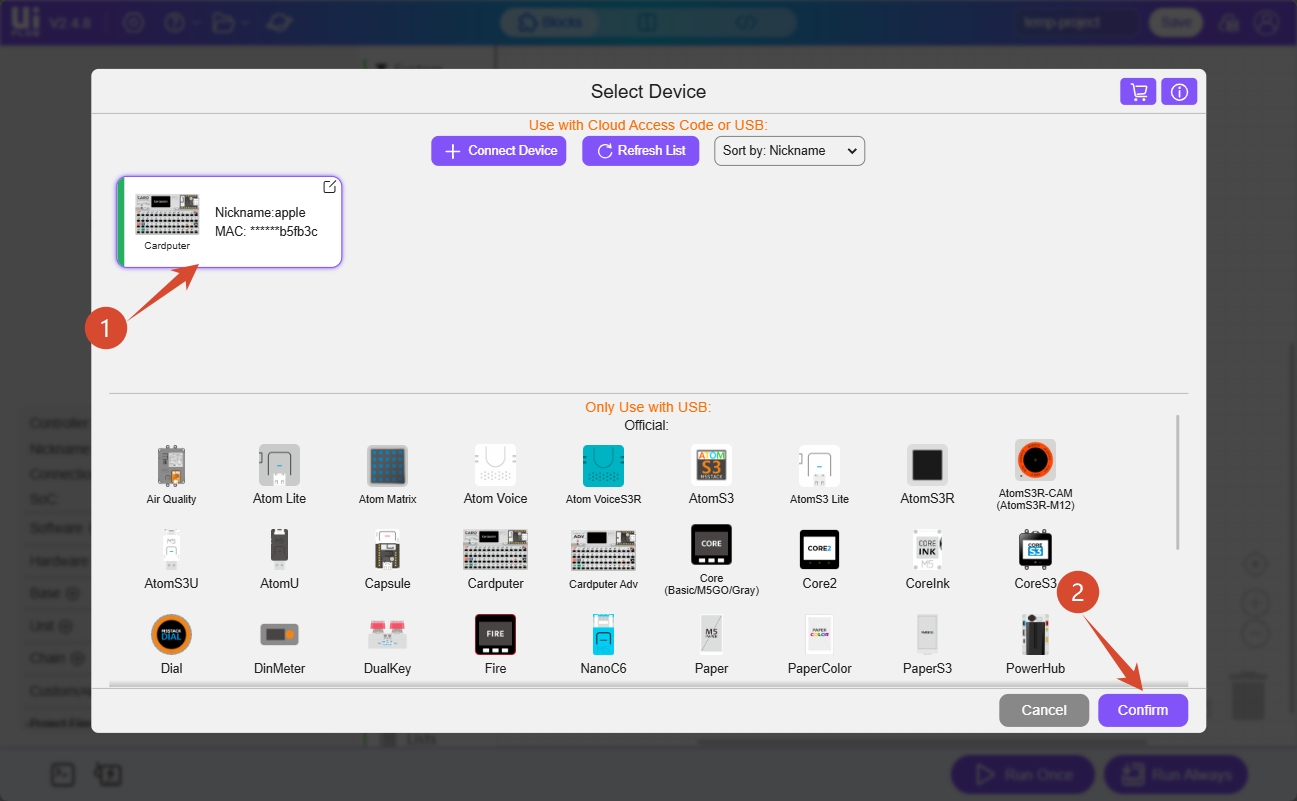
- On the Select Device page, select the connected Cardputer device and click
Confirmto enter the UiFlow2 programming interface.
USB Wired Connection
Visit uiflow2.m5stack.com to open the UiFlow2 Web IDE, and connect Cardputer to the computer with a USB Type-C cable.
Click
Select Your Controller(shown on first entry) or theControllerbutton on the page to enter theSelect Devicepage.
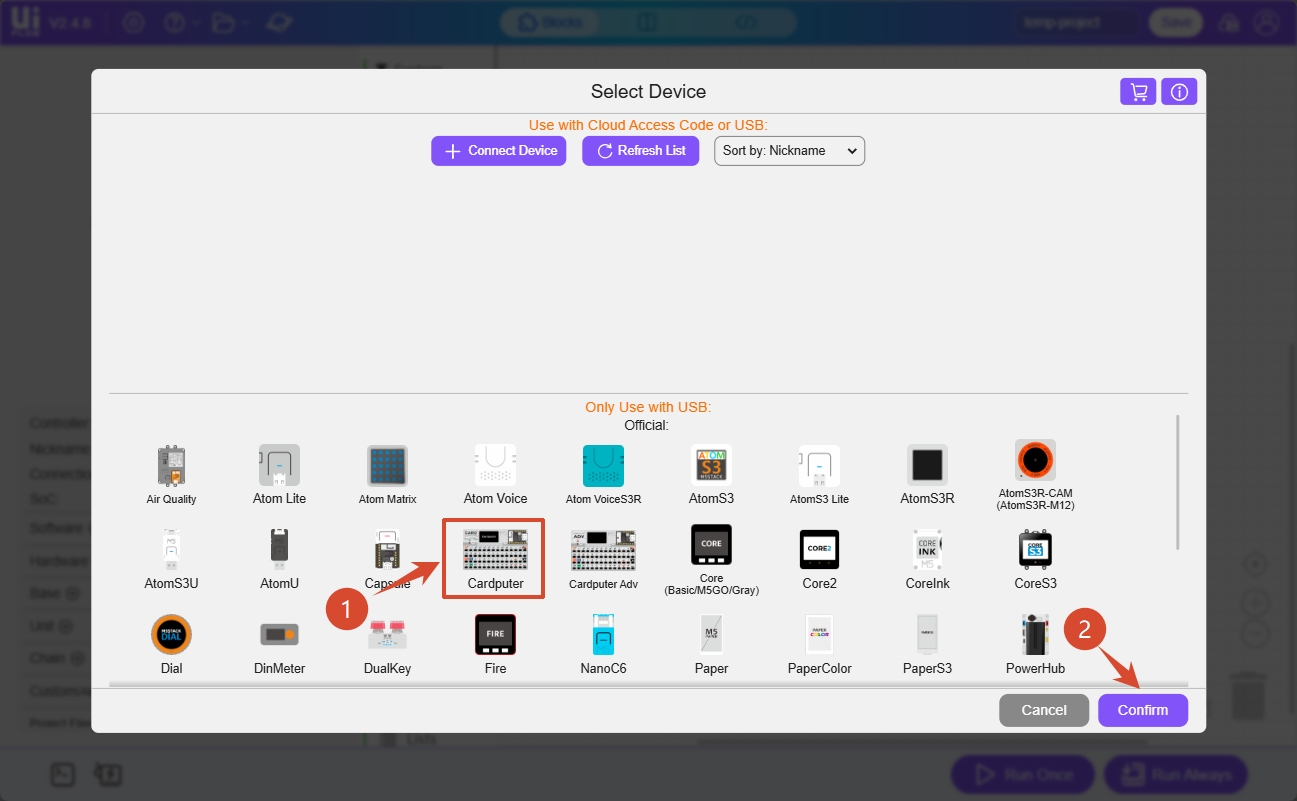
- Select the Cardputer device in the device list, then click
Confirm.
- Click the
WebTerminalbutton. In the pop-up window, select the serial port ofCardputer, then clickConnect.
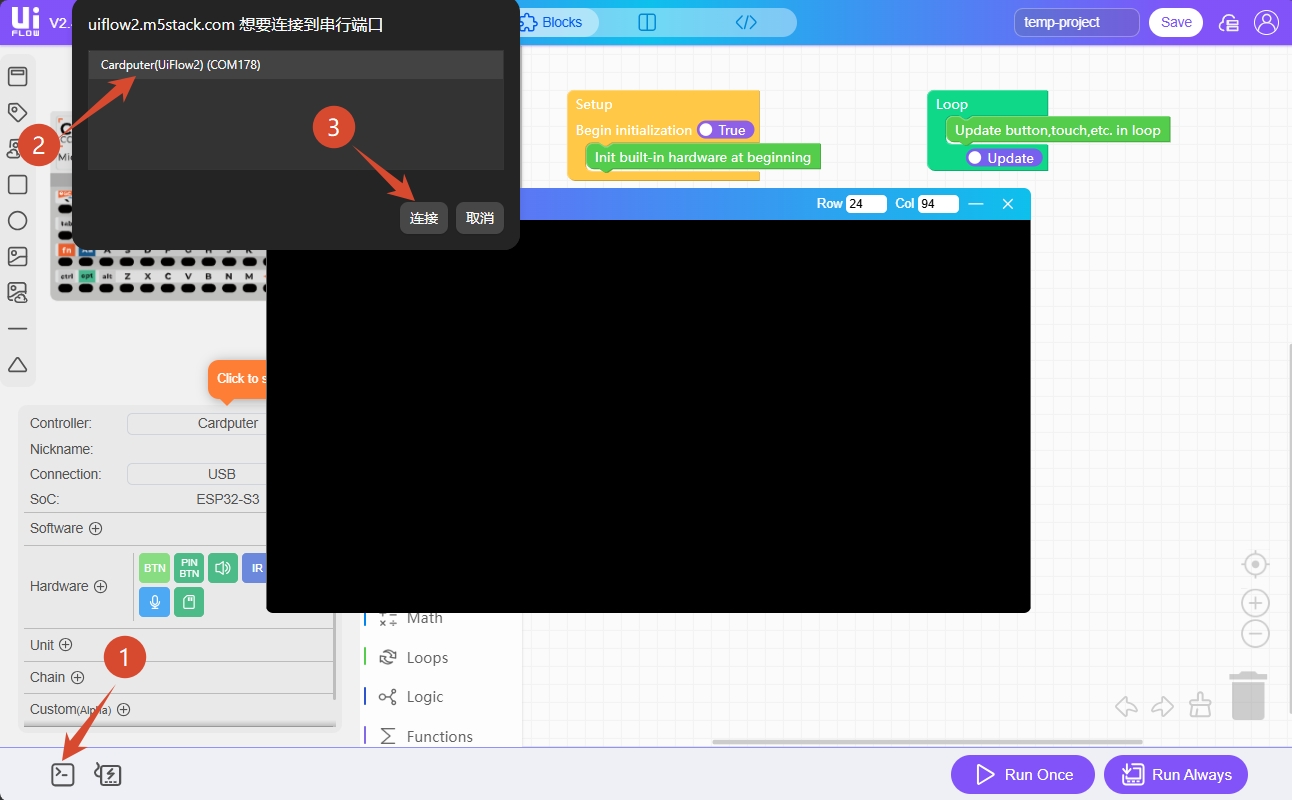
When the WebTerminal screen displays Connected to Serial Port!, the USB connection is successful.
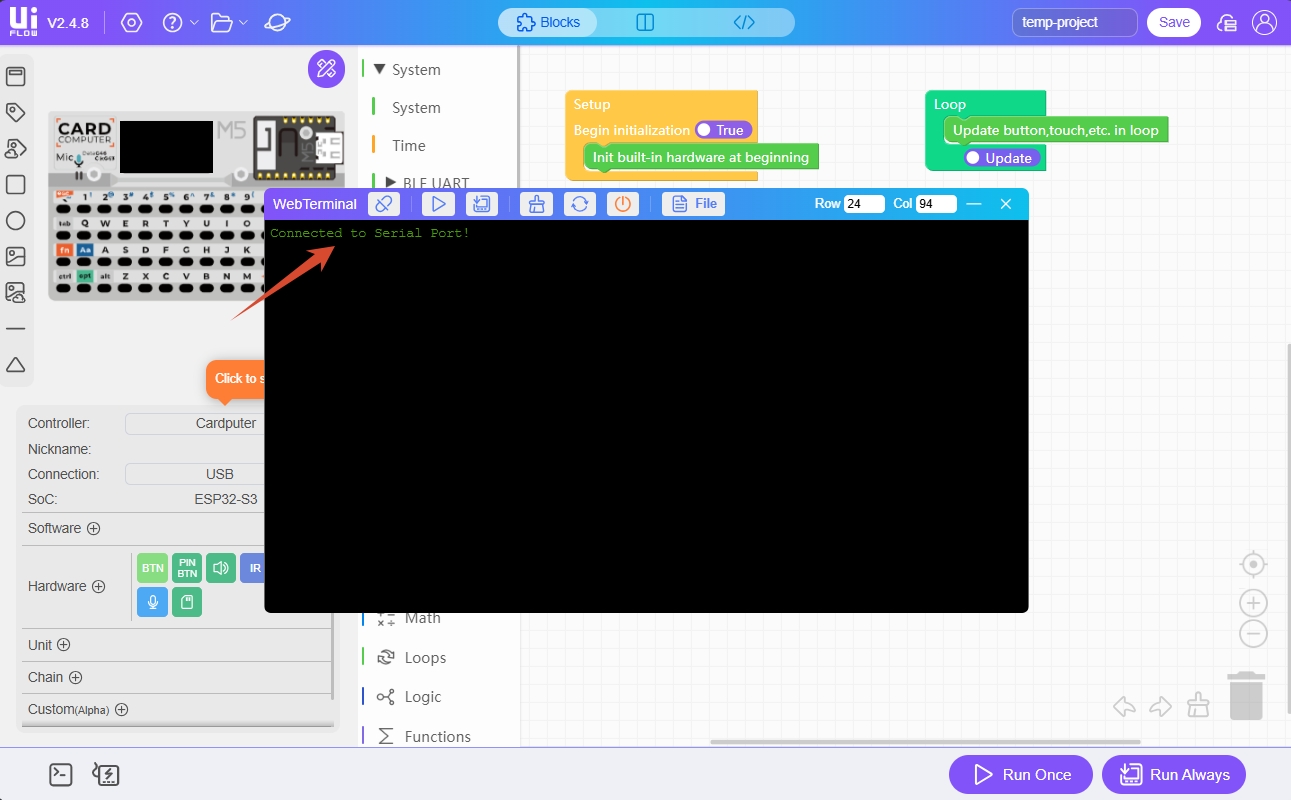
3. Program Run and Download
After the device is connected to UiFlow2, you can drag Blockly blocks to edit programs.
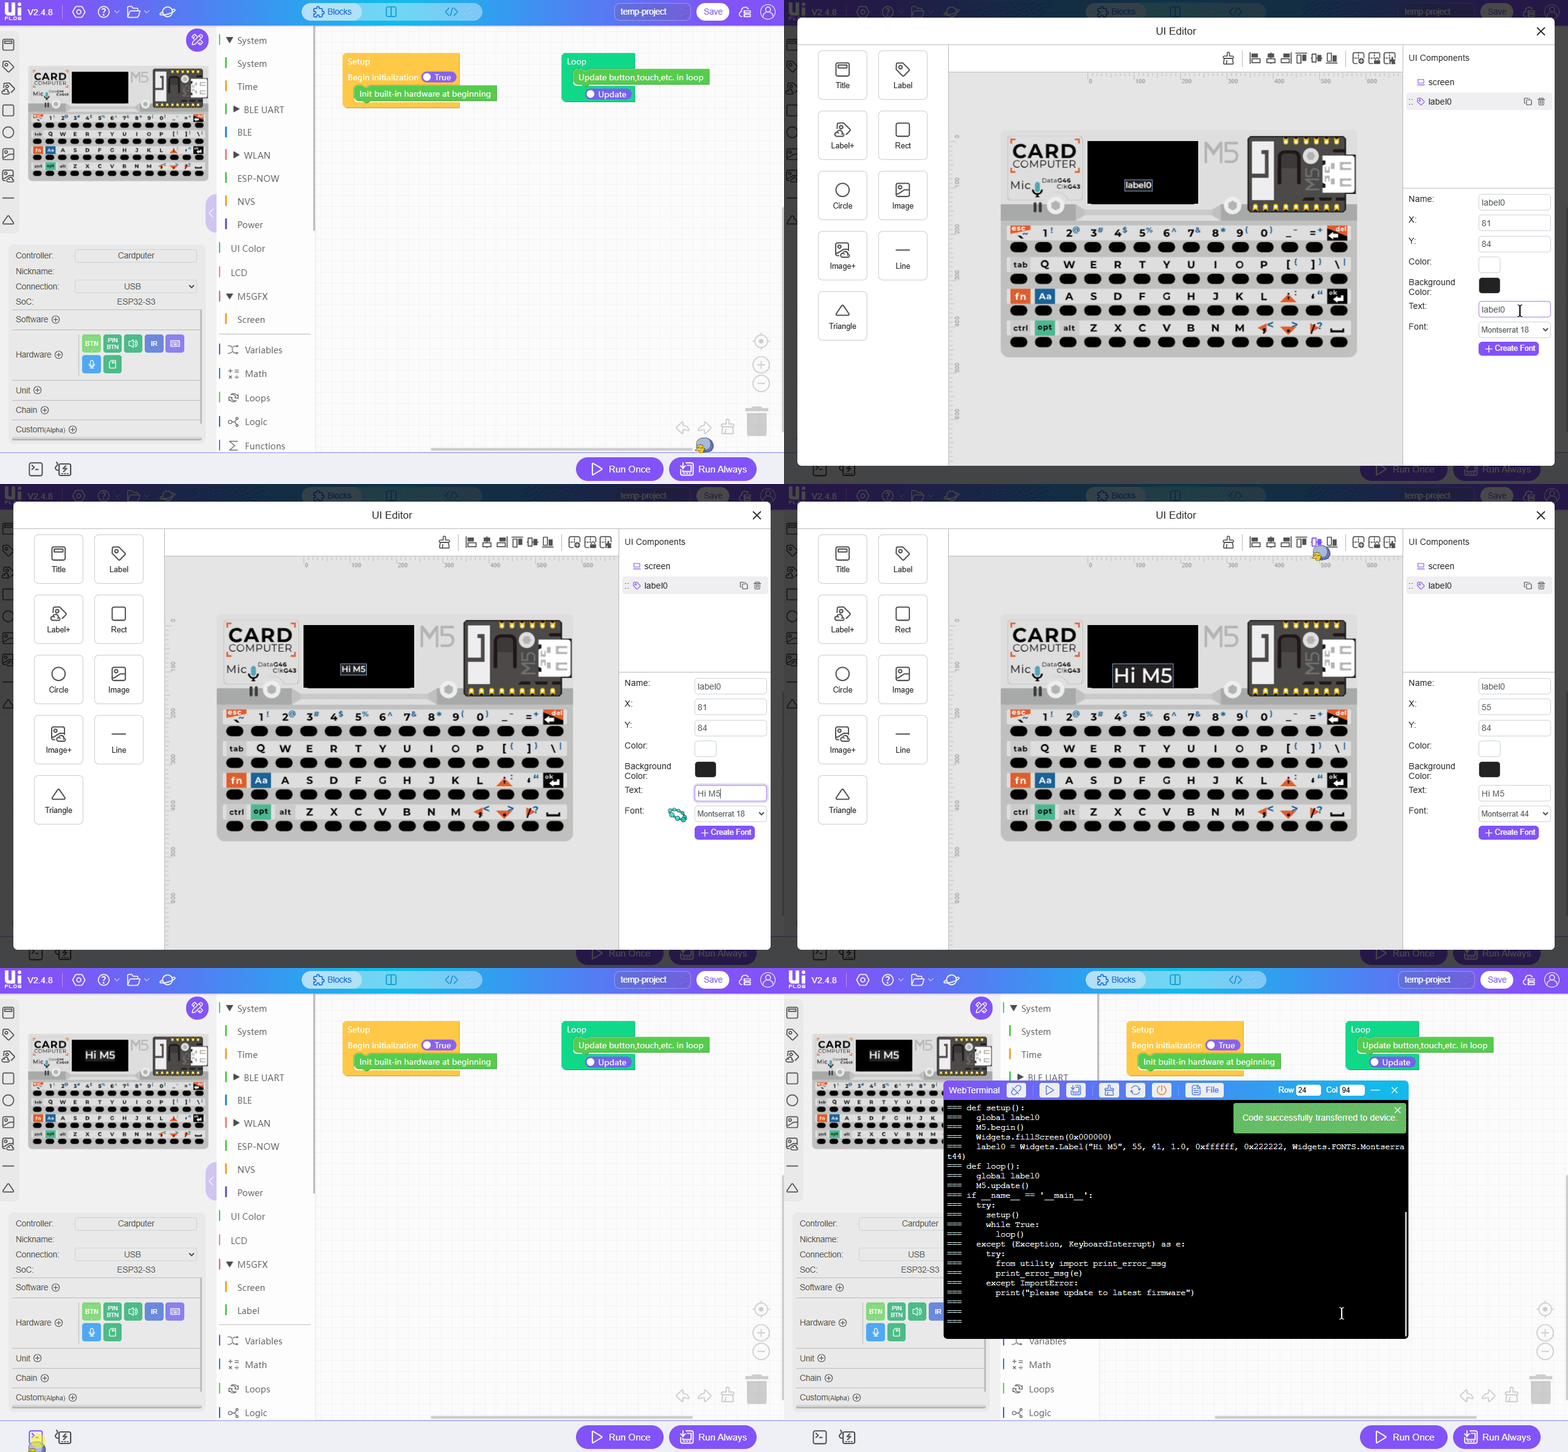
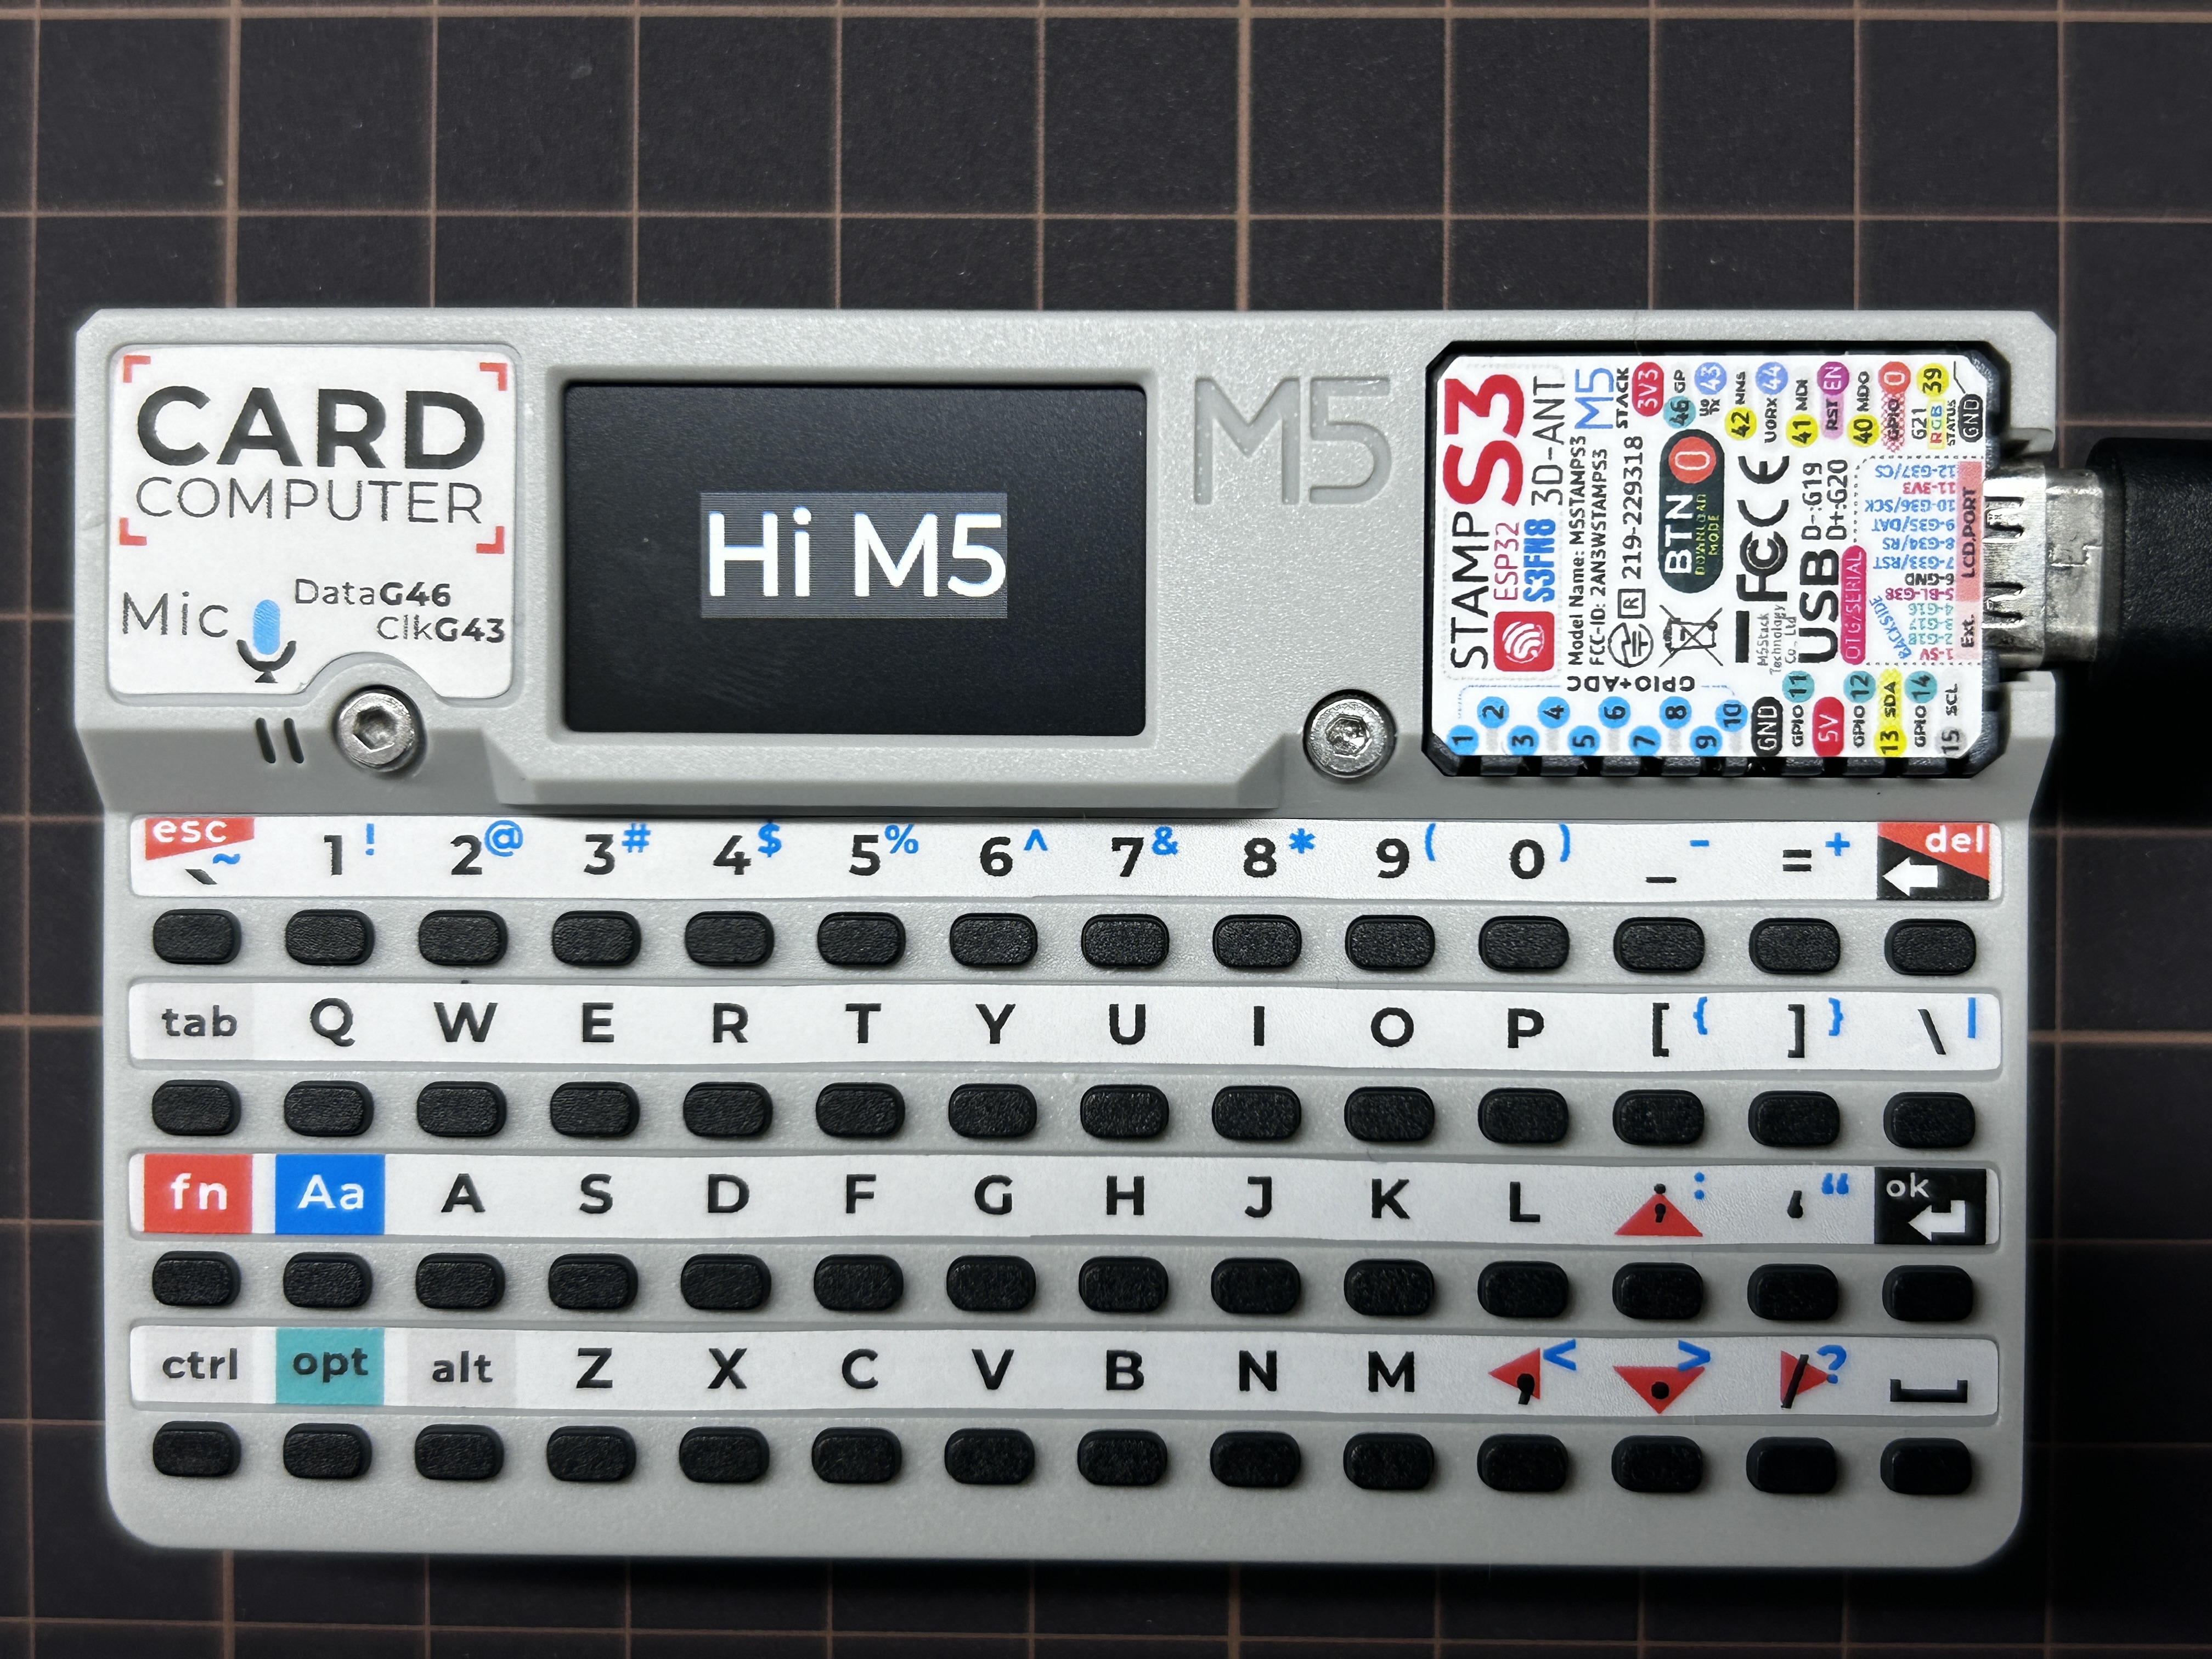
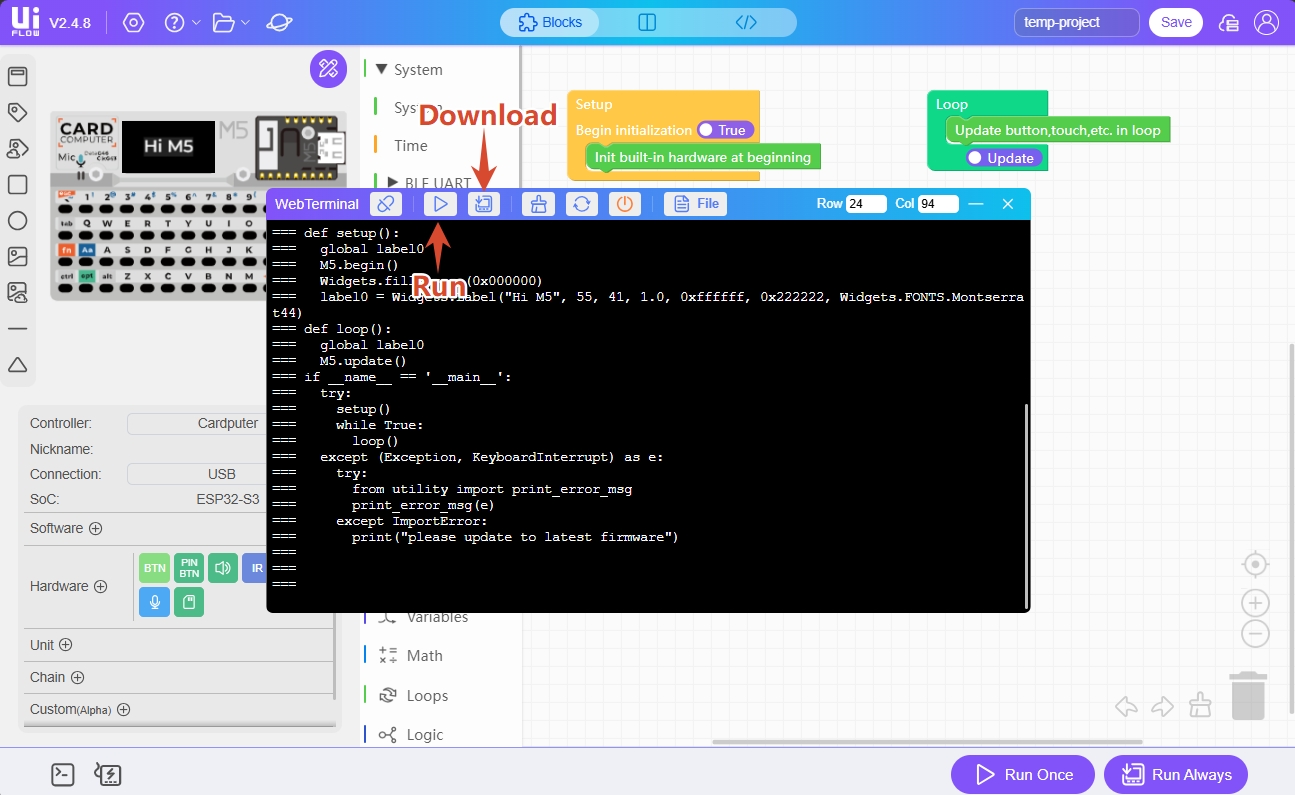
After editing the program, click the Run Once button in the lower-right corner to run the test program once, or click Run Always to download the program to the device.
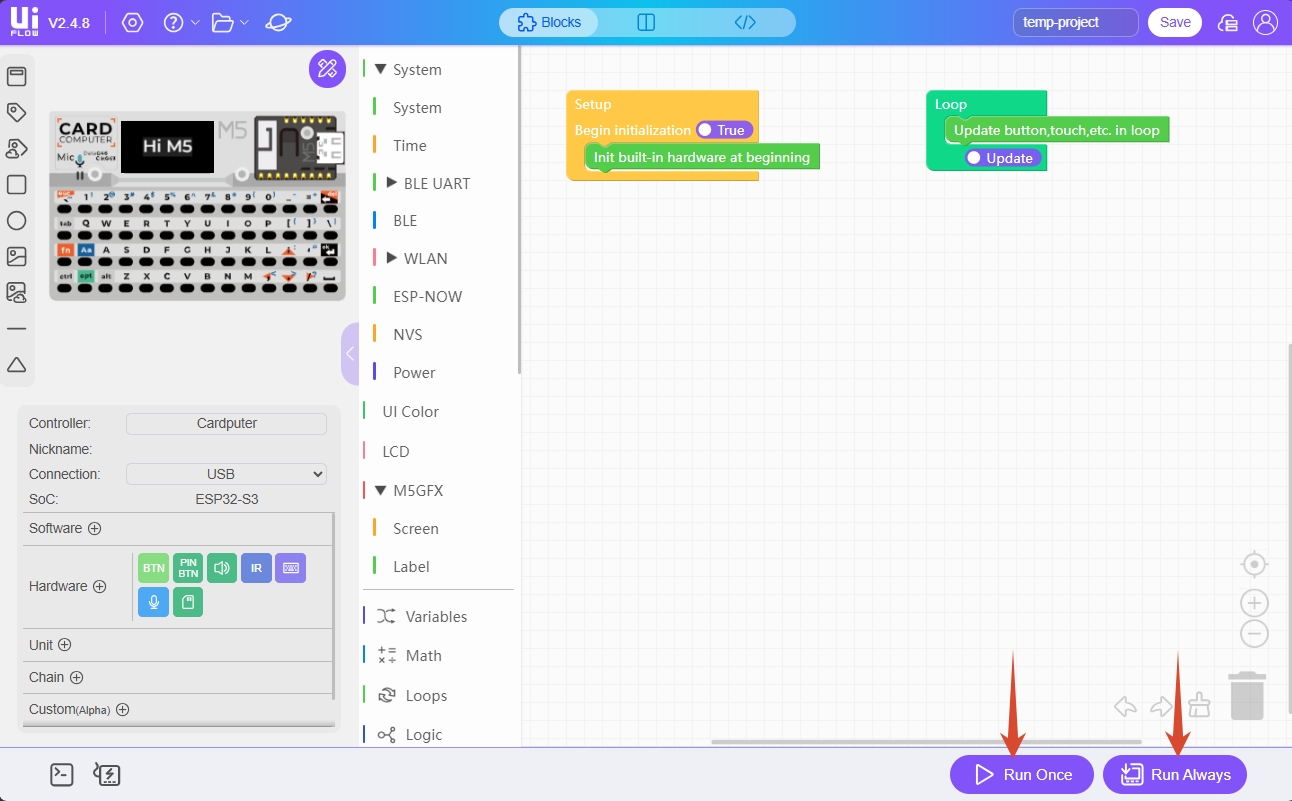
You can also run once or download the program in the WebTerminal window.
4. Related Links
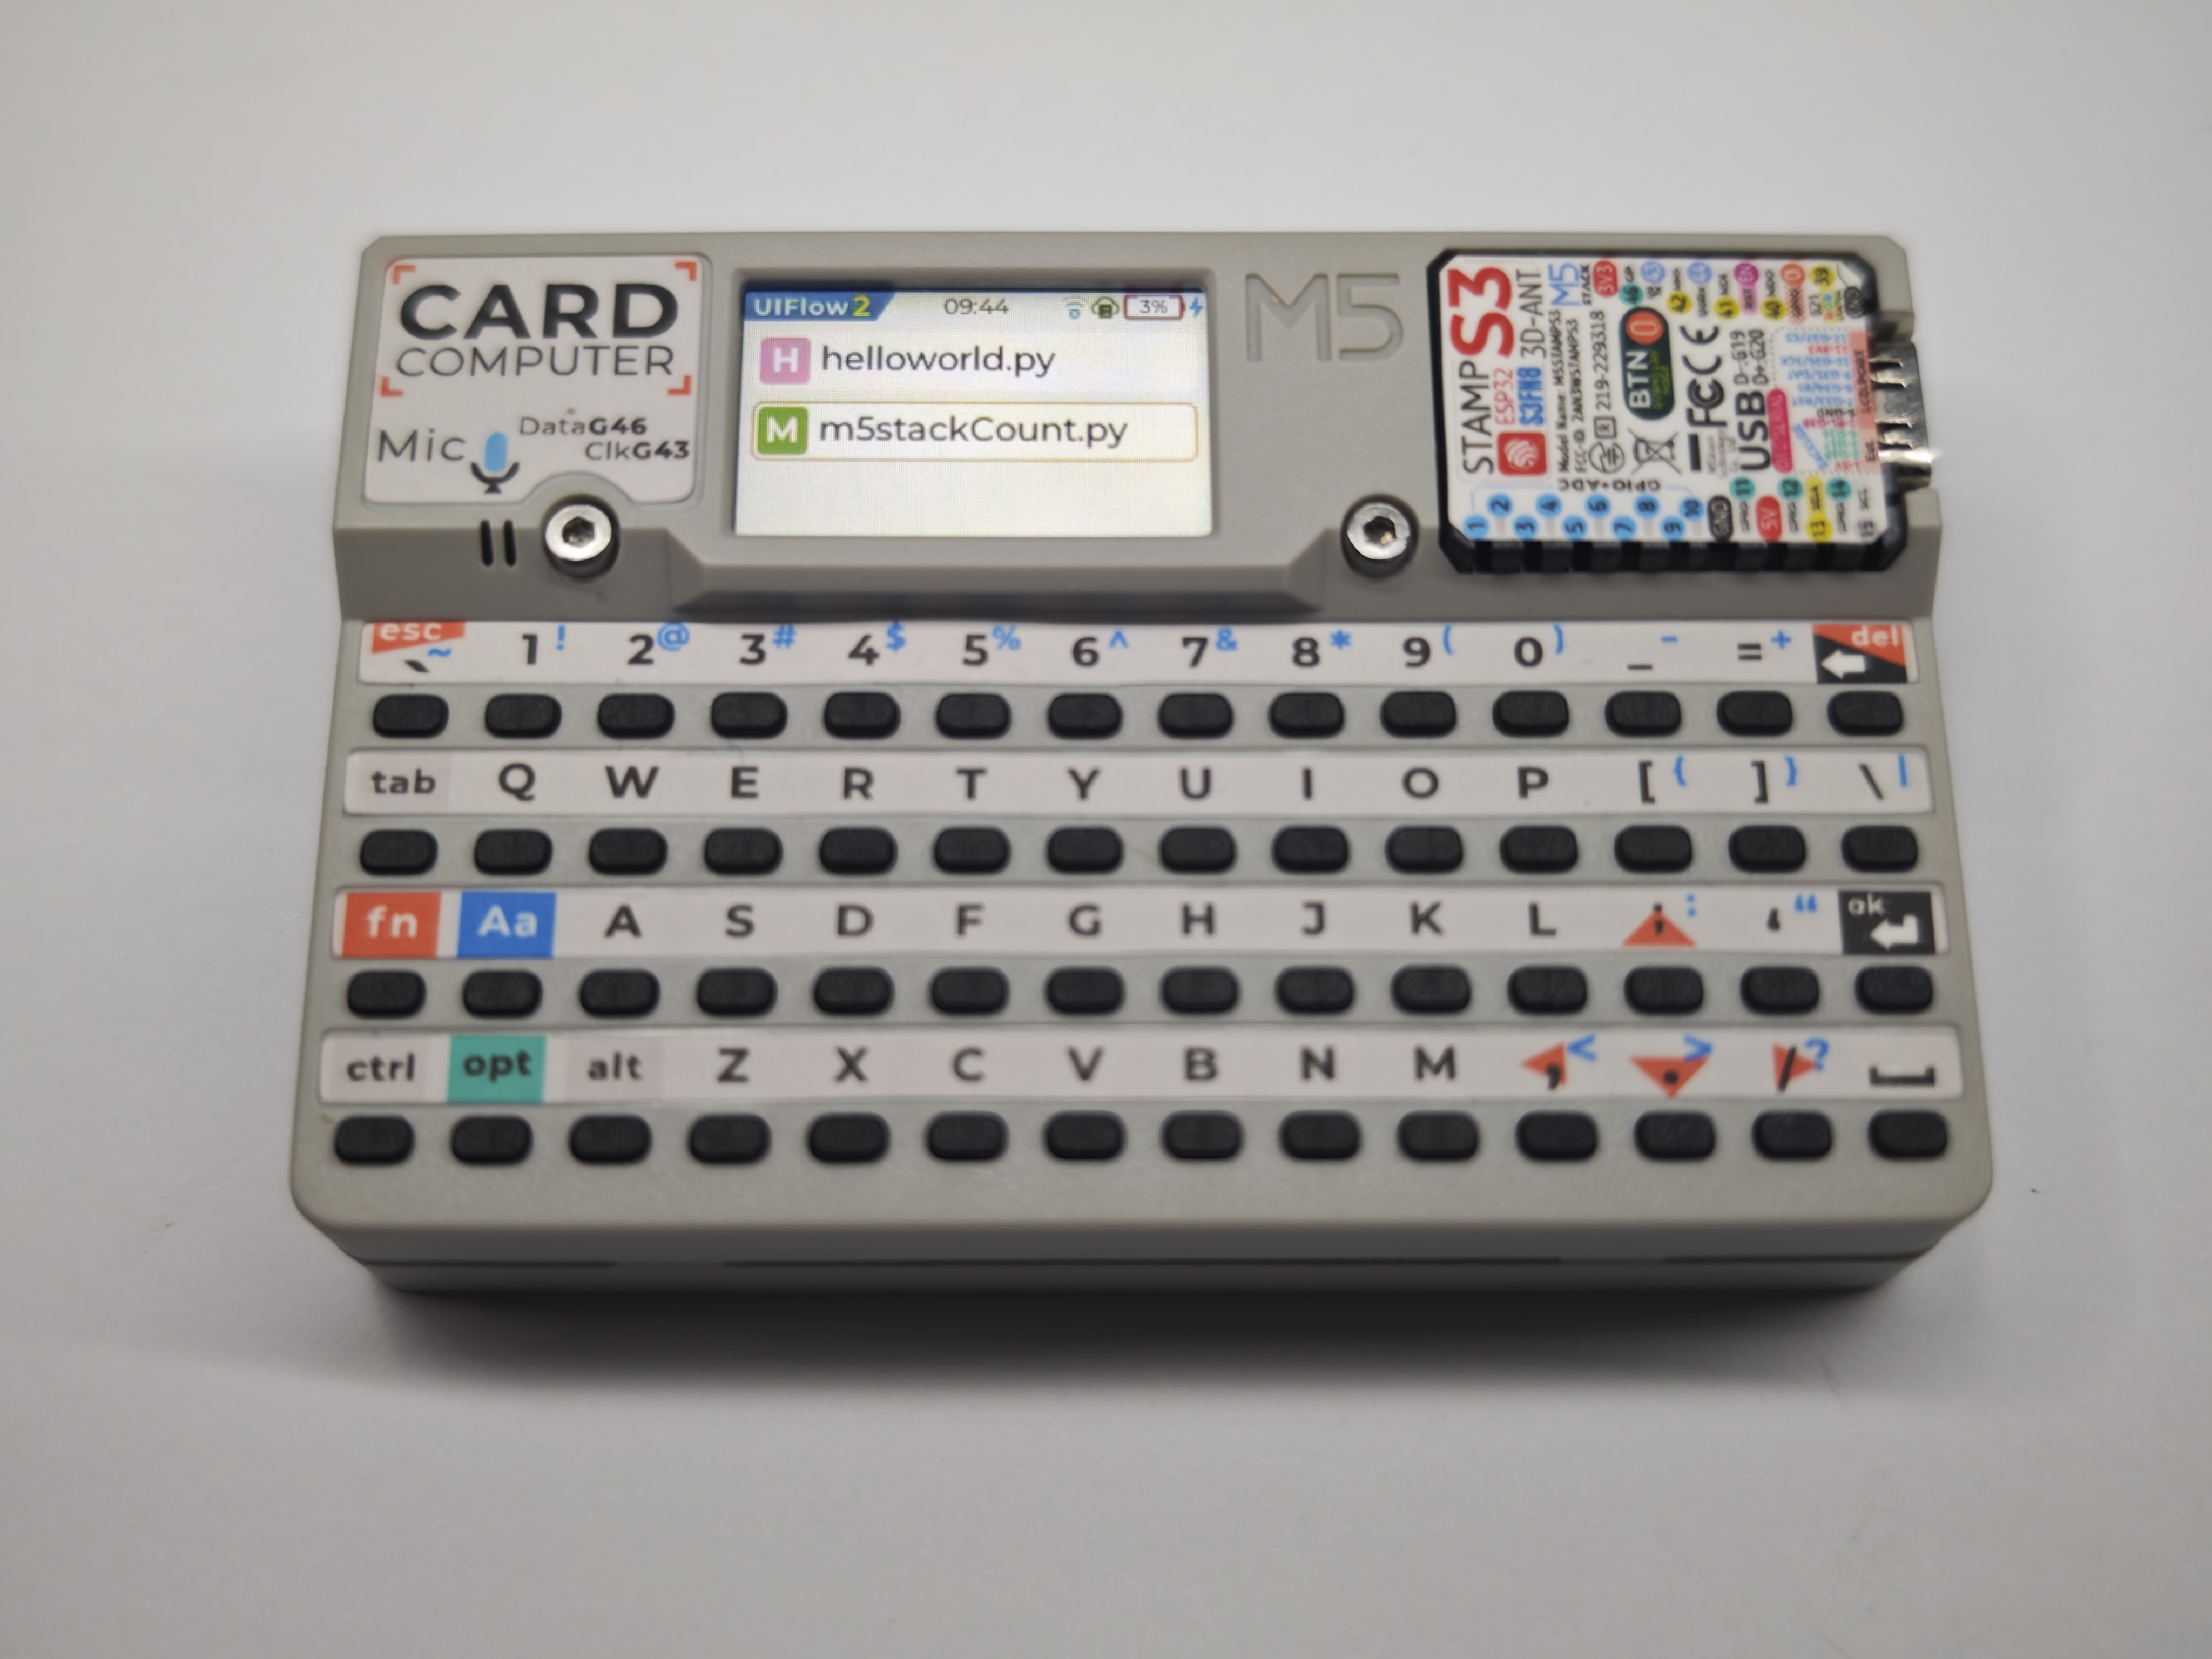
UiFlow2 Firmware Main Interface Function Module Description
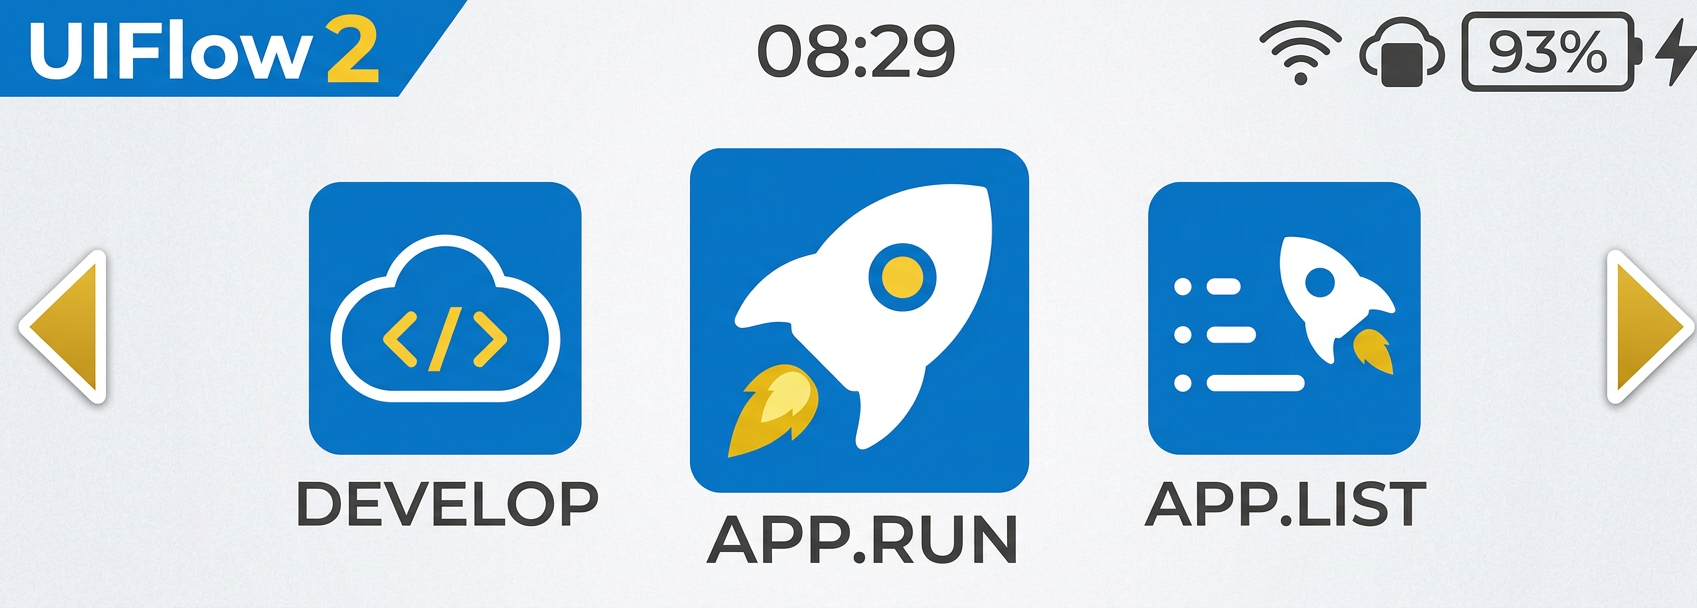
APP.RUN: Configures the run mode for programs downloaded through UiFlow2.
APP.LIST: Manages the list of saved programs.
EZDATA: Provides cloud data interaction features, including data upload and synchronization.
SETTING: Manages common system settings, such as screen brightness adjustment and Wi-Fi network configuration.
After the device (Cardputer) starts, the keyboard is in a low-power sleep state by default. To enable keyboard input, perform the following actions at the same time: hold down the fn key on the keyboard with your left hand to wake the keyboard, and press the target key on the keyboard with your right hand. This operation ensures that the keyboard is activated successfully and responds to subsequent input. For details, refer to the official documentation.
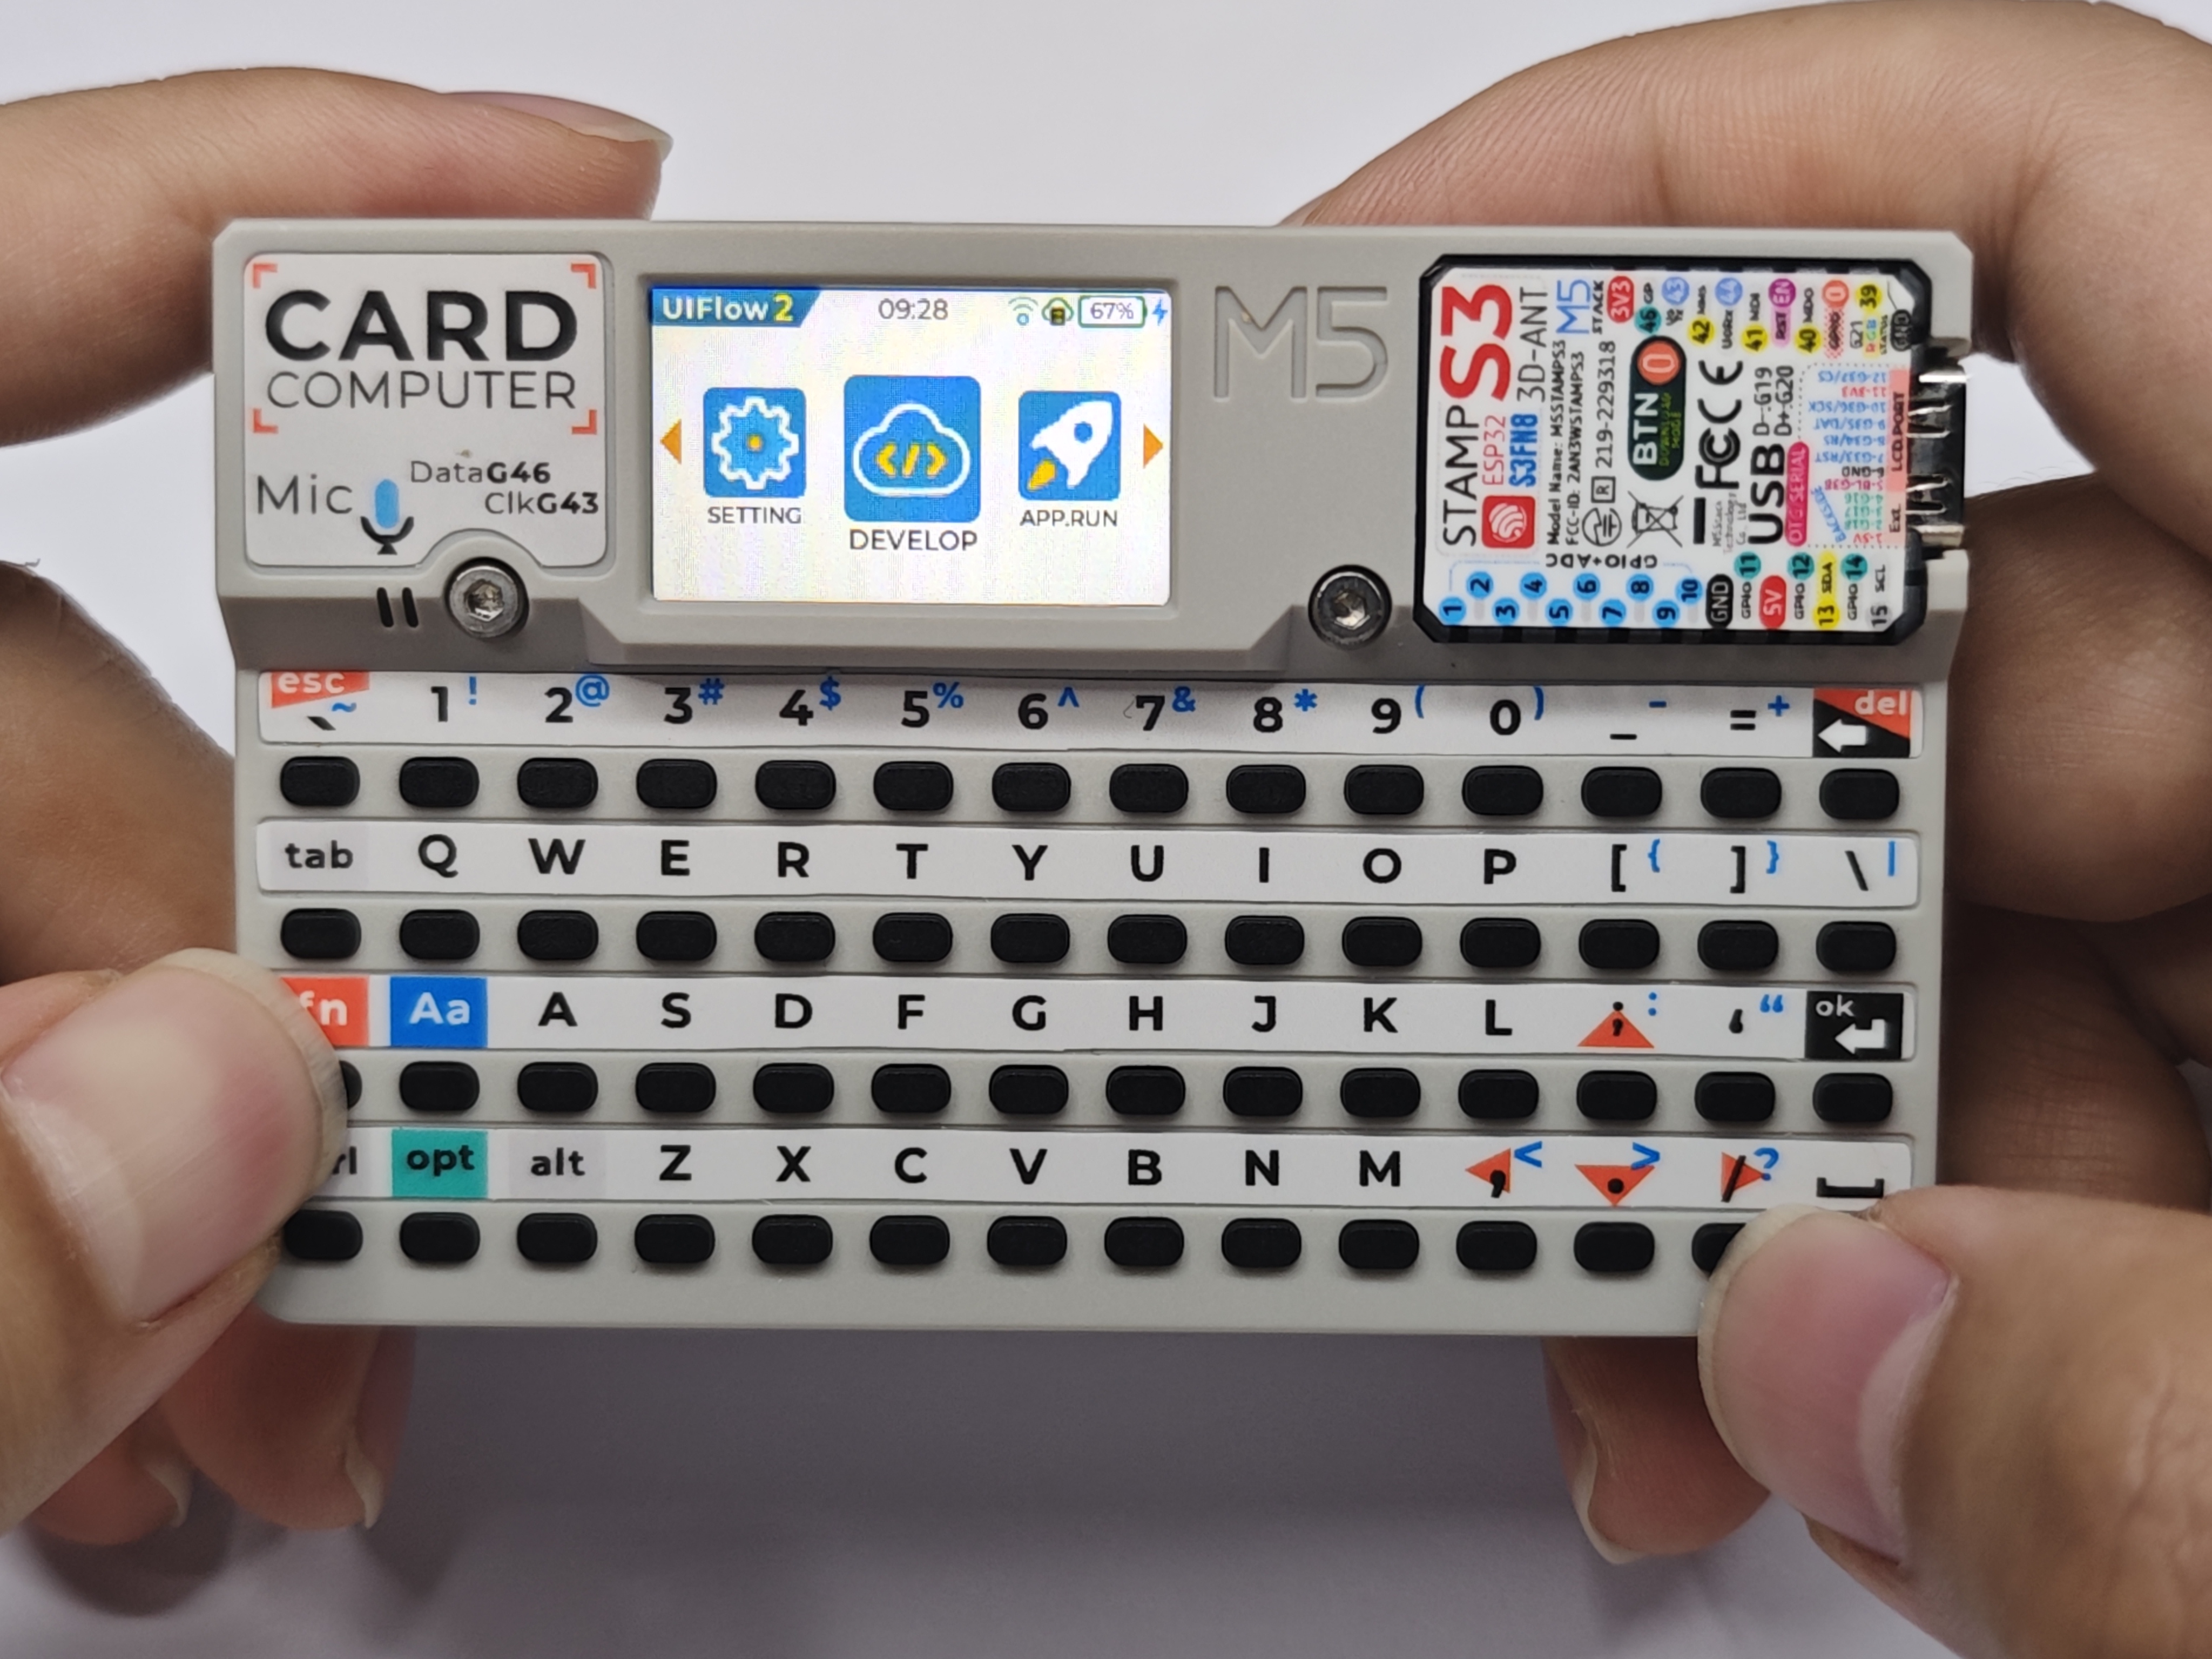
- DEVELOP
- Device MAC address
- Basic device information
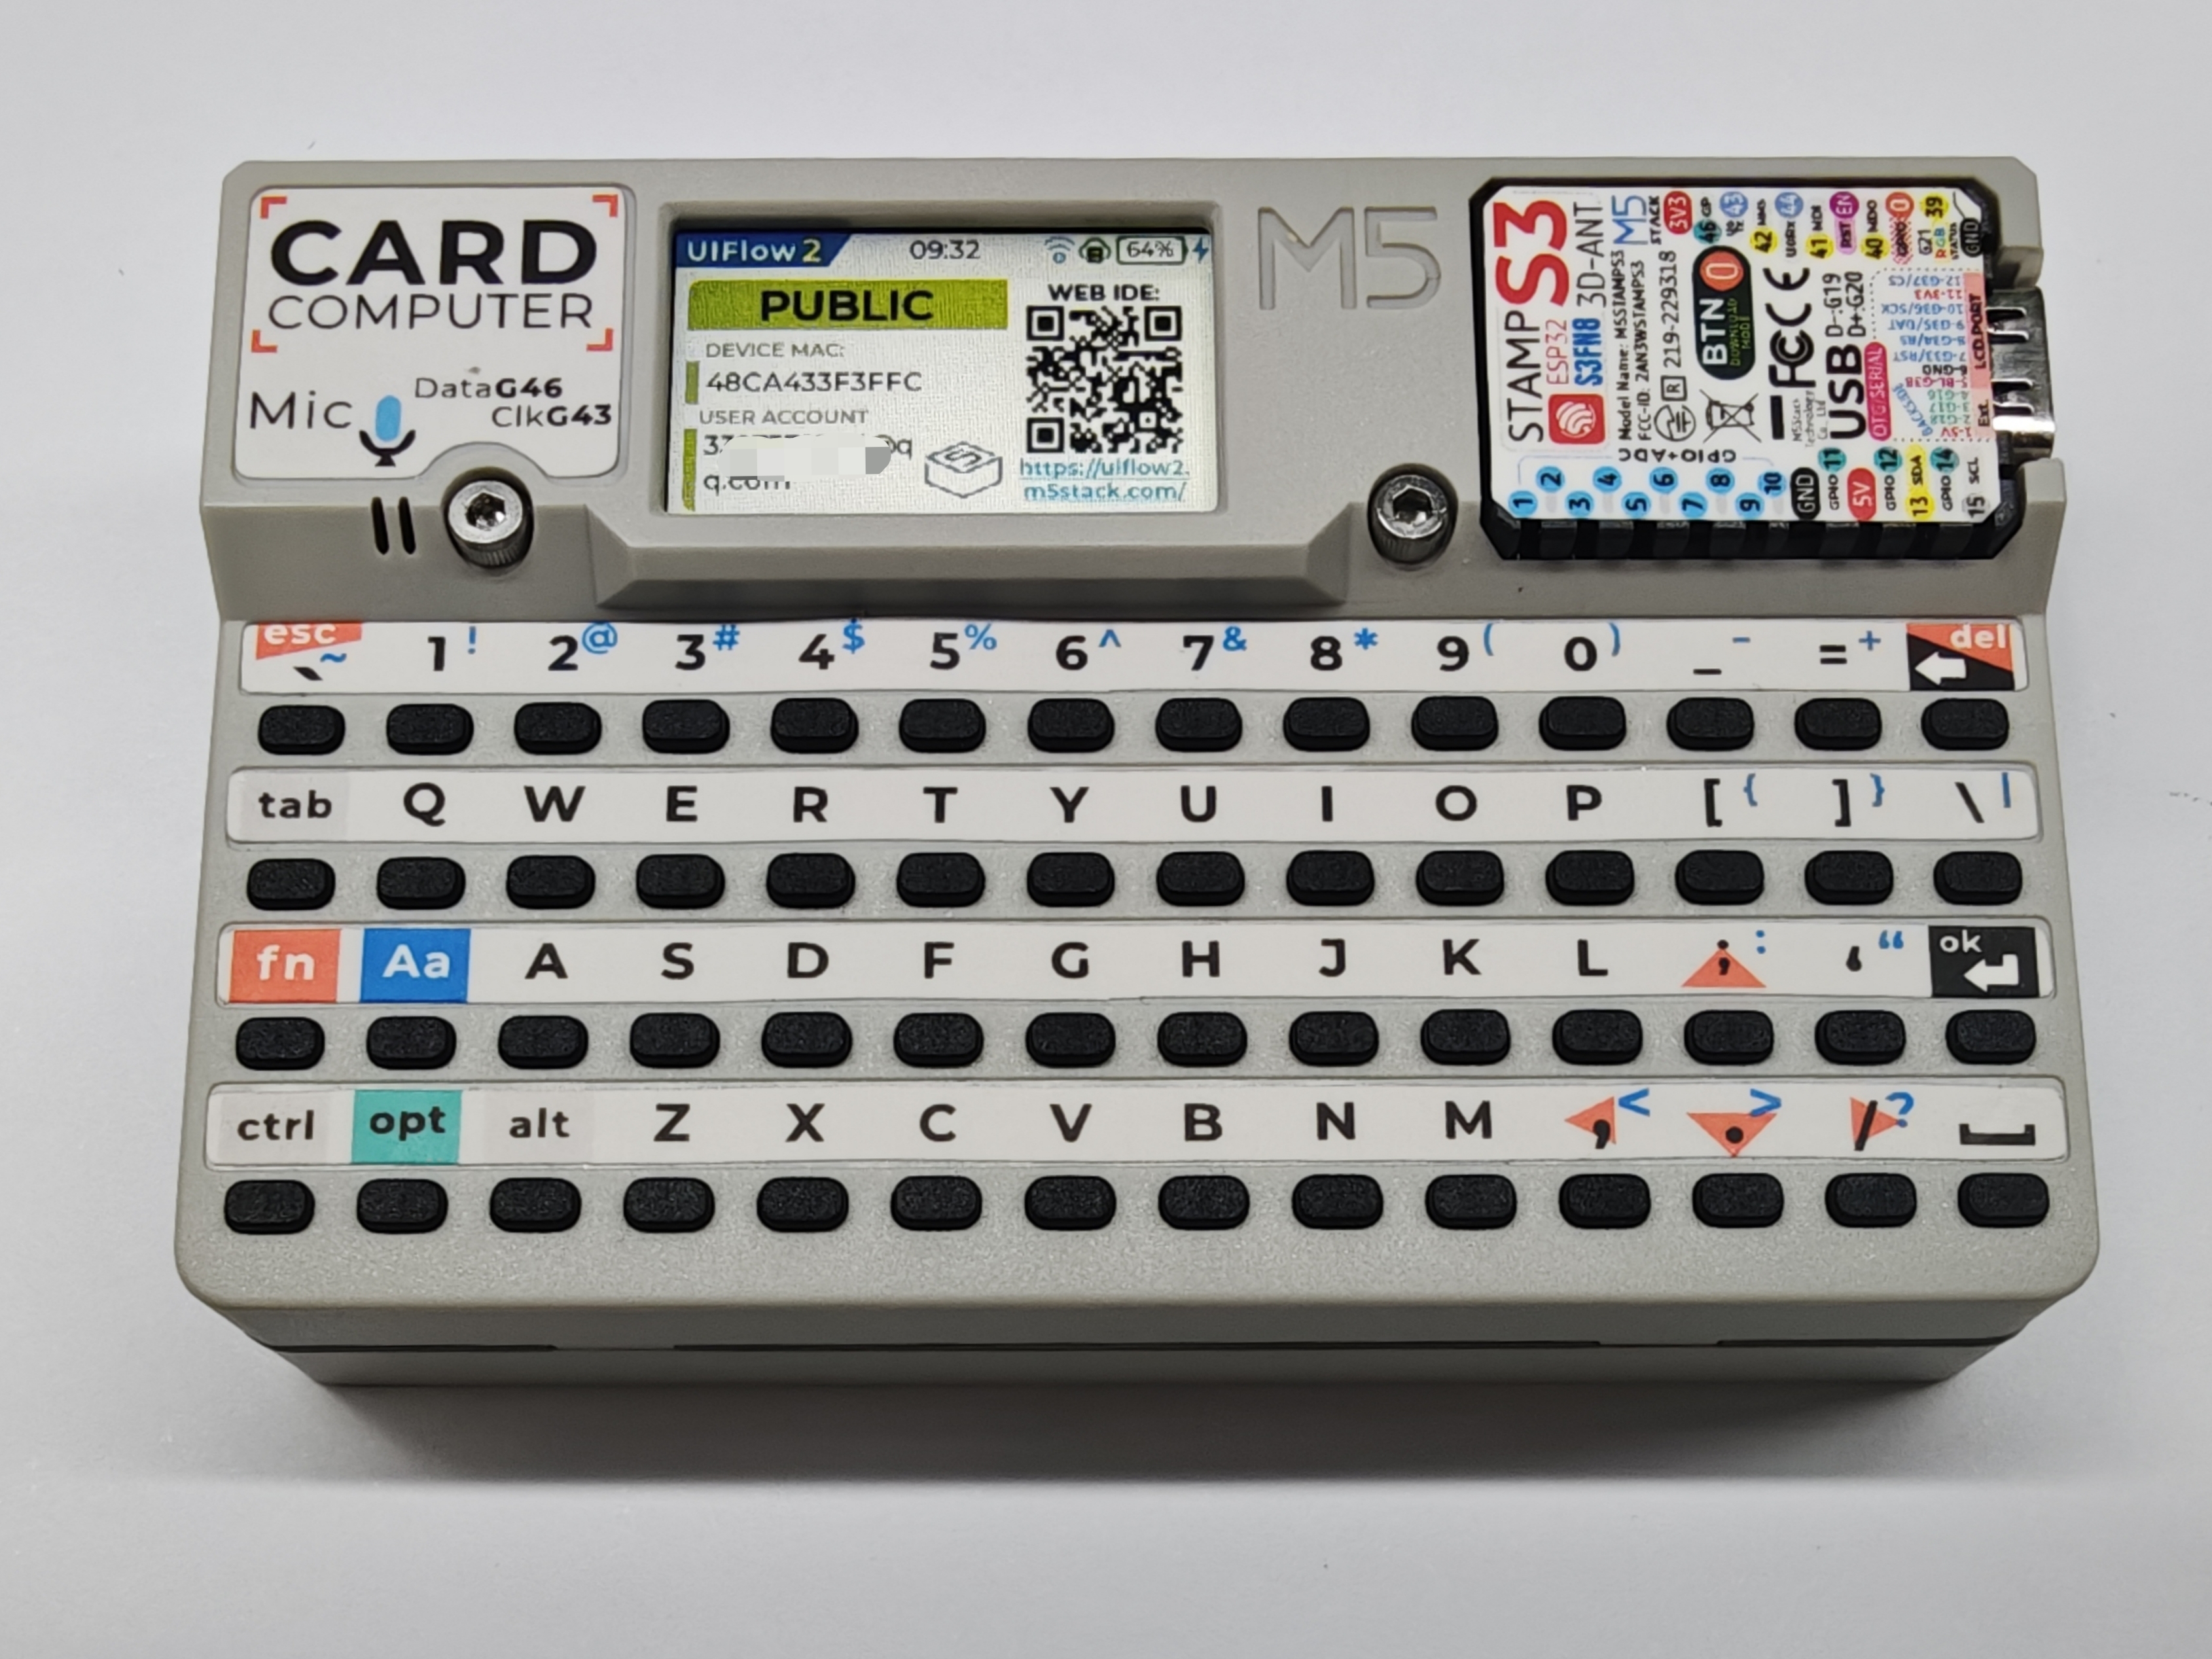
- APP.RUN
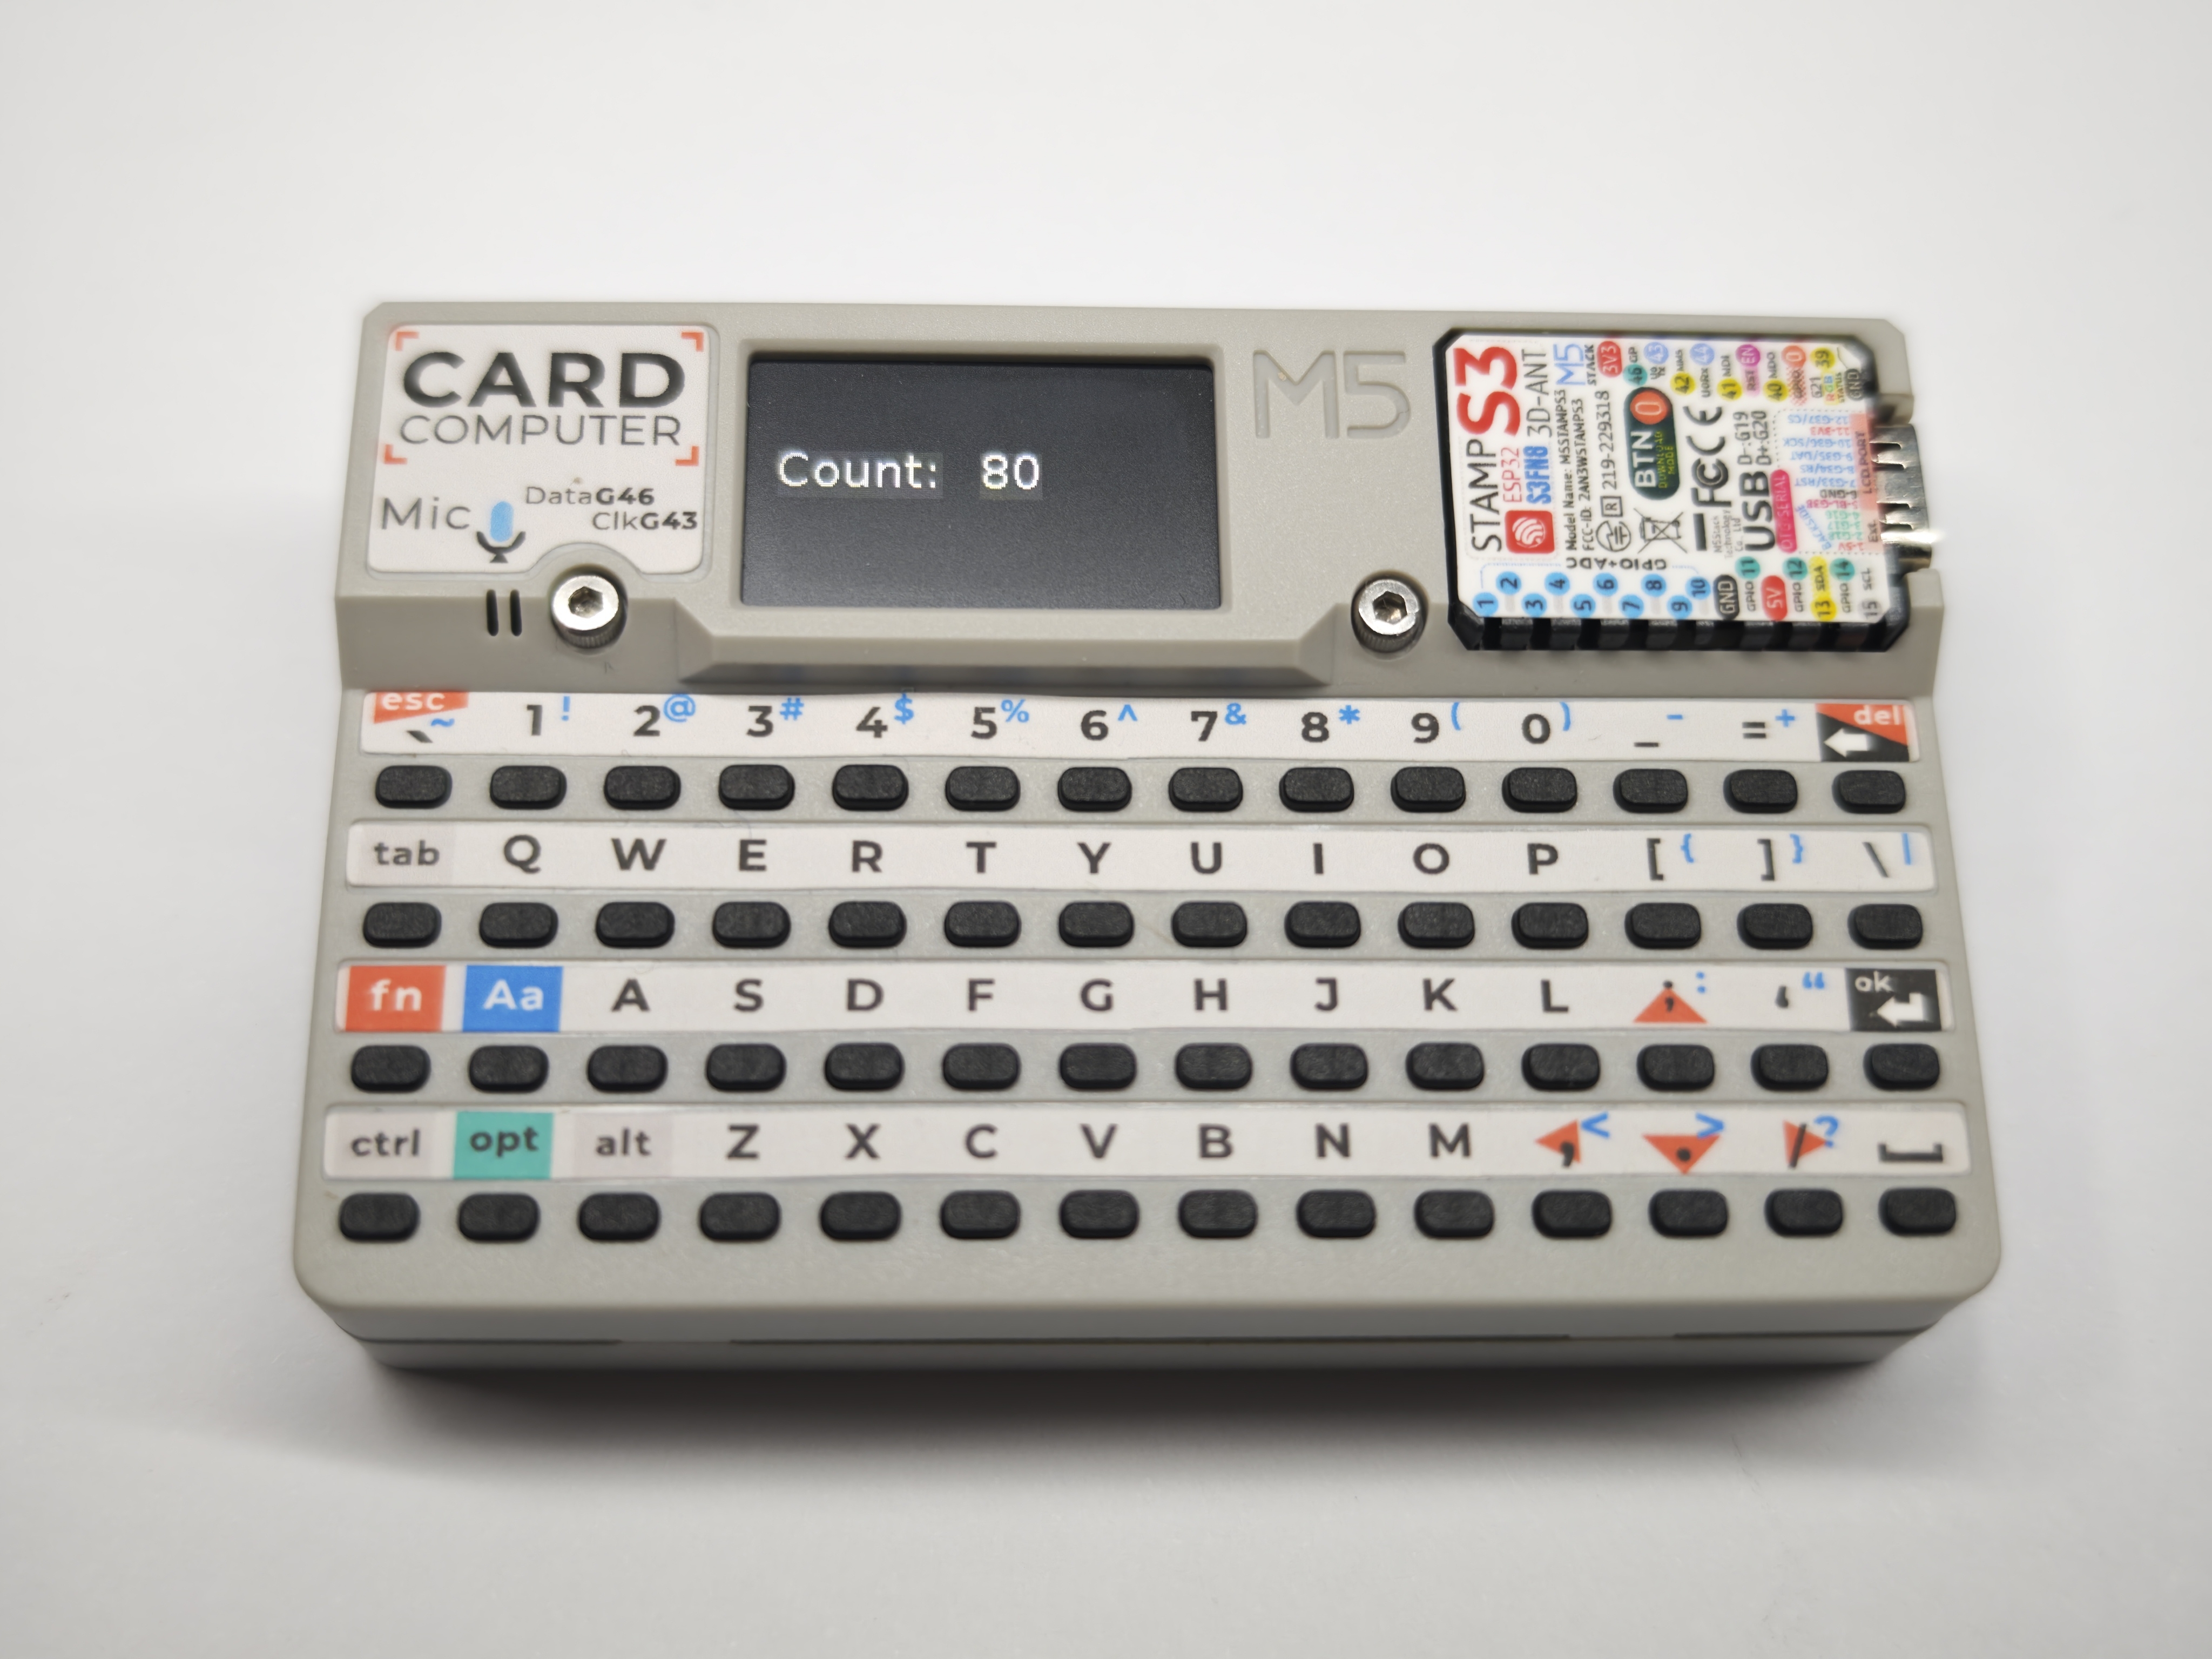
- When you use UiFlow2 to download an edited program to the device, the system automatically writes the program to the main.py file in the APP.RUN directory (overwriting the existing content) and runs it immediately
- If you add a program named main.py to the APP.RUN directory by another method (such as manual import), you can also run it once or run it continuously on the device using the RUN(ONCE) or RUN(ALWAYS) options
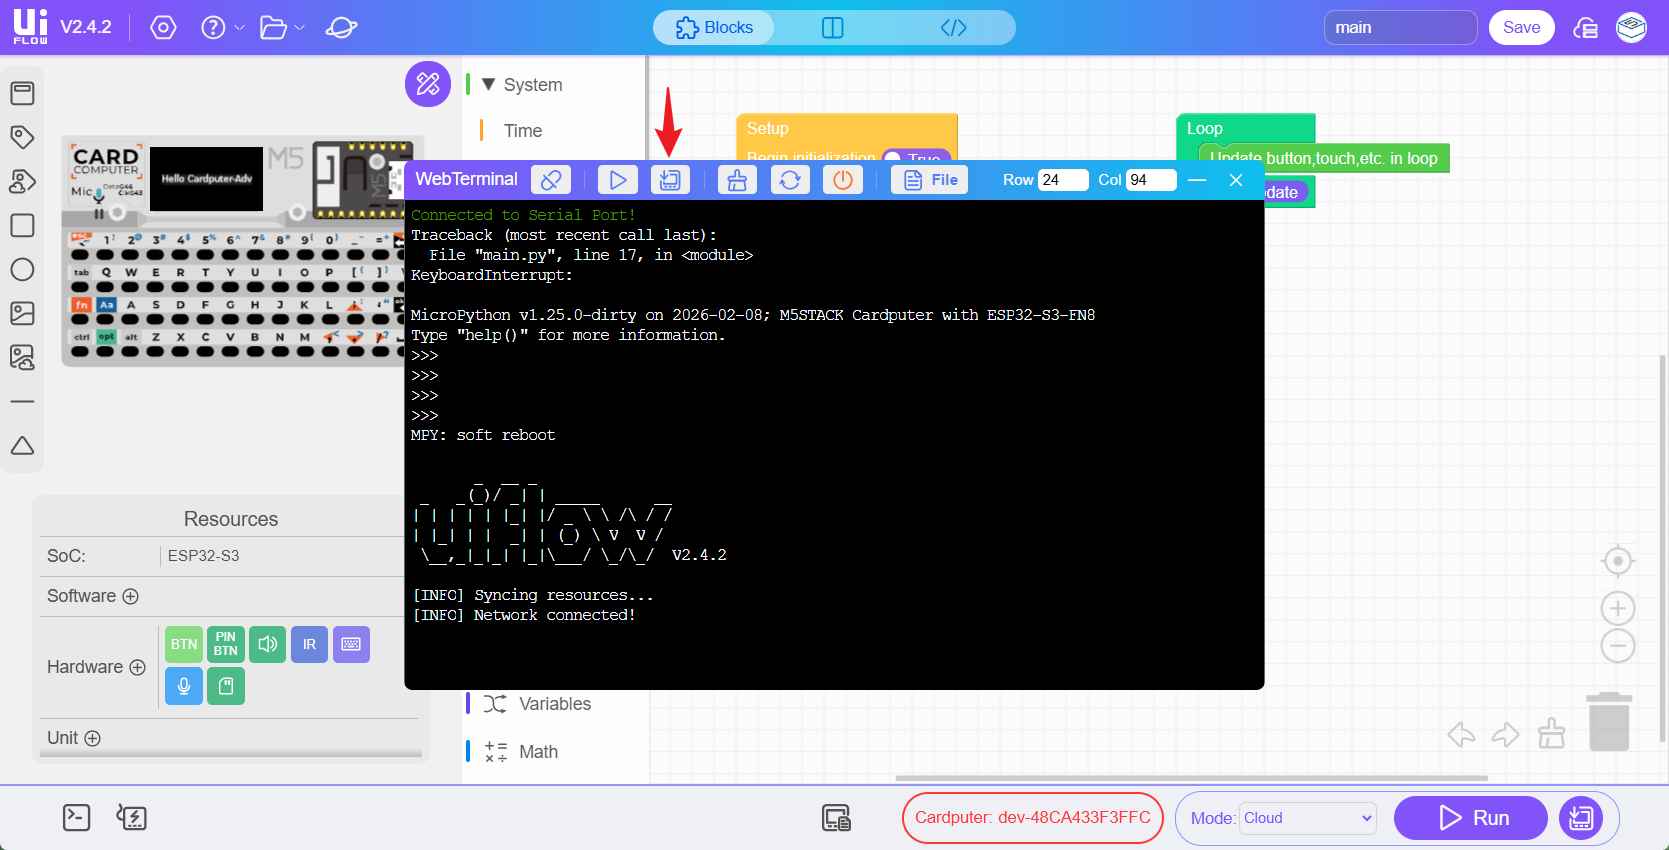
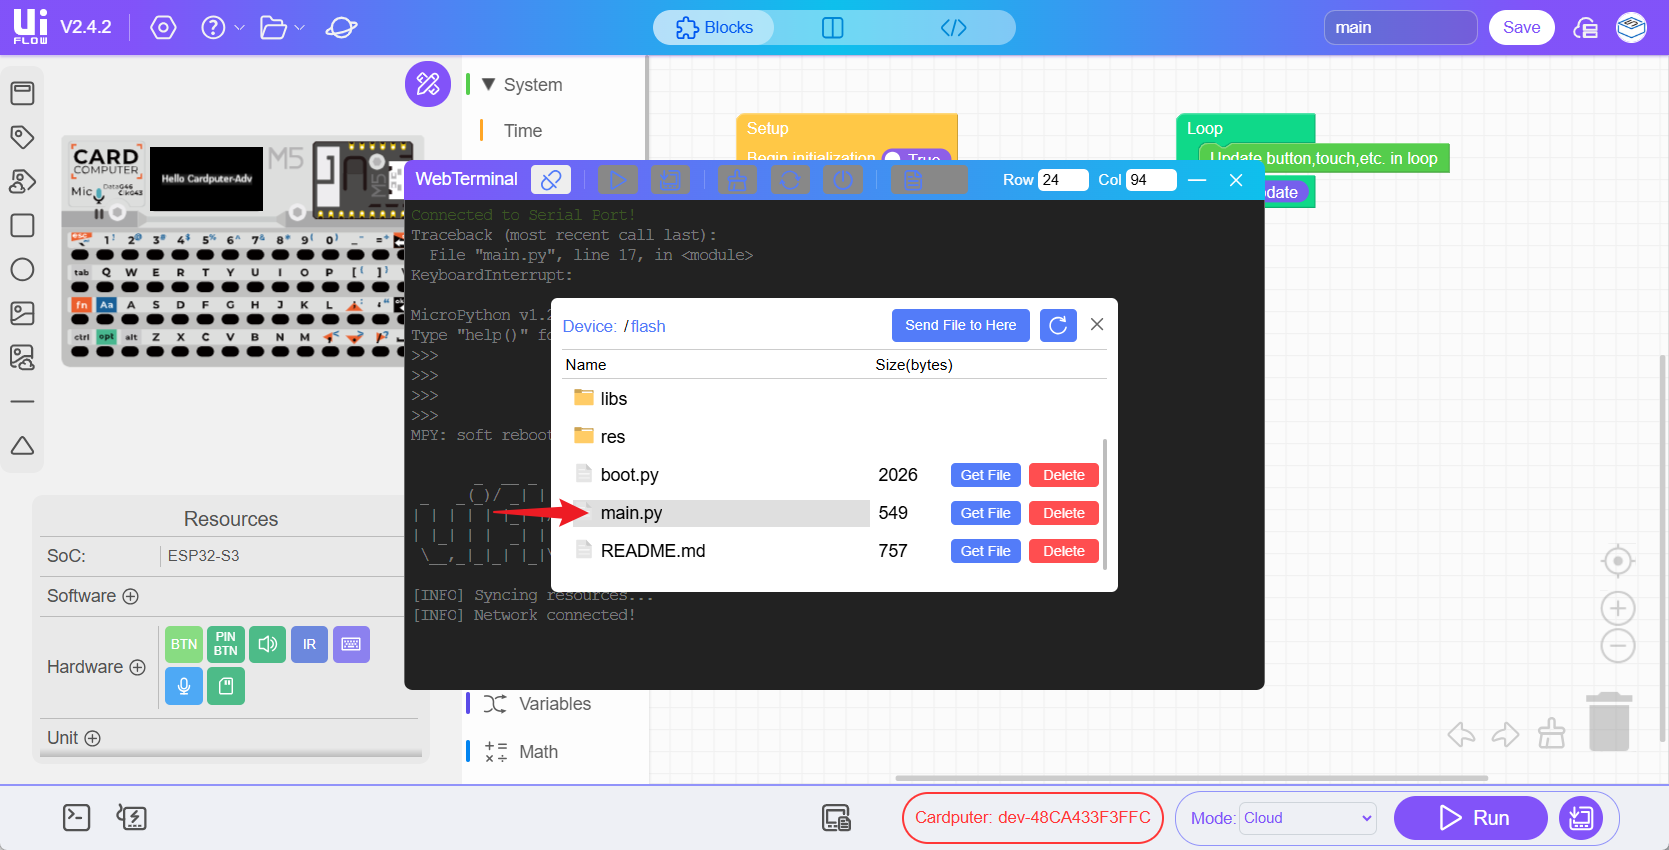
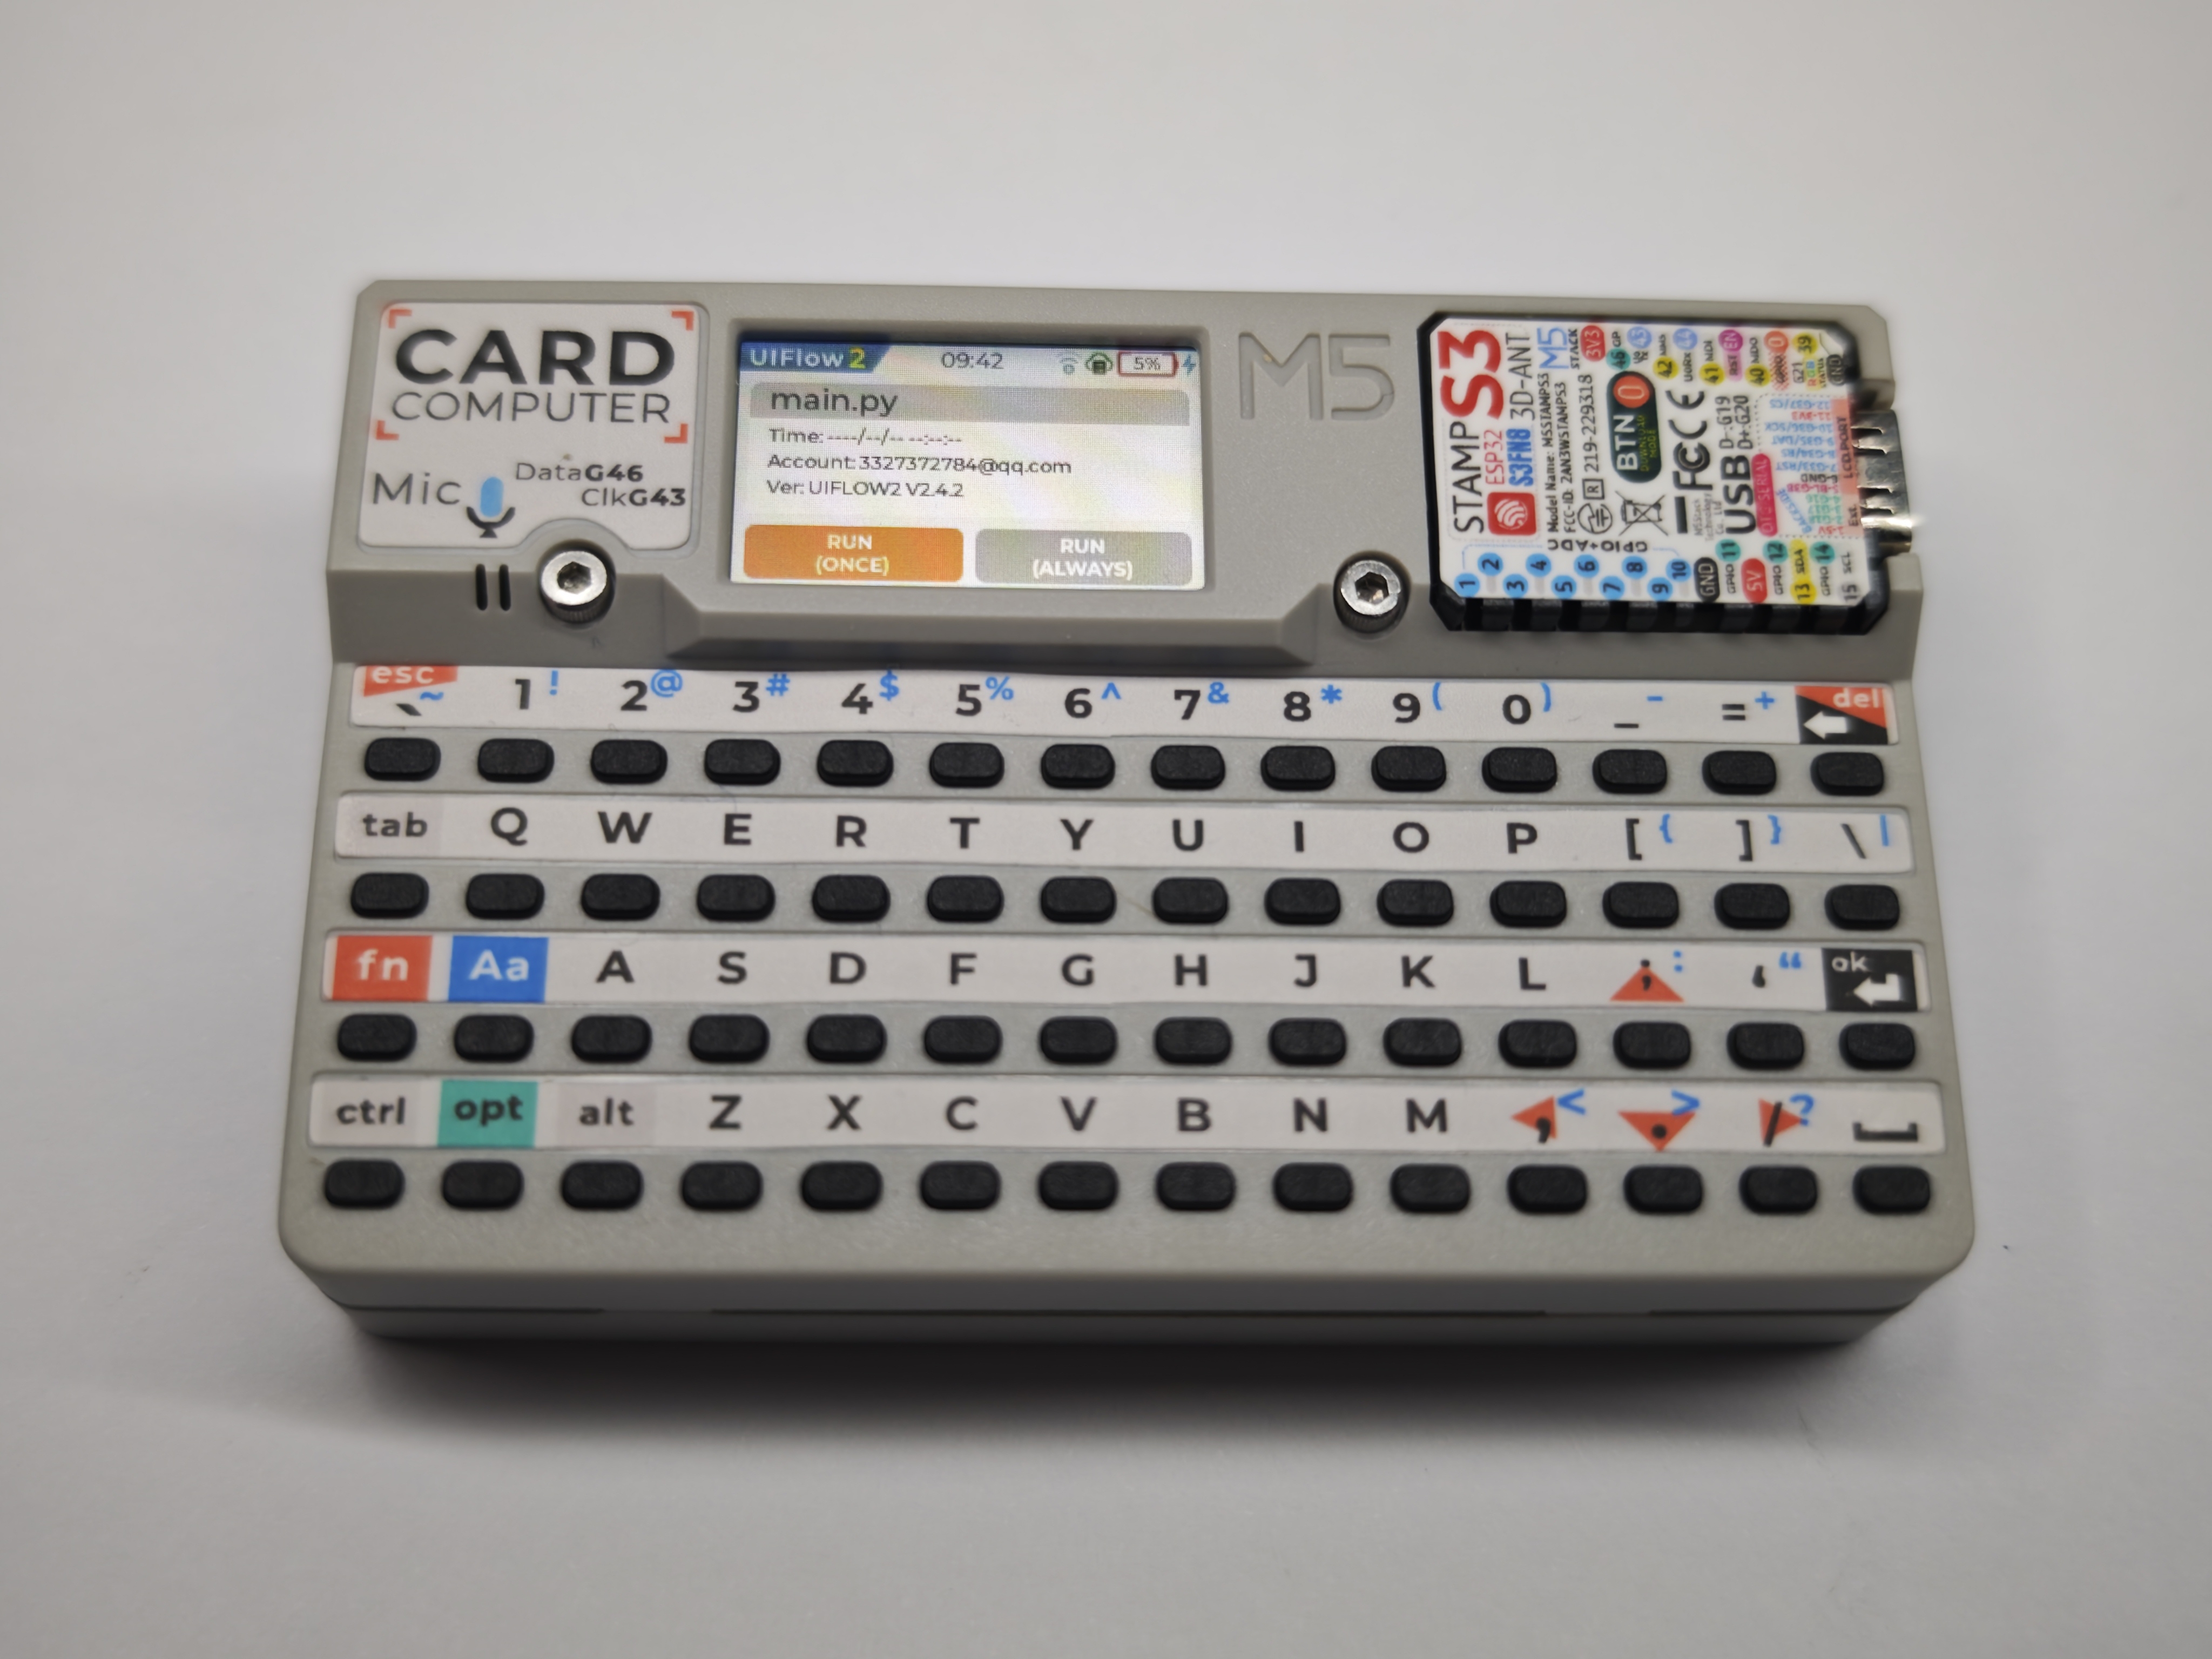
Note: main.py cannot be deleted. If it is deleted, the device will freeze after entering APP.RUN. After flashing a UiFlow2 program or running main.py, you cannot return to the UiFlow2 main interface. You need to use M5Burner again to configure and refresh the firmware.
- APP.LIST
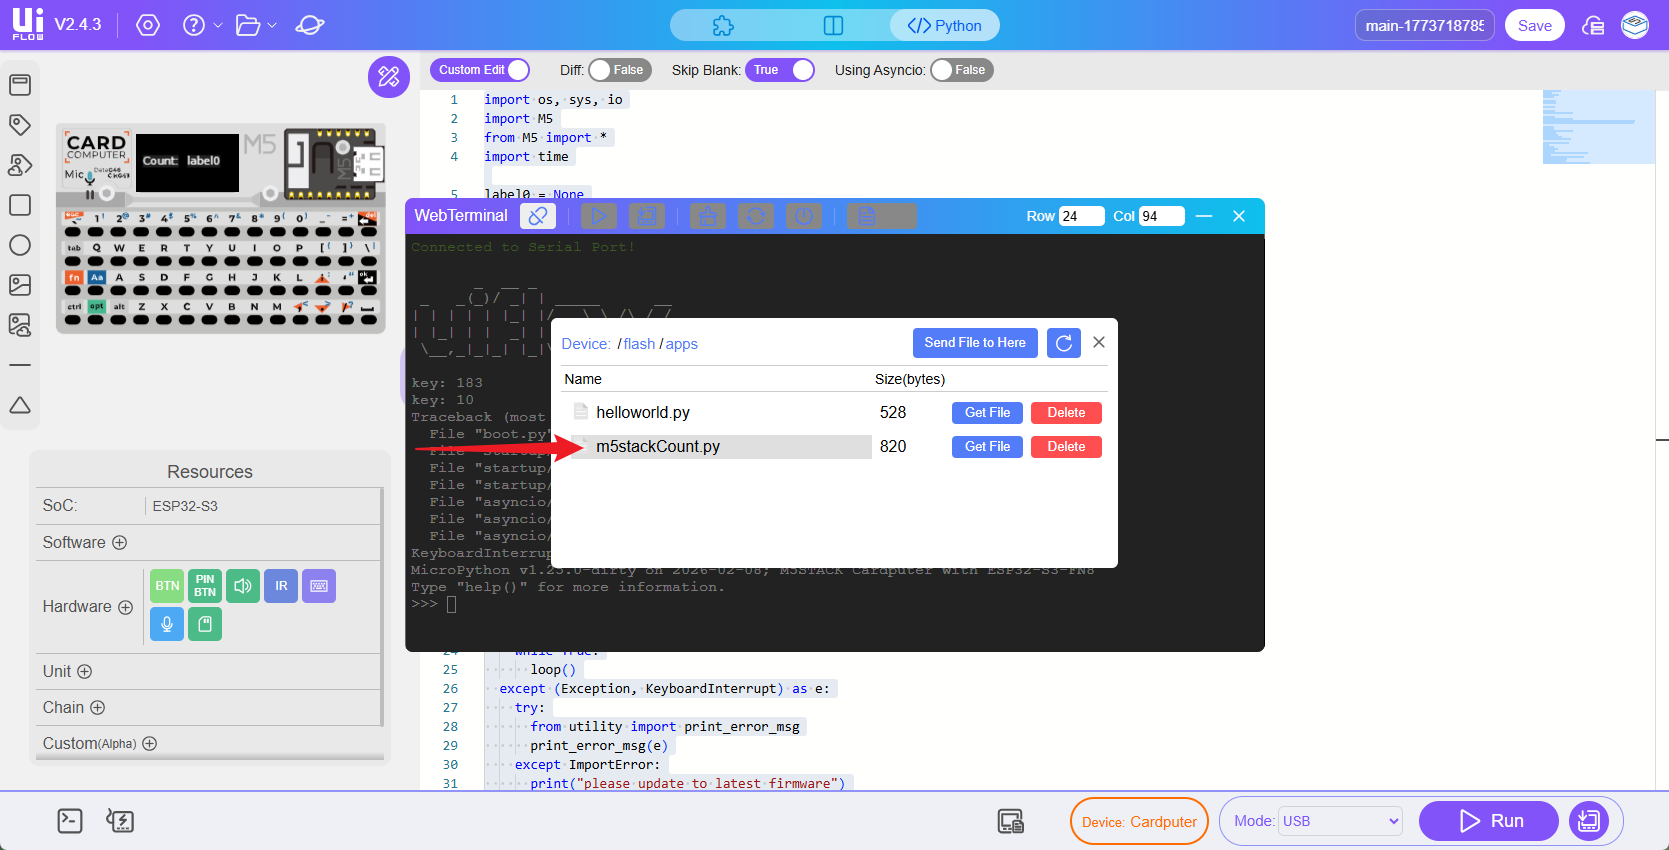
- After you are familiar with UiFlow2 development, you can manually write Python programs (using any code editor). Click WebTerminal in the lower-left corner of the UiFlow2 interface, connect the device via USB, click the file folder, and import program files into the /flash/apps directory on the device. Files placed in this directory can be tested and run at any time after the device starts
- SETTING
- Configure Wi-Fi
- Configure screen brightness