Home Assistant
Media Player
Expansion
Sensor
SwitchC6 Home Assistant Integration
This chapter describes the configuration method and practical steps for integrating the SwitchC6 Single Firewire Switch Controller into Home Assistant.

Preparation
- Home Assistant host.
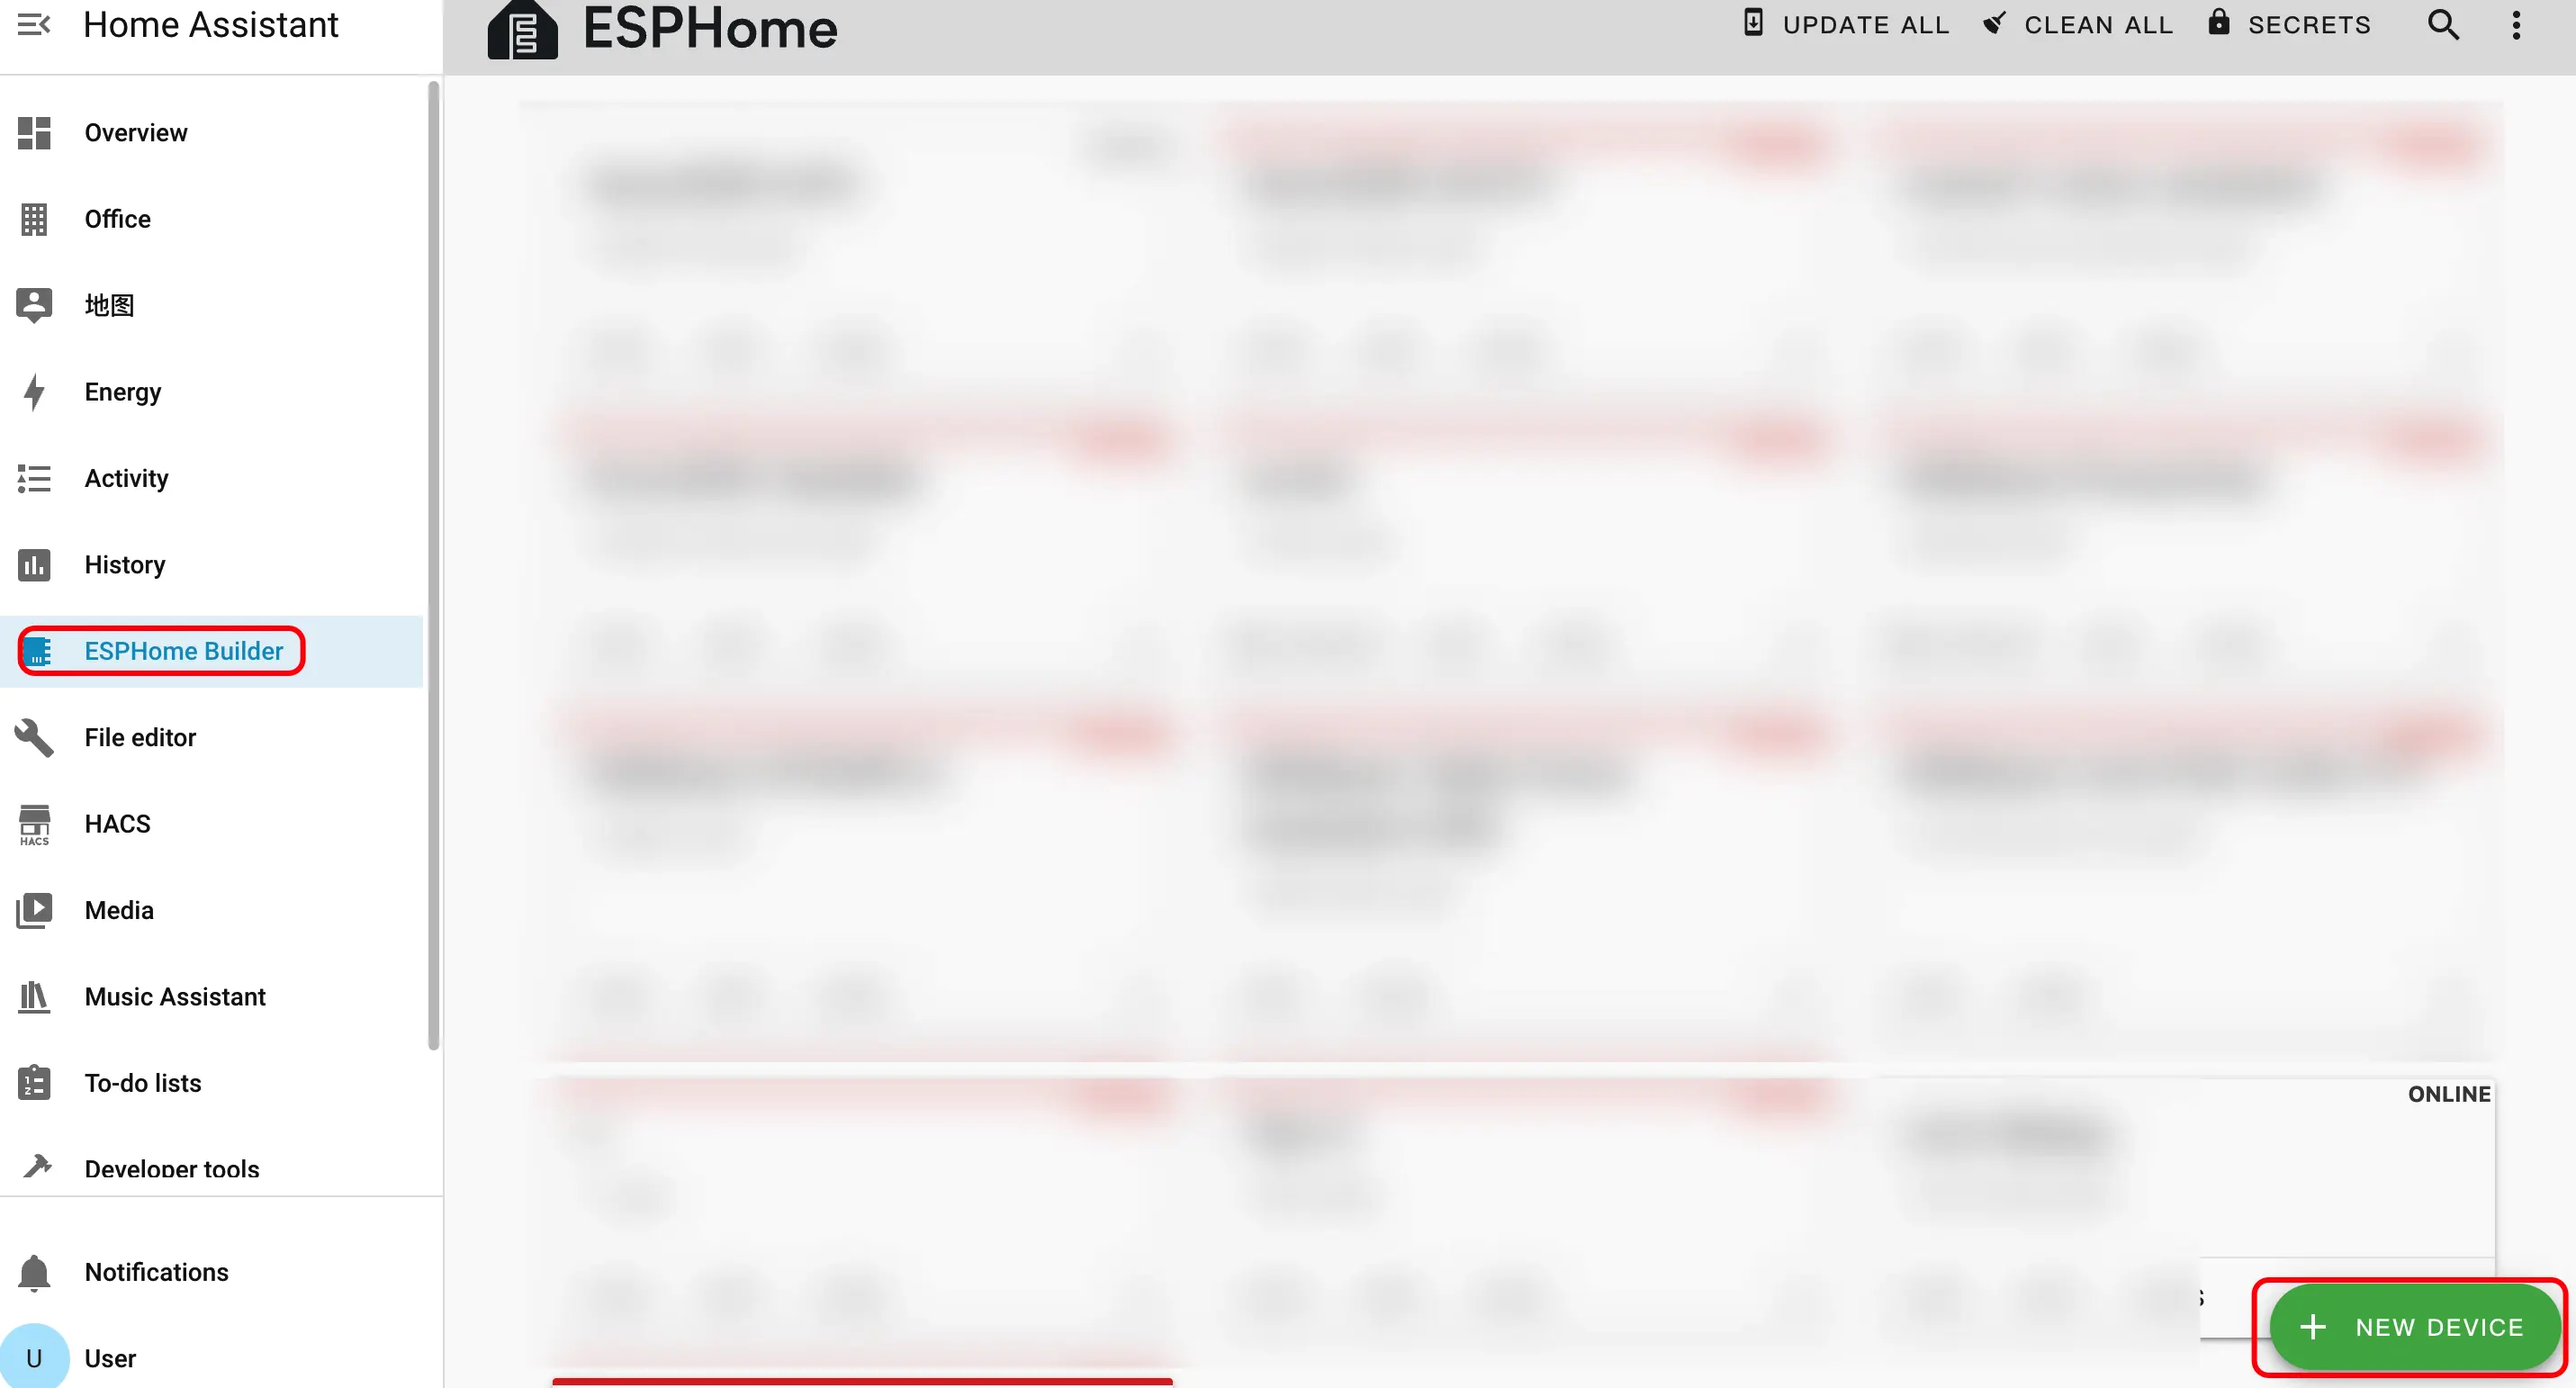
- Install and enable ESPHome Builder in Home Assistant.
Note
In this tutorial, the firmware is compiled and uploaded using ESPHome 2025.12.5. If you encounter compilation / upload issues, please consider switching ESPHome to this version.
Create Device
Create a new device.
1.1 Click the green button in the lower right corner to create a device.
Create device name.
2.1 Click
CONTINUE.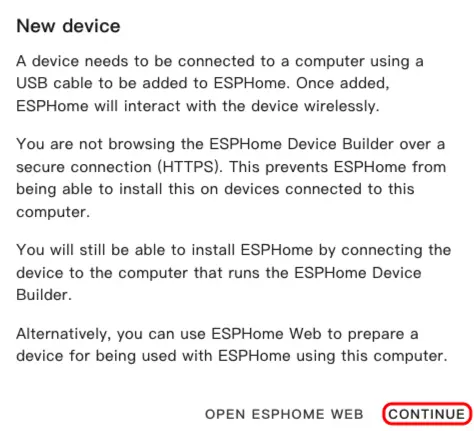
2.2 Click
New Device Setup.
2.3 Enter the device name and click
NEXT.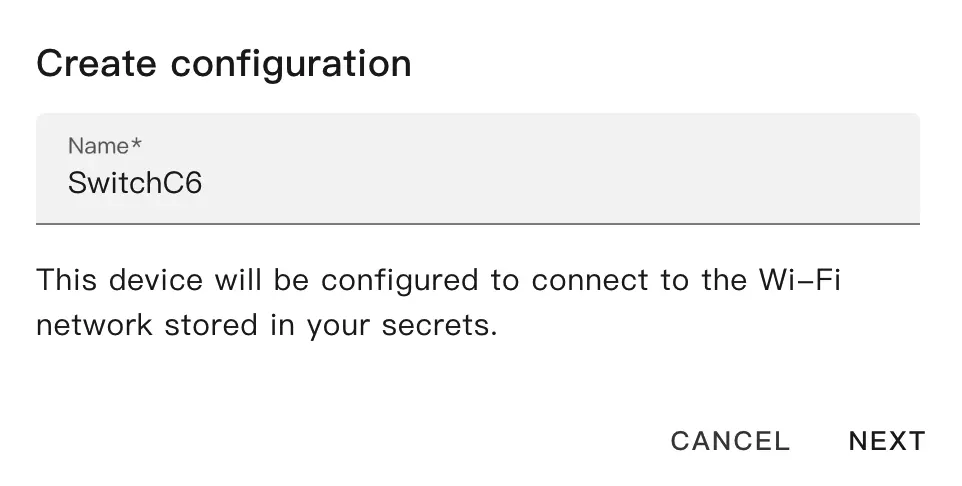
Select device type.
NoteHere we use Atom-Lite as the main controller to operate the SwitchC6 relay switch.3.1 Click
ESP32.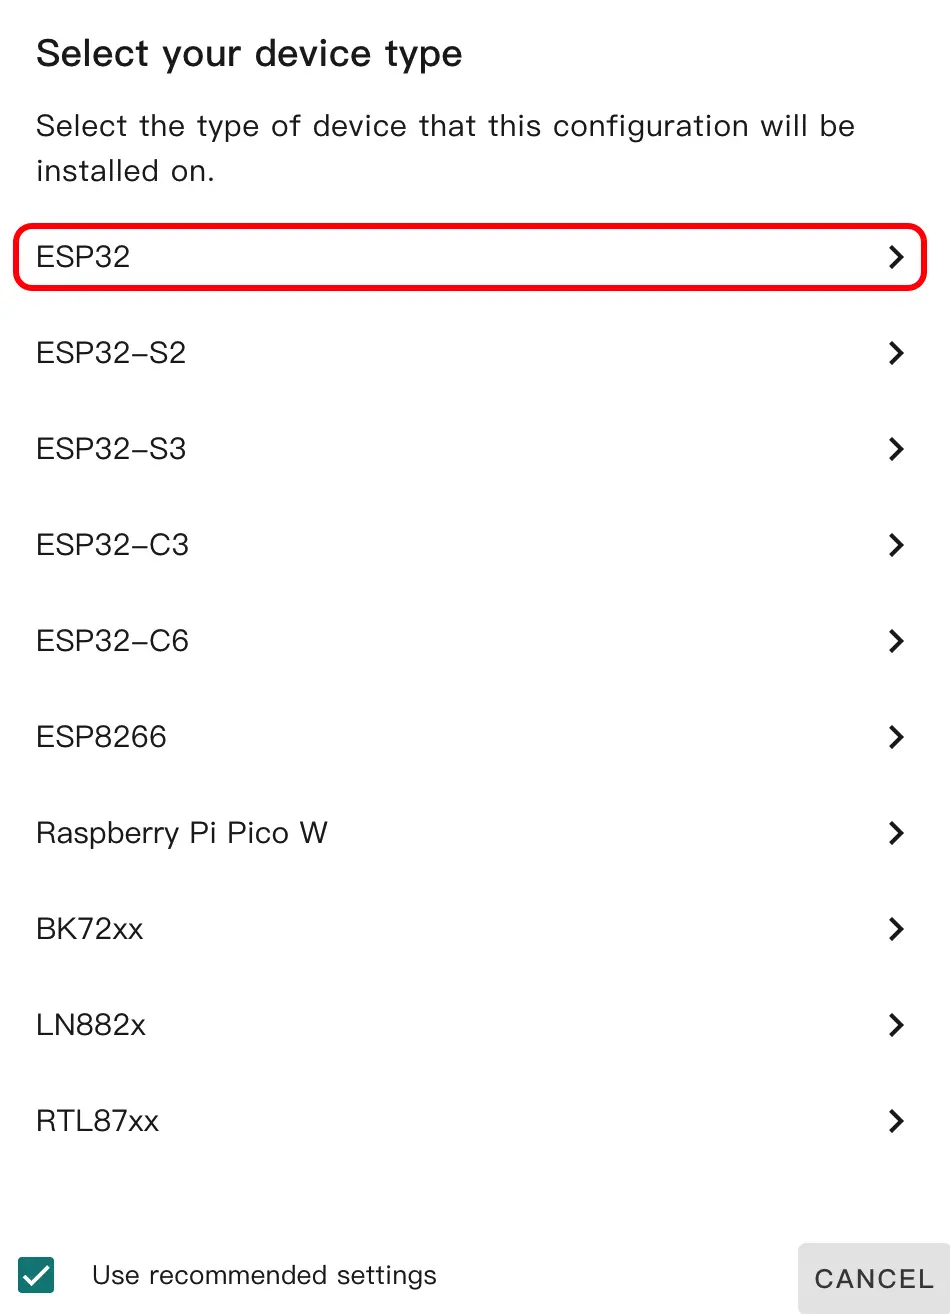
3.2 Click
SKIP.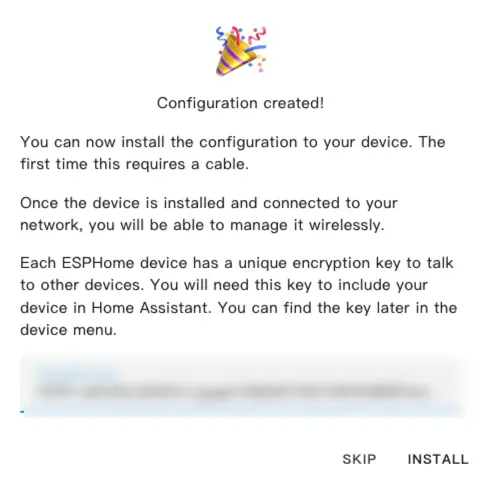
Start editing the YAML file. Click
EDIT. We can customize device functions through the YAML file.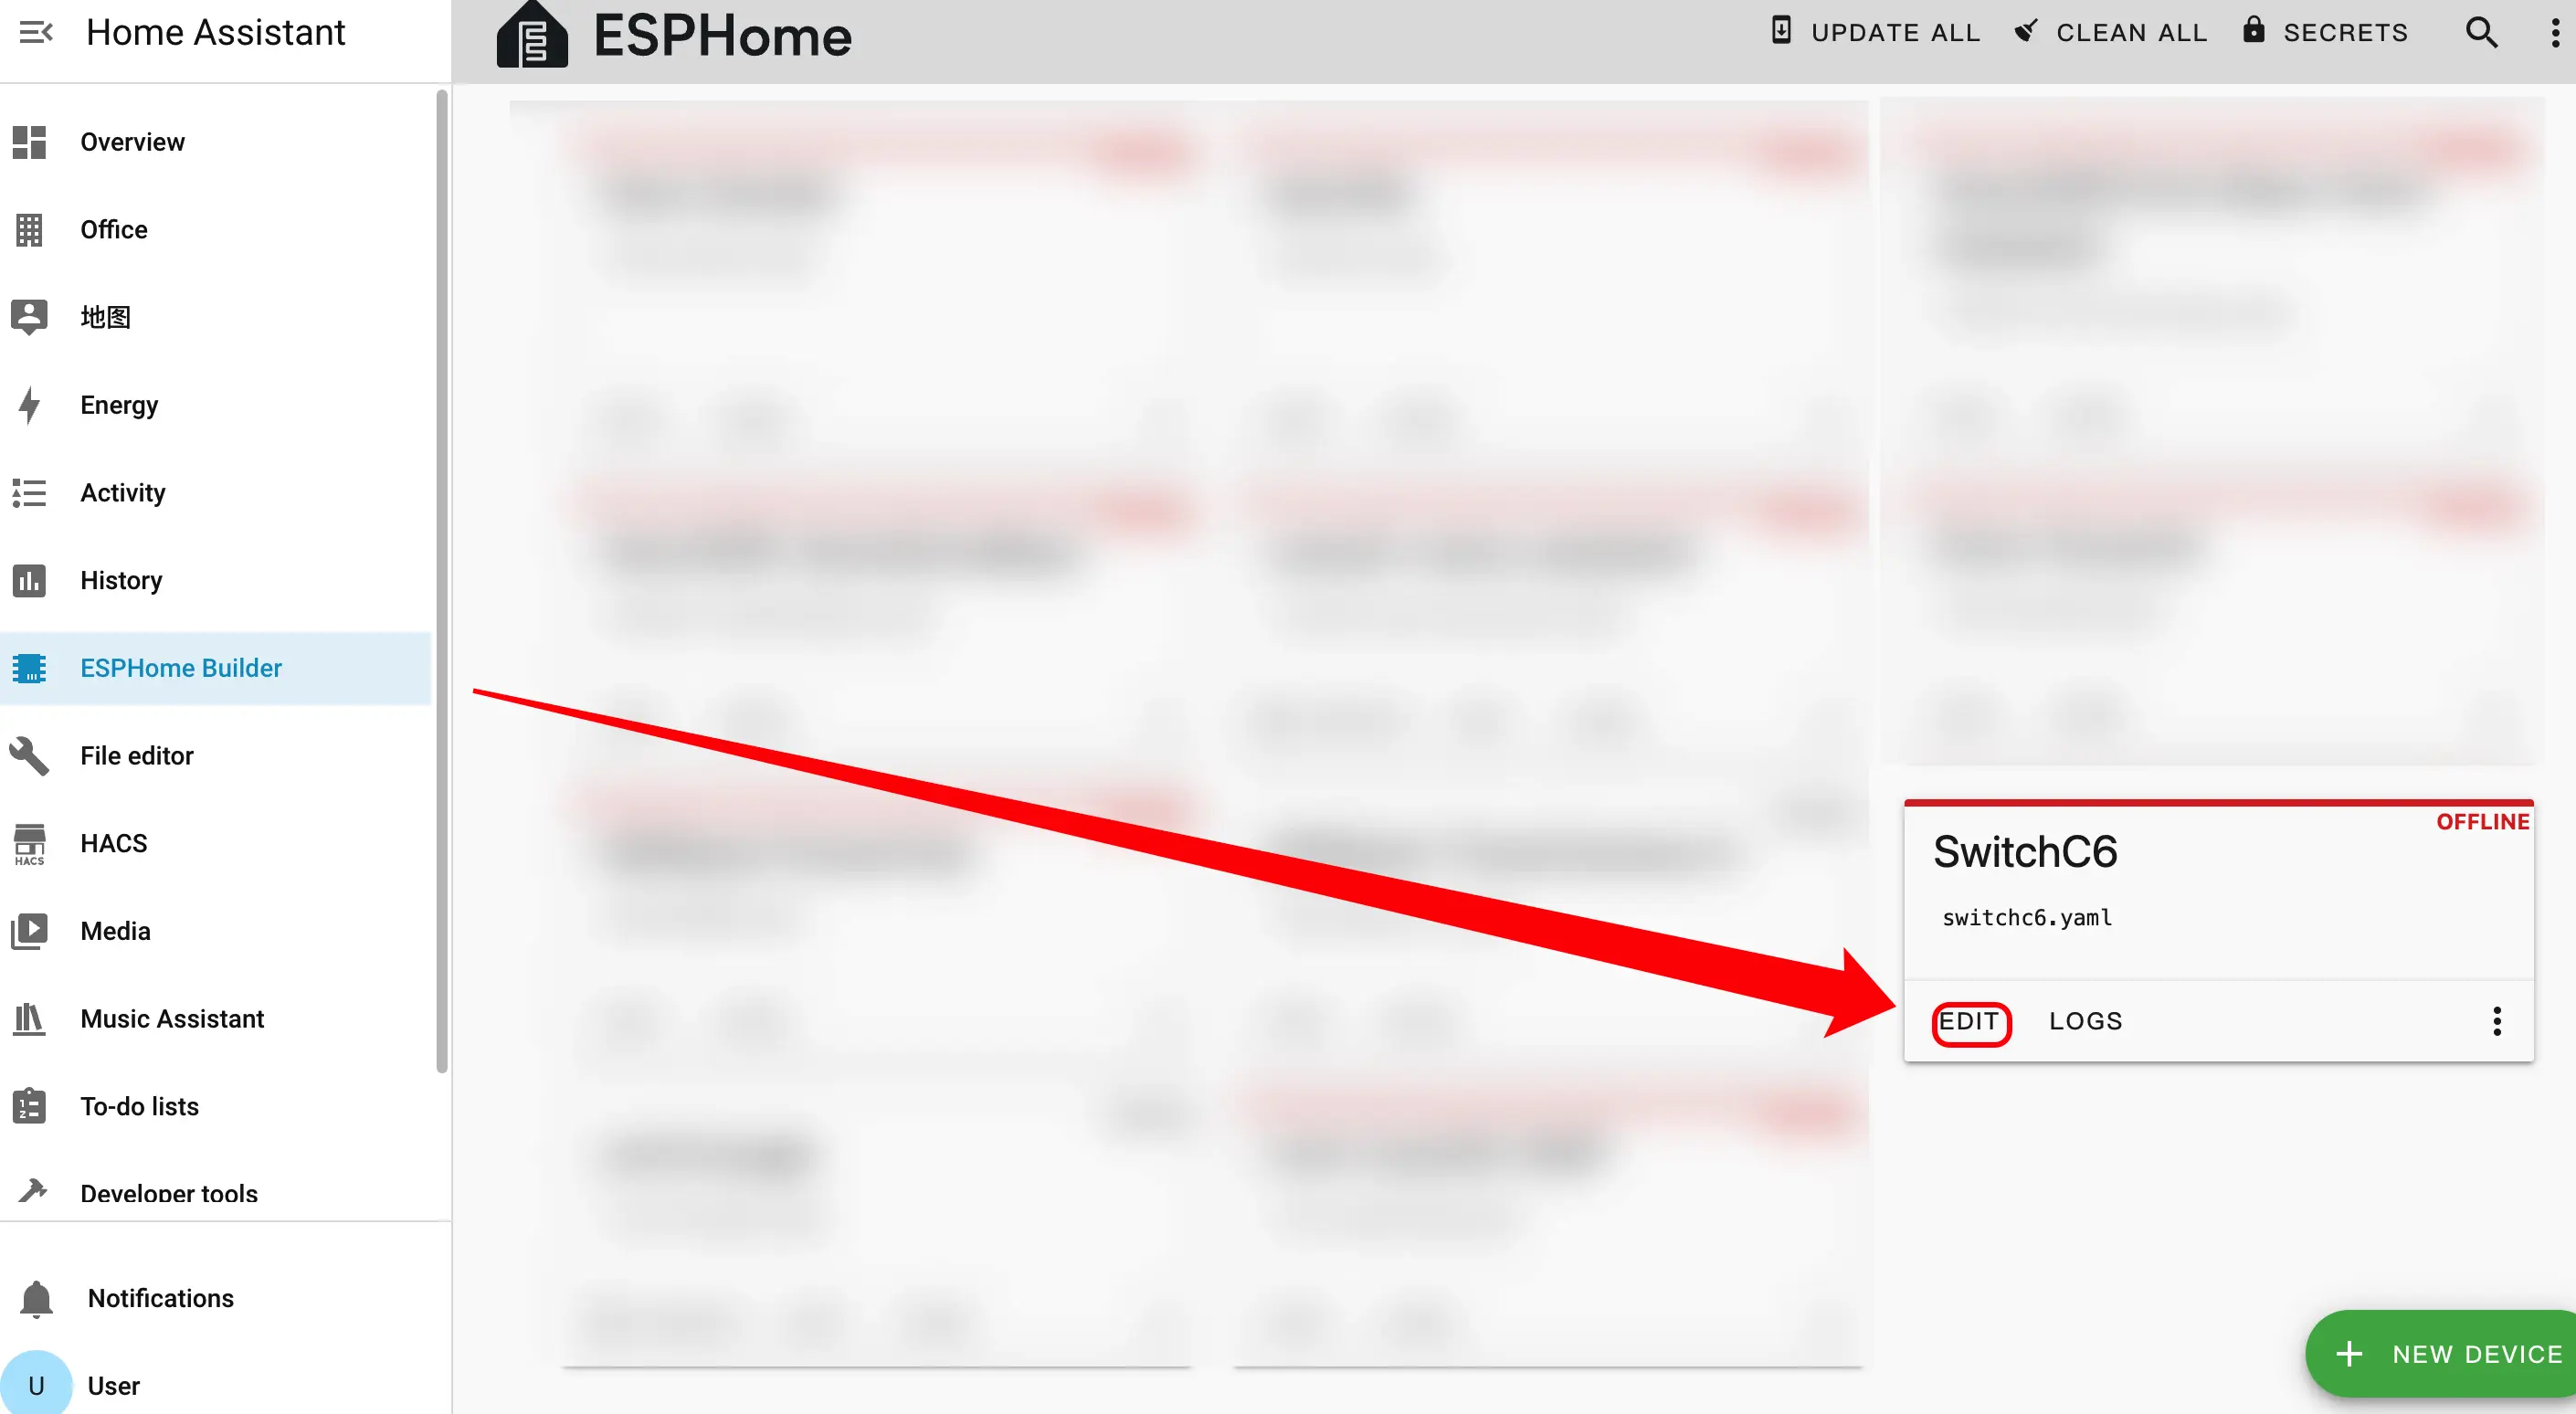
Device Configuration
The following is the core part of the code, along with relevant references and descriptions.
External Components Configuration
Add External component:
external_components:
  - source: github://m5stack/esphome-yaml/components
    components: m5stack_switchc6
refresh: 0sESPNOW Configuration
Add ESPNOW component:
espnow:
  id: espnow1
  auto_add_peer: true
  peers:
    - XX:XX:XX:XX:XX:XX
  on_broadcast:
    - lambda: |-
id(sw1).handle_broadcast(data, size);- XX:XX:XX:XX:XX:XX.Switch Configuration
Add Switch component:
switch:
  - platform: m5stack_switchc6
    id: sw1
    name: "SwitchC6 Device 1"
    espnow_id: espnow1
    mac_address: "XX:XX:XX:XX:XX:XX"
    retry_count: 40
retry_interval: 300espnow:
id: espnow1
auto_add_peer: true
peers:
- AA:BB:CC:DD:EE:01
- AA:BB:CC:DD:EE:02
on_broadcast:
- lambda: |-
id(sw1).handle_broadcast(data, size);
id(sw2).handle_broadcast(data, size);
switch:
- platform: espnow_switch
id: sw1
name: "SwitchC6 Device 1"
espnow_id: espnow1
mac_address: "AA:BB:CC:DD:EE:01"
retry_count: 40
retry_interval: 300
- platform: espnow_switch
id: sw2
name: "SwitchC6 Device 2"
espnow_id: espnow1
mac_address: "AA:BB:CC:DD:EE:02"
retry_count: 40
retry_interval: 300Download and Burn Firmware
After completing the modifications, click
SAVEandINSTALLin the upper right corner, then selectManual Downloadin the pop-up window.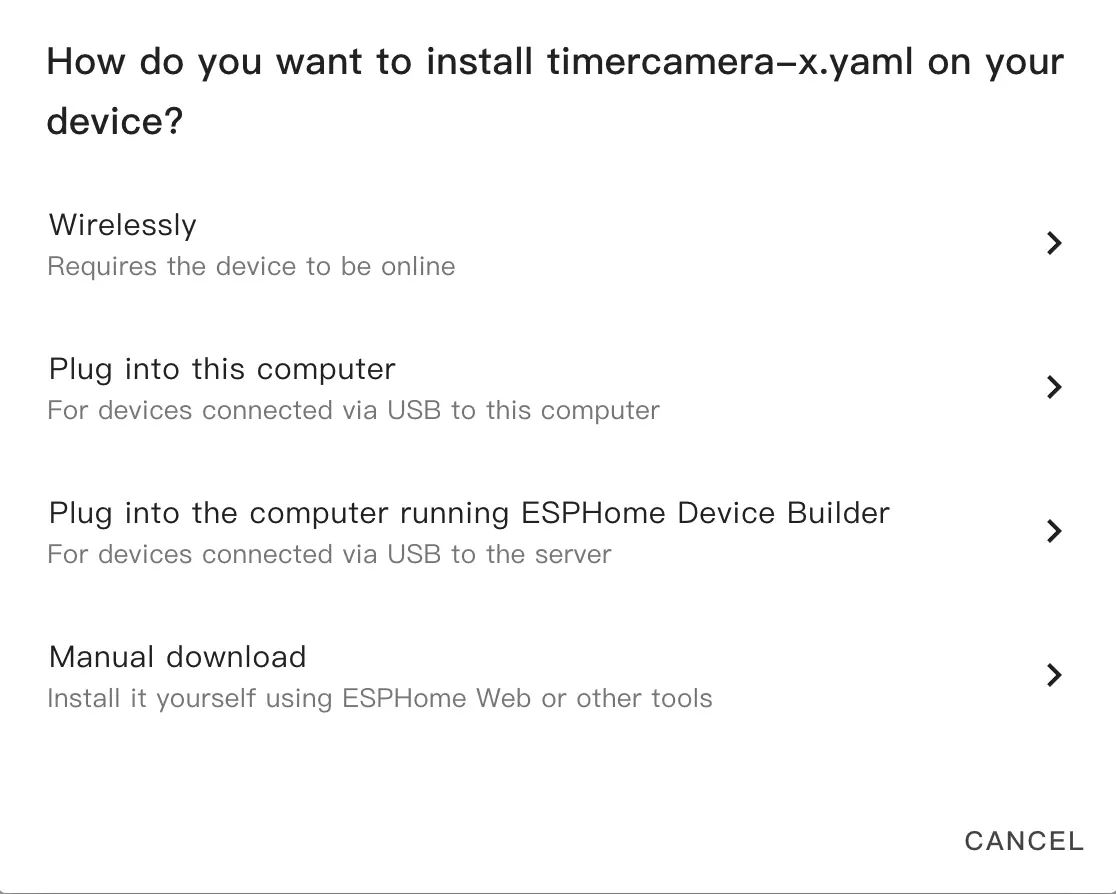
After the firmware compilation is complete, click Download and select
Factory format(Previously Modern).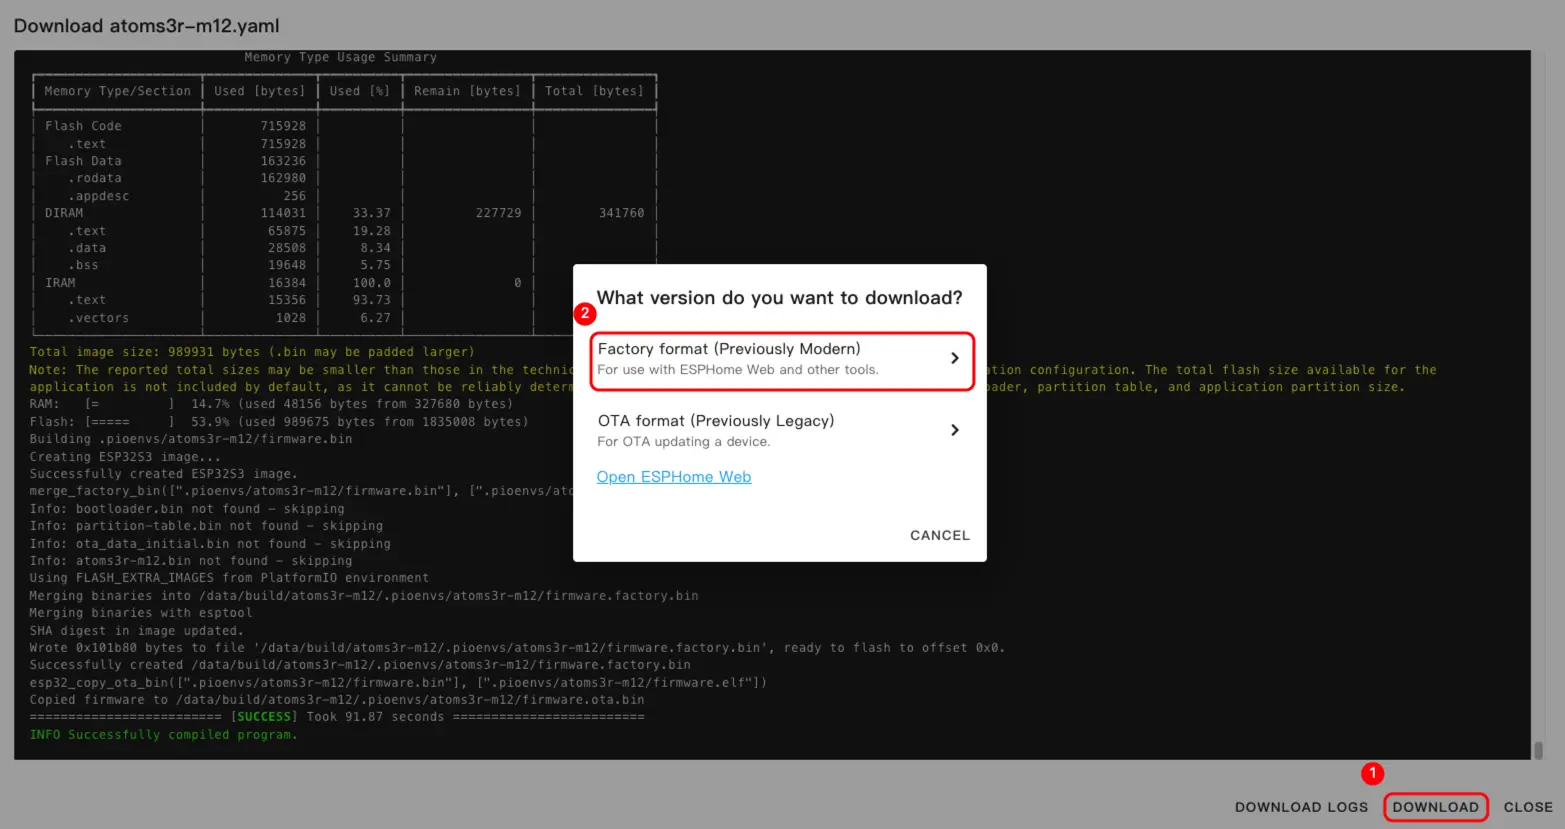 NoteClick SwitchC6 to view the complete example configuration. The first build may take some time, depending on the performance and network quality of the Home Assistant host.
Click
INSTALLagain to burn and wait for completion.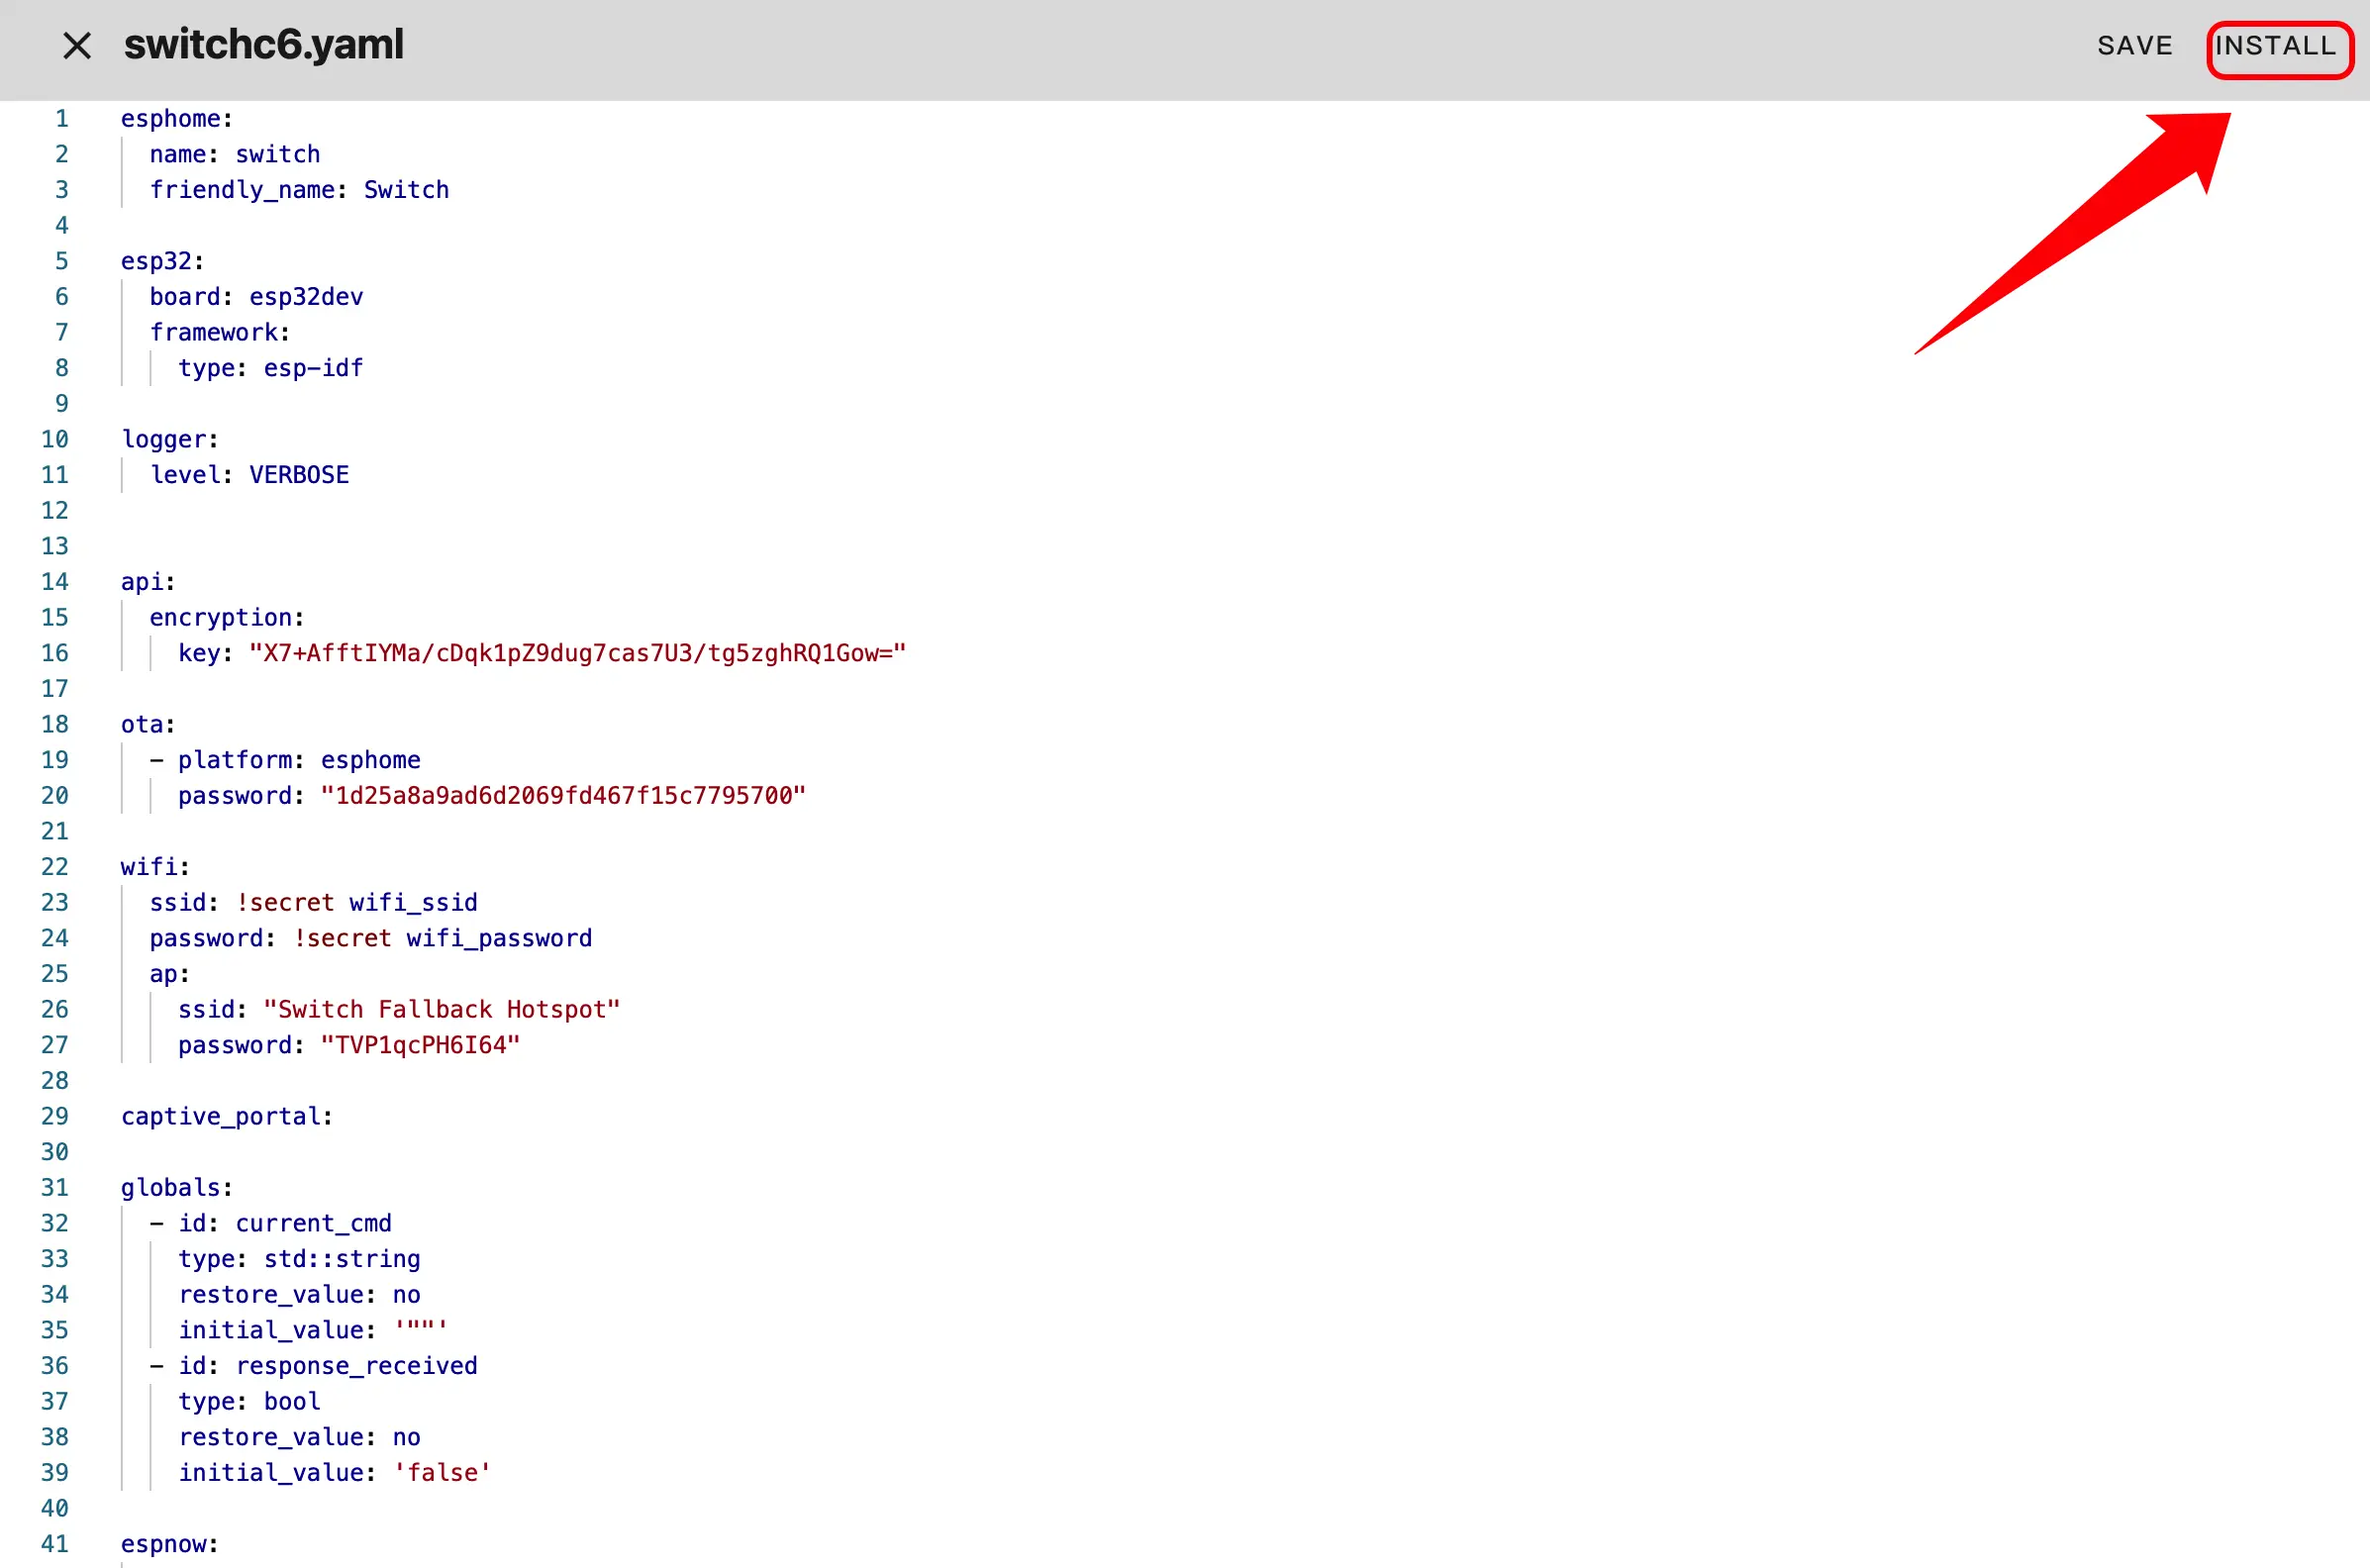
Connect the device to the host via a USB Type-C cable. Open ESPHome Web and click
CONNECTto connect the device.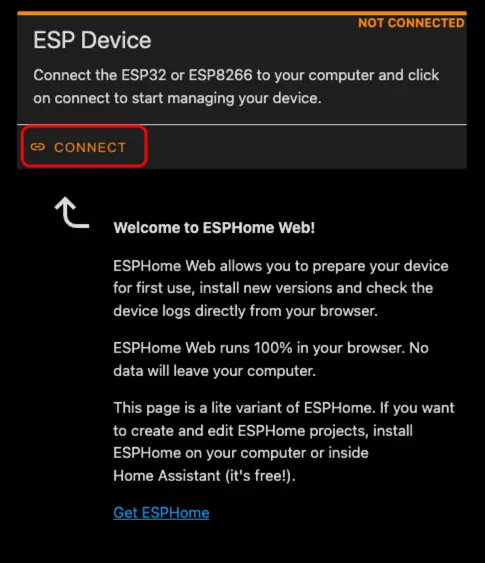
Find the corresponding serial port number.
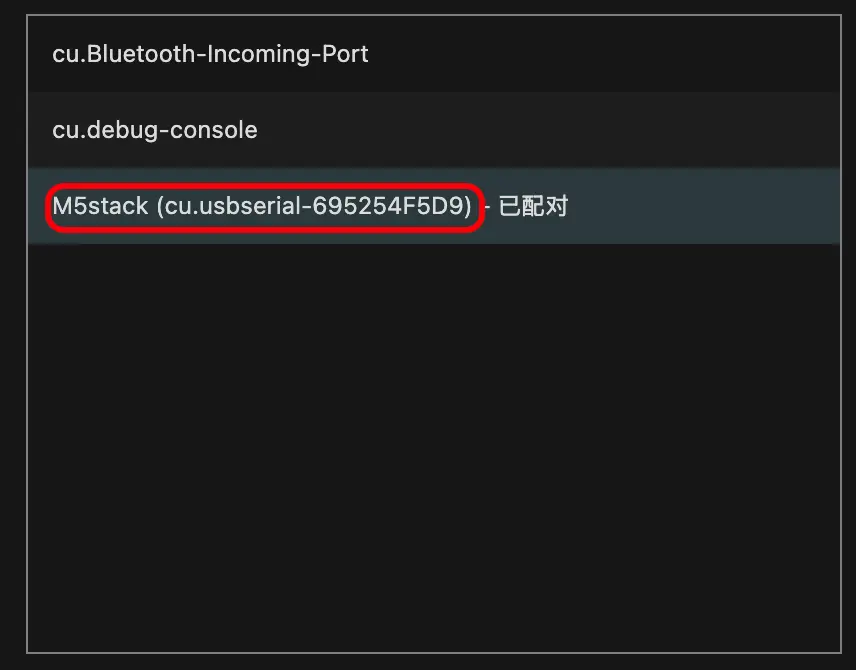
Click
INSTALL.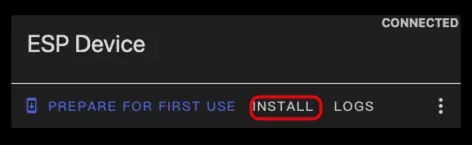
Select the previously compiled firmware for uploading.
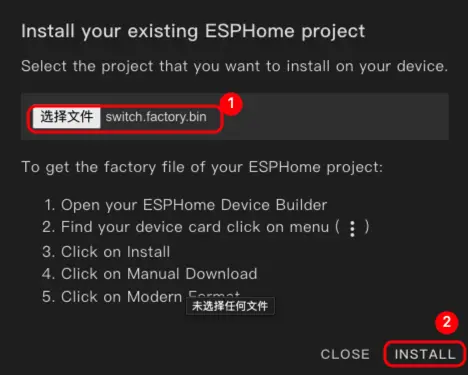
Restart the device after burning is complete.
Start Using
Click
Settings->Device & servicesto view the device.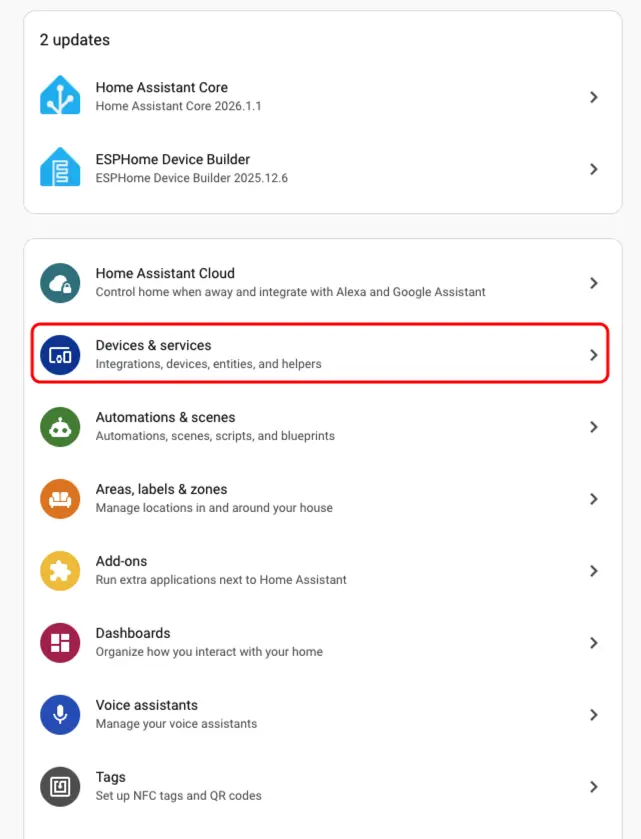
Click
Addto integrate the device into Home Assistant.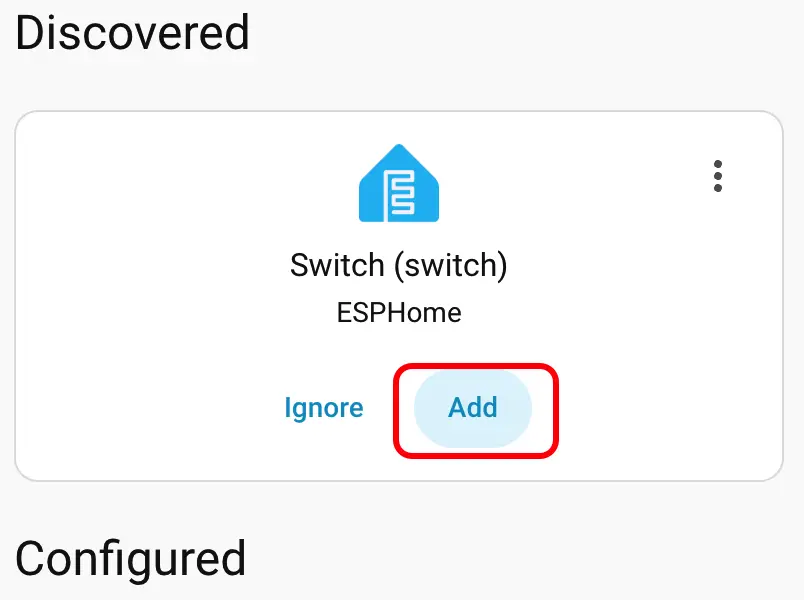
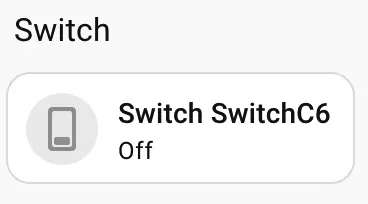
After adding the device, the data will be displayed correctly.
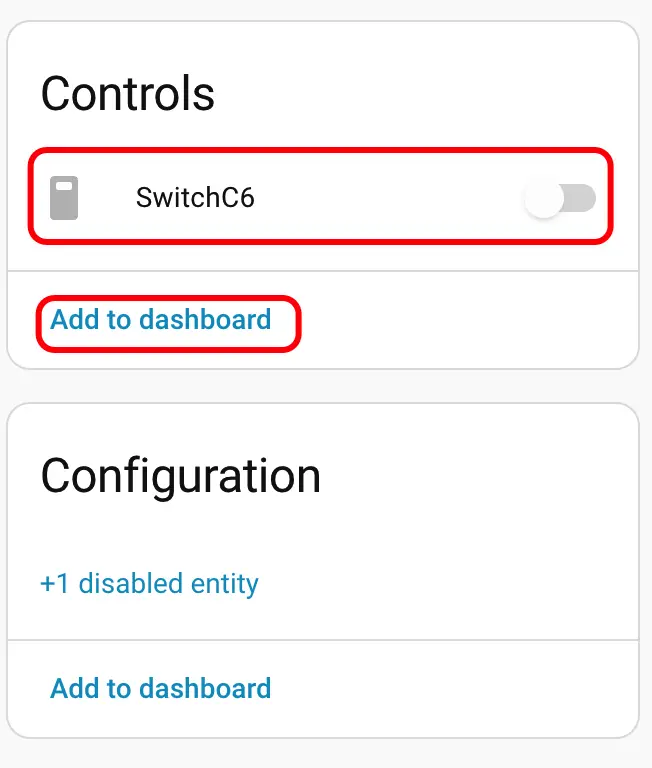
Finally, we add these entities to the dashboard, and the display result is shown below.