

Home Assistant
Media Player
Expansion
Sensor
Unit KMeter-ISO Home Assistant Integration
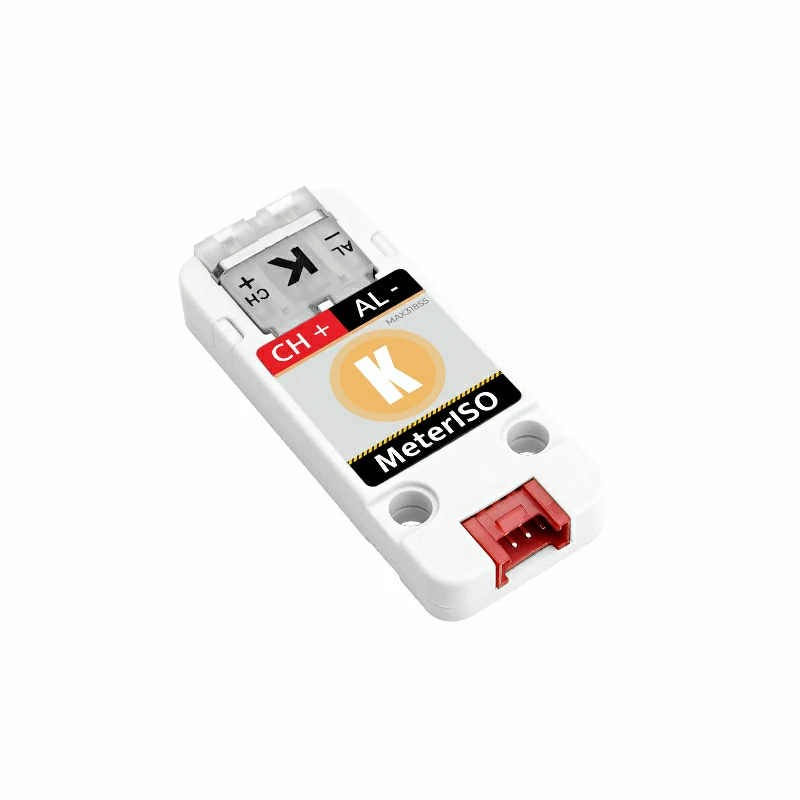
This section describes the configuration methods and practical steps for integrating the Unit KMeter-ISO sensor into Home Assistant.
1. Preparation
Environment Setup
- Install Home Assistant by following the official Home Assistant documentation.
- Install the ESPHome Device Builder add-on by following the official ESPHome documentation.
- Refer to the following resources:
Hardware Products
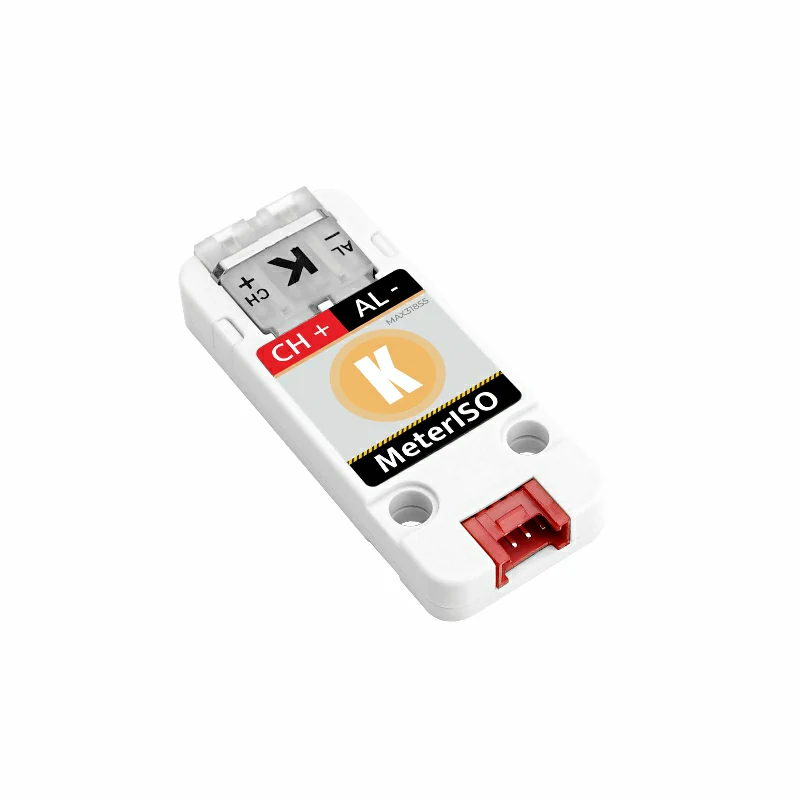
- Unit KMeter-ISO
- A compatible controller (such as an Atom, Stamp, Stick, Core, or Basic series device)
Note
Unit KMeter-ISO requires a compatible controller to integrate with Home Assistant. Select the controller model and interface pins according to your project.
2. Modify Configuration
- The I²C component needs to be enabled in the ESPHome configuration:
# Example configuration entry for ESP32
i2c:
  sda: GPIOXX
  scl: GPIOXX
scan: trueThe GPIO pins here will vary depending on the main controller used. For example, using Atom Lite as the controller:
# I2C Bus on Grove Port (HY2.0-4P)
i2c:
  sda: GPIO26
scl: GPIO32Unit KMeterISO Configuration Example:
yaml
1 2 3 4 5 6 7
sensor:
  - platform: kmeteriso
    temperature:
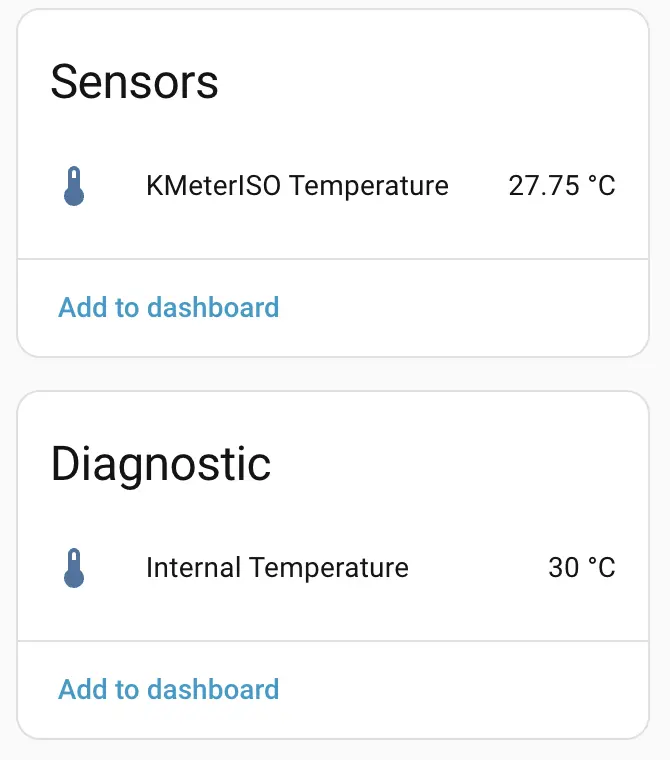
      name: "KMeterISO Temperature"
    internal_temperature:
      name: "Internal Temperature"
update_interval: 10s3. Getting Started
Once added to the Dashboard, you can view the sensor data in Home Assistant.
Page Tools