

Home Assistant
Media Player
Expansion
Sensor
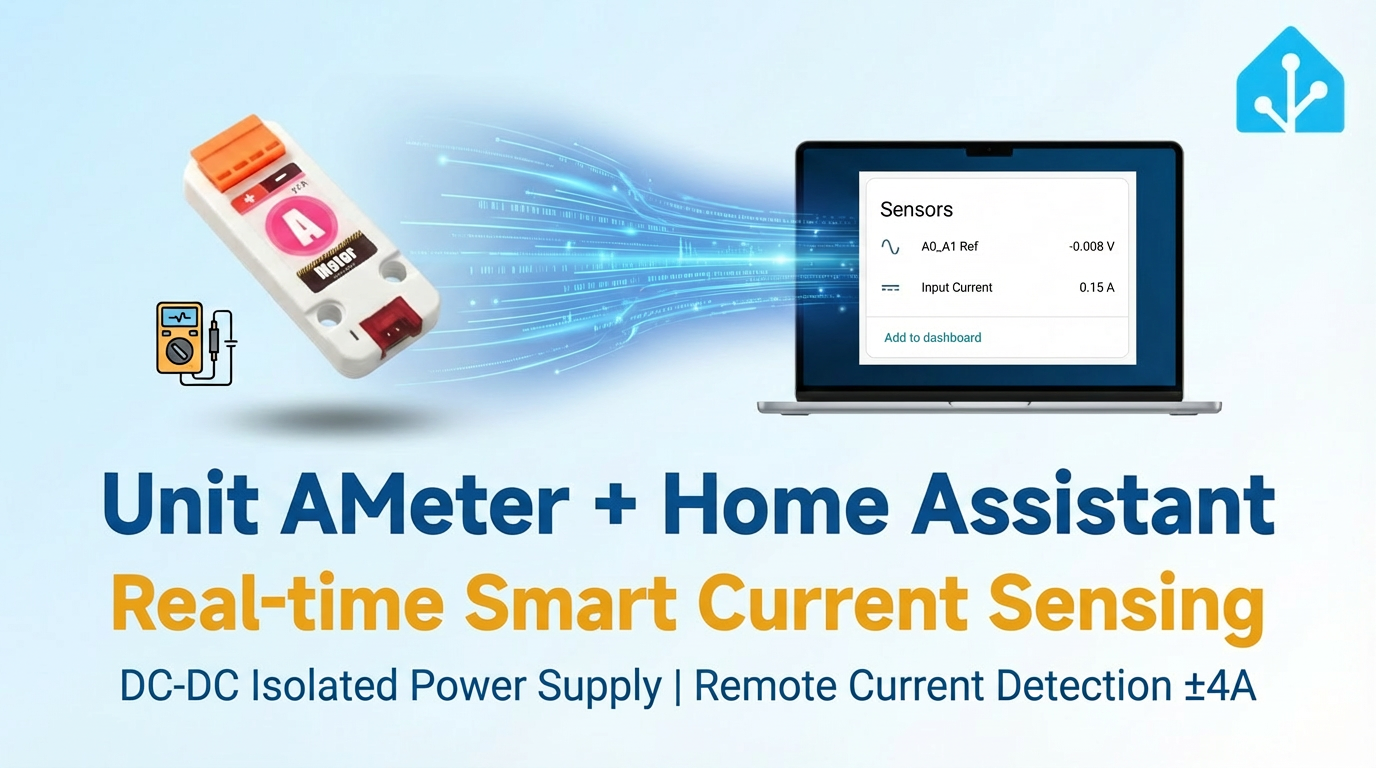
Unit AMeter Home Assistant Integration
This chapter introduces the configuration methods and practical steps for integrating the Unit AMeter current meter into Home Assistant.
Note
Unit AMeter is only a sensor platform and requires an additional main controller (such as Atom series, Stamp series, Stick series, Core/Basic series, etc.) to be integrated into Home Assistant.
Tutorial
- Consult the ADS1115 sensor datasheet: ADS1115 Datasheet;
- Refer to the latest official ESPHome configuration instructions: ADS1115 4-Channel 16-Bit A/D Converter;
- Prepare a compatible main controller (such as Atom series, Stamp series, Stick series, Core/Basic series, etc.);
- Confirm the I2C pin definitions of the main controller (pins vary by controller).
Modify Configuration
- Enable the I²C component in the ESPHome configuration:
# Example configuration entry for ESP32
i2c:
  sda: GPIOXX
  scl: GPIOXX
scan: trueThe GPIO pins here will vary depending on the main controller used. For example, using Atom Lite as the main controller:
# I2C Bus on Grove Port (HY2.0-4P)
i2c:
  sda: GPIO26
scl: GPIO32Unit AMeter Configuration Example:
- First, configure the basic component ADS1115:
yaml
1 2 3 4 5 6 7 8 9 10 11
ads1115:
  - address: 0x48

sensor:
  - platform: ads1115
    multiplexer: "A0_A1"
    gain: 0.256
    sample_rate: 128
    name: "Unit AMeter A0_A1 Ref"
    id: diff
update_interval: 10sTip
Unit AMeter only uses the
AIN0 and AIN1 channels, so up to 3 multiplexer options can be used: "A0_A1", "A0_GND", and "A1_GND". For current measurement here, only A0_A1 is used in the calculation.- Configure EEPROM to read calibration parameters and create custom data using a
Templatesensor:
yaml
1 2 3 4 5 6 7 8 9 10 11 12 13 14 15 16 17 18 19 20 21 22 23 24 25 26 27 28 29 30 31 32 33 34 35 36 37 38 39 40 41 42 43 44 45 46 47 48 49 50 51 52 53
i2c_device:
  id: eeprom
  address: 0x51

sensor:
  # Previous ads1115 declarations
  ...
  - platform: template
    name: "Input Current"
    id: input_cur
    unit_of_measurement: "A"
    icon: "mdi:current-dc"
    accuracy_decimals: 2
    update_interval: 10s
    lambda: |-
      float d = id(diff).state;

      if (isnan(d)) return NAN;

      const float PRESSURE_COEFF = 0.05f;

      const uint8_t EEPROM_REG = 0xF8;

      uint8_t calib[8];
      uint16_t hope, actual;

      if ( id(eeprom).read_register(EEPROM_REG, calib, 8) != i2c::ERROR_OK ) {
        ESP_LOGD("ameter.sensor", "Failed to read from EEPROM..");
        return NAN;
      }

      uint8_t xor_result = 0x00;

      for (uint8_t i = 0; i < 5; i++) {
          xor_result ^= calib[i];
      }

      if (xor_result != calib[5]) {
        return NAN;
      }

      hope   = (calib[1] << 8) | calib[2];
      actual = (calib[3] << 8) | calib[4];

      float calibration_ratio = (float)hope / actual;

      ESP_LOGD("ameter.sensor", "Factory calibration factor: %f", calibration_ratio);

      float ain = - d / PRESSURE_COEFF;

      ain = ain * calibration_ratio;

return ain;- When reading the EEPROM, the
EEPROM_REGread address in the lambda expression needs to be modified according to thegainvalue set for the ADS1115:
c++
1 2 3 4
// In lambda expression
// remember to change the 'EEPROM_REG' if you changed the 'gain'
// for an example, when 'gain' is 0.256
const uint8_t EEPROM_REG = 0xF8;| ADS1115 Gain | EEPROM Data Register | Max Input Current (theory) |
|---|---|---|
| 6.144 | 0xD0 | - |
| 4.096 | 0xD8 | - |
| 2.048 | 0xE0 | - |
| 1.024 | 0xE8 | - |
| 0.512 | 0xF0 | 10 A |
| 0.256 | 0xF8 | 5 A |
The recommended gain value is 0.256, with a resolution of 0.3mA. Only one path (AIN0 or AIN1) can be measured at a time; do not connect inputs to both paths simultaneously.
Warning
The optimal measurement range for this product design is ±4V. It has a built-in fuse; currents exceeding 4A will trigger the fuse. Please do not input currents outside this range and avoid no-load conditions to prevent device damage. The EEPROM (I2C @0x51) contains factory-preset calibration parameters. Do not perform write operations on the EEPROM, as this will overwrite the calibration data and lead to inaccurate measurements.
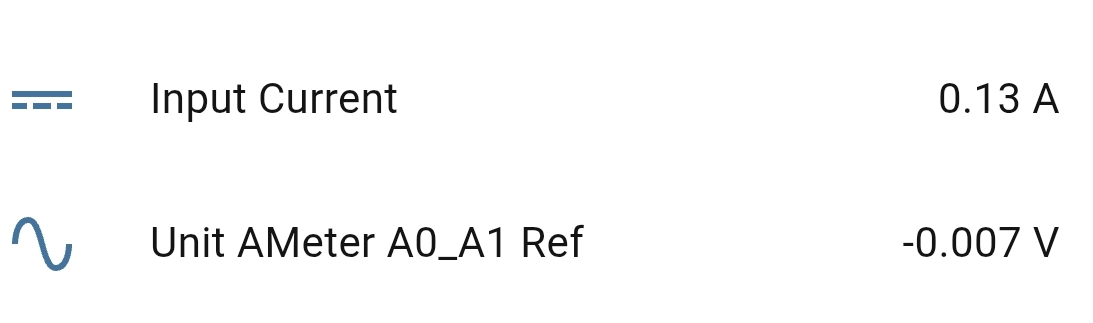
Learn
Once added to the Dashboard, you can view the sensor data in Home Assistant.
Video
- Video
Page Tools