

Home Assistant
Media Player
Expansion
Sensor
Unit IR Home Assistant Integration
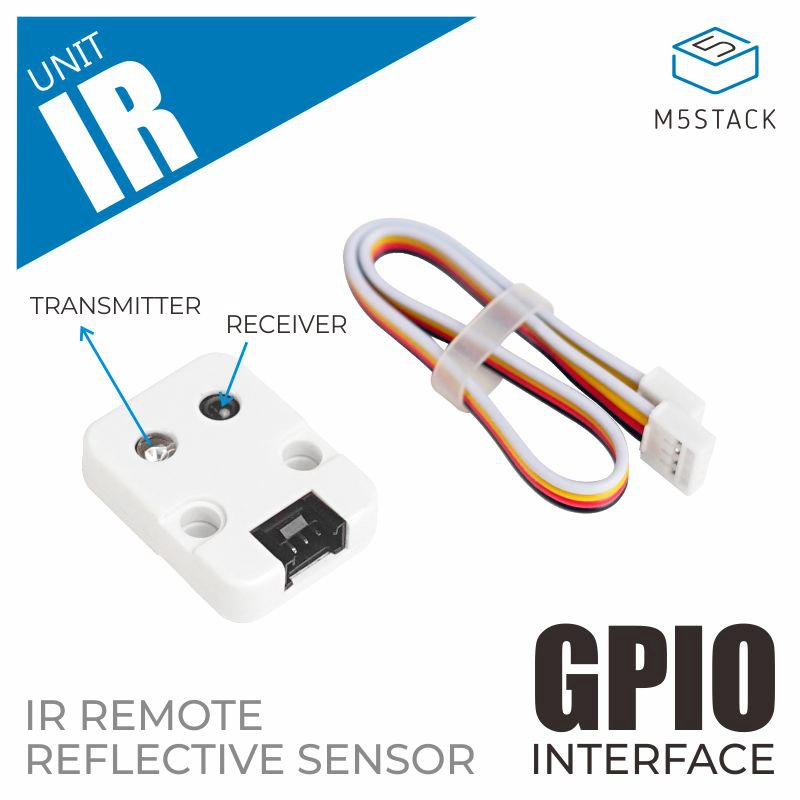
This section describes the configuration methods and practical steps for integrating the Unit IR infrared transmitter/receiver unit into Home Assistant.
1. Preparation
Environment Setup
- Install Home Assistant by following the official Home Assistant documentation.
- Install the ESPHome Device Builder add-on by following the official ESPHome documentation.
- Refer to the official ESPHome IR documentation:
- Confirm the GPIO pin definitions of the controller device (pins vary by controller).
Hardware Products
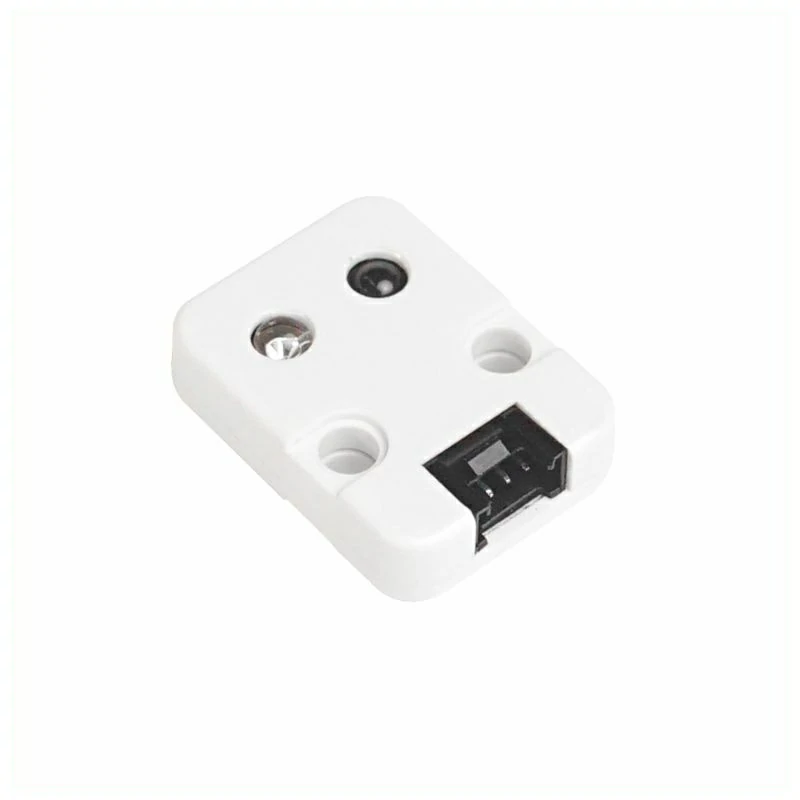
- Unit IR
- A compatible controller (such as an Atom, Stamp, Stick, Core, or Basic series device)
Note
Unit IR requires a compatible controller to integrate with Home Assistant. Select the controller model and interface pins according to your project.
2. Modify Configuration
Configure IR Transmitter/Receiver
- Basic configuration example:
remote_receiver:
  pin: GPIOXX
  dump: all

remote_transmitter:
  pin: GPIOXX
carrier_duty_percent: 50%The GPIO pins will vary depending on the controller used. For example, using the AtomS3 series as a controller:
# GPIO1 input
remote_receiver:
  pin: GPIO1
  dump: all

# GPIO2 output
remote_transmitter:
  pin: GPIO2
carrier_duty_percent: 50%- Once the IR configuration is complete, you can add devices like IR Climate. Taking a Midea air conditioner as an example:
climate:
  - platform: coolix # or media_ir
    name: "Media AC"
    visual:
      min_temperature: 18
      max_temperature: 30
temperature_step: 1- After saving, compile and upload the firmware. Add the device to Home Assistant to see the IR entity:

Page Tools