


Arduino Quick Start
2. Devices & Examples
3. M5Unified
5. Extensions & Examples
Unit
Atom DTU
Hat
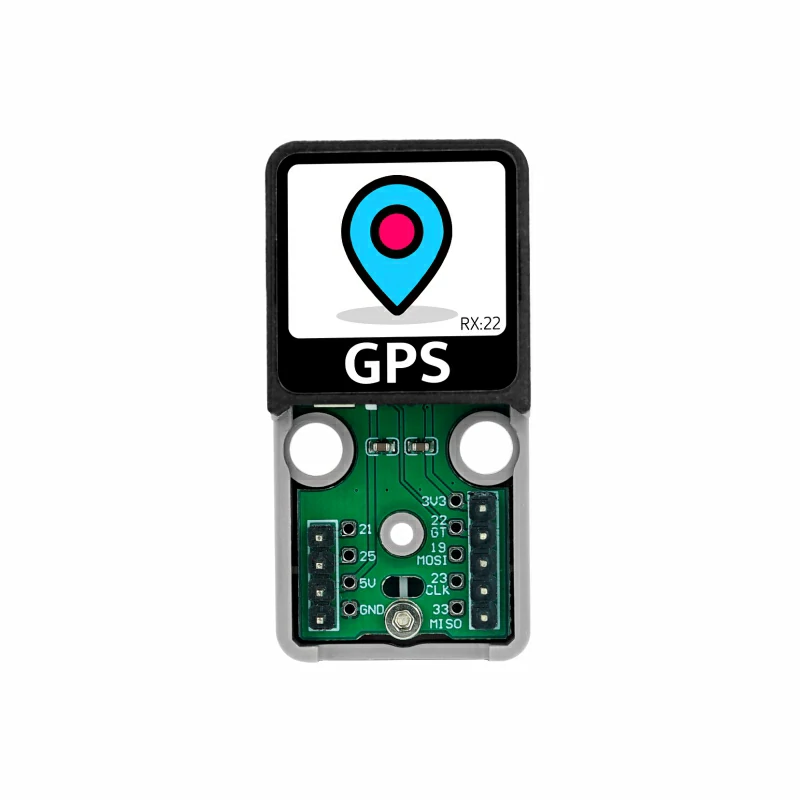
Atomic GPS Base v2.0 Arduino Tutorial
1. Preparations
- Environment Setup: Refer to the Arduino IDE Getting Started Tutorial to complete IDE installation, and install the corresponding board manager and required driver libraries based on the actual development board being used.
- Required Driver Libraries:
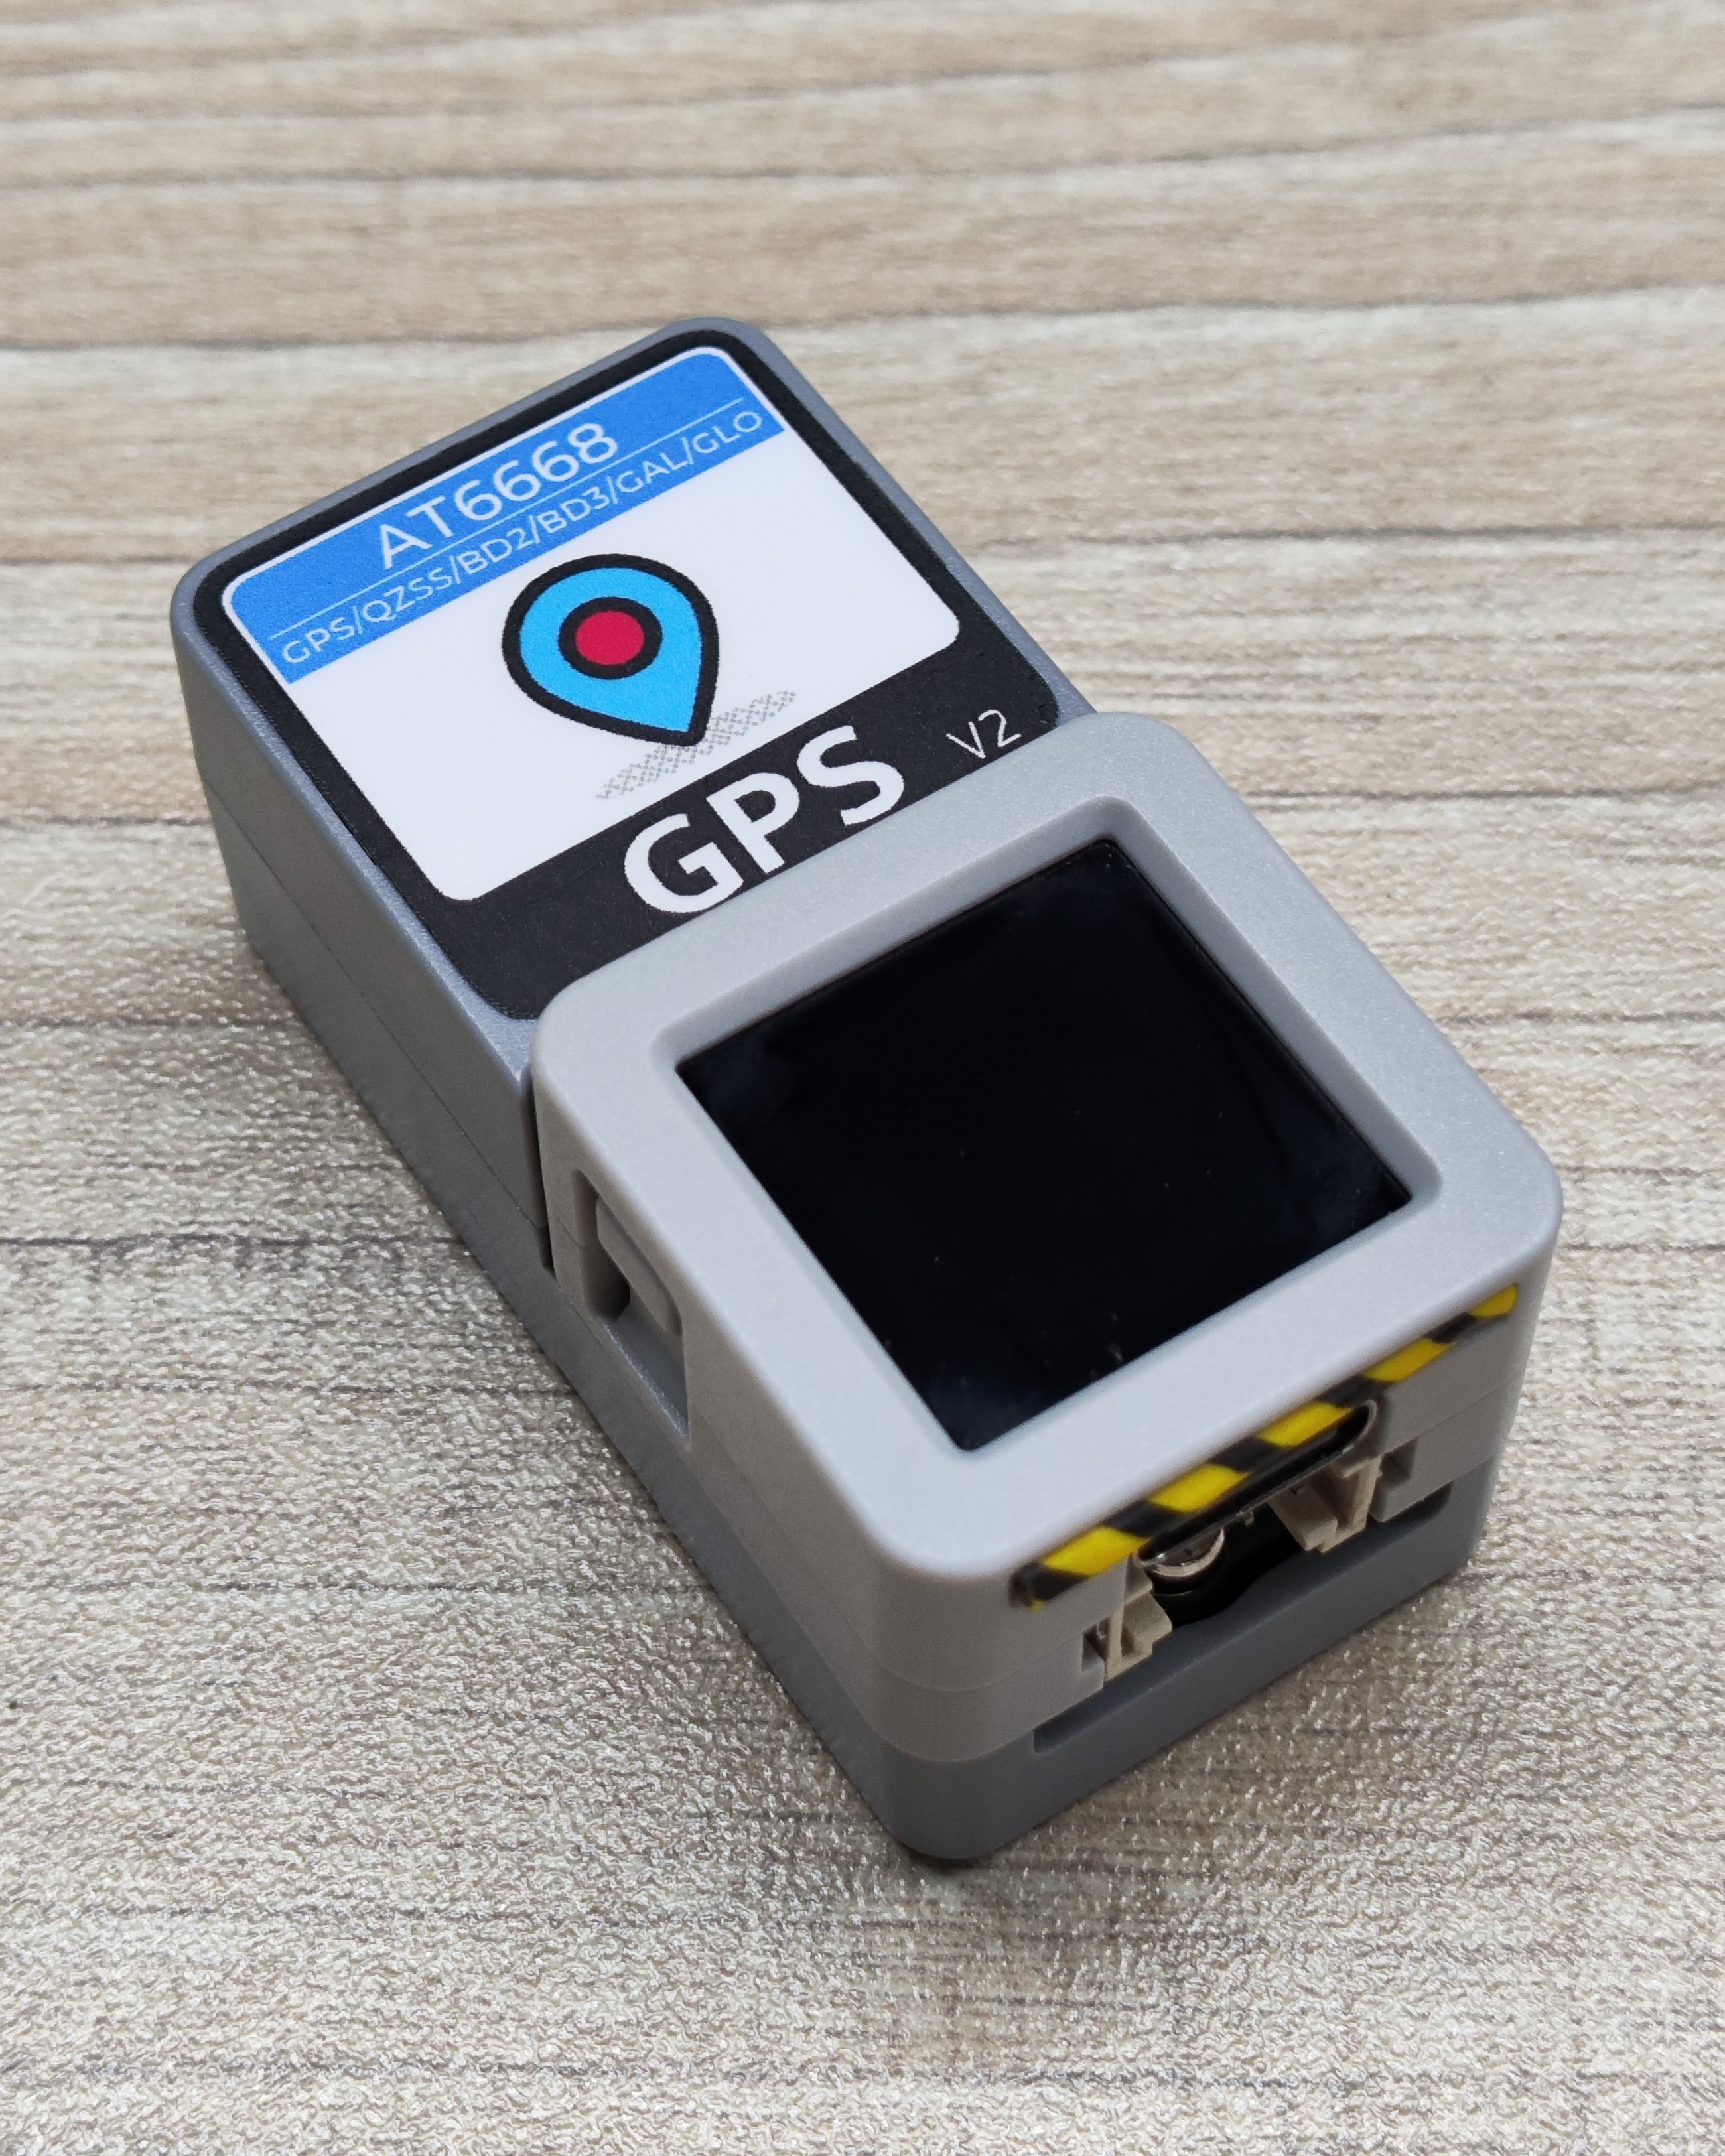
- Required Hardware Products:

2. Example Program
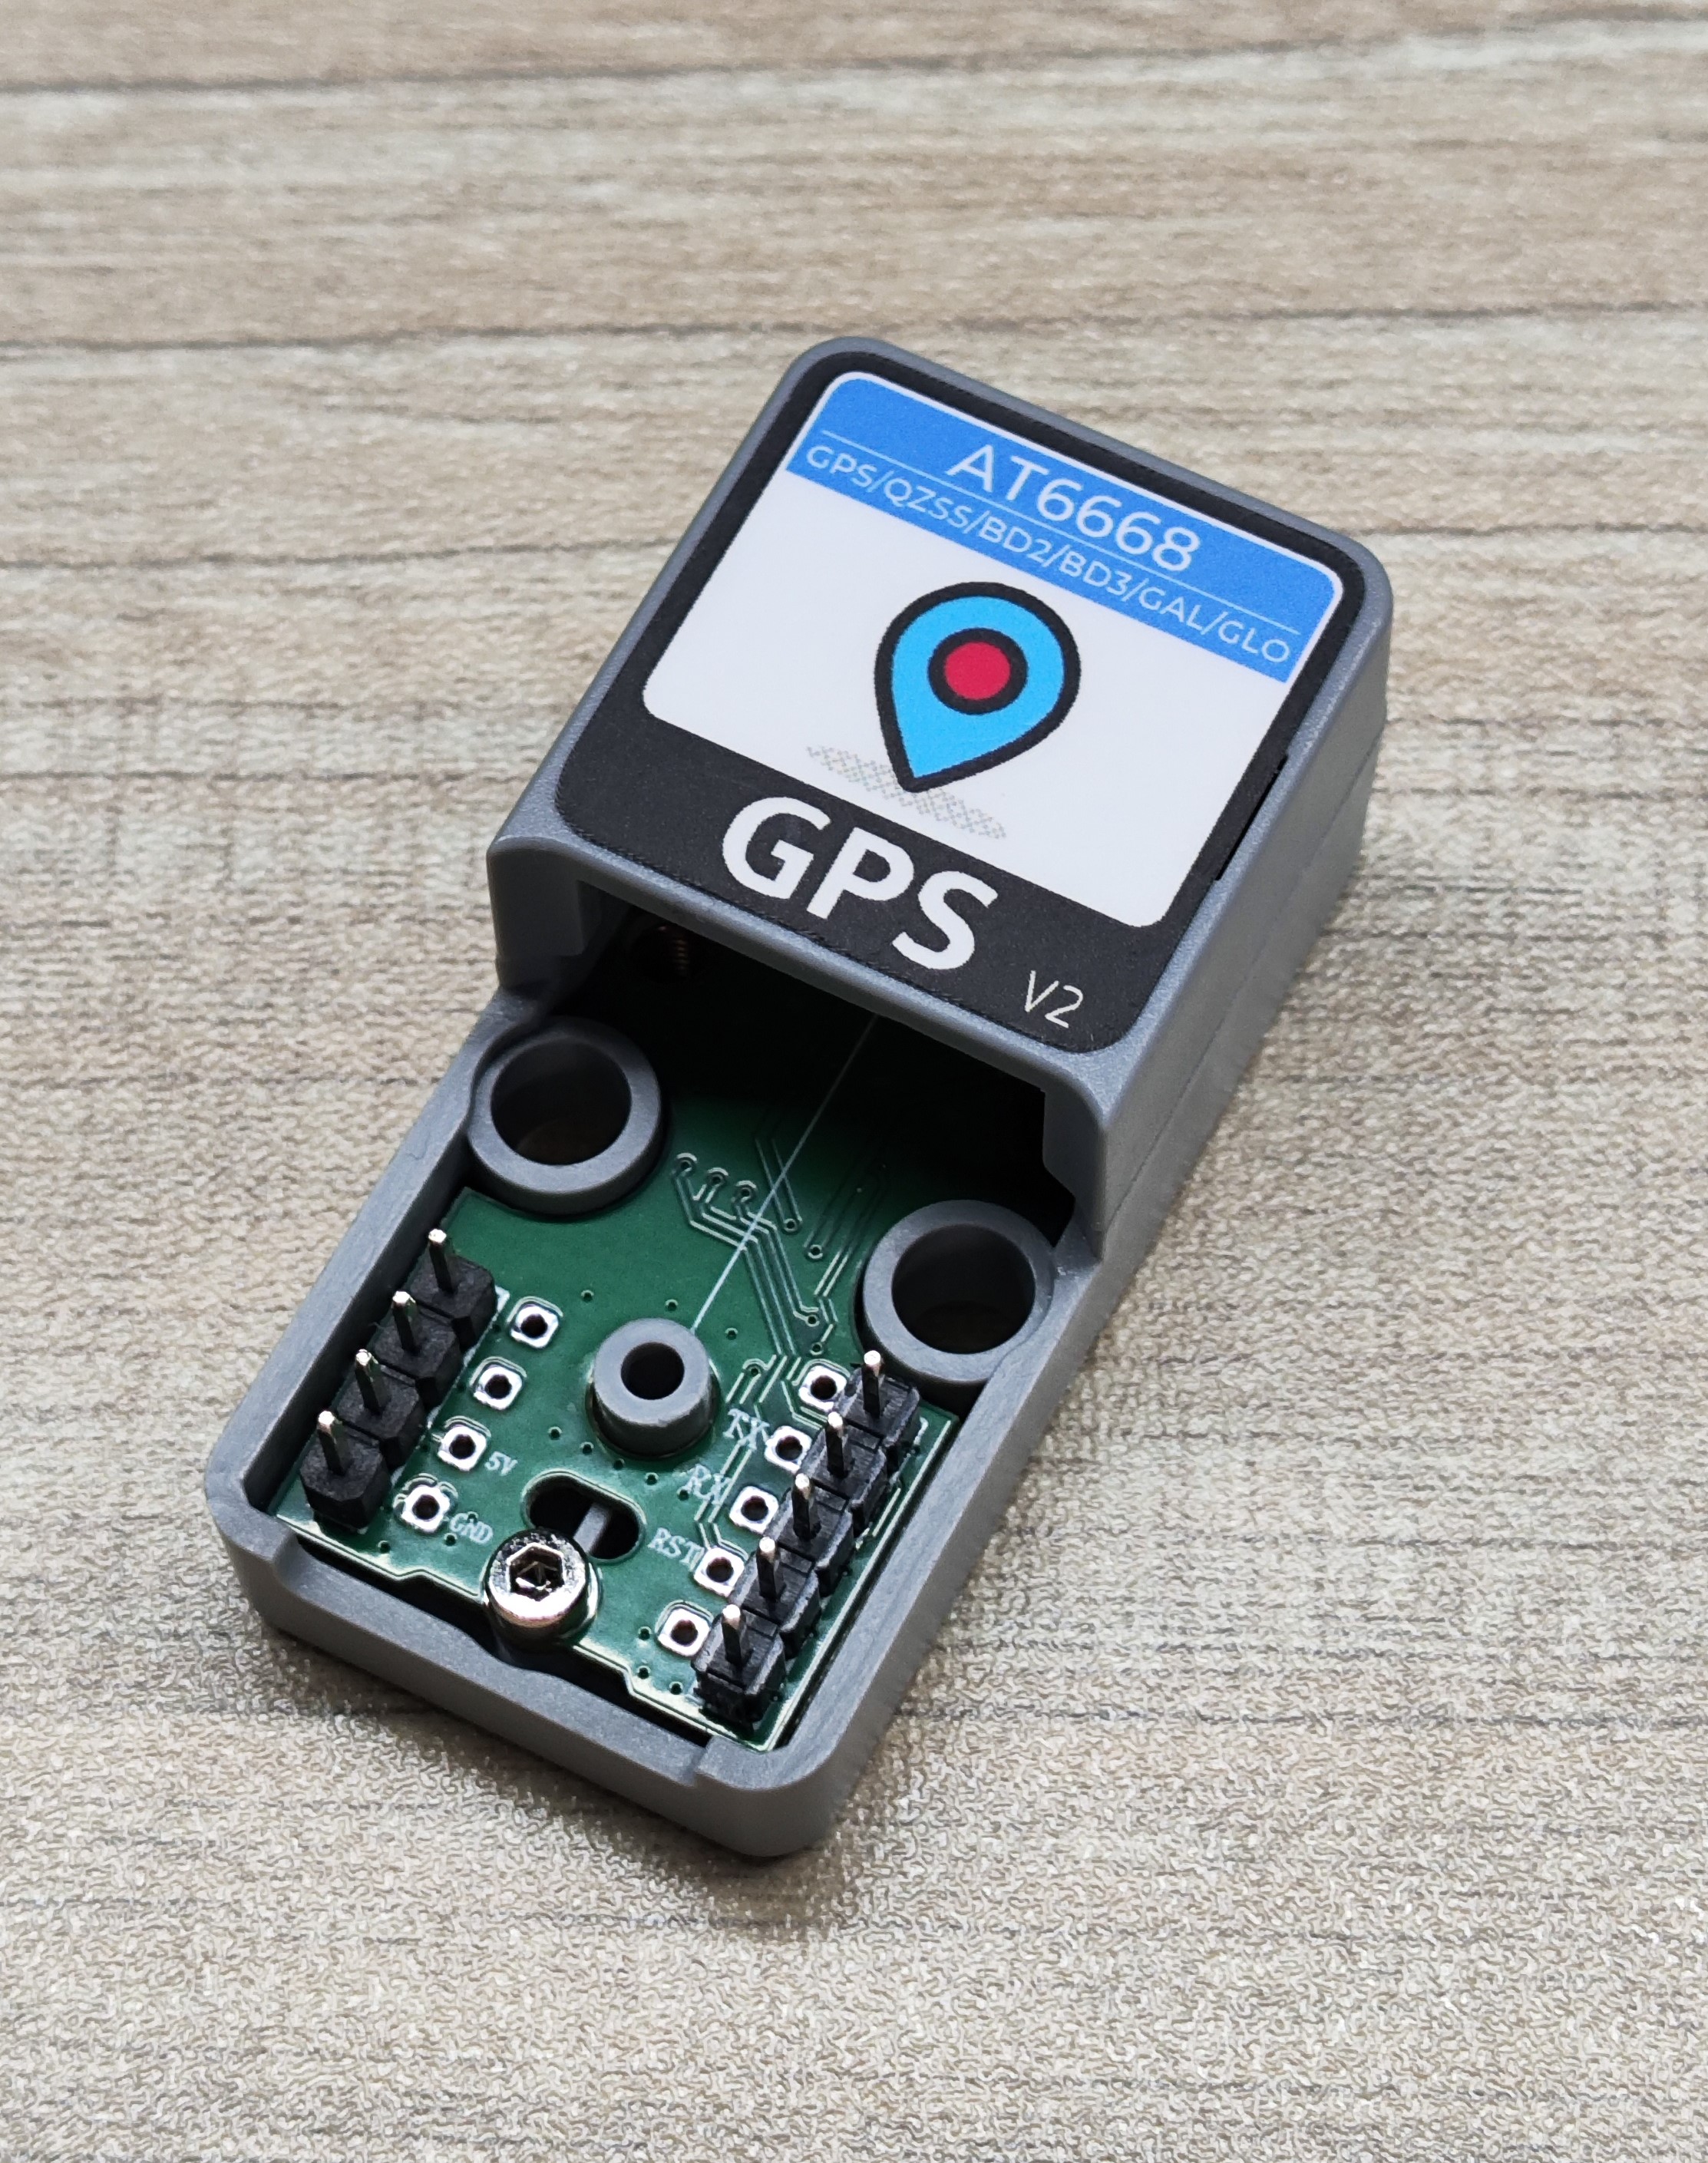
- The main control device used in this tutorial is the AtomS3R, paired with the Atomic GPS Base v2.0. This GPS module communicates via UART. Modify the pin definitions in the program according to the actual circuit connections. The corresponding UART IO for stacked devices is
G5 (RX)andG6 (TX).
- This GPS module supports multiple satellite systems, including GPS, GLONASS, GALILEO, BDS, and QZSS. The example provides a function
setSatelliteMode()to modify the satellite system. The default is GPS, and the prefix on the screen will change accordingly after modification, making it easy to identify the satellite system.
/*
 *SPDX-FileCopyrightText: 2025 M5Stack Technology CO LTD
 *
 *SPDX-License-Identifier: MIT
 */

#include "M5Unified.h"
#include "M5GFX.h"
#include "MultipleSatellite.h"

static const int RXPin = 5, TXPin = 6;
static const uint32_t GPSBaud = 115200;
MultipleSatellite gps(Serial1, GPSBaud, SERIAL_8N1, RXPin, TXPin);

// Current satellite mode
satellite_mode_t currentMode = SATELLITE_MODE_GPS;

void displayInfo(void);

// Get the Sat prefix
const char* getSatPrefix(satellite_mode_t mode) {
    switch (mode) {
        case SATELLITE_MODE_GPS:      return "GPS_Sat";
        case SATELLITE_MODE_BDS:      return "BDS_Sat";
        case SATELLITE_MODE_GLONASS:  return "GLN_Sat";
        case SATELLITE_MODE_GALILEO:  return "GAL_Sat";
        case SATELLITE_MODE_QZSS:     return "QZS_Sat";
        default:                      return "Unknown";
    }
}

void setup() {
    M5.begin();
    Serial.begin(115200);
    gps.begin();
    gps.setSystemBootMode(BOOT_FACTORY_START);
    Serial.println(F("A simple demonstration of TinyGPSPlus with Atomic GPS Base"));
    Serial.print(F("Testing TinyGPSPlus library v. "));
    Serial.println(TinyGPSPlus::libraryVersion());
    Serial.println();
    String version = gps.getGNSSVersion();
    Serial.printf("GNSS SW=%s\r\n", version.c_str());
    delay(1000);

    // Set the satellite mode and record the current mode
    currentMode = SATELLITE_MODE_GPS;
    gps.setSatelliteMode(currentMode);

    M5.Display.setFont(&fonts::FreeMonoBold9pt7b);
}

void loop() {
    // Update data
    gps.updateGPS();
    displayInfo();
    delay(100);
}

void displayInfo(void) {
    Serial.print(F("Location: "));
    Serial.printf("satellites:%d\n", gps.satellites.value());
    String gps_mode = gps.getSatelliteMode();
    M5.Display.setCursor(110, 0);
    Serial.printf("GNSS Mode:%s\r\n", gps_mode.c_str());

    const char* satPrefix = getSatPrefix(currentMode);

    if (gps.location.isUpdated()) {
        Serial.print(gps.location.lat(), 6);
        Serial.print(F(","));
        Serial.print(gps.location.lng(), 6);
        Serial.print(F("\n"));

        M5.Display.fillRect(0, 0, 128, 128, BLACK);
        M5.Display.setCursor(0, 0);
        M5.Display.printf("%s: \nSat: %d\nLat: %d\nlng: %d\n", satPrefix,
                          (uint8_t)gps.satellites.value(),
                          (uint8_t)gps.location.lat(),
                          (uint8_t)gps.location.lng());
    } else {
        M5.Display.fillRect(0, 0, 128, 128, BLACK);
        M5.Display.setCursor(0, 0);
        M5.Display.printf("%s\n", satPrefix);
        M5.Display.print("Sat: ----\n");
        M5.Display.print("Lat: ----\n");
        M5.Display.print("Lng: ----\n");
        Serial.print(F("INVALID\n"));
    }

    Serial.print(F("Date/Time: "));
    if (gps.date.isUpdated()) {
        Serial.print(gps.date.month());
        Serial.print(F("/"));
        Serial.print(gps.date.day());
        Serial.print(F("/"));
        Serial.print(gps.date.year());
        M5.Display.fillRect(0, 80, 128, 128, BLACK);
        M5.Display.setCursor(0, 80);
        M5.Display.printf("%d/%d/%d\n", gps.date.month(),
                          gps.date.day(), gps.date.year());
    } else {
        Serial.print(F("INVALID"));
    }

    Serial.print(F(" "));
    if (gps.time.isUpdated()) {
        if (gps.time.hour() < 10) Serial.print(F("0"));
        Serial.print(gps.time.hour());
        Serial.print(F(":"));
        if (gps.time.minute() < 10) Serial.print(F("0"));
        Serial.print(gps.time.minute());
        Serial.print(F(":"));
        if (gps.time.second() < 10) Serial.print(F("0"));
        Serial.print(gps.time.second());
        Serial.print(F("."));
        if (gps.time.centisecond() < 10) Serial.print(F("0"));
        Serial.print(gps.time.centisecond());
        M5.Display.fillRect(0, 128, 128, 60, BLACK);
        M5.Display.setCursor(0, 96);
        M5.Display.printf("Time: \n%d:%d:%d.%d", gps.time.hour(), gps.time.minute(),
                          gps.time.second(),gps.time.centisecond());
    } else {
        Serial.print(F("INVALID"));
    }
    Serial.println();
    delay(1000);
}3. Compile and Upload
Download Mode: Before uploading the program, different devices need to enter download mode. This step may vary depending on the main control device. For details, please refer to the device program download tutorial list at the bottom of the Arduino IDE Getting Started Tutorial page for specific operations.
For AtomS3R: Press and hold the reset button (for about 2 seconds) until the internal green LED lights up, then release. The device will now enter download mode and wait for programming.

- Select the device port and click the upload button in the upper left corner of Arduino IDE. Wait for the program to complete compilation and upload to the device.

4. Satellite Positioning
The device has a built-in antenna. Place the antenna near a window or in an open outdoor area, and wait for the device to successfully search for satellites and obtain coordinates. (Since this product has no external antenna, please try to use it in open outdoor areas such as playgrounds or rooftops. The initial use may require a longer waiting time of several minutes - please be patient.)
