Arduino Quick Start
2. Devices & Examples
3. M5Unified
4. M5GFX
5. Extensions
Unit
Base
Cap
IoT
Accessories
Gray IMU 6-Axis Motion Sensor (Gyro + Accelerometer)
Gray IMU 's 6-axis motion sensor (gyro + accelerometer) input related APIs and example program.
Note
Basic has no motion sensor.
Example
cpp
1 2 3 4 5 6 7 8 9 10 11 12 13 14 15 16 17 18 19 20 21 22 23 24 25 26 27 28 29 30 31 32 33 34 35
#include <M5Unified.h>

void setup(void) {
    auto cfg = M5.config();
    M5.begin(cfg);
    M5.Display.setTextFont(&fonts::Font4);
    M5.Display.setTextSize(1);
}

void loop(void) {
    auto imu_update = M5.Imu.update();
    if (imu_update) {
        M5.Display.setCursor(0, 24);
        M5.Display.clear(TFT_WHITE);

        auto ImuData = M5.Imu.getImuData();

        // The ImuData obtained by getImuData can be used as follows.
        ImuData.accel.x;      // accel x-axis value.
        ImuData.accel.y;      // accel y-axis value.
        ImuData.accel.z;      // accel z-axis value.
        ImuData.accel.value;  // accel 3values array [0]=x / [1]=y / [2]=z.

        ImuData.gyro.x;      // gyro x-axis value.
        ImuData.gyro.y;      // gyro y-axis value.
        ImuData.gyro.z;      // gyro z-axis value.
        ImuData.gyro.value;  // gyro 3values array [0]=x / [1]=y / [2]=z.

        M5.Display.setTextColor(TFT_BLACK);
        M5.Display.printf("IMU:\r\n");
        M5.Display.printf("ax:%6.2f  ay:%6.2f  az:%6.2f\r\n", ImuData.accel.x, ImuData.accel.y, ImuData.accel.z);
        M5.Display.printf("gx:%6.2f  gy:%6.2f  gz:%6.2f\r\n", ImuData.gyro.x, ImuData.gyro.y, ImuData.gyro.z);
    }
    delay(500);
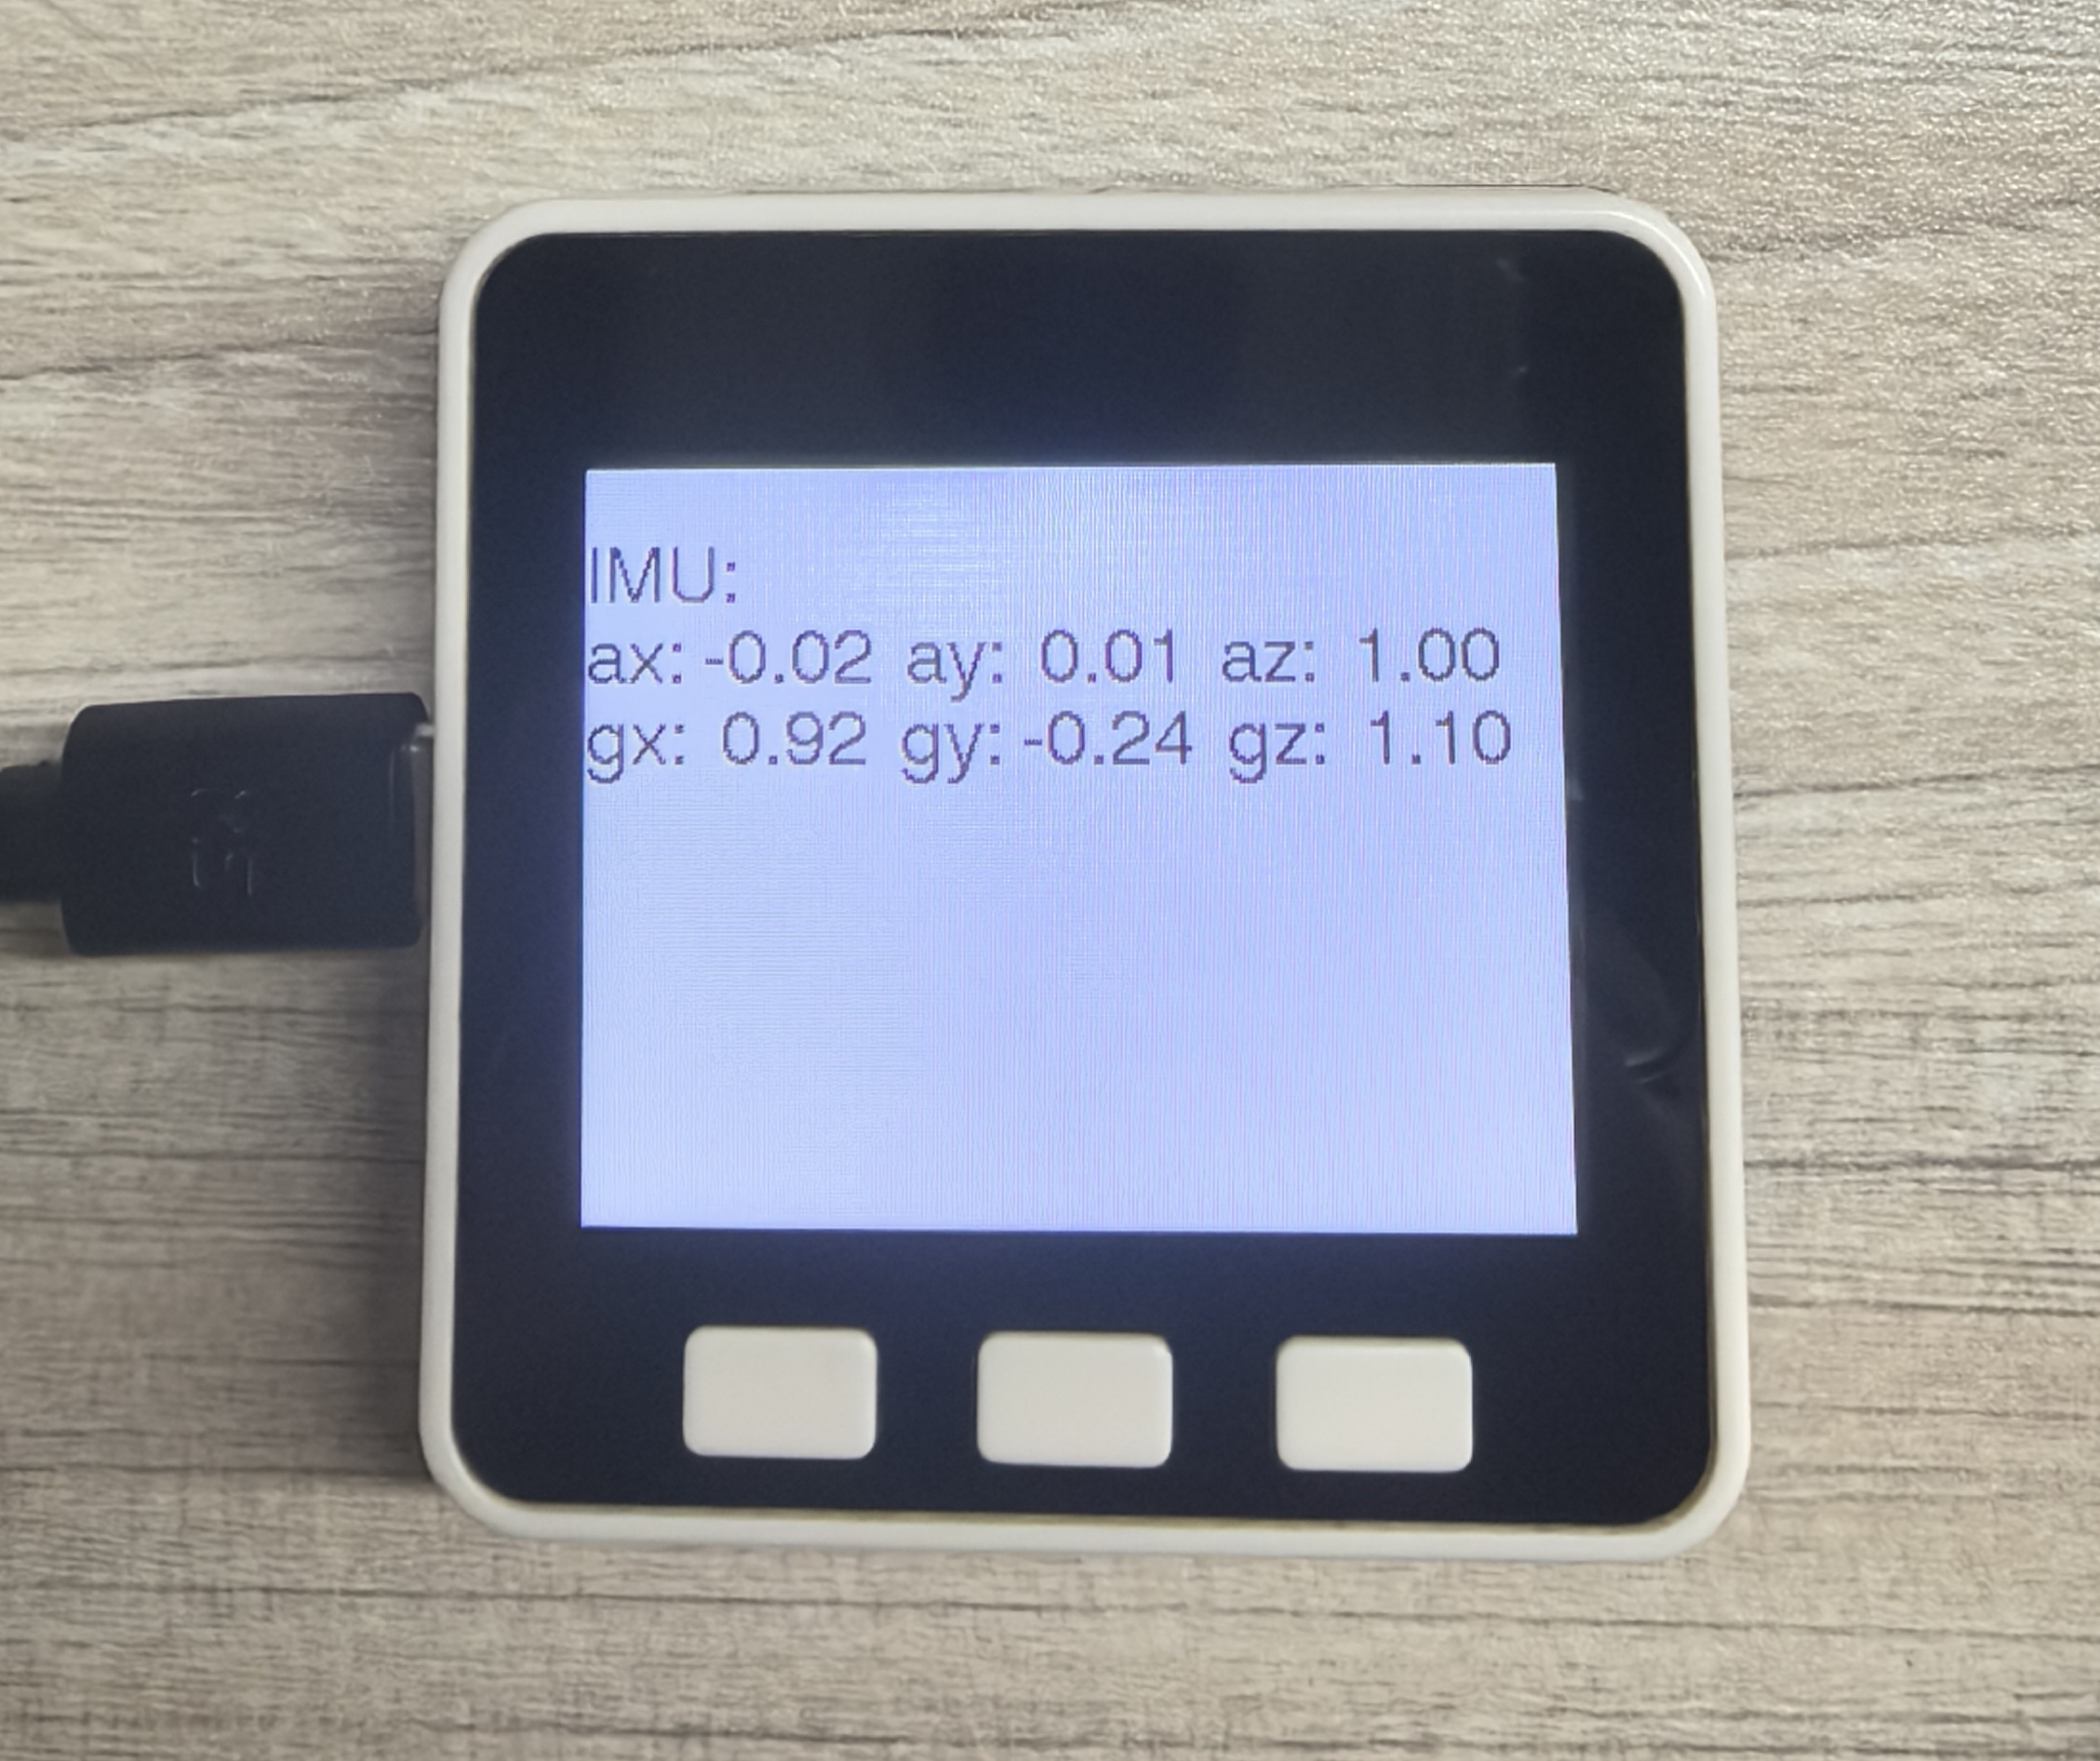
} This program displays the axis information of the motion sensor on the screen.

API
Gray IMU part uses the IMU_Class in the M5Unified library. For more related APIs, you can refer to the following document: