

Arduino Quick Start
2. Devices & Examples
3. M5Unified
4. M5GFX
5. Extensions
Unit
Atomic
Tab5
IoT
Accessories
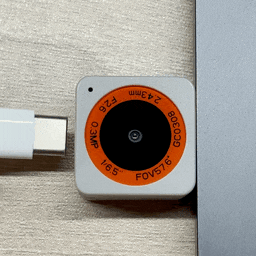
AtomS3R-CAM Arduino Program Compilation & Upload
1. Preparation
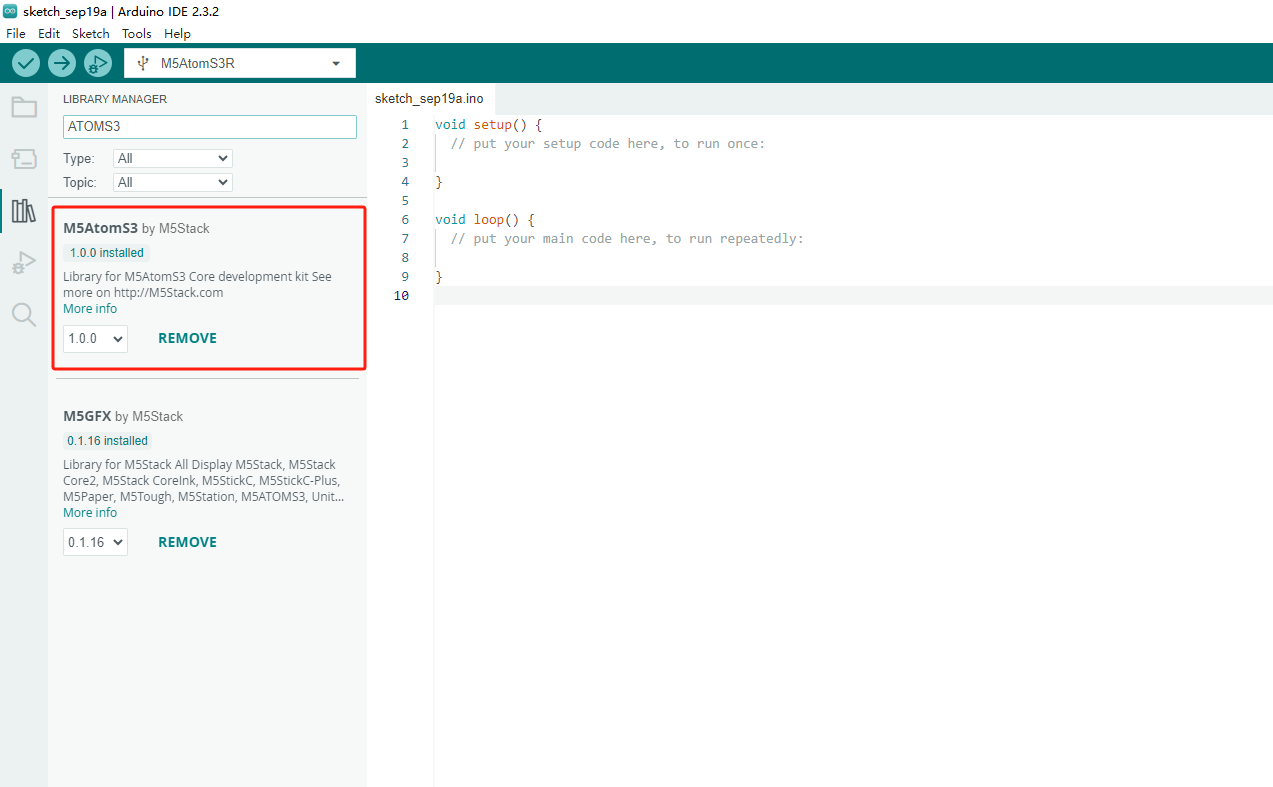
- 1.Arduino IDE Installation: Follow the Arduino IDE Installation Guide to complete the IDE installation.
- 2.Board Manager Installation: Refer to the Basic Setup Guide to install the M5Stack board manager and select the
M5AtomS3Rdevelopment board.

- 3.Library Installation: Follow the Library Installation Guide to install the
M5AtomS3driver library, and download all the dependent libraries according to the prompts. (AtomS3R-CAM can directly use theM5AtomS3driver library.)
2. Download Mode
Long press the reset button (for about 2 seconds) until the internal green LED lights up, then release the button. The device is now in download mode, waiting for the program to be uploaded.
3. Port Selection
Connect the device to the computer via a USB cable. After the device enters download mode, the corresponding device port can be selected in Arduino IDE.

4. Program Compilation & Upload
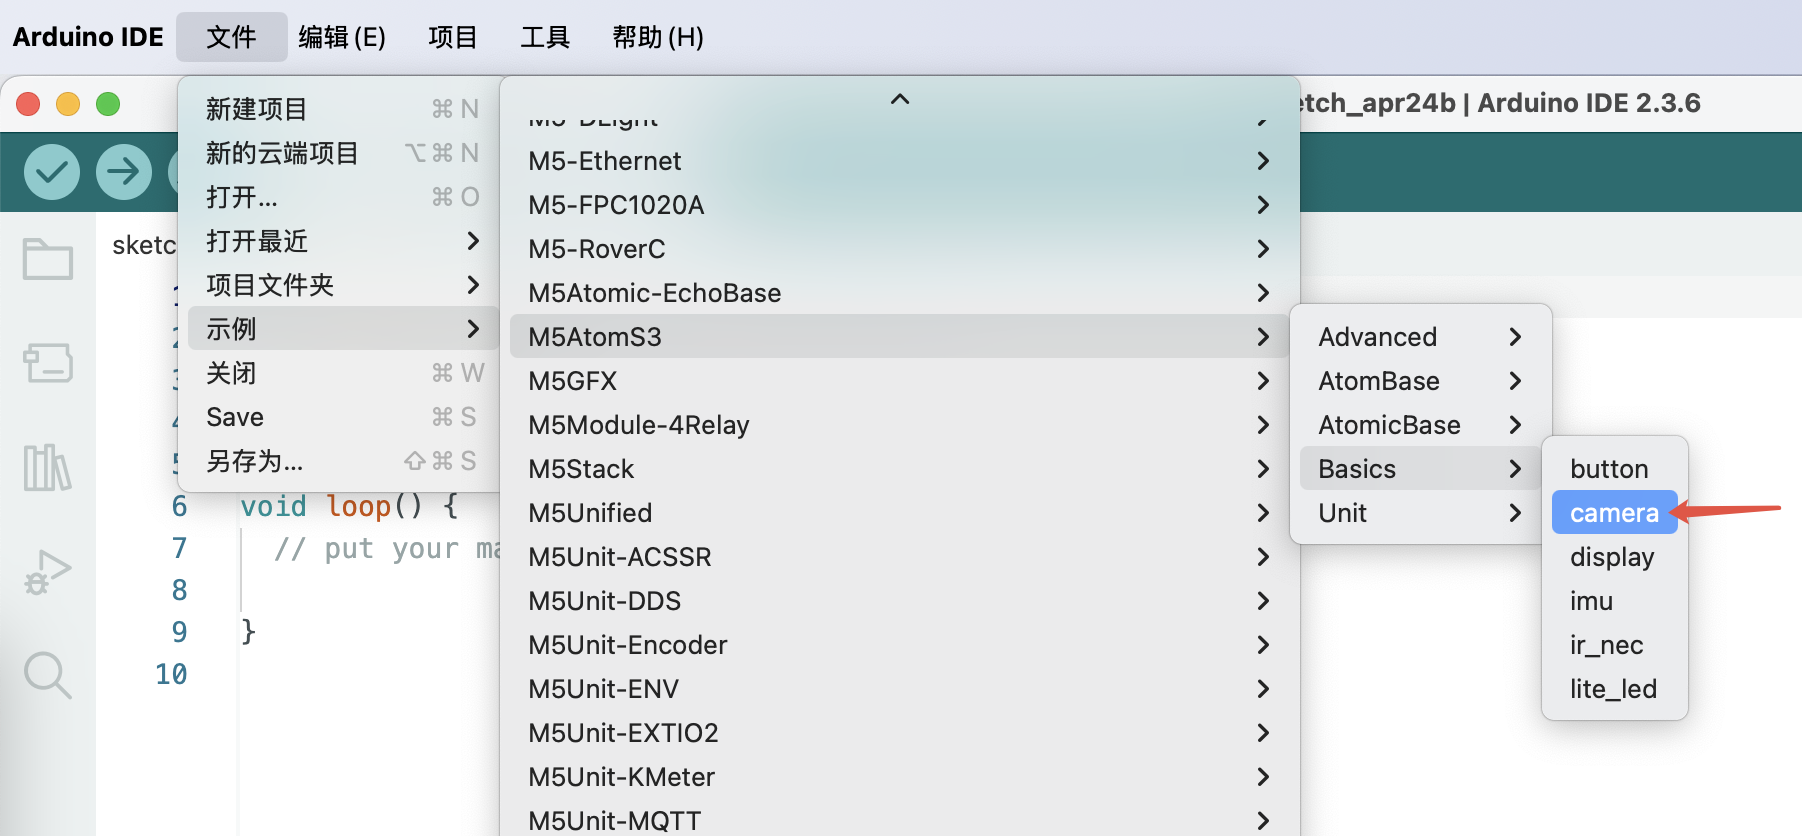
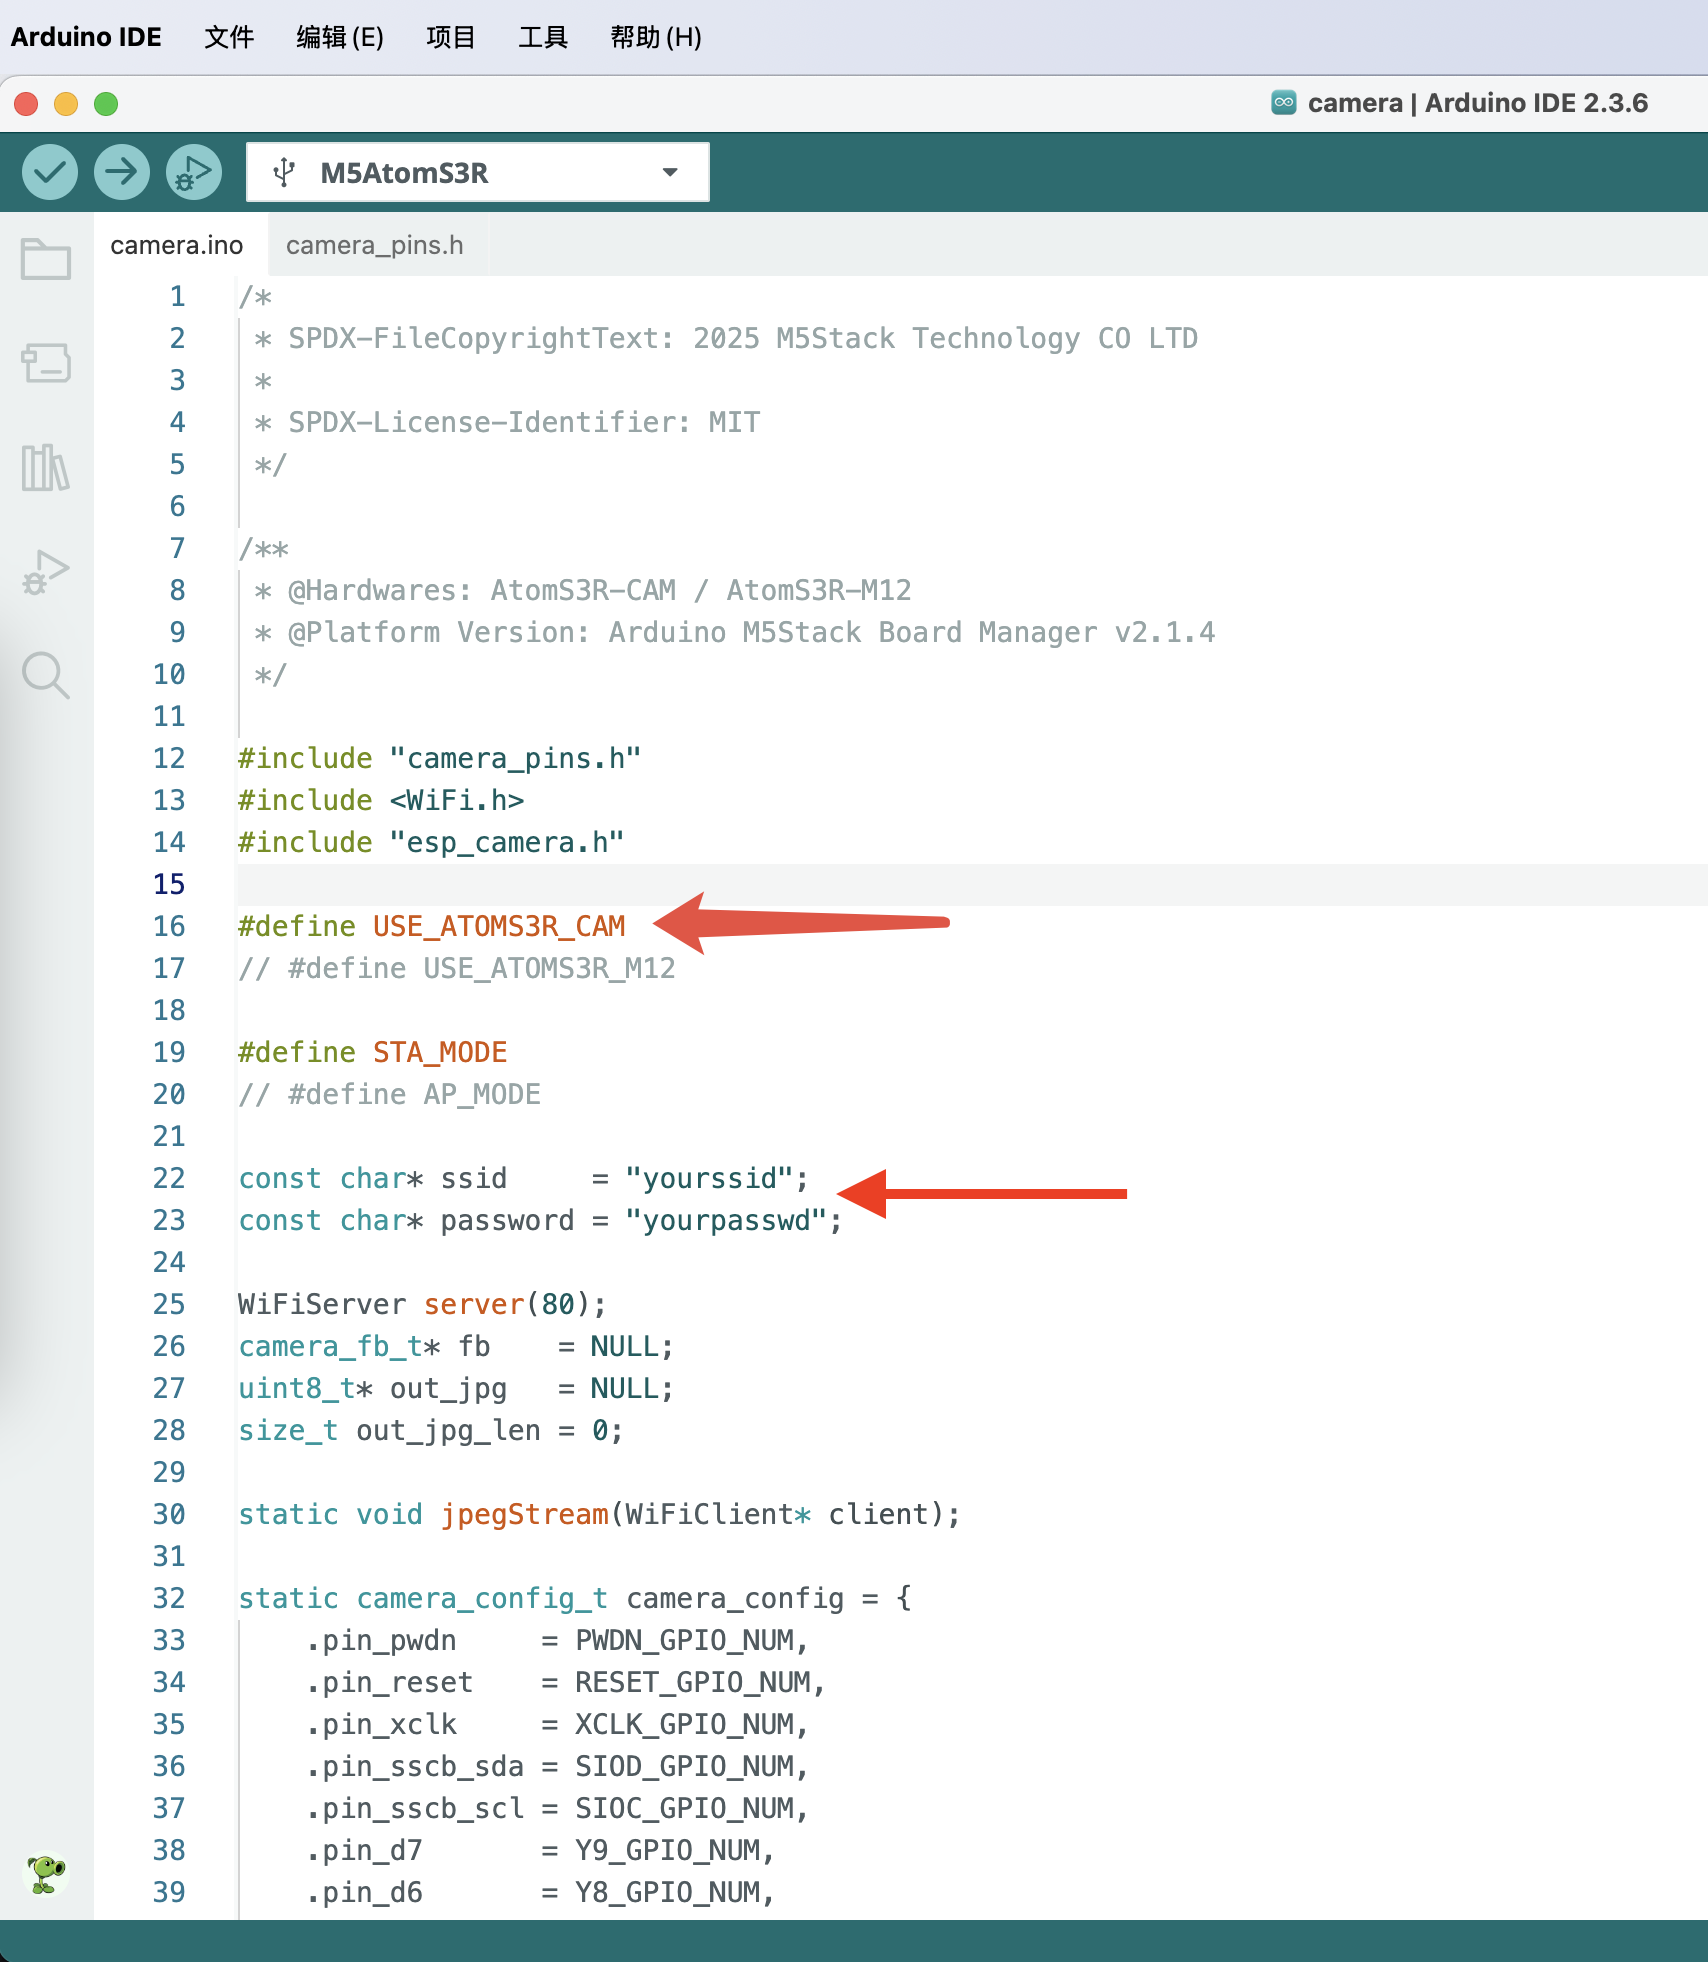
Open the example program camera from the driver library, and make sure the macro definition is USE_ATOMS3R_CAM. Modify the Wi-Fi name (SSID) and password to match the network you want to connect to. Click the upload button, and the program will be automatically compiled and uploaded to the device.

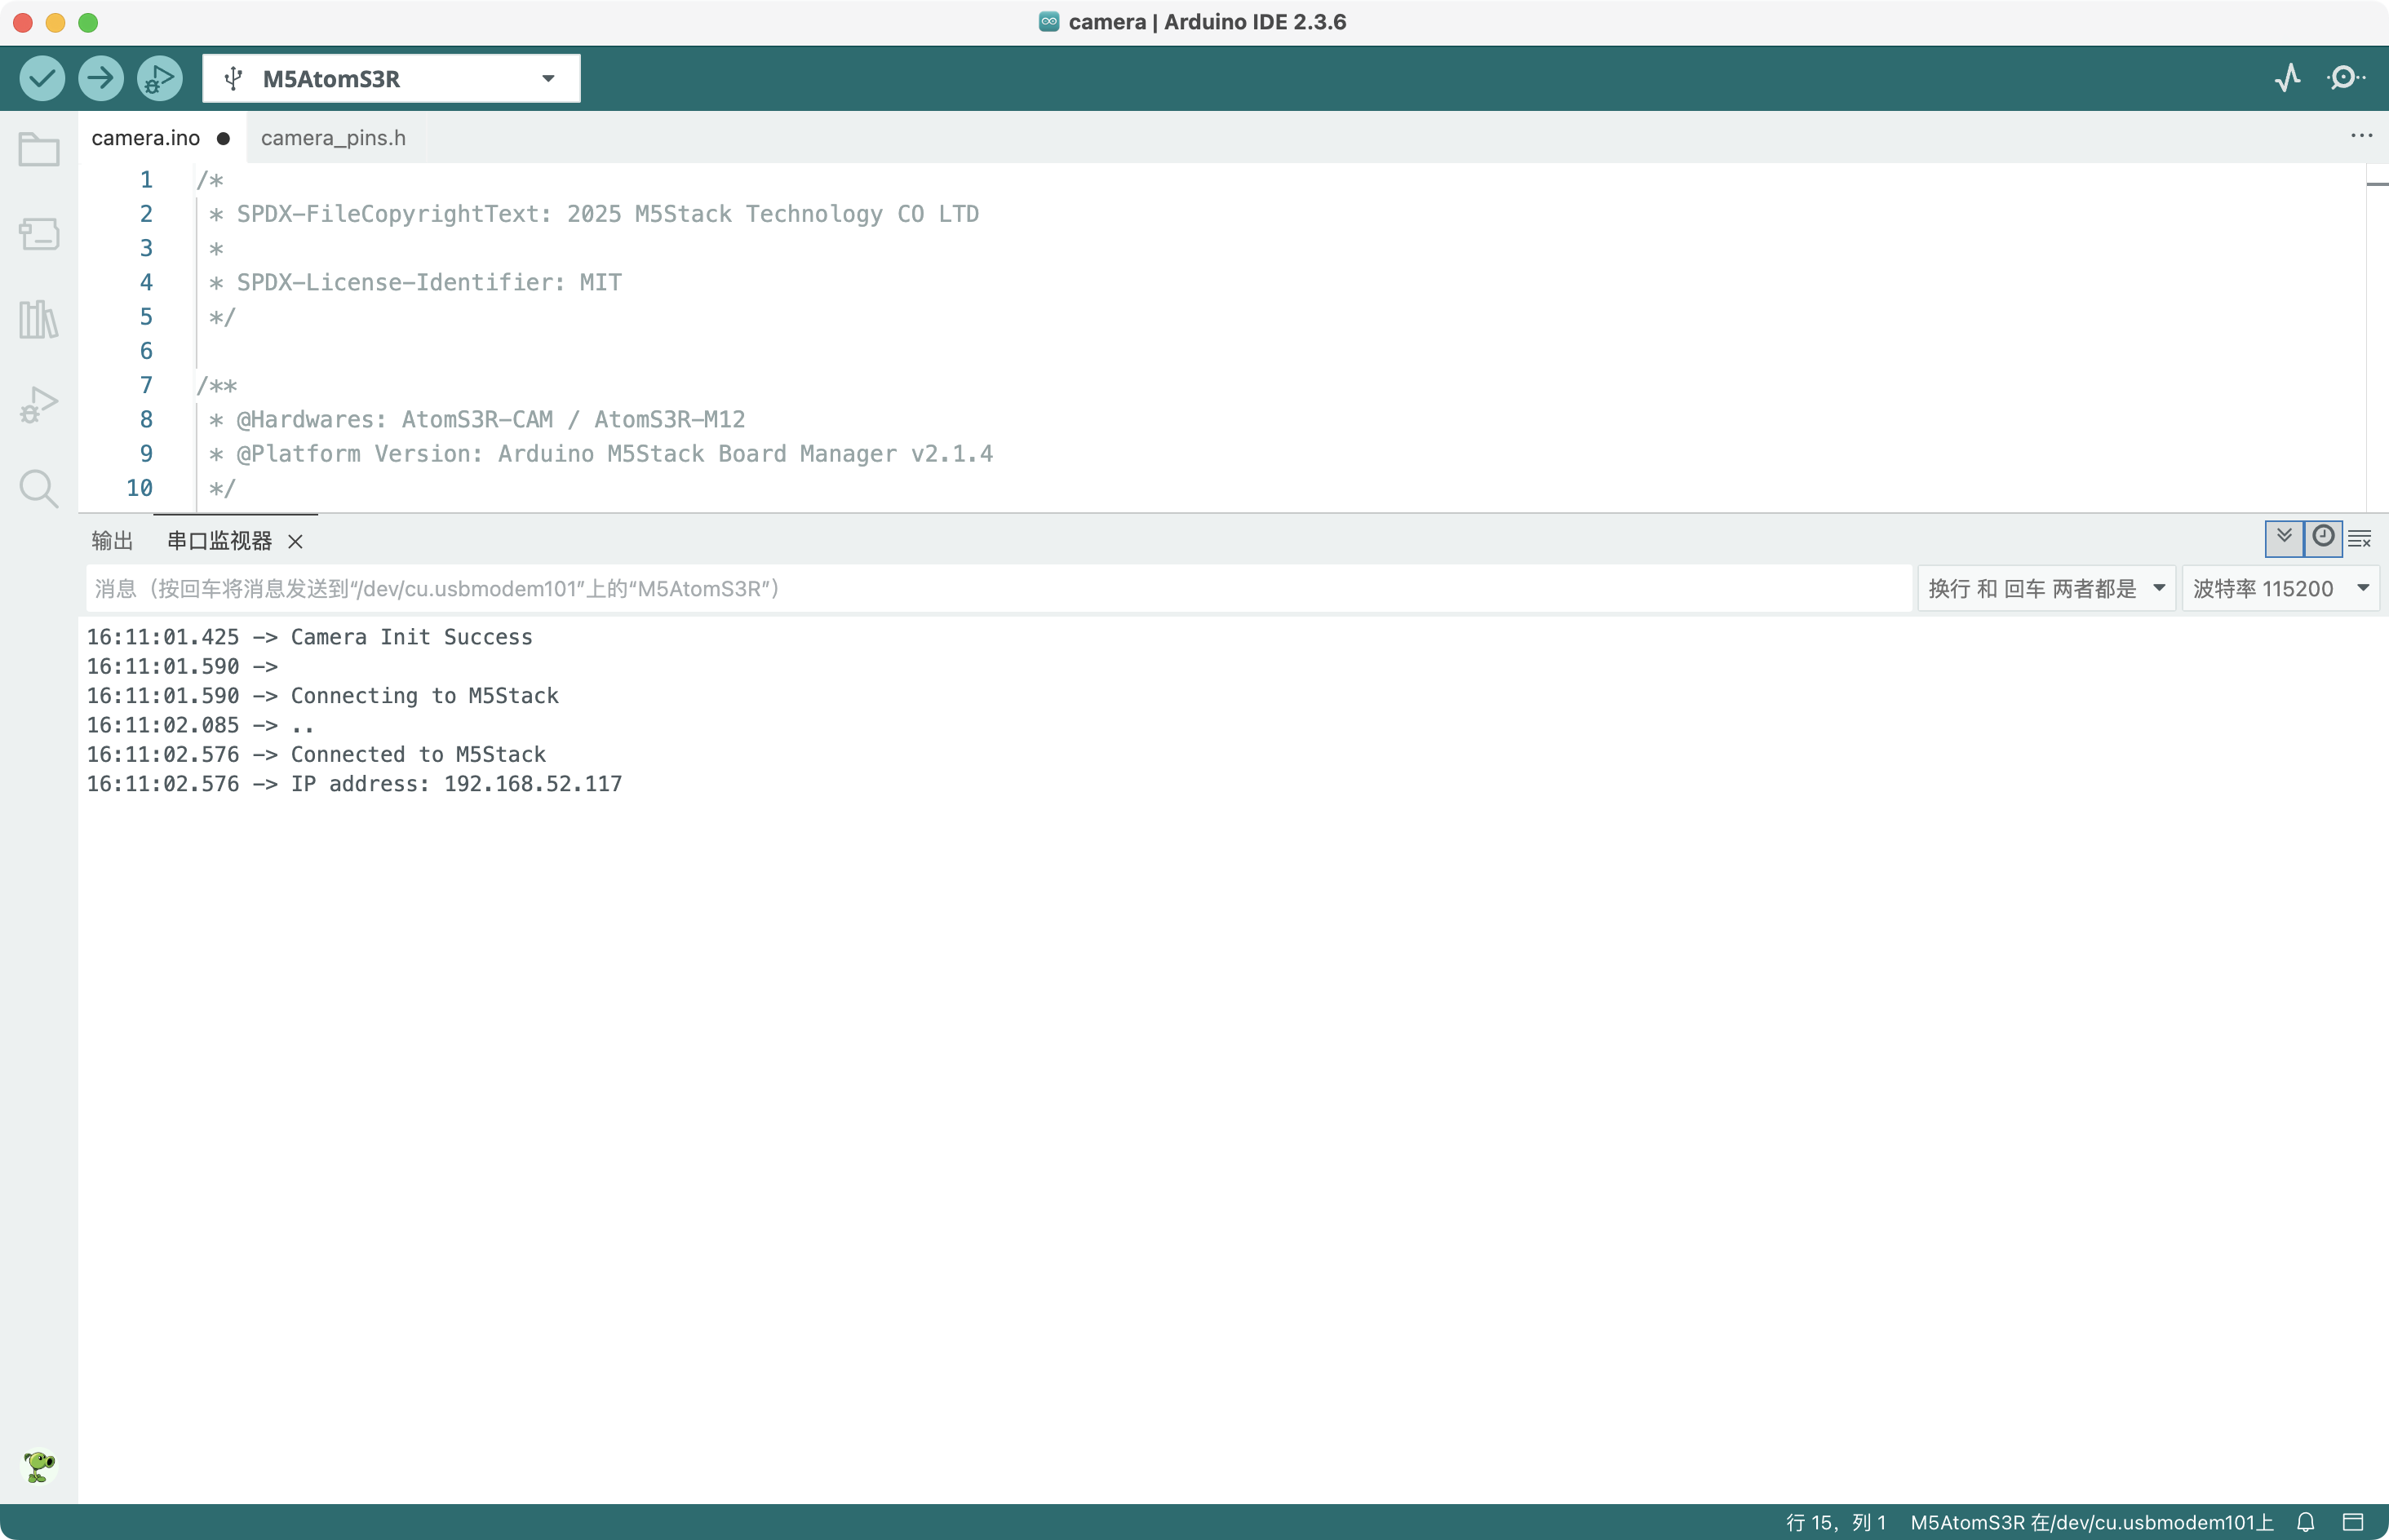
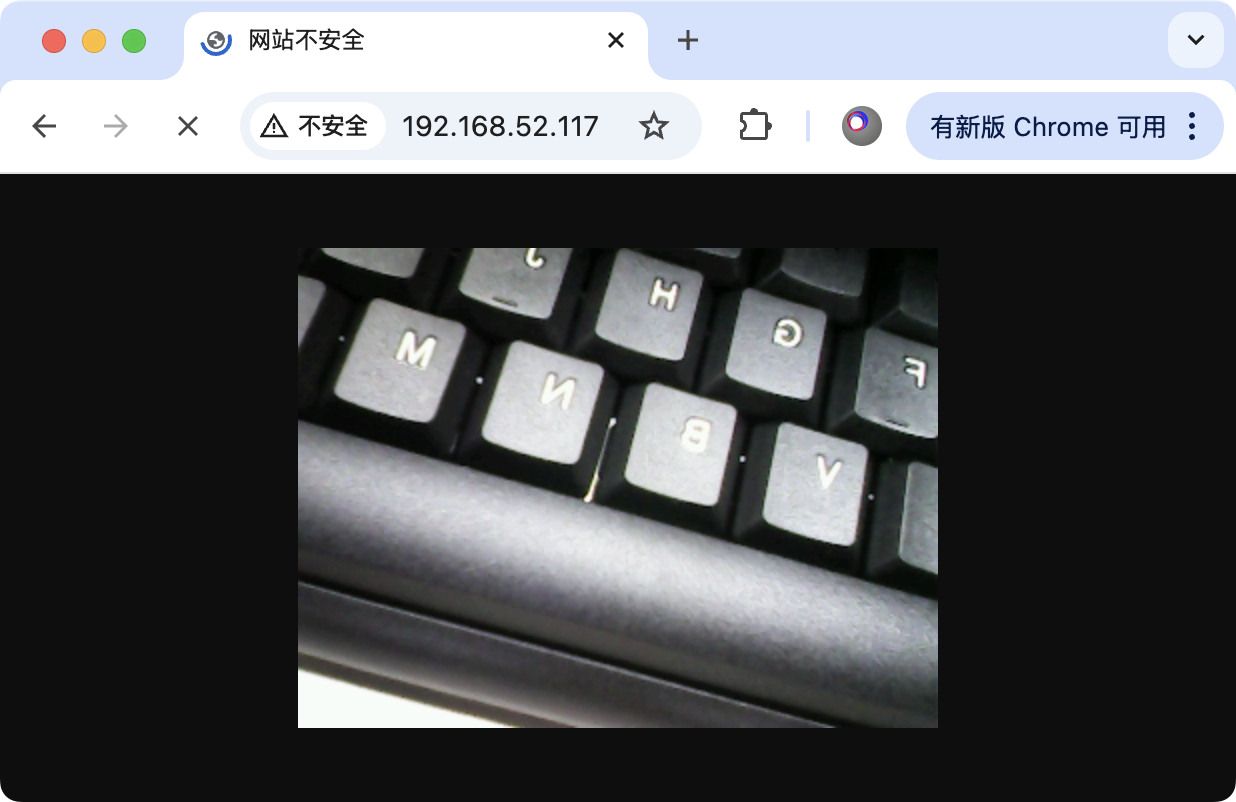
After flashing is complete, open the Serial Monitor in the top right corner and wait for the device to connect to the network. If the IP address does not appear, press the side button on the device briefly to restart the program. Once the IP address is displayed, enter it in the browser of a computer on the same network to view the real-time video stream.
The result is shown below:
5. Related Resources
Github
Arduino API & Examples