Home Assistant
Media Player
Expansion
Sensor
Voice Pyramid Home Assistant Integration
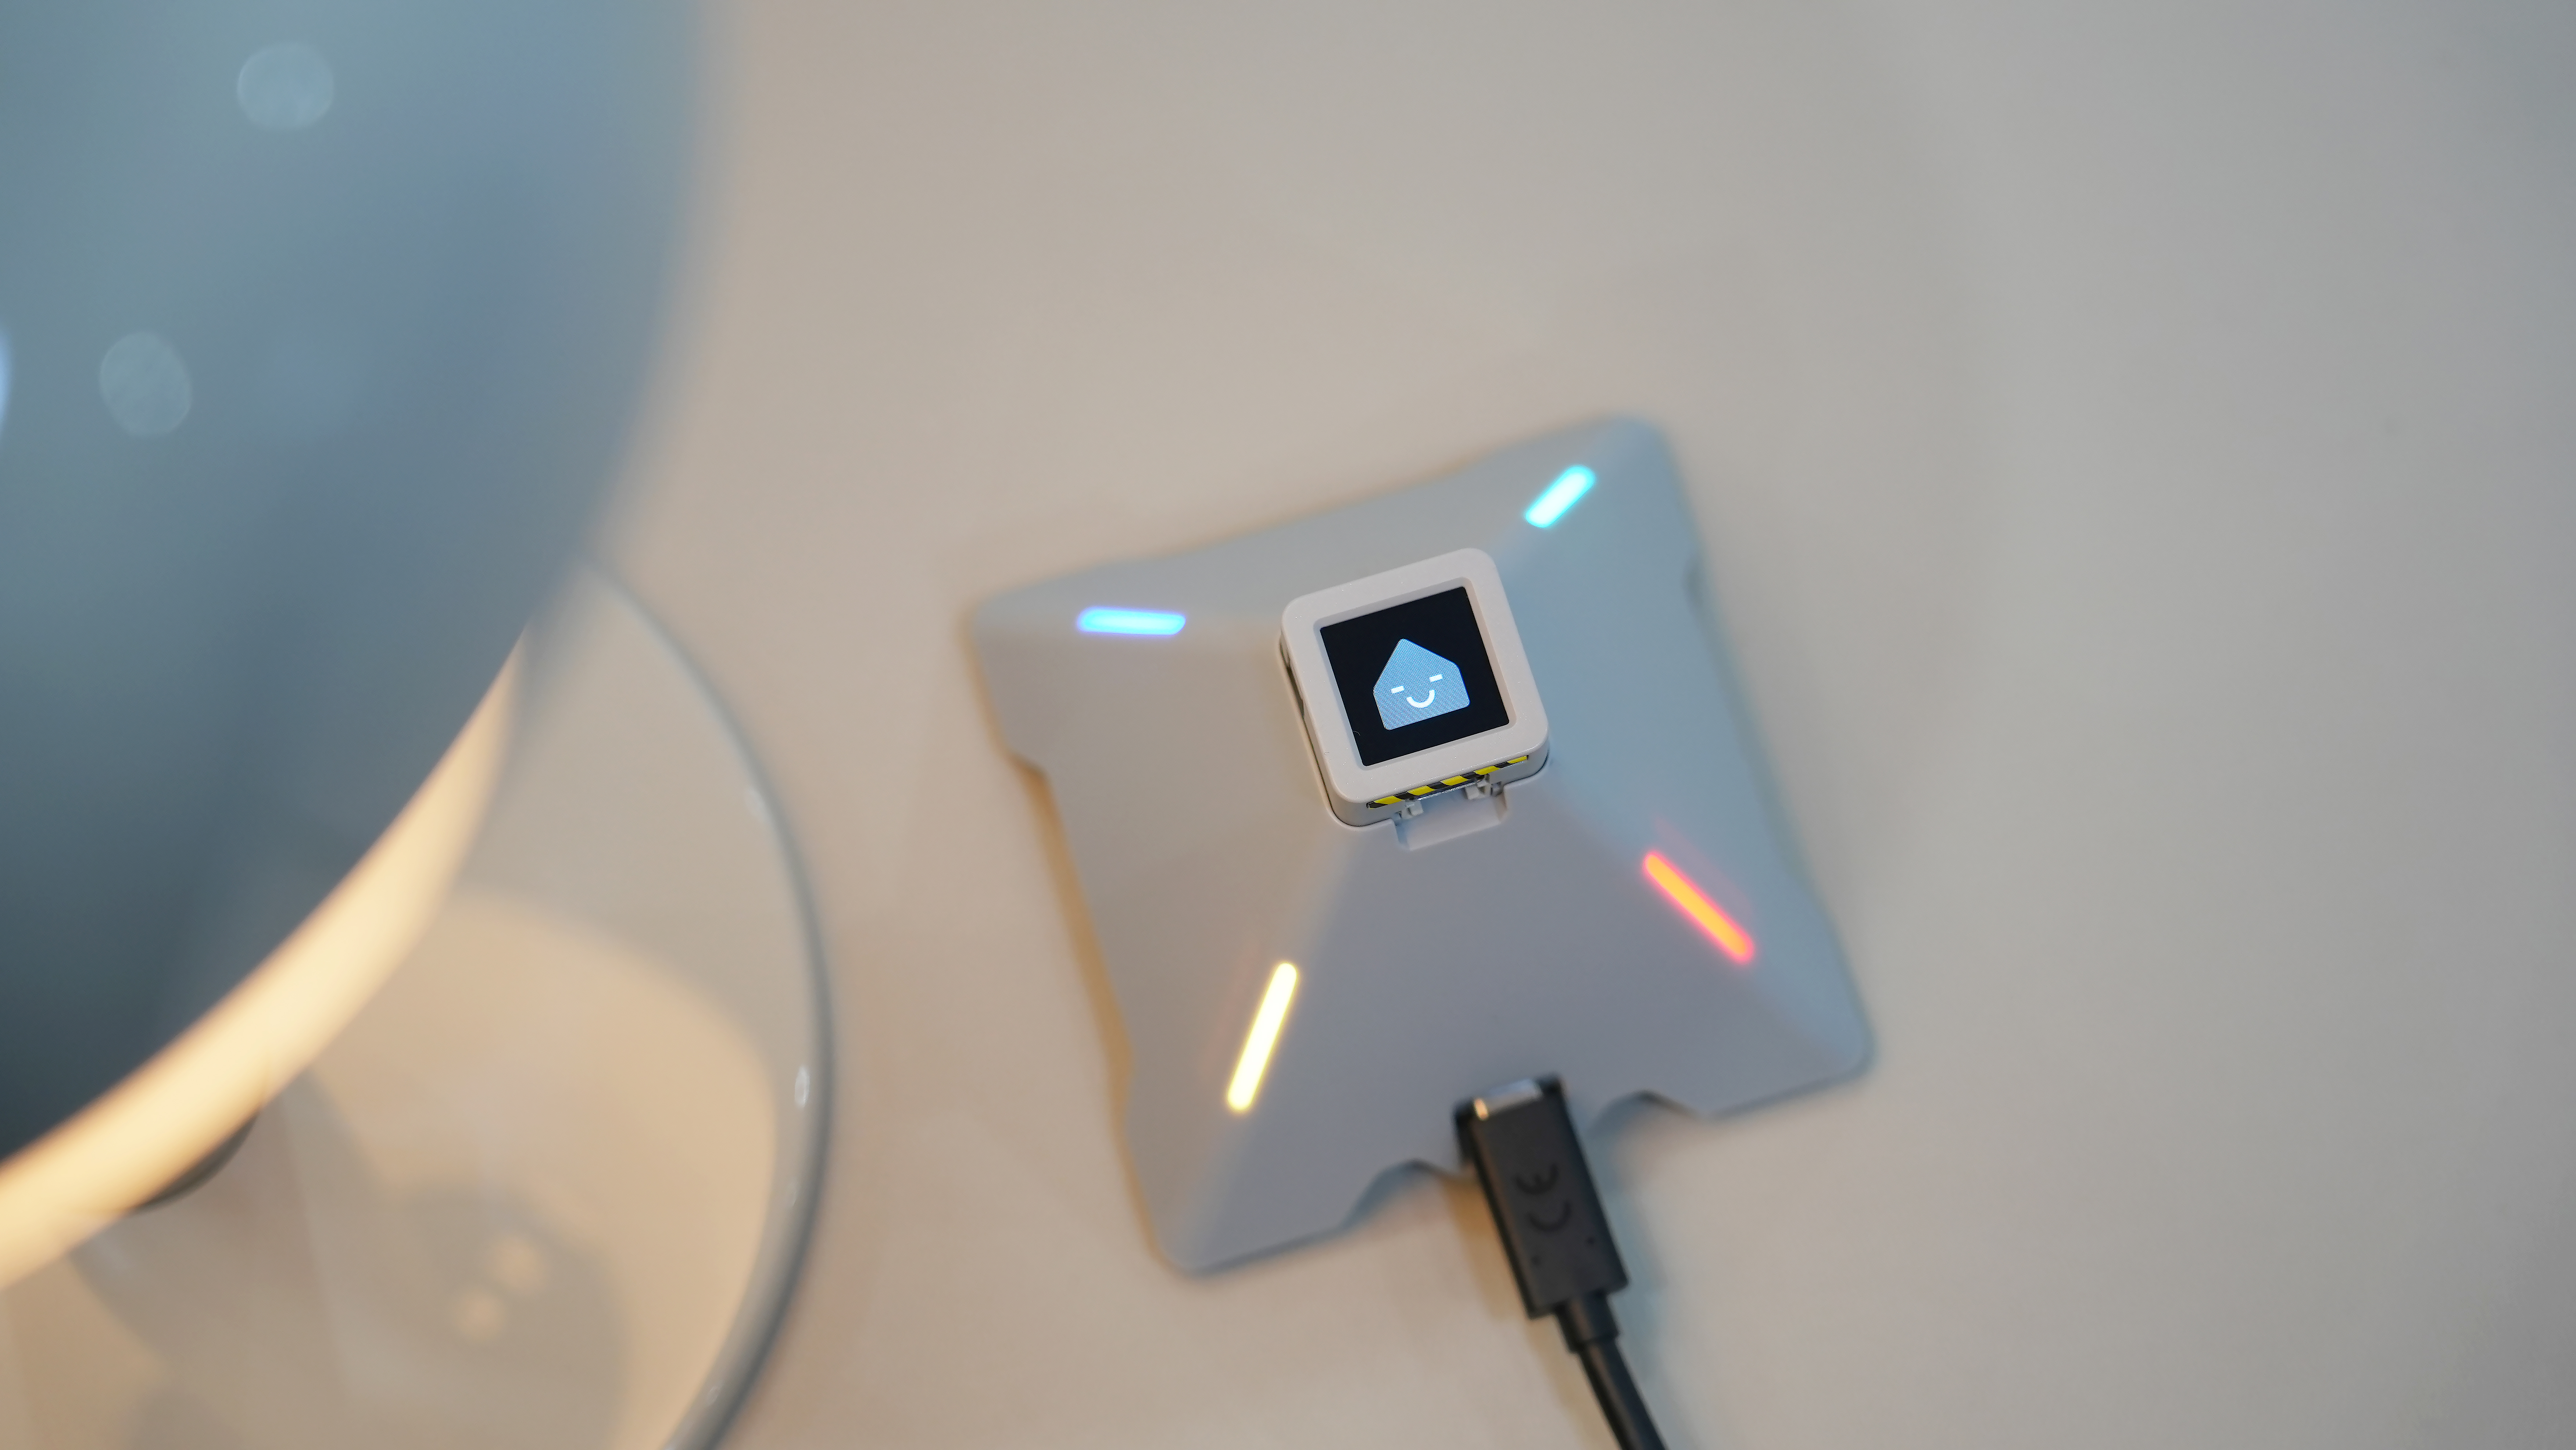
This tutorial explains how to integrate the Voice Pyramid voice base into Home Assistant.
1. Preparation
Environment Setup
- Install Home Assistant by following the official Home Assistant documentation.
- Install the ESPHome Device Builder add-on by following the official ESPHome documentation. This tutorial uses ESPHome 2026.1.2.
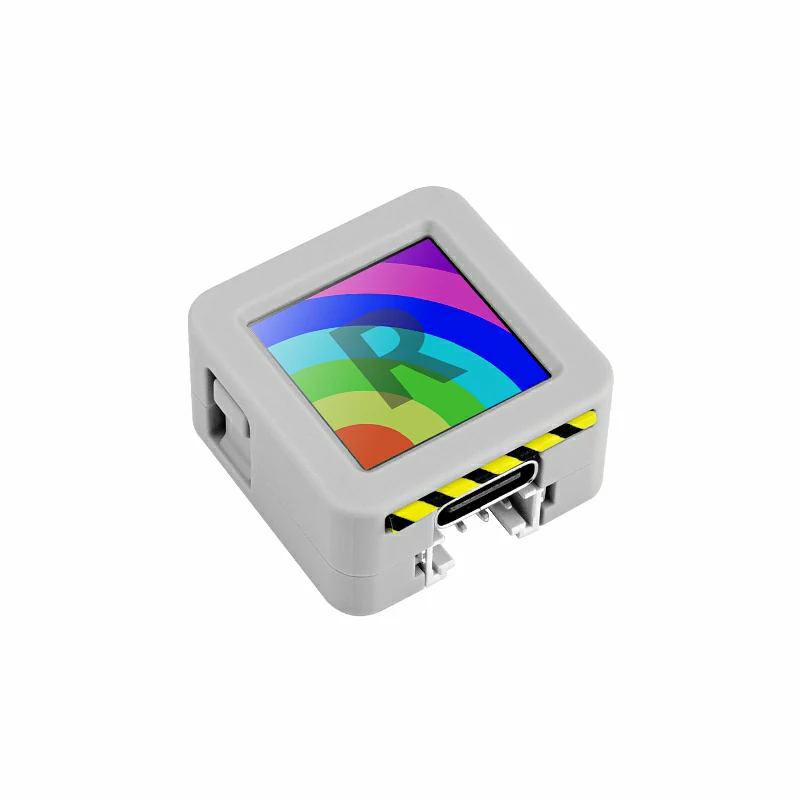
Hardware Products

2. Firmware Build & Flash
This section explains how to rebuild the Voice Pyramid project from its yaml configuration for secondary development, feature changes, or new functionality.
Create Device
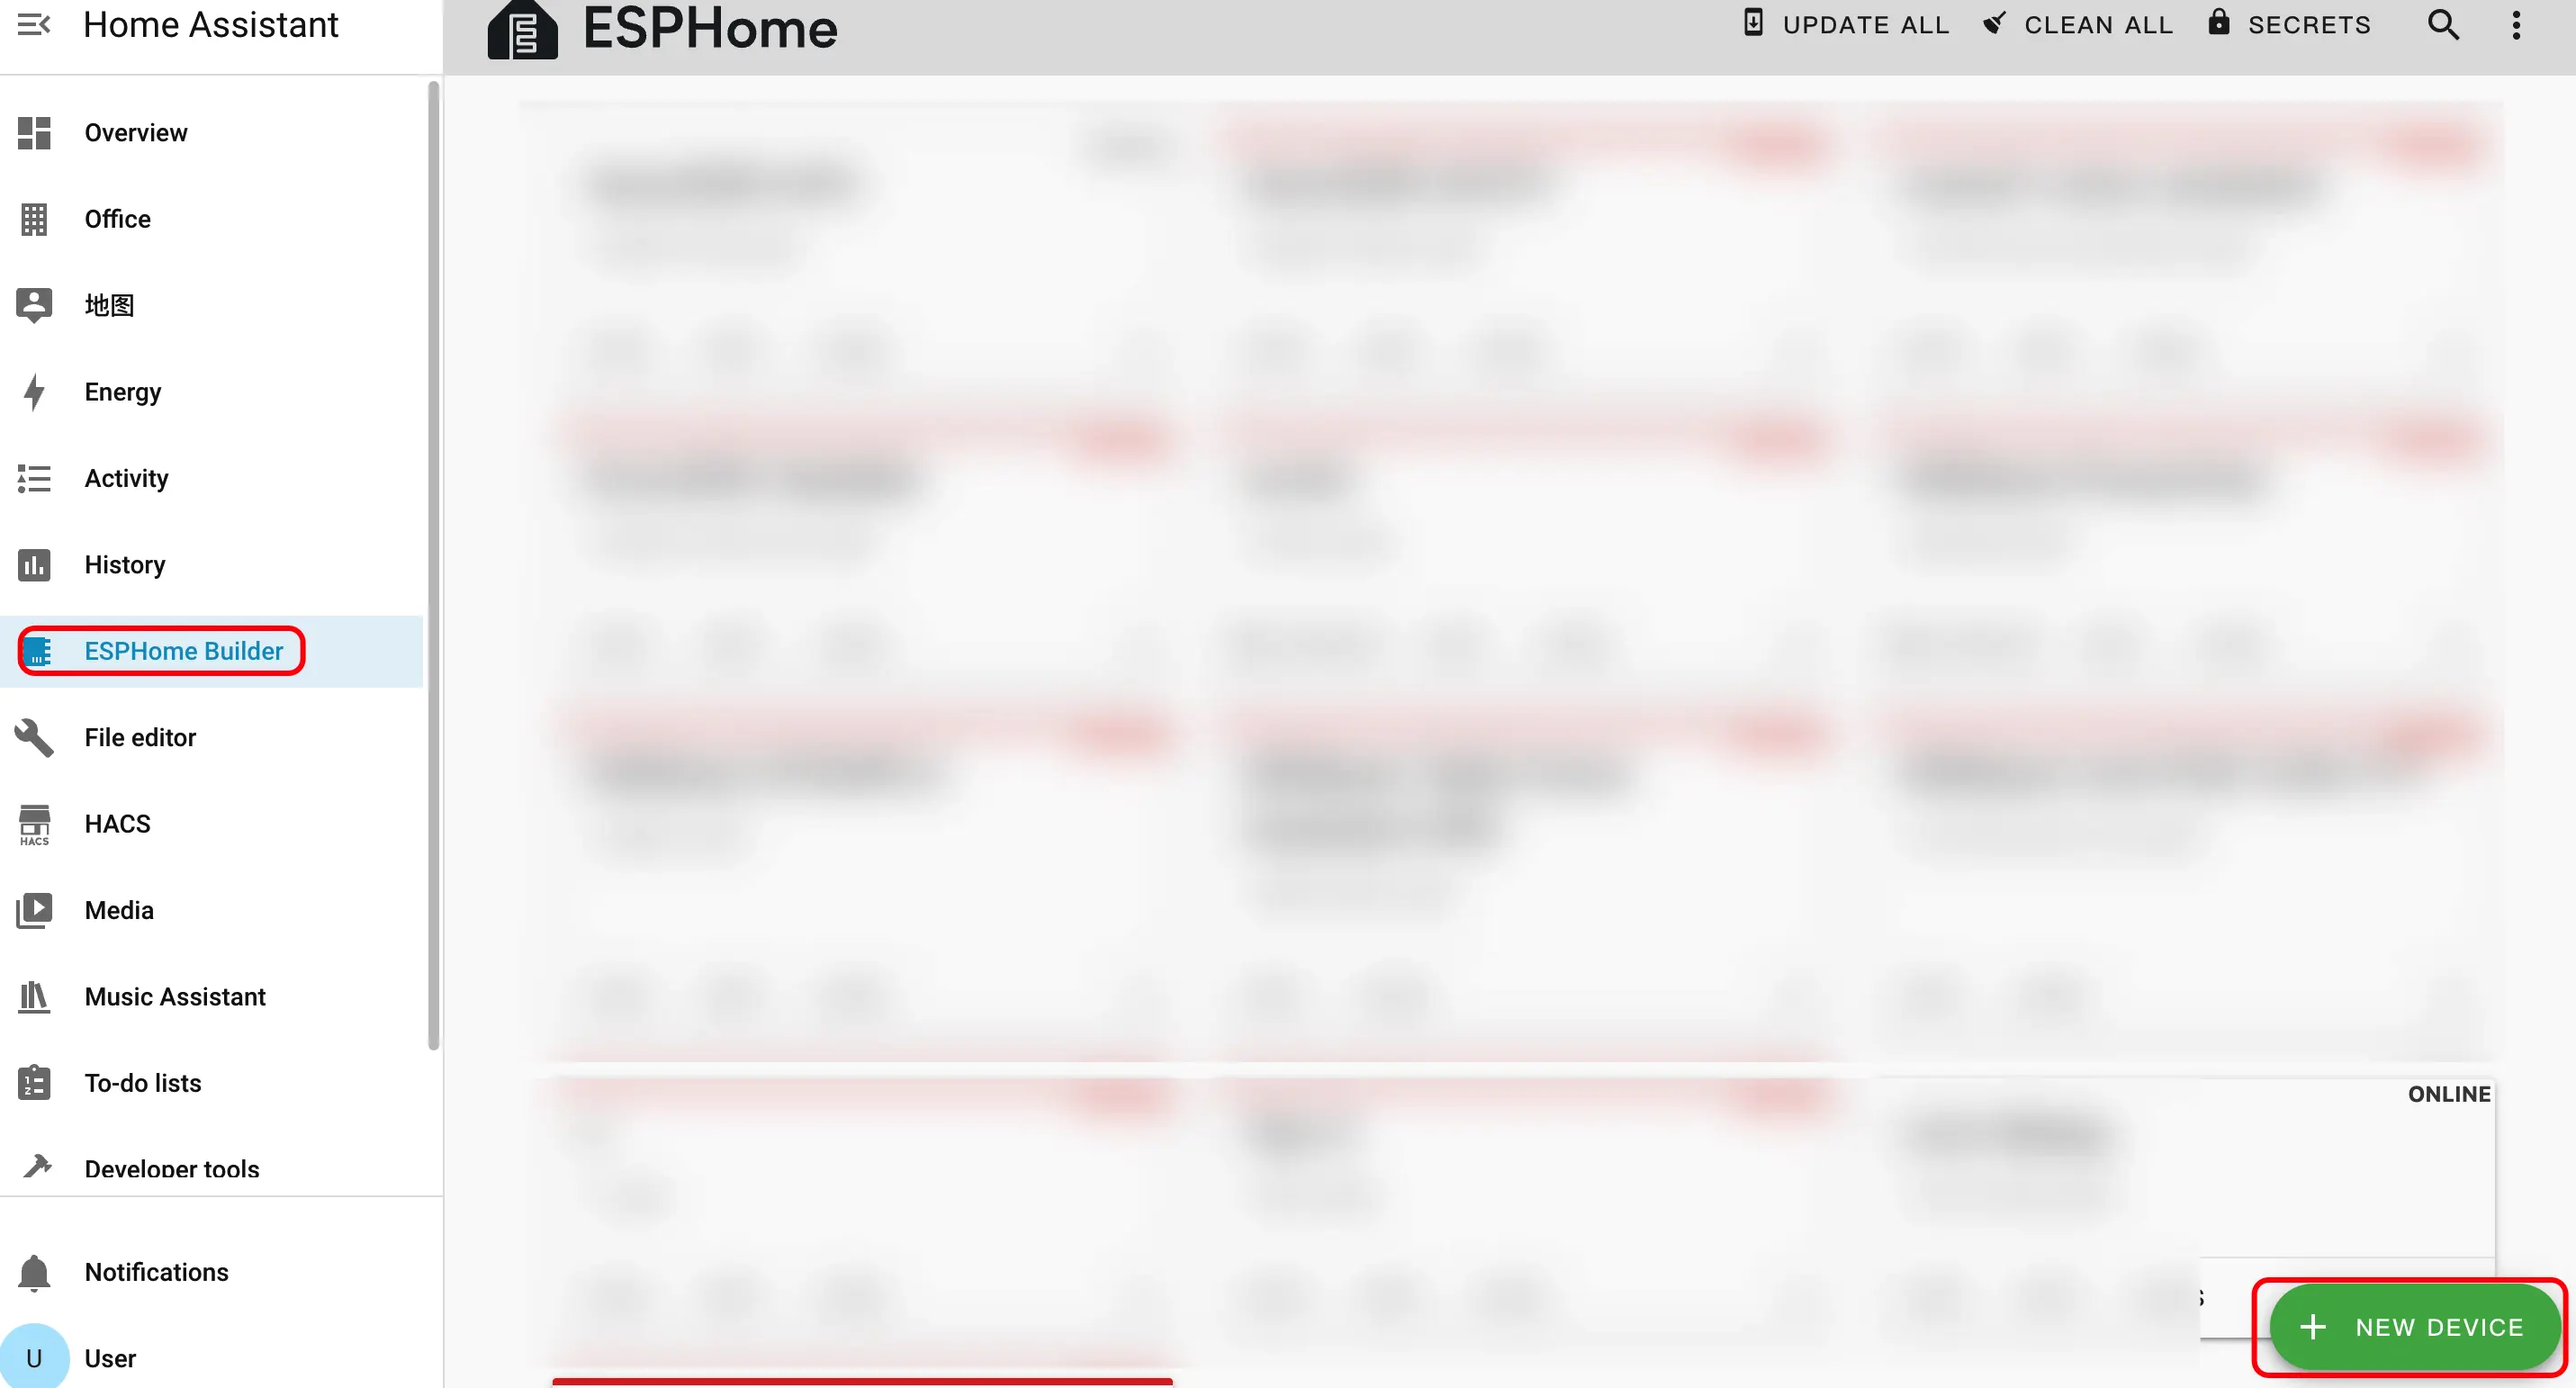
- Click the green button in the bottom right corner to create a new device.
- Click
CONTINUE.
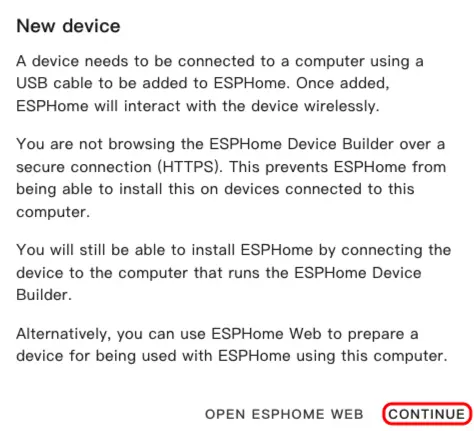
- Click
New Device Setup.
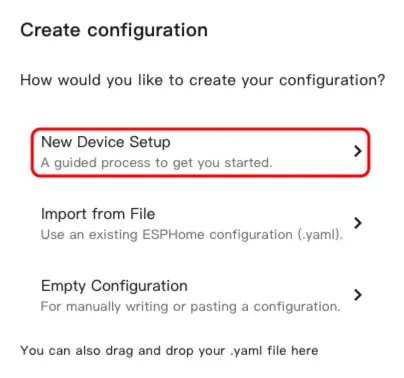
- Enter the device name, then click
NEXT.
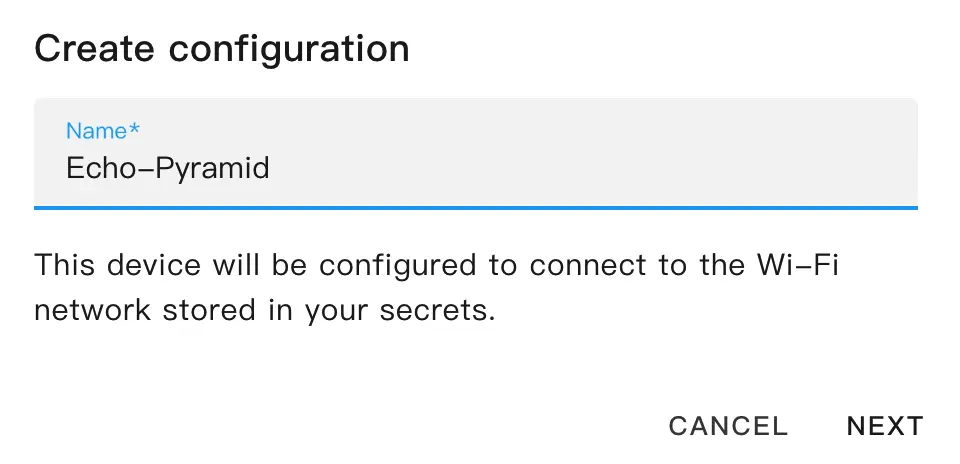
- Select
ESP32-S3.
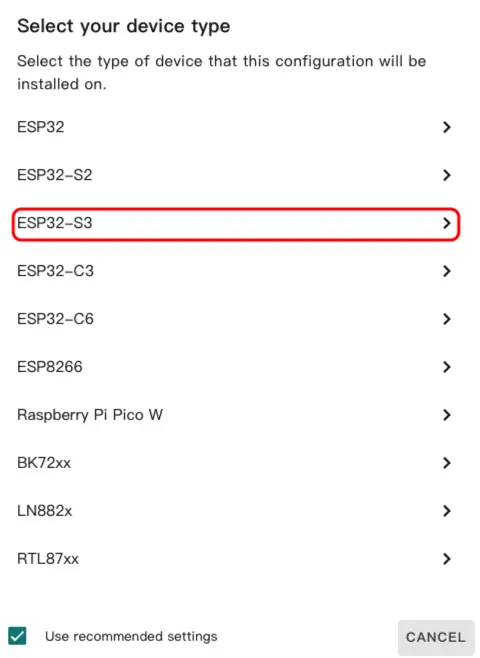
- Click
SKIP.
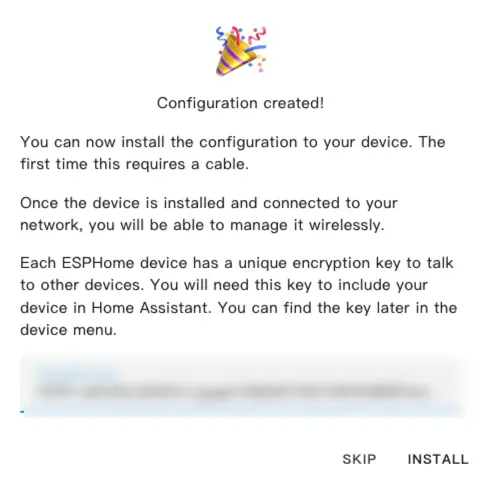
Modify Configuration
- Click
EDITto customize device functions via the YAML file.
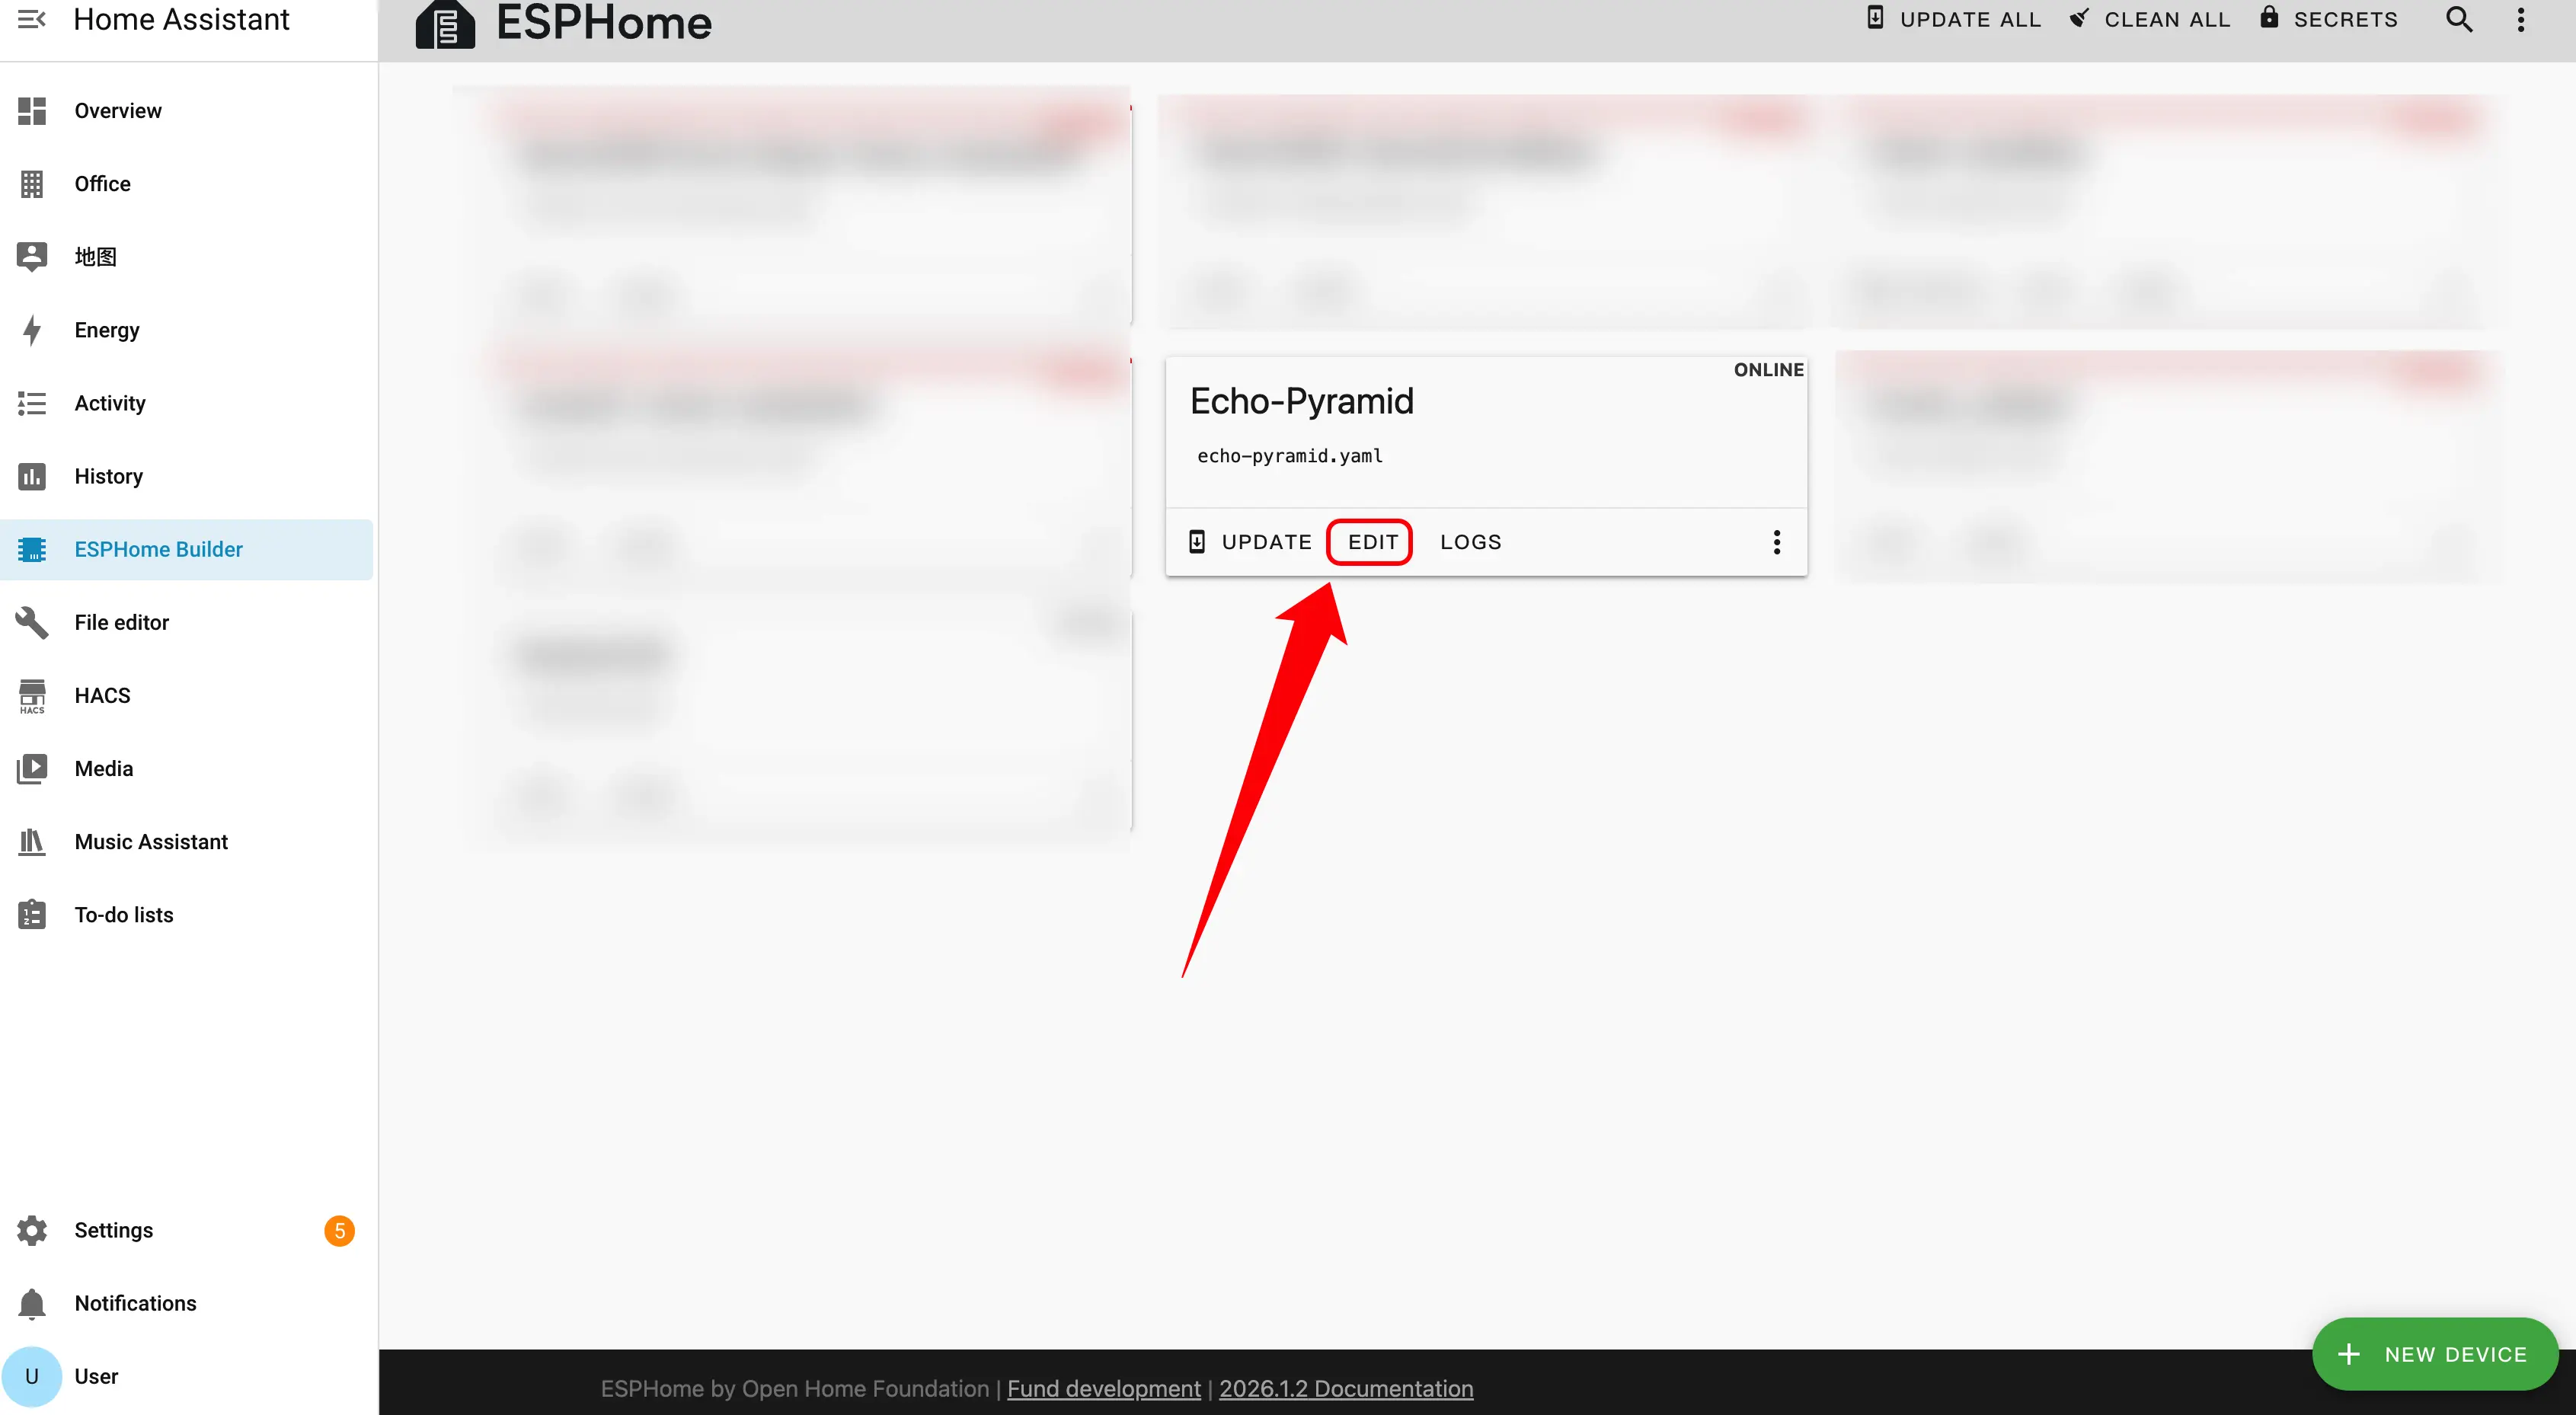
Below are the core parts of the configuration. Reference links and descriptions are provided later.
PSRAM Configuration
Add PSRAM component:
psram:
  mode: octal
speed: 80MHzExternal Components
Add External components:
external_components:
  - source: github://m5stack/esphome-yaml/components
    components: [aw87559, si5351, lp5562, pyramidrgb, pyramidtouch]
refresh: 0sI2C Bus Configuration
Add I2C component:
i2c:
  - id: bsp_bus
    sda: GPIO45
    scl: GPIO0
    scan: true
  - id: ext_bus # For Atomic Voice Base
    sda: GPIO38
scl: GPIO39I2S Audio Configuration
Add I2S Audio component:
i2s_audio:
  - id: i2s_audio_bus
    i2s_lrclk_pin: GPIO8
i2s_bclk_pin: GPIO6Audio DAC Configuration
Add Audio DAC component:
audio_dac:
  - platform: es8311
    id: es8311_dac
    i2c_id: ext_bus
    bits_per_sample: 16bit
sample_rate: 16000Audio ADC Configuration
Add Audio ADC component:
audio_adc:
  - platform: es7210
    id: es7210_adc
    i2c_id: ext_bus
    address: 0x40
    bits_per_sample: 16bit
sample_rate: 16000Microphone Configuration
Add Microphone component:
microphone:
  - platform: i2s_audio
    id: i2s_mic
    sample_rate: 16000
    i2s_din_pin: GPIO5
    bits_per_sample: 16bit
    adc_type: external
channel: stereoSpeaker Configuration
Add Speaker component:
speaker:
  - platform: i2s_audio
    id: i2s_speaker
    i2s_dout_pin: GPIO7
    dac_type: external
    bits_per_sample: 16bit
    sample_rate: 16000
    channel: mono
audio_dac: es8311_dac- After modifying the configuration, click
SAVEandINSTALLin the upper right corner, then selectManual Downloadfrom the pop-up window.
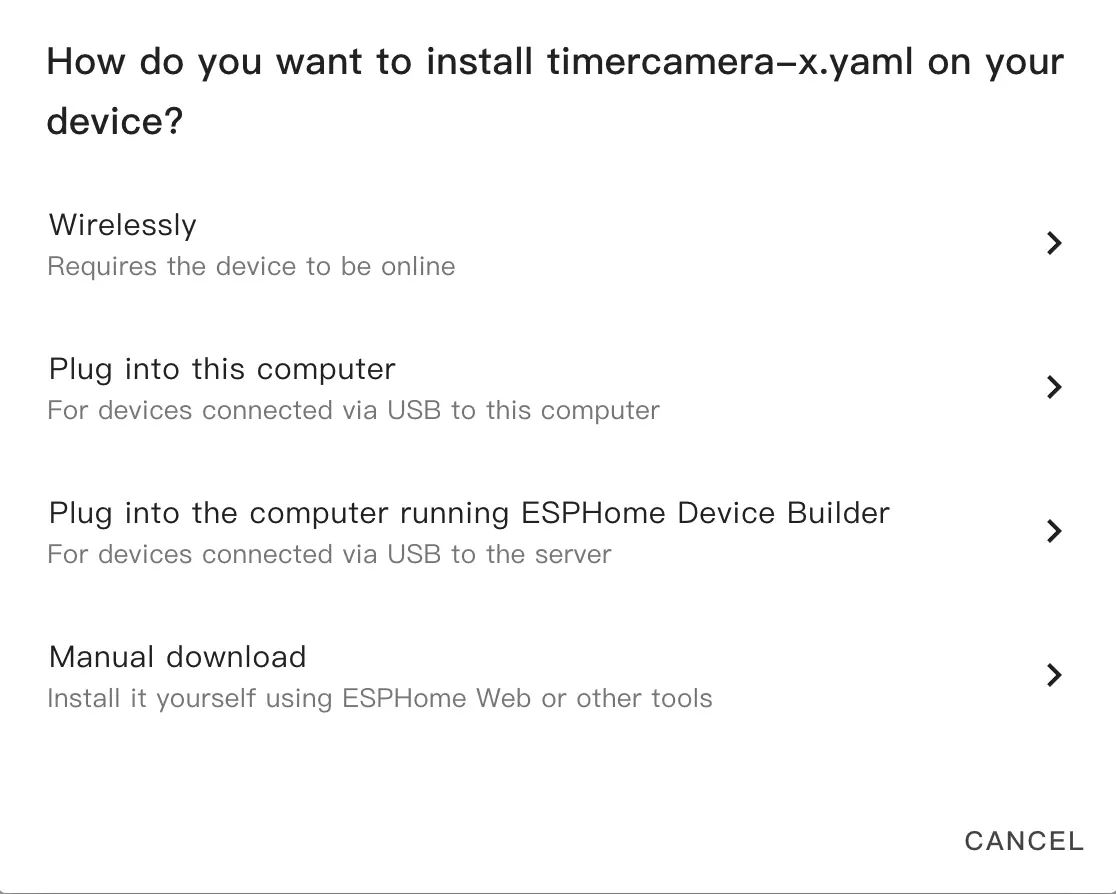
Flash Firmware
- Once the firmware compilation is complete, click download and select
Factory format(Previously Modern).
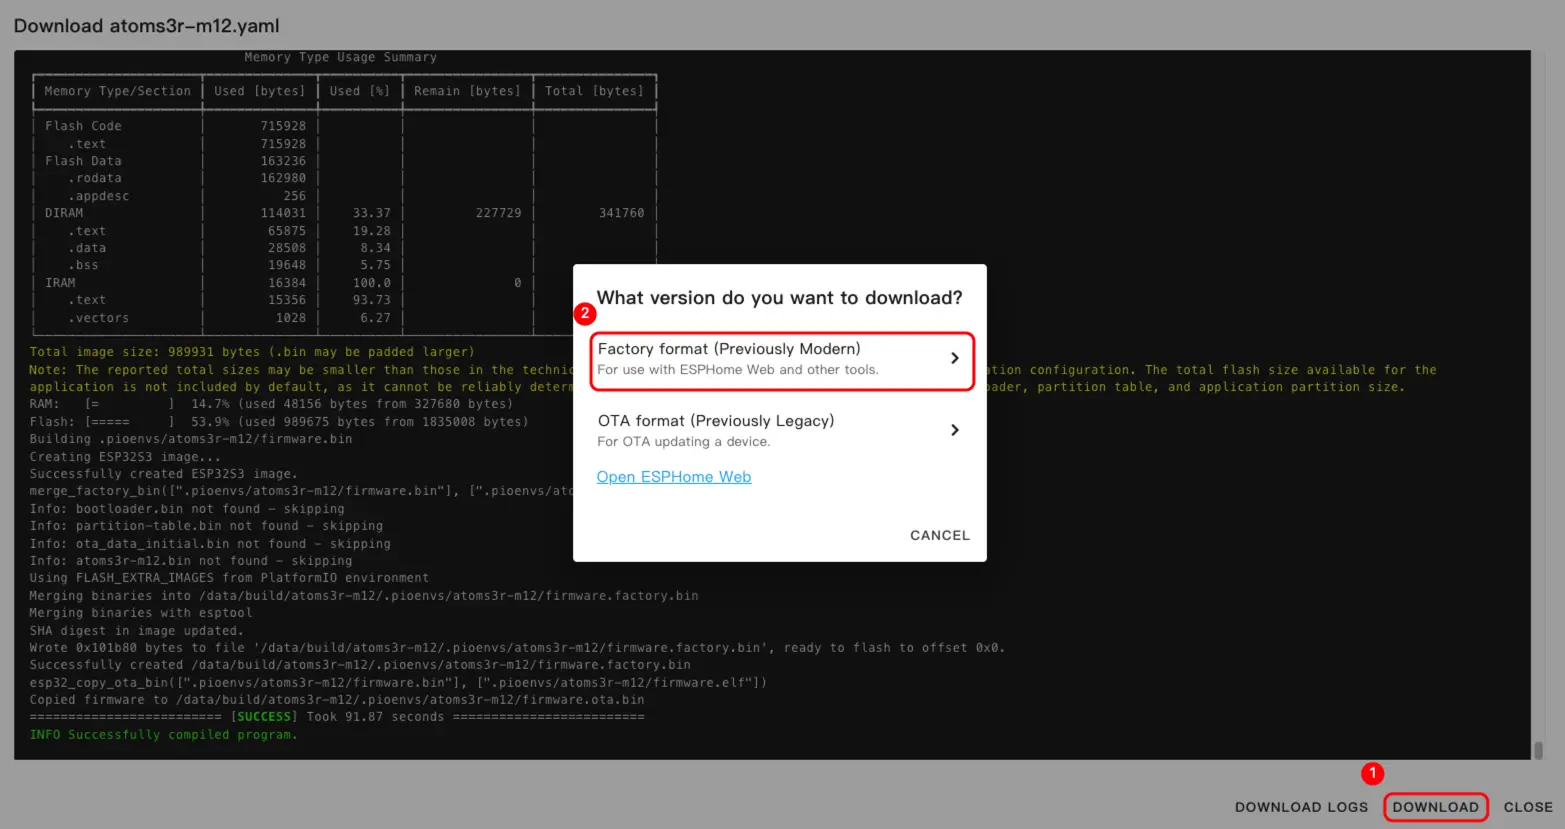
- Connect the device to the host using a USB Type-C cable. Open ESPHome Web, and click
CONNECTto connect to the device.
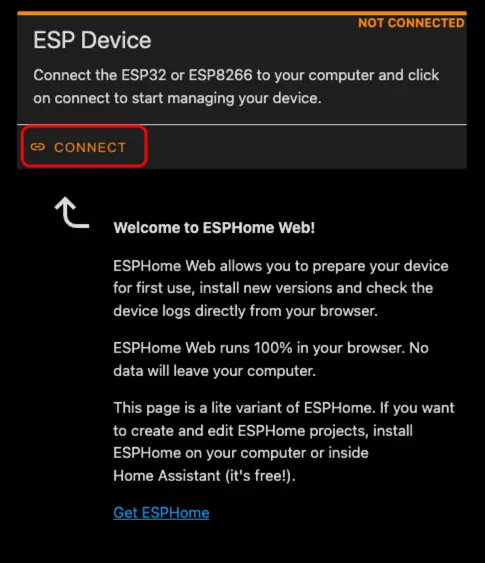
- Locate the corresponding serial port number.
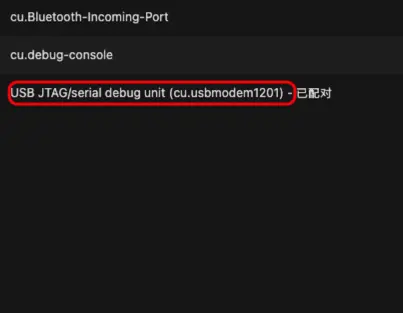
- Click
INSTALL.
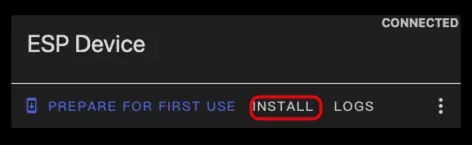
- Select the compiled firmware to upload.
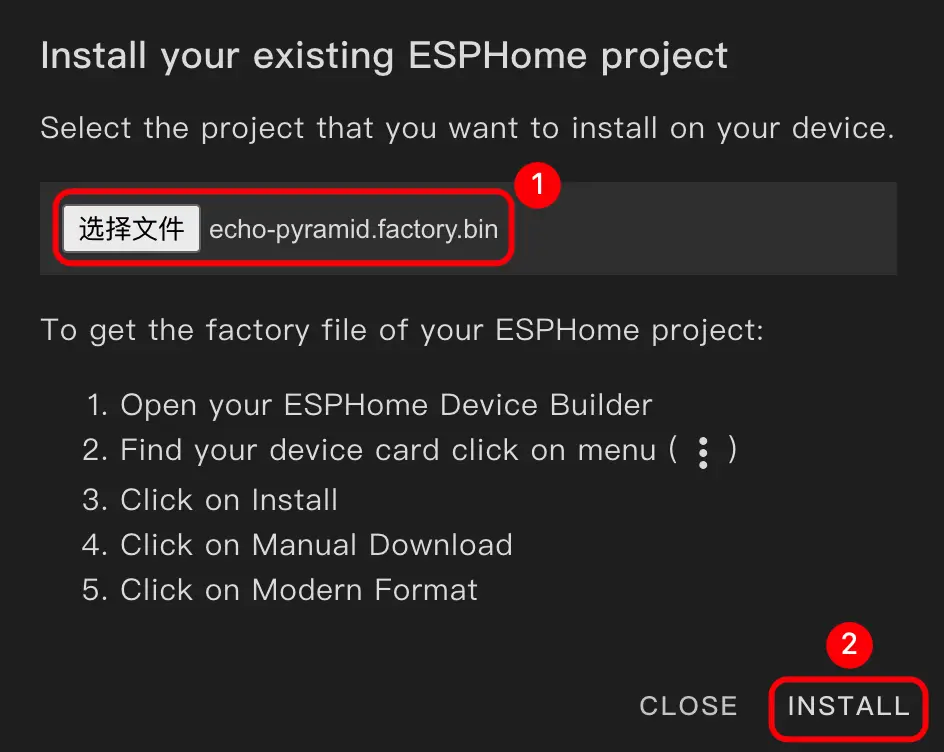
- After flashing is complete, restart the device.
3. Getting Started
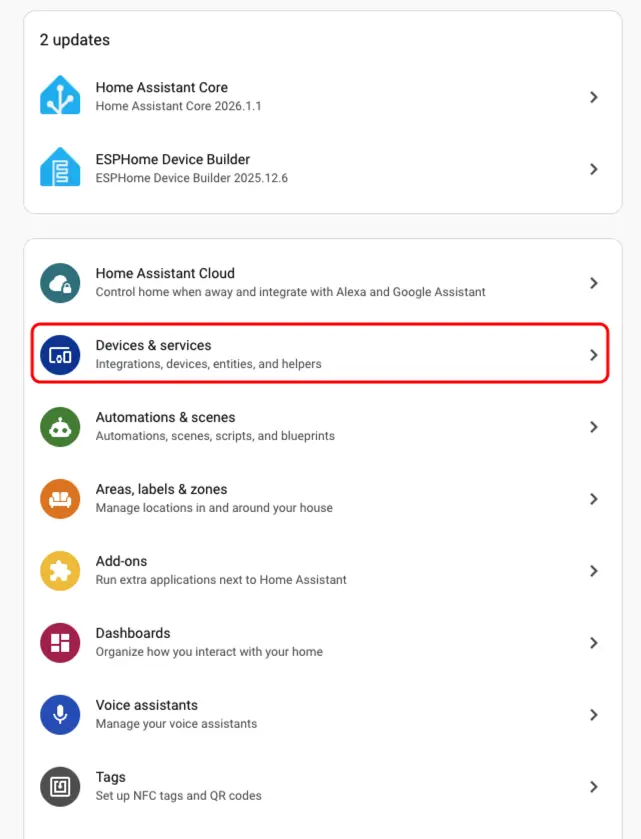
- In Home Assistant, click
Settings>Devices & Servicesto check the device.
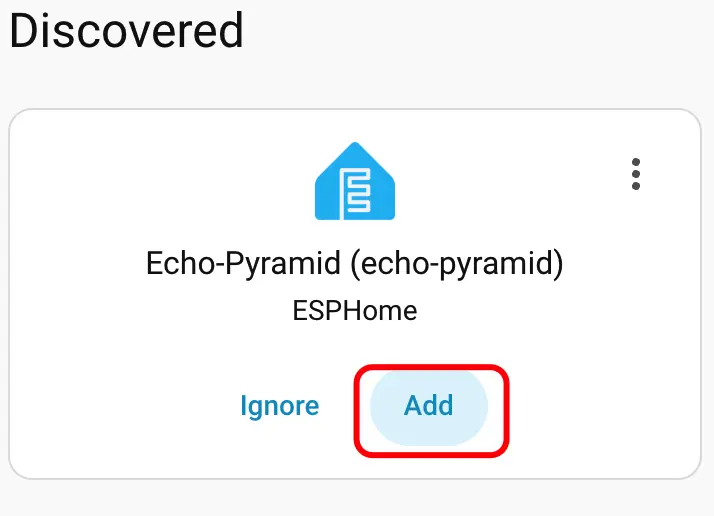
- The corresponding device can be found in the
Discoveredsection.
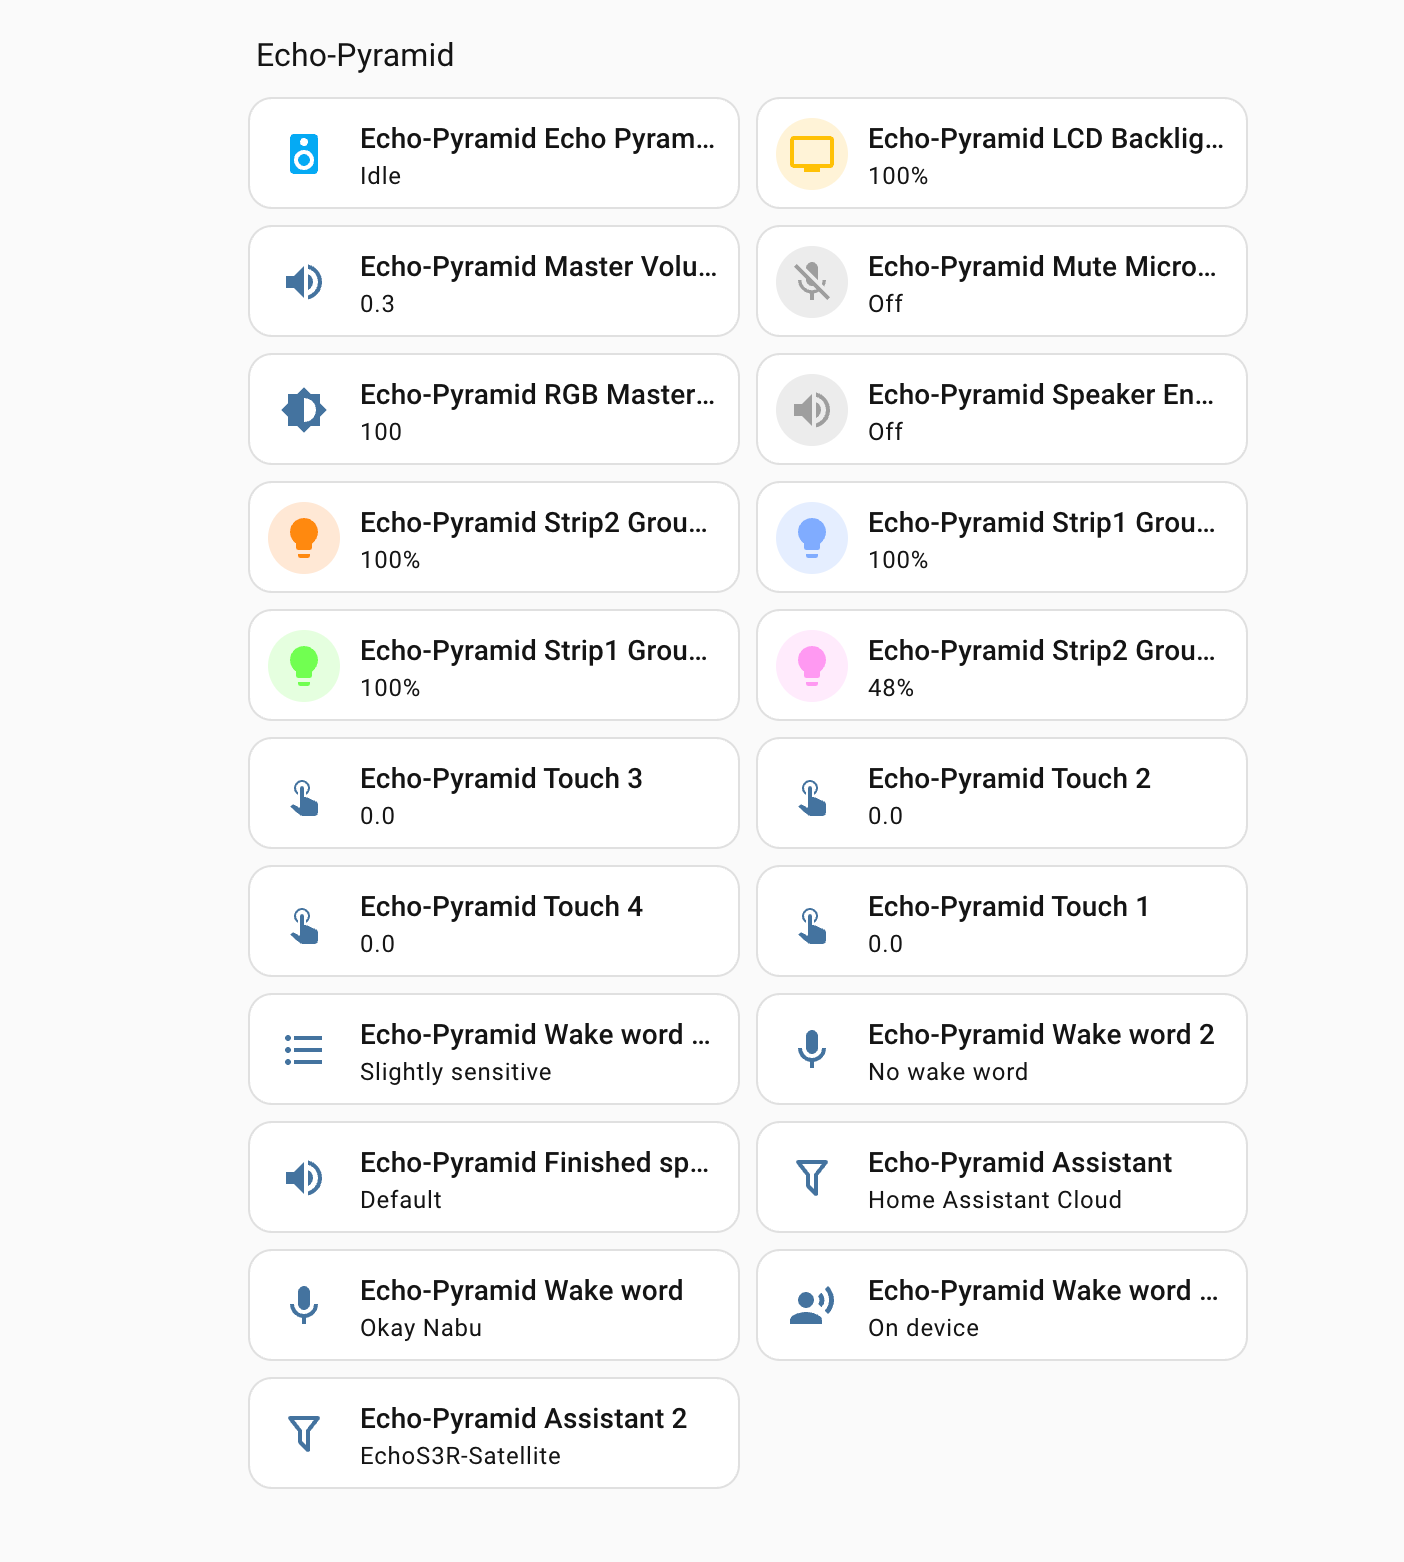
- After adding the device, you will see that the relevant data is displayed correctly.
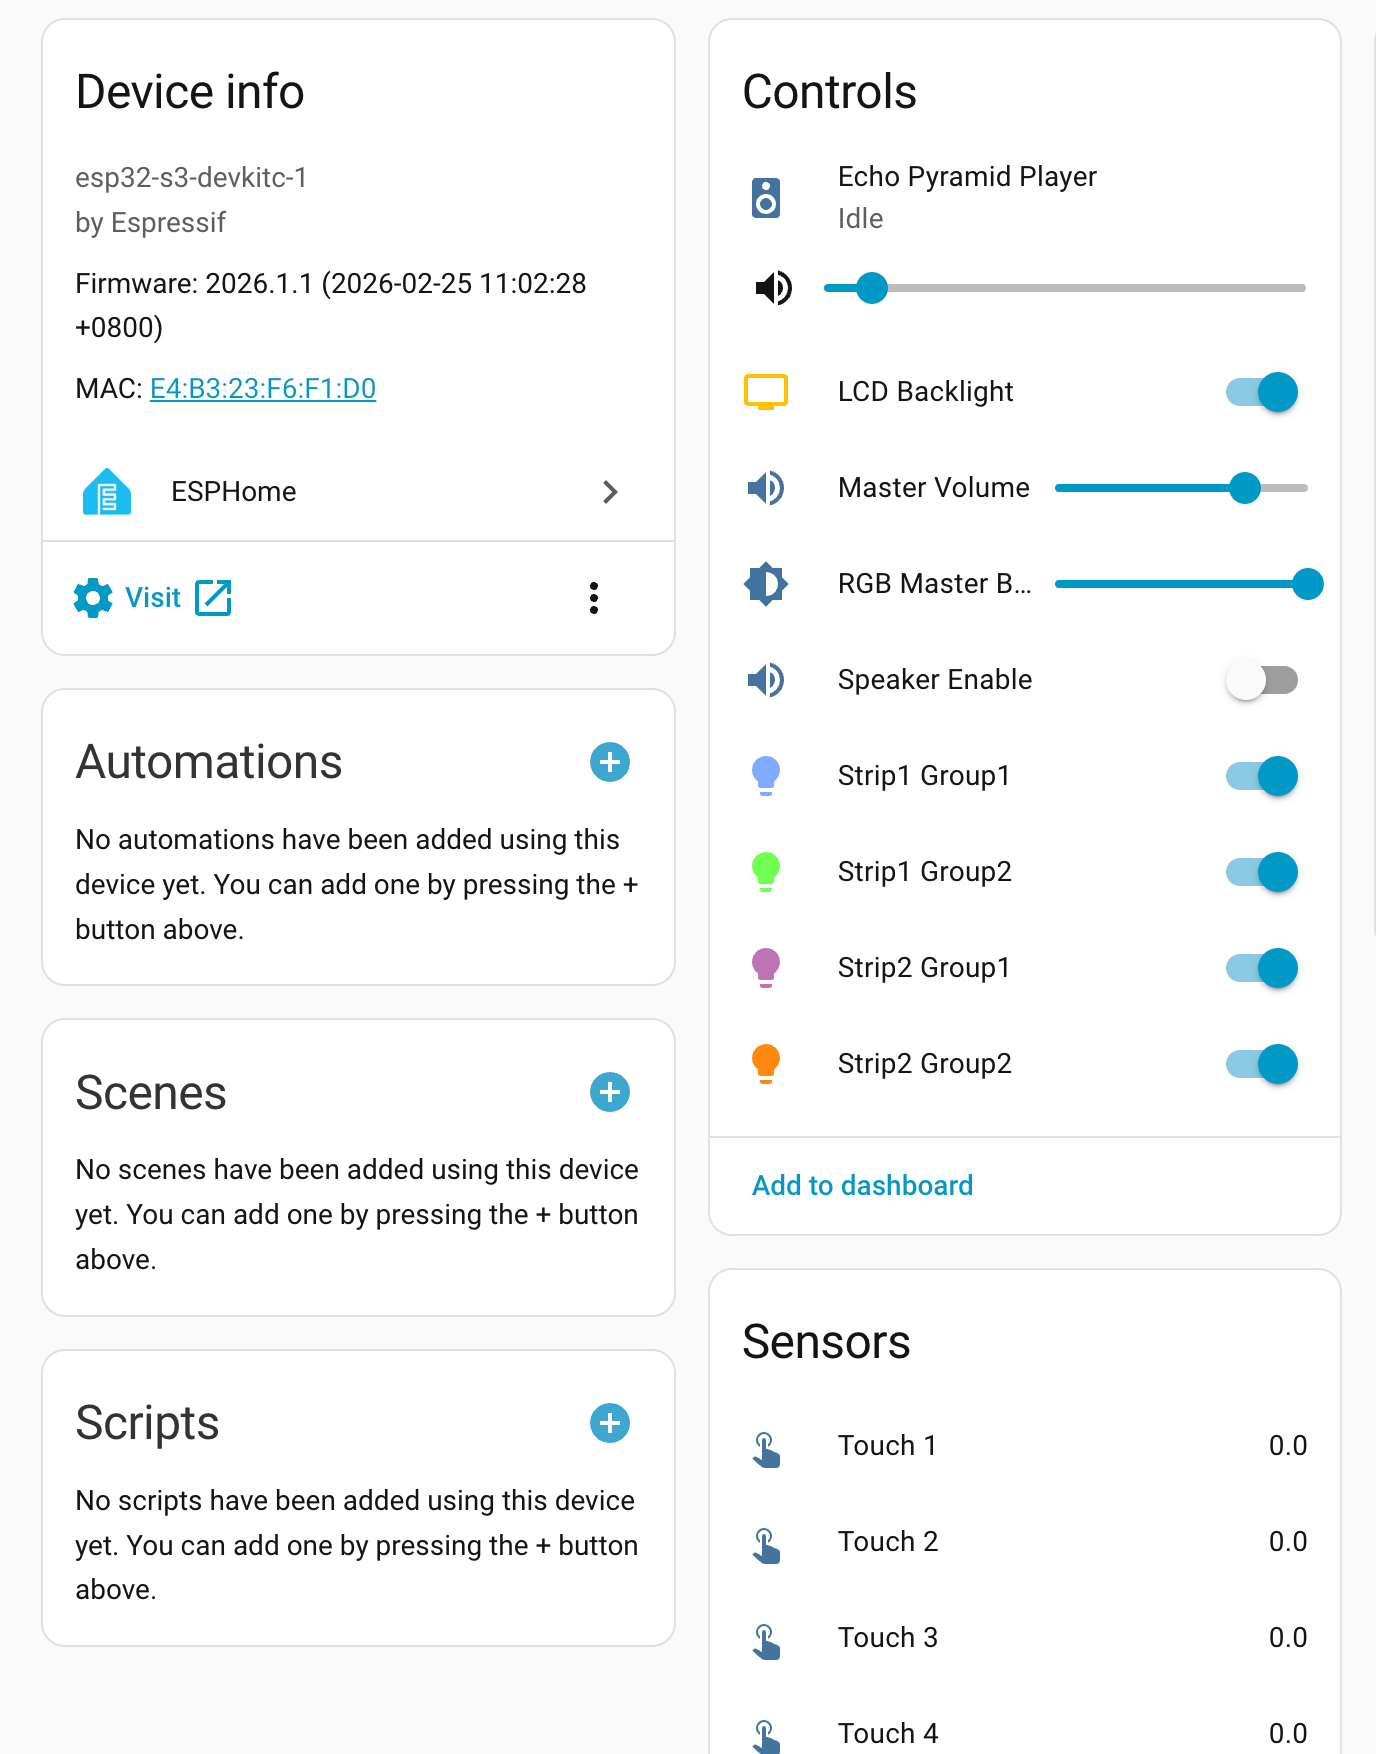
Finally, users can configure various controllable hardware on the Voice Pyramid through the control panel and use the custom wake word (Echo-Pyramid Wake Word) to activate the device, enabling intelligent voice interaction functions such as querying weather, time, and date.