Home Assistant
Voice Assistant
Kit
Sensor
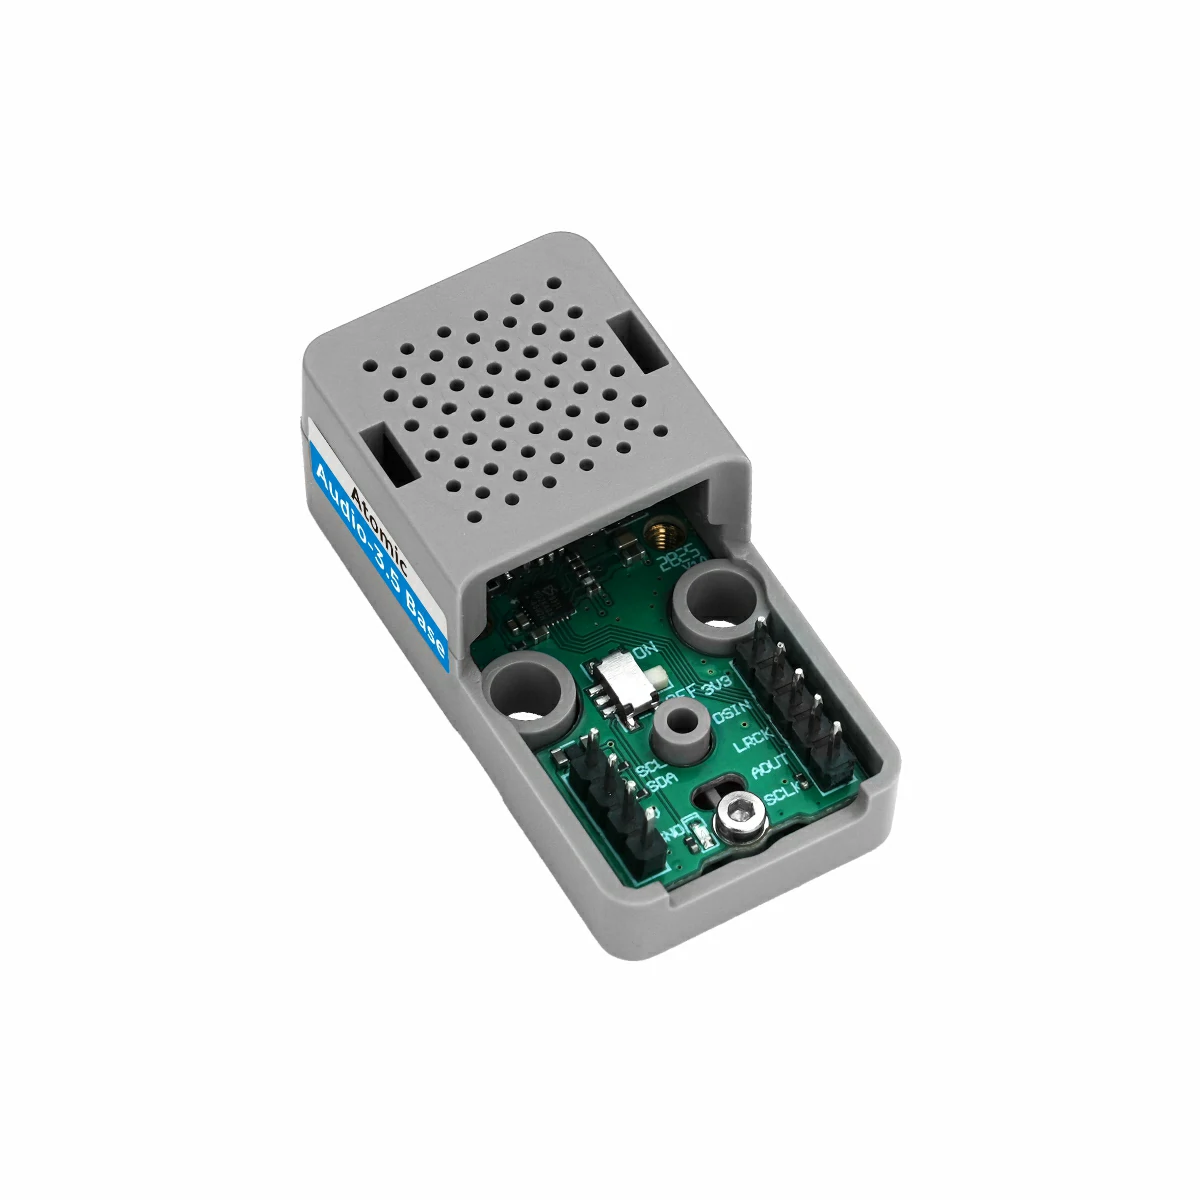
Atomic Audio-3.5 Base (Echo Base) Home Assistant Integration

1. Preparation
- Hardware
- 1 x AtomS3R
- 1 x Atomic Audio-3.5 Base (Echo Base)
- 1 x Home Assistant host (server, mini PC, NAS, etc.)
- Software & versions
- ESPHome Device Builder 2026.4.0 or later
2. Create Device
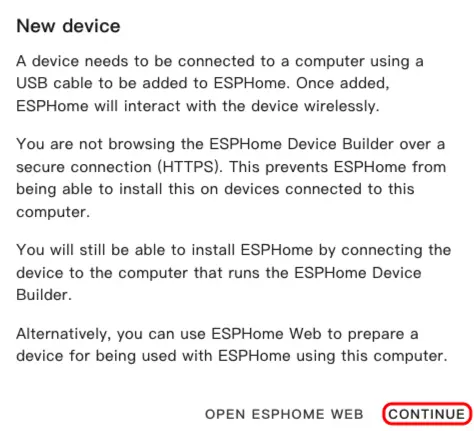
- Open ESPHome Dashboard. If the initial wizard appears, click
CONTINUE.
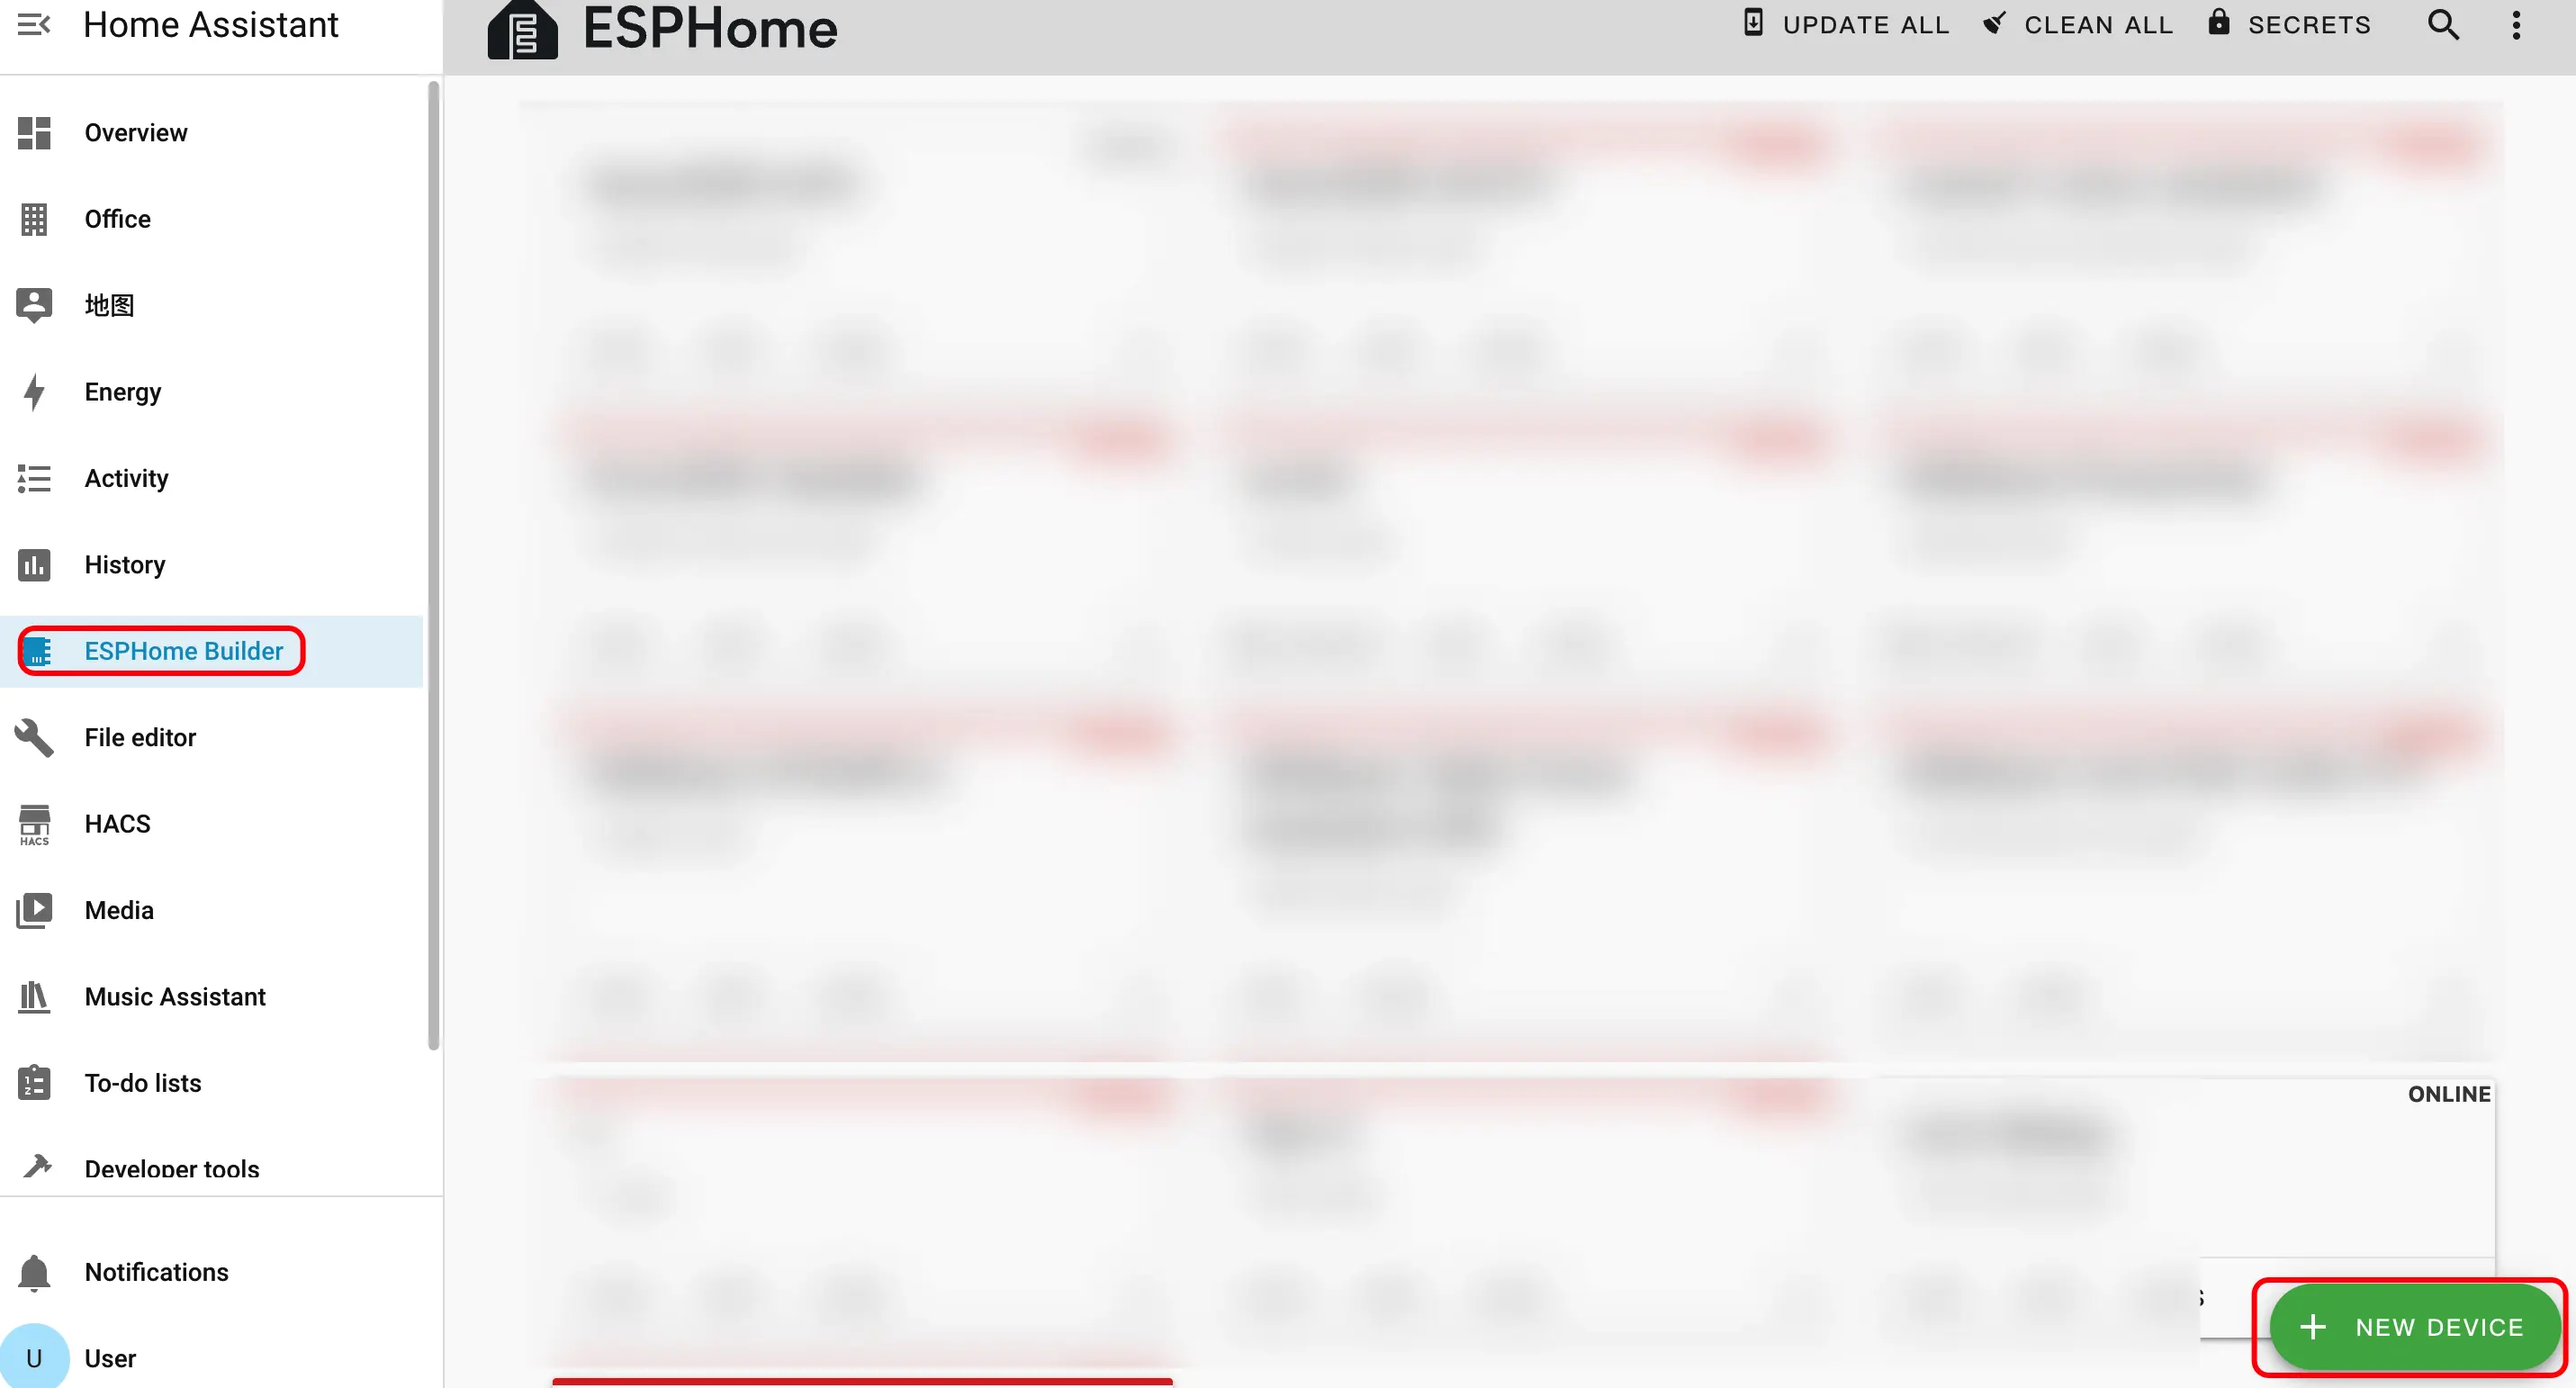
- Click the green + button in the bottom right to create a new device.
- Click
New Device Setupto enter the device creation wizard.

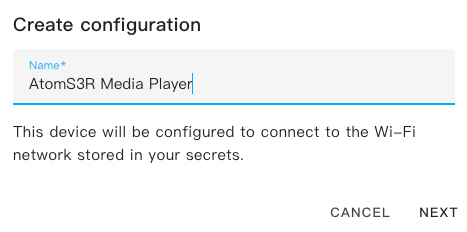
- Enter a device name and click
NEXT.
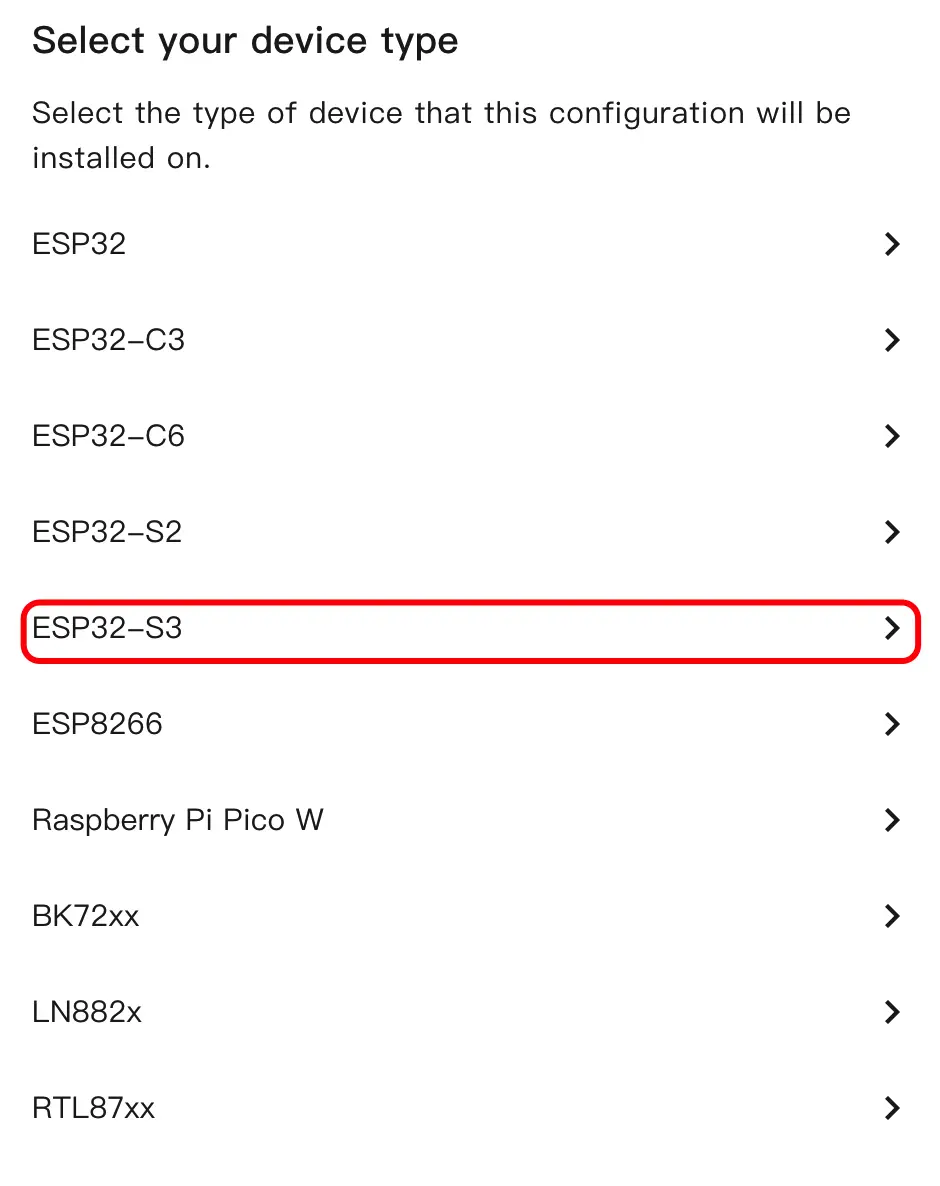
- Select the device type and click
ESP32S3.
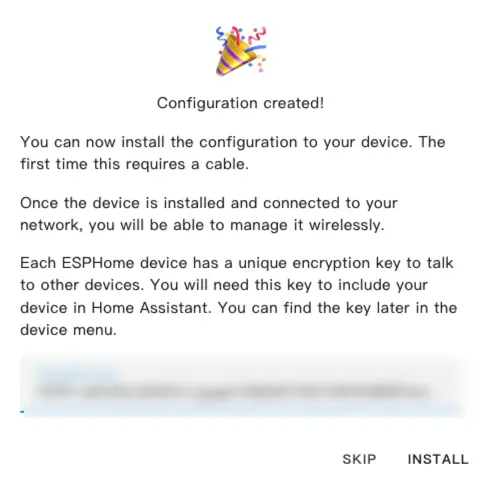
- Click
SKIPto skip the encryption key setup.
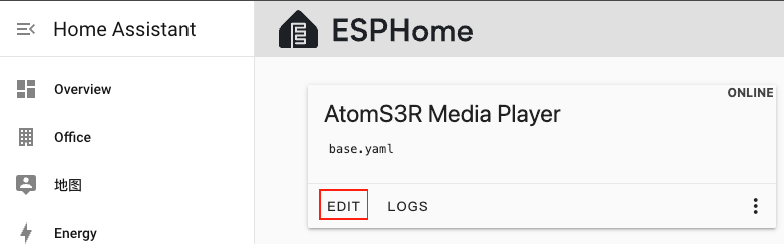
- Click
EDITto open the YAML editor and customize the device configuration.
3. Device Configuration
3.1 Basic Configuration
esp32:
  variant: esp32s3
  flash_size: 8MB
  cpu_frequency: 240MHz
  framework:
    type: esp-idf
    sdkconfig_options:
      CONFIG_ESP32S3_DEFAULT_CPU_FREQ_240: "y"
      CONFIG_ESP32S3_DATA_CACHE_64KB: "y"
      CONFIG_ESP32S3_DATA_CACHE_LINE_64B: "y"

psram:
  mode: octal
  speed: 80MHz

i2c:
  - id: bsp_bus
    sda:
      number: GPIO45
      ignore_strapping_warning: true
    scl:
      number: GPIO0
      ignore_strapping_warning: true
    scan: true
  - id: ext_bus
    sda: GPIO38
scl: GPIO39Note
AtomS3R corresponds to SDA: GPIO38, SCL: GPIO39. If using other interfaces, please adjust according to the actual pins.
3.2 Audio Configuration
i2s_audio:
  - id: i2s_audio_bus
    i2s_lrclk_pin: GPIO6
    i2s_bclk_pin: GPIO8

audio_dac:
  - platform: es8311
    id: es8311_dac
    i2c_id: ext_bus
    bits_per_sample: 16bit
    sample_rate: 48000
    use_microphone: false
    use_mclk: false

speaker:
  - platform: i2s_audio
    id: i2s_speaker
    i2s_audio_id: i2s_audio_bus
    i2s_dout_pin: GPIO5
    dac_type: external
    audio_dac: es8311_dac
    sample_rate: 48000
channel: left3.3 Media Player Configuration
- Add media_player component
media_player:
  - platform: speaker
    name: "${friendly_name}"
    id: speaker_media_player
    volume_min: 0.5
    volume_max: 0.8
    announcement_pipeline:
      speaker: i2s_speaker
      format: FLAC
      sample_rate: 48000
num_channels: 13.4 SPI and Font Configuration
spi:
  clk_pin: GPIO15
  mosi_pin: GPIO21

font:
  - file: "gfonts://Roboto"
    id: font_medium
size: 143.5 Speaker Amplifier Configuration
Add pi4ioe5v6408 component
Add switch component
pi4ioe5v6408:
  - id: pi4ioe5v6408_hub
    i2c_id: ext_bus
    address: 0x43

switch:
  - platform: gpio
    name: "Speaker Enable"
    id: speaker_enable
    pin:
      pi4ioe5v6408: pi4ioe5v6408_hub
      number: 0
      mode:
        output: true
    icon: "mdi:volume-high"
restore_mode: RESTORE_DEFAULT_ON3.6 Display and LED Configuration
lp5562:
  id: lp5562_led
  i2c_id: bsp_bus
  use_internal_clk: true
  white_current: 17.5

output:
  - platform: lp5562
    id: lp5562_white_channel
    lp5562_id: lp5562_led
    channel: white

light:
  - platform: monochromatic
    name: "LCD Backlight"
    id: lcd_backlight
    output: lp5562_white_channel
    icon: "mdi:television"
    restore_mode: RESTORE_DEFAULT_ON

display:
  - platform: mipi_spi
    id: atoms3r_lcd
    model: ST7789V
    dc_pin: GPIO42
    reset_pin: GPIO48
    cs_pin: GPIO14
    data_rate: 40MHz
    update_interval: 1s
    dimensions:
      height: 128
      width: 128
      offset_width: 2
      offset_height: 1
    invert_colors: true
    rotation: 180°
    lambda: |-
      it.fill(Color::BLACK);
      it.print(
        it.get_width() / 2,
        it.get_height() / 2,
        id(font_medium),
        Color::WHITE,
        TextAlign::CENTER,
        "Audio-3.5 Base"
);4. Build and Flash Firmware
4.1 Build firmware
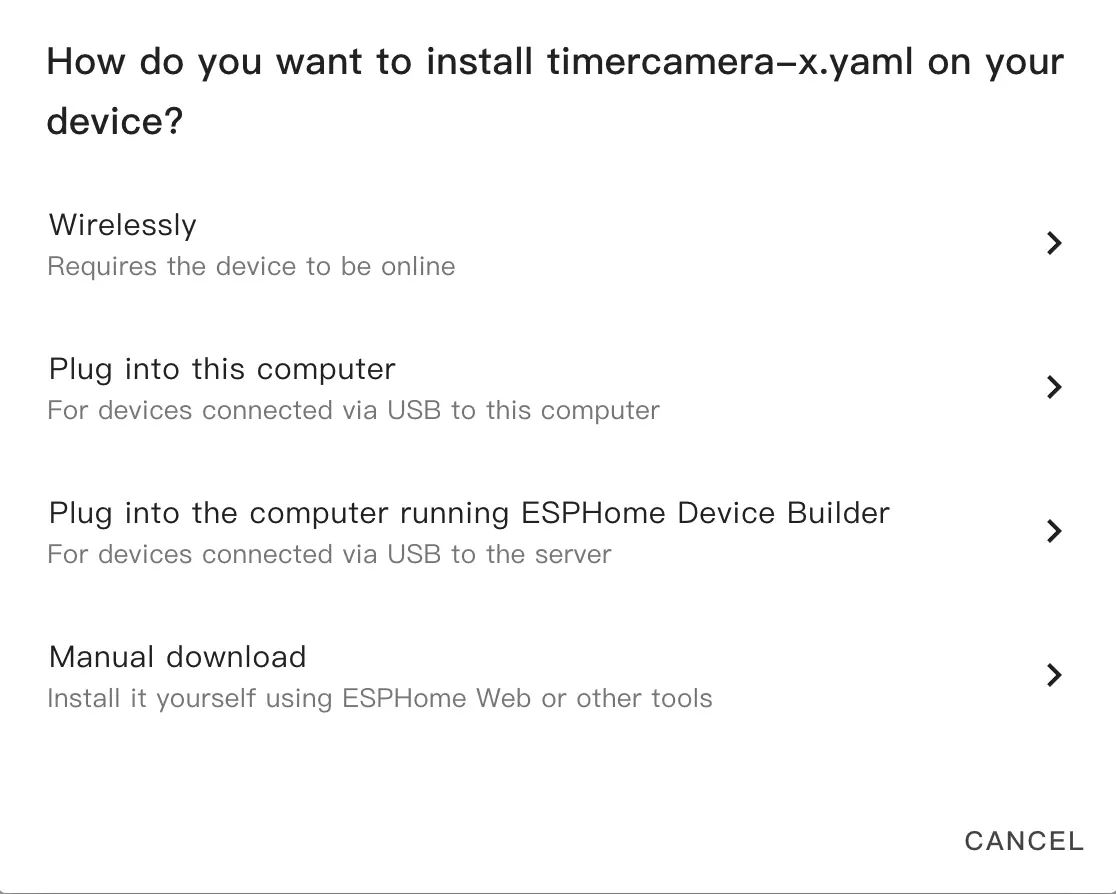
After editing the YAML configuration, click
SAVEin the top right, then clickINSTALL.In the popup dialog, select
Manual Download.
- Wait for the firmware to compile, then click
Downloadand chooseFactory format (Previously Modern)to save the firmware file locally.
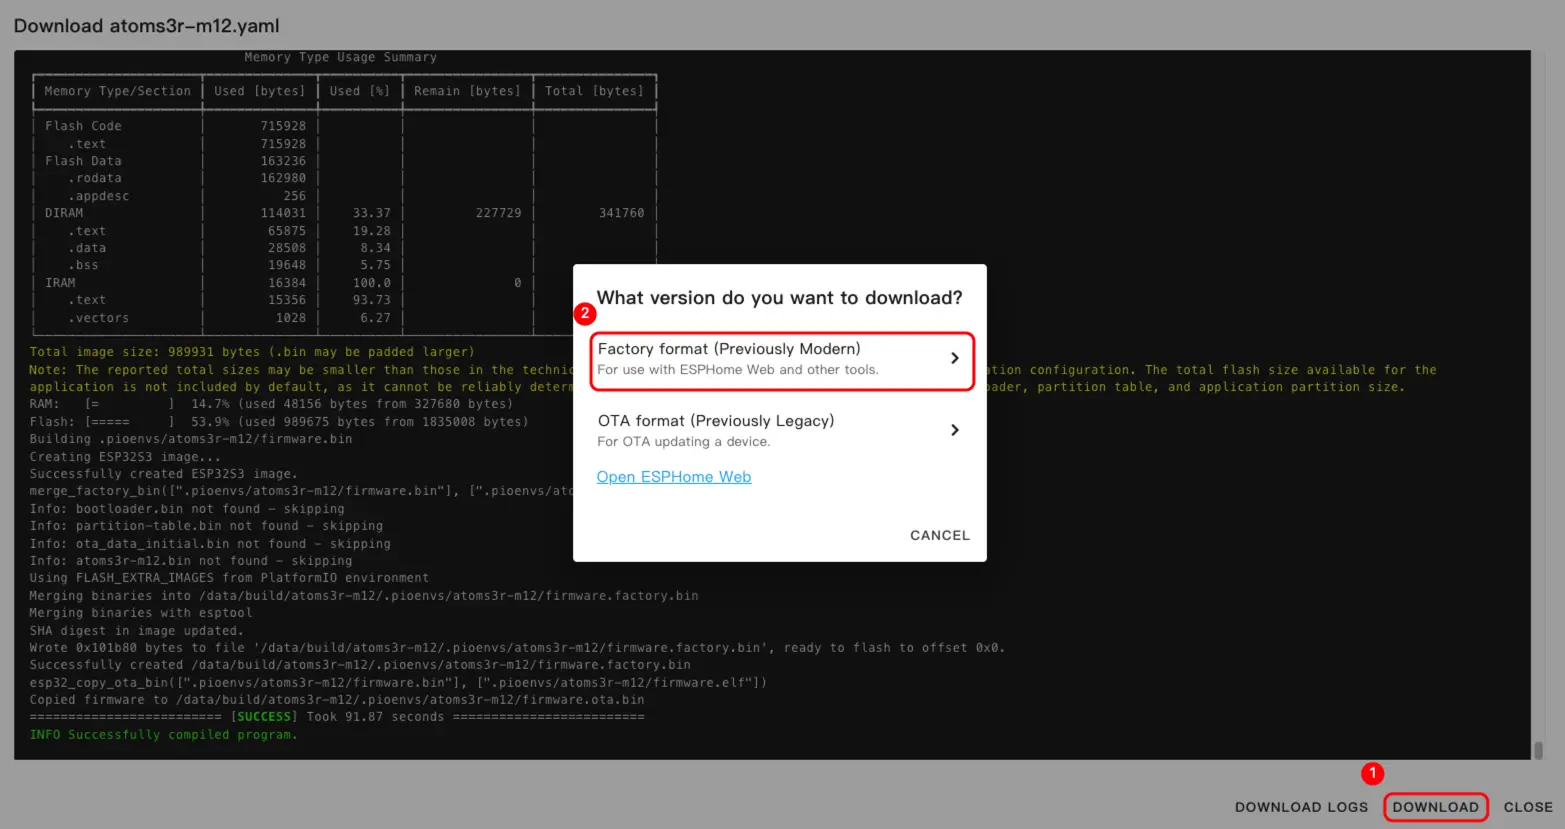
Info
For a complete example configuration, see atomic-audio3.5-base.yaml. The first build may take some time depending on the performance of your Home Assistant host and network conditions.
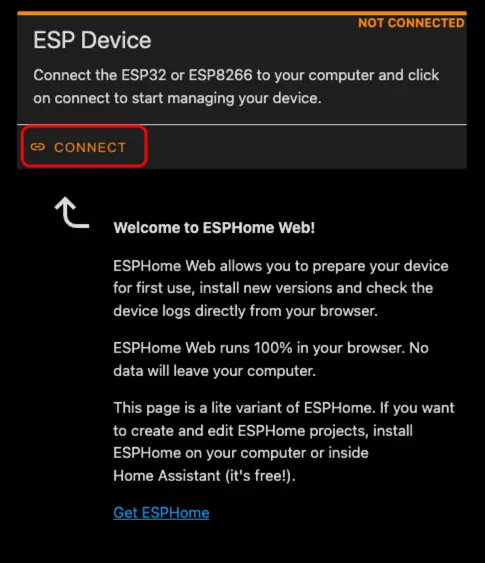
4.2 Flash firmware
- Connect AtomS3R to your computer using a USB Type-C cable. Open ESPHome Web and click
CONNECT.
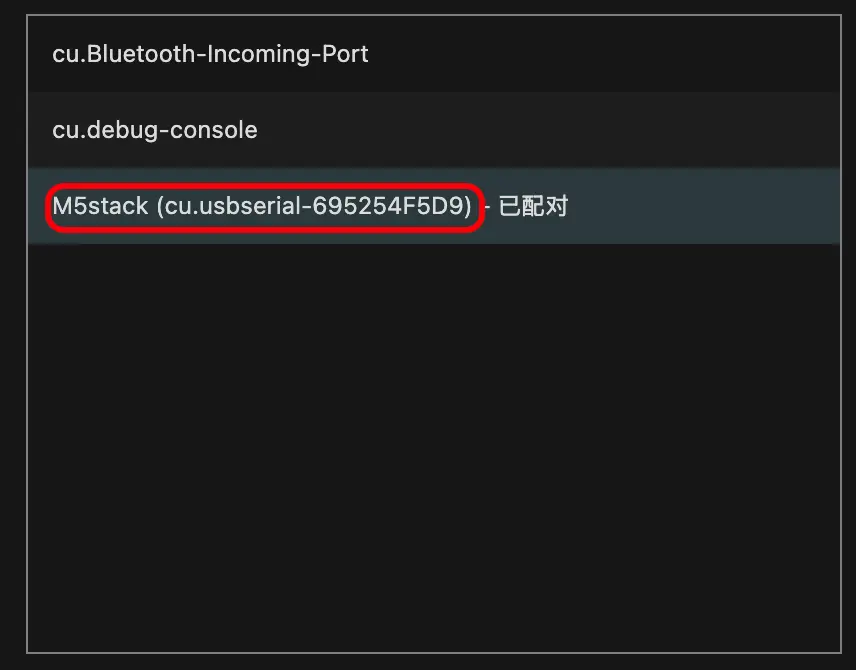
- In the serial port selection dialog, select the correct port.
- Click
INSTALL.
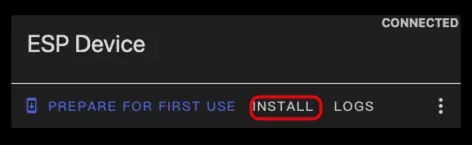
- Select the firmware file downloaded in step 3 and start flashing.
Warning
After flashing is complete, you must reset the device; otherwise the firmware may not start correctly.
5. Start Using in Home Assistant
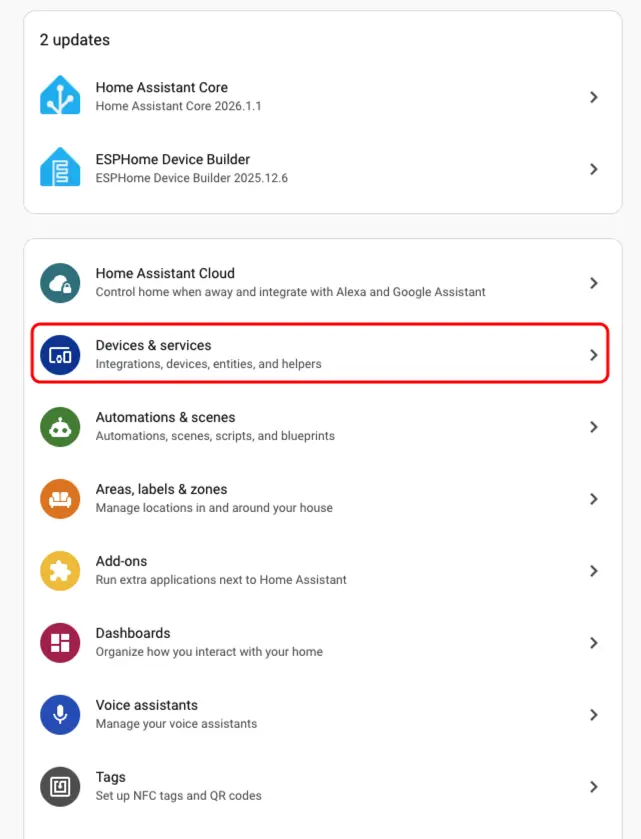
- In Home Assistant, go to
Settings>Devices & Servicesto open the integration management page.
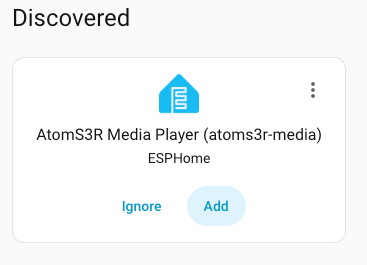
- Find the online device in the
Discoveredarea, clickCONFIGURE, and follow the prompts to complete the addition.
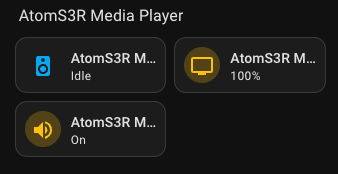
- After successful addition, the device page will display three sensor entities.

- Finally, add the sensor entities to the dashboard.