

Home Assistant
Media Player
Expansion
Sensor
AtomS3U
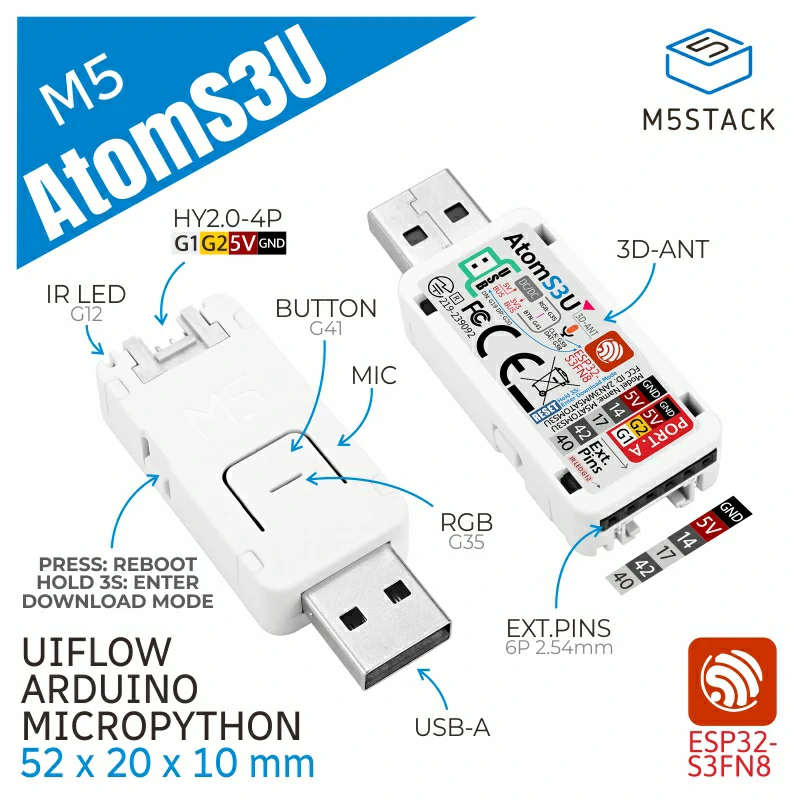
AtomS3U is a USB flash drive-shaped ESP32-S3 multifunction development board. It uses the Espressif ESP32-S3 main controller with a dual-core Xtensa LX7 processor running at 240 MHz, and has built-in Wi-Fi. Its interfaces include a USB Type-A port (with OTG support), one Grove connector, and a 6-pin 2.54mm female header with 4 GPIOs. Peripherals include a PDM microphone, an infrared transmitter, and a programmable RGB LED. This product is suitable for IoT human-machine interaction, voice input/recognition (STT), IO control, and similar scenarios.
Requirements
- A Home Assistant host.
- Install and enable ESPHome Builder in Home Assistant.
Notes
- This guide uses ESPHome
2026.3.xfor compilation and upload. If you encounter build or upload issues, consider switching ESPHome to this version.
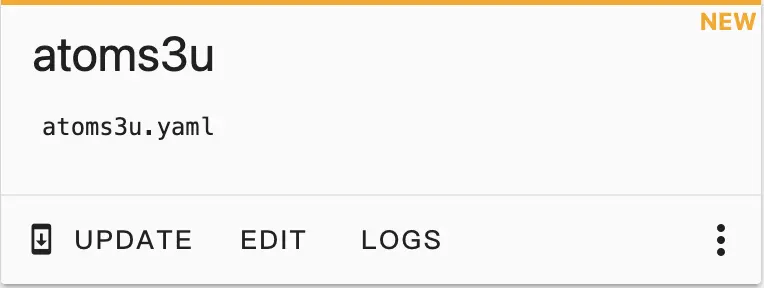
Create the Device
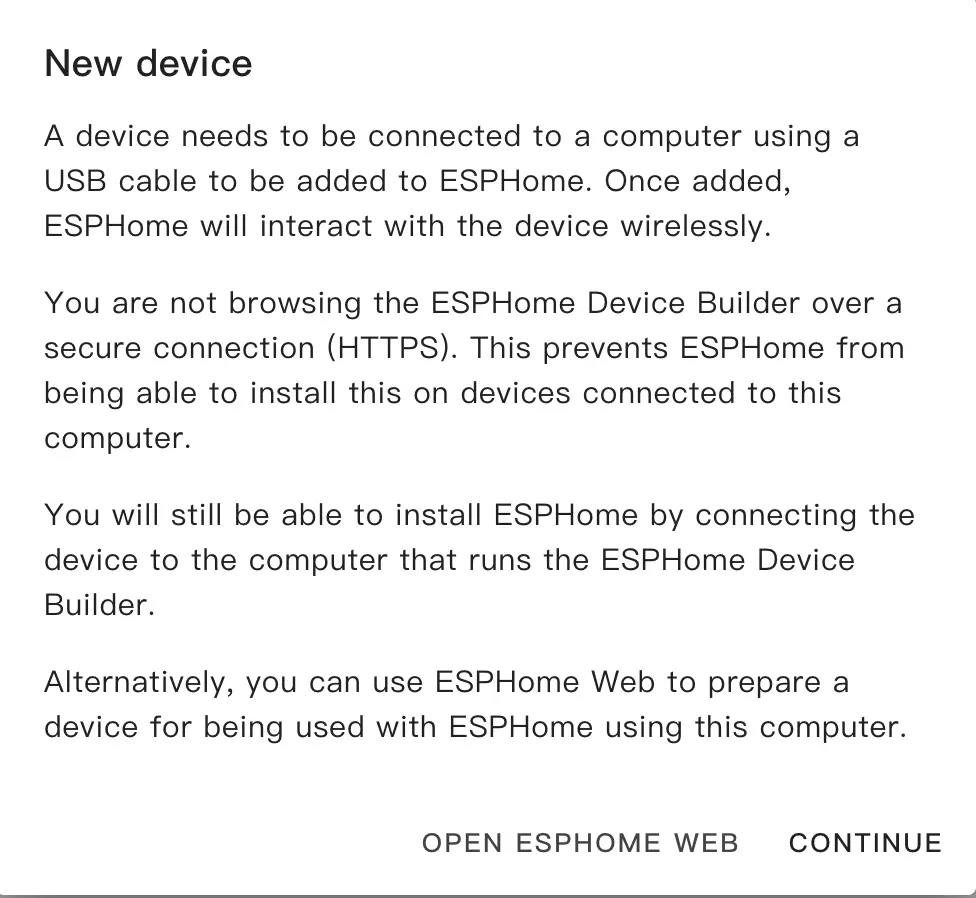
- Open ESPHome Builder in Home Assistant and create an empty configuration.
- Click the
NEW DEVICEbutton in the bottom right.
- Click
CONTINUEin the popup.
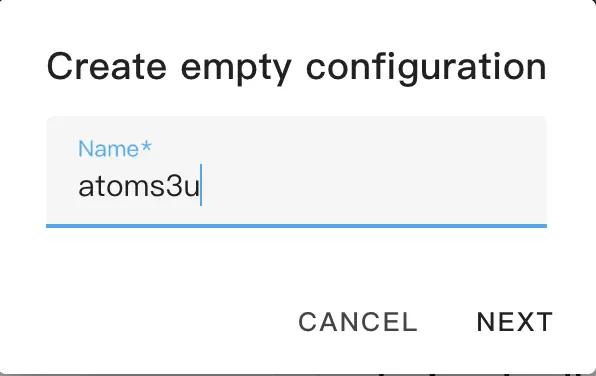
- Select
Empty Configuration.
- Name the file if desired.
- Click
EDITon the newly created configuration.
- Copy the contents of atoms3u.factory.yaml into the configuration.
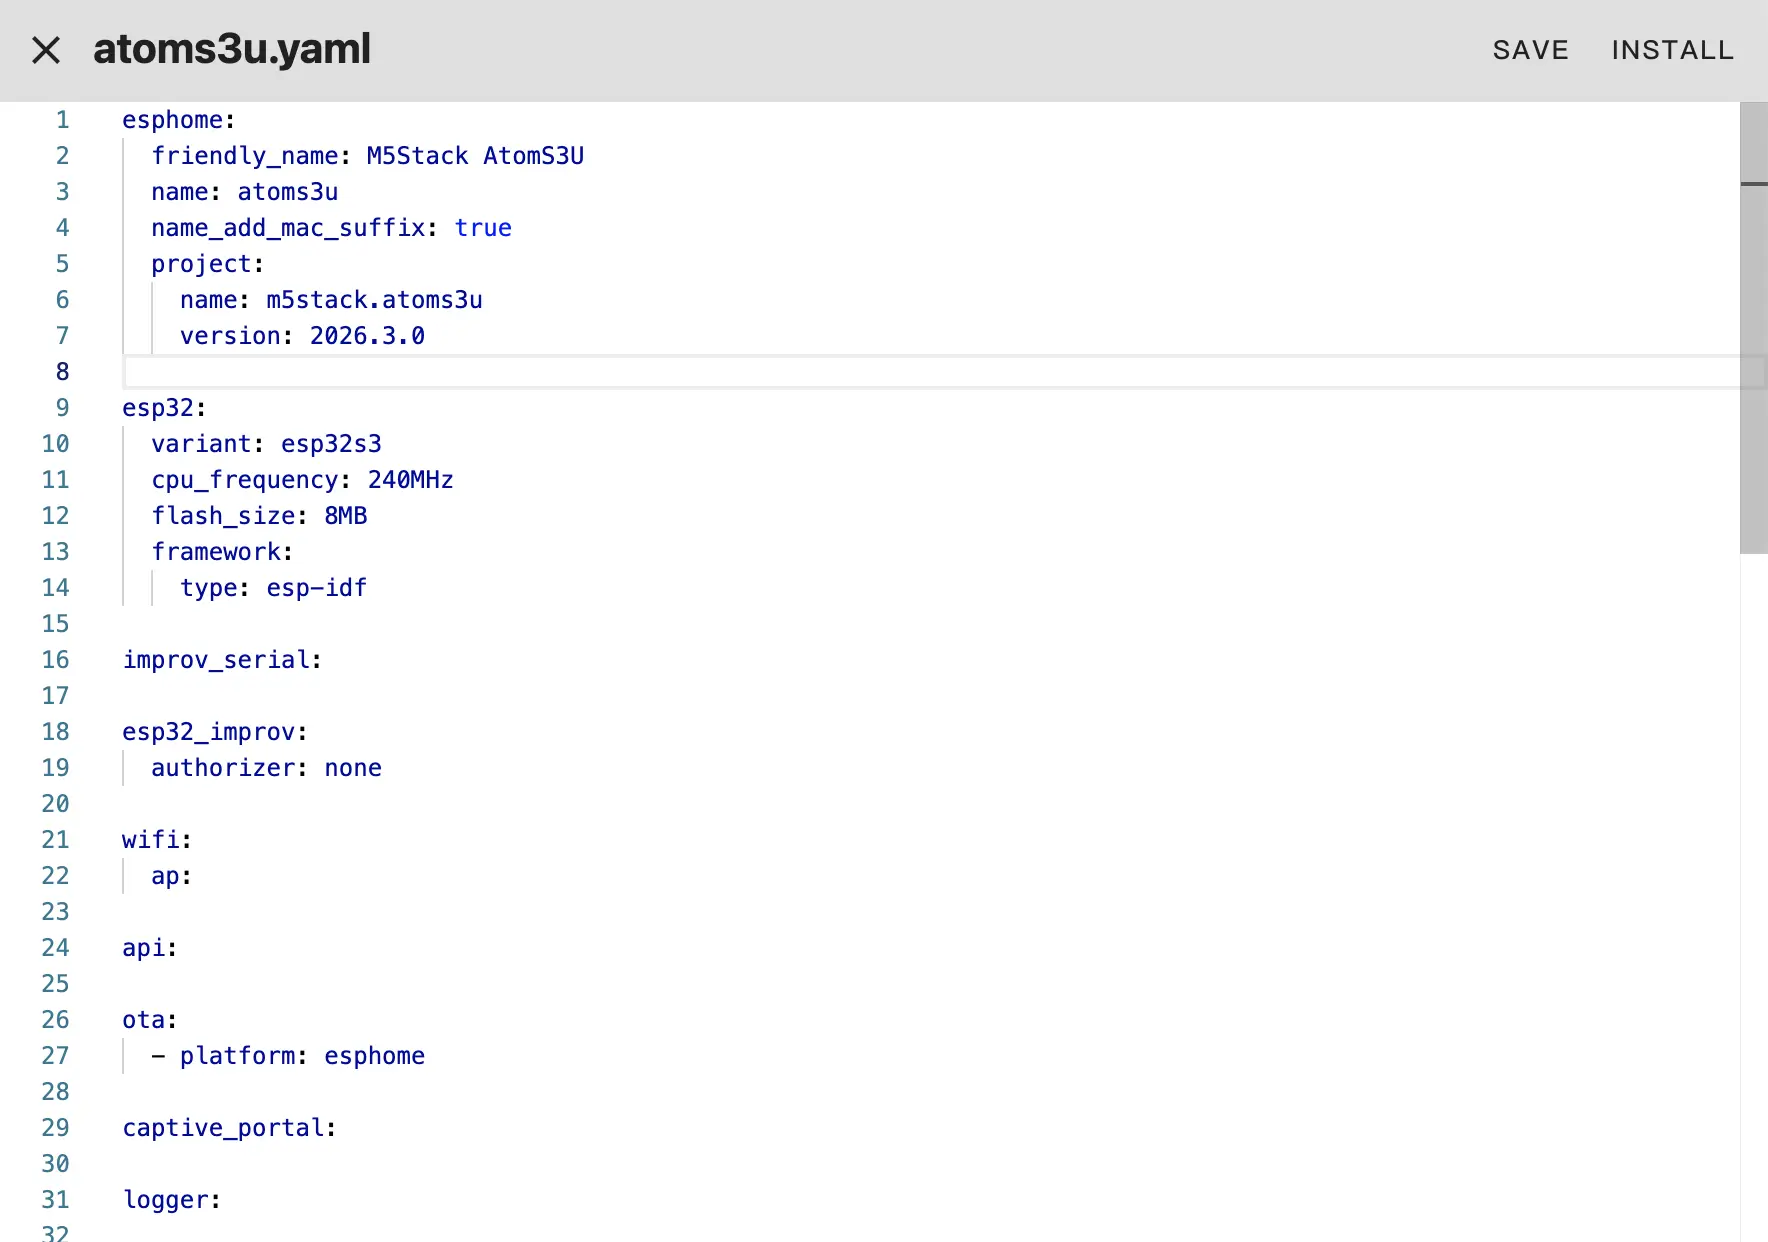
- Modify network or API settings as needed, for example create an API Encryption Key for authentication:
api:
  encryption:
key: "Your_Encryption_Key"Or use SSID and password defined in secrets:
wifi:
  ssid: !secret wifi_ssid
password: !secret wifi_passwordIf not provided, you can use improv_serial, BLE, or AP for network setup.
- Click
SAVEandINSTALLin the top right, then chooseManual download.
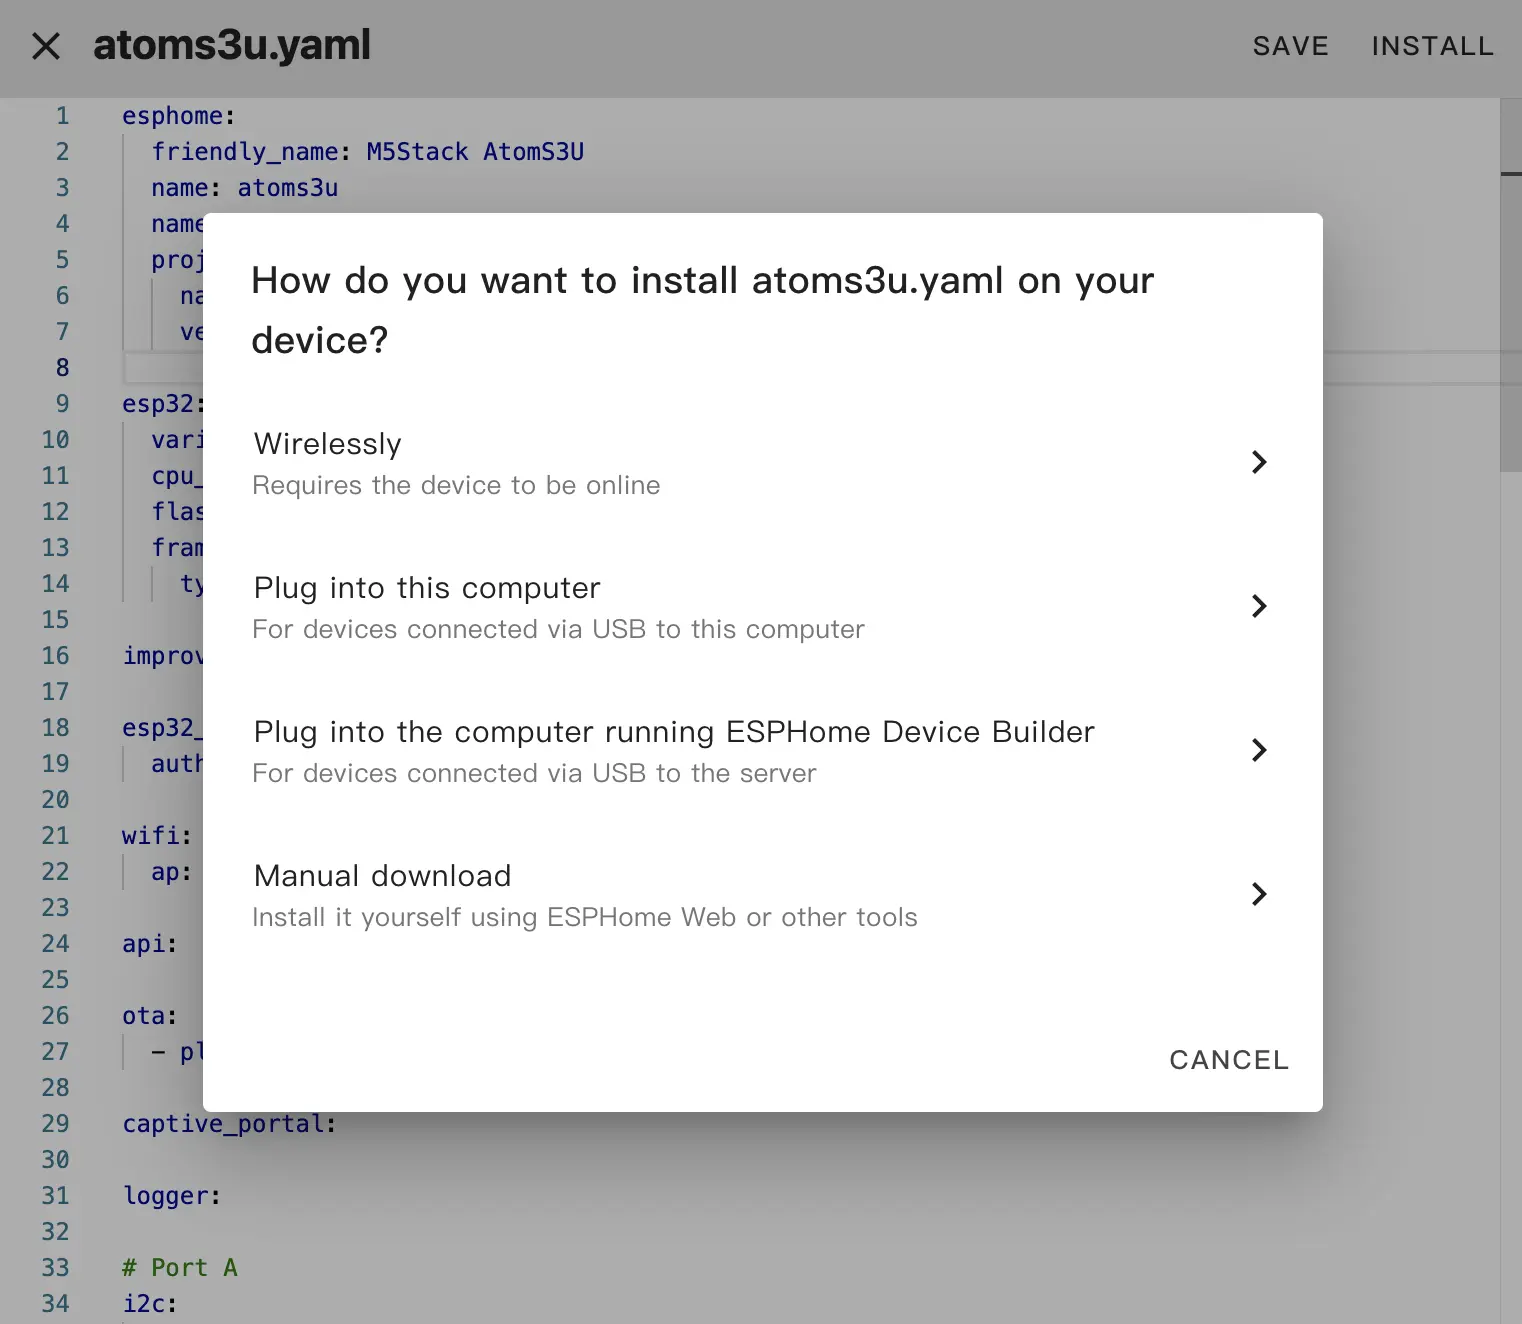
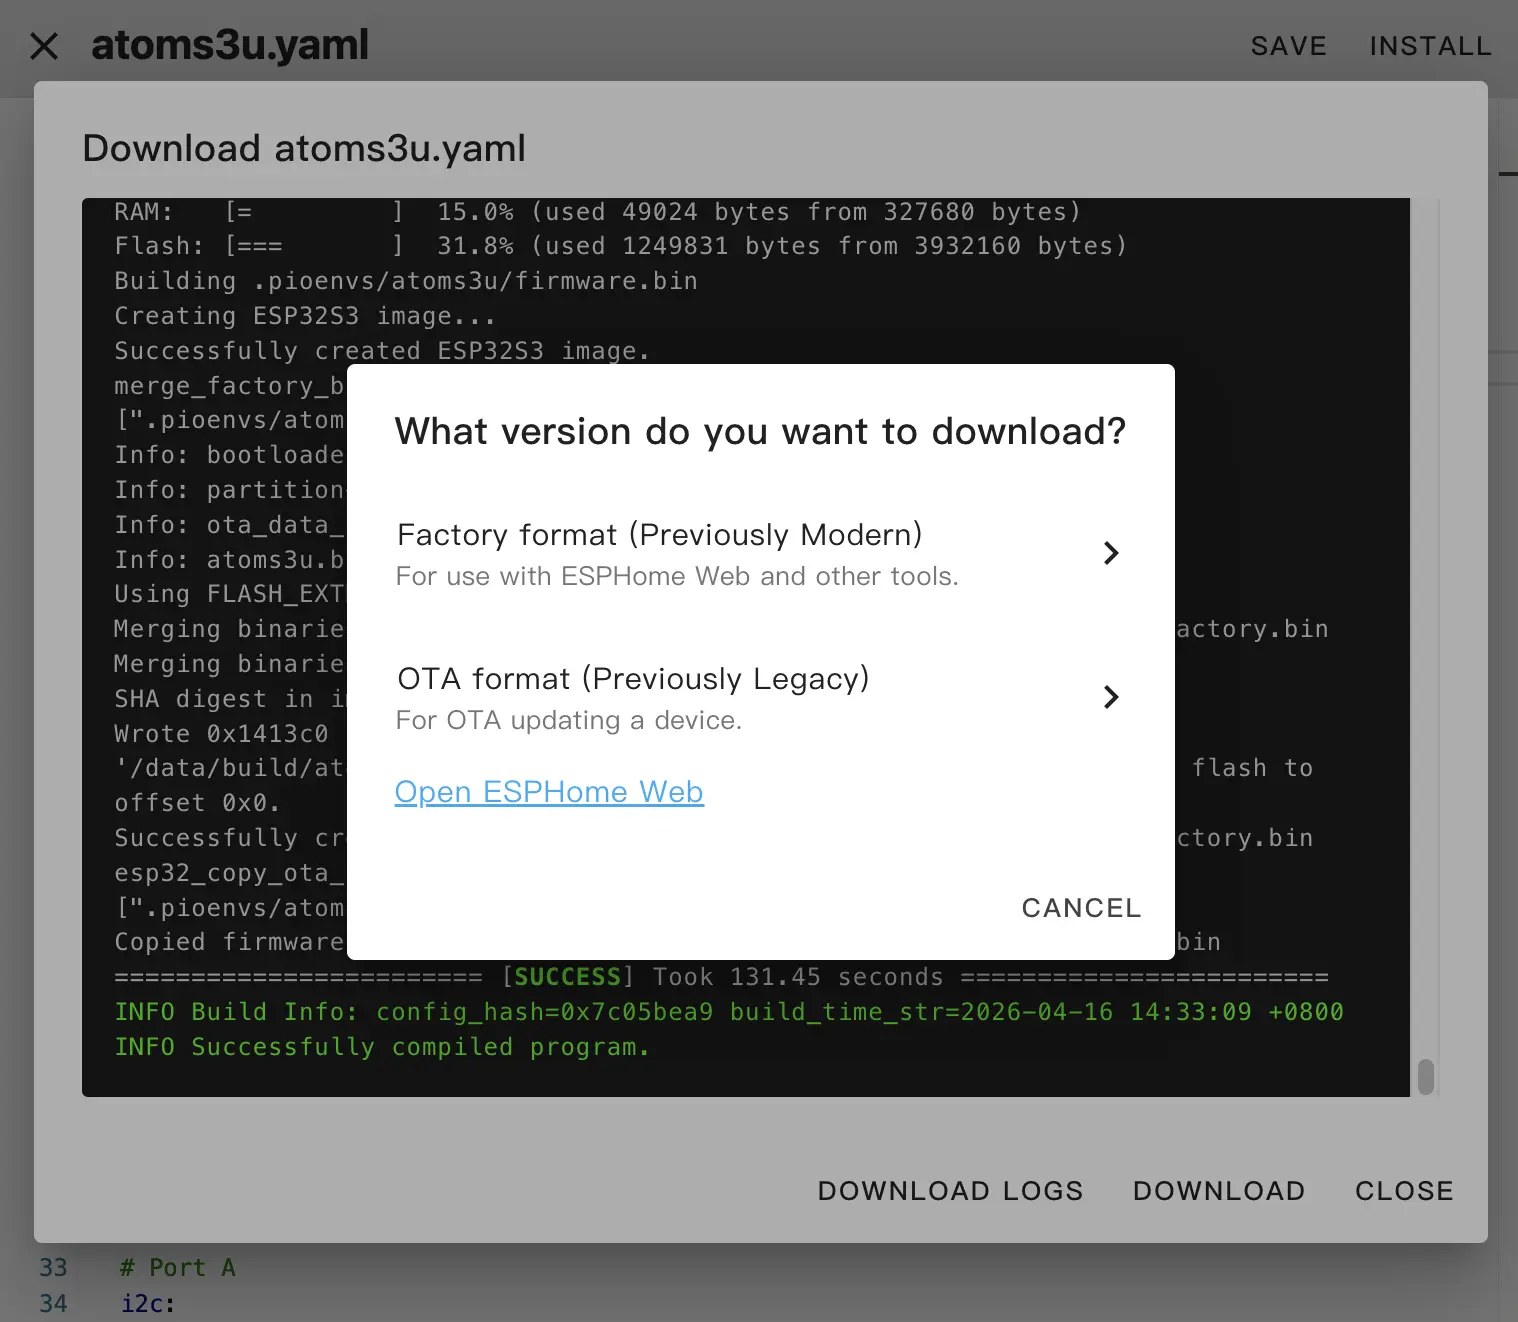
The code will be generated and the project compiled.
- After compilation completes, choose
Factory formatand download the firmware.
Download and Flash Firmware
Download the firmware via ESPHome Builder's
Manual downloadin Factory Format.Use the web tool to flash the firmware:
Open your browser and visit ESPHome Web to upload the firmware.
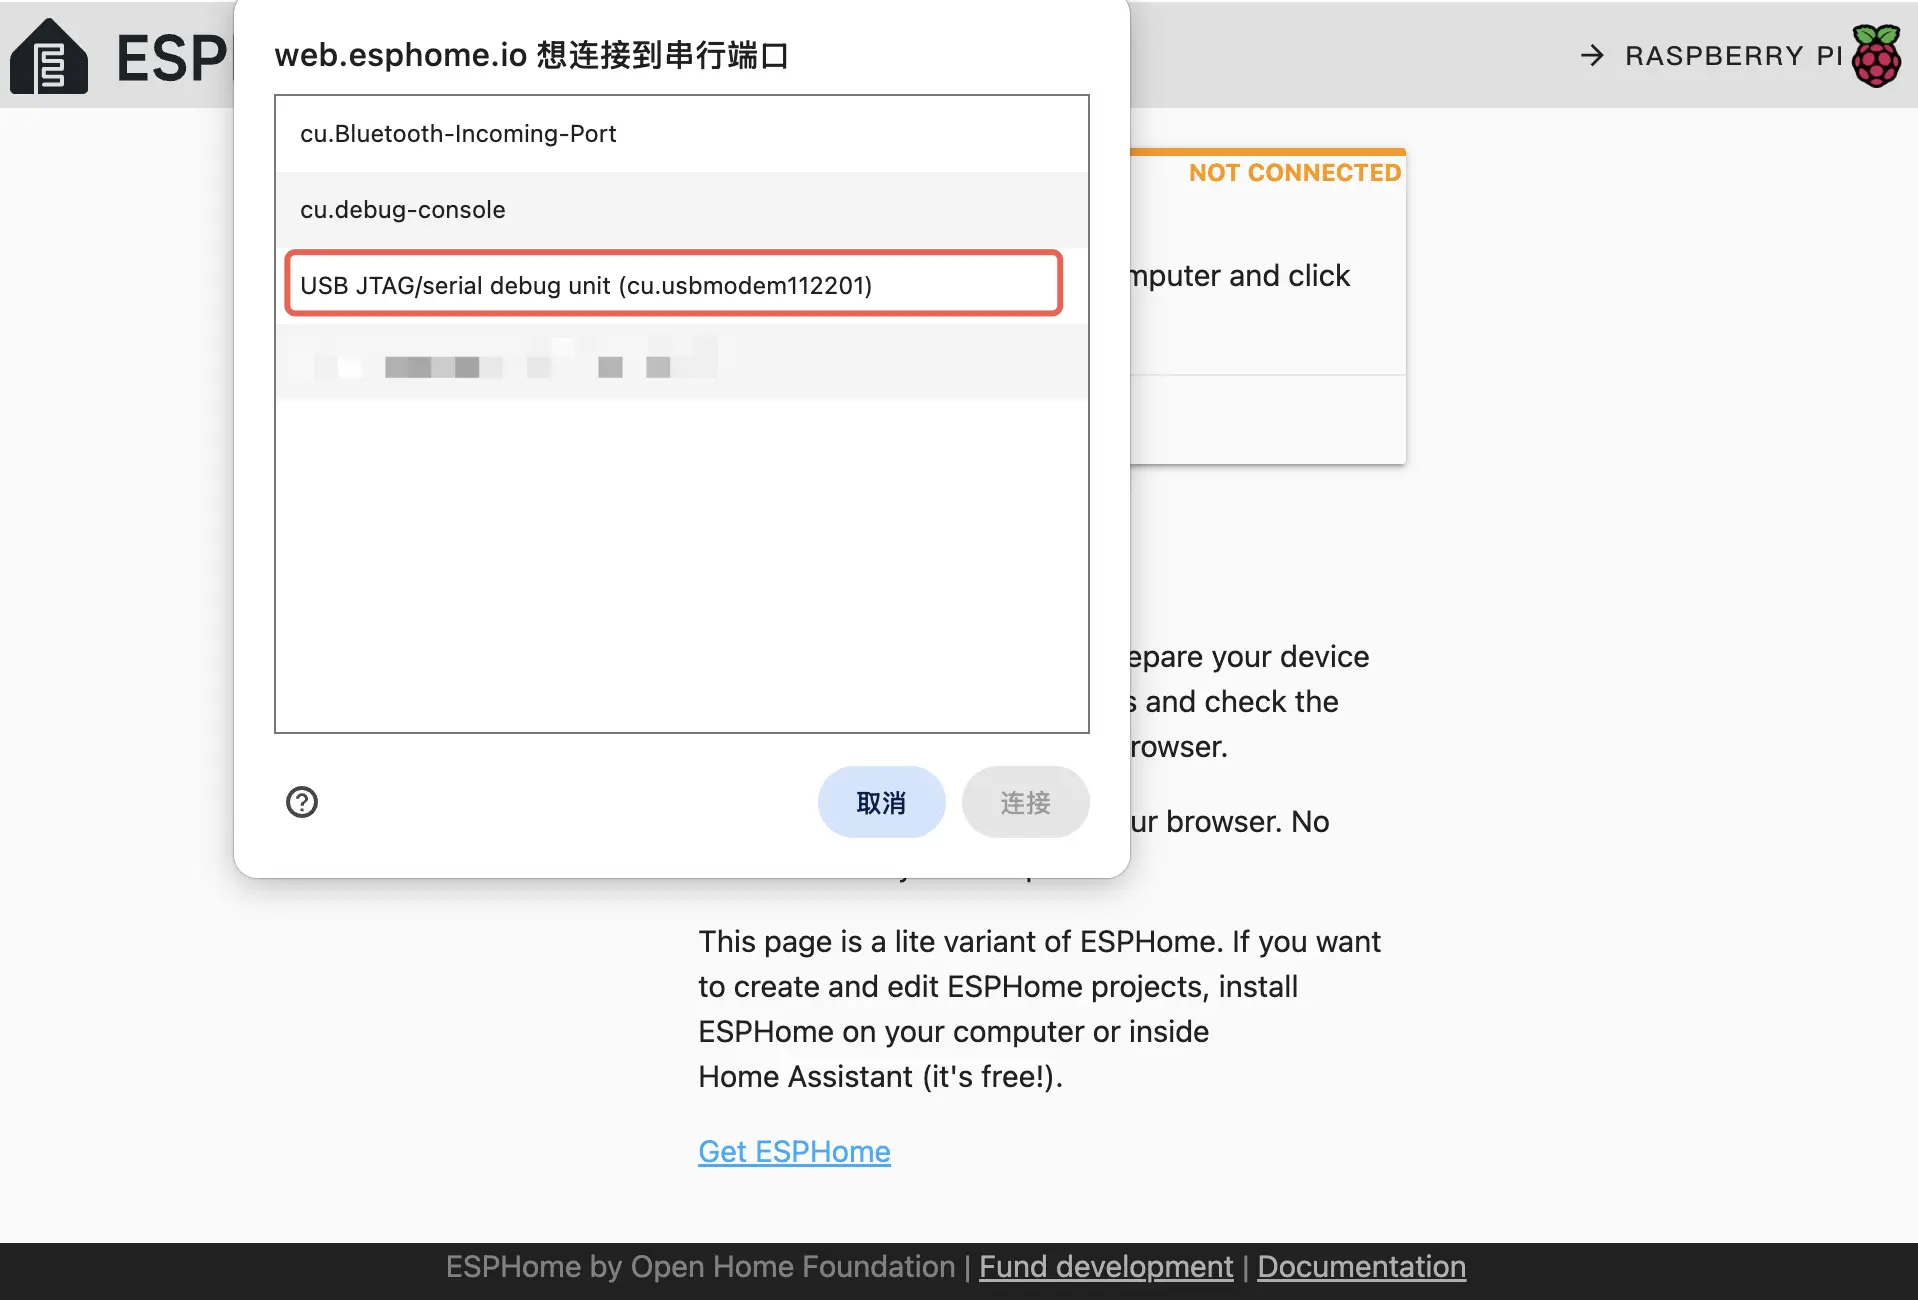
Connect Atom to the host, hold down RESET to enter download mode, click
CONNECT, and select the device.
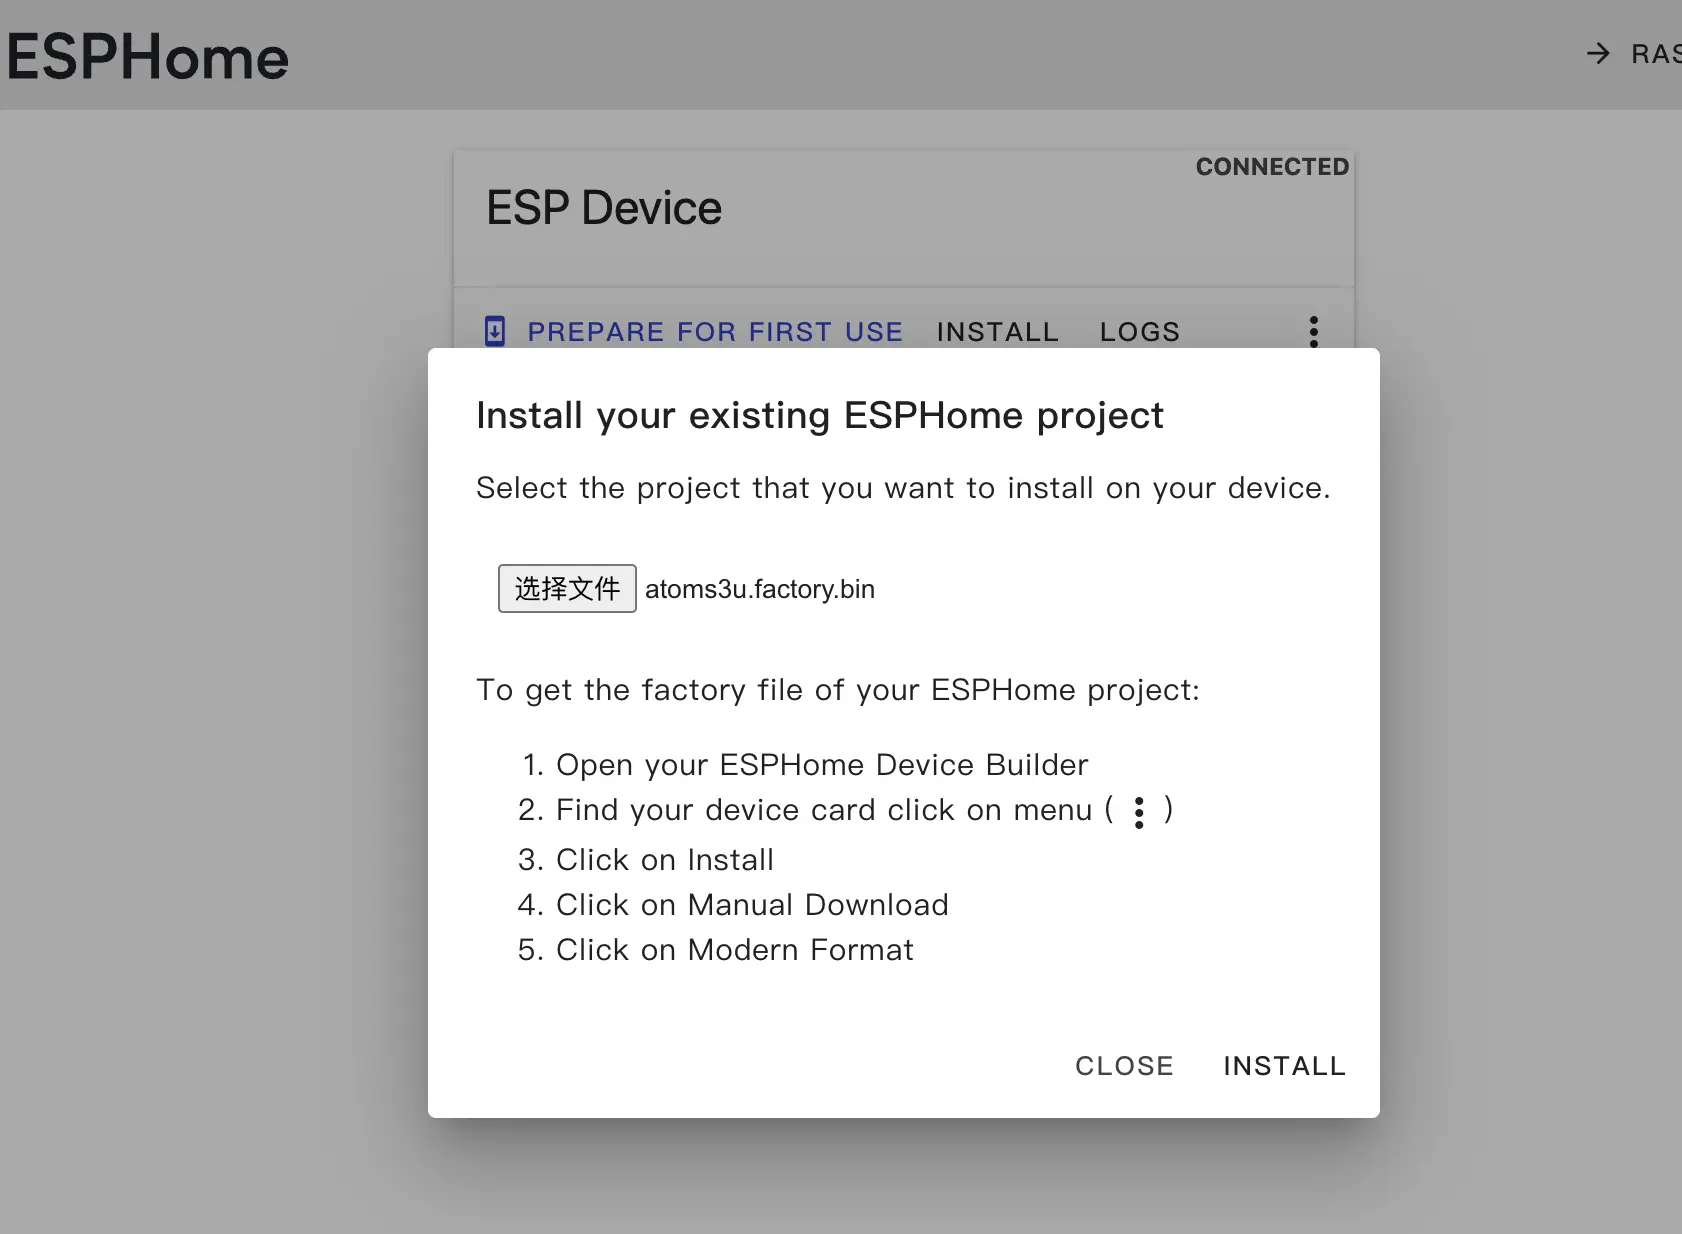
- Click
INSTALL, select the downloaded firmware, then clickINSTALLagain to flash it to the device.
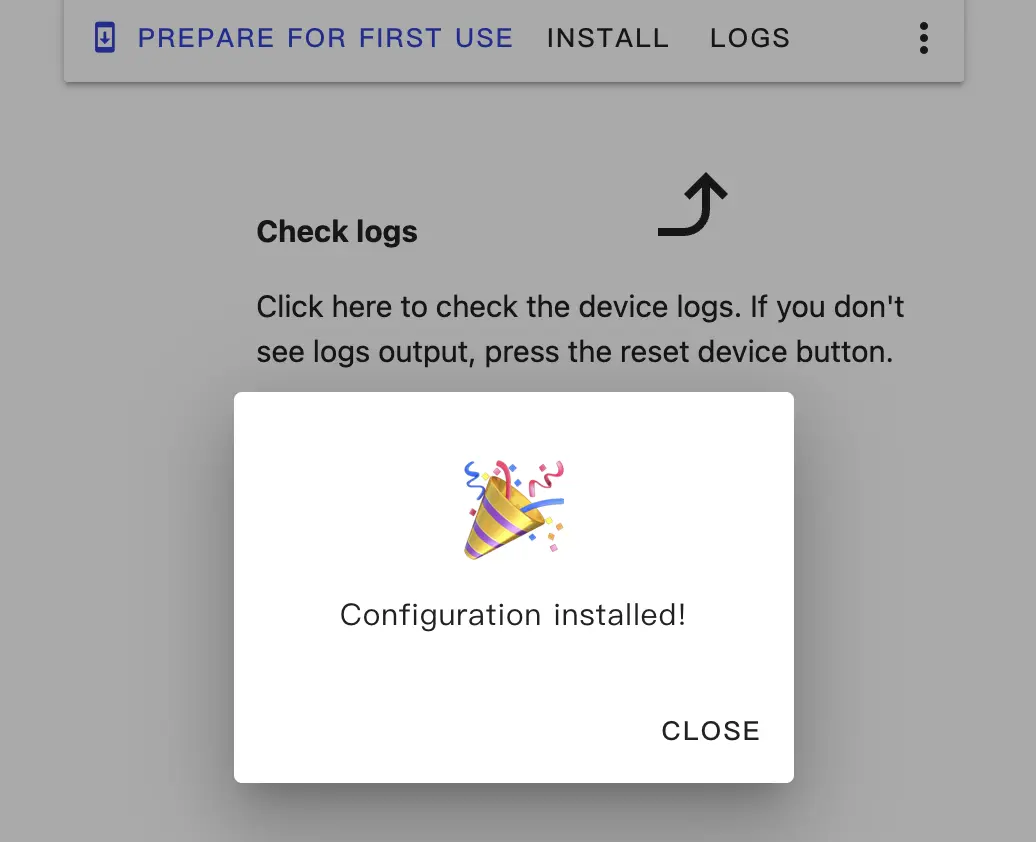
- After flashing finishes, press RESET to reboot.
Getting Started
Add the Device to Home Assistant Integration
- After reboot, the device should automatically connect to the configured network. It should appear under
Settings->Devices & services.
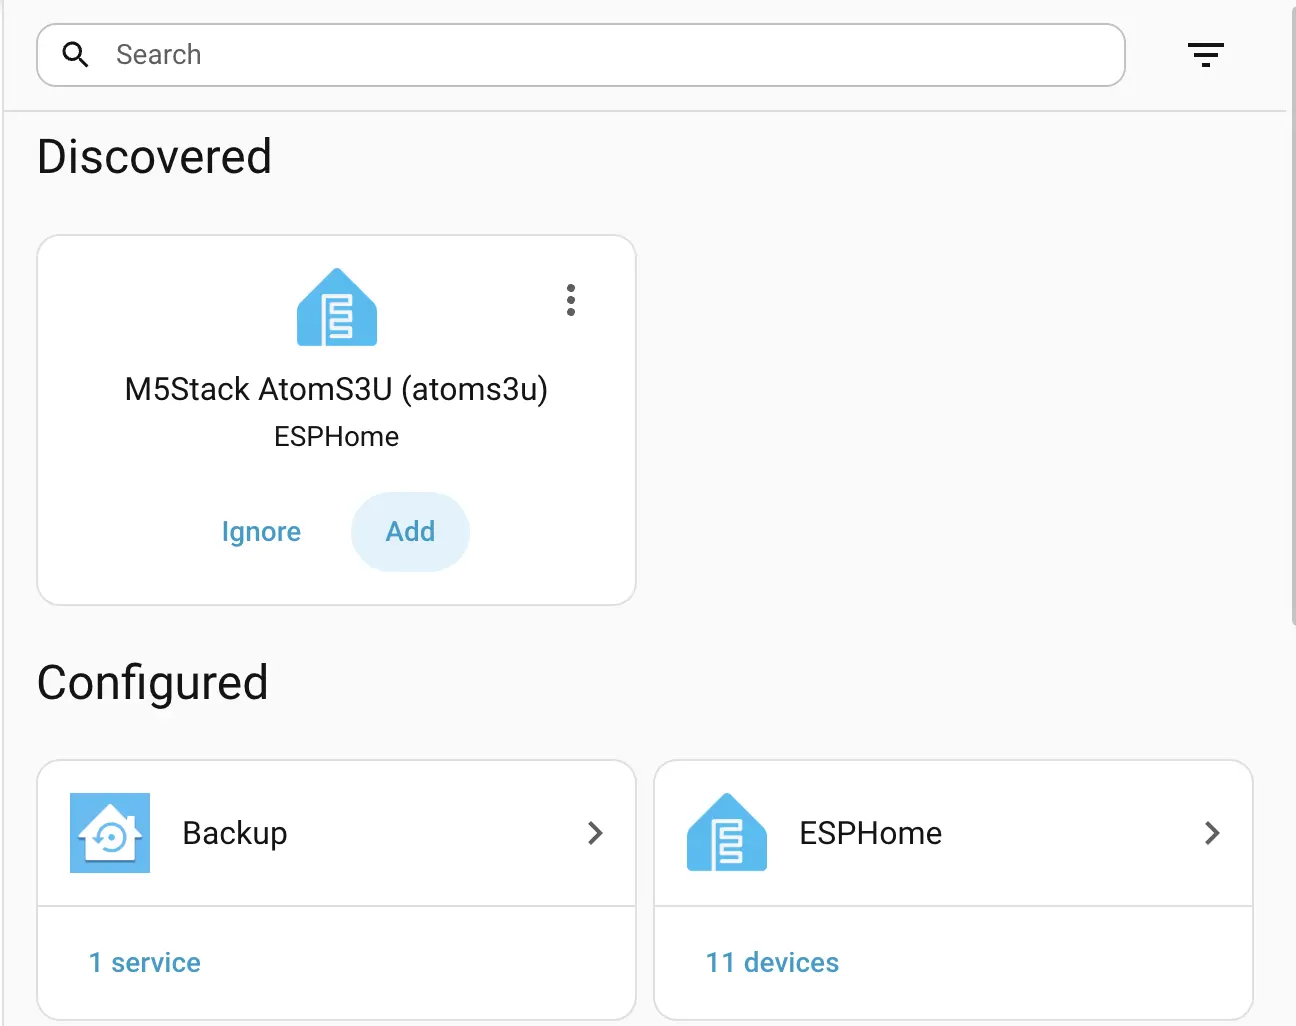
- Click
Addto integrate AtomS3U into Home Assistant. If you set an API Encryption Key, you may need to enter it during integration.
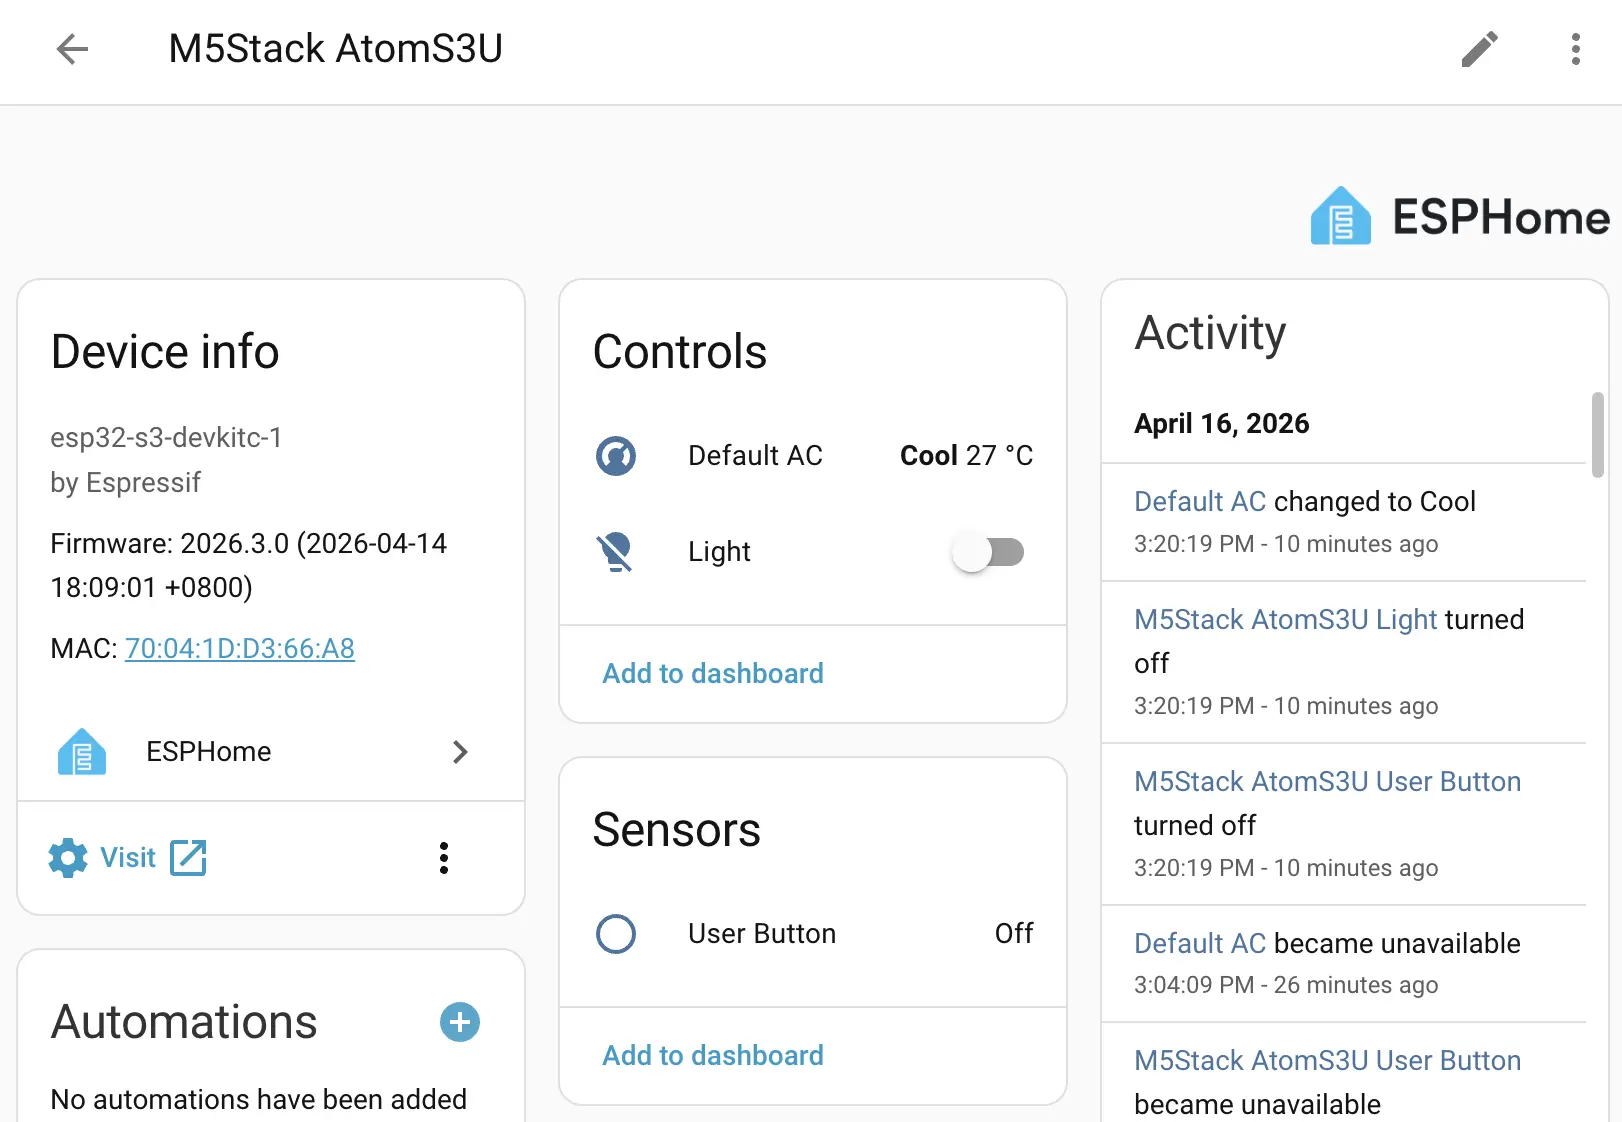
AtomS3U dashboard example:
Peripheral Overview
This section explains the peripherals used in the configuration.
I2C and I2S
Mainly I2C and I2S pins:
i2c:
  sda: GPIO2
  scl: GPIO1

i2s_audio:
i2s_lrclk_pin: GPIO39Infrared Transmitter
The infrared LED is connected to GPIO12:
remote_transmitter:
  pin: GPIO12
  carrier_duty_percent: 50%
  non_blocking: true
rmt_symbols: 48You can add an IR Remote Climate component for air conditioner control, for example:
# Example IR Remote Climate
climate:
  - platform: coolix
    name: "Default AC"
    visual:
      min_temperature: 18
      max_temperature: 30
temperature_step: 1RGB Light
A single RGB LED is connected through WS2812 on GPIO35:
light:
  - platform: esp32_rmt_led_strip
    rgb_order: GRB
    pin: GPIO35
    num_leds: 1
    chipset: ws2812
    name: "Light"
rmt_symbols: 48PDM Microphone
The device includes a PDM microphone:
microphone:
  - platform: i2s_audio
    id: echo_microphone
    i2s_din_pin: GPIO38
    adc_type: external
    pdm: true