

Home Assistant
传感器
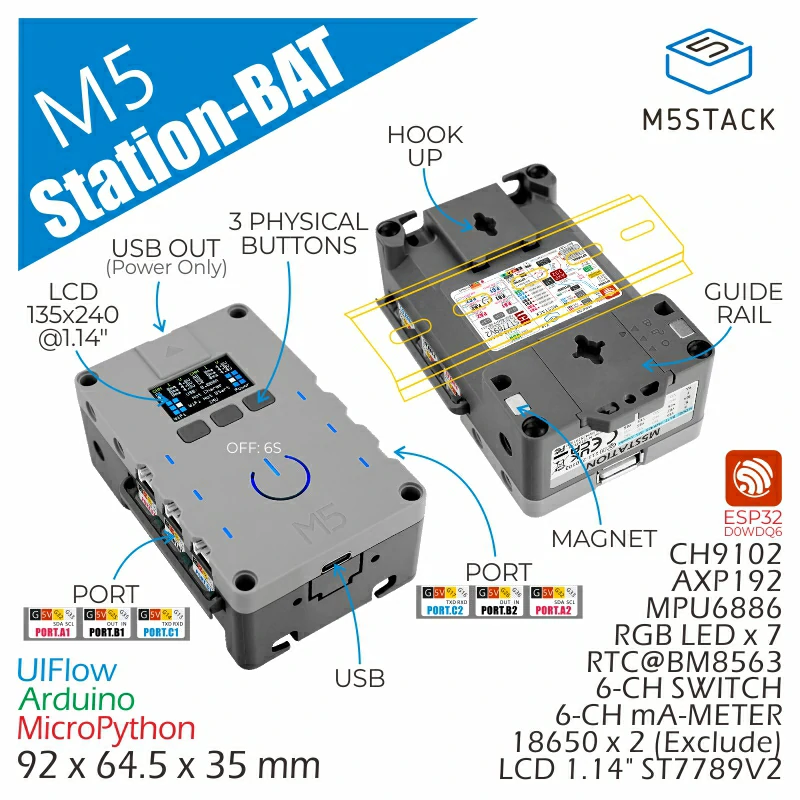
Station-Bat 控制器 Home Assistant 集成
本章节介绍将 Station-Bat 集成至 Home Assistant 的完整方法。
准备工作
- 一台已安装 Home Assistant 的主机
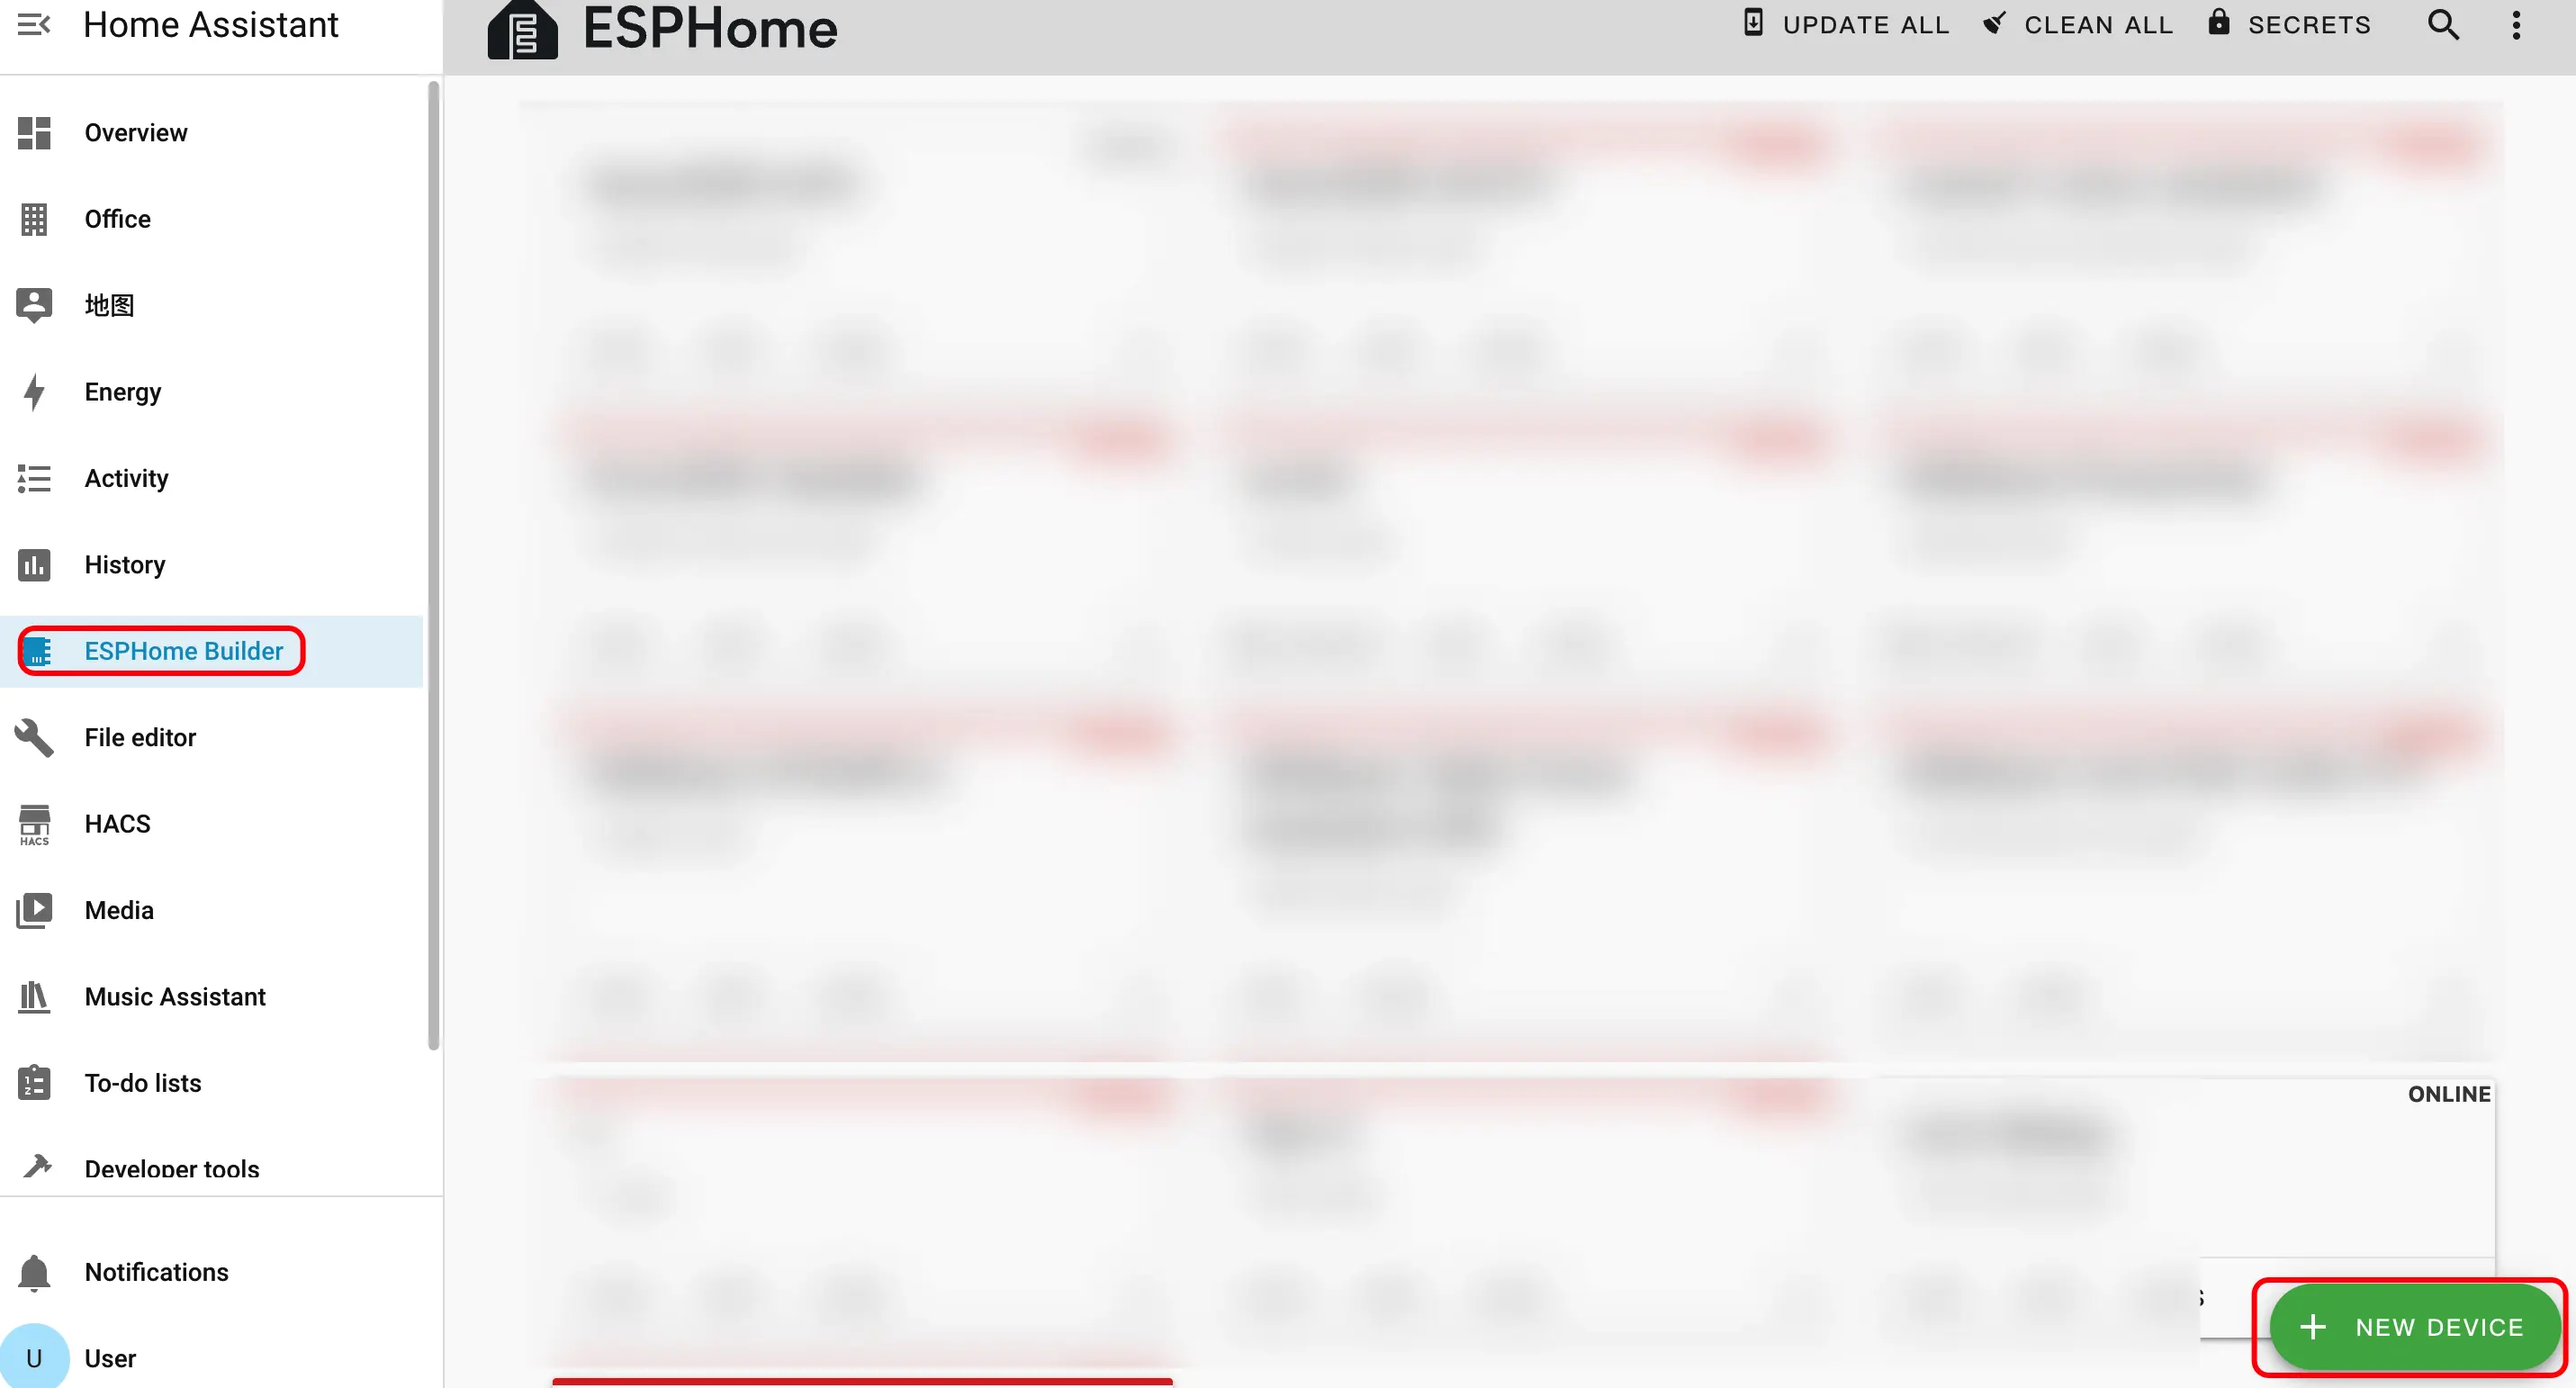
- 在 Home Assistant 中安装并启用 ESPHome Builder 插件
提示
本教程使用 ESPHome 2026.2.4 版本进行固件编译与烧录。如果在编译 / 上传过程中遇到问题,可以尝试将 ESPHome 切换到该版本后重试。
快速体验
可点击下方按钮,一键完成固件烧录,按提示完成配置, 即可快速体验 Station-Bat 接入 Home Assistant。一键烧录及后续配置的方法可参考教程。
创建设备
- 点击右下角的绿色按钮创建设备。
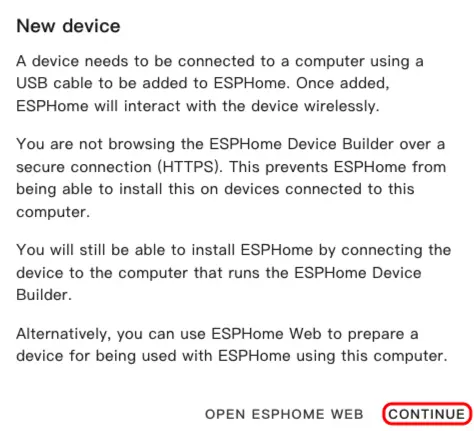
- 点击
CONTINUE。
- 点击
New Device Setup。

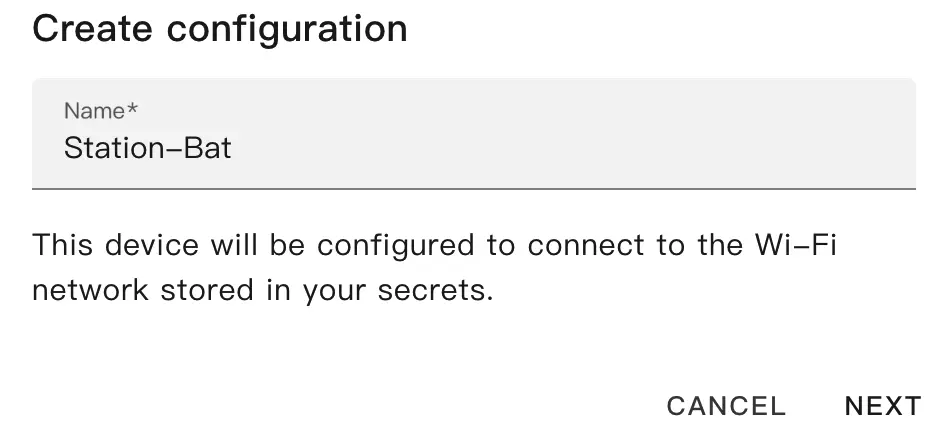
- 输入设备名称,然后点击
NEXT。
- 选择
ESP32。
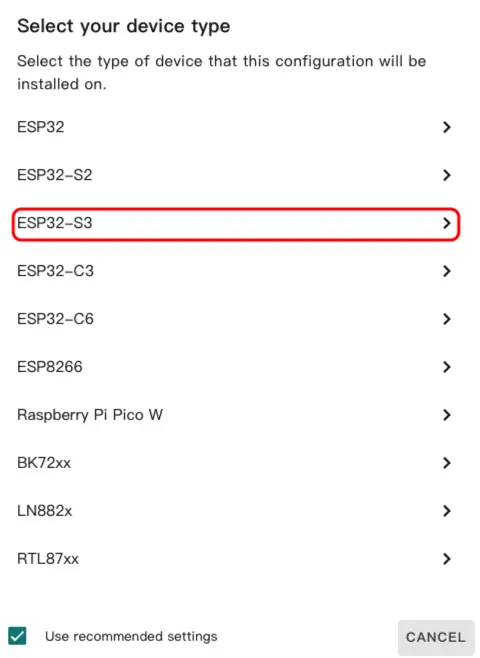
- 点击
SKIP跳过向导。
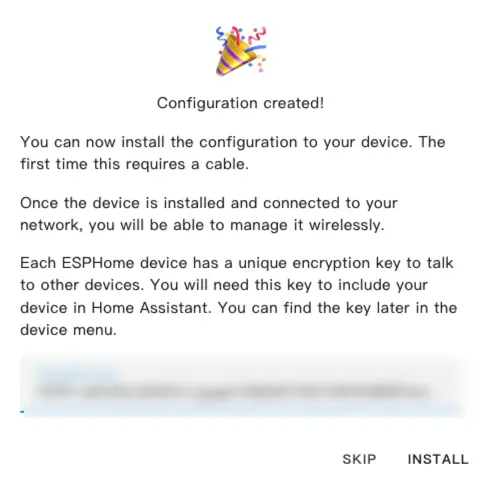
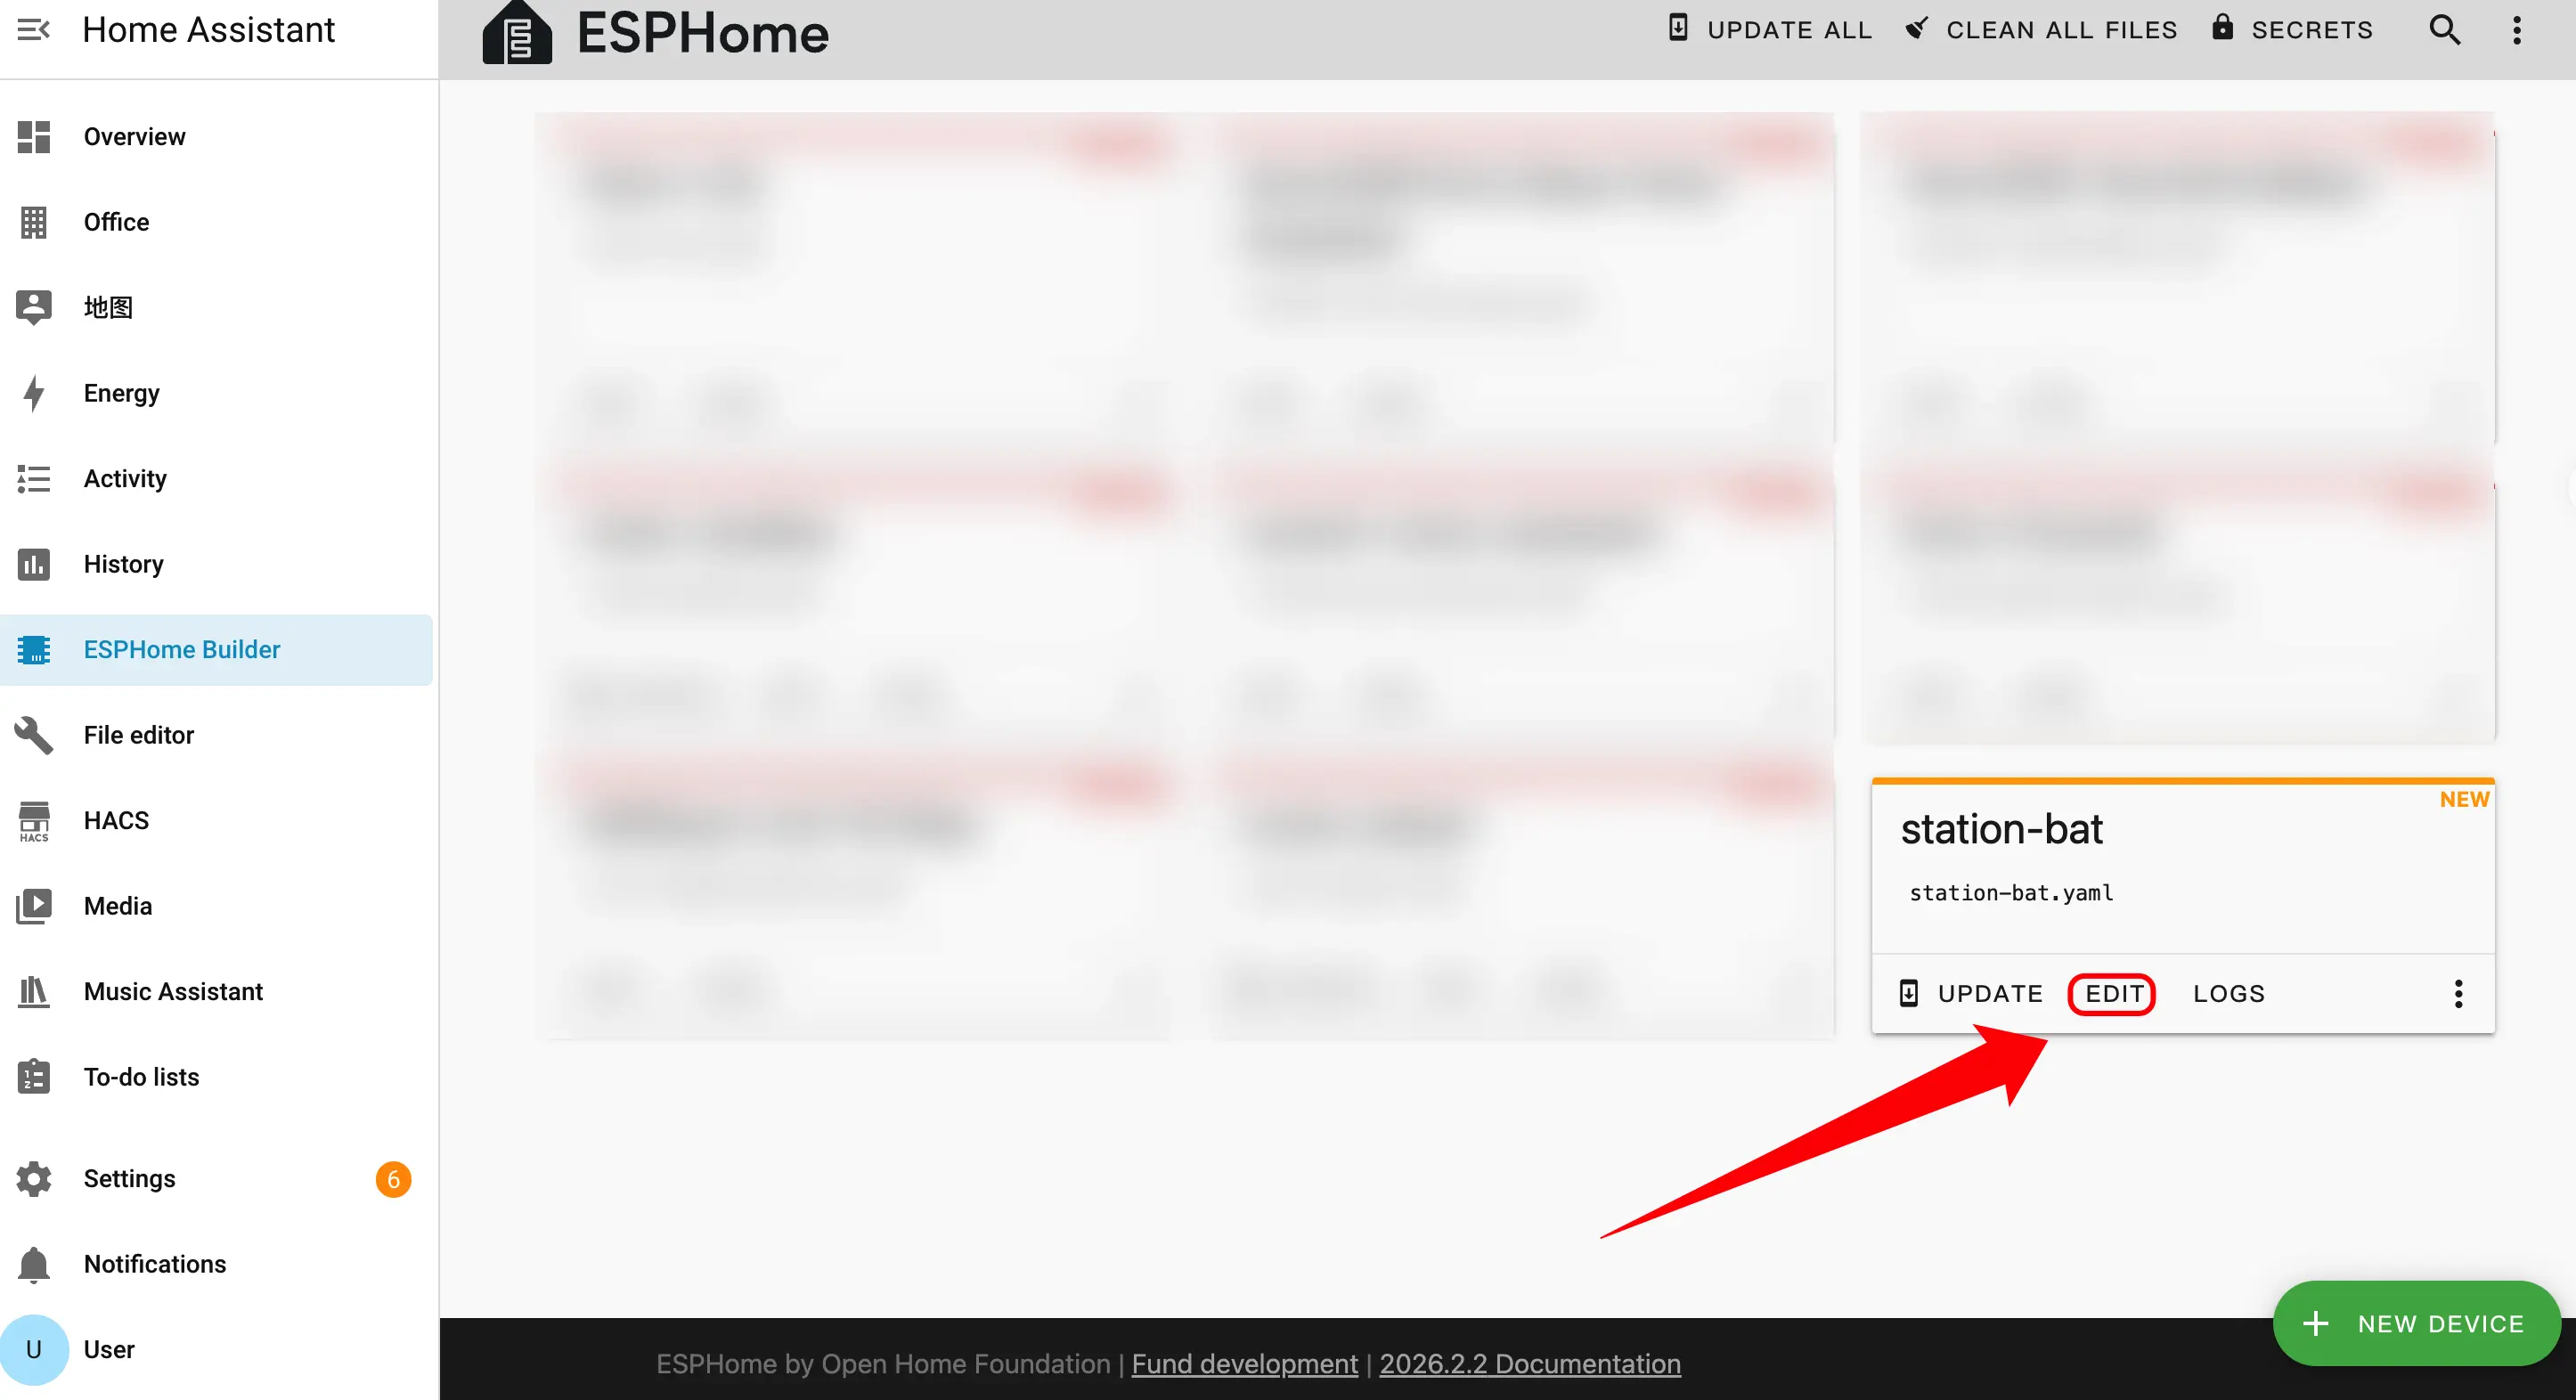
- 点击
EDIT,通过 YAML 文件自定义设备功能。
设备配置
下面是配置的核心部分,并附带对应的说明与参考链接。
启动配置(Boot Configuration)
- 添加开机初始化逻辑,确保启动时能够从 RTC 读取时间。
esphome:
  name: station-bat
  friendly_name: station-bat
  on_boot:
    - priority: 600
      then:
- bm8563.read_time:外部组件(External Components)
- 添加 External Components 配置。其中
m5station_axp192组件为 Station-Bat 提供电源管理与电池电量检测支持。
external_components:
  - source: github://m5stack/esphome-yaml/components
    components: [m5station_axp192]
refresh: 0sI2C 总线配置
- 添加 I2C 组件。该 I2C 总线由 IMU、电源管理芯片以及电流 / 电压监测芯片共用。
i2c:
  - id: i2c_bus
    sda: GPIO21
scl: GPIO22SPI 总线配置
- 添加 SPI 组件。SPI 总线用于驱动 ST7789V 显示屏。
spi:
  clk_pin: GPIO18
mosi_pin: GPIO23传感器配置(Sensor)
- 添加 Sensor 组件。
- 添加 MPU6886 IMU 传感器,用于加速度、陀螺仪以及温度数据采集。
- 添加两颗 INA3221 电流 / 电压监测芯片,共覆盖 6 路通道(A1/A2、B1/B2、C1/C2)。
m5station_axp192传感器由前面引入的外部组件提供,用于电池电量等电源相关信息。
sensor:
  - platform: mpu6886
    i2c_id: i2c_bus
    accel_x:
      name: "MPU6886 Accel X"
      id: imu_ax
    accel_y:
      name: "MPU6886 Accel Y"
      id: imu_ay
    accel_z:
      name: "MPU6886 Accel z"
      id: imu_az
    gyro_x:
      name: "MPU6886 Gyro X"
    gyro_y:
      name: "MPU6886 Gyro Y"
    gyro_z:
      name: "MPU6886 Gyro z"
    temperature:
      name: "MPU6886 Temperature"
      id: imu_temp
    update_interval: 5s

  - platform: m5station_axp192
    id: pmu
    i2c_id: i2c_bus
    battery_level:
      name: "M5Station Battery Level"
      id: bat_level
    update_interval: 60s
    brightness: 0.8

  - platform: ina3221
    id: ina1
    i2c_id: i2c_bus
    address: 0x40
    update_interval: 1s
    channel_1:
      shunt_resistance: 0.01
      bus_voltage:
        name: "P.A1 Bus Voltage"
        id: v_a1
      current:
        name: "P.A1 Current"
        id: i_a1
    channel_2:
      shunt_resistance: 0.01
      bus_voltage:
        name: "P.A2 Bus Voltage"
        id: v_a2
      current:
        name: "P.A2 Current"
        id: i_a2
    channel_3:
      shunt_resistance: 0.01
      bus_voltage:
        name: "P.B1 Bus Voltage"
        id: v_b1
      current:
        name: "P.B1 Current"
        id: i_b1

  - platform: ina3221
    id: ina2
    i2c_id: i2c_bus
    address: 0x41
    update_interval: 1s
    channel_1:
      shunt_resistance: 0.01
      bus_voltage:
        name: "P.B2 Bus Voltage"
        id: v_b2
      current:
        name: "P.B2 Current"
        id: i_b2
    channel_2:
      shunt_resistance: 0.01
      bus_voltage:
        name: "P.C1 Bus Voltage"
        id: v_c1
      current:
        name: "P.C1 Current"
        id: i_c1
    channel_3:
      shunt_resistance: 0.01
      bus_voltage:
        name: "P.C2 Bus Voltage"
        id: v_c2
      current:
        name: "P.C2 Current"
id: i_c2二值传感器配置(Binary Sensor)
- 添加 Binary Sensor 组件。面板上的三颗实体按键分别映射到 GPIO37、GPIO38 和 GPIO39。
binary_sensor:
  - platform: gpio
    name: "Button1"
    pin:
      number: GPIO37
      inverted: true
  - platform: gpio
    name: "Button2"
    pin:
      number: GPIO38
      inverted: true
  - platform: gpio
    name: "Button3"
    pin:
      number: GPIO39
inverted: true开关配置(Switch)
- 添加 Switch 组件。LCD 背光通过 AXP192 电源管理芯片控制,USB 供电输出则通过 GPIO12 控制。
switch:
  - platform: template
    name: "LCD Backlight"
    id: lcd_backlight
    lambda: |-
      return true;
    restore_mode: ALWAYS_ON
    turn_on_action:
      - lambda: |-
          id(pmu).set_backlight(true);
    turn_off_action:
      - lambda: |-
          id(pmu).set_backlight(false);

  - platform: gpio
    name: "USB Power"
    id: usb_power
pin: GPIO12时间配置(Time)
time:
  - platform: bm8563
    id: bm8563_time
    update_interval: never

  - platform: homeassistant
    id: ha_time
    on_time_sync:
      then:
- bm8563.write_time:灯光配置(Light)
- 添加 Light 组件。Station-Bat 板载 7 颗 WS2812 RGB LED,通过 GPIO4 驱动。
light:
  - platform: esp32_rmt_led_strip
    rgb_order: GRB
    pin: GPIO4
    num_leds: 7
    chipset: ws2812
name: "My Light"显示配置(Display)
display:
  - platform: st7789v
    model: CUSTOM
    width: 135
    height: 240
    offset_height: 52
    offset_width: 40
    cs_pin: GPIO5
    dc_pin: GPIO19
    reset_pin: GPIO15
    rotation: 90
    update_interval: 1s
    lambda: |-
      // Define your display content here
// See the complete example for a full implementation固件编译(Firmware Build)
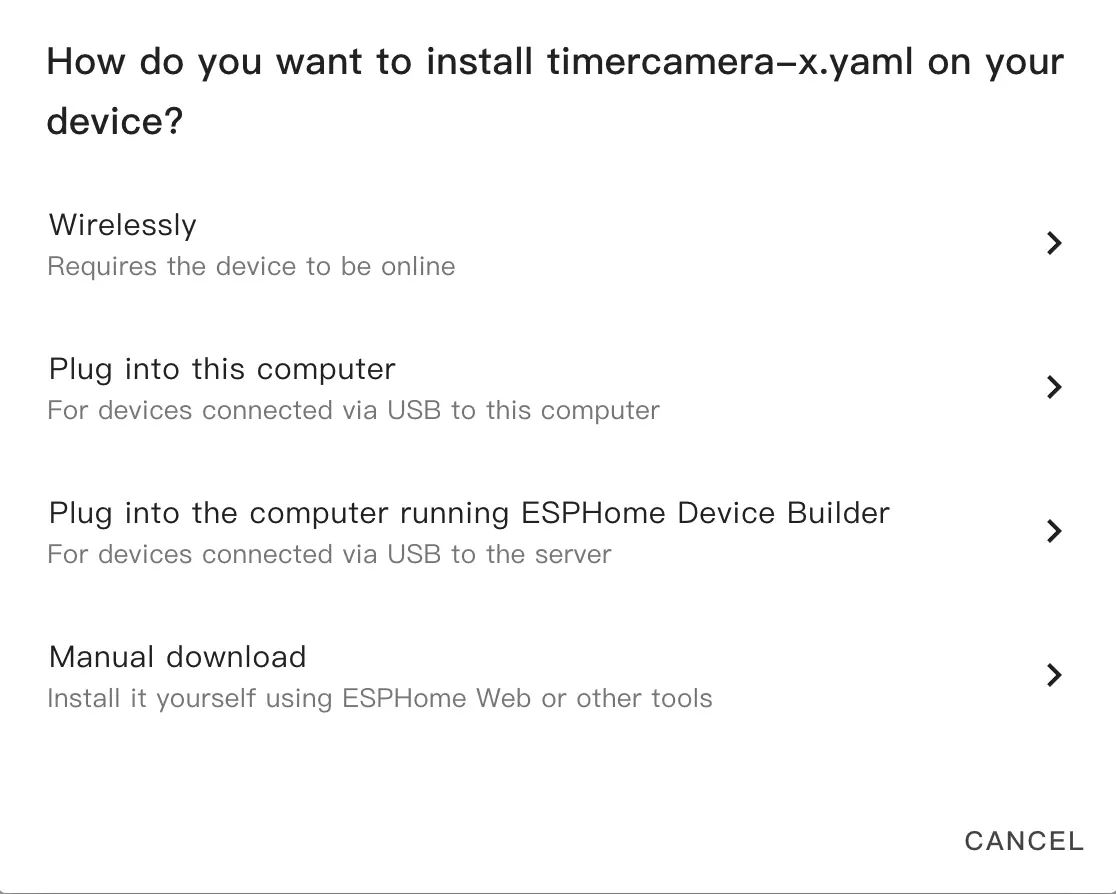
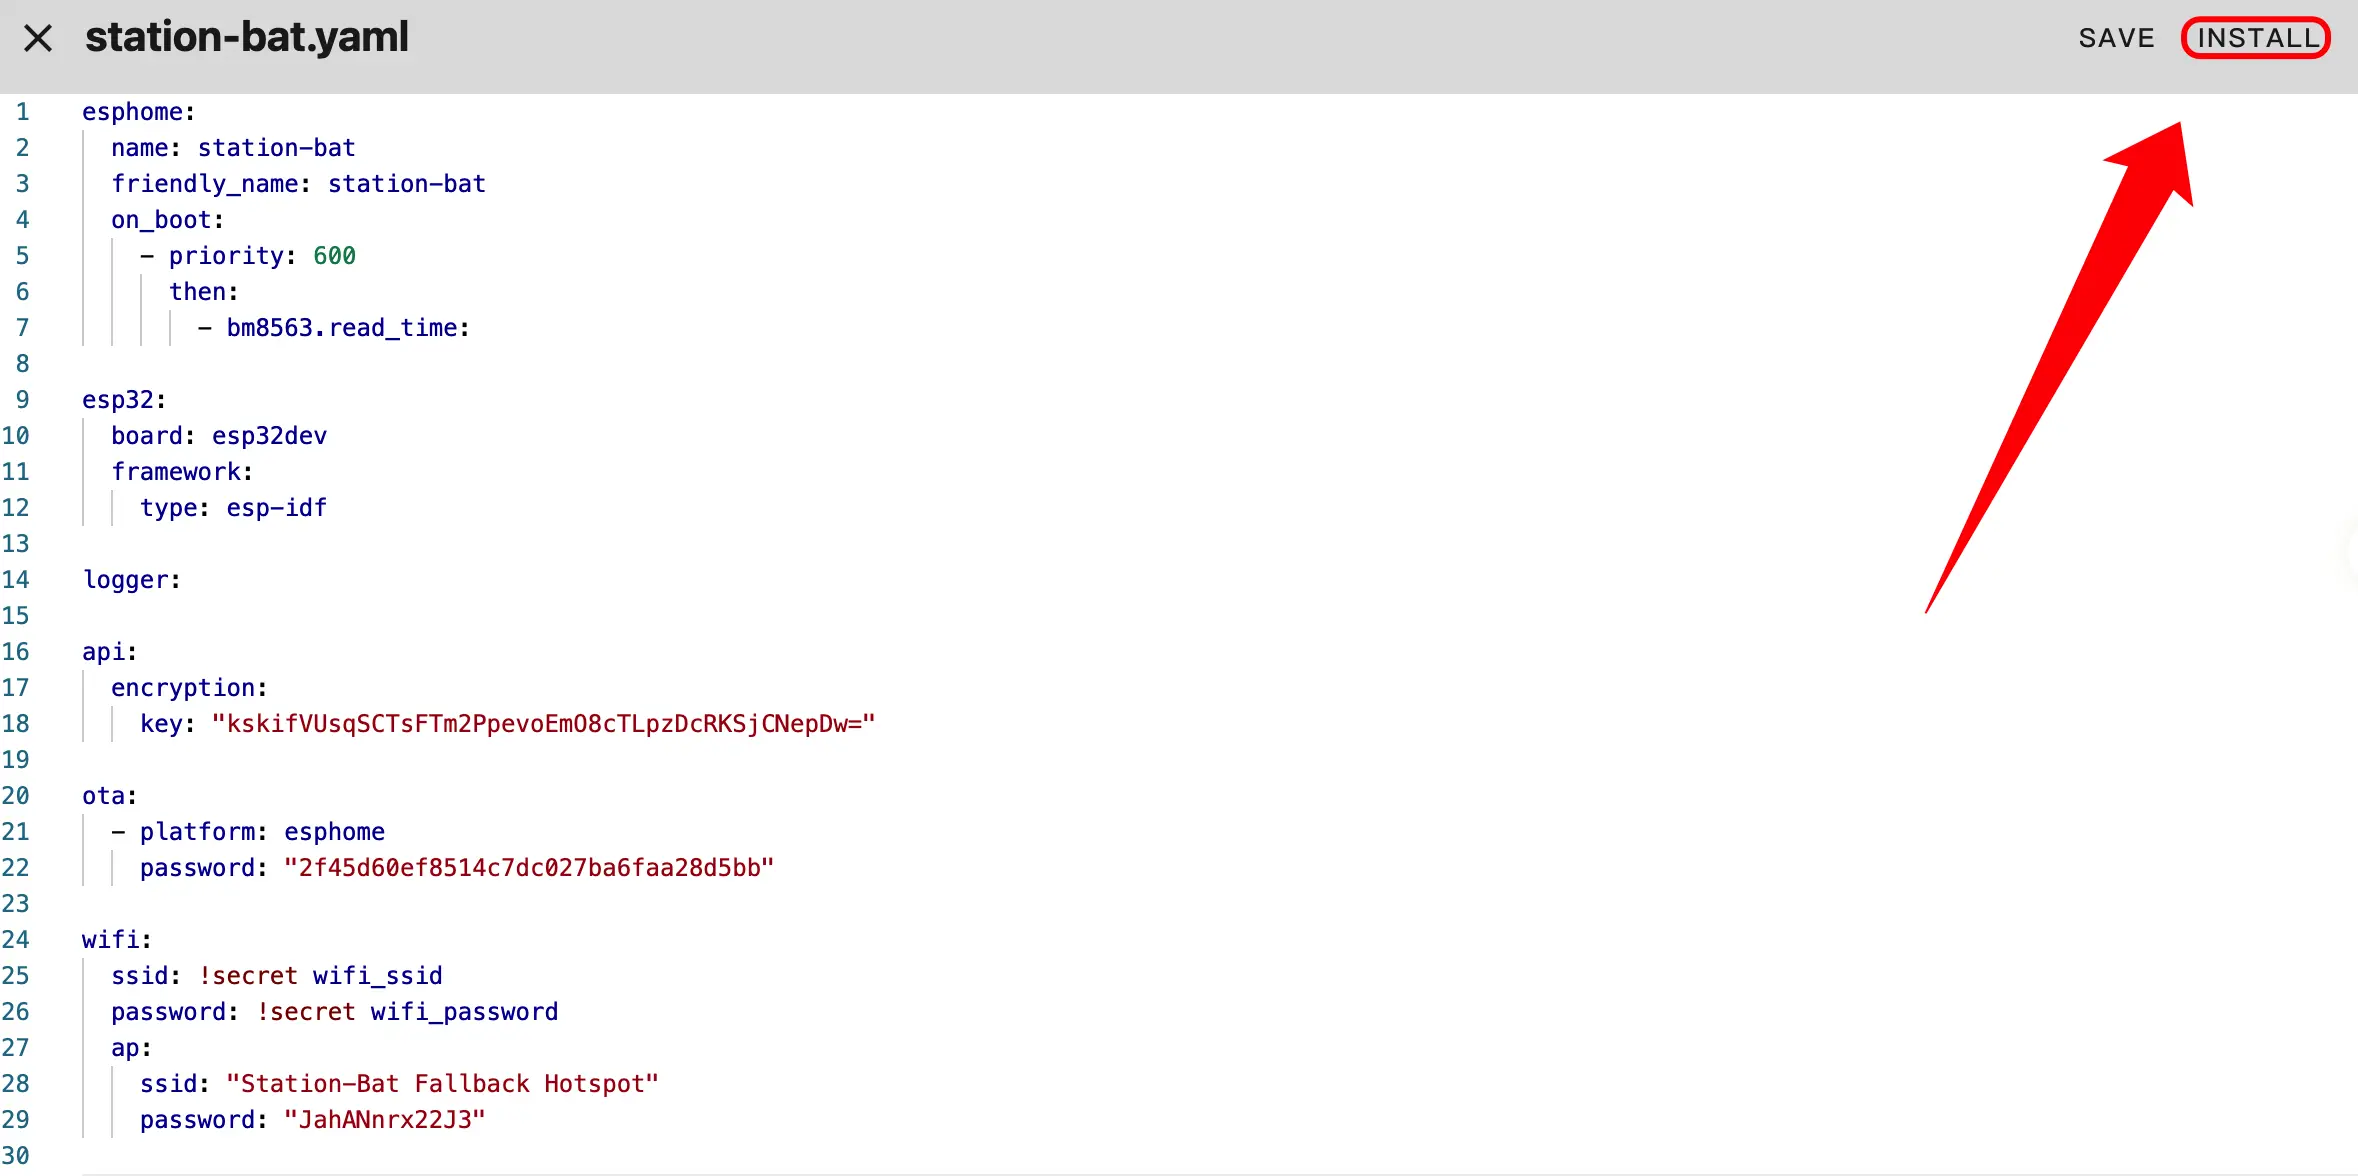
- 修改完成后,点击右上角的
SAVE和INSTALL,在弹出的对话框中选择Manual Download进行手动下载。
- 点击
INSTALL,等待固件编译完成。
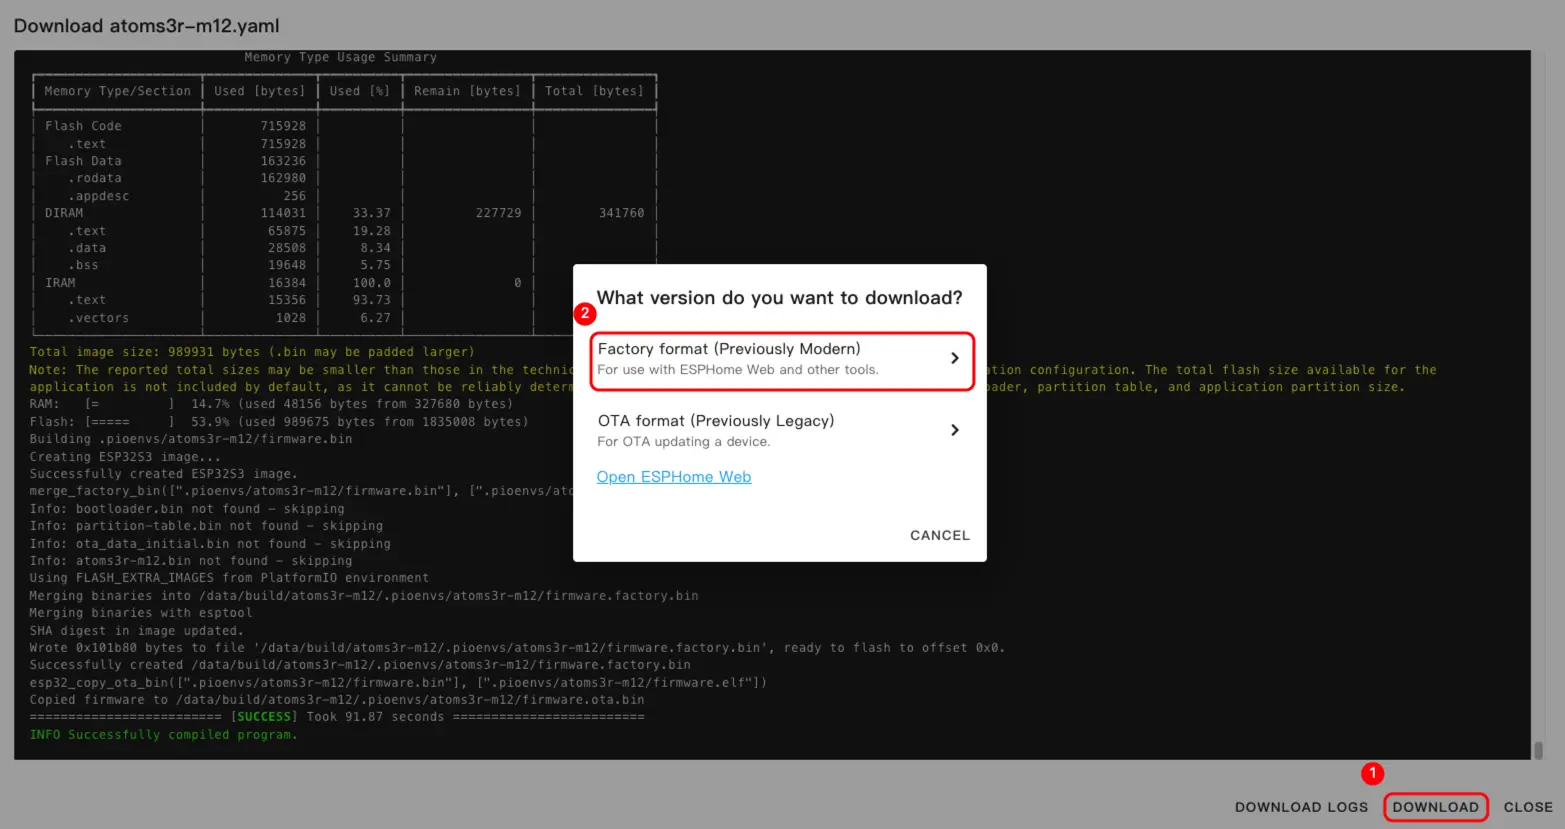
- 编译完成后,点击 Download,并选择
Factory format (Previously Modern)格式进行下载。
提示
点击 Station-Bat 可查看完整示例配置。首次构建可能耗时较长,具体取决于 Home Assistant 主机性能和网络状况。
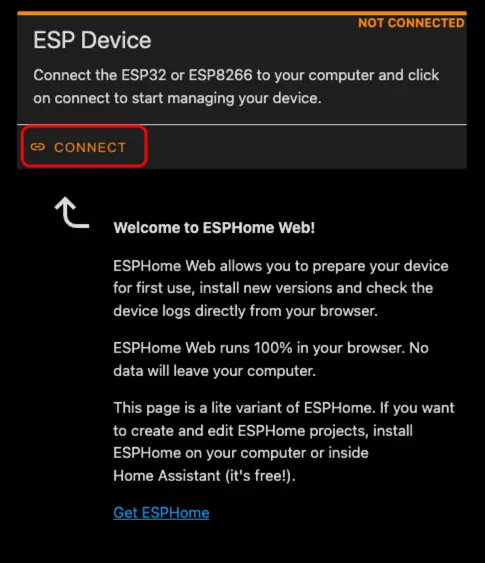
固件烧录(Firmware Upload)
- 使用 USB Type‑C 数据线将设备连接到主机,打开 ESPHome Web,点击
CONNECT连接设备。
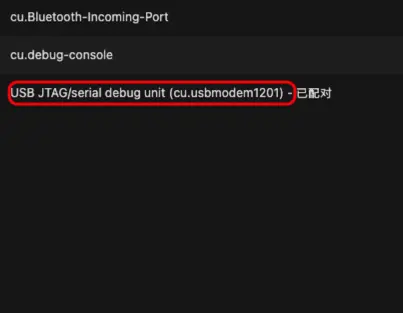
- 在弹出的列表中选择对应的串口号。
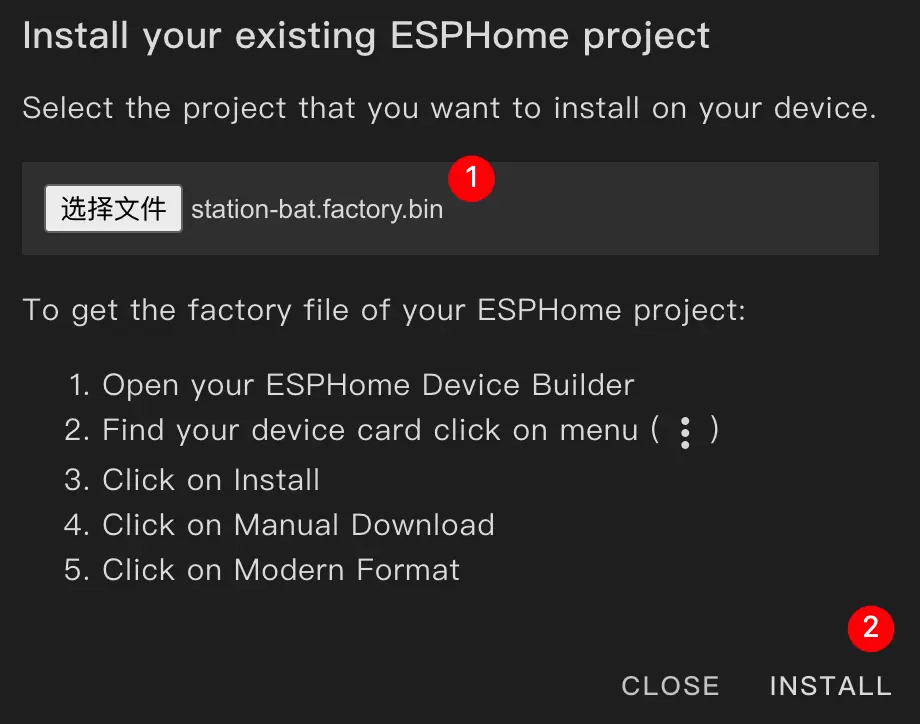
- 点击
INSTALL。
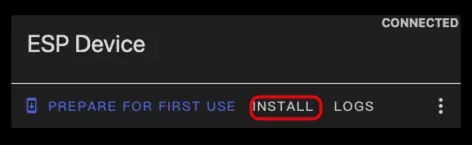
- 选择之前编译好的固件文件进行烧录。
提示
烧录完成后,请按下设备的复位按键,以使新固件生效。
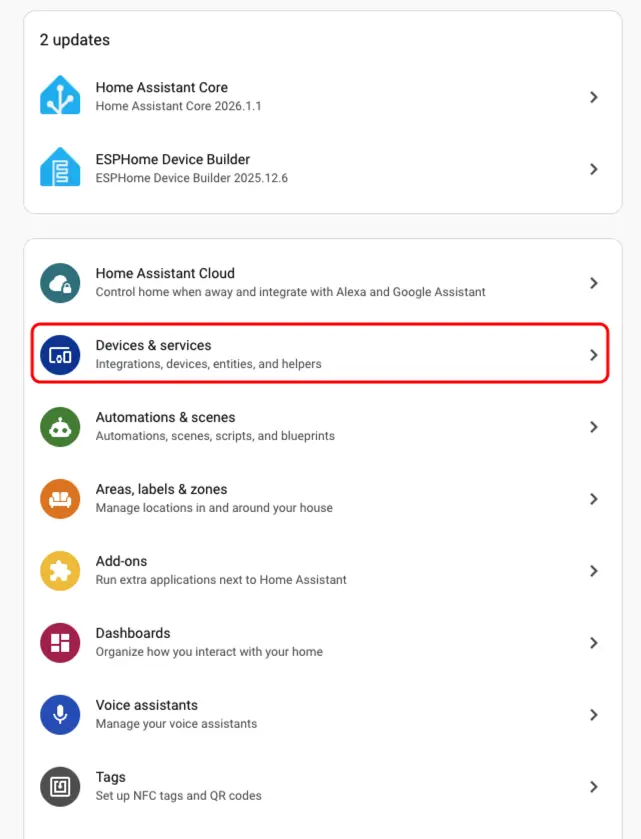
开始使用
- 在 Home Assistant 中点击
Settings→Devices & Services,查看设备列表。
- 在
Discovered(已发现)区域中可以看到对应设备,点击CONFIGURE完成添加。
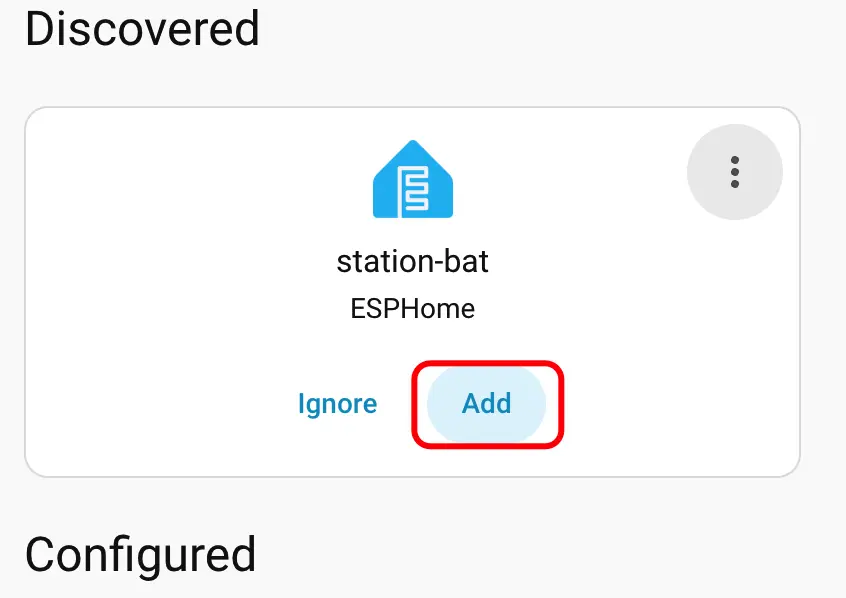
- 添加完成后,各类传感器数据会被正确显示。
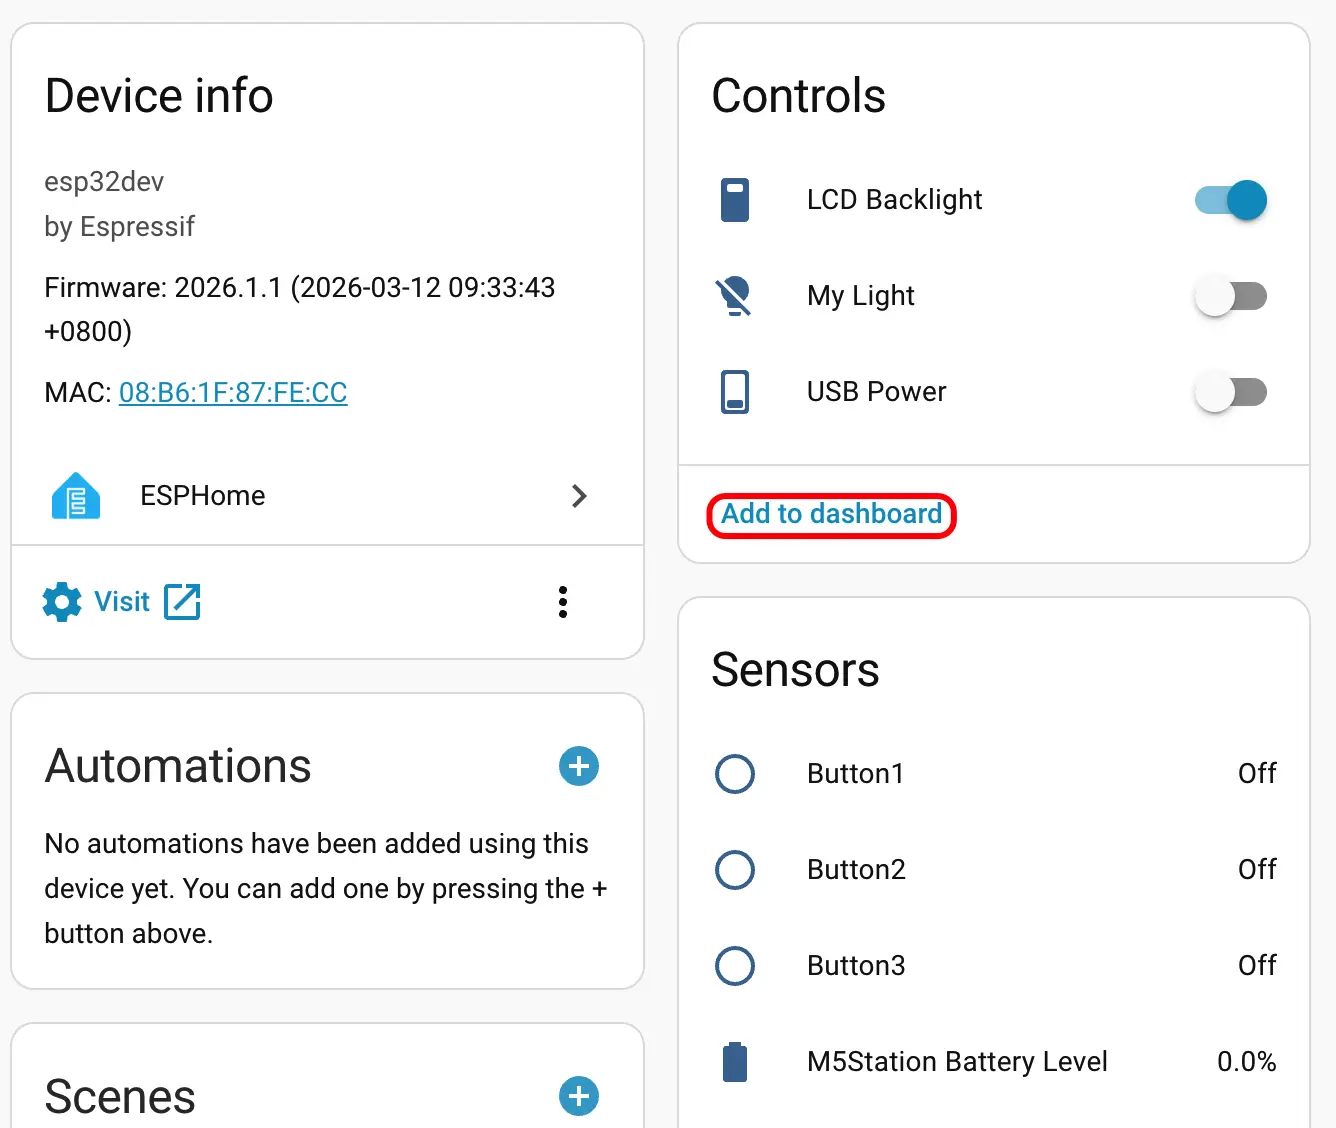
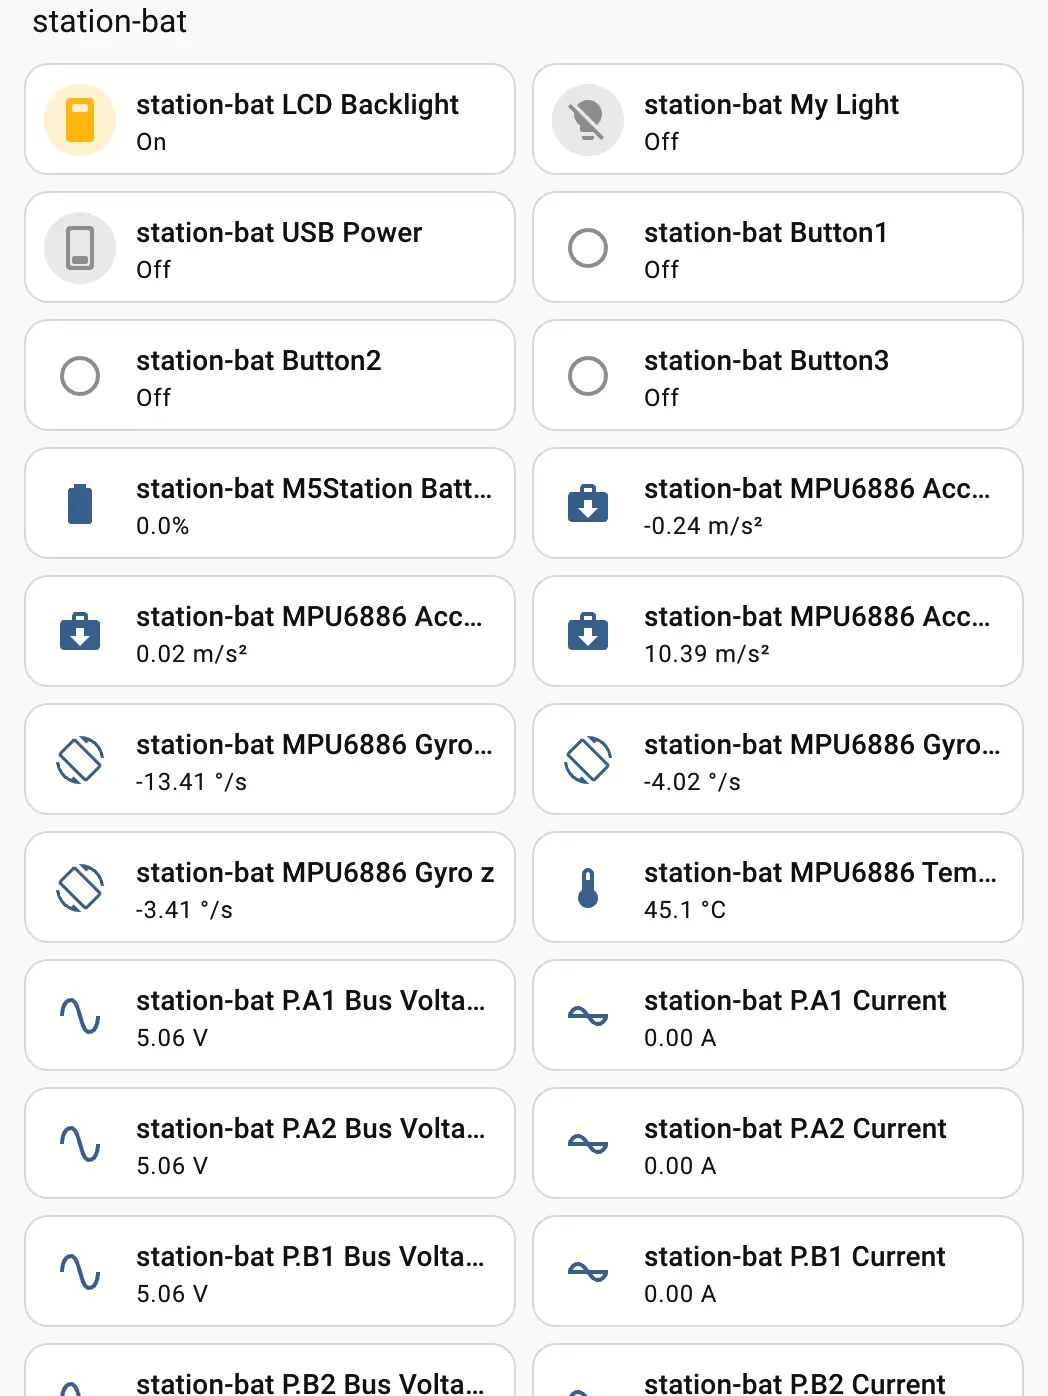
- 最后将这些实体添加到 Dashboard(仪表盘)中,效果如下图所示。
Page Tools