

Home Assistant
Media Player
Expansion
Sensor
Unit Step16 Home Assistant Integration
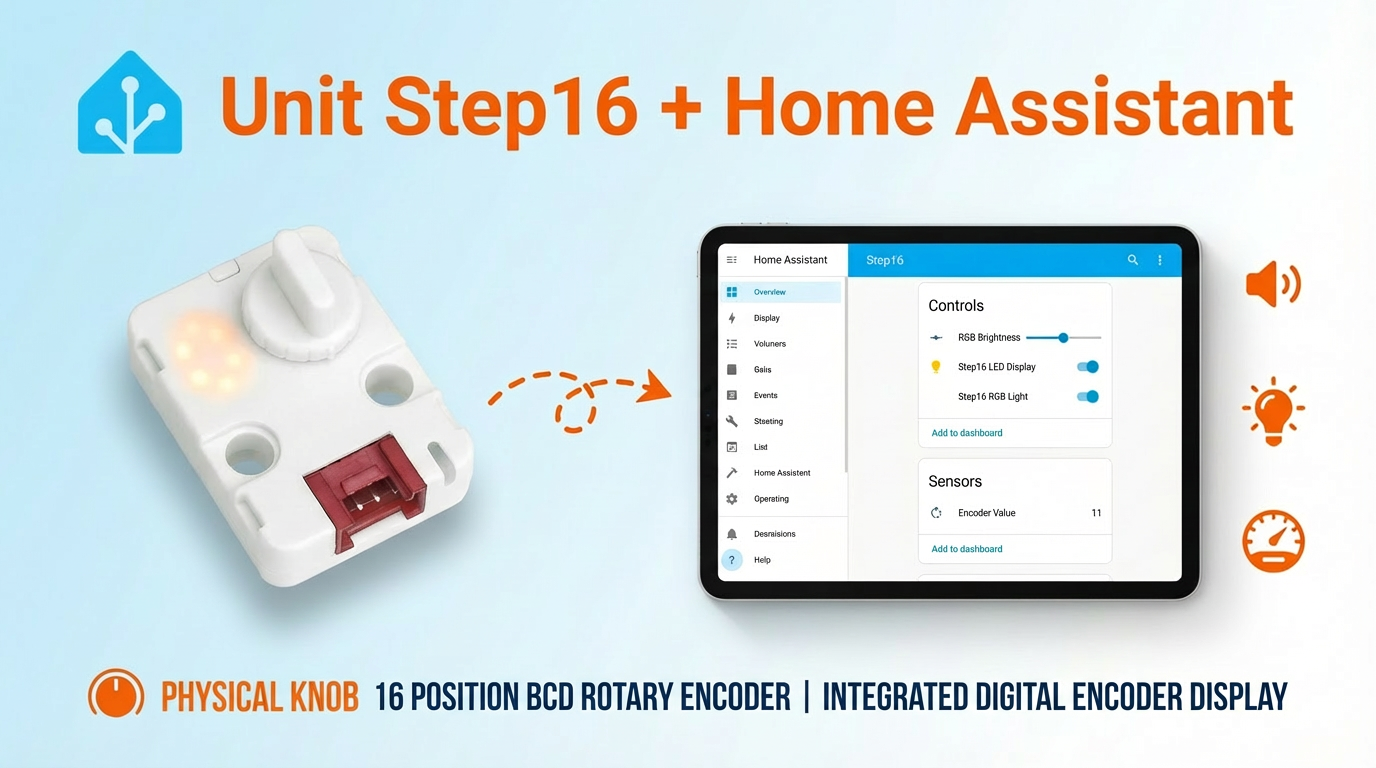
This tutorial will introduce how to use the Unit Step16 16-bit rotary encoder control unit integrated into Home Assistant to achieve knob value and light control.
1. Preparation
Environment Setup
- Follow the official Home Assistant documentation to install Home Assistant.
- Follow the official ESPHome documentation to install the ESPHome Device Builder add-on. (Note: This tutorial is based on
ESPHome 2026.1.2. If you encounter compilation errors, switch to this version first for verification.)
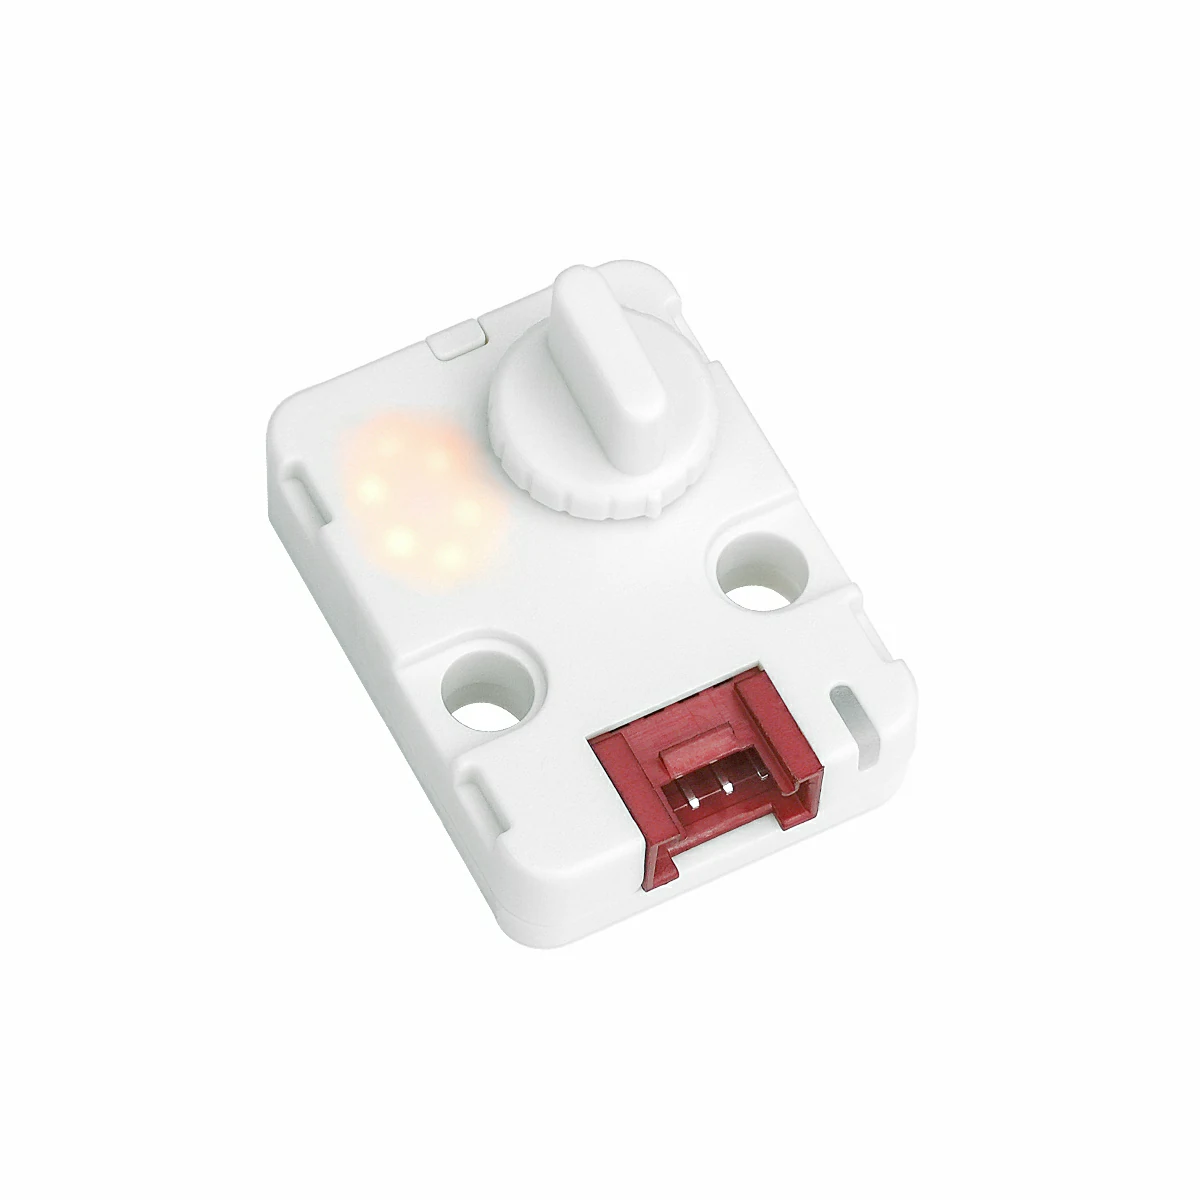
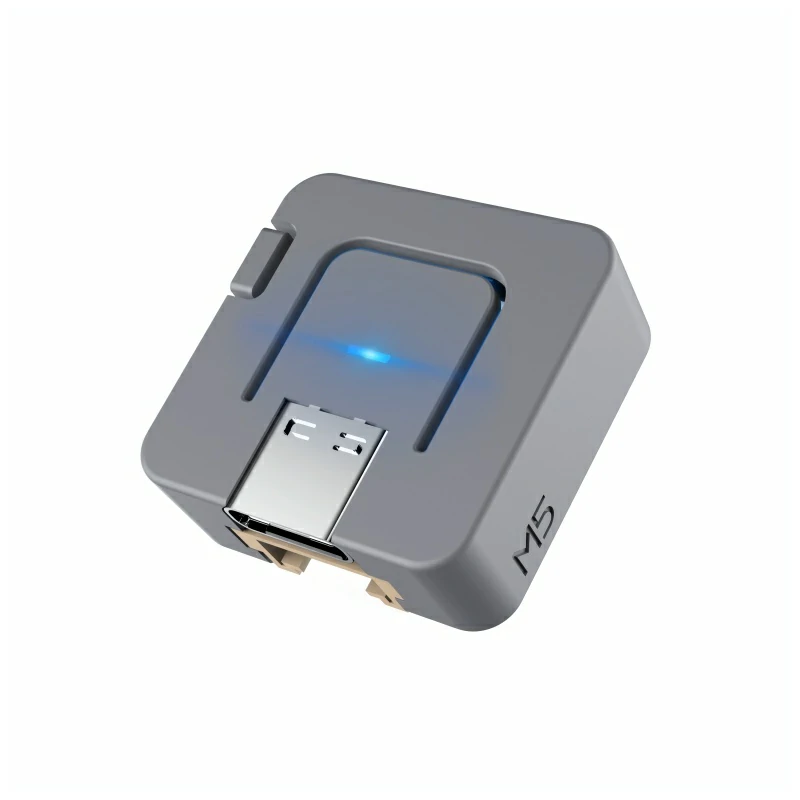
Hardware
2. Firmware Compilation & Flashing
This section explains how to recompile the project based on the yaml configuration file, making it easier to perform secondary development, modify features, or add new features.
Compilation Time
Compiling firmware through HA is resource-intensive. The first compilation may take a long time to download resources, depending on the device running the HA service and network quality.
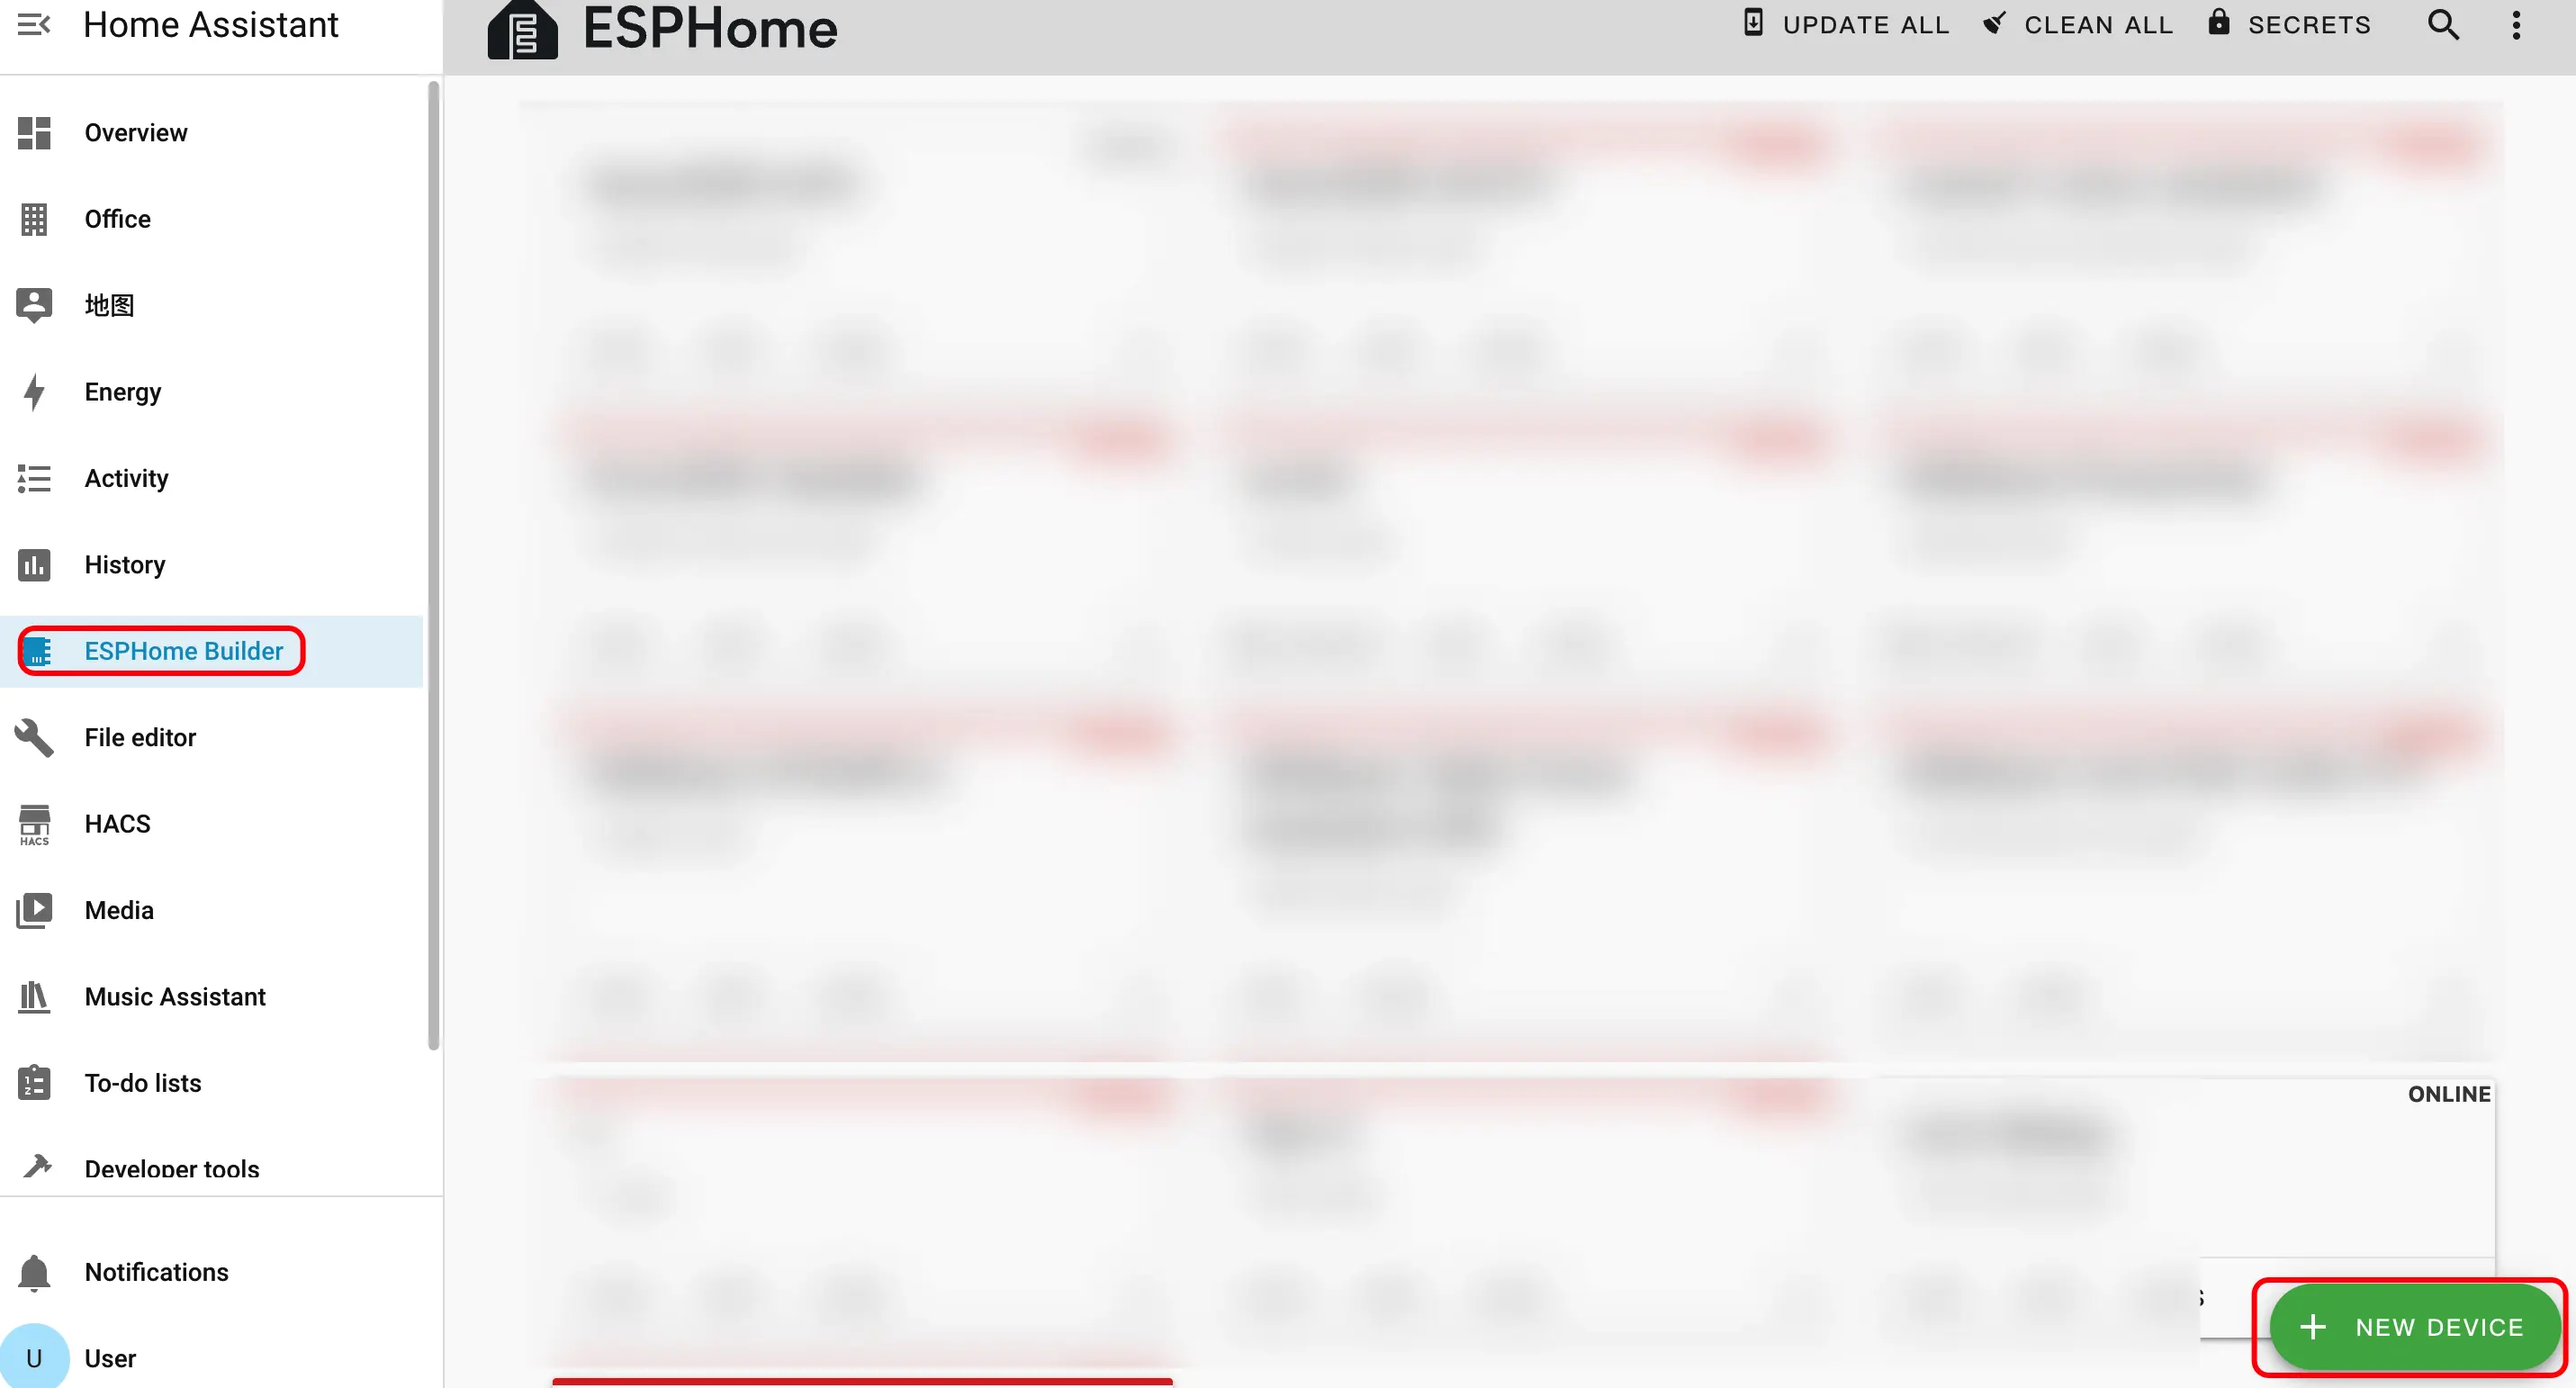
Create Device
- Create a new device. Click the green button in the lower-right corner to create the device.
- Create device name.
- Click
CONTINUE.
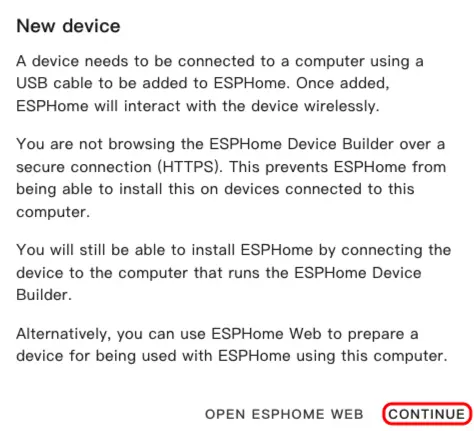
- Click
New Device Setup.
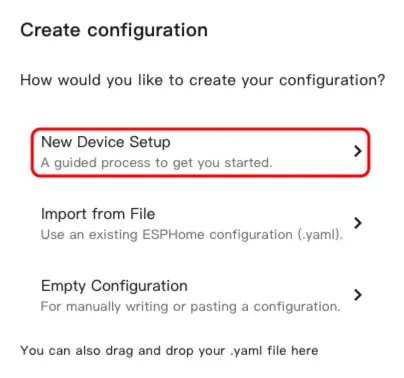
- Enter the device name and click
NEXT.
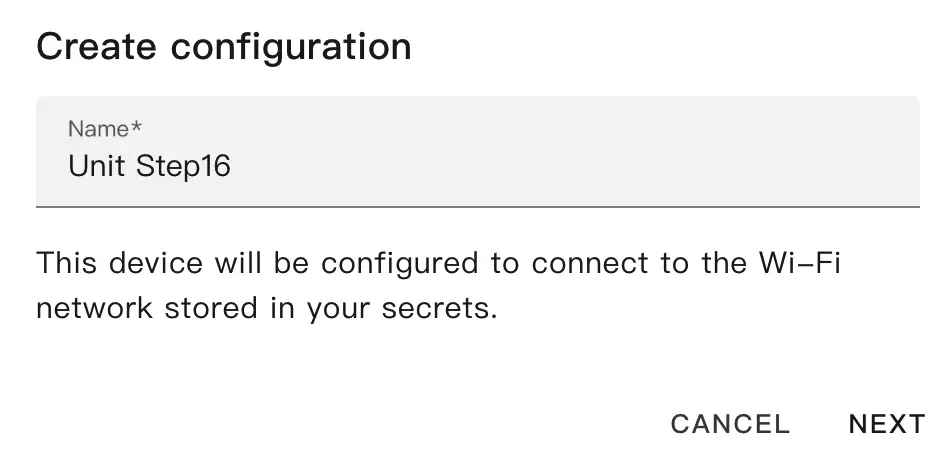
- Select device type.
- Click
ESP32.
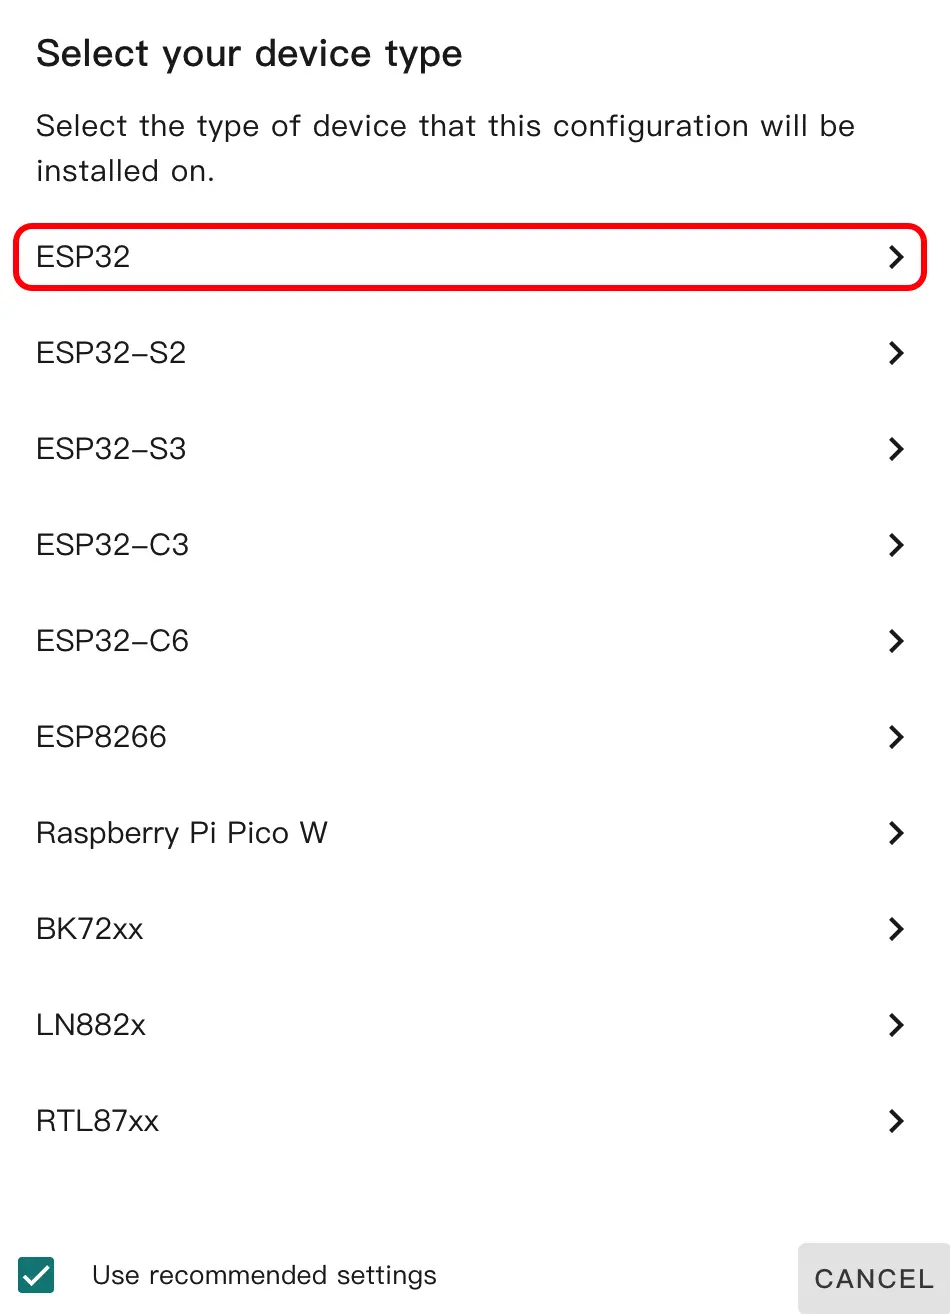
- Click
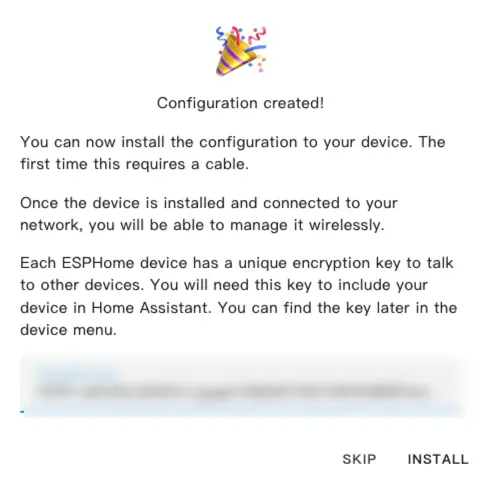
SKIP.
Modify Configuration
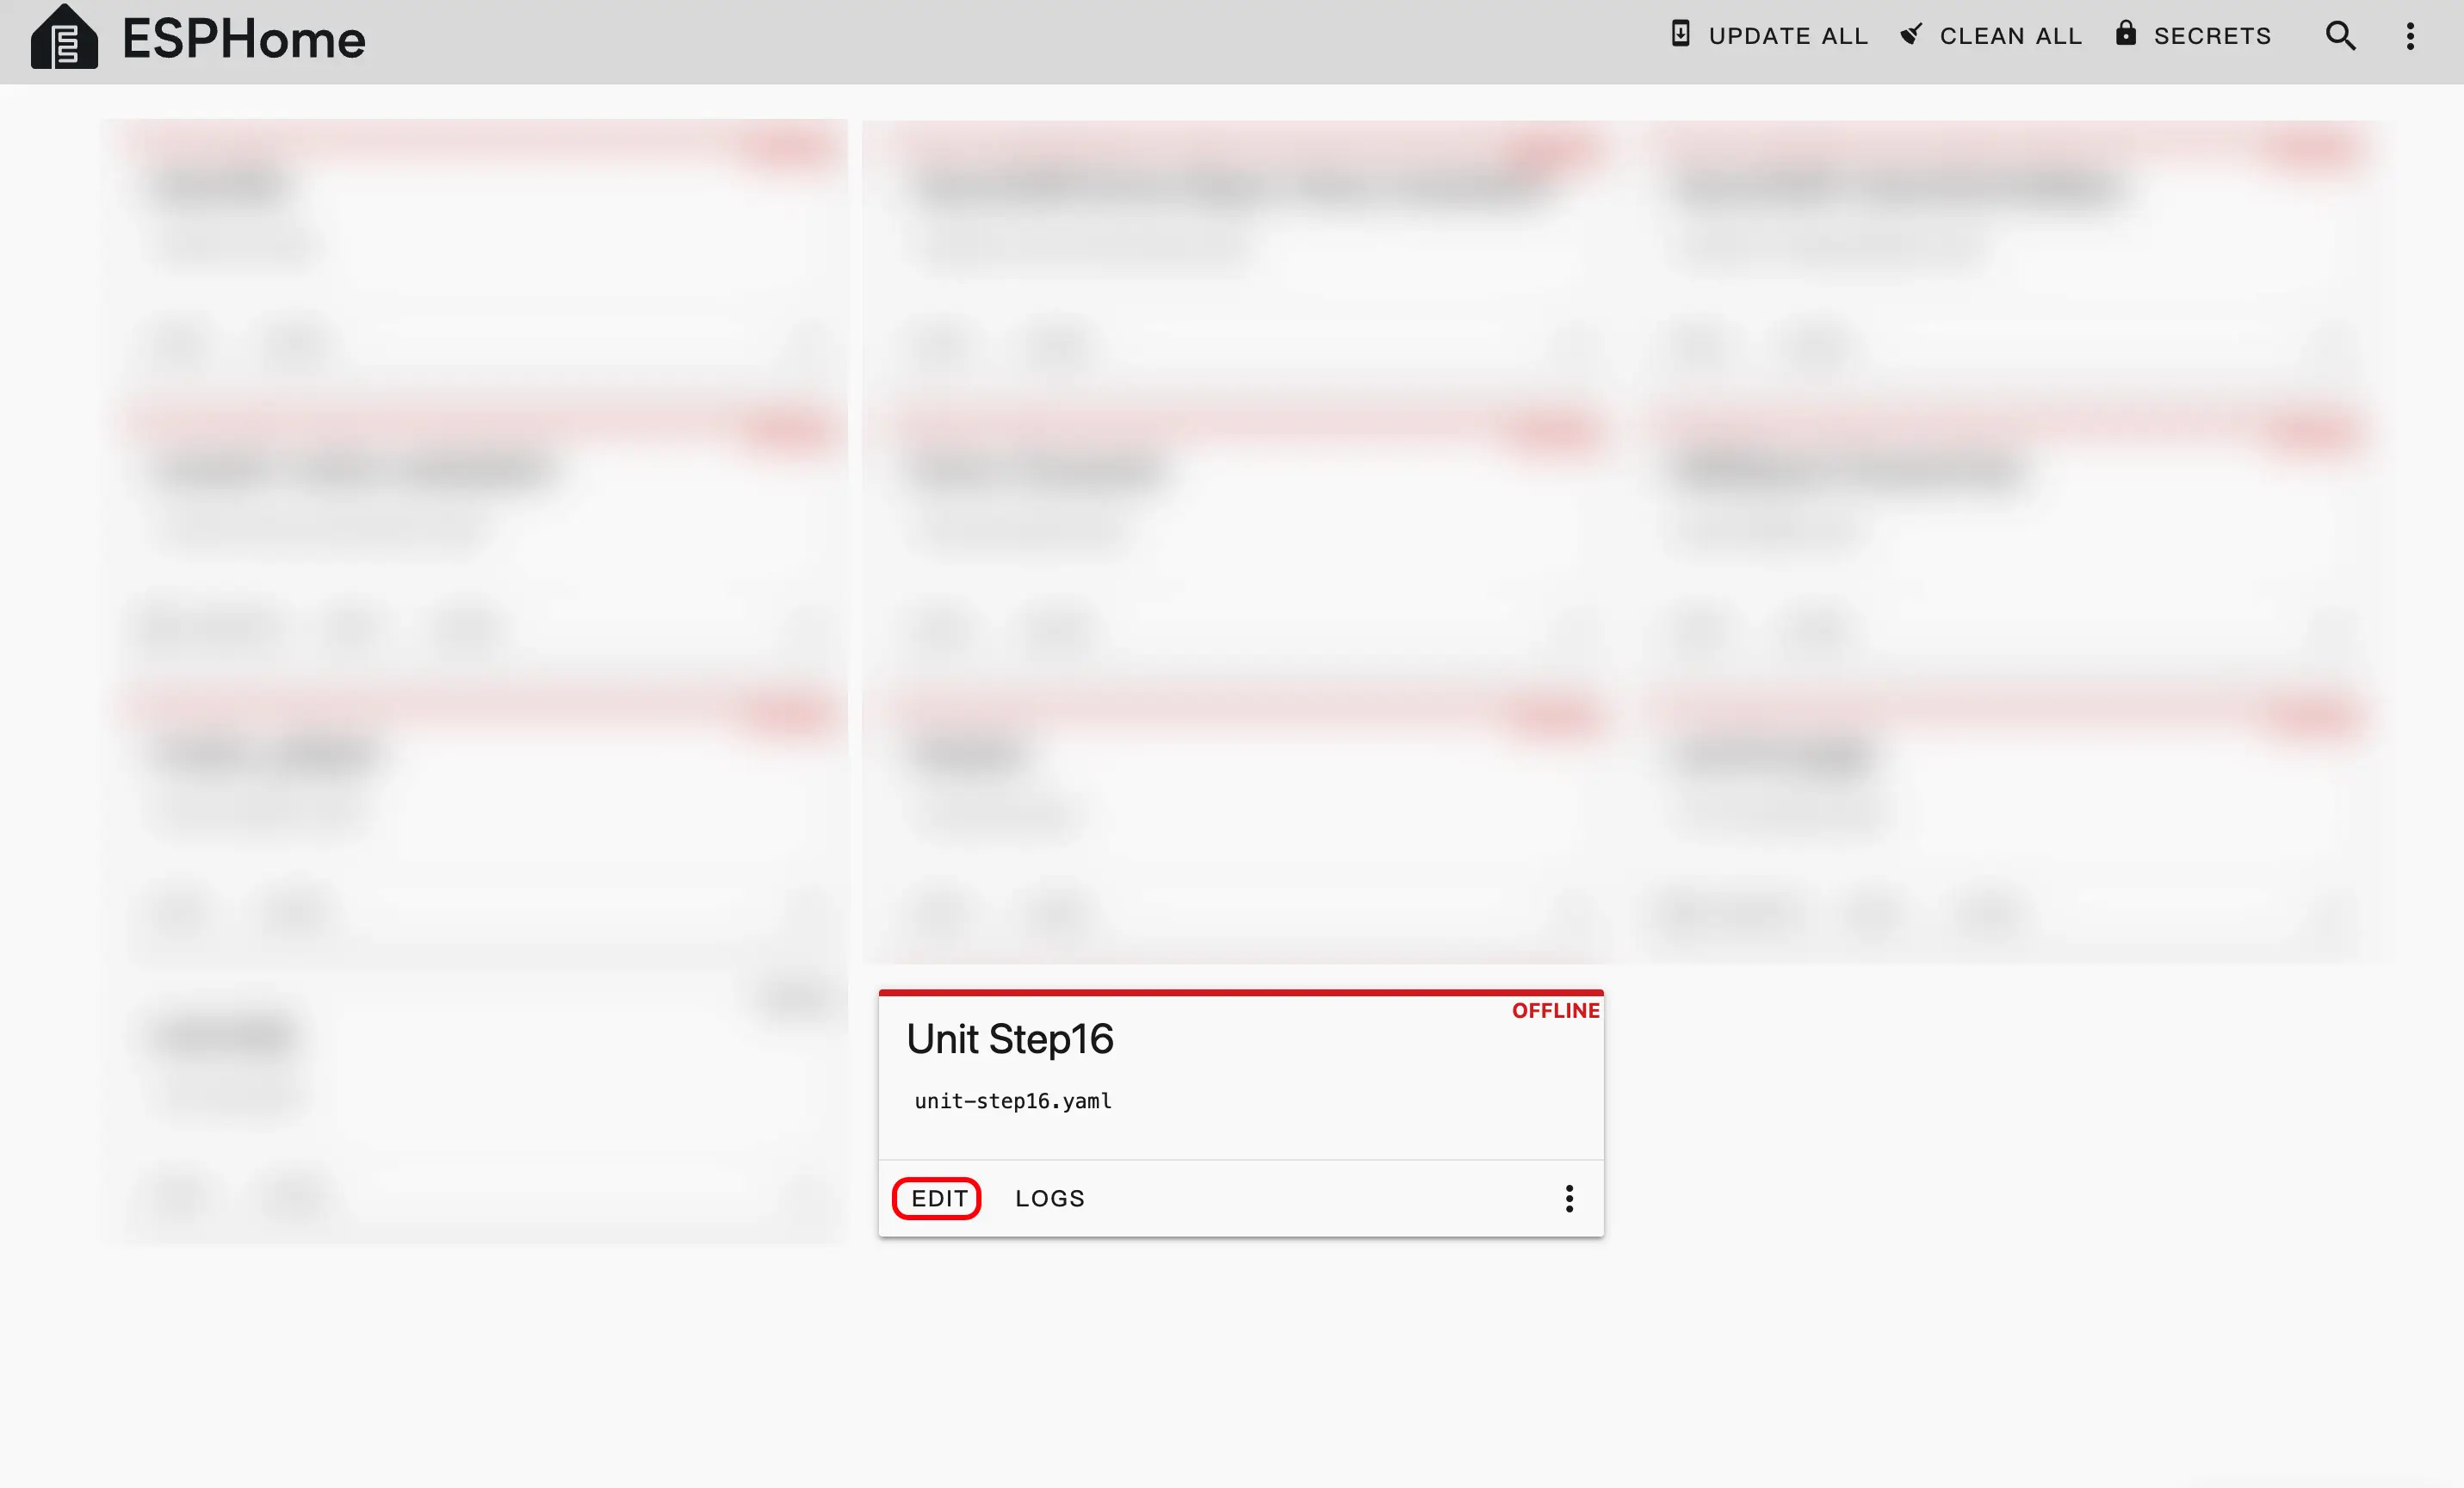
- Click
EDITto customize device functions through the YAML file.
The following is the core part of the code. Related references and instructions are provided below.
External Components Configuration
Add External component:
external_components:
  - source: github://m5stack/esphome-yaml/components
    components: unit_step16
    refresh: 0s

unit_step16:
  id: my_step16
  i2c_id: bsp_iic
address: 0x48I2C Configuration
i2c:
  - id: bsp_iic
    scl: GPIO32
    sda: GPIO26
scan: TrueSensor Configuration
Add Sensor component:
sensor:
  - platform: unit_step16
    unit_step16_id: my_step16
    name: "Encoder Value"
    update_interval: 100ms
    on_value:
      then:
        - logger.log:
            format: "Encoder value changed to: %.0f"
args: ["x"]Output Configuration
Add Output component:
output:
  - platform: unit_step16
    id: led_brightness_output
    unit_step16_id: my_step16
    channel: led_brightness

  - platform: unit_step16
    id: rgb_brightness_output
    unit_step16_id: my_step16
    channel: rgb_brightness

  - platform: unit_step16
    id: rgb_red_output
    unit_step16_id: my_step16
    channel: rgb_red

  - platform: unit_step16
    id: rgb_green_output
    unit_step16_id: my_step16
    channel: rgb_green

  - platform: unit_step16
    id: rgb_blue_output
    unit_step16_id: my_step16
channel: rgb_blueLight Configuration
Add Light component:
light:
  - platform: rgb
    id: step16_rgb_light
    name: "Step16 RGB Light"
    red: rgb_red_output
    green: rgb_green_output
    blue: rgb_blue_output
    restore_mode: ALWAYS_ON
    default_transition_length: 0s

  - platform: monochromatic
    id: step16_led_display
    name: "Step16 LED Display"
    output: led_brightness_output
    restore_mode: ALWAYS_ON
default_transition_length: 0sNumber Configuration
Add Number component:
number:
  - platform: template
    name: "RGB Brightness"
    min_value: 0
    max_value: 100
    step: 1
    optimistic: true
    initial_value: 50
    on_value:
      then:
        - output.set_level:
            id: rgb_brightness_output
level: !lambda "return x / 100.0;"Compile Firmware
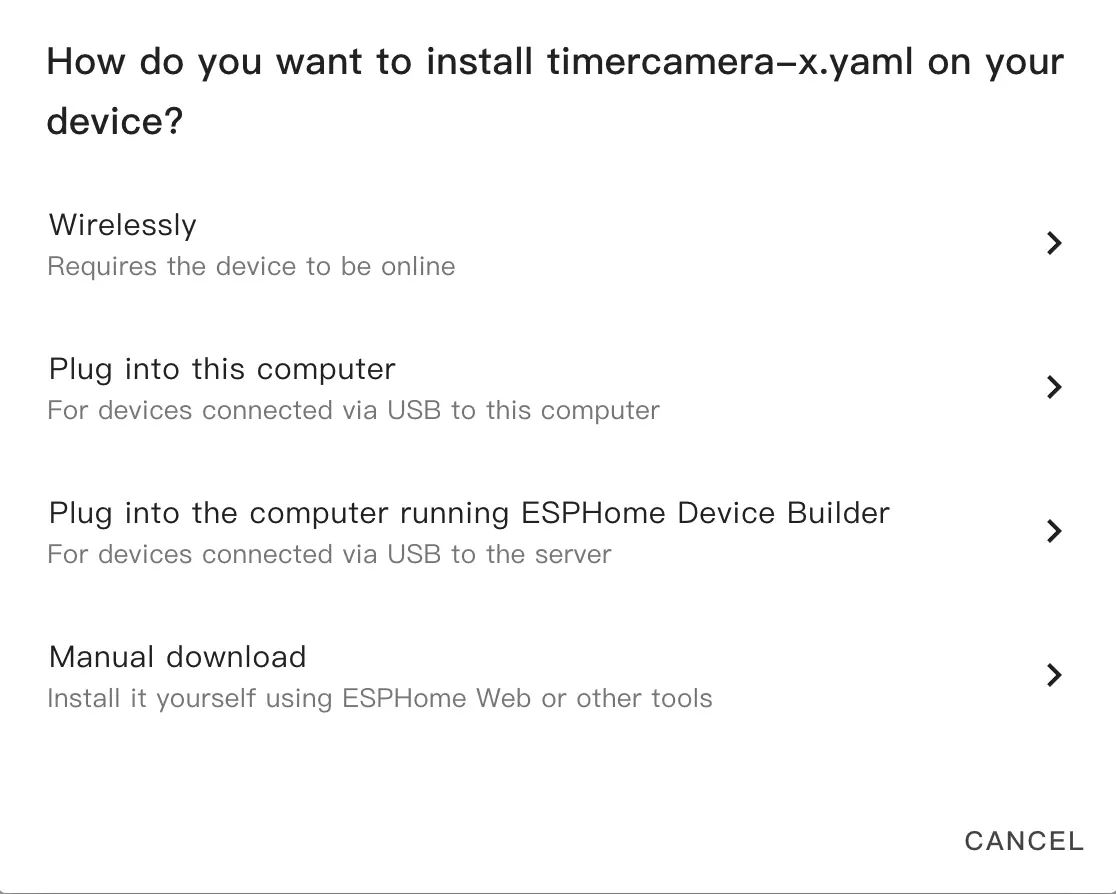
- After modification, click
SAVEandINSTALLin the top right corner, then selectManual Downloadin the pop-up window.
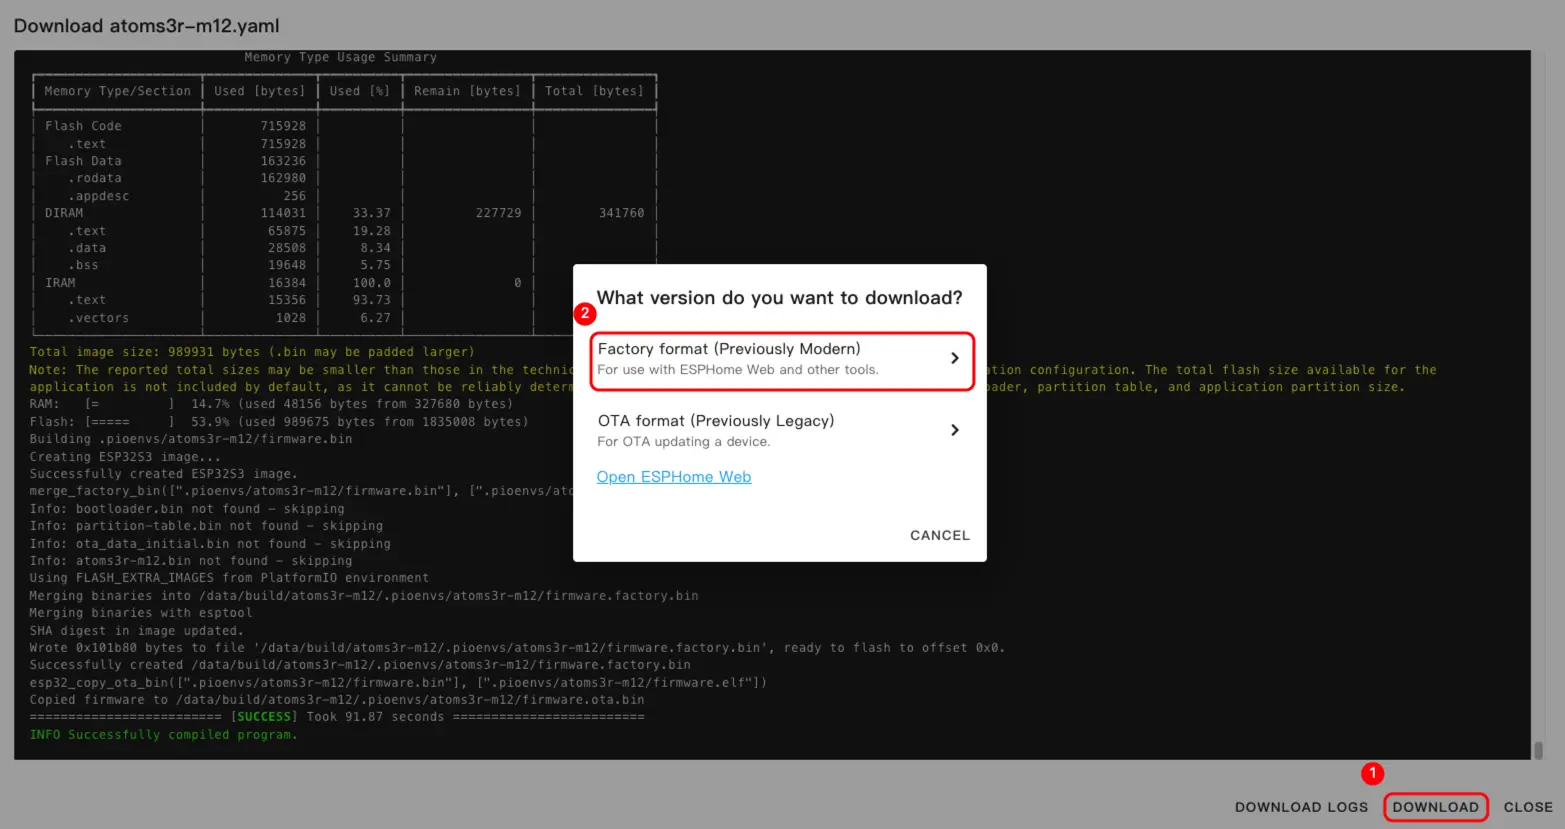
- Once the firmware compilation is complete, click download and select
Factory format (Previously Modern).
Configuration Example
Click Unit Step16 to view the complete example configuration.
Flash Firmware
- Use a USB Type-C cable to connect the Atom-Lite board to the host device. Open ESPHome Web and click
CONNECTto connect the device.
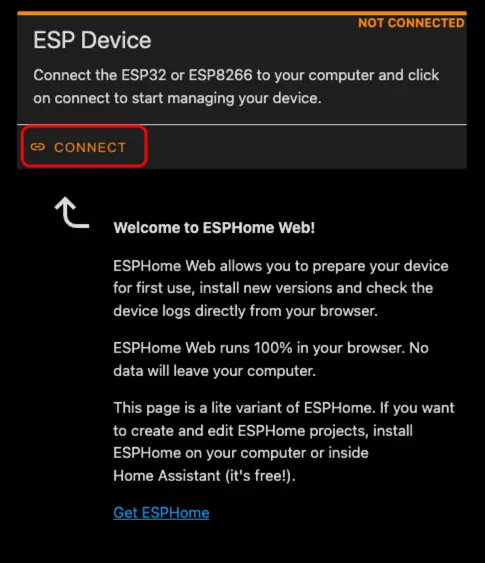
- Find the corresponding serial port number.
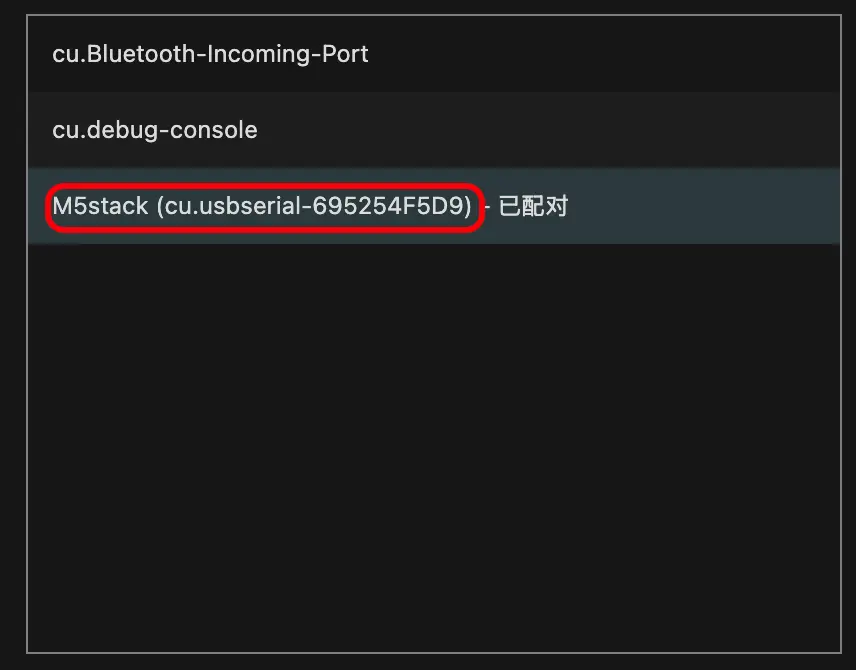
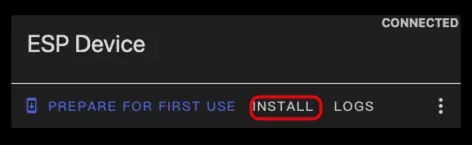
- Click
INSTALL.
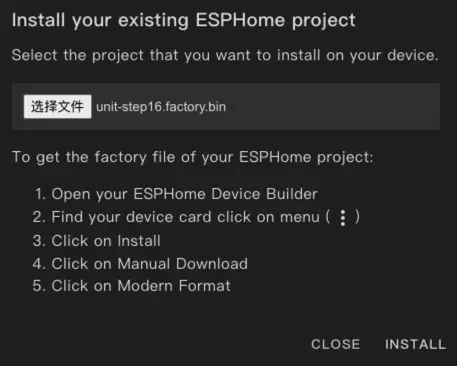
- Select the previously compiled firmware, then click
INSTALLto upload.
- Restart the device after the flashing is complete.
3. Getting Started
- Click
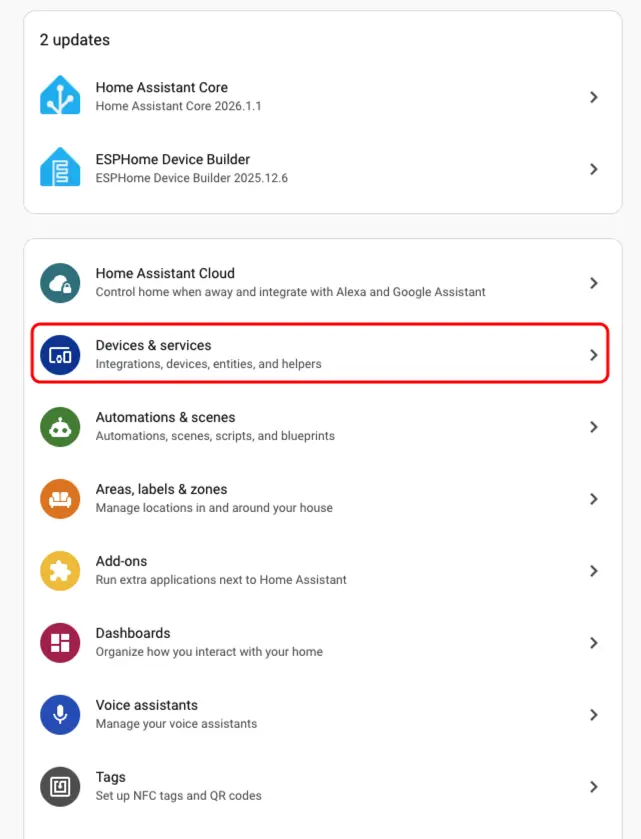
Settings>Devices & Servicesto check the device.
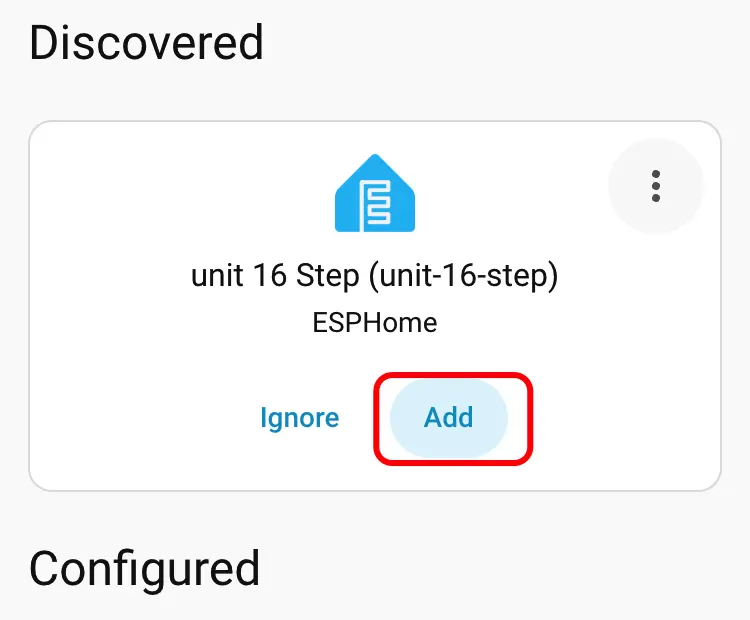
- We can find the corresponding device in the
Discoveredsection.
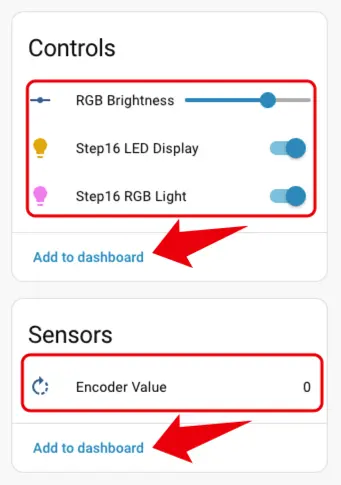
- After adding the device, the data will be displayed correctly.
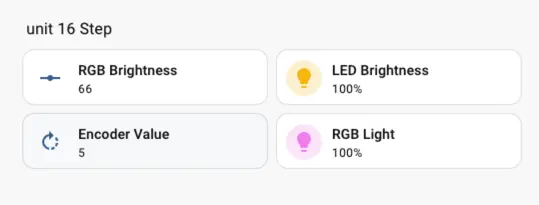
- Finally, we add these entities to the dashboard; the following shows their display effects.
4. Video
Page Tools