

Home Assistant
Media Player
Expansion
Sensor
Unit Fader Home Assistant Integration
This tutorial explains how to integrate Unit Fader with Home Assistant.
1. Preparation
Environment Setup
- Follow the official Home Assistant documentation to install Home Assistant. (This tutorial uses
Home Assistant 2026.2.0or later.) - Follow the official ESPHome documentation to install the ESPHome Device Builder add-on. (Note: This tutorial is based on
ESPHome 2026.2.2. If you encounter compilation errors, switch to this version first for verification.)
Hardware
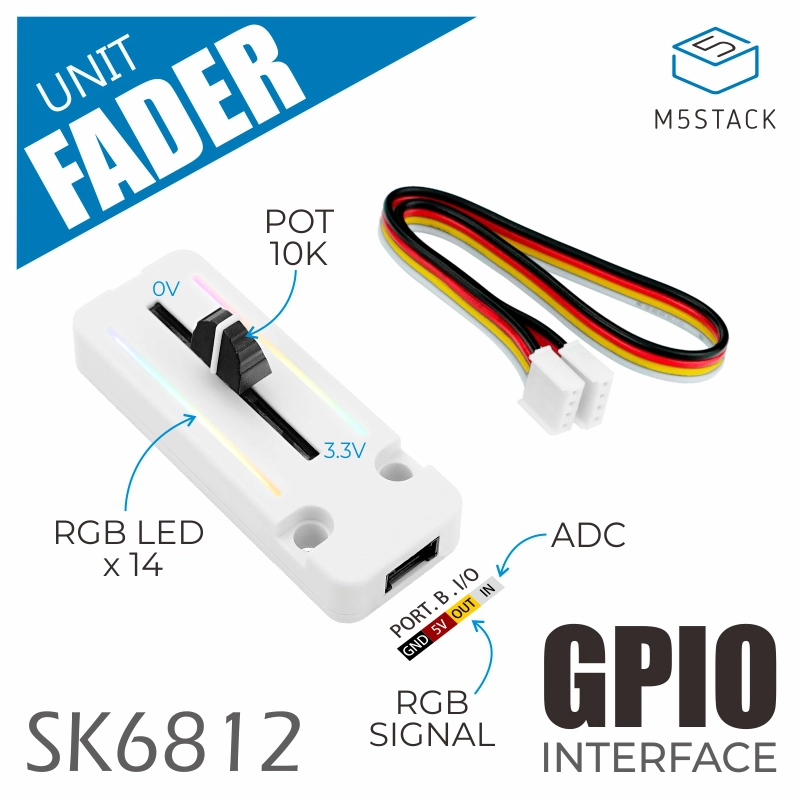
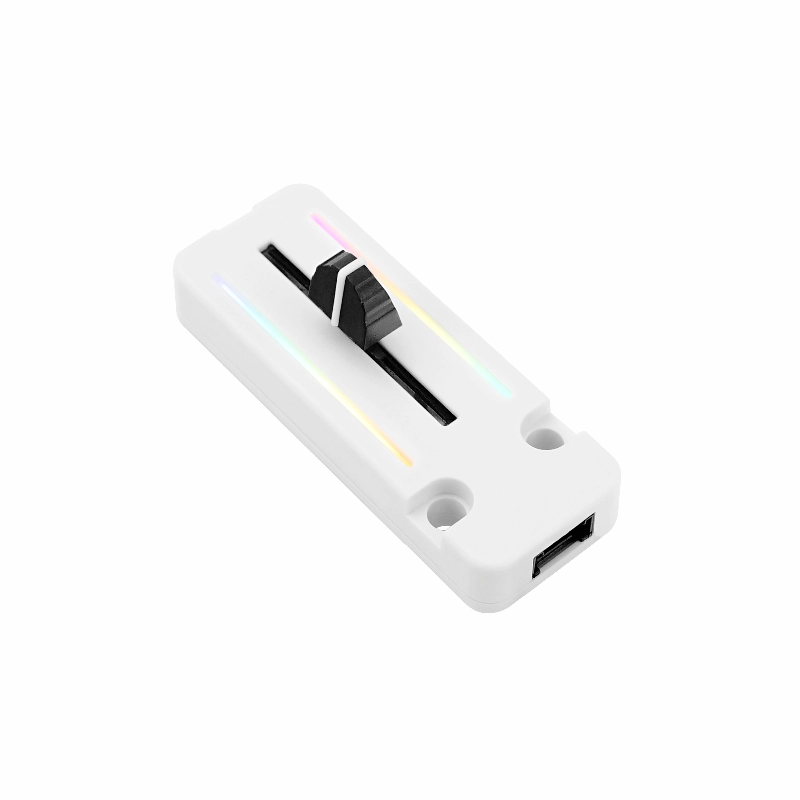
- Unit Fader
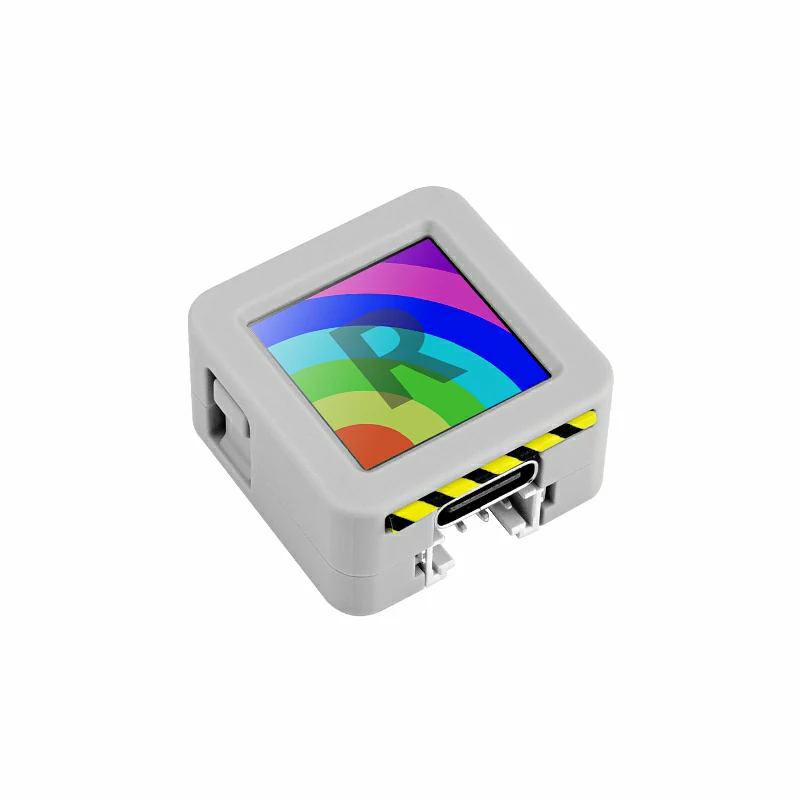
- AtomS3R
- HY2.0-4P Grove Cable (20cm)
2. Firmware Compilation & Flashing
This section explains how to recompile the project based on the yaml configuration file, making it easier to perform secondary development, modify features, or add new features.
Compilation Time
Compiling firmware through HA is resource-intensive. The first compilation may take a long time to download resources, depending on the device running the HA service and network quality.
Create Device
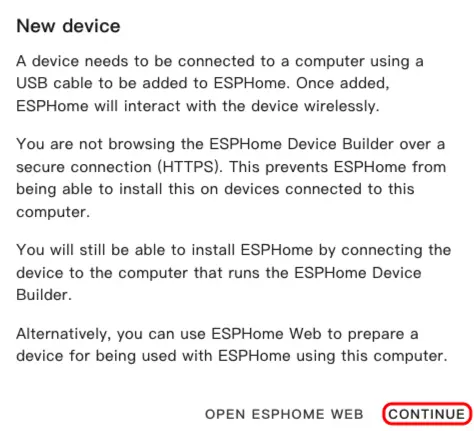
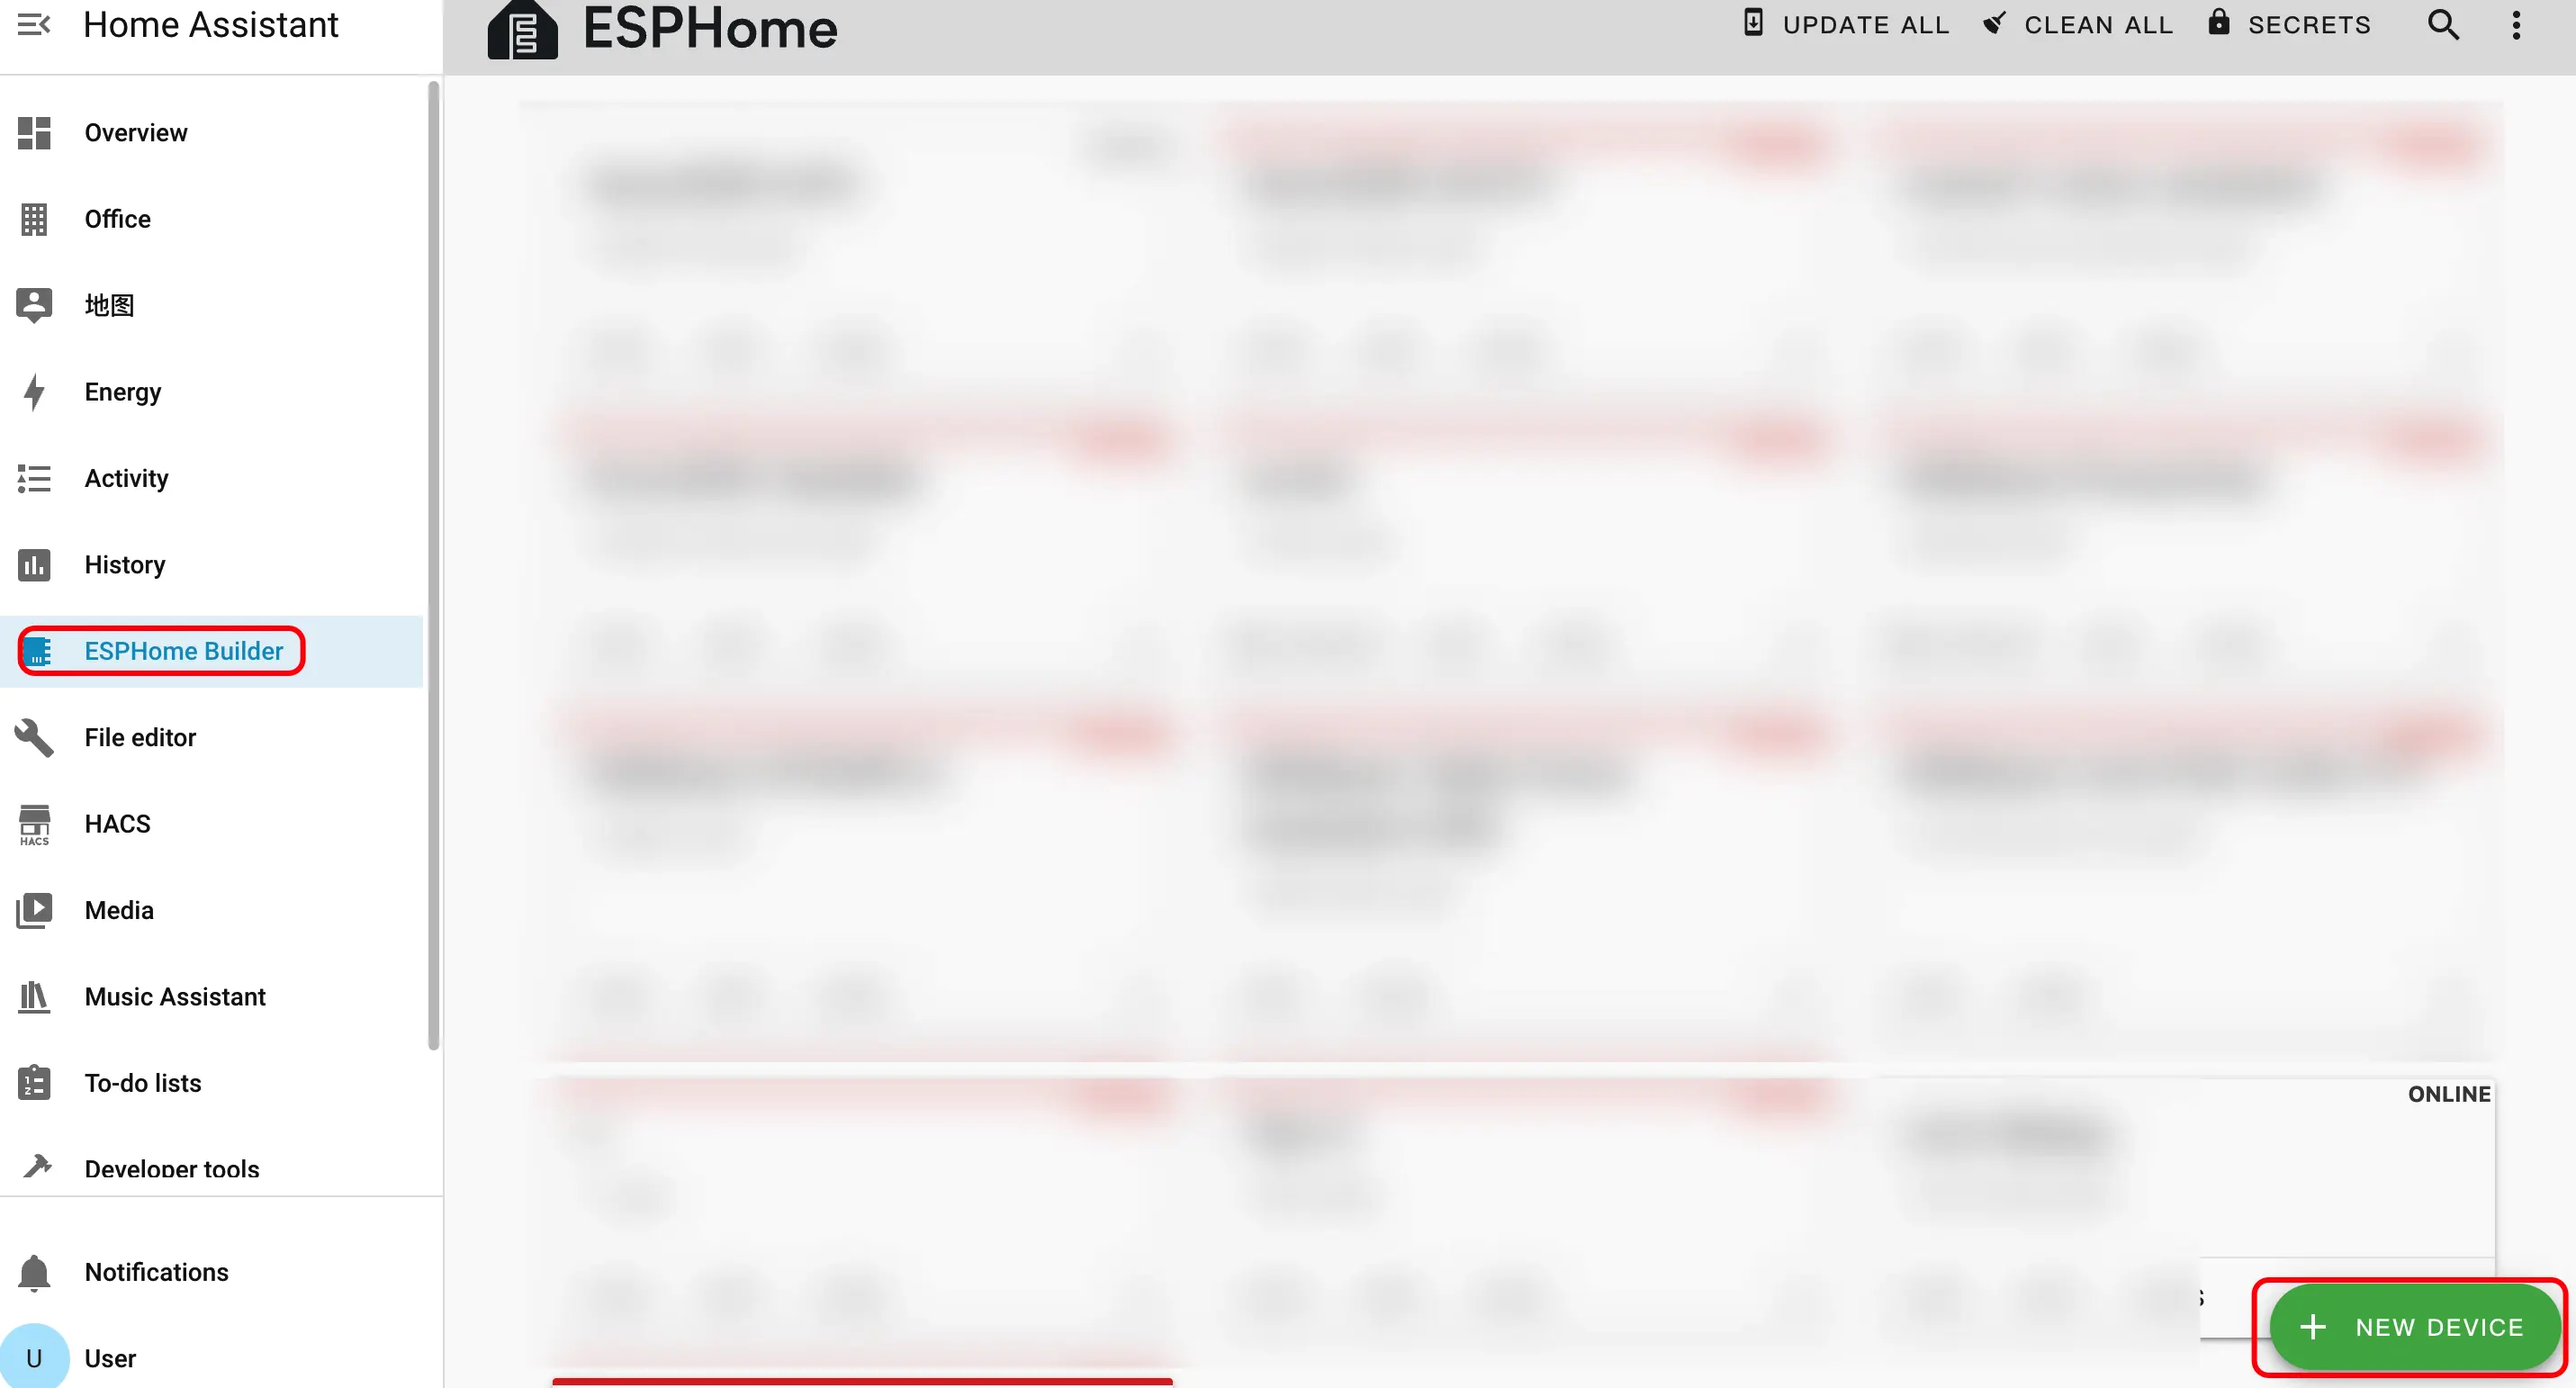
- Open ESPHome Dashboard. If the initial wizard appears, click
CONTINUE.
- Click the green + button in the bottom right to create a new device.
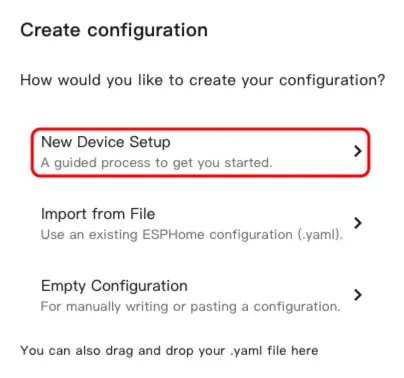
- Click
New Device Setupto enter the device creation wizard.
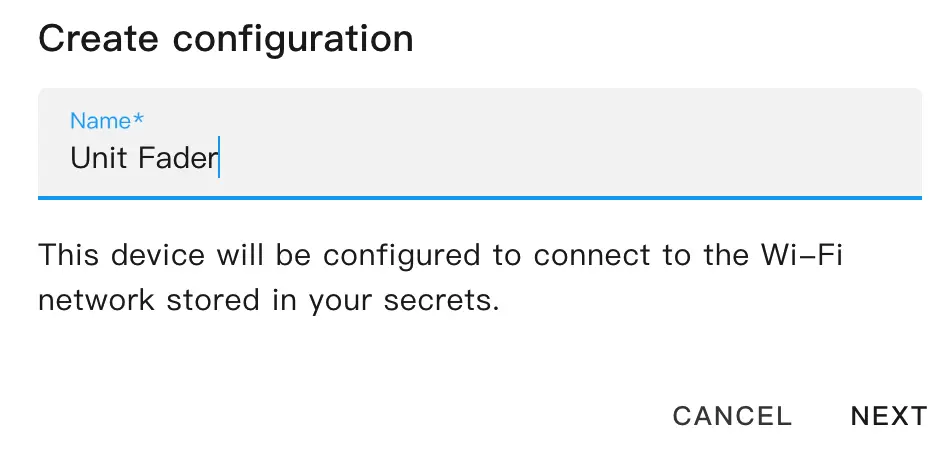
- Enter a device name and click
NEXT.
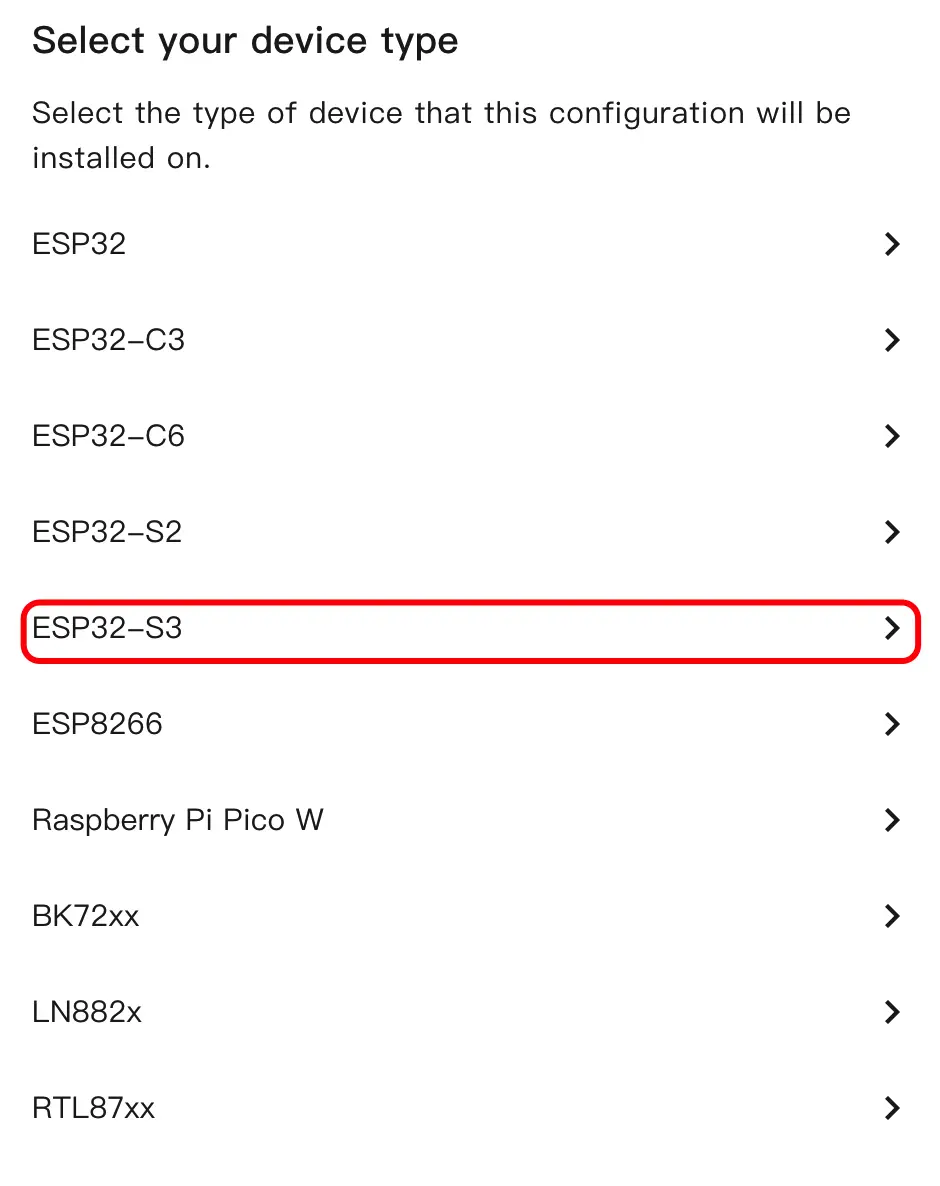
- Select the device type and click
ESP32S3.
- Click
SKIPto skip the encryption key setup.
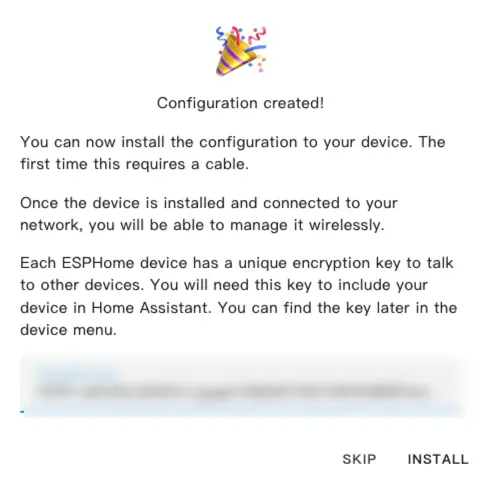
Modify Configuration
- Click
EDITto open the YAML editor and customize the device configuration.
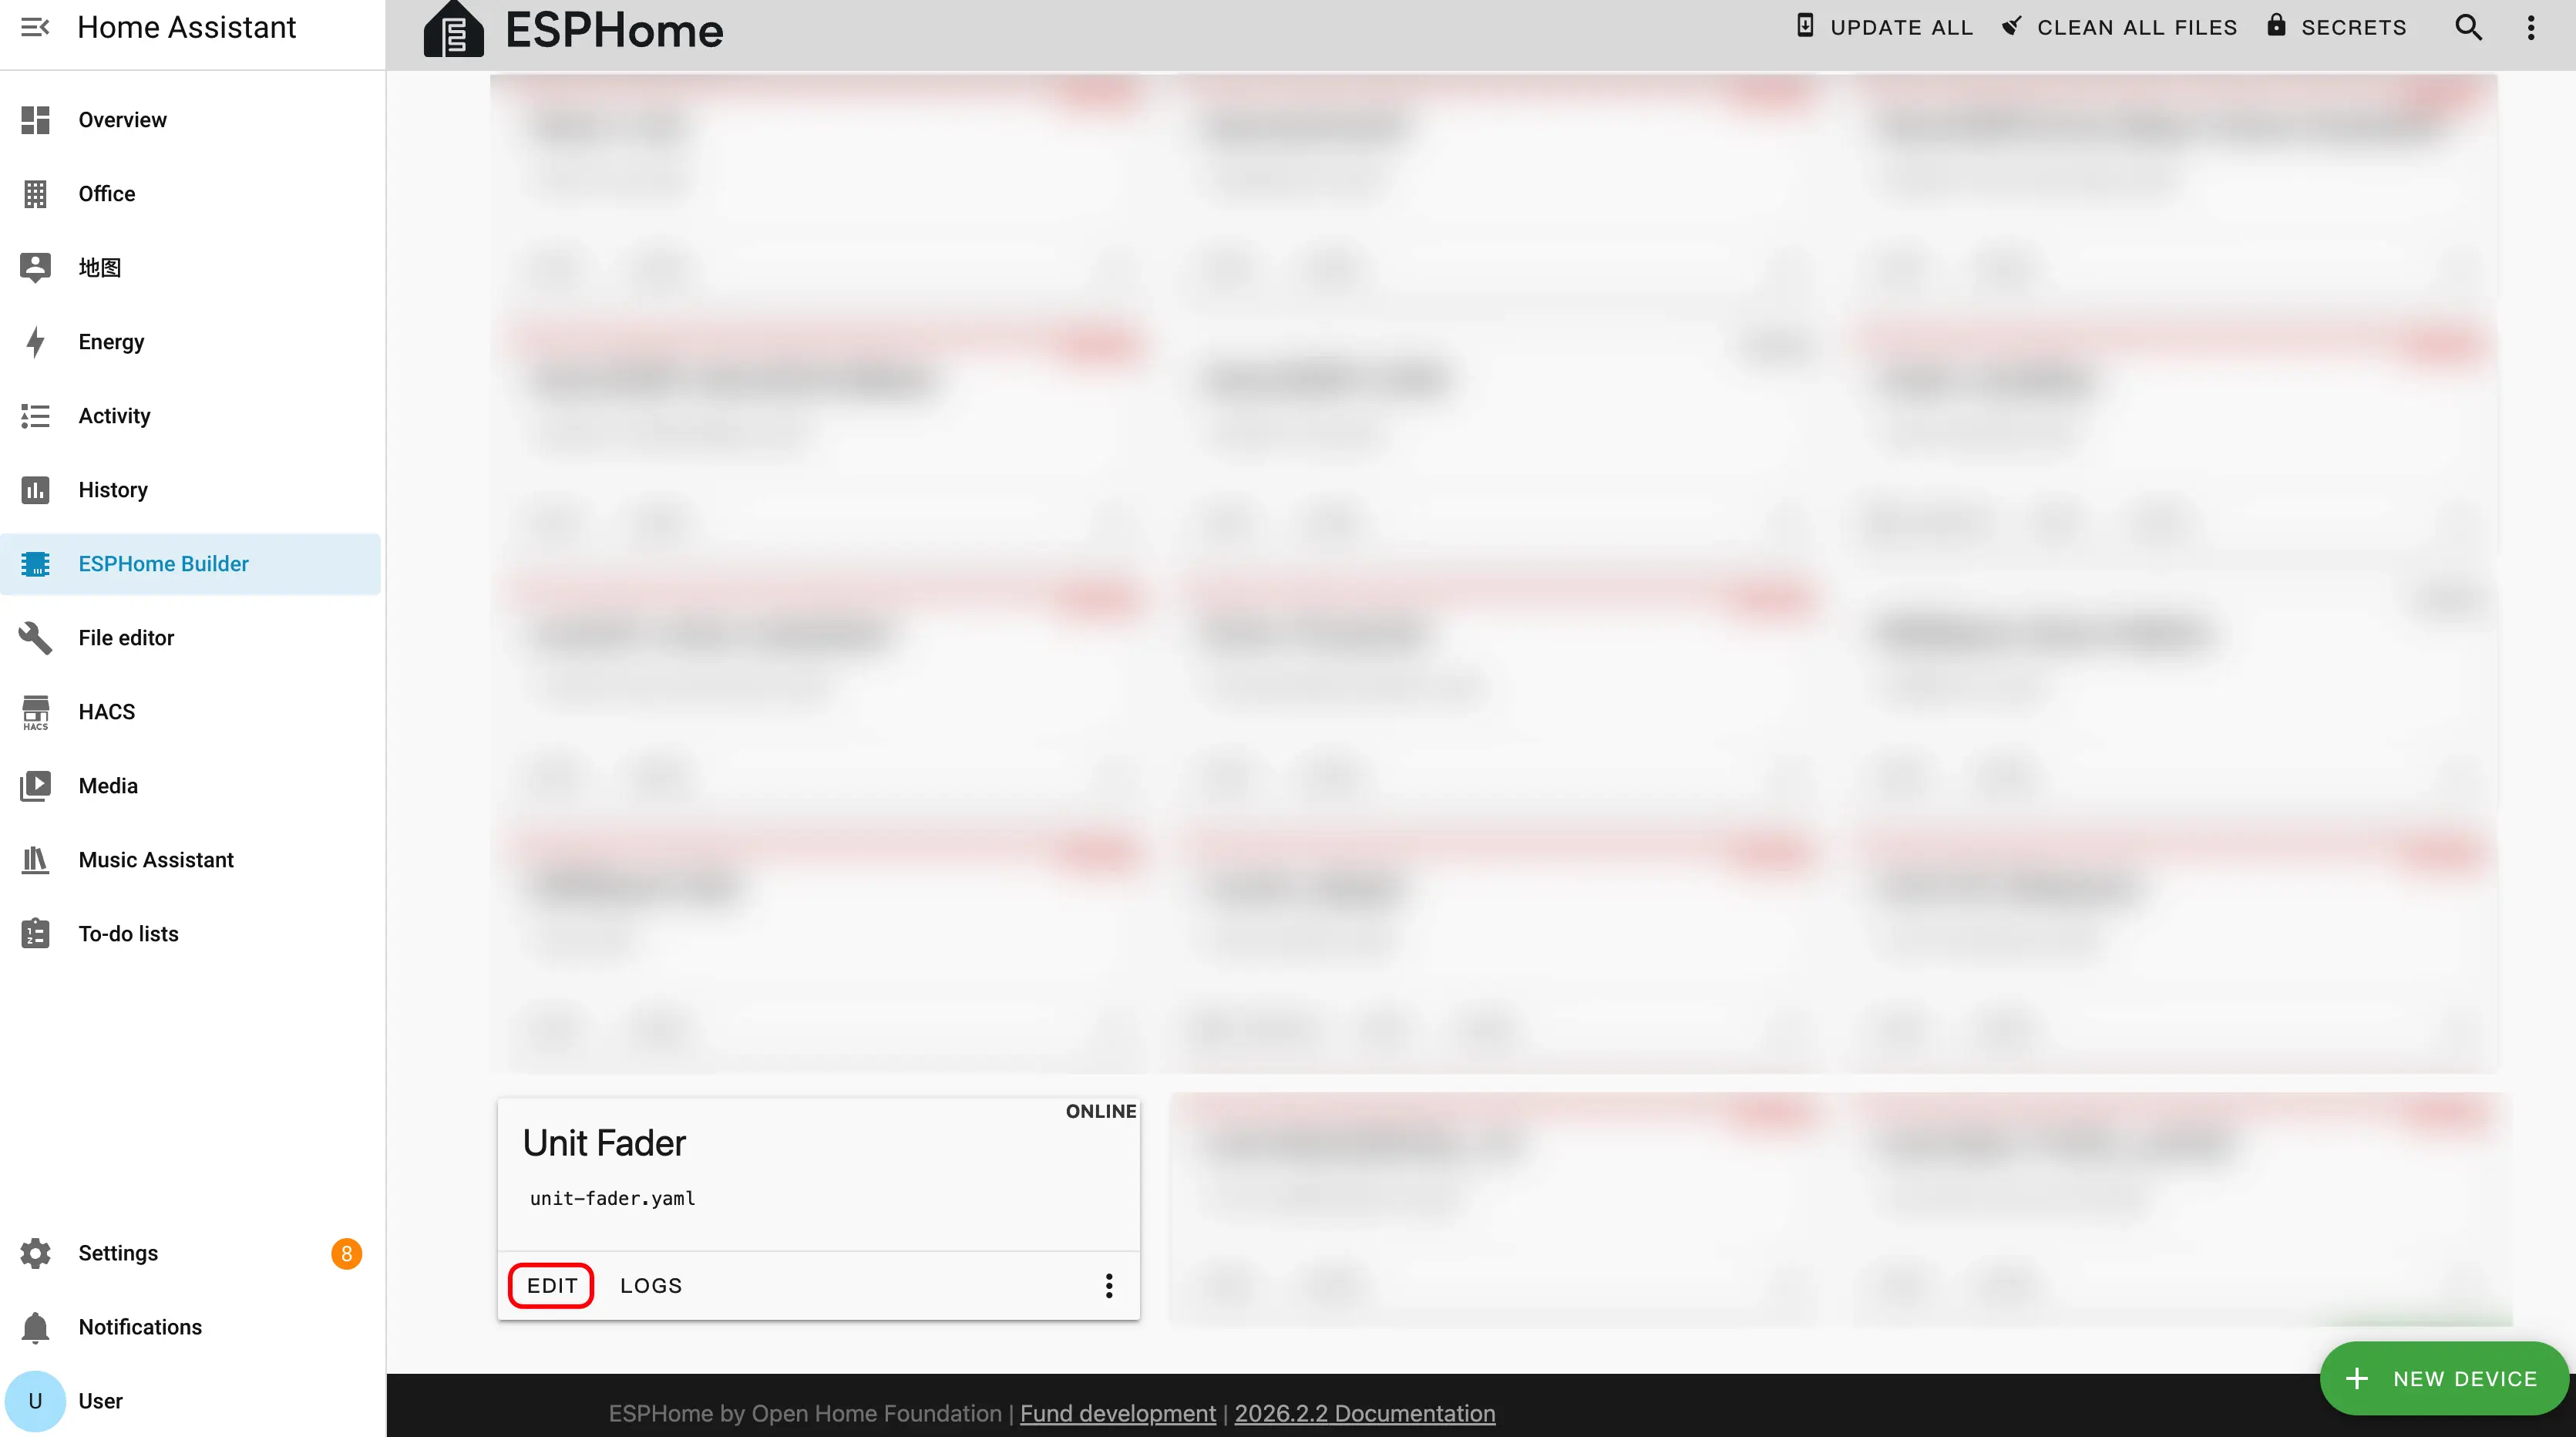
Sensor Configuration
Add the Sensor component to read the potentiometer value.
sensor:
  - platform: adc
    pin: GPIO1
    name: "Fader ADC"
    id: fader_adc
    update_interval: 100ms
    attenuation: 12db
    filters:
      - exponential_moving_average:
alpha: 0.2Light Configuration
Add the Light component to control the LED strip.
light:
  - platform: esp32_rmt_led_strip
    rgb_order: GRB
    pin: GPIO2
    num_leds: 14
    name: "Fader LED Strip"
    id: led_strip
chipset: ws2812Compile Firmware
- After editing the YAML configuration, click
SAVEin the top right, then clickINSTALL.
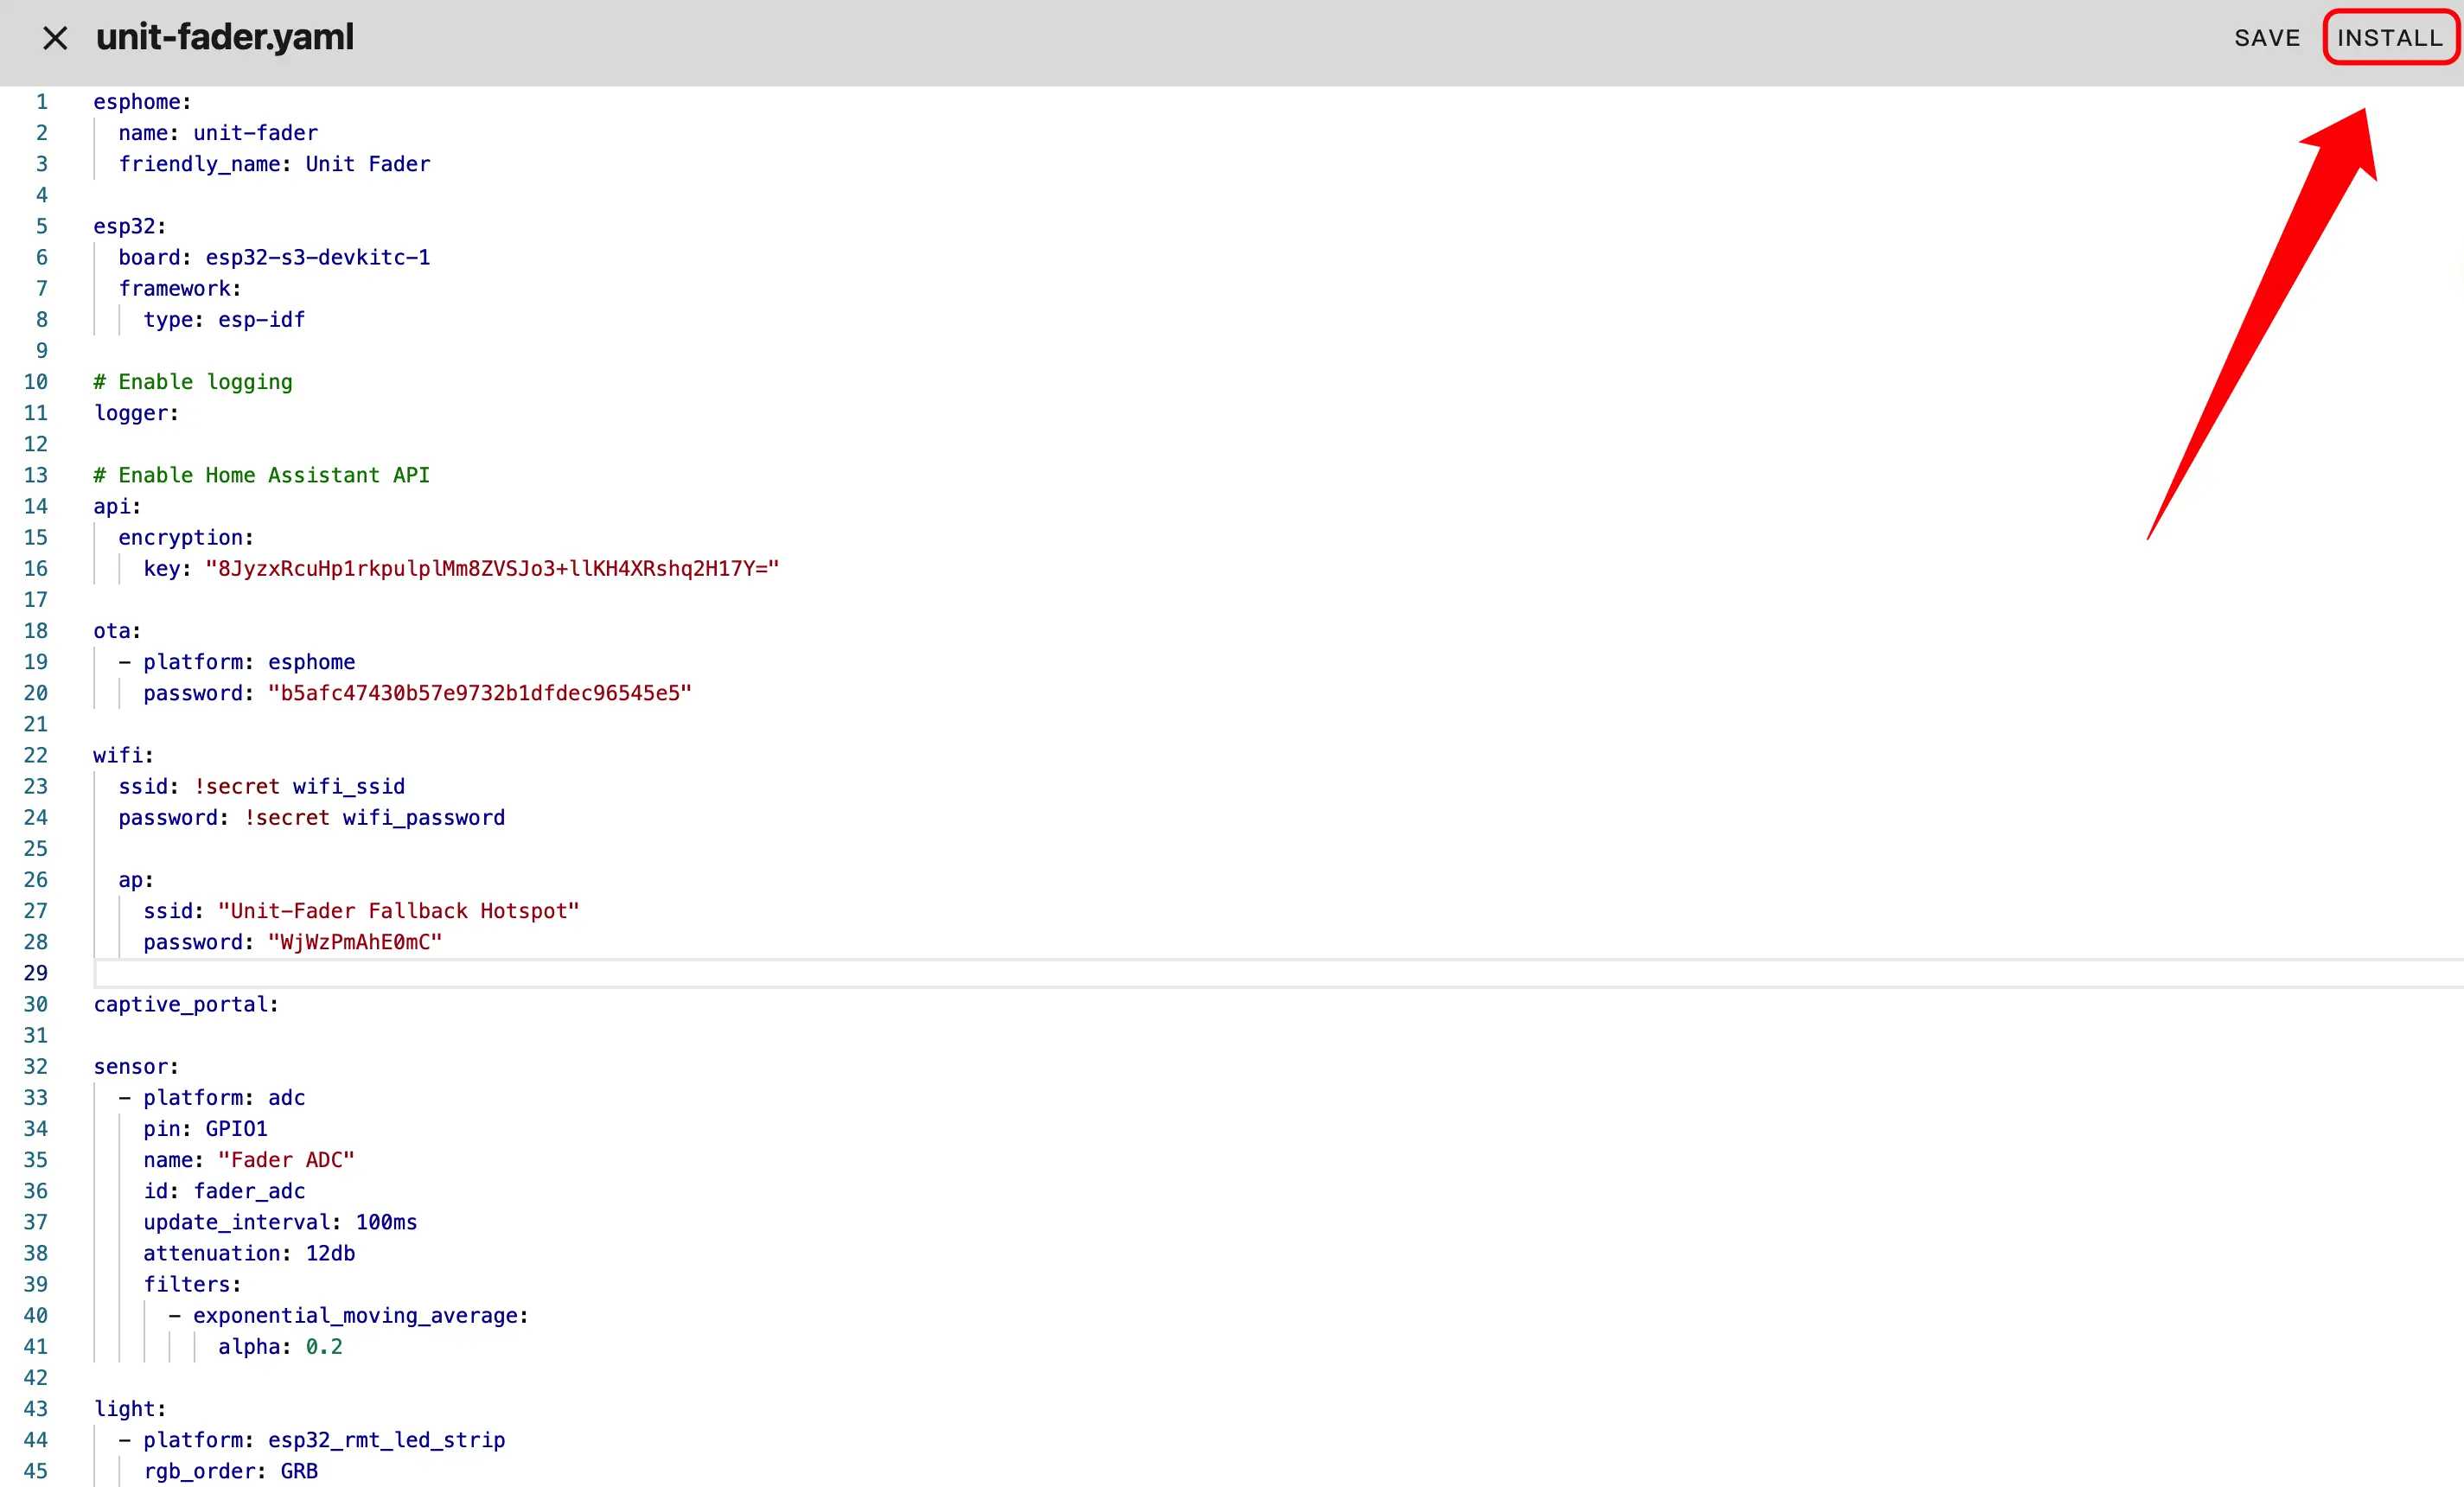
- In the popup dialog, select
Manual Download.
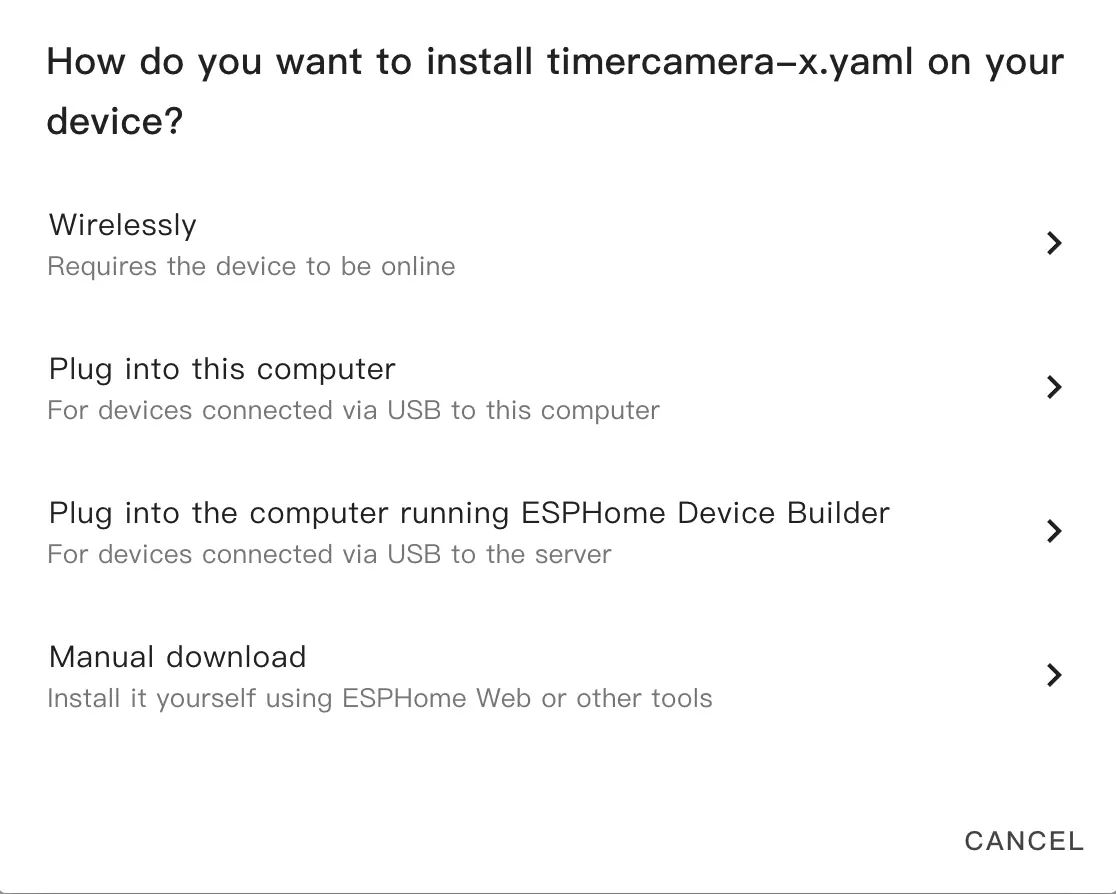
- Wait for the firmware to compile, then click
Downloadand chooseFactory format (Previously Modern)to save the firmware file locally.
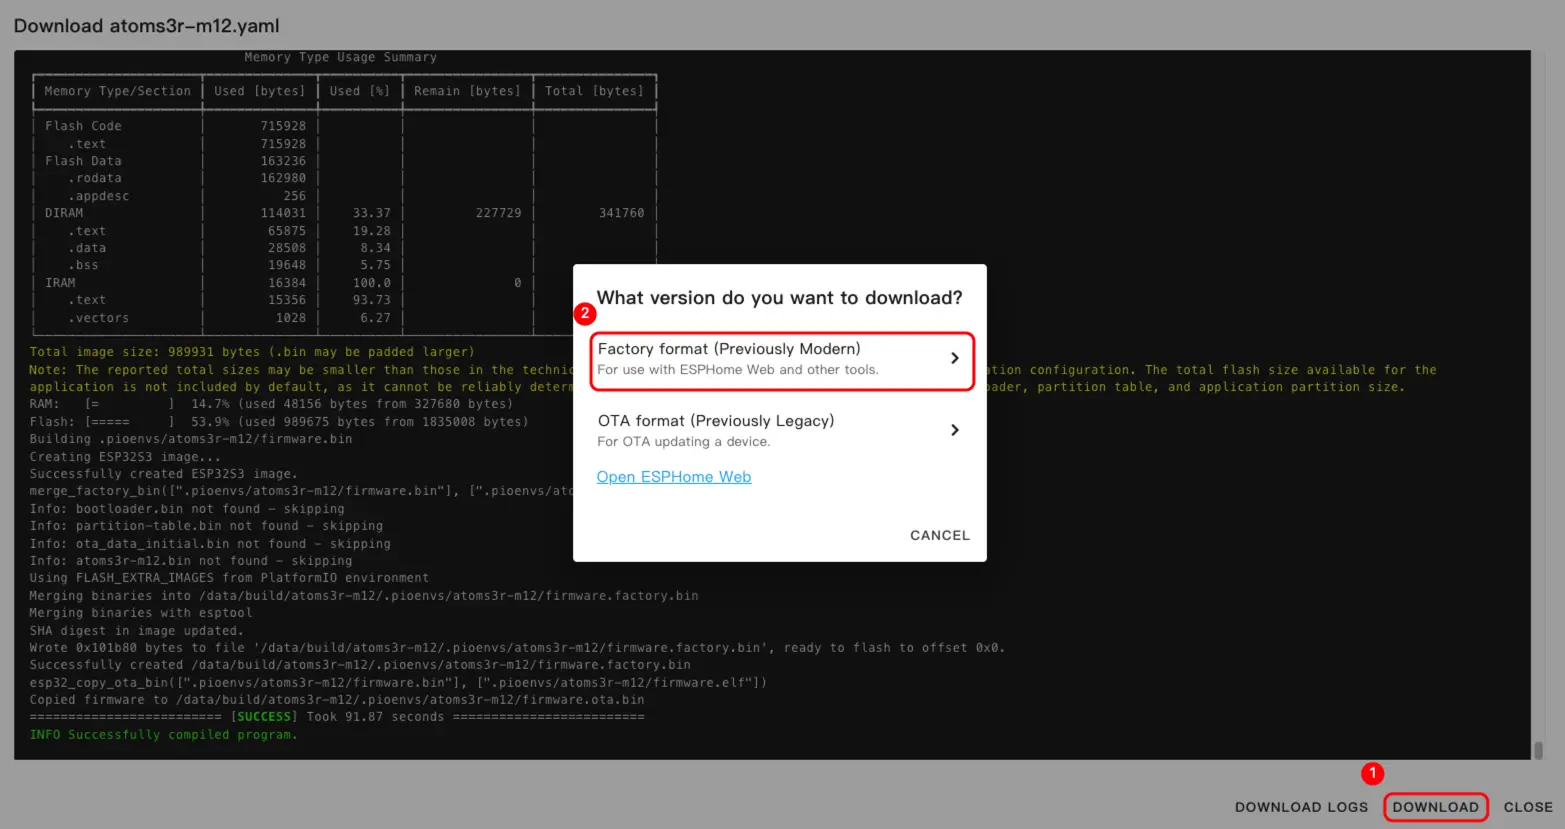
Configuration Example
For a complete configuration example, see Unit Fader.
Flash Firmware
- Connect AtomS3R to your computer using a USB Type-C cable. Open ESPHome Web and click
CONNECT.
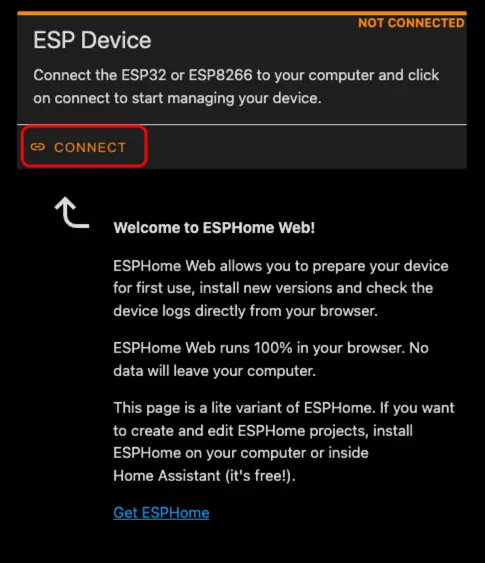
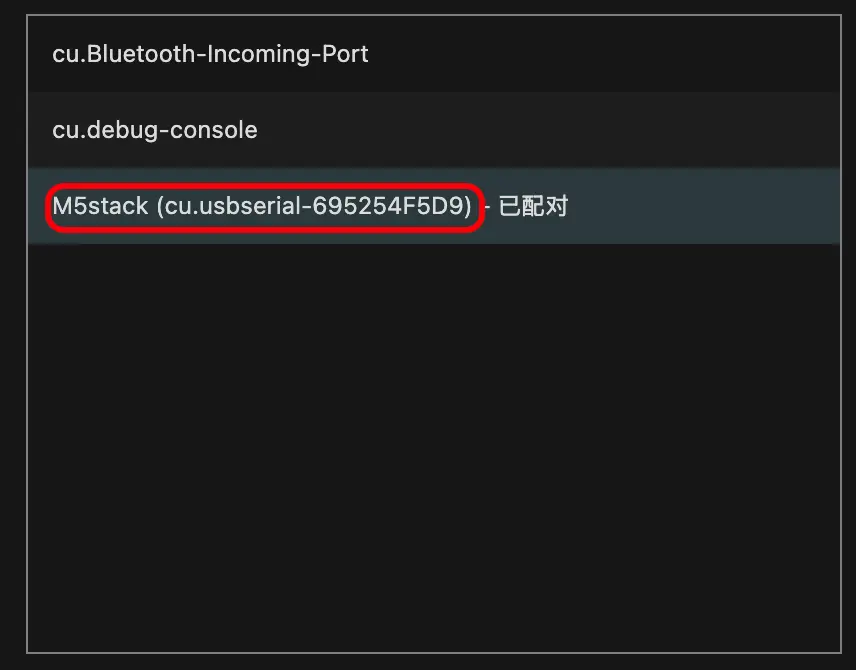
- In the serial port selection dialog, select the correct port.
- Click
INSTALL.
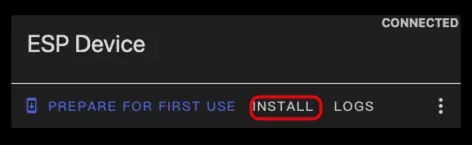
- Select the previously downloaded firmware file and start flashing.
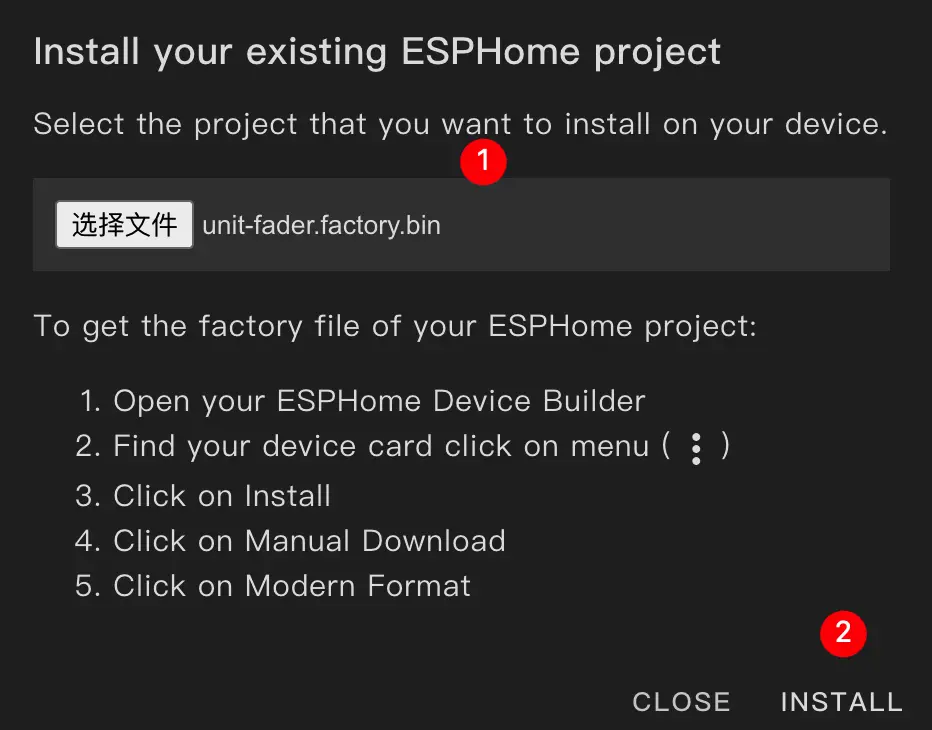
Flashing Tip
After flashing is complete, you must restart the device; otherwise, the firmware may not start correctly.
3. Getting Started
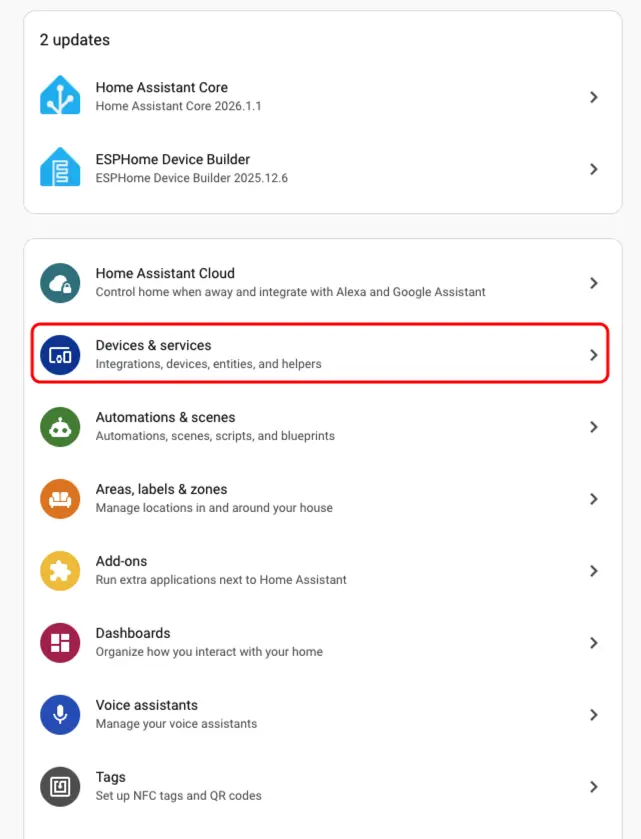
- In Home Assistant, go to
Settings>Devices & Servicesto open the integration management page.
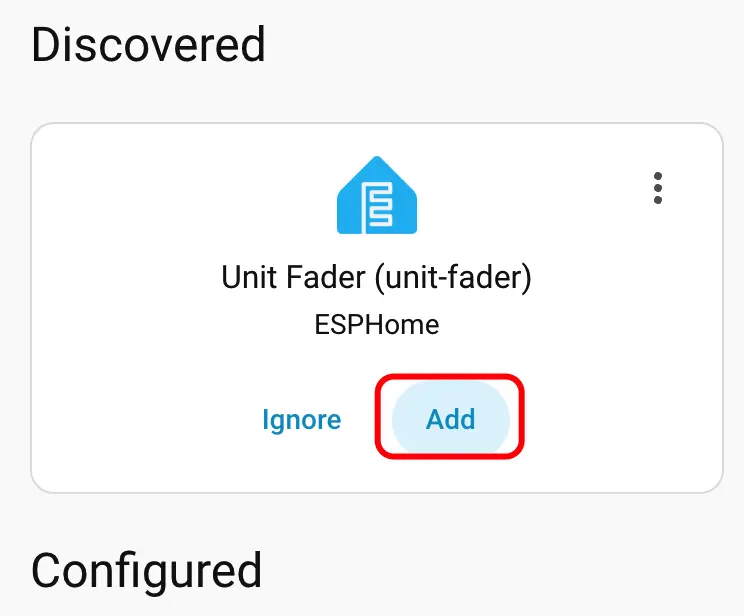
- In the
Discoveredsection, find the Unit Fader device, clickCONFIGURE, and follow the wizard to complete the setup.
- After the device is added, you can view it in the Devices list.
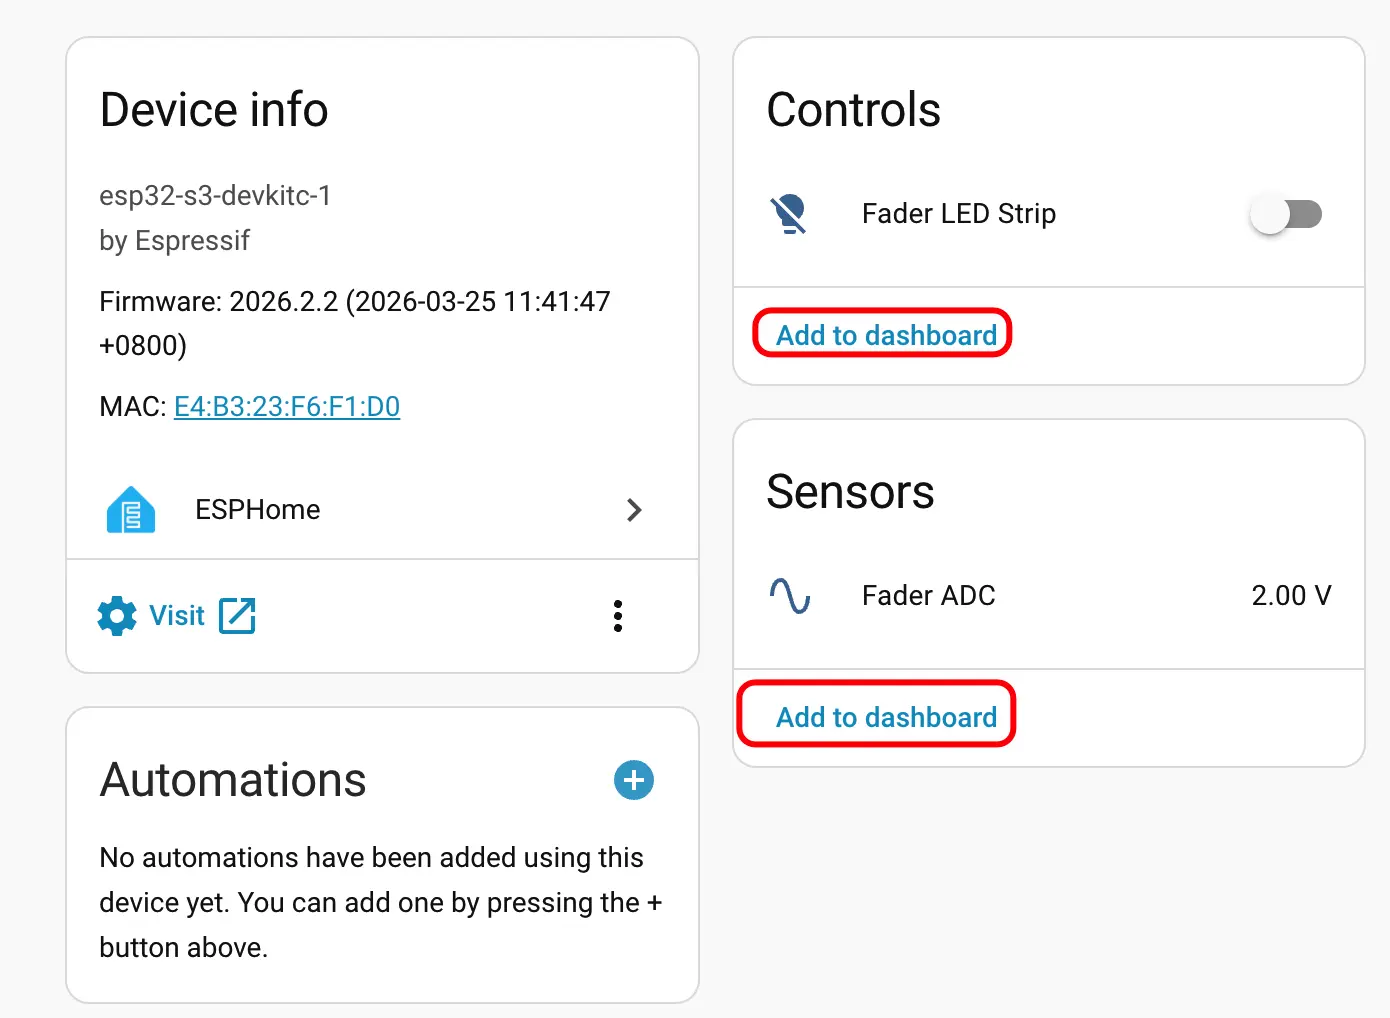
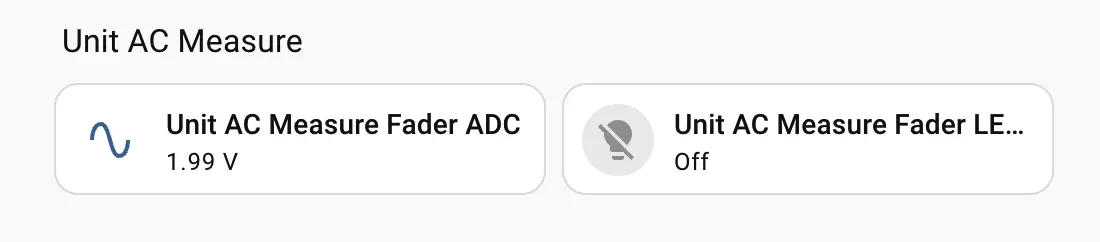
- Finally, add the relevant entities to the Dashboard for control and monitoring.
Page Tools