

Home Assistant
オーディオ再生
拡張ボード
センサー
Dial Home Assistant 統合
このチュートリアルでは、M5Dial v1.1 開発ボードを Home Assistant に統合し、ロータリーエンコーダー、NFC リーダー、ブザーを使ってスマートホーム制御を実現します。

1. 準備
- ハードウェア
- 1 x M5Dial v1.1
- 1 x USB Type-C ケーブル
- 1 x Home Assistant ホスト(サーバー、ミニ PC、NAS など)
- ソフトウェアとバージョン
- ESPHome Device Builder 2026.4.0 以降
2. デバイスの作成
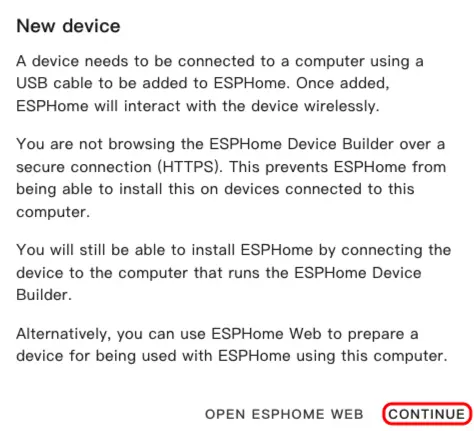
- ESPHome ダッシュボードを開きます。初回ウィザードが表示された場合は
CONTINUEをクリックします。
- 右下の緑色の + ボタンをクリックして新しいデバイスを作成します。
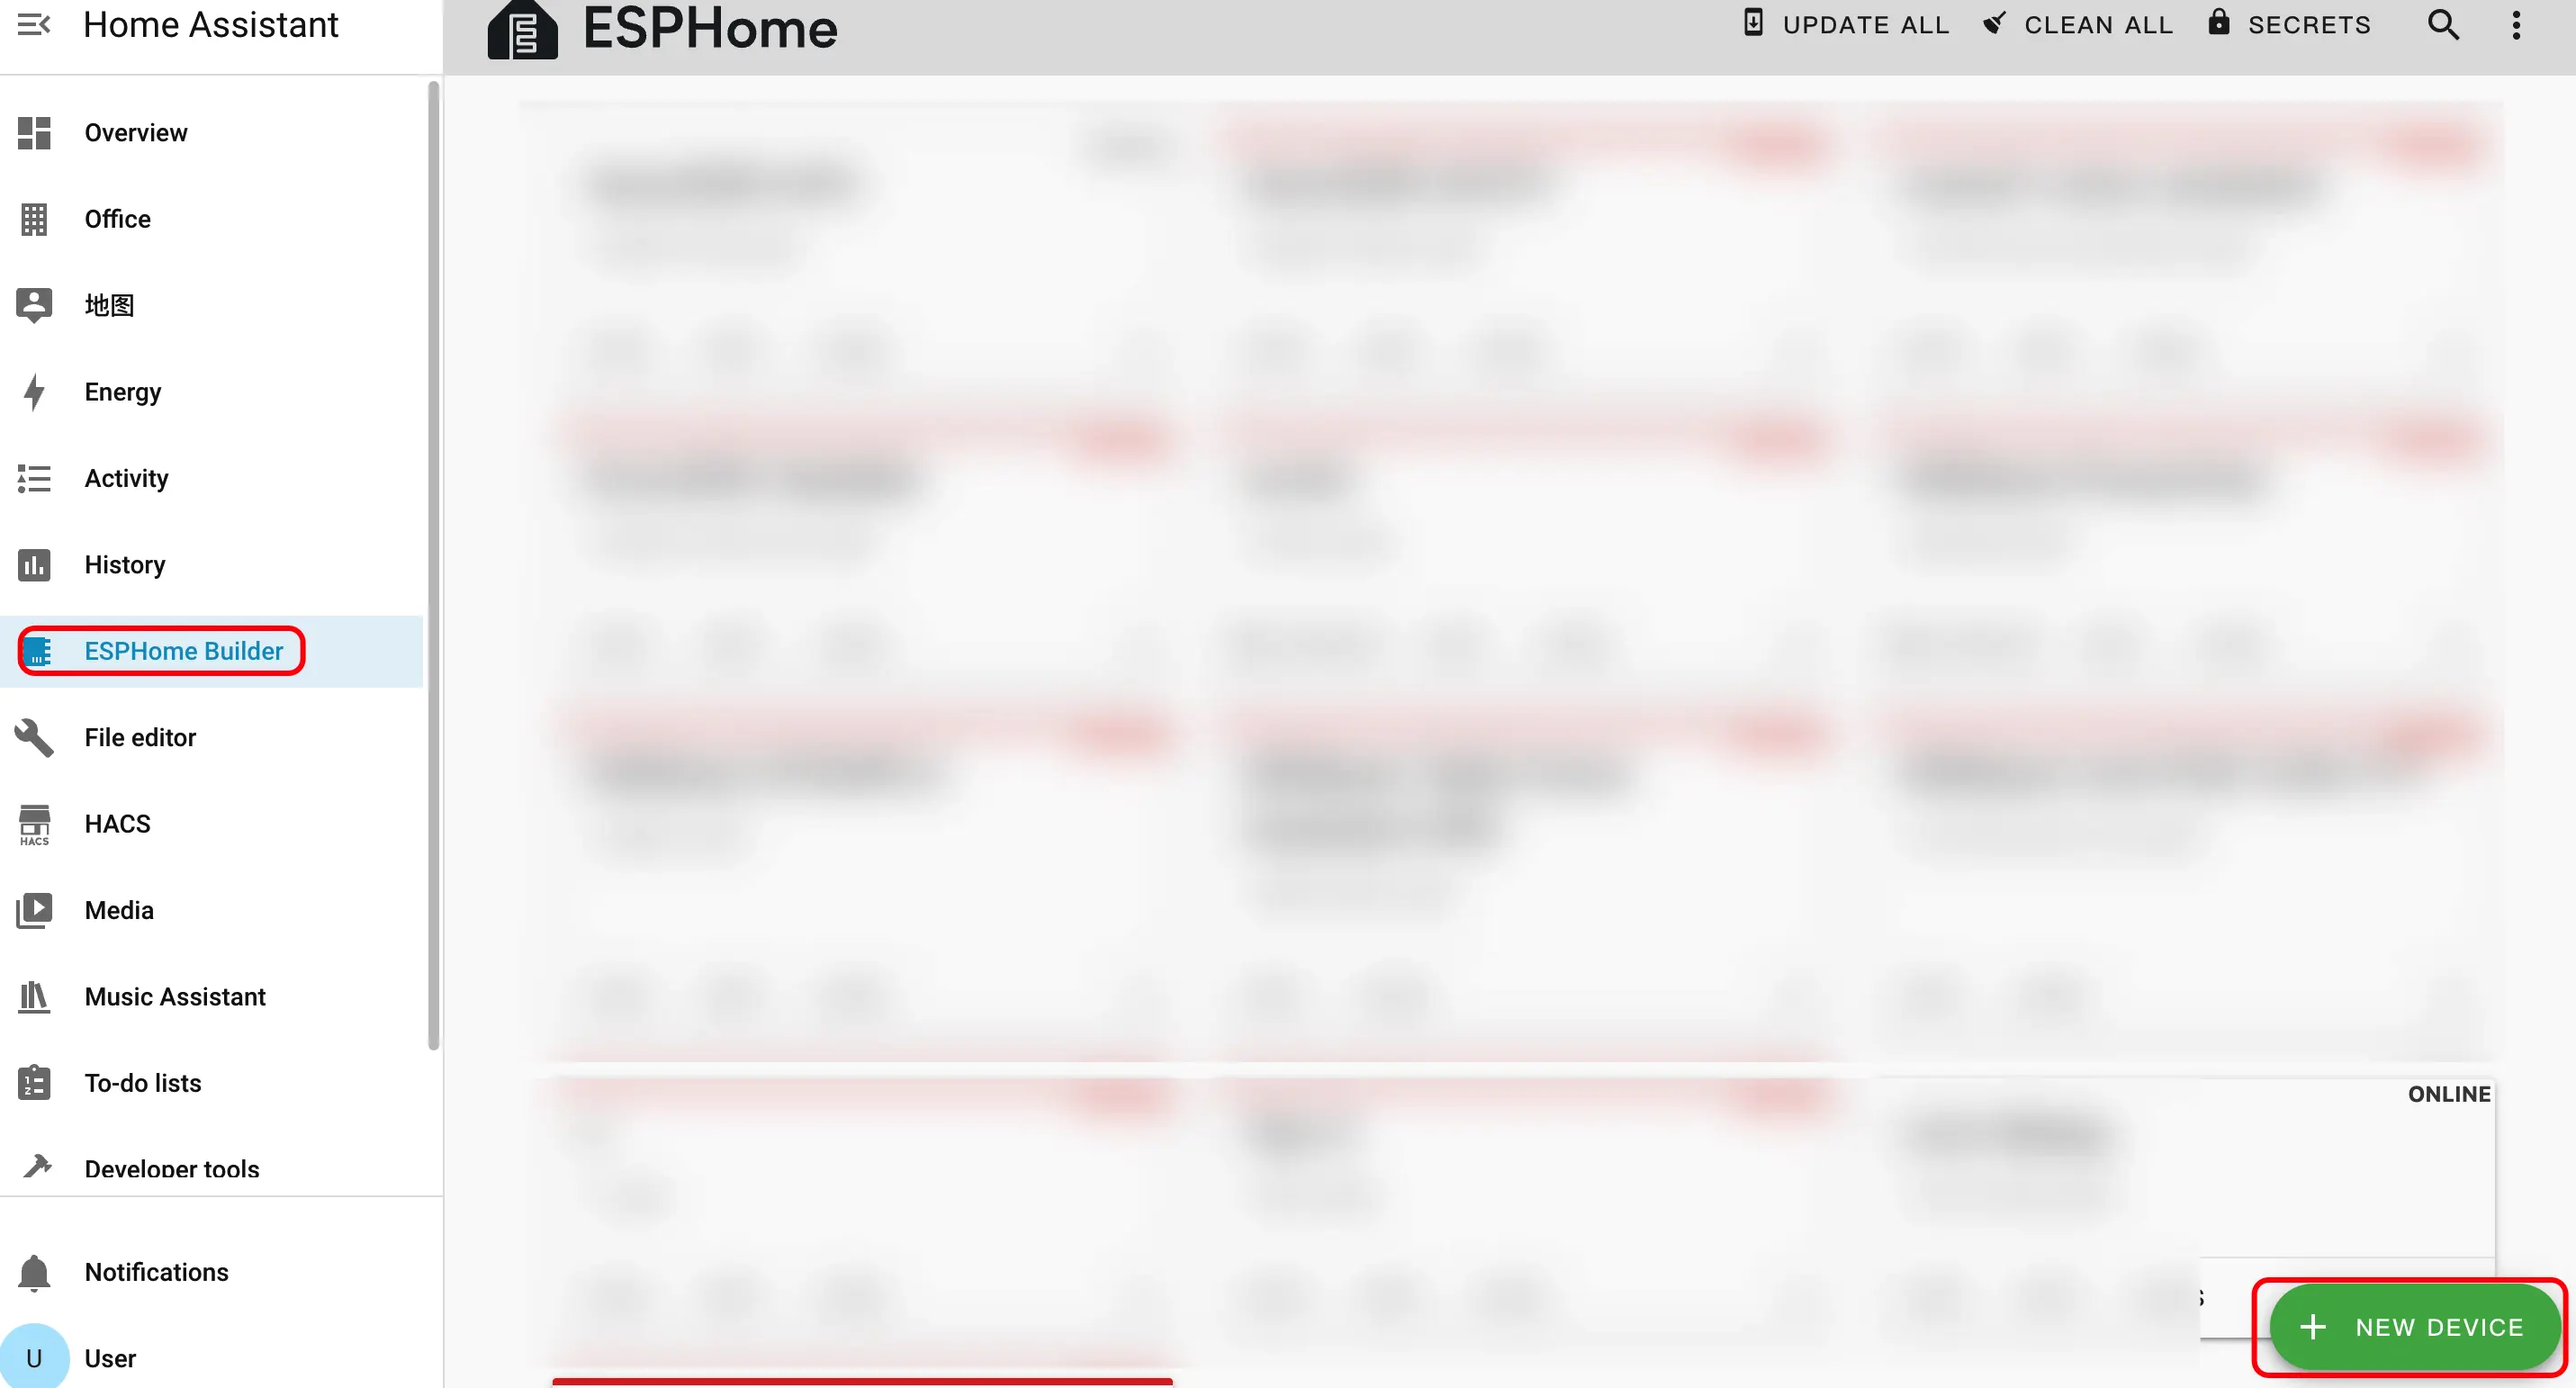
New Device Setupをクリックして、デバイス作成ウィザードに入ります。

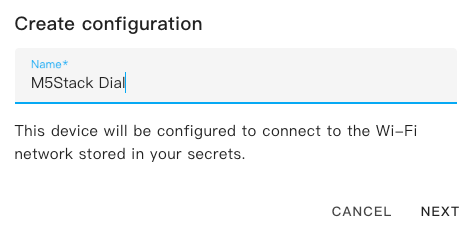
- デバイス名を入力し、
NEXTをクリックします。
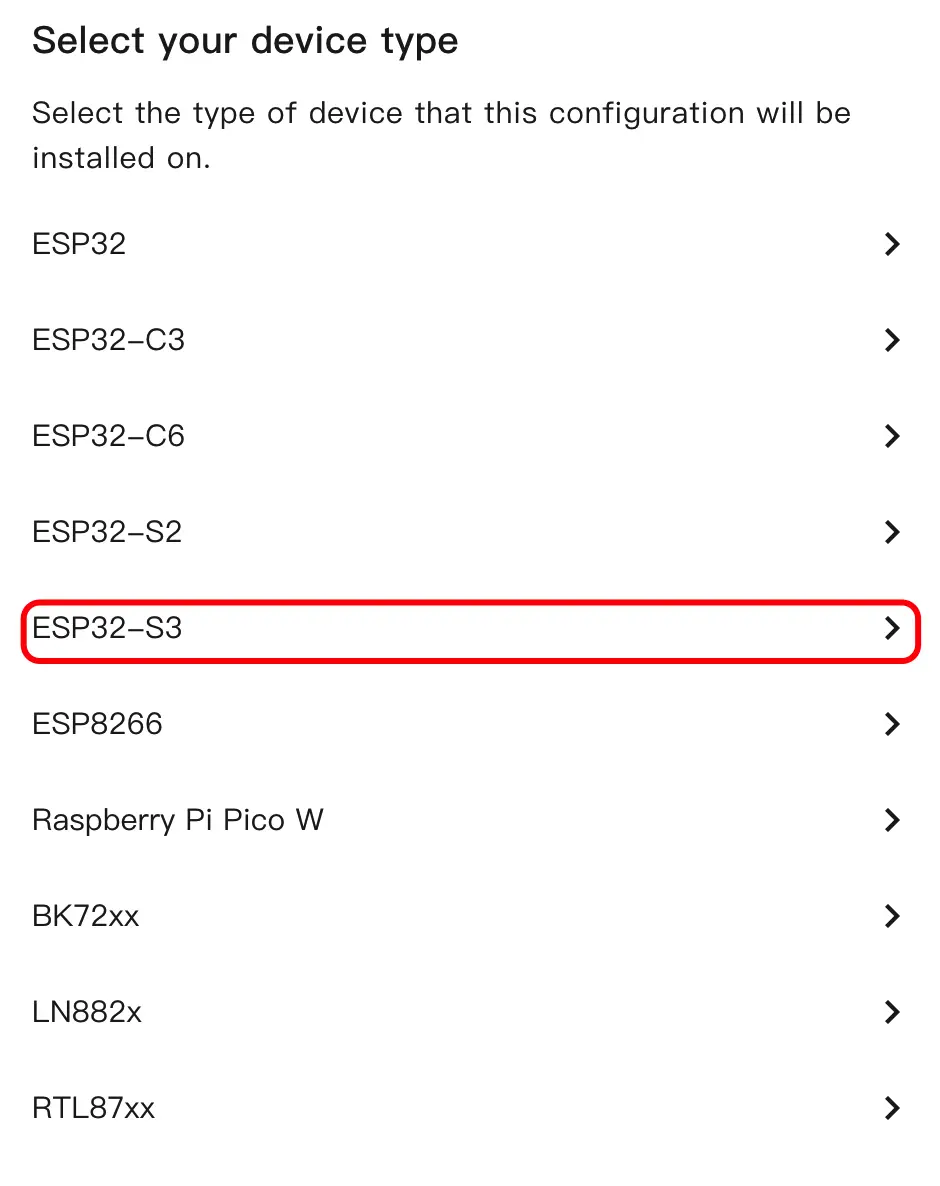
- デバイスタイプを選択し、
ESP32S3をクリックします。
SKIPをクリックして暗号化キーの設定をスキップします。
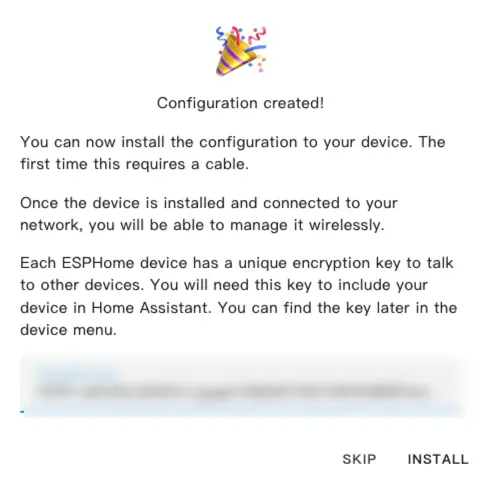
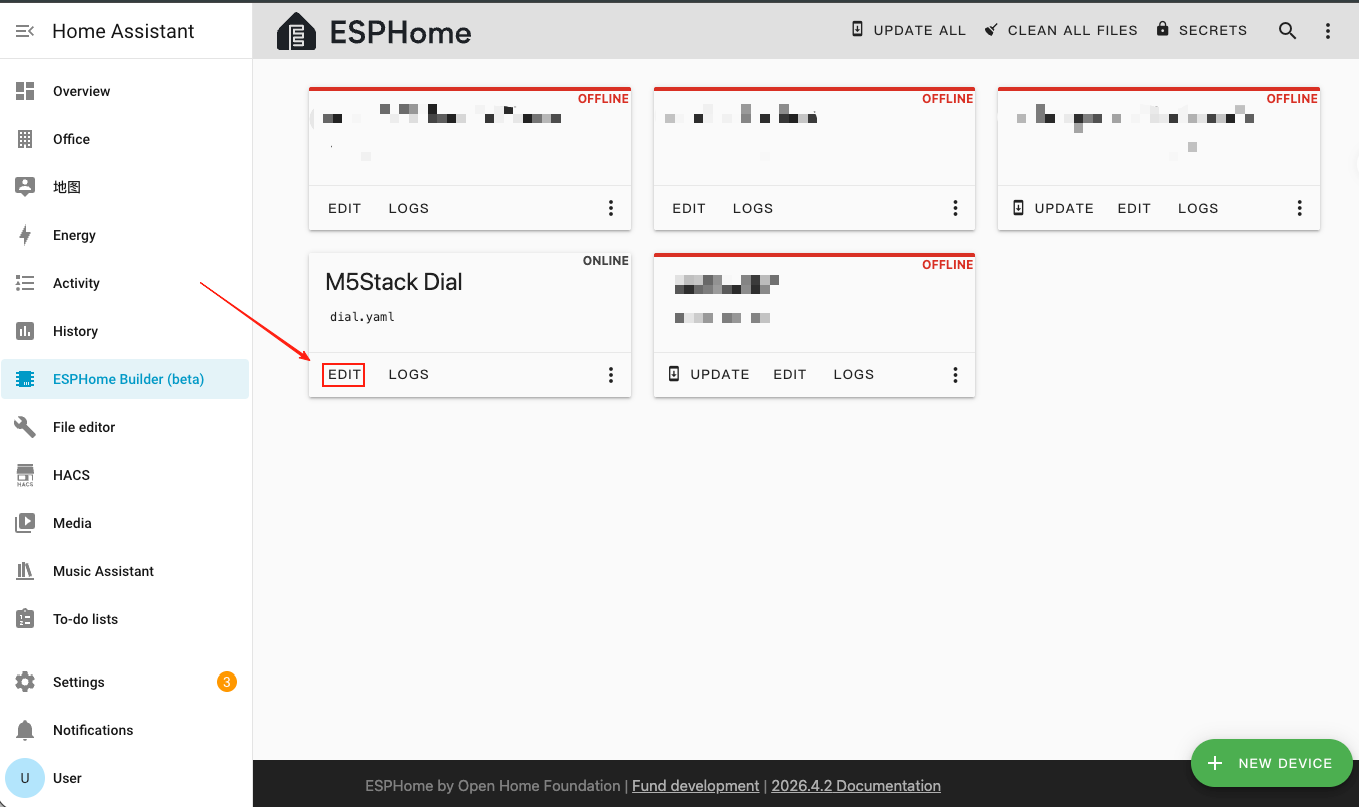
EDITをクリックして YAML エディターを開き、デバイス設定をカスタマイズします。
3. デバイス設定
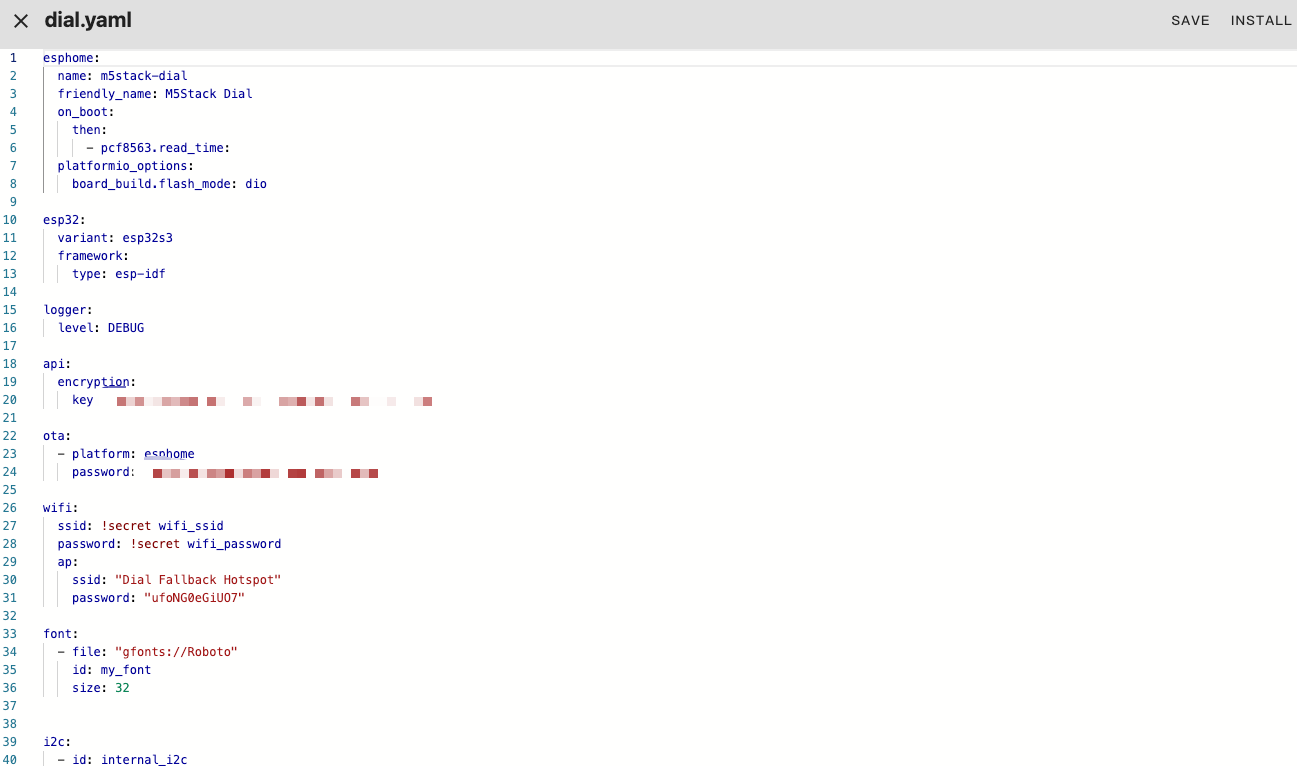
3.1 基本設定
esphome:
  name: m5stack-dial
  friendly_name: M5Stack Dial
  on_boot:
    then:
      - pcf8563.read_time:
  platformio_options:
    board_build.flash_mode: dio

esp32:
  variant: esp32s3
  framework:
    type: esp-idf

logger:
  level: DEBUG

api:
  encryption:
    key: "your_encryption_key"

ota:
  - platform: esphome
    password: "your_ota_password"

wifi:
  ssid: !secret wifi_ssid
  password: !secret wifi_password
  ap:
    ssid: "Dial Fallback Hotspot"
    password: "your_fallback_password"

font:
  - file: "gfonts://Roboto"
    id: my_font
size: 32主なパラメータの説明:
| パラメータ | 値 | 説明 |
|---|---|---|
framework.type | esp-idf | パフォーマンスと安定性を向上させるために ESP-IDF フレームワークを使用します。 |
platformio_options | board_build.flash_mode: dio | ESP32-S3 のフラッシュモード設定。 |
on_boot | pcf8563.read_time | 起動時に RTC の時刻を読み取り、システムクロックを初期化します。 |
3.2 I2C と SPI バス設定
i2c:
  - id: internal_i2c
    sda: GPIO11
    scl: GPIO12
    frequency: 400kHz
    scan: true

spi:
  id: spi_bus
  mosi_pin: GPIO5
clk_pin: GPIO6Note
I2C バスは PCF8563 RTC(アドレス
0x51)、RC522 NFC モジュール(アドレス 0x28)、FT5x06 タッチコントローラー(アドレス 0x38)で共有されています。SPI バスは GC9A01A 丸型ディスプレイを駆動します。3.3 ディスプレイとタッチスクリーンの設定
- MIPI SPI Display を追加して 1.28 インチ丸型 GC9A01A TFT ディスプレイを制御し、**FT5x06 Touchscreen** を追加してタッチ入力に対応します。
display:
  - platform: mipi_spi
    id: round_display
    model: GC9A01A
    cs_pin: GPIO7
    reset_pin: GPIO8
    dc_pin: GPIO4
    invert_colors: true
    data_rate: 40MHz
    update_interval: 1s
    auto_clear_enabled: true
    lambda: |-
      it.print(120, 120, id(my_font), TextAlign::CENTER, "Hello");

touchscreen:
  - platform: ft5x06
    id: touch
    i2c_id: internal_i2c
address: 0x38主なパラメータの説明:
| パラメータ | 値 | 説明 |
|---|---|---|
model | GC9A01A | 丸型画面用の MIPI SPI ディスプレイコントローラー。 |
cs_pin | GPIO7 | SPI チップセレクトピン。 |
reset_pin | GPIO8 | ディスプレイリセットピン。 |
dc_pin | GPIO4 | ディスプレイデータ/コマンドピン。 |
invert_colors | true | GC9A01A の正しい色表示に必要。 |
touchscreen.address | 0x38 | FT5x06 タッチコントローラーの I2C アドレス。 |
3.4 バックライト設定
- Monochromatic Light を追加して、GPIO9 経由でディスプレイのバックライトを制御します。
output:
  - platform: ledc
    pin: GPIO9
    id: backlight_output
    frequency: 1000Hz

light:
  - platform: monochromatic
    name: "Backlight"
    output: backlight_output
    id: display_backlight
default_transition_length: 0s3.5 ロータリーエンコーダーとボタンの設定
- Rotary Encoder Sensor を追加してノブの位置を読み取り、**GPIO Binary Sensor** を追加して画面下のボタンを検出します。
sensor:
  - platform: rotary_encoder
    id: encoder
    name: "Rotary Encoder"
    pin_a:
      number: GPIO40
      mode: INPUT_PULLUP
    pin_b:
      number: GPIO41
      mode: INPUT_PULLUP
    resolution: 4
    min_value: -32768
    max_value: 32767
    publish_initial_value: true

binary_sensor:
  - platform: gpio
    name: Button
    id: front_button
    pin:
      number: GPIO42
      inverted: true
      mode:
        input: true
pullup: true主なパラメータの説明:
| パラメータ | 値 | 説明 |
|---|---|---|
encoder.pin_a | GPIO40 (INPUT_PULLUP) | エンコーダー信号ピン A。 |
encoder.pin_b | GPIO41 (INPUT_PULLUP) | エンコーダー信号ピン B。 |
encoder.resolution | 4 | エンコーダー分解能モード(1 パルスあたり 4 エッジをカウント)。 |
front_button.pin | GPIO42(反転) | 画面下ボタン。オープン時にハイ、押下時にローになります。 |
3.6 NFC リーダー (RC522) の設定
- RC522 I2C コンポーネントを追加して、内蔵 WS1850S モジュールで NFC/RFID タグを検出します。
rc522_i2c:
  - id: nfc_reader
    i2c_id: internal_i2c
    address: 0x28
    update_interval: 500ms
    on_tag:
      - lambda: |-
          ESP_LOGD("rfid", "Card detected: %s", x.c_str());
    on_tag_removed:
      - lambda: |-
ESP_LOGD("rfid", "Card removed: %s", x.c_str());主なパラメータの説明:
| パラメータ | 値 | 説明 |
|---|---|---|
address | 0x28 | WS1850S/RC522 NFC モジュールの I2C アドレス。 |
update_interval | 500ms | タグ検出のポーリング間隔。 |
on_tag | — | NFC タグが検出されたときにトリガーされます。 |
on_tag_removed | — | NFC タグが取り除かれたときにトリガーされます。 |
3.7 ブザー (RTTTL) の設定
- RTTTL コンポーネントを追加して、GPIO3 のオンボードブザーでメロディを再生します。
output:
  - platform: ledc
    pin: GPIO3
    id: buzzer
    frequency: 4000Hz

rtttl:
  output: buzzer
  id: rtttl_player
  gain: 0.6

button:
  - platform: template
    name: "The buzzer beeps once"
    id: buzzer_button
    icon: mdi:bell-ring
    on_press:
      - rtttl.play:
          id: rtttl_player
rtttl: "beep:d=4,o=5,b=180:16e,16e"3.8 RTC 時刻設定
- PCF8563 Time コンポーネントを追加して、オンボード RTC を時刻ソースとして使用します。
time:
  - platform: pcf8563
    id: rtctime
    i2c_id: internal_i2c
    address: 0x51
    update_interval: never

text_sensor:
  - platform: template
    name: "Device Time"
    id: current_time_str
    icon: mdi:clock-outline
    update_interval: 10s
    lambda: |-
      auto t = id(rtctime).now();
      if (!t.is_valid()) return {"--:--:--"};
      char buf[20];
      snprintf(buf, sizeof(buf), "%04d-%02d-%02d %02d:%02d:%02d",
               t.year, t.month, t.day_of_month,
               t.hour, t.minute, t.second);
return {buf};主なパラメータの説明:
| パラメータ | 値 | 説明 |
|---|---|---|
address | 0x51 | PCF8563 / BM8563 RTC チップの I2C アドレス。 |
update_interval | never | 自動 RTC 同期を無効にします(システム時刻は起動時にロードされます)。 |
4. ファームウェアのビルドと書き込み
4.1 ファームウェアのビルド
- YAML 設定を編集したら、右上の
SAVEをクリックし、次にINSTALLをクリックします。
- ポップアップダイアログで
Manual Downloadを選択します。
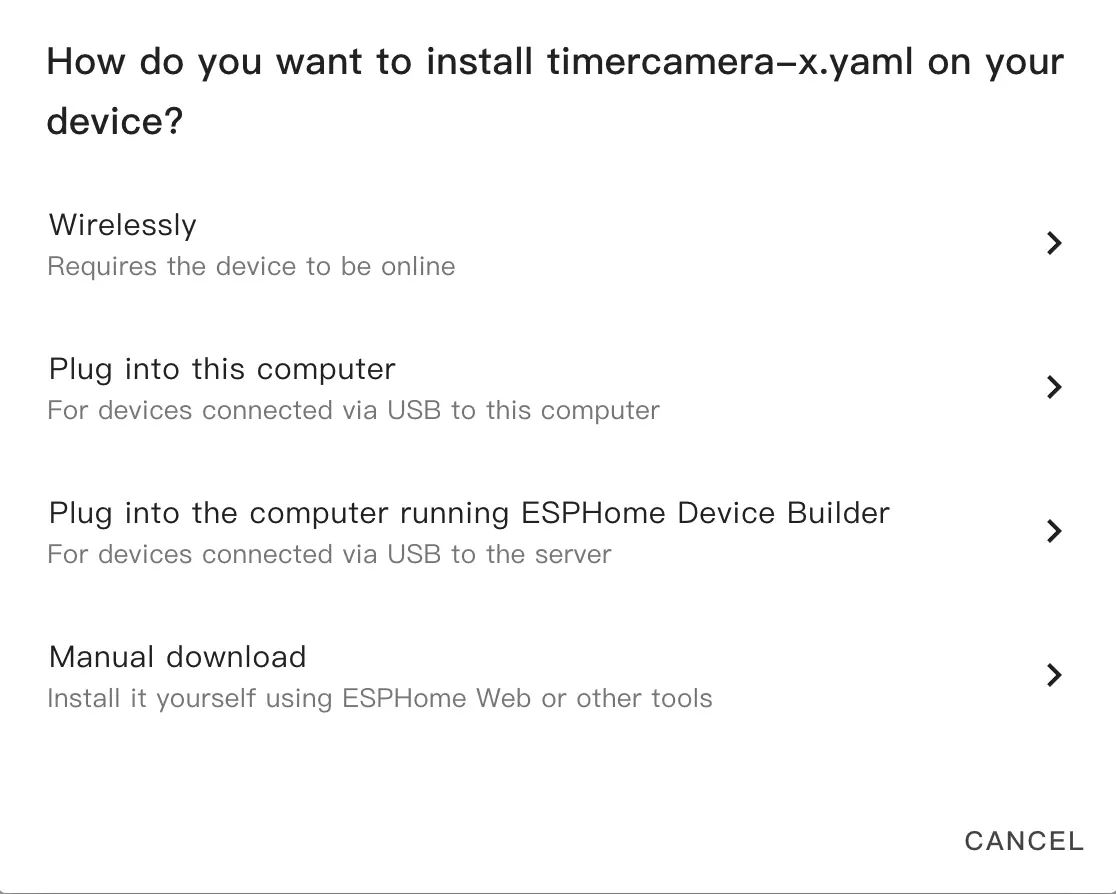
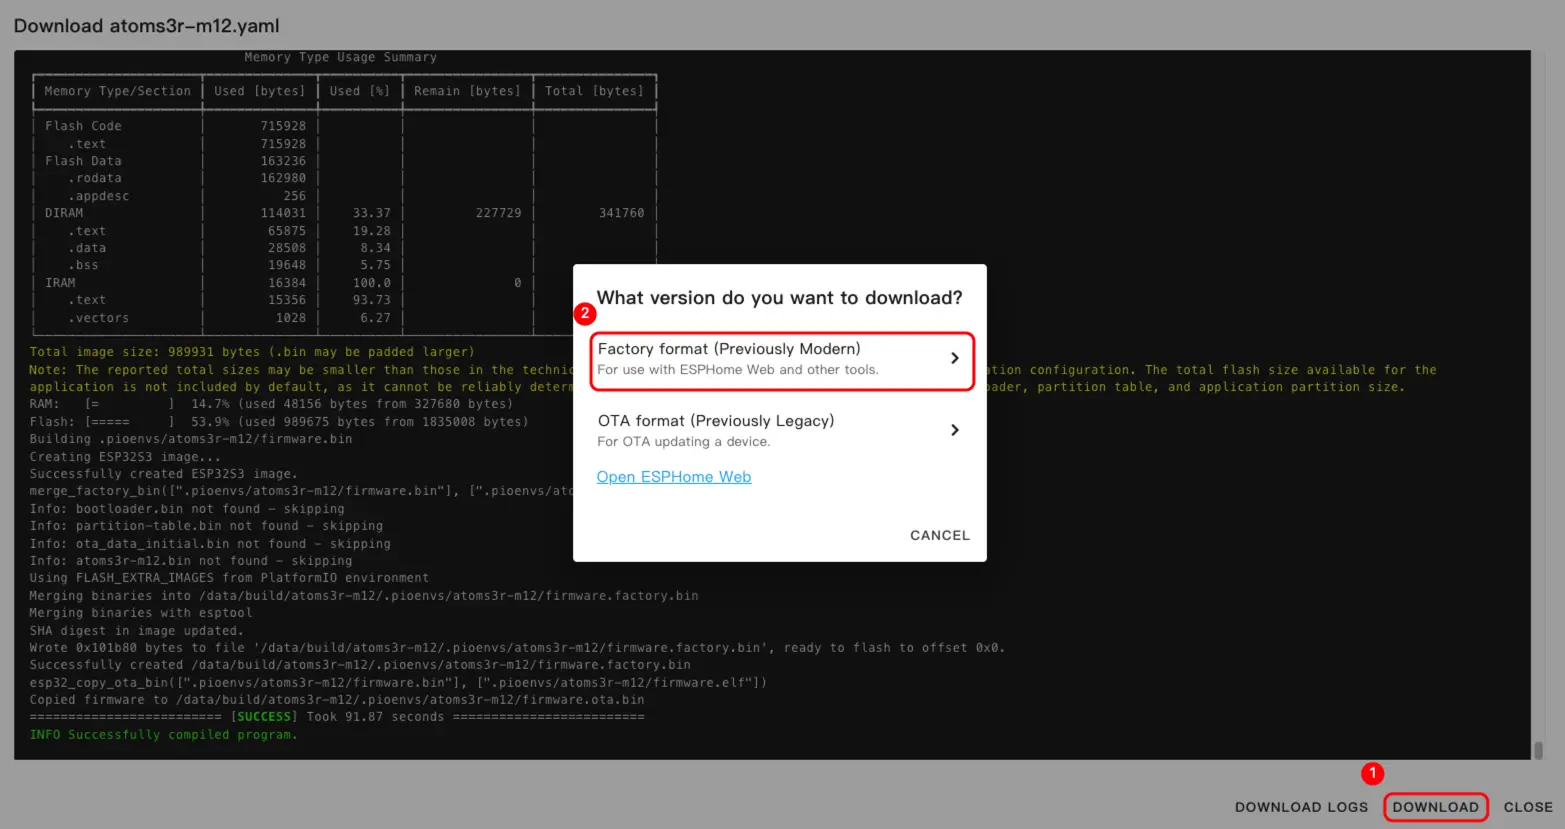
- ファームウェアのコンパイルが完了するのを待ち、
DownloadをクリックしてFactory format (Previously Modern)を選択し、ファームウェアファイルをローカルに保存します。
Info
完全な設定例については dial-example.yaml を参照してください。初回のビルドには、Home Assistant ホストのパフォーマンスとネットワーク状況によって時間がかかる場合があります。
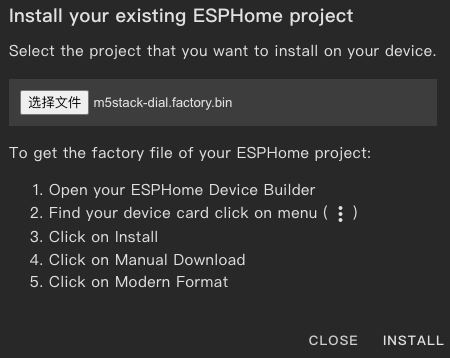
4.2 ファームウェアの書き込み
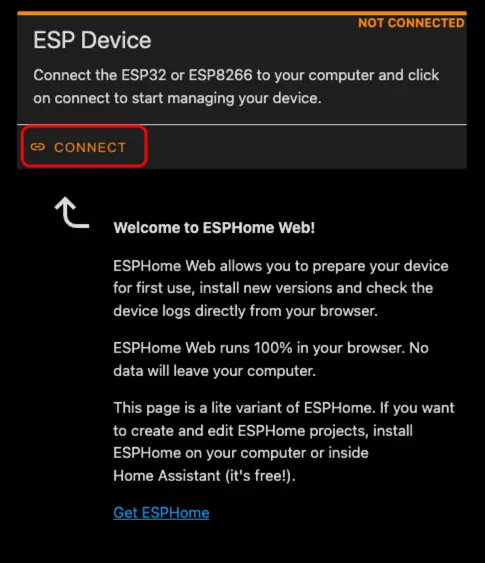
- USB Type-C ケーブルで M5Dial をコンピューターに接続します。ESPHome Web を開き、
CONNECTをクリックします。
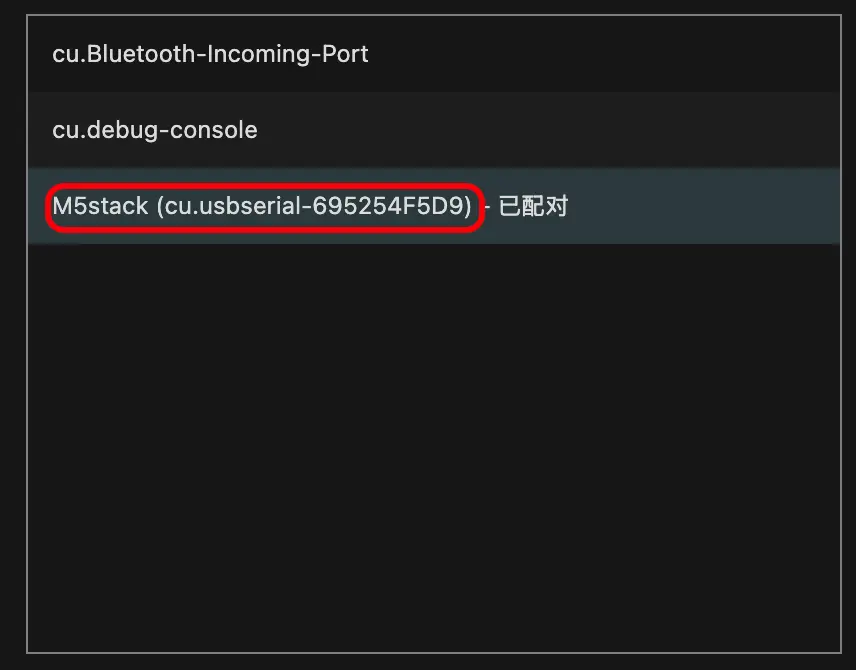
- シリアルポート選択ダイアログで、正しいポートを選択します。
INSTALLをクリックします。
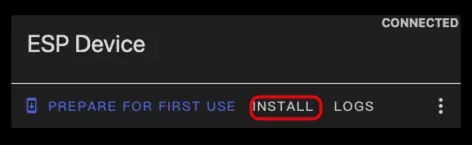
- 手順 3 でダウンロードしたファームウェアファイルを選択して書き込みを開始します。
Warning
書き込み完了後、デバイスをリセットする必要があります。リセットしないとファームウェアが正しく起動しない可能性があります。
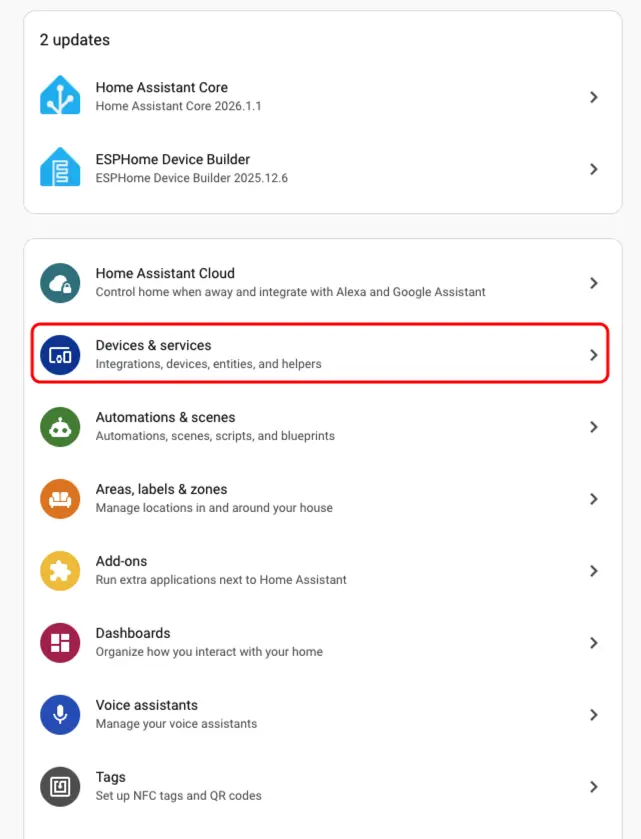
5. Home Assistant での使用開始
- Home Assistant で
Settings>Devices & Servicesに移動し、統合管理ページを開きます。
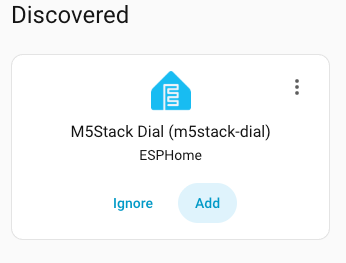
Discoveredエリアでオンラインデバイスを見つけ、CONFIGUREをクリックして、プロンプトに従って追加を完了します。
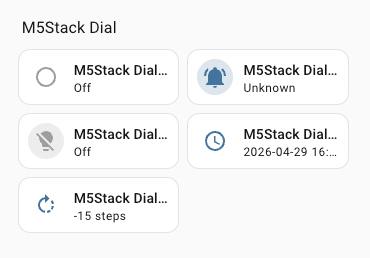
- 追加が成功すると、デバイスページに以下のエンティティが表示されます:
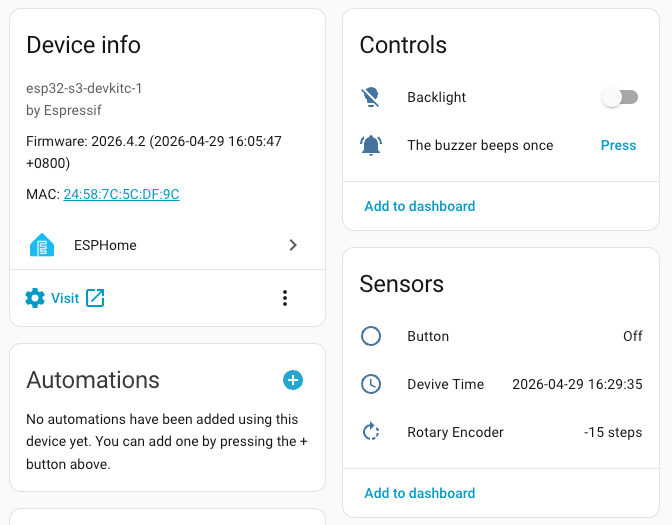
- 最後に、エンティティをダッシュボードに追加して、M5Dial をリアルタイムで制御・監視します。
Page Tools