


Arduino Quick Start
2. Devices & Examples
3. M5Unified
4. M5GFX
5. Extensions
Unit
Base
Cap
IoT
Accessories
PowerHub RS485
PowerHub RS485 communication related APIs and example programs.
Example Program
Compile Requirements
- M5Stack board manager version >= 3.2.3
- Board selection = M5PowerHub
#include <Arduino.h>

HardwareSerial& RS485 = Serial2;

const int MCU_485_DIR = 18;
const int MCU_485_TXD = 8;
const int MCU_485_RXD = 17;

void setup() {
  Serial.begin(115200);

  pinMode(MCU_485_DIR, OUTPUT);
  digitalWrite(MCU_485_DIR, LOW);
  RS485.begin(115200, SERIAL_8N1, MCU_485_RXD, MCU_485_TXD);
  Serial.println("\nRS485 ready. ");
}

void loop() {
  // transmit
  const char* tx_msg = "Hello RS485\r\n";  // change it on another device
  digitalWrite(MCU_485_DIR, HIGH);
  delay(10);
  RS485.print(tx_msg);
  RS485.flush();
  Serial.println("TX OK");
  digitalWrite(MCU_485_DIR, LOW);

  // receive (non-blocking)
  while (RS485.available()) {
    int rx = RS485.read();
    Serial.write(rx);
  }

  delay(2000);
}Prepare two PowerHub devices and flash the above code onto both (you can modify the message content to distinguish them). Set the 120 Ω terminal matching resistor switch of both devices to ON, then connect the RS485 interfaces of the two devices using a VH3.96-4P connector cable (for example, Shielded Twisted Pair Cable):
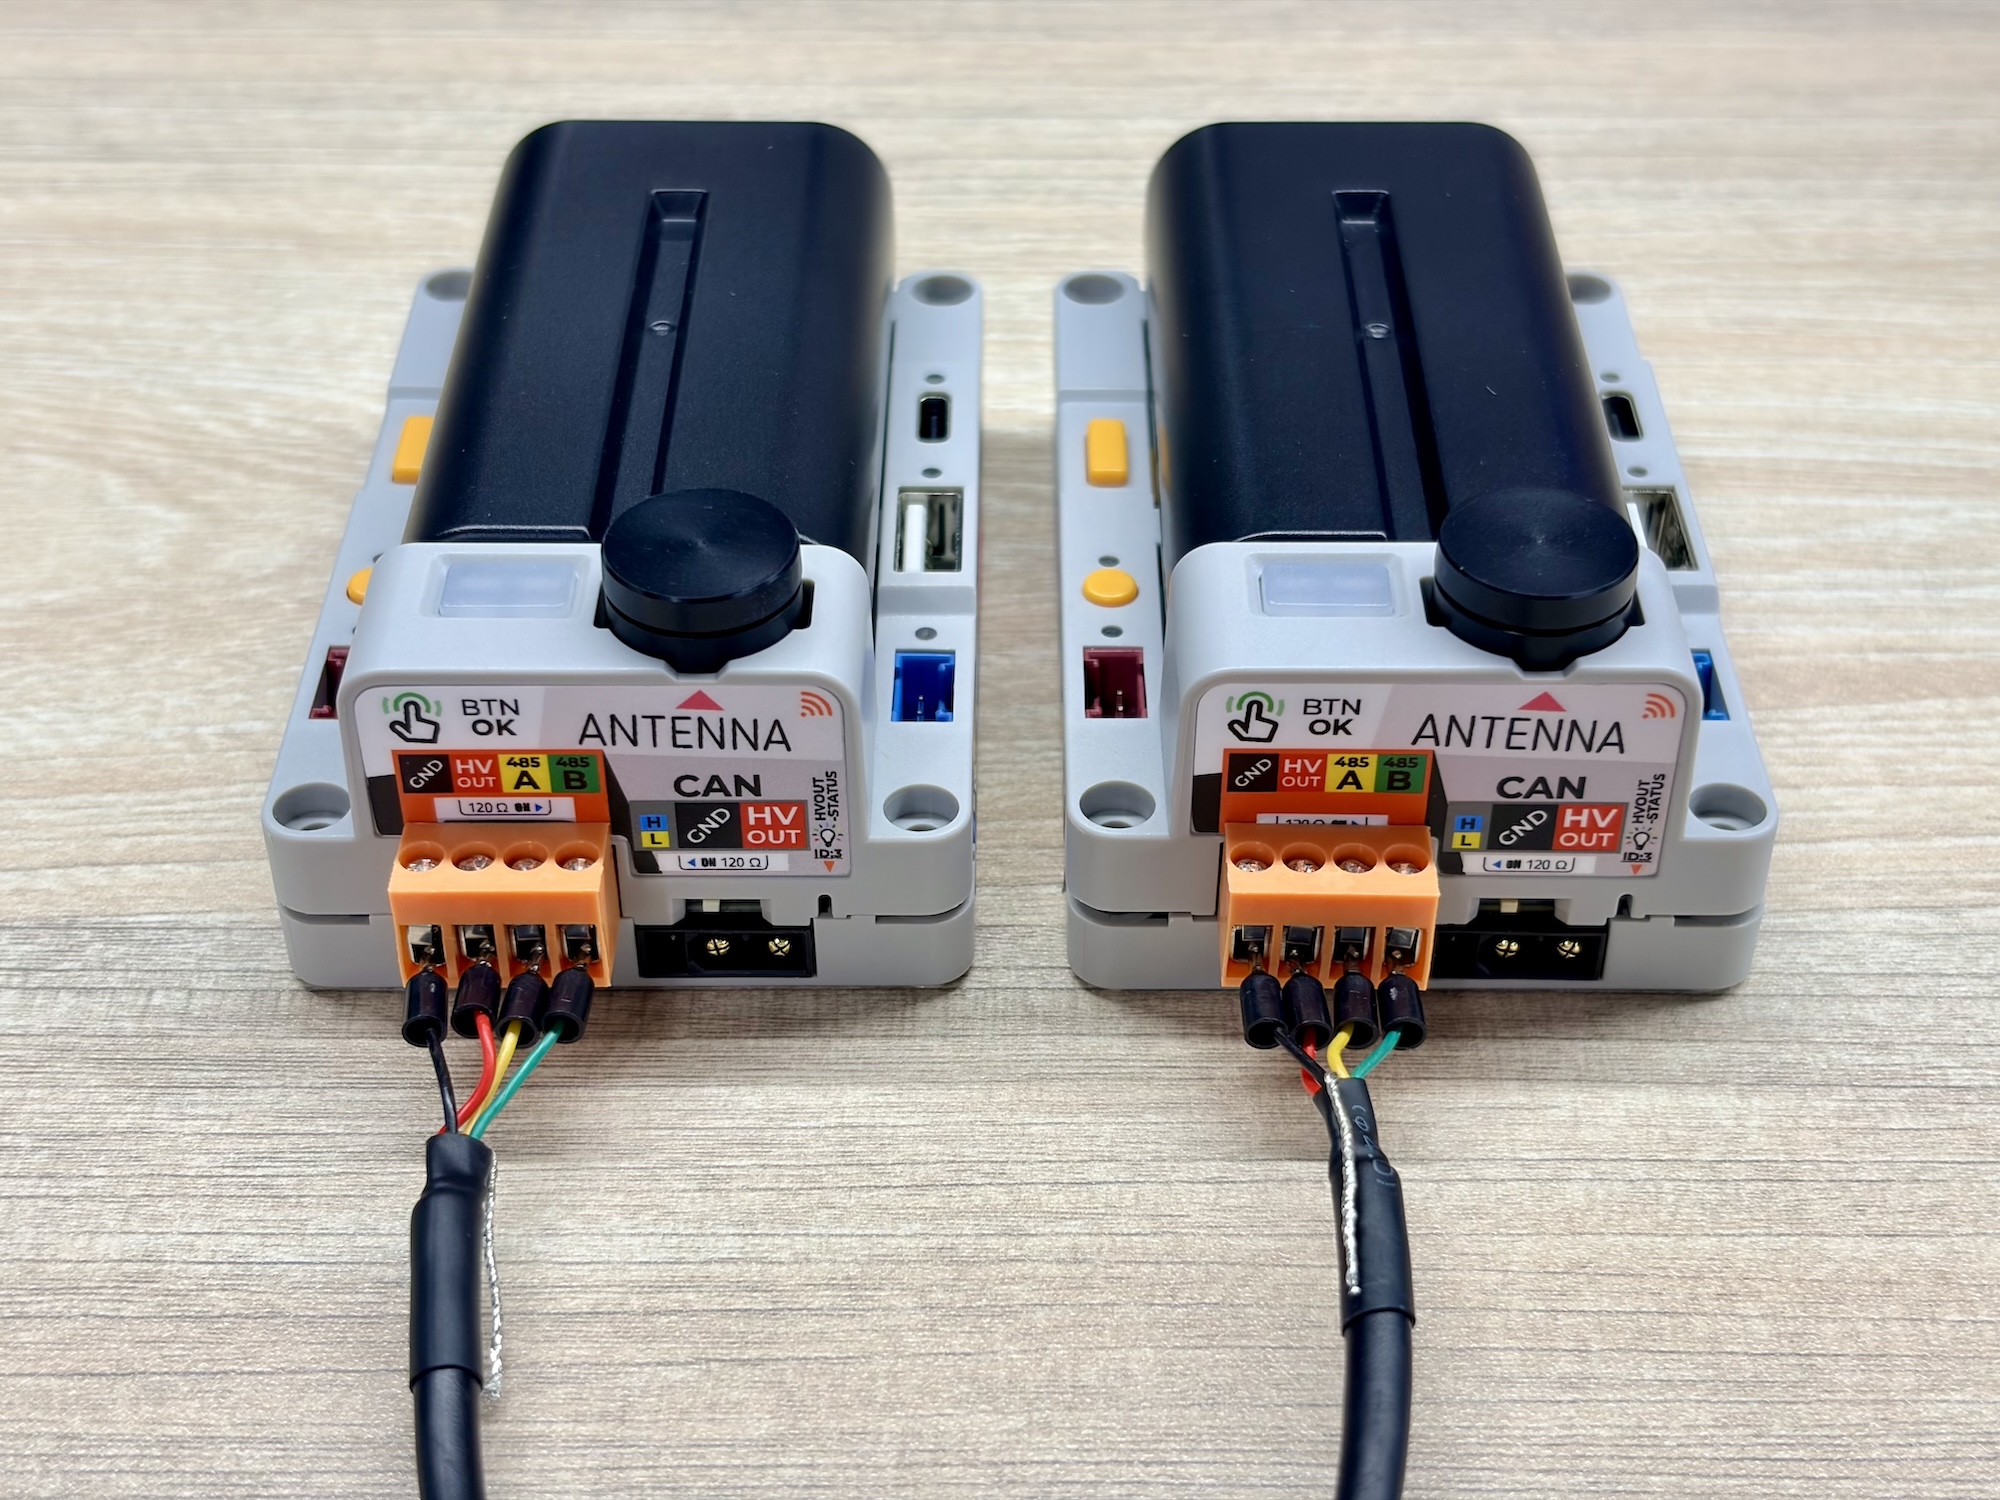
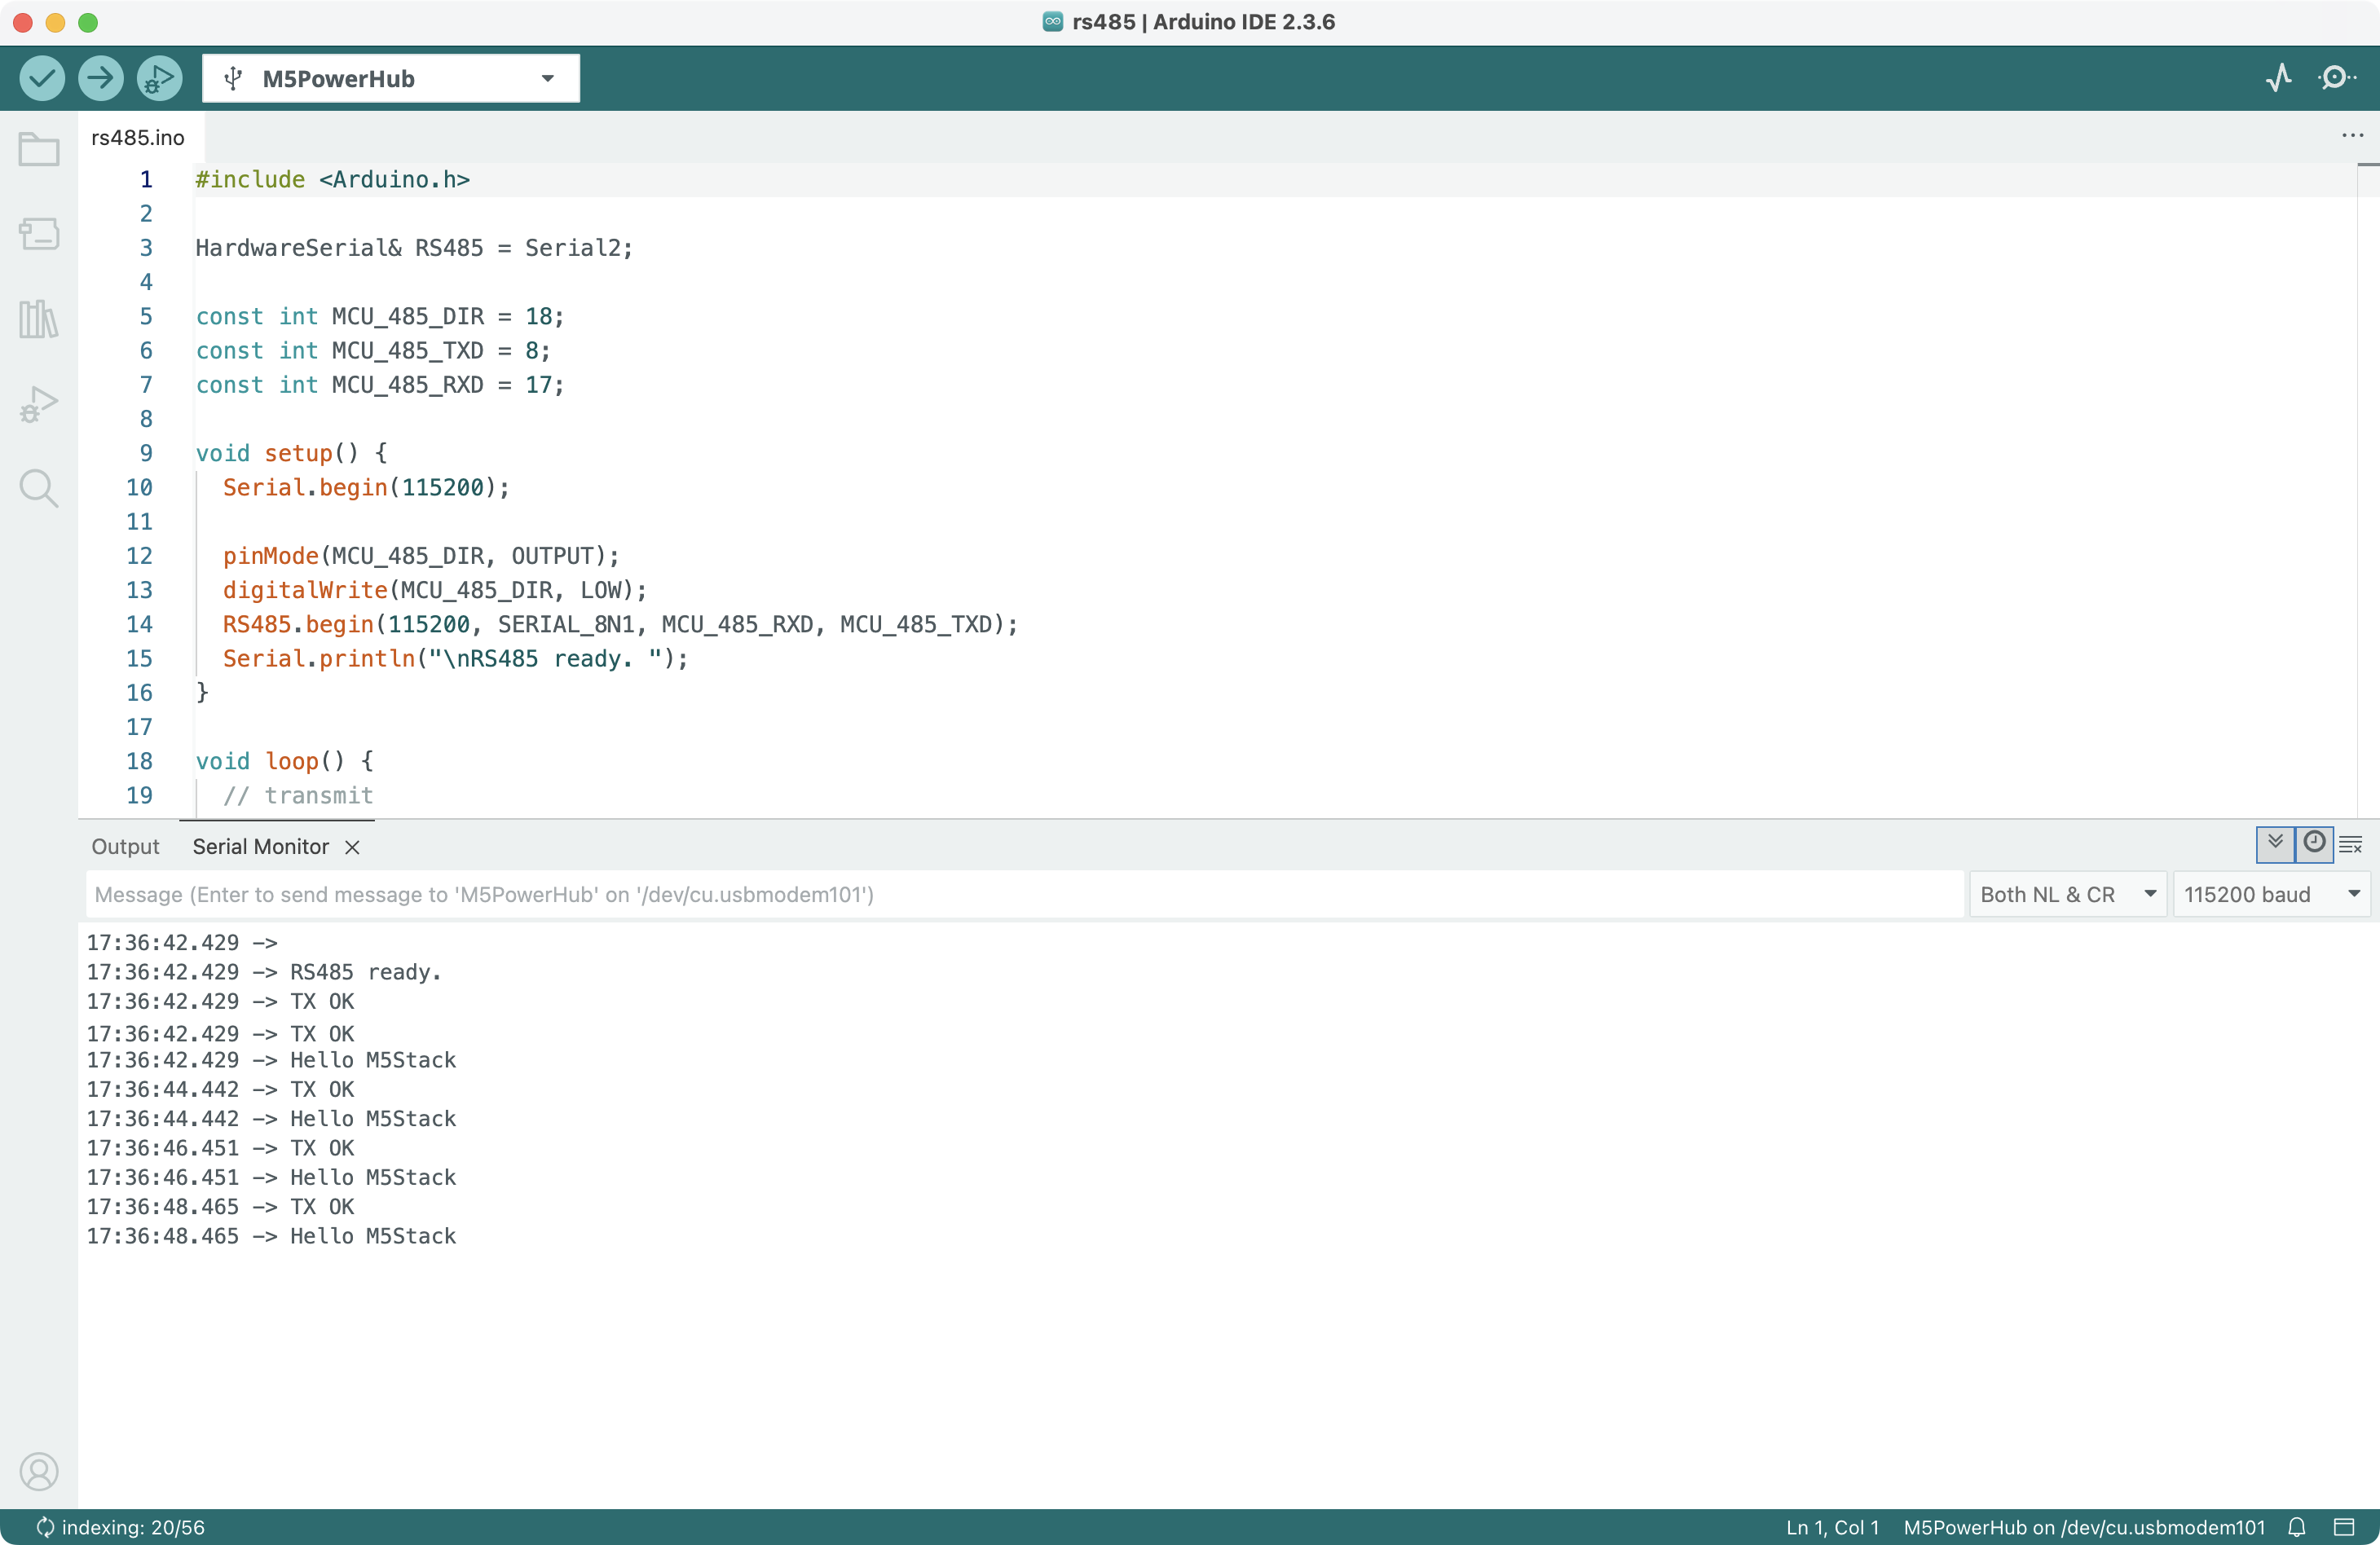
After connecting, the two PowerHub devices will send messages to each other via RS485 communication. Connect one of them to your computer and observe the serial monitor output:
API
The PowerHub RS485 communication driver uses Arduino’s built-in HardwareSerial for hardware serial communication. For more related APIs, refer to the following documentation: