

Arduino Quick Start
2. Devices & Examples
3. M5Unified
4. M5GFX
5. Extensions
Unit
Atomic
Tab5
IoT
Accessories
Chain Joystick Tutorial
1. Preparation
- Environment setup: Refer to Arduino IDE Quick Start to complete IDE installation, and install the corresponding board manager and necessary driver libraries according to the actual development board used.
- Libraries used:
- Hardware used:
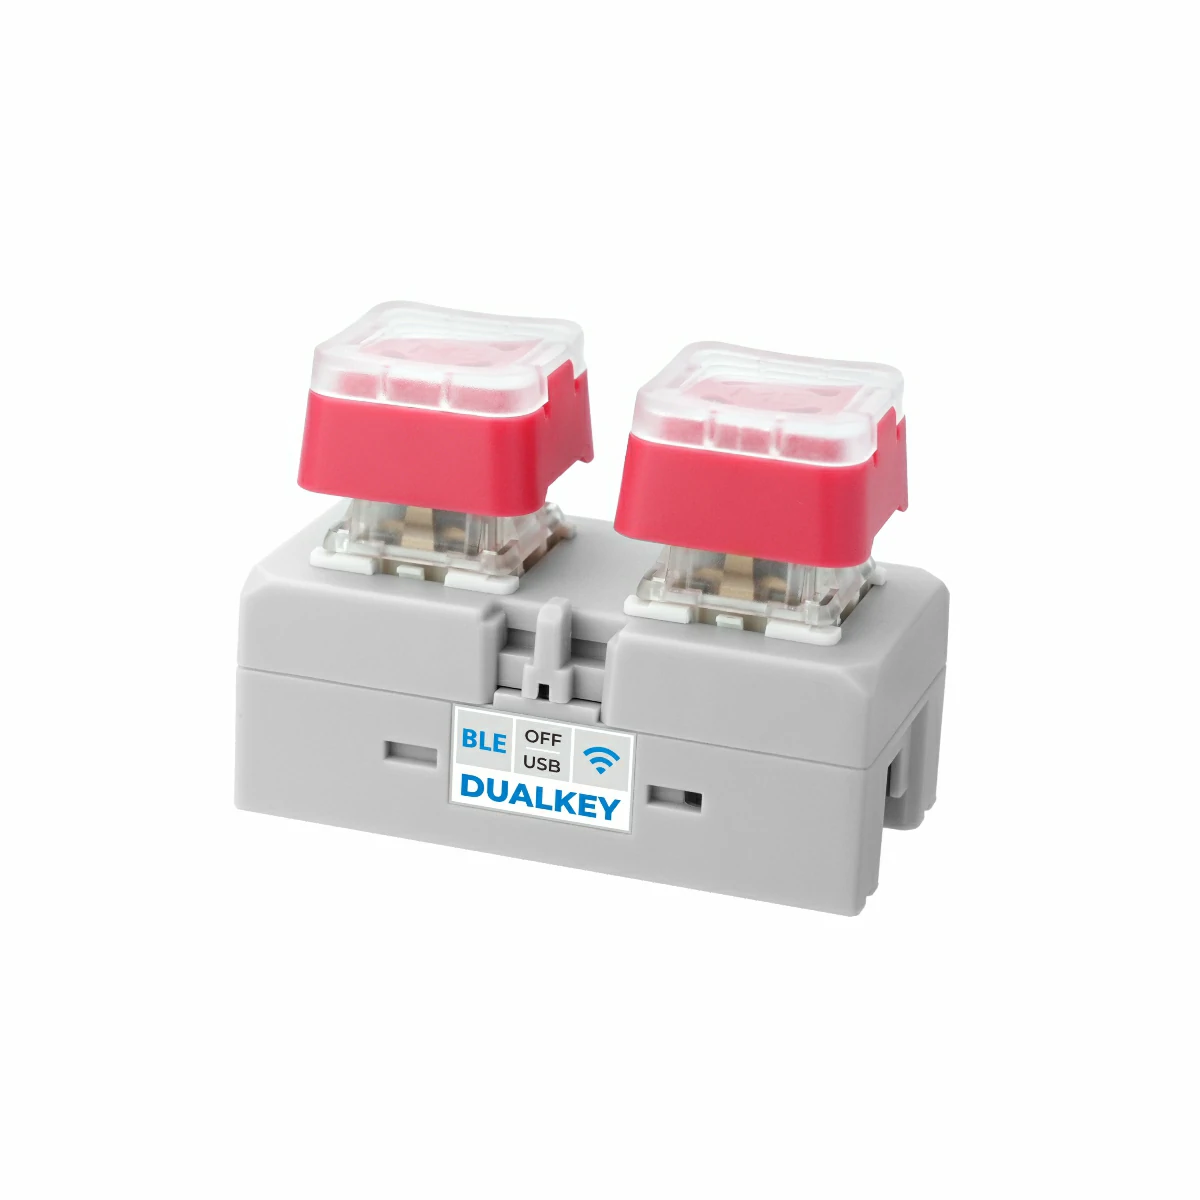
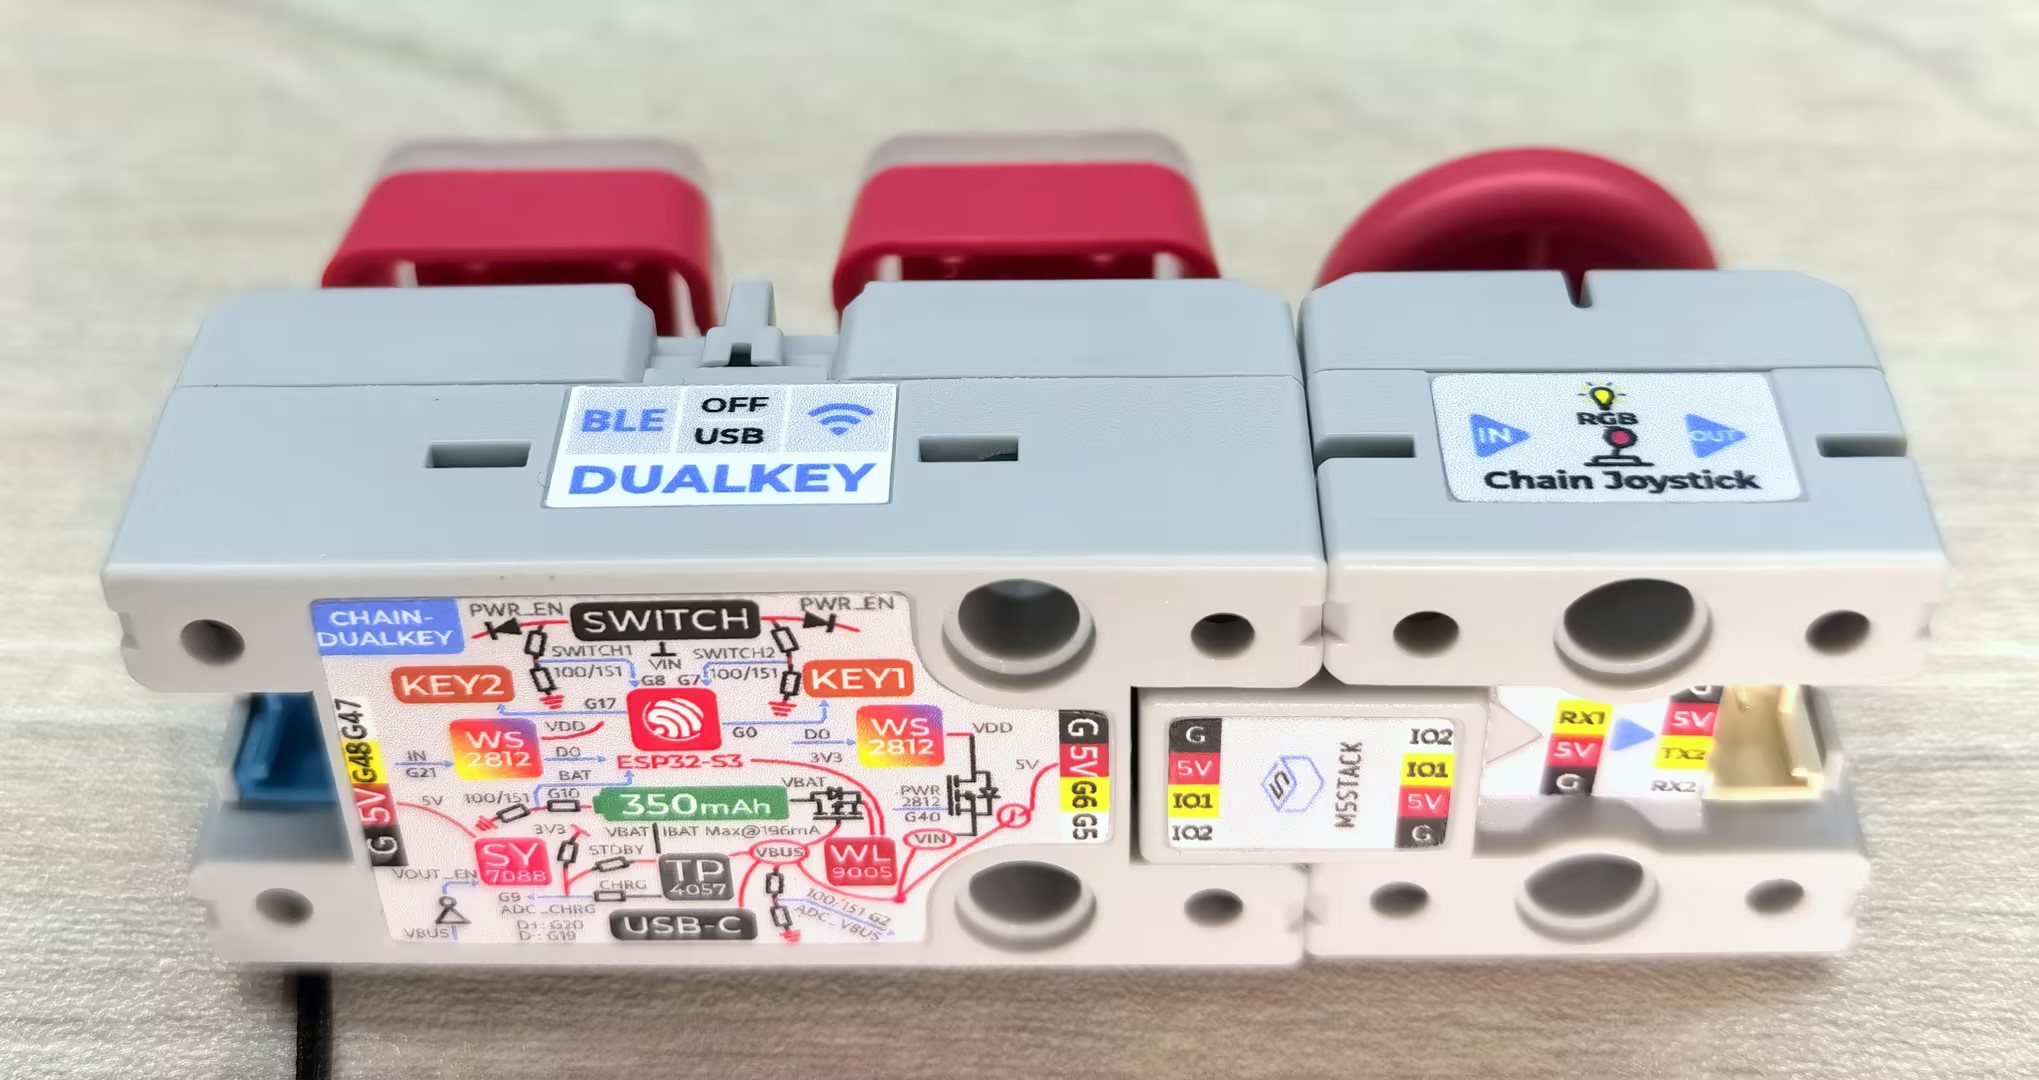
- Chain DualKey
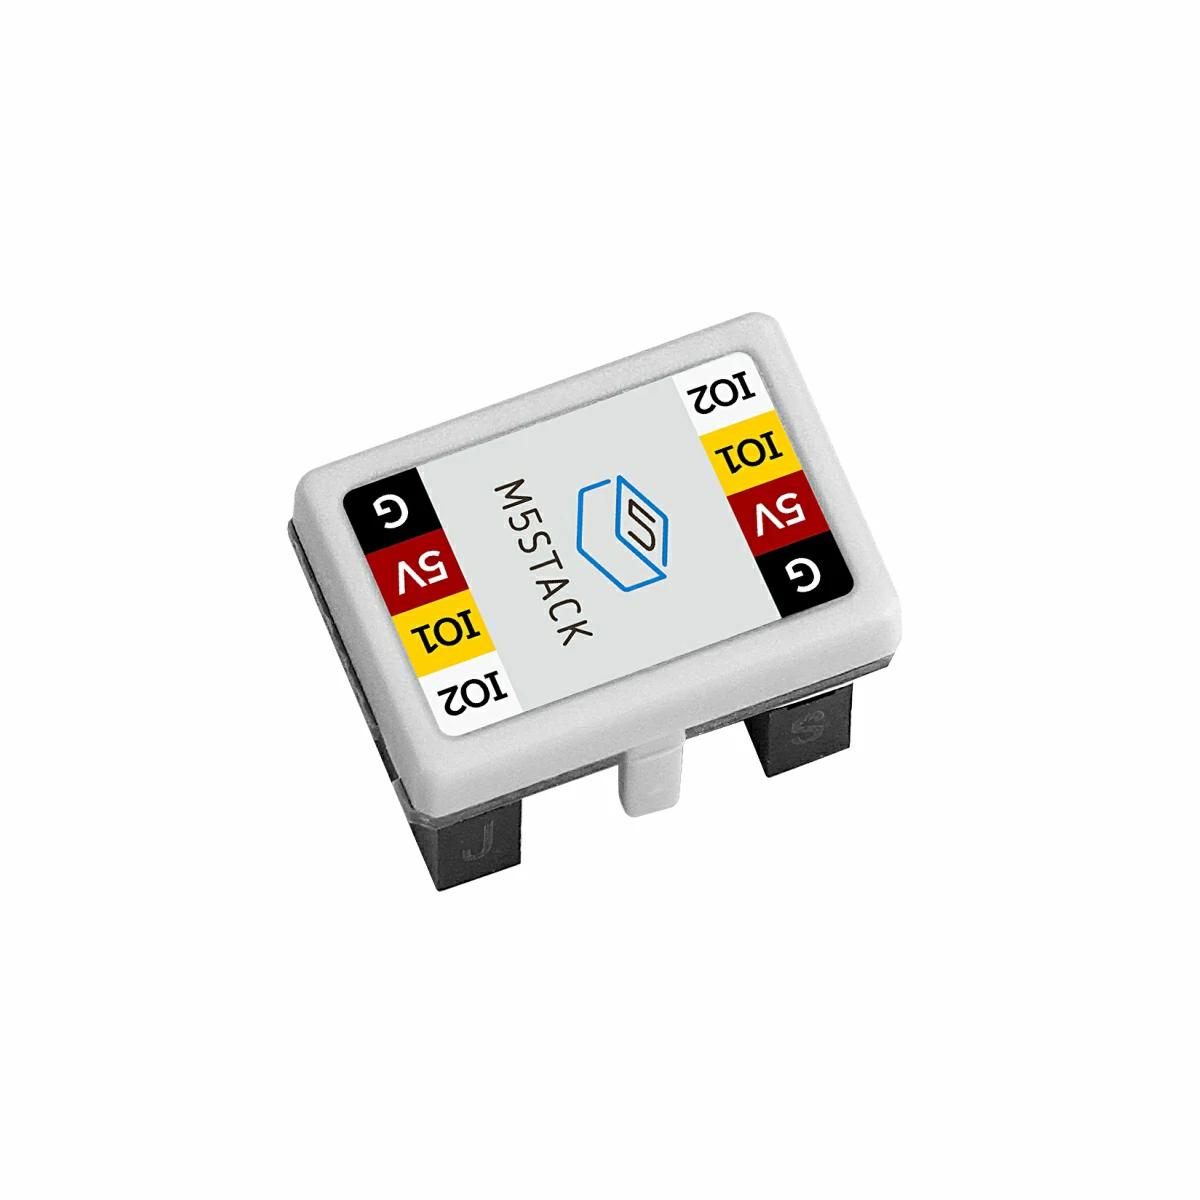
- Chain series connectors, such as Chain Bridge or Chain Return
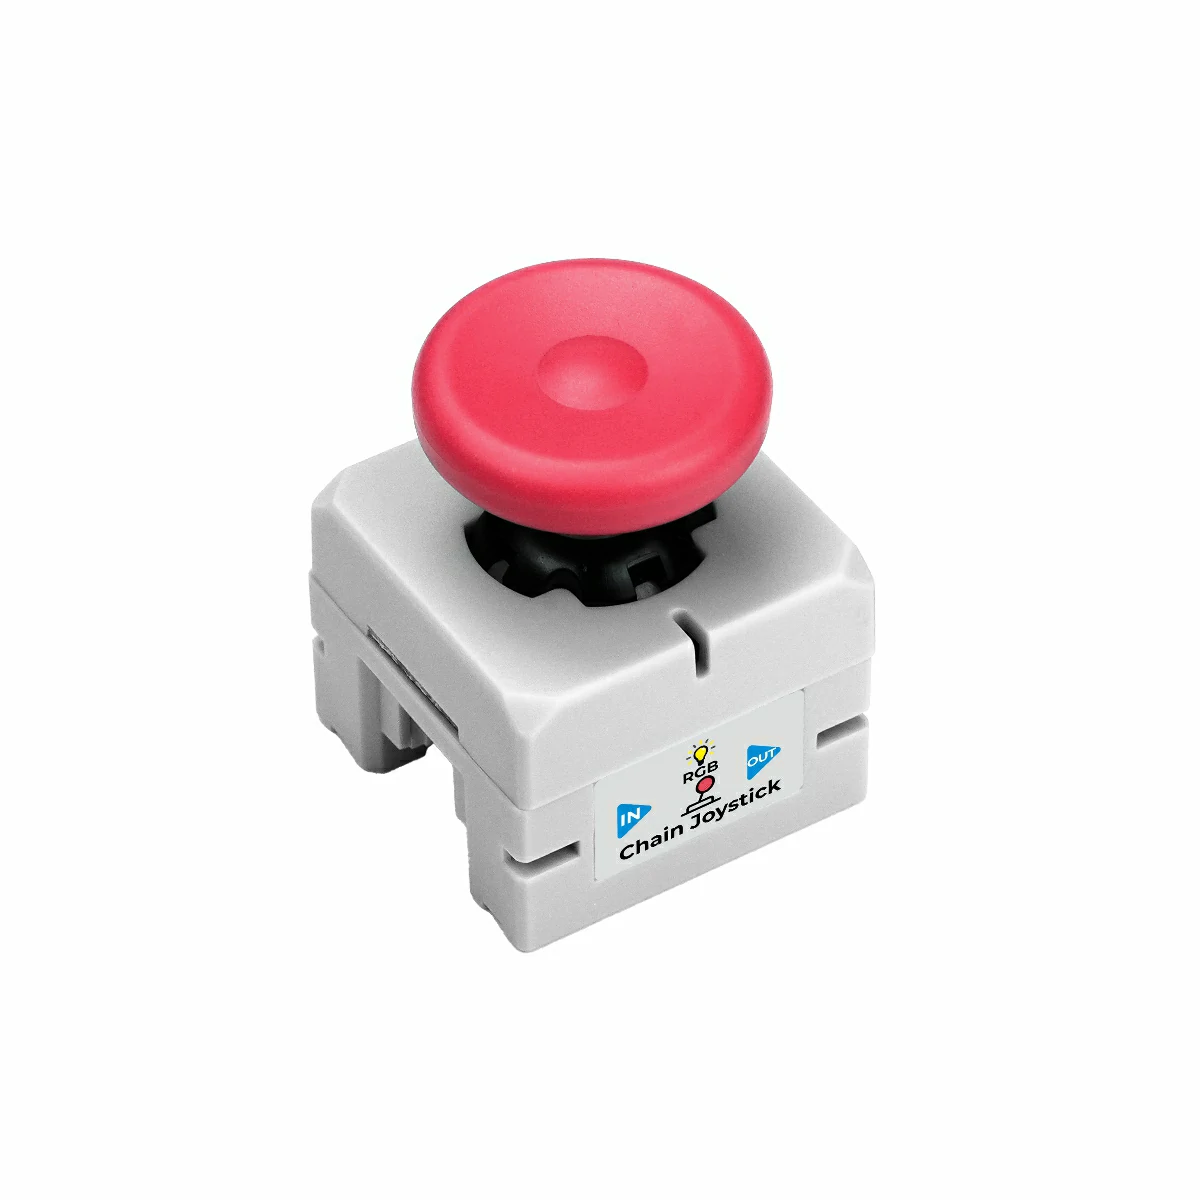
- Chain Joystick
2. Example Program
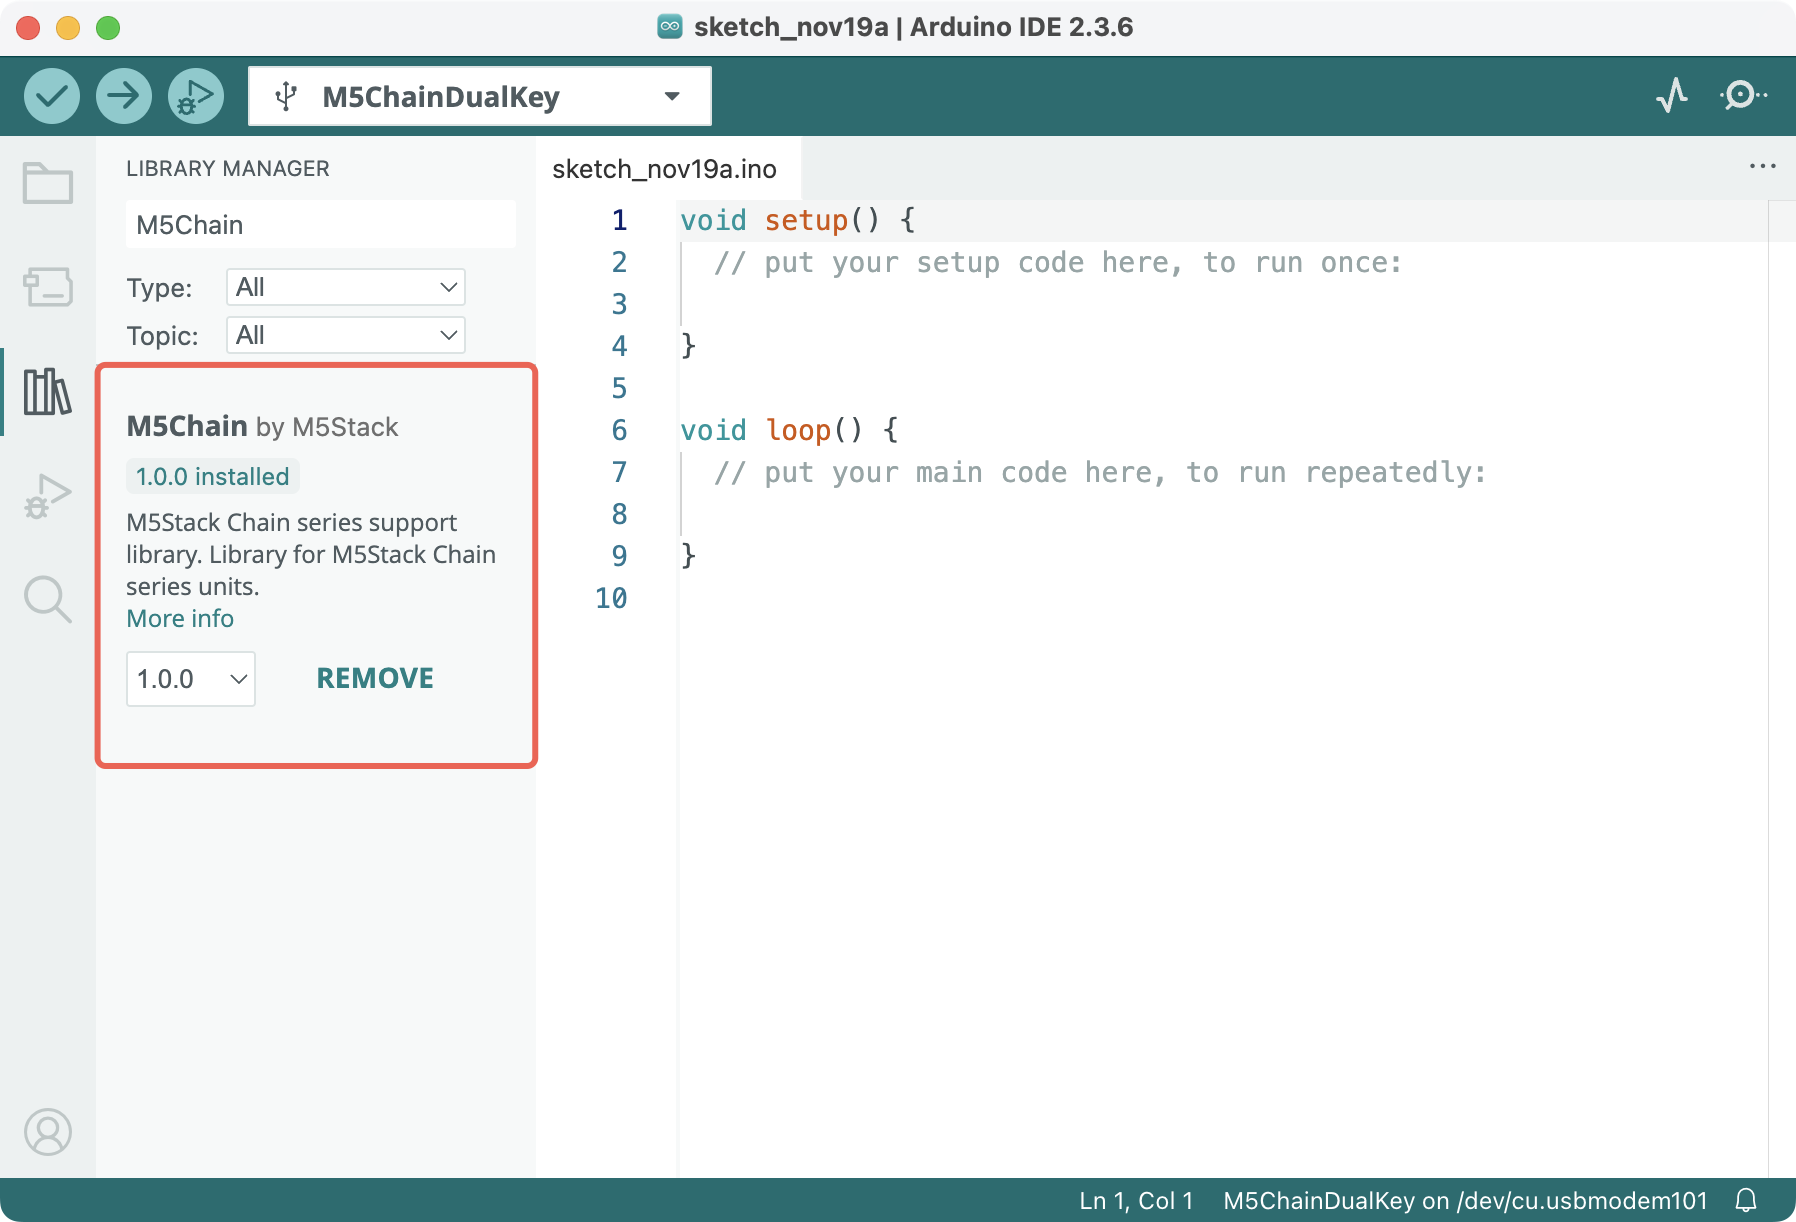
M5Chain library version >= 1.0.0
#include "M5Chain.h"

#define RXD_PIN GPIO_NUM_5  // 47 for the other side of Chain DualKey
#define TXD_PIN GPIO_NUM_6  // 48 for the other side of Chain DualKey

Chain M5Chain;

device_list_t *device_list = NULL;
uint16_t device_count = 0;

int16_t x_value, y_value;
uint8_t button_status, opr_status;
chain_button_press_type_t button_press_type;

void setup() {
  Serial.begin(115200);
  delay(1000);
  Serial.println("===========================");
  Serial.println("M5Stack Chain Joystick Test");

  M5Chain.begin(&Serial2, 115200, RXD_PIN, TXD_PIN);
  while (!M5Chain.isDeviceConnected()) {
    Serial.println("No device connected");
    delay(1000);
  }

  M5Chain.getDeviceNum(&device_count);
  device_list = (device_list_t *)malloc(sizeof(device_list_t));
  device_list->count = device_count;
  device_list->devices = (device_info_t *)malloc(sizeof(device_info_t) * device_count);
  M5Chain.getDeviceList(device_list);

  if (device_list->devices[0].device_type == CHAIN_JOYSTICK_TYPE_CODE) {
    Serial.println("ID[1] is Chain Joystick\n");
    delay(1000);
  } else {
    Serial.println("ID[1] is NOT Chain Joystick\n");
    return;
  }

  // Device ID, double click interval (100MS/200MS/.../900MS/1000MS), long press interval (3S/4S/.../9S/10S), operation status
  M5Chain.setJoystickButtonTriggerInterval(1, BUTTON_DOUBLE_CLICK_TIME_500MS, BUTTON_LONG_PRESS_TIME_5S, &opr_status);
  Serial.println("Set double and long press intervals\n");
  delay(1000);
}

void loop() {
  M5Chain.getJoystickMappedInt16Value(1, &x_value, &y_value);  // Device ID
  Serial.print("x_value:");
  Serial.println(x_value);
  Serial.print("y_value:");
  Serial.println(y_value);

  M5Chain.getJoystickButtonStatus(1, &button_status);  // Device ID
  Serial.print("button_status:");
  Serial.println(button_status);

  while (M5Chain.getJoystickButtonPressStatus(1, &button_press_type)) {  // Device ID
    switch (button_press_type) {
      case CHAIN_BUTTON_PRESS_SINGLE:
        Serial.println("Single pressed");
        break;
      case CHAIN_BUTTON_PRESS_DOUBLE:
        Serial.println("Double pressed");
        break;
      case CHAIN_BUTTON_PRESS_LONG:
        Serial.println("Long pressed");
        break;
    }
  }
}Use the Chain Bridge connector to connect the main controller Chain DualKey and Chain Joystick. Pay attention to the direction when connecting — the triangular arrow should point outward from the main controller Chain DualKey, as shown below:
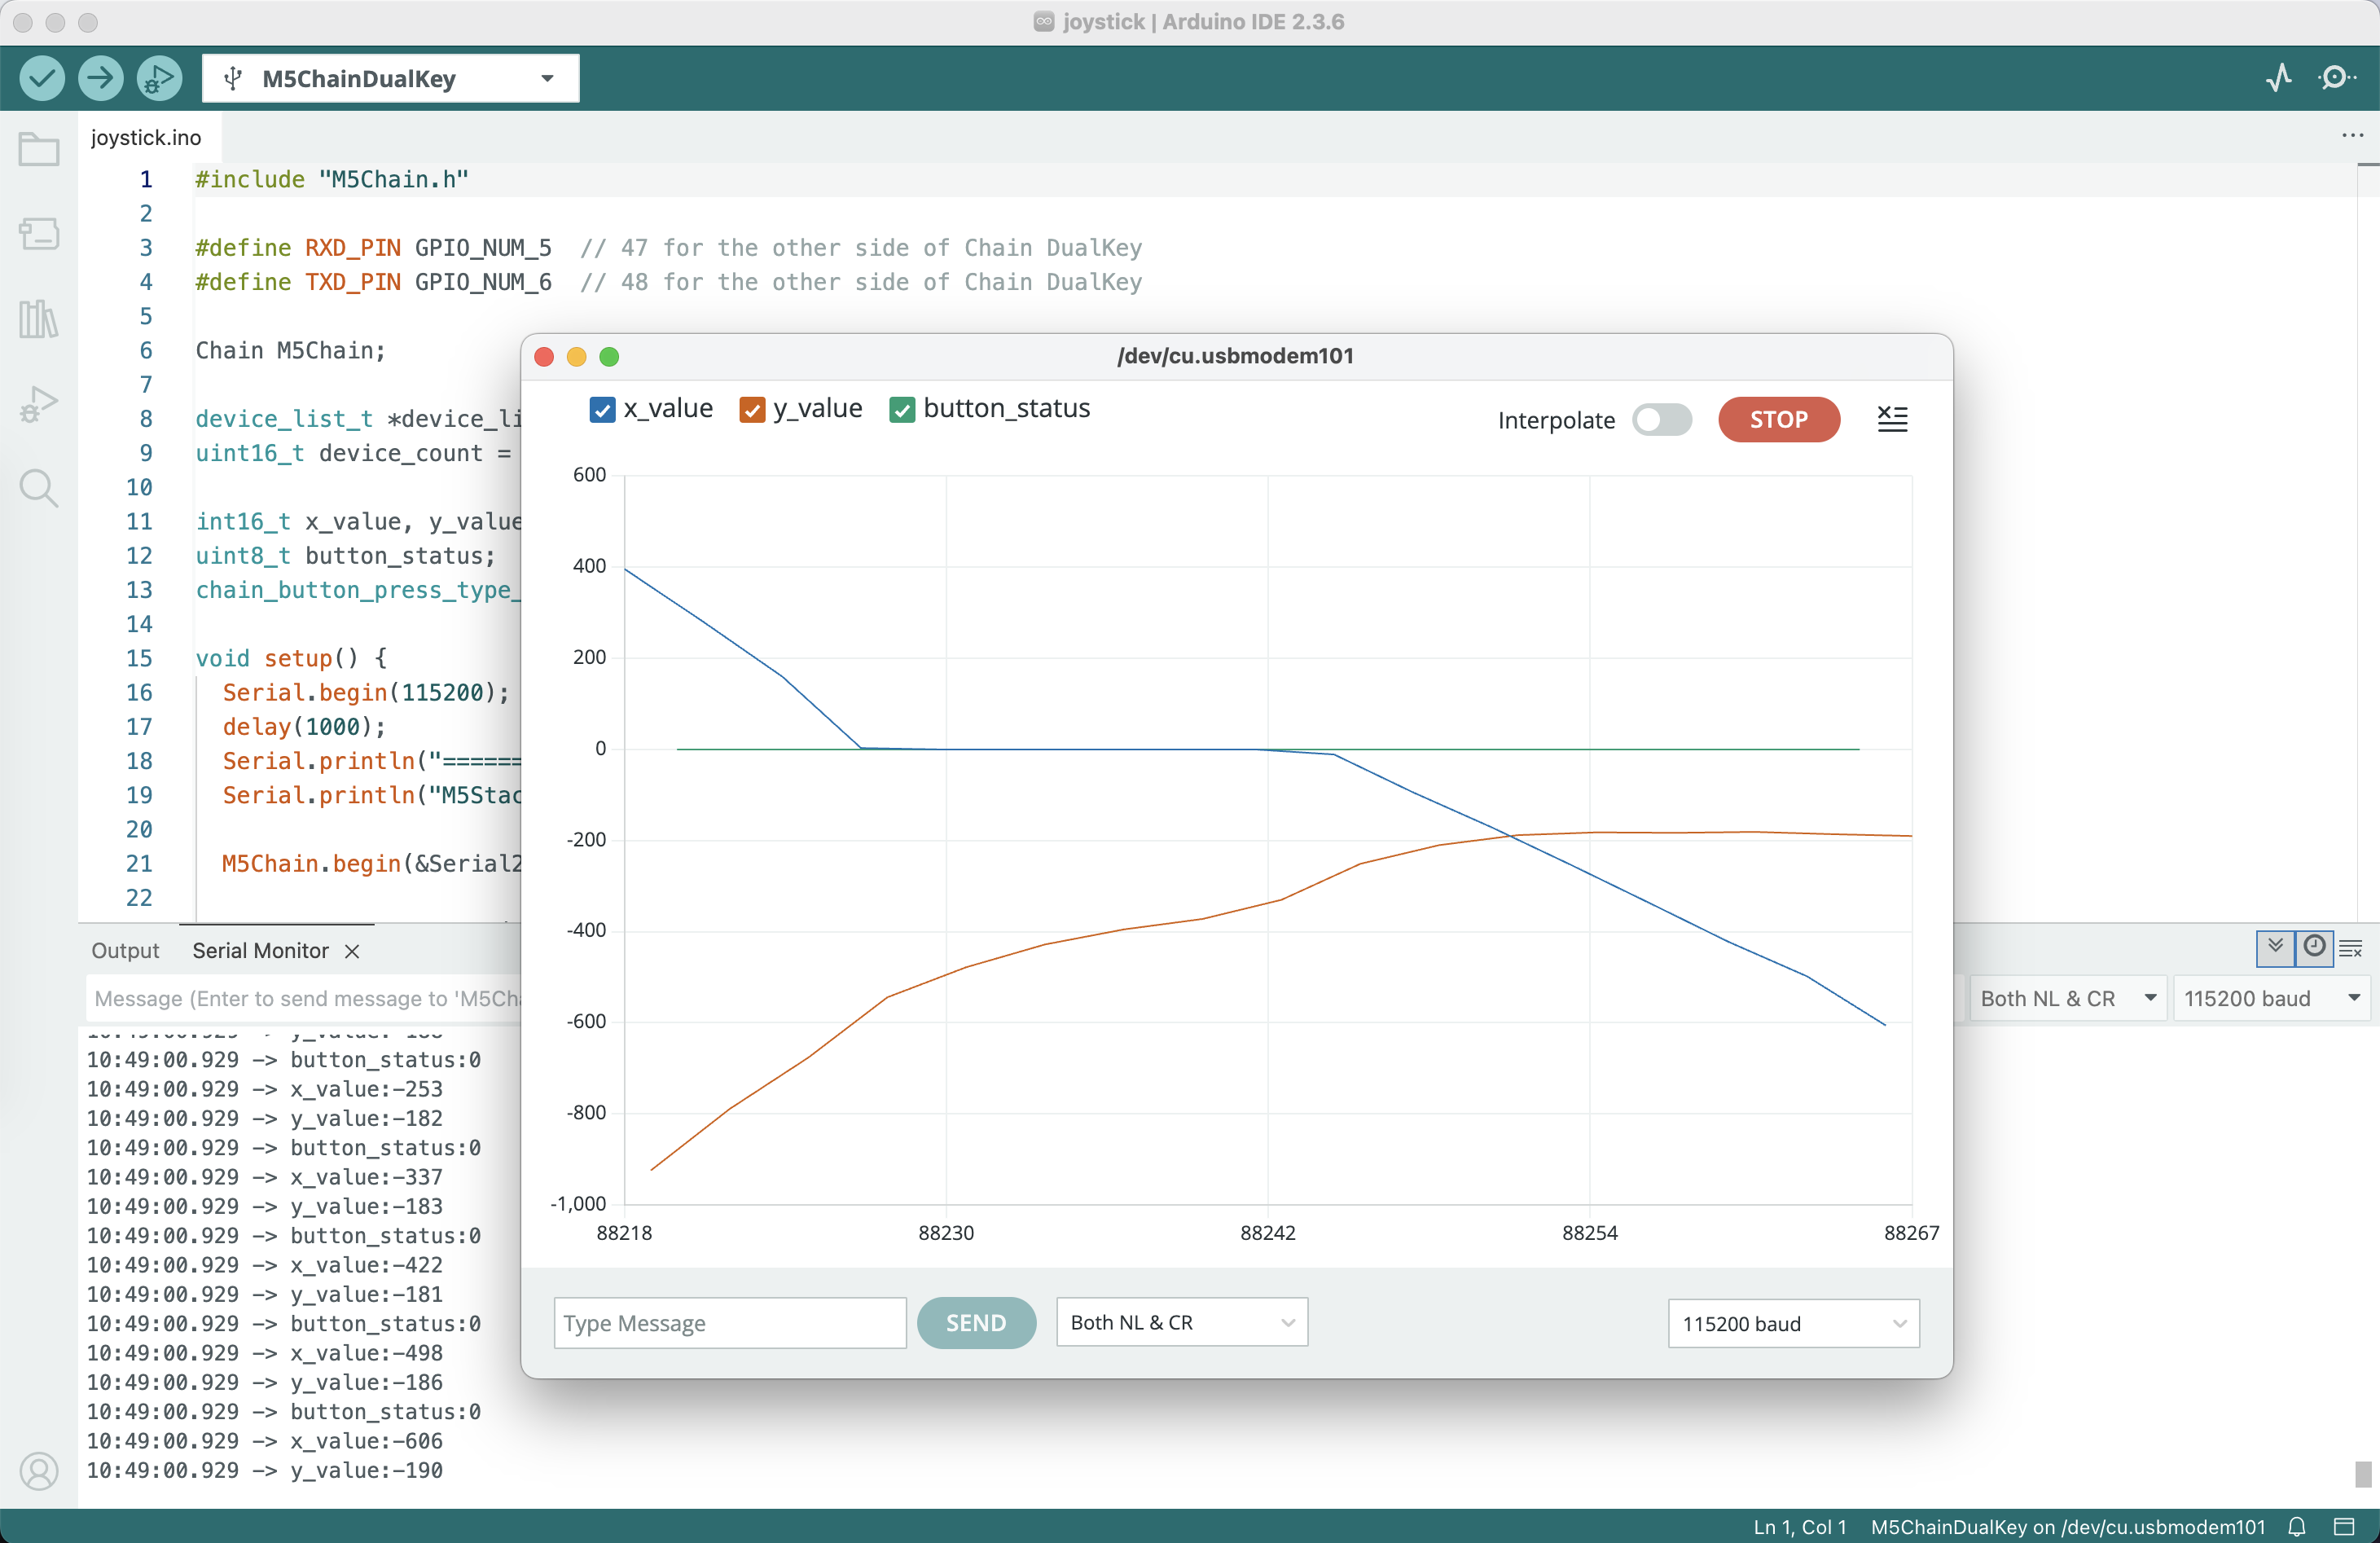
Compile and upload the above program to the device. Click the Serial Plotter button in the upper right corner of Arduino IDE. Move the joystick on the Chain Joystick; the X and Y values will be displayed in real time on the chart:
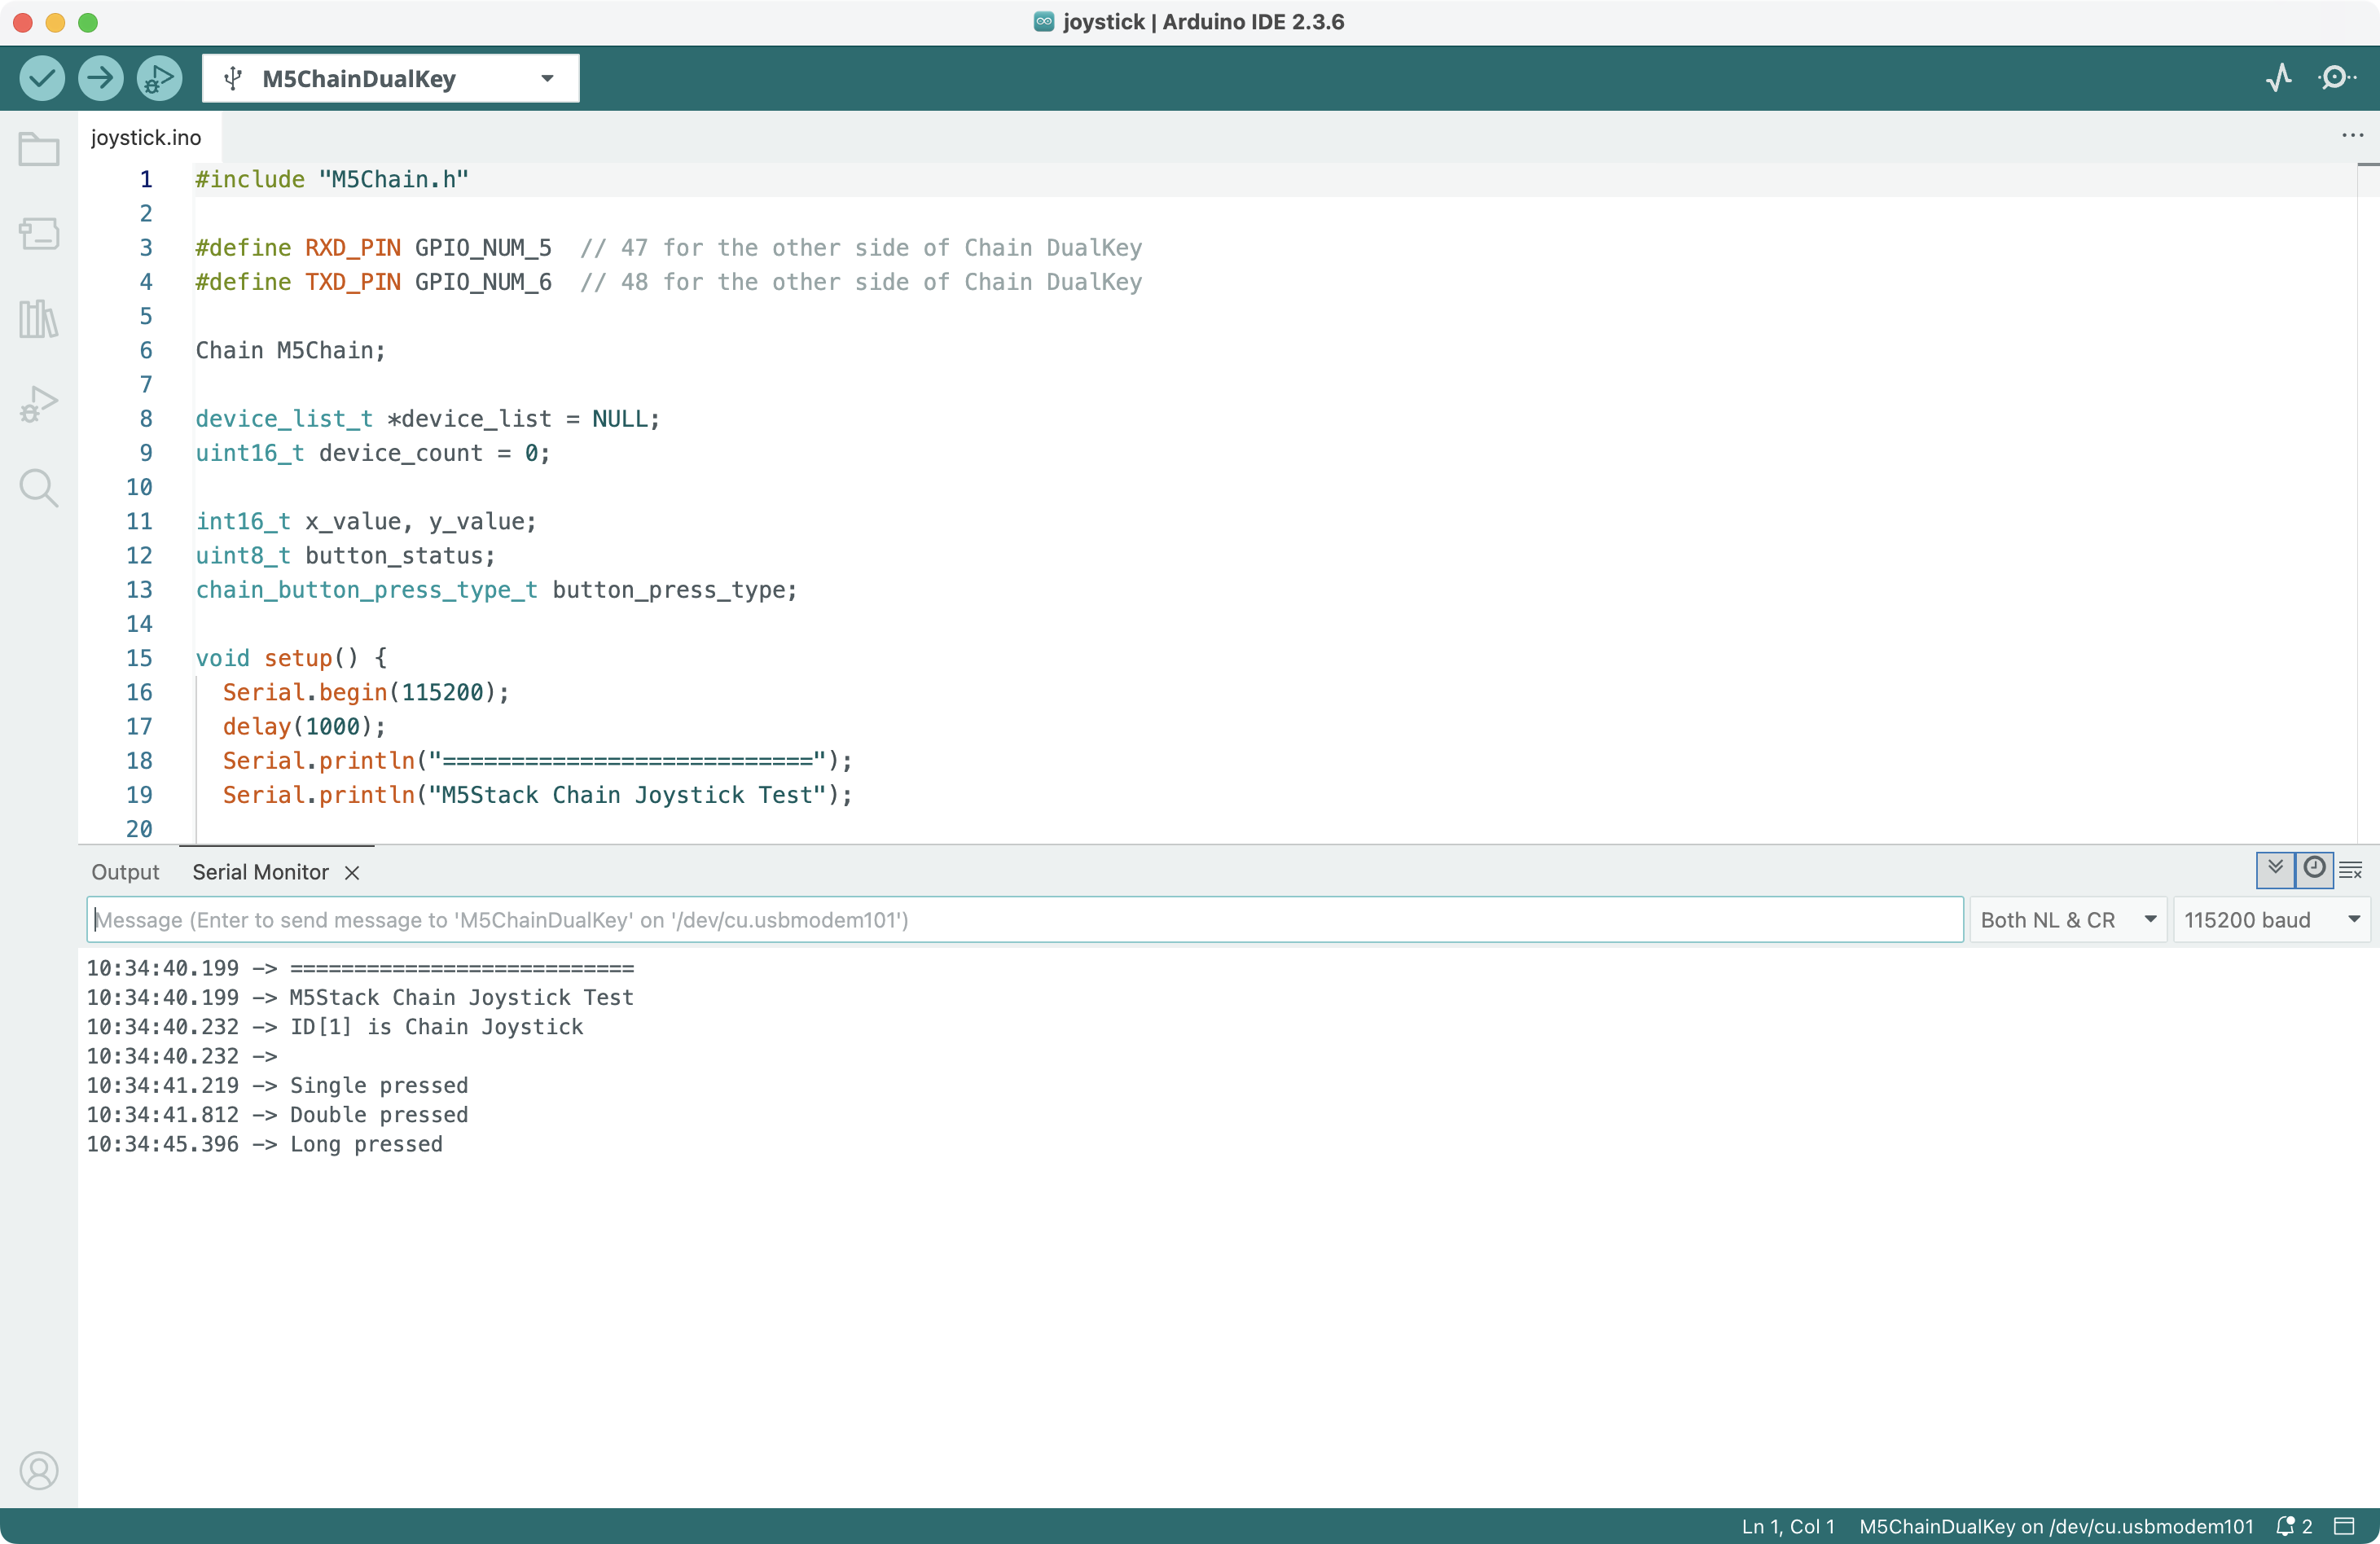
Comment out the first two code segments in the loop section (lines 48–56) of the above program and upload again. Open the serial monitor — the program will detect joystick press events (single press, double press, long press) and output messages:
You can also modify the BUTTON_DOUBLE_CLICK_TIME_500MS and BUTTON_LONG_PRESS_TIME_5S settings in the program to adjust the trigger intervals for double-click and long-press events.