Unit Pahub Arduino Tutorial
1. Preparation
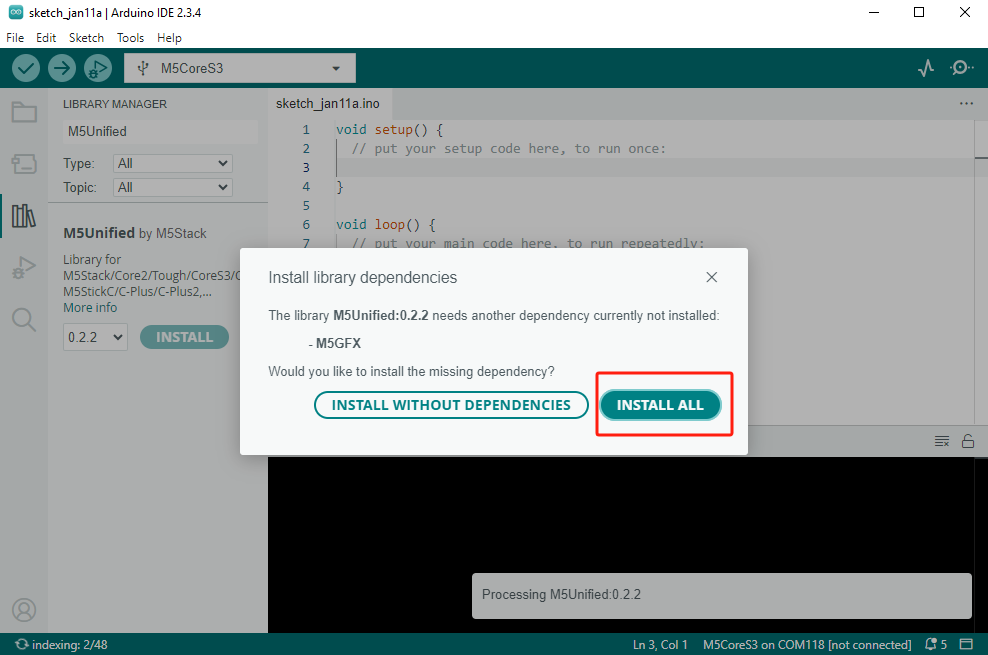
1.Environment Configuration: Refer to the Arduino IDE Getting Started Tutorial to complete the IDE installation, and install the corresponding board management and required driver libraries based on the development board being used.
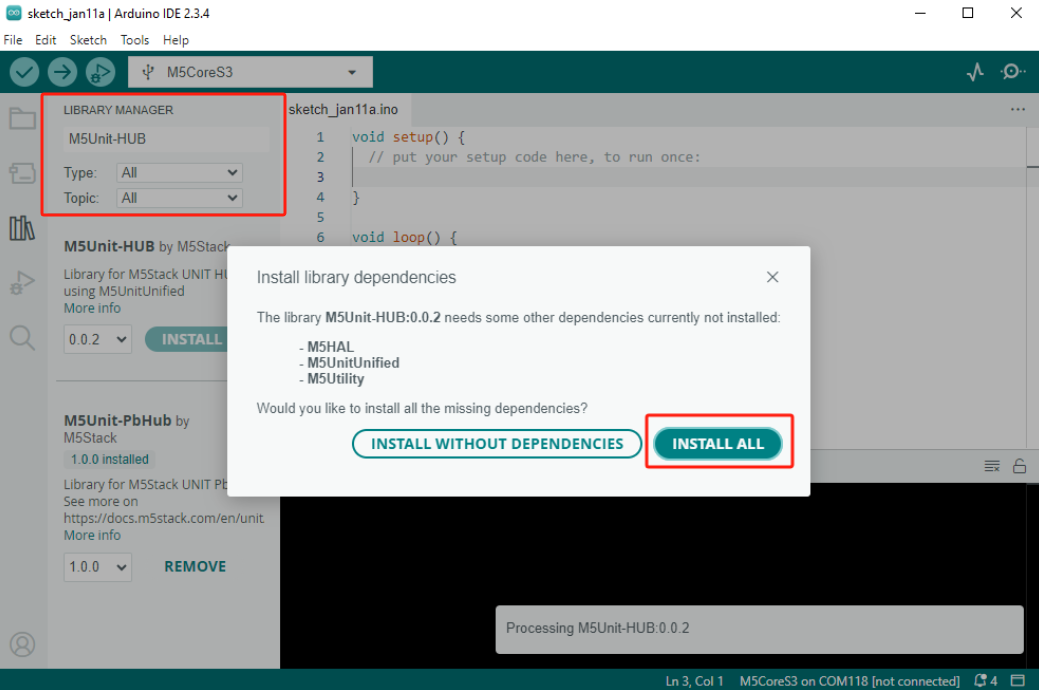
2.Libraries:
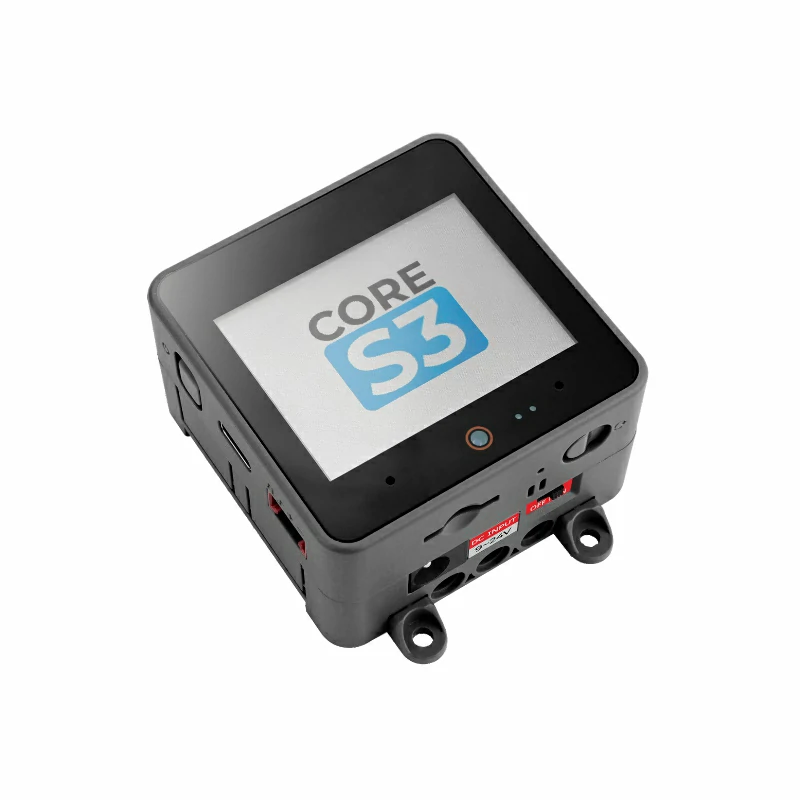
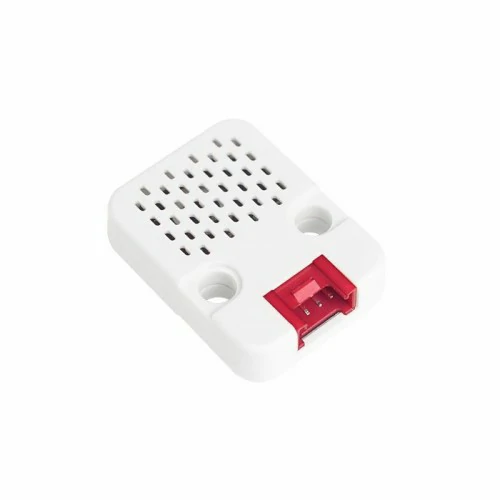
3.Hardwares:



2. Example
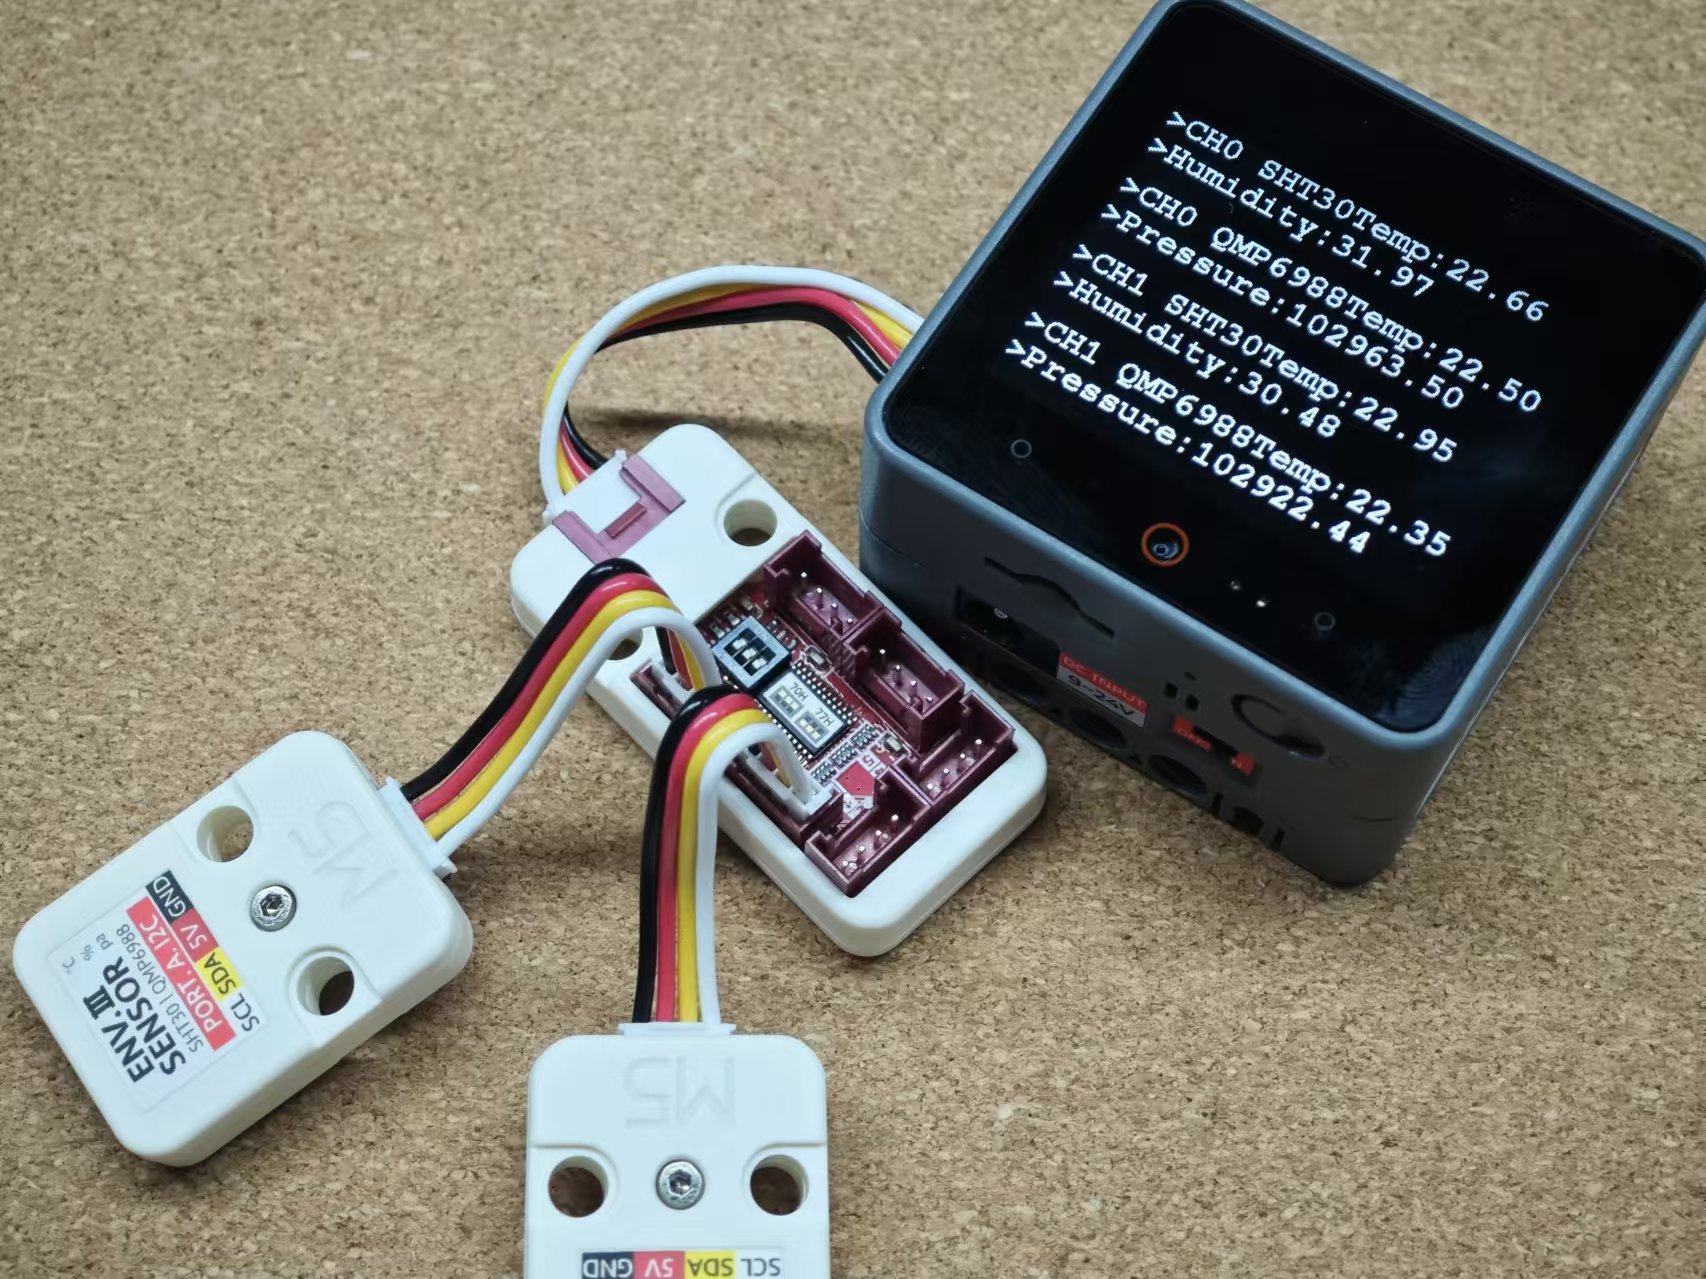
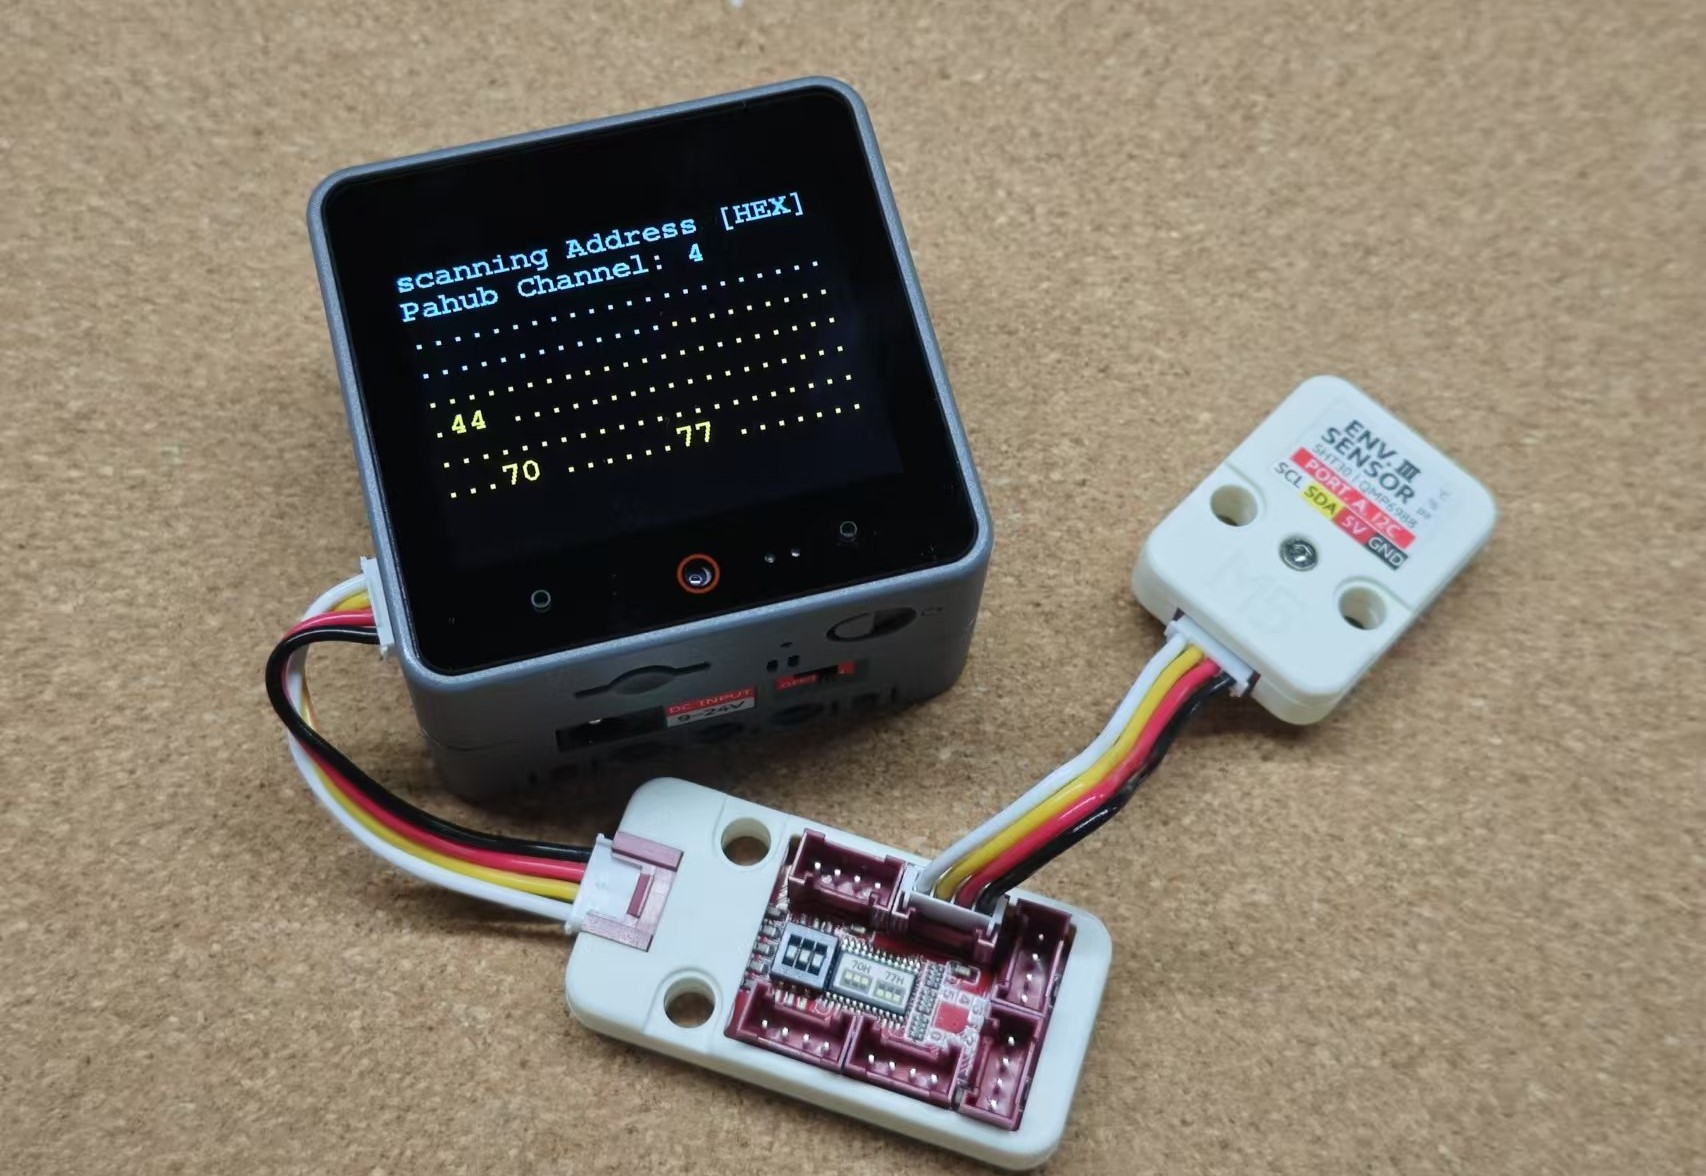
QMP6988 sensor in this case has the same I2C address (0x70). We need to switch the address jumper of Unit Pahub v2.1 to another address to resolve this issue. For other versions of Unit Pahub, the address can be changed by soldering resistors A0-A2.
Select Channel
This method can be used in conjunction with other sensor driver libraries that simply encapsulate Wire, and only involves controlling the Unit Pahub's expansion interfaces. After switching the channel, manually perform the read/write operations for the corresponding sensor.
- Channel I2C Scan Example
#include <M5Unified.h>
#include <M5UnitUnified.h>
#include <M5UnitUnifiedHUB.h>
#include "Wire.h"

namespace {
m5::unit::UnitUnified Units;
m5::unit::UnitPaHub2 hub0{0x77};  // 0x70 as default, but we change to 0x77
}  // namespace

void setup()
{
    M5.begin();
    M5.Display.setFont(&fonts::FreeMonoBold12pt7b);
    auto pin_num_sda = M5.getPin(m5::pin_name_t::port_a_sda);
    auto pin_num_scl = M5.getPin(m5::pin_name_t::port_a_scl);
    M5_LOGI("getPin: SDA:%u SCL:%u", pin_num_sda, pin_num_scl);

    Wire.begin(pin_num_sda, pin_num_scl, 400000U);

    if (!Units.add(hub0, Wire) ||  // Connect hub0 to core
        !Units.begin()) {
        M5_LOGE("Failed to begin");
        M5.Display.clear(TFT_RED);
        while (true) {
            m5::utility::delay(10000);
        }
    }
}

void scan_ch(uint8_t ch)
{
    M5.Display.clear();
    int textColor = YELLOW;
    for (size_t i = 0; i < 2; i++) {
        M5.Display.setCursor(0, 0);
        M5.Display.print("scanning Address [HEX]\r\n");
        M5.Display.printf("Pahub Channel: %d\r\n", ch);
        for (uint8_t addr = 1; addr < 127; addr++) {
            Wire.beginTransmission(addr);
            uint8_t error = Wire.endTransmission();
            if (error == 0) {
                M5.Display.print(addr, HEX);
                M5.Display.print(" ");
            } else {
                M5.Display.print(".");
            }
            delay(10);
        }

        if (textColor == YELLOW) {
            textColor = CYAN;
        } else {
            textColor = YELLOW;
        }
        M5.Display.setTextColor(textColor, BLACK);
    }
}

void loop()
{
    M5.update();
    for (uint8_t i = 0; i < 6; i++) {
        // Select & Scan Each Channel
        hub0.selectChannel(i);
        scan_ch(i);
    }
}
UniUnified
If using a sensor library that already supports the UnitUnified driver, you can directly register the sensor instances to the hub using add. When using Units.update();, it will automatically fetch the sensor values from each channel.
- Channel Unit ENV-III Get Data Example
#include <M5Unified.h>
#include <M5UnitUnified.h>
#include <M5UnitUnifiedHUB.h>
#include <M5UnitUnifiedENV.h>

namespace {
m5::unit::UnitUnified Units;
m5::unit::UnitPaHub2 hub0{0x77};  // 0x70 as default, but we change to 0x77
m5::unit::UnitENV3 unitENV3_0;
m5::unit::UnitENV3 unitENV3_1;
auto& sht30_0   = unitENV3_0.sht30;
auto& qmp6988_0 = unitENV3_0.qmp6988;
auto& sht30_1   = unitENV3_1.sht30;
auto& qmp6988_1 = unitENV3_1.qmp6988;
}  // namespace

void setup()
{
    M5.begin();
    M5.Display.setFont(&fonts::FreeMonoBold12pt7b);
    auto pin_num_sda = M5.getPin(m5::pin_name_t::port_a_sda);
    auto pin_num_scl = M5.getPin(m5::pin_name_t::port_a_scl);
    M5_LOGI("getPin: SDA:%u SCL:%u", pin_num_sda, pin_num_scl);

    Wire.begin(pin_num_sda, pin_num_scl, 400000U);

    if (!hub0.add(unitENV3_0, 0) ||  // Connect unit to hub0 ch 0
        !hub0.add(unitENV3_1, 1) ||  // Connect unit to hub0 ch 1
        !Units.add(hub0, Wire) ||    // Connect hub0 to core
        !Units.begin()) {
        M5_LOGE("Failed to begin");
        M5.Display.clear(TFT_RED);
        while (true) {
            m5::utility::delay(10000);
        }
    }
}

void loop()
{
    M5.update();
    Units.update();
    if (sht30_0.updated()) {
        M5.Display.setCursor(0, 0);
        M5.Display.fillRect(0, 0, 320, 60, BLACK);
        M5.Display.printf(">CH0 SHT30Temp:%2.2f\n>Humidity:%2.2f", sht30_0.temperature(), sht30_0.humidity());
        M5_LOGI("\n>CH0 SHT30Temp:%2.2f\n>Humidity:%2.2f", sht30_0.temperature(), sht30_0.humidity());
    }
    if (qmp6988_0.updated()) {
        M5.Display.setCursor(0, 60);
        M5.Display.fillRect(0, 60, 320, 60, BLACK);
        M5.Display.printf(">CH0 QMP6988Temp:%2.2f\n>Pressure:%.2f", qmp6988_0.temperature(), qmp6988_0.pressure());
        M5_LOGI("\n>CH0 QMP6988Temp:%2.2f\n>Pressure:%.2f", qmp6988_0.temperature(), qmp6988_0.pressure());
    }
    if (sht30_1.updated()) {
        M5.Display.setCursor(0, 120);
        M5.Display.fillRect(0, 120, 320, 60, BLACK);
        M5.Display.printf(">CH1 SHT30Temp:%2.2f\n>Humidity:%2.2f", sht30_1.temperature(), sht30_1.humidity());
        M5_LOGI("\n>CH1 SHT30Temp:%2.2f\n>Humidity:%2.2f", sht30_1.temperature(), sht30_1.humidity());
    }
    if (qmp6988_1.updated()) {
        M5.Display.setCursor(0, 180);
        M5.Display.fillRect(0, 180, 320, 60, BLACK);
        M5.Display.printf(">CH1 QMP6988Temp:%2.2f\n>Pressure:%.2f", qmp6988_1.temperature(), qmp6988_1.pressure());
        M5_LOGI("\n>CH1 QMP6988Temp:%2.2f\n>Pressure:%.2f", qmp6988_1.temperature(), qmp6988_1.pressure());
    }
}3. Compilation and Upload
1.Download Mode: Before flashing the program to different devices, they need to be in download mode. The steps may vary depending on the main controller device. For details, refer to the device program download tutorial list at the bottom of the Arduino IDE Getting Started Tutorial page to see the specific operation methods.
CoreS3: Press and hold the reset button on the CoreS3 for approximately 2 seconds until the internal green LED turns on, then release. The device will enter download mode and wait for flashing.
.gif)
- 2.Select Device Port and Upload: Select the device port, click the compile and upload button at the top left corner of the Arduino IDE, and wait for the program to compile and upload to the device.

4. Sensor Data Reading
By using time-sharing access, read the temperature and humidity values from multiple Unit ENV-III devices and display them.
